2A5HX-ORANGESTORMFDM 3D Printer
SHENZHEN ELEGOO TECHNOLOGY CO., LTD.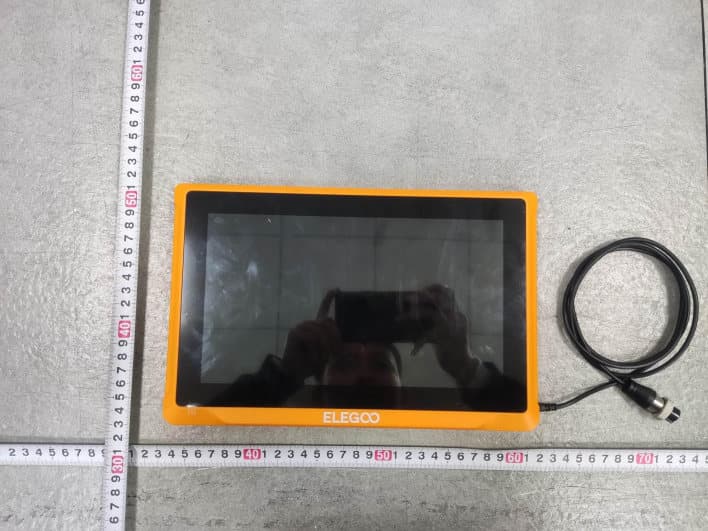
Click to zoom
Application Details
- Equipment Class
- DTS - Digital Transmission System
- Date of Grant
- Feb 18, 2024
- Application Purpose
- Original Equipment
- Date of Application
- Feb 18, 2024
- Equipment Note
- FDM 3D Printer
- Frequency Range
- 2412.00000000 - 2462.00000000
- Country
- China
Documents & Files
Document Text
Text extracted from the exhibit documents filed with the FCC. Open a document above to read the original.
Users Manual
Pictures are only for illustration purposes. Actual production products may vary from images. Giga e t i o n r t Oran 3 g D e P S r m r V1.0 User Manual FDM Thank you for choosing the ELEGOO product! This User Manual has been provided for your convenience. Please read this instruction manual carefully before using your new printer, as the precautions, information, and tips can help to avoid the risk of incorrect product setup and usage. For any questions or issues not covered in this manual, please directly contact us at [email protected]. The ELEGOO team is always ready to provide you with quality service. To provide you with the best product experience, in addition to this manual, you can find supplemental information for the operation of your new printer via: 1. The USB Drive: The digital files include a copy of this manual and all required software and videos. 2. The ELEGOO official website: www.elegoo.com for related equipment operation, contact information, etc. Cautions 1. Do not place the printer in vibrating or other unstable environments, as the shaking of the machine will affect the print quality. 2. Do not touch the nozzle and heated bed when the printer is working to prevent high-temperature burn and personal injury. 3. After printing, please take advantage of the residual temperature of the nozzle and clean the filaments on the nozzle with the help of tools. Do not touch the nozzle directly with your hands during cleaning to avoid burning. 4. Please do product maintenance frequently, and regularly clean the printer body with a dry cloth to wipe away dust and sticky print material under the situation of power off. 5. The 3D printer contains high speed parts, so be careful not to pinch your hands. 6. The moving parts of the X and Y axes of the machine are composed of linear guide rails, which need to be lubricated regularly to keep the movement smooth. 7. Children must be supervised by adults when using the machine to avoid personal injury. 8. In case of emergency, please cut off the power directly. 9. Before leveling, homing or printing, ensure that the golden PEI sheet is properly placed on the platform. Failure to do so may result in nozzle collisions with the magnetic sheet, causing damage to both the nozzle and the magnetic sheet. 10. It is essential to ground the machine during operation. Devices that are not grounded or improperly grounded inevitably increase the risk of electrical shock. 11. If the machine is not in use for a long period, please turn off the device and unplug the power cord. Troubleshooting Guide A stepper motor of the X/Y/Z axis is not moving or making a noise when returning to home ① The stepper motor cable could be loose. Please recheck the wiring connection. ② The corresponding limit switch may not be triggering properly, please check whether there is any interference in the movement of the corresponding shafts and ensure the limit switch wiring is not loose. ③ Loose timing belt may result in rough motion or abnormal noise in the X/Y axis. It can be resolved by adjusting the tension of the timing belt using the rotary knob. The nozzle assembly is exhibiting extrusion anomalies ① Check that the extruder stepper motor cable is not loose or disconnected. ② Check whether the set screw of the extruder gear is firmly engaged to the motor shaft. ③ The heat dissipation of the nozzle assembly may not be enough, verify temperatures and check the cooling fan operation. ④ For clogged nozzles, try first heating the nozzle to 230ºC and pushing the filament by hand to remove a potential clog, or use a fine needle to unclog the nozzle tip while it is heating up. Model does not adhere to the build platform (PEI sheet) or is showing warping ① The key to whether a model can adhere (stick) to the build plate is largely based on the printing of the first layer. When printing the first layer if the distance from nozzle to platform is more than 0.2mm, it will seriously reduce print adhesion and need to re-level the platform. ② Try setting the build model first layer option in Cura to [Brim] to improve first layer adhesion, this should also be used to reduce any cases whereby the edges of the printed model are warping or lifting off the build platform. Model shows signs of layer shift ① The travel speed of the printer hot end assembly or print speed is set too fast. Please try to reduce the print speed ② The belts of the X/Y axis may be too loose or the synchronizer pulley is not secured tightly. Check these components. ③ The current to the drive may be too low. Severe issues in the printed model of “stringing” or “ringing” ① Insufficient retraction distance is causing issues, increase the retraction distance in Cura prior to slicing. ② In many cases, if the retraction speed is too slow, you may need to set the retraction speed higher in Cura prior to slicing. ③ When slicing your model, check the box for “Z Hop When Retracted” and set the “Z Hop Height” to about 0.25mm. ④ Print temperature may be too high, which can cause certain filaments to become sticky and stringy. If the printing temperature is too high, it can cause the filament to become too fluid and sticky, resulting in poor 3D printing quality. In this case, lowering the printing temperature slightly can help. Machine Parameters ------------------------------------------------------------------------------ Machine Component Diagrams ---------------------------------------------------------------- Packing List ------------------------------------------------------------------------------------------ Machine Setup & Installation -------------------------------------------------------------------- Leveling Procedure -------------------------------------------------------------------------------- Model Testing --------------------------------------------------------------------------------------- Display Screen Operation Introduction ---------------------------------------------------- Software Installation ----------…
Text truncated - open the document above for the full version.
Users Manual
①X/Y-axis Assembly Installation:Use (PM6*28) 8pcs screws & (SW M6) 8pcs to sequentially install the support plates on the left and right sides. Pass the screws through the corresponding holes on the support plates and secure them during installation. (Diagram 8) ②Z-axis Caterpillar Cable Track Installation:Use (PM4*25) 2pcs screws to pass through the corresponding holes and secure the caterpillar cable track components onto the X&Y assembly profiles. ③Z-axis Caterpillar Cable Track Clip Installation:Use (PM3*6) 2pcs screws to secure the middle position of the caterpillar cable track. (Diagram 10) ④End fixation of Caterpillar Cable Track:Use (PM3*6) 3pcs screws to install and secure them through the corresponding holes on the profiles. (Diagram 11) ⑤Z-axis Right End-stop Installation: Use (PM3*6) 2pcs screws to install and secure them through the corresponding holes on the profiles. (Diagram 12) ⑤Z-axis Left End-stop Installation: Use (PM3*6) 2pcs screws to install and secure them through the corresponding holes on the profiles. (Diagram 12) 8 (Diagram 7) (Diagram 8) (Diagram 9)(Diagram 10) (Diagram 11) (Diagram 12) Machine Setup & Installation 9 Printhead Installation:Use (HM3*8) 2pcs to secure the front holes of the printhead (Diagram 14) and use (HM3*10) 2pcs to secure the rear holes of the printhead (Diagram 15). (Diagram 13) (Diagram 14)(Diagram 15) Machine Setup & Installation lSecure the printhead by aligning the height of the mounting plate. 10 Machine Setup & Installation ①Screen Installation:The snap-in fastener can be installed onto the profile when it makes a clicking sound. (Diagram 17) ②Filament Guide Assembly Installation: Use (HM4*φ5*3) 1pc & (FW M5)1pc screw to install it into the corresponding hole of the top rear profile. (Diagram 18) ③Spool Holder Assembly & Filament Detector Installation: Use (PM4*25) 2pcs screws to secure the spool holder assembly onto the profile;Use (HM4*M3*3) 1pc screw to install the filament detector onto the spool holder assembly. (Diagram 19) (Diagram 16) (Diagram 17) (Diagram 18)(Diagram 19) 11 (Diagram 20) ①Port Wiring: Connect the corresponding ports according to the instructions.(Diagram 20) ②Input Voltage Confirmation: The machine is factory-set to operate on a default power supply voltage of 220V. Before use, please verify that the machine's voltage setting matches the local voltage in your area before powering on the machine. Machine Setup & Installation There are DIP switches on both sides of the machine(115V / 230V), please adjust the voltage to match the local voltage before first use. When first running the machine, the distance between the platform and the nozzle needs to be calibrated in the leveling mode, which is about the thickness of a piece of A4 paper . lWhen the printer is powered on, select [Level]. lEach axis of the printer automatically returns to the home position, after entering the leveling page, Then select the automatic leveling option from the menu and your printer will begin the automatic calibration process. [ ] lYour printer will enter a heating state during the automatic calibration process as the nozzle is heated to 140ºC and the heated bed to 60ºC l After reaching the preset temperature, begin the 100-point automatic bed calibration. lWhen completed, perform Z-axis compensation setting: Place a leveling card between the printhead and the platform. Adjust the compensation value by clicking, and gently slide the leveling card. When there is resistance while moving the leveling card, the leveling is complete. lClick the save icon to save. [ ] 12 The center screw on this surface serves as the reference point, and its height cannot be adjusted. The other three surfaces are adjusted to a relative height based on this surface. Leveling Procedure ① ② ③ 13 If there is a significant height difference between the platforms, you can manually calibrate the platform plate. ①First, replace the two PEI plates in the front section with the leveling plate. The holes on the leveling plate should align with each screw hole on the heated bed plate. ②Then navigate to "Settings", "Advanced Settings",and finally choose "Platform Measurement." ③Next, click on "Auto Measurement" and wait for the printhead to measure the data of the 18 points on the platform one by one. (NOTE: Do not perform any other operations during the measurement process) ④Based on the presented 18-point data, manually adjust the screw height for points higher or lower than [0.00]. Then, you can verify the adjusted values by manually selecting the corresponding position number.(Position 5 is the reference point [0.00] and does not require adjusting the screw. Adjust the remaining 35 points using the knob screws to approach the [0.00] data.) NOTE: Turning the knob screw clockwise by one turn will lower the platform by 0.7mm, otherwise it will raise by 0.7mm. Leveling Procedure 14 ⑤Swap the two leveling plates in the front section with the two PEI plates in the back section. ⑥Click [Continue measuring] and wait for the printhead to sequentially measure the 18-point values on the leveling plates. (NOTE: Do not perform any other operations during the measurement process) ⑦Perform manual adjustment based on the presented numbers and adjust the 18-point values to be close to [0.00]. ⑧After manually adjusting the relative height of the four platform plates, place the PEI plate and click on "Level." Wait for the printhead to return to the home, then click on "Auto Leveling" to collect data from 100 points. Once completed, place the leveling card between the nozzle and the platform and set the compensation value. When there is resistance while moving the leveling card, the setup is complete. Click on "Save Data" to exit. Leveling Procedure ① ② ③ [图片] 15 Model Testing Printing Functional Test 1)Insert the USB Drive into the printer’s USB port. 2)Choose [Print] from the main menu and select the desired file. 3)When the nozzle and heated bed reach the target temperatures, the …
Text truncated - open the document above for the full version.
Users Manual
FCC Warning This device complies with part 15 of the FCC Rules. Operation is subject to the following two conditions: (1) This device may not cause harmful interference, and (2) this device must accept any interference received, including interference that may cause undesired operation. Any Changes or modifications not expressly approved by the party responsible for compliance could void the user's authority to operate the equipment. Note: This equipment has been tested and found to comply with the limits for a Class B digital device, pursuant to part 15 of the FCC Rules. These limits are designed to provide reasonable protection against harmful interference in a residential installation. This equipment generates uses and can radiate radio frequency energy and, if not installed and used in accordance with the instructions, may cause harmful interference to radio communications. However, there is no guarantee that interference will not occur in a particular installation. If this equipment does cause harmful interference to radio or television reception, which can be determined by turning the equipment off and on, the user is encouraged to try to correct the interference by one or more of the following measures: -Reorient or relocate the receiving antenna. -Increase the separation between the equipment and receiver. -Connect the equipment into an outlet on a circuit different from that to which the receiver is connected. -Consult the dealer or an experienced radio/TV technician for help. This equipment complies with FCC radiation exposure limits set forth for an uncontrolled environment. This equipment should be installed and operated with minimum distance 20cm between the radiator & your body. After-sales service registration card 售后服务登记卡 Address 地址: Fault description 故障描述: Date of purchase 购买日期: Place of purchase 购买地点: Phone number 电话号码: Printer 机器: Contact 联系人: S/N 序列号: ELEGOO Official Site: www.elegoo.com
Attestation Statements
-SHENZHENELEGOOTECHNOLOGYCO.,LTD.- FederalCommunicationsCommission AuthorizationandEvaluationDivision EquipmentAuthorizationBranch 7435OaklandMillsRoad Columbia,MD21046 2/20/24 U.S.AgentDesignation SHENZHENELEGOOTECHNOLOGYCO.,LTD.acknowledgestheirconsentforthefollowingcontact locatedintheUnitedStatestoactastheiragentforserviceofprocessfortheequipmentforwhichauthorization issought(FCCID:2A5HX-ORANGESTORM): NameandcompanyofU.S.agent: MarsRegisterAgentLLC PhysicalU.S.addressofagent: 8932MISSIONDR207,Rosemead,CALIFORNIA,91770,USA FRNofU.S.agent: 0033790684 EmailaddressofU.S.agent: [email protected] MarsRegisterAgentLLCacknowledgestheirobligationtoacceptserviceofprocessonbehalfof SHENZHENELEGOOTECHNOLOGYCO.,LTD. Bysigningthisform,weconfirmtheaboveandthatweareawareoftheapplicationrequirementslistedunder§ 2.911(d)(7) SHENZHENELEGOOTECHNOLOGYCO.,LTD.withtheFRN0032060733acceptsitsobligationto maintainanagentforserviceofprocessintheUnitedStatesfornolessthanoneyearaftereitherthegranteehas permanentlyterminatedallmarketingandimportationoftheapplicableequipmentwithintheU.S.,orthe conclusionofanyCommission-relatedadministrativeorjudicialproceedinginvolvingtheequipment,whicheveris later. . TheinformationprovidedinthisletterisbasedonthereferencedrulepartsofTitle47oftheCFRaswellasKDB 986446D01. Anexpirationdateforthisletterdoesnotexist.IncasetheU.S.agentchanges,thegranteeisobligatedtonotify theFCCwithin30daysviathegrantingTCB. Sincerely, Signature CaiPengYue Manager SHENZHENELEGOOTECHNOLOGYCO.,LTD. Signature JESSIEPENG Manager MarsRegisterAgentLLC 4 8 _ [ m o d e l ] U S _ A g e n t _ 2 . 9 1 1 ( d ) ( 7 ) - U , V 0 5
External Photos
FCCID:2A5HX-ORANGESTORM Page1of11 DongguanYaxu(AiT)TechnologyLimited No.22,Jinqianling3rdStreet,Jitigang, Huangjiang,Dongguan,Guangdong,China. ExternalPhotos Photo1 Photo2 FCCID:2A5HX-ORANGESTORM Page2of11 DongguanYaxu(AiT)TechnologyLimited No.22,Jinqianling3rdStreet,Jitigang, Huangjiang,Dongguan,Guangdong,China. Photo3 Photo4 FCCID:2A5HX-ORANGESTORM Page3of11 DongguanYaxu(AiT)TechnologyLimited No.22,Jinqianling3rdStreet,Jitigang, Huangjiang,Dongguan,Guangdong,China. Photo5 Photo6 FCCID:2A5HX-ORANGESTORM Page4of11 DongguanYaxu(AiT)TechnologyLimited No.22,Jinqianling3rdStreet,Jitigang, Huangjiang,Dongguan,Guangdong,China. Photo7 Photo8 FCCID:2A5HX-ORANGESTORM Page5of11 DongguanYaxu(AiT)TechnologyLimited No.22,Jinqianling3rdStreet,Jitigang, Huangjiang,Dongguan,Guangdong,China. Photo9 Photo10 FCCID:2A5HX-ORANGESTORM Page6of11 DongguanYaxu(AiT)TechnologyLimited No.22,Jinqianling3rdStreet,Jitigang, Huangjiang,Dongguan,Guangdong,China. Photo11 Photo12 FCCID:2A5HX-ORANGESTORM Page7of11 DongguanYaxu(AiT)TechnologyLimited No.22,Jinqianling3rdStreet,Jitigang, Huangjiang,Dongguan,Guangdong,China. Photo13 Photo14 FCCID:2A5HX-ORANGESTORM Page8of11 DongguanYaxu(AiT)TechnologyLimited No.22,Jinqianling3rdStreet,Jitigang, Huangjiang,Dongguan,Guangdong,China. Photo15 Photo16 FCCID:2A5HX-ORANGESTORM Page9of11 DongguanYaxu(AiT)TechnologyLimited No.22,Jinqianling3rdStreet,Jitigang, Huangjiang,Dongguan,Guangdong,China. Photo17 Photo18 FCCID:2A5HX-ORANGESTORM Page10of11 DongguanYaxu(AiT)TechnologyLimited No.22,Jinqianling3rdStreet,Jitigang, Huangjiang,Dongguan,Guangdong,China. Photo19 Photo20 FCCID:2A5HX-ORANGESTORM Page11of11 DongguanYaxu(AiT)TechnologyLimited No.22,Jinqianling3rdStreet,Jitigang, Huangjiang,Dongguan,Guangdong,China. Photo21 Photo22 ------End------
ID Label/Location Info
FCCLabel W:20mm L:35mm FDM3DPrinter ModelName:OrangeStormGiga FCCID: 2A5HX-ORANGESTORM
Internal Photos
FCCID:2A5HX-ORANGESTORM Page1of23 DongguanYaxu(AiT)TechnologyLimited No.22,Jinqianling3rdStreet,Jitigang, Huangjiang,Dongguan,Guangdong,China. InternalPhotos Photo1 Photo2 FCCID:2A5HX-ORANGESTORM Page2of23 DongguanYaxu(AiT)TechnologyLimited No.22,Jinqianling3rdStreet,Jitigang, Huangjiang,Dongguan,Guangdong,China. Photo3 Photo4 FCCID:2A5HX-ORANGESTORM Page3of23 DongguanYaxu(AiT)TechnologyLimited No.22,Jinqianling3rdStreet,Jitigang, Huangjiang,Dongguan,Guangdong,China. Photo5 Photo6 FCCID:2A5HX-ORANGESTORM Page4of23 DongguanYaxu(AiT)TechnologyLimited No.22,Jinqianling3rdStreet,Jitigang, Huangjiang,Dongguan,Guangdong,China. Photo7 Photo8 FCCID:2A5HX-ORANGESTORM Page5of23 DongguanYaxu(AiT)TechnologyLimited No.22,Jinqianling3rdStreet,Jitigang, Huangjiang,Dongguan,Guangdong,China. Photo9 Photo10 FCCID:2A5HX-ORANGESTORM Page6of23 DongguanYaxu(AiT)TechnologyLimited No.22,Jinqianling3rdStreet,Jitigang, Huangjiang,Dongguan,Guangdong,China. Photo11 Photo12 FCCID:2A5HX-ORANGESTORM Page7of23 DongguanYaxu(AiT)TechnologyLimited No.22,Jinqianling3rdStreet,Jitigang, Huangjiang,Dongguan,Guangdong,China. Photo13 Photo14 FCCID:2A5HX-ORANGESTORM Page8of23 DongguanYaxu(AiT)TechnologyLimited No.22,Jinqianling3rdStreet,Jitigang, Huangjiang,Dongguan,Guangdong,China. Photo15 Photo16 FCCID:2A5HX-ORANGESTORM Page9of23 DongguanYaxu(AiT)TechnologyLimited No.22,Jinqianling3rdStreet,Jitigang, Huangjiang,Dongguan,Guangdong,China. Photo17 Photo18 Antenna FCCID:2A5HX-ORANGESTORM Page10of23 DongguanYaxu(AiT)TechnologyLimited No.22,Jinqianling3rdStreet,Jitigang, Huangjiang,Dongguan,Guangdong,China. Photo19 Photo20 FCCID:2A5HX-ORANGESTORM Page11of23 DongguanYaxu(AiT)TechnologyLimited No.22,Jinqianling3rdStreet,Jitigang, Huangjiang,Dongguan,Guangdong,China. Photo21 Photo22 FCCID:2A5HX-ORANGESTORM Page12of23 DongguanYaxu(AiT)TechnologyLimited No.22,Jinqianling3rdStreet,Jitigang, Huangjiang,Dongguan,Guangdong,China. Photo23 Photo24 FCCID:2A5HX-ORANGESTORM Page13of23 DongguanYaxu(AiT)TechnologyLimited No.22,Jinqianling3rdStreet,Jitigang, Huangjiang,Dongguan,Guangdong,China. Photo25 Photo26 FCCID:2A5HX-ORANGESTORM Page14of23 DongguanYaxu(AiT)TechnologyLimited No.22,Jinqianling3rdStreet,Jitigang, Huangjiang,Dongguan,Guangdong,China. Photo27 Photo28 FCCID:2A5HX-ORANGESTORM Page15of23 DongguanYaxu(AiT)TechnologyLimited No.22,Jinqianling3rdStreet,Jitigang, Huangjiang,Dongguan,Guangdong,China. Photo29 Photo30 FCCID:2A5HX-ORANGESTORM Page16of23 DongguanYaxu(AiT)TechnologyLimited No.22,Jinqianling3rdStreet,Jitigang, Huangjiang,Dongguan,Guangdong,China. Photo31 Photo32 FCCID:2A5HX-ORANGESTORM Page17of23 DongguanYaxu(AiT)TechnologyLimited No.22,Jinqianling3rdStreet,Jitigang, Huangjiang,Dongguan,Guangdong,China. Photo33 Photo34 FCCID:2A5HX-ORANGESTORM Page18of23 DongguanYaxu(AiT)TechnologyLimited No.22,Jinqianling3rdStreet,Jitigang, Huangjiang,Dongguan,Guangdong,China. Photo35 Photo36 FCCID:2A5HX-ORANGESTORM Page19of23 DongguanYaxu(AiT)TechnologyLimited No.22,Jinqianling3rdStreet,Jitigang, Huangjiang,Dongguan,Guangdong,China. Photo37 Photo38 FCCID:2A5HX-ORANGESTORM Page20of23 DongguanYaxu(AiT)TechnologyLimited No.22,Jinqianling3rdStreet,Jitigang, Huangjiang,Dongguan,Guangdong,China. Photo39 Photo40 FCCID:2A5HX-ORANGESTORM Page21of23 DongguanYaxu(AiT)TechnologyLimited No.22,Jinqianling3rdStreet,Jitigang, Huangjiang,Dongguan,Guangdong,China. Photo41 Photo42 FCCID:2A5HX-ORANGESTORM Page22of23 DongguanYaxu(AiT)TechnologyLimited No.22,Jinqianling3rdStreet,Jitigang, Huangjiang,Dongguan,Guangdong,China. Photo43 Photo44 FCCID:2A5HX-ORANGESTORM Page23of23 DongguanYaxu(AiT)TechnologyLimited No.22,Jinqianling3rdStreet,Jitigang, Huangjiang,Dongguan,Guangdong,China. Photo45 Photo46 ------End------
RF Exposure Info
RFExposureevaluation FCCID:2A5HX-ORANGESTORM Exposurecategory:Generalpopulation/uncontrolledenvironment EUTType:ProductionUnit DeviceType:MobileDevice 1.Reference Accordingto§1.1307(b)(1),systemsoperatingundertheprovisionsofthissectionshallbe operatedinamannerthatensuresthatthepublicisnotexposedtoradiofrequencyenergy levelinexcessoftheCommission’sguidelines. Accordingto§1.1310and§2.1091RFexposureiscalculated. KDB447498D01:MobileandPortableDevicesRFExposureProceduresandEquipment AuthorizationPolicies 2.Limit LimitsforMaximumPermissibleExposure(MPE)/ControlledExposure Frequency Range(MHz) ElectricField Strength(V/m) MagneticField Strength(A/m) PowerDensity (mW/cm²) AveragingTime (minute) LimitsforOccupational/ControlledExposure 0.3–3.0 3.0–30 30–300 300–1500 1500–100,000 614 1842/f 61.4 / / 1.63 4.89/f 0.163 / / (100)* (900/f 2 )* 1.0 f/300 5 6 6 6 6 6 LimitsforMaximumPermissibleExposure(MPE)/UncontrolledExposure Frequency Range(MHz) ElectricField Strength(V/m) MagneticField Strength(A/m) PowerDensity (mW/cm²) AveragingTime (minute) LimitsforOccupational/ControlledExposure 0.3–3.0 3.0–30 30–300 300–1500 1500–100,000 614 824/f 27.5 / / 1.63 2.19/f 0.073 / / (100)* (180/f 2 )* 0.2 f/1500 1.0 30 30 30 30 30 F=frequencyinMHz *=Plane-waveequivalentpowerdensity 3.MPECalculationMethod PredicationofMPElimitatagivendistance Equationfrompage18ofOETBulletin65,Edition97-01 S=PG/4πR² Where:S=powerdensity P=powerinputtoantenna G=powergainoftheantennainthedirectionofinterestrelativetoanisotropicradiator R=distancetothecenterofradiationoftheantenna 4.AntennaInformation EUTcanonlyuseantennascertificatedasfollowsprovidedbymanufacturer; AntennaNo. ModelNo. ofantenna: Typeofantenna: Gainoftheantenna (Max.) Frequencyrange: WIFI/PIFAantenna3.0dBifor2400-2480MHz 5.ManufacturingTolerance WIFI(Conducted) Frequency (MHz) 11b(Peak) 241224372462 Target(dBm)14.014.014.0 Tolerance±(dB)1.01.01.0 Frequency (MHz) 11g(Peak) 241224372462 Target(dBm) 13.0 13.013.0 Tolerance ± (dB) 1.01.01.0 Frequency (MHz) 11n(HT20)(Peak) 241224372462 Target(dBm)13.013.013.0 Tolerance±(dB)1.01.01.0 6.StandaloneMPEResult AsdeclaredbytheApplicant,theEUTisawirelessdeviceusedinafixapplication,atleast 20cmfromanybodypartoftheuserornearbypersons;fromthemaximumEUTRFoutput power,theminimumseparationdistance,r=20cm,aswellasthegainoftheusedantennais refertosection4,theRFpowerdensitycanbeobtained. ModulationType OutputpowerAntenna Gain (dBi) Antenna Gain (linear) MPE (mW/cm 2 ) MPE Limits (mW/cm 2 ) dBmmW 2.4GWIFI15.031.623.01.9950.012551.0000 Remark: 1.Outputpower(Peak)includingturn-uptolerance; 2.MPEevaluatedistanceis20cmfromusermanualprovidebymanufacturer. 7.Conclusion ThemeasurementresultscomplywiththeFCCLimitper47CFR2.1091fortheuncontrolled RFExposureofmobiledevice. ----------------THEENDOFREPORT---------------
Test Report
Page1of42ReportNo.:AIT24012209FW1 DongguanYaxu(AiT)TechnologyLimited No.22,Jinqianling3rdStreet,Jitigang, Huangjiang,Dongguan,Guangdong,China. TESTREPORT ClientInformation: Applicant:SHENZHENELEGOOTECHNOLOGYCO.,LTD. Applicantadd.: 101,No.30,DaheIndustrialZone,GuanchengCommunity,GuanhuStreet, LonghuaDistrict,Shenzhen,China Manufacturer:SHENZHENELEGOOTECHNOLOGYCO.,LTD. Manufactureradd.: 101,No.30,DaheIndustrialZone,GuanchengCommunity,GuanhuStreet, LonghuaDistrict,Shenzhen,China ProductInformation: ProductName:FDM3DPrinter ModelNo.:OrangeStormGiga BrandName:ELEGOO FCCID:2A5HX-ORANGESTORM Applicablestandards : FCCCFRTitle47Part15SubpartCSection15.247 PreparedBy: DongguanYaxu(AiT)TechnologyLimited No.22,Jinqianling3rdStreet,Jitigang,Huangjiang,Dongguan, Guangdong,China Tel.:+86-769-82020499Fax.:+86-769-82020495 DateofReceipt:2024-01-22DateofTest:2024-01-22~2024-01-29 DateofIssue:2024-01-30TestResult:Pass ThisdevicedescribedabovehasbeentestedbyDongguanYaxu(AiT)TechnologyLimitedandthe testresultsshowthattheequipmentundertest(EUT)isincompliancewiththeFCC/ISED requirements.Anditisapplicableonlytothetestedsampleidentifiedinthereport. Note:Thisreportshallnotbereproducedexceptinfull,withoutthewrittenapprovalof DongguanYaxu(AiT)TechnologyLimited,thisdocumentmaybealteredorrevisedby DongguanYaxu(AiT)TechnologyLimited,personalonly,andshallbenotedintherevisionof thedocument.Thistestreportmustnotbeusedbytheclienttoclaimproductendorsement. Reviewedby:Approvedby: SimbaHuangSeal.chen Page2of42ReportNo.:AIT24012209FW1 DongguanYaxu(AiT)TechnologyLimited No.22,Jinqianling3rdStreet,Jitigang, Huangjiang,Dongguan,Guangdong,China. 1Contents Page COVERPAGE 1CONTENTS......................................................................................................................................................................2 2TESTSUMMARY............................................................................................................................................................5 2.1StatementoftheMeasurementUncertainty................................................................................5 2.2MeasurementUncertainty............................................................................................................5 3TESTFACILITY..............................................................................................................................................................6 3.1Deviationfromstandard...............................................................................................................6 3.2Abnormalitiesfromstandardconditions.......................................................................................6 3.3TestLocation.................................................................................................................................6 4GENERALINFORMATION...........................................................................................................................................7 4.1Testfrequencies............................................................................................................................8 4.2EUTPeripheralList.......................................................................................................................8 4.3TestPeripheralList.......................................................................................................................8 4.4TESTMETHODOLOGY...............................................................................................................9 4.5DescriptionofTestModes..........................................................................................................10 5EQUIPMENTUSEDDURINGTEST.........................................................................................................................11 6TESTRESULTSANDMEASUREMENTDATA.....................................................................................................11 6.1Antennarequirement..................................................................................................................13 6.1.1Standardrequirement:.......................................................................................................13 6.1.2EUTAntenna:.....................................................................................................................13 6.2OnTimeandDutyCycle............................................................................................................14 6.2.1Standardrequirement:.......................................................................................................14 6.2.2MeasuringInstrumentsandSetting:..................................................................................14 6.2.3TestProcedures.................................................................................................................14 6.2.4TestSetupLayout...............................................................................................................14 6.2.5EUTOperationduringTest.................................................................................................14 6.2.6Testresult...........................................................................................................................14 6.3MaximumConductedOutputPeakPowerMeasurement.........................................................15 6.3.1Standardrequirement:.......................................................................................................15 6.3.2MeasuringInstruments:......................................................................................................15 6.3.3TestProcedures:................................................................................................................15 6.3.4TestSetupLayout...............................................................................................................15 6.3.5EUTOperationduringTest...................................…
Text truncated - open the document above for the full version.
Test Report
公司地址:深圳市龙岗区宝龙街道沙背坜鸿永利工业区H栋 TEL:0755-289063500755-28220572 FAX:0…
Text truncated - open the document above for the full version.
Contact Information
Applicant
Cai PengYue
Test Firm
Dongguan Yaxu (AiT) Technology LimitedCoin Tang
[email protected]+86 0769-82020499-21
Technical Specifications
| # | Rule Parts | Frequency Range | Power Output |
|---|---|---|---|
| 1 | 15C | 2.41 GHz - 2.46 GHz | 23.40 mW |
Other Applications from SHENZHEN ELEGOO TECHNOLOGY CO., LTD.
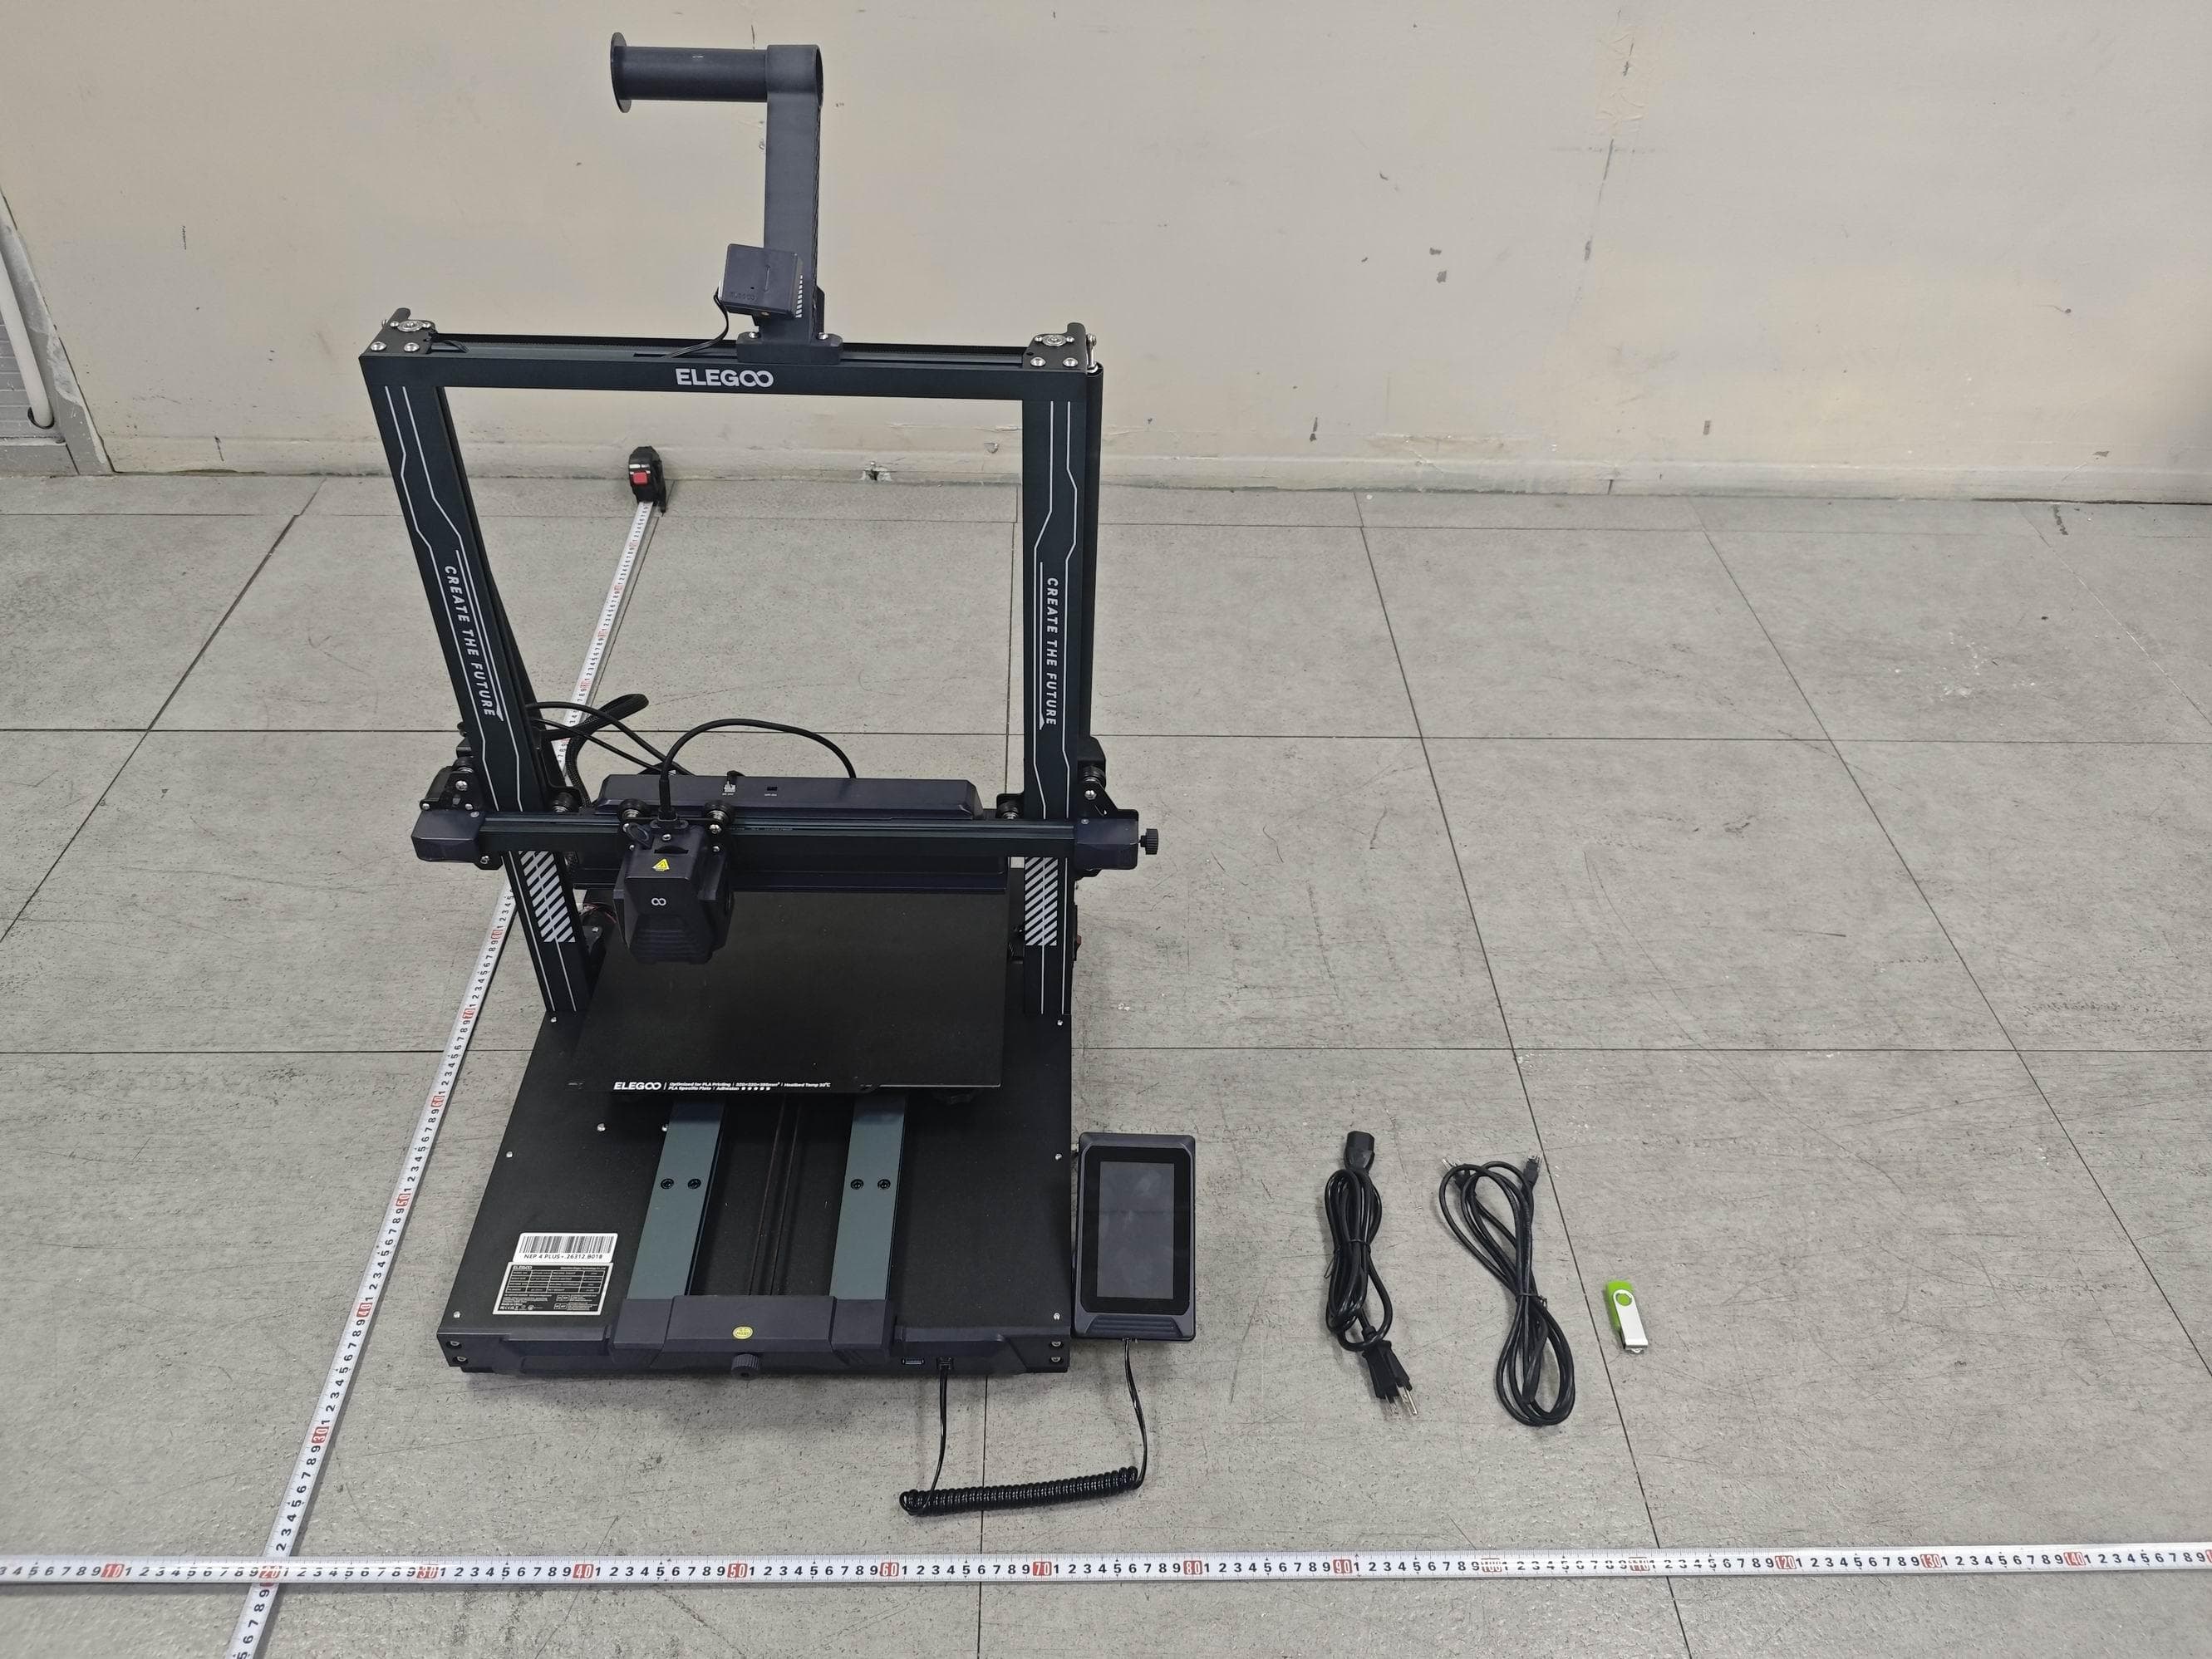
2A5HX-NEPTUNE4P-M
May 26, 20263D printer
Equipment Class
DTS - Digital Transmission System
2A5HXCENTAURICARBON
Sep 22, 2024FDM 3D Printer
Equipment Class
NII - Unlicensed National Information Infrastructure TX2A5HX-SATURN4ULTRA
Jan 26, 2024UV Photocuring 3D Printer
Equipment Class
DTS - Digital Transmission System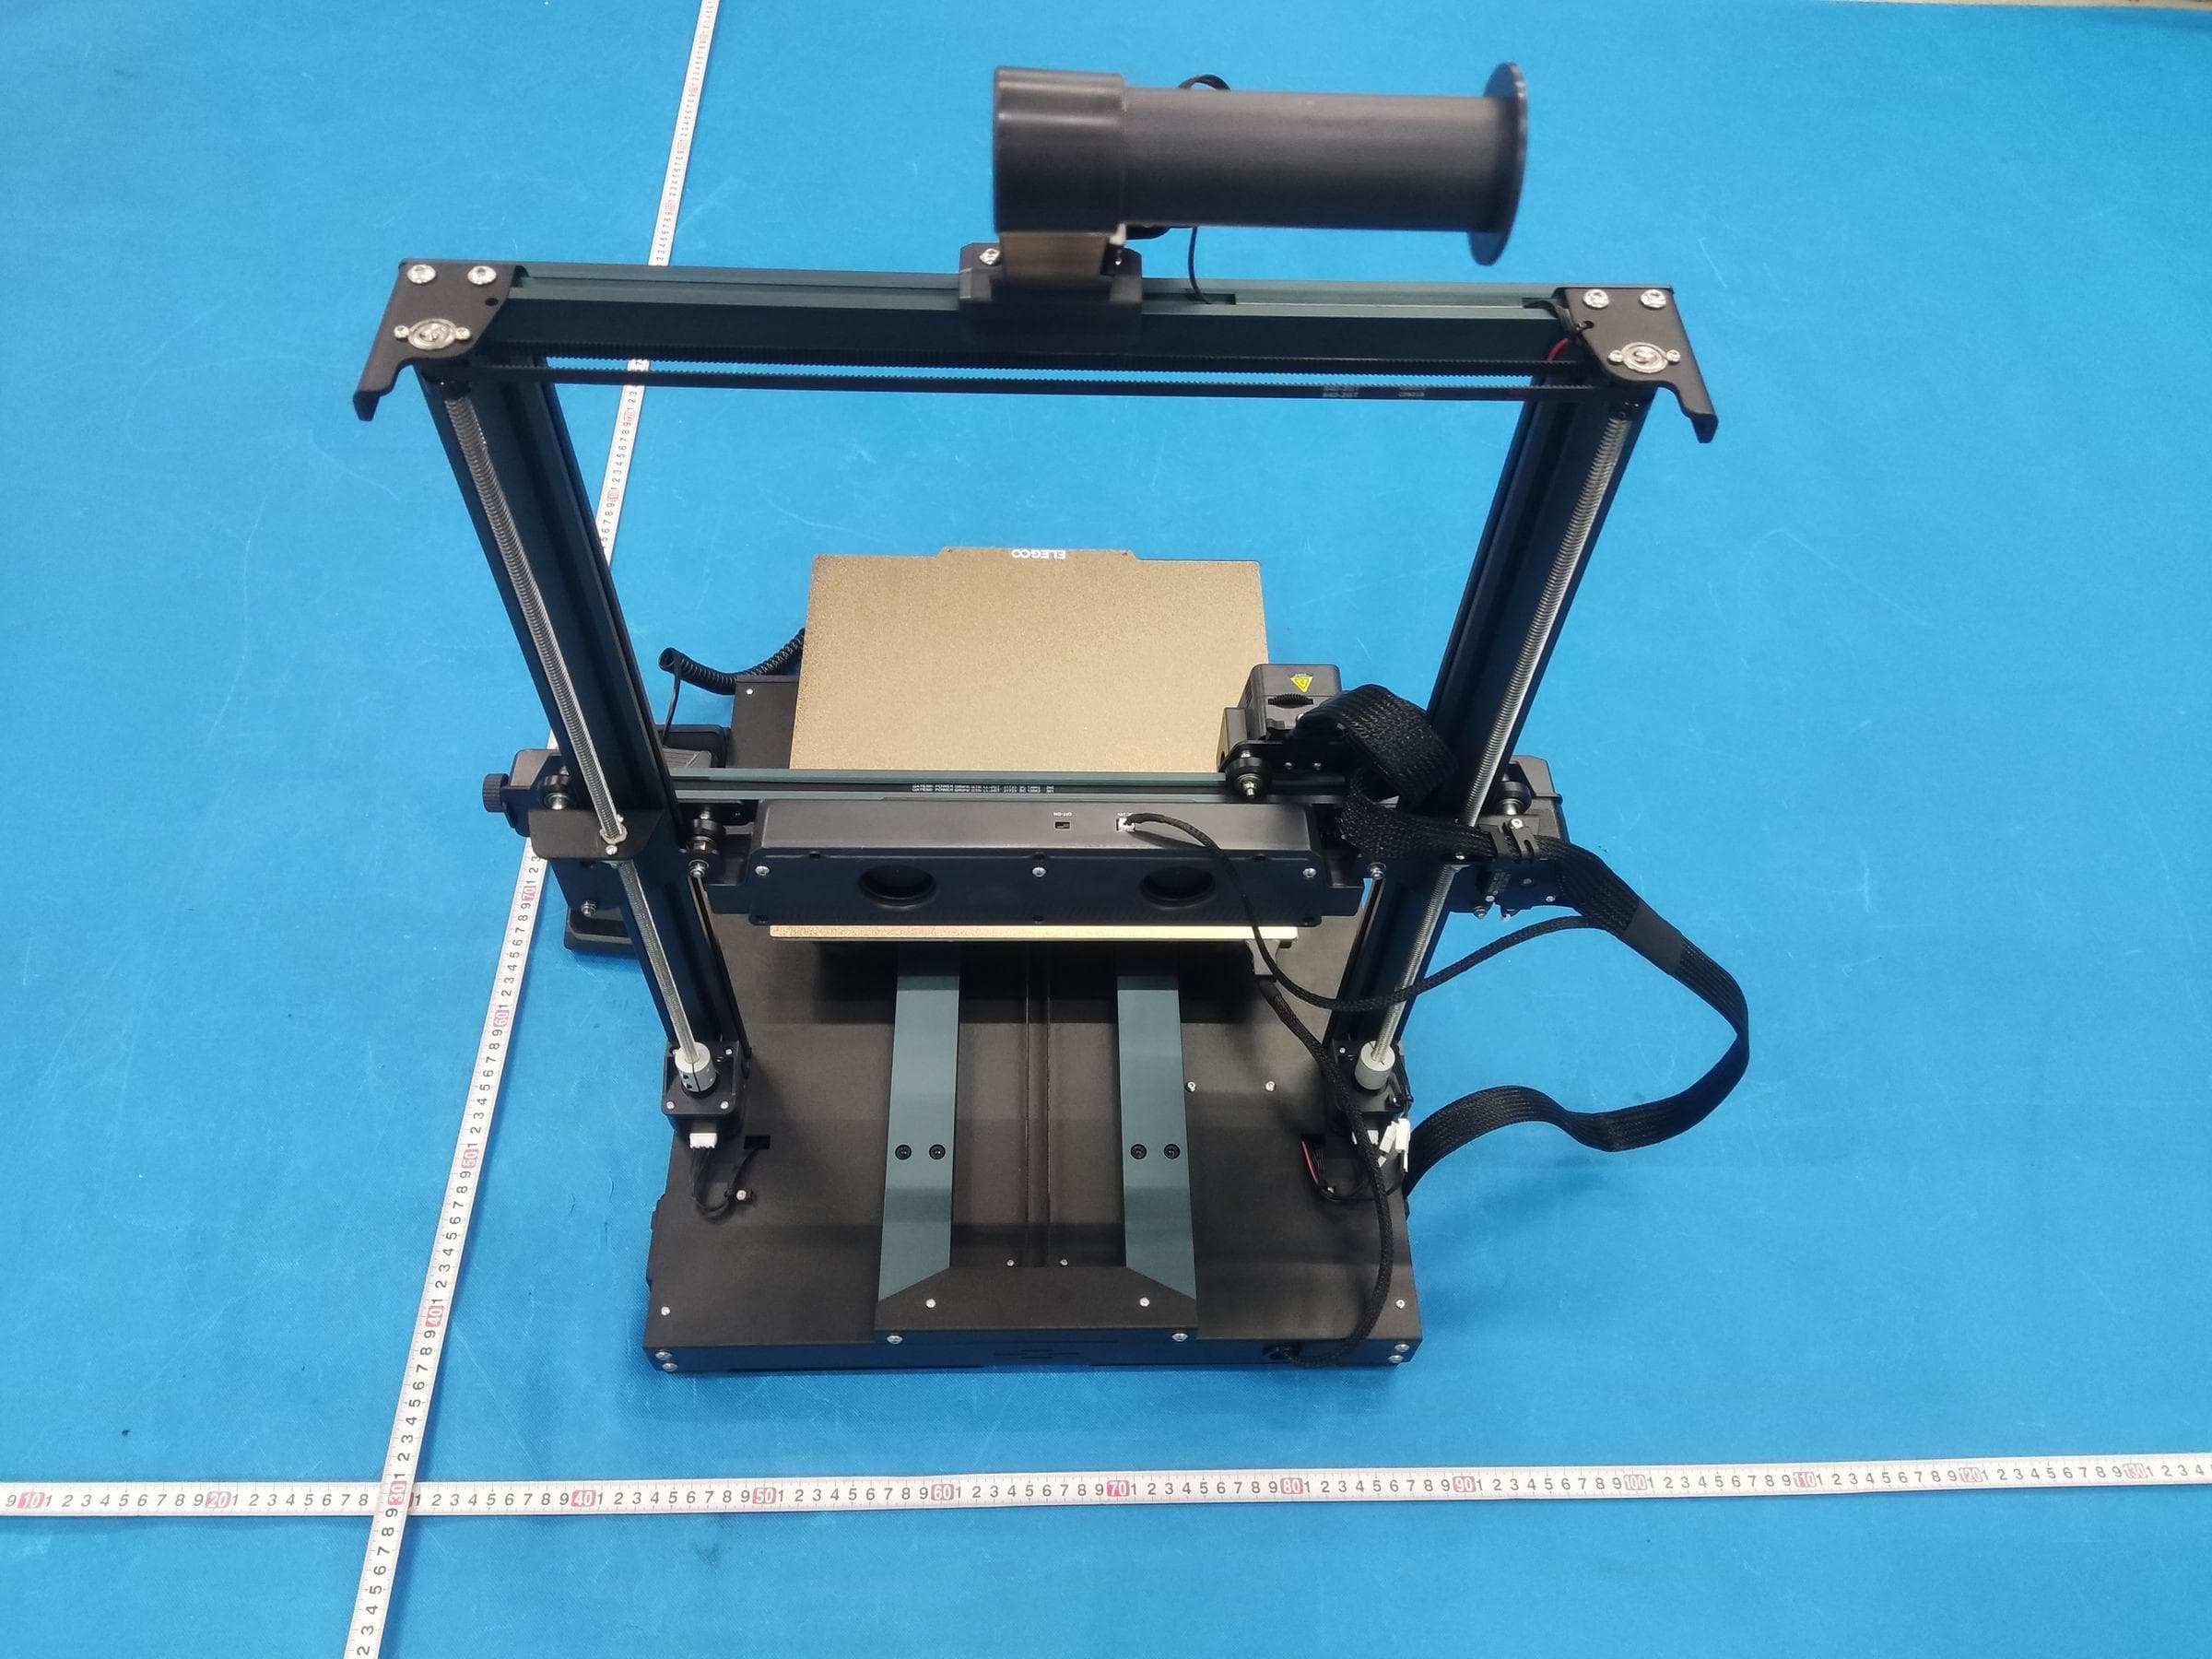
2A5HX-NEPTUNE4
Sep 20, 2023FDM 3D Printer
Equipment Class
DTS - Digital Transmission System
2A5HX-MARS4
Jul 16, 2023UV Photocuring 3D Printer
Equipment Class
DTS - Digital Transmission System