2A8ZU-ZENNIZ01Tennis tracking system
Zenniz Oy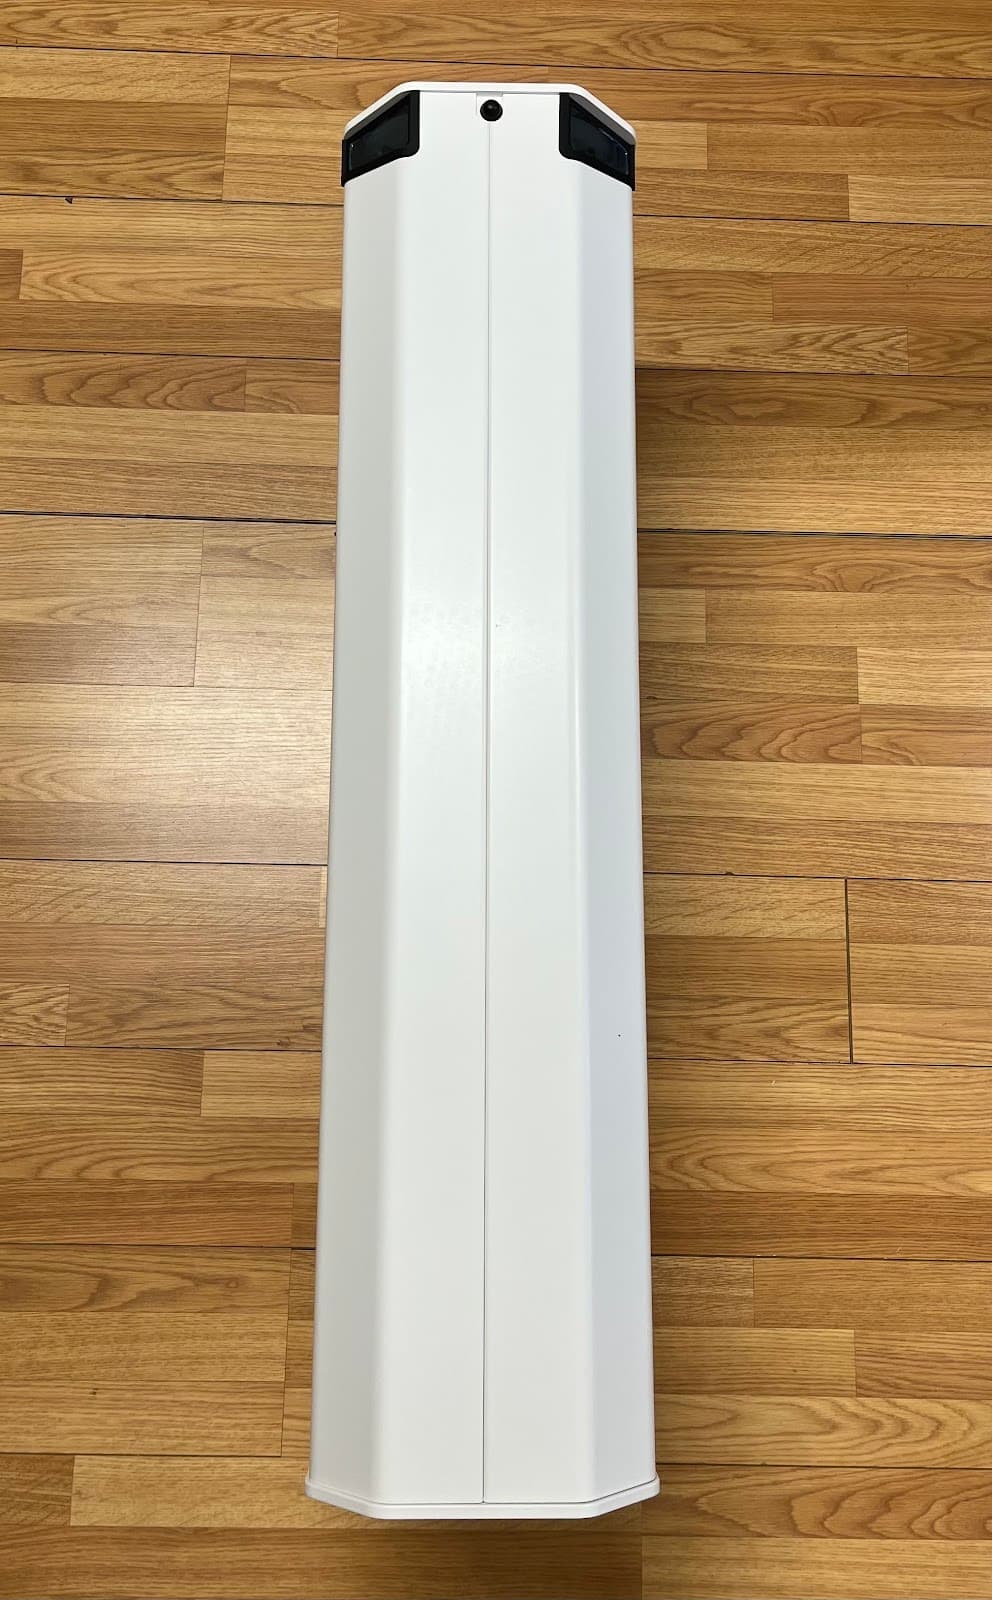
Click to zoom
Application Details
- Equipment Class
- JAD - Part 15 Class A Digital Device
- Date of Grant
- Dec 15, 2022
- Application Purpose
- Original Equipment
- Date of Application
- Dec 15, 2022
- Equipment Note
- Tennis tracking system
- Company
- Zenniz Oy
- Country
- Finland
Documents & Files
Document Text
Text extracted from the exhibit documents filed with the FCC. Open a document above to read the original.
Users Manual
Copyright ©2020 Zenniz (Courtius Ltd). All rights reserved. This use r manual is intended for the owners and operators of Zenniz. It contains guidelines for the proper usage of the product. Information in this manual is subject to change without prior notice to product owners. For the latest product deta ils and guidelines please visit the product website. Trademarks Ze nniz is a registered trademark of Zenniz (Courtius Ltd). All othe r trademarks are the property of their respective owners. Safety Information Read through carefully and understand all the safety information before installing or using the product. Follow the instructions in this manual and marked on Zenniz. Take careful notice of all warnings and safety-related instructions to install and use the product safely. Changes or modifications not expressly approved by the Zenniz Oy could void the user's authority to operate the equipment. This equipment has been tested and found to comply with the limits for a Class A digital device, pursuant to part 15 of the FCC Rules. These limits are designed to provide reasonable protection against harmful interference when the equipment is operated in a commercial environment. This equipment generates, uses, and can radiate radio frequency energy and, if not installed and used in accordance with the instruction manual, may cause harmful interference to radio communications. Operation of this equipment in a residential area is likely to cause harmful interference in which case the user will be required to correct the interference at his own expense. Zenniz support For a detailed video guide on how to install Zenniz, visit zenniz.com/getstarted. For any other issues, please visit zenniz.com/support. 2 Regulatory information European Union Directive on the Restriction of Hazardous Substances (RoHS) This Zenniz device complies with the following regulatory standards: ▪RoHS ▪EN55022 ▪EN55024 ▪IEC61000-3-2 ▪IEC61000-3-3 ▪IEC62471 ▪IEC60950-1:2005+A1:2009 For more compliance information, please provide Zenniz with the serial number of your Zenniz. Disposal Guidelines Zenniz complies with the European RoHS -directive. Please consult local authorities and professionals when planning to dispose of Zenniz. 3 Contents 1.Zenniz Overview 6 2.Installing Zenniz 7 2.1 What’s in the box 7 2.2 Installing the device 7 2.3 Installing the audio sensors 8 2.4 Installing the baseline camera 9 2.5 Calibrating the device 9 3.Using Zenniz 11 4.Maintenance and repairs 12 5.Troubleshooting 13 6.Safety warnings 14 7.Warranty policy 14 4 1. Zenniz Overview What is Zenniz? Zenniz makes any tennis court smart with the accurate ball and player tracking. With Zenniz, players and coaches can get pro-level stats, automatic line calls, shot speeds, interactive drills, and video of their game. How does Zenniz work? The Zenniz system works by tracking the ball and players using 30 sound sensors and two video cameras. On the court, the system is used with the Zenniz device touchscreen. Players get feedback on scores, shot speeds, line calls, and drills on the LED screen. Players can keep track of their games and drills with the Zenniz app available for iPhone and Android smartphones. For more information, please visit zenniz.com . 5 2. Installing Zenniz Go to zenniz.com/getstarted for a video walkthrough of how to install Zenniz. 2.1 What’s in the box The Zenniz box includes: - The Zenniz device with a power cord - Two microphone cables with 30 sound sensors - Speaker and cable for calibrating the device - Two baseline cameras and connecting cables - Fasteners 6 2.2 Installing the device Place the Zenniz device as close to the net post as possible. Make sure the Zenniz cameras are towards the court and there is nothing obstructing them from the court. You can place the Zenniz device on either side of the net post. It’s best to choose the side that has the best access to electricity and the most space for players to walk around. Make sure the device sits securely on the court and that’s there is nothing between the device and the court surface. For physical connection you need 1) detach bottow plate (6 screws) 2) fasten bottom plate securely on the court (4 screws) 3) attach body back to bottom plate. It’s also possible to position the device up to 1 meter from the net post. In this case, make sure the Zenniz cameras have a clear view of the court. 7 2.3 Installing the audio sensors Install the audio sensors around the court. Install the audio sensors at roughly 180 - 250 cm height around the court. Attach the sensors to any permanent fixture (wall, fence, railing etc) surrounding the court. Make sure the connecting cable is not hanging loosely between the sensors. If there are no permanent fixtures around the court, you can, for example, install a cable around the court to which you can install the sensors. We recommend using the cable ties that come with Zenniz to attach the audio sensors. 8 2.4 Installing the baseline cameras Install the baseline cameras behind both baselines. Attach the baseline camera securely to any permanent fixture behind the baseline. 9 2.5 Calibrating the device Plug the Zenniz device into a power outlet to turn it on. Follow the on-screen instructions to calibrate the device and finish the installation. In the calibration, the device will ask you to place a small speaker on different corners of the court to calibrate the audio sensors. 10 3. Using Zenniz 1. After installing and calibrating the device, turn Zenniz on by plugging it into a power source 2. You can use Zenniz by logging in with your Zenniz app (available on Apple and Android app stores) or by trying it without logging in. If you log in with the app, you are able to view stats and video from your sessions later. 3. After logging in, follow on-screen instructions to play a match using Zenniz or complete individual drills 4. In match mode, you can add scores for either player, see your stats, shot placements and video from your match. After t…
Text truncated - open the document above for the full version.
Internal Photos
1. Attachment of the user screen to cover panel. 2. Connections 3. Raspberry Pi 4. Raspberry Pi 5. Screen PCB 6. Screen PCB 7. Motherboard with jetson and its fan 8. Motherboard without jetson 9. Back of the motherboard 10. Jetson module 11. Back of jetson module 12. ZenLED V1.4 13. Back of the ZenLED V1.4 14. Device camera (2x on the device) 15. Connections of the motherboard, device camera and the user screen. 16. Connection of the powers for led panels, PoE and motherboard. 17. External ports. Top row from the left: Audio connectors, 2x RJ45 for the cameras Bottom row from the left: RJ45 for device, power, 2x RJ45 for the microphones 18. Full product assembly
Test Report
Reference number: HELEM2203000134-1 Page 1 of 16 These test results are valid for the tested unit only. This report shall not be reproduced, except in full, without a written permission of SGS Fimko. Test Report Electromagnetic Compatibility (EMC) HELEM2203000134-1 TESTS ACCORDING TO FCC PART 15 B AND ISED CANADA REQUIREMENTS Equipment Under Test: Zenniz smart court for tennis 2.0 Model: Indoor version Type: A100 Trademark: Zenniz Customer: Zenniz Oy Kutomokuja 4 FI-00380 Helsinki Finland FCC Rule Part: FCC CFR 47 Part 15 Subpart B, Class A IC Rule Part: ICES-003 Issue 7, Class A Date: 11 April 2022 Date: 11 April 2022 Issued by: Checked by: Rauno Repo Pekka Kälviäinen Senior EMC Specialist Testing Engineer Reference number: HELEM2203000134-1 Page 2 of 16 Table of Contents TABLE OF CONTENTS TABLE OF CONTENTS ....................................................................................................................................... 2 GENERAL REMARKS .......................................................................................................................................... 3 Disclaimer ........................................................................................................................................................ 3 RELEASE HISTORY ............................................................................................................................................ 4 PRODUCT DESCRIPTION .................................................................................................................................. 5 Equipment Under Test (EUT) .......................................................................................................................... 5 General description ......................................................................................................................................... 5 Samples and modifications ............................................................................................................................. 5 Ports and cables .............................................................................................................................................. 6 Peripherals ...................................................................................................................................................... 6 TEST CONDITION ............................................................................................................................................... 7 EUT Test Conditions During EMC-Testing ..................................................................................................... 7 Operation modes ............................................................................................................................................. 7 Emission Measurement Uncertainty................................................................................................................ 7 SUMMARY OF TESTING ..................................................................................................................................... 8 EMISSION TESTS ............................................................................................................................................... 9 Conducted Emissions In The Frequency Range 150 kHz - 30 MHz. .............................................................. 9 Radiated Emissions In The Frequency Range 30 MHz - 26500 MHz. ........................................................... 11 TEST EQUIPMENT .............................................................................................................................................. 16 Reference number: HELEM2203000134-1 Page 3 of 16 Disclaimer GENERAL REMARKS Disclaimer This document is issued by the Company subject to its General Conditions of Service printed overleaf, available on request or accessible at http://www.sgs.com/en/Terms-and-Conditions.aspx and, for electronic format docu- ments, subject to Terms and Conditions for Electronic Documents at http://www.sgs.com/en/Terms-and-Condi- tions/Terms-e-Document.aspx Attention is drawn to the limitation of liability, indemnification and jurisdiction issues defined therein. Any holder of this document is advised that information contained hereon reflects the Company’s findings at the time of its intervention only and within the limits of Client’s instructions, if any. The Company’s sole responsibility is to its Client and this document does not exonerate parties to a transaction from exercising all their rights and obligations under the transaction documents. This document cannot be reproduced except in full, without prior written ap- proval of the Company. Any unauthorized alteration, forgery or falsification of the content or appearance of this document is unlawful and offenders may be prosecuted to the fullest extent of the law. Unless otherwise stated the results shown in this test report refer only to the sample(s) tested and such sample(s) are retained for 30 days only. Reference number: HELEM2203000134-1 Page 4 of 16 Release History RELEASE HISTORY Version Changes Issued 1.0 Initial release 11 April 2022 Reference number: HELEM2203000134-1 Page 5 of 16 Product Description PRODUCT DESCRIPTION Equipment Under Test (EUT) EUT information General Product Description Zenniz smart court for tennis 2.0 Trademark Zenniz Model Indoor version Type A100 Serial number Main units: Z01A100J214605 Baseline cameras: Axis P3245-V: B8A44F3A05C7 and B8A44F39FCA1 Power input port type L, N, PE Test voltage Tested with 120 VAC / 60 Hz) Power Requirements Internal power supplies by MeanWell: -LRS-350-5: 90 ~ 264 VAC or 180 ~264 VAC by switch -LRS-75-12: 85 ~ 264 VAC -LRS-75-48: 85 ~ 264 VAC Max power consumption: 500 W (230 VAC) Typical power consumption: Less than 150 W Hardware Version (if any) Jetson: Nov 21, 2021, Raspberry Pi: Jan 2022 Software Version (if any) Zenniz 2.0 A100…
Text truncated - open the document above for the full version.
Test Setup Photos
TEST SETUP PHOTOGRAPHS Page 1 of 4 Project number: HELEM2203000134-1 SGS Fimko Ltd. Takomotie 8, FI-00380 Helsinki Finland t +358 9 6963 361 f +358 9 692 5474 www.sgs.fi Member of SGS Group (Société Générale de Surveillance) Photograph 1. Conducted emission setup TEST SETUP PHOTOGRAPHS Page 2 of 4 Project number: HELEM2203000134-1 SGS Fimko Ltd. Takomotie 8, FI-00380 Helsinki Finland t +358 9 6963 361 f +358 9 692 5474 www.sgs.fi Member of SGS Group (Société Générale de Surveillance) Photograph 2. Radiated emission test setup (30-1000 MHz) Photograph 3. Radiated emission test setup (1-18 GHz) TEST SETUP PHOTOGRAPHS Page 3 of 4 Project number: HELEM2203000134-1 SGS Fimko Ltd. Takomotie 8, FI-00380 Helsinki Finland t +358 9 6963 361 f +358 9 692 5474 www.sgs.fi Member of SGS Group (Société Générale de Surveillance) Photograph 4. Radiated emission test setup 18-26.5 GHz Photograph 5. Baseline camera TEST SETUP PHOTOGRAPHS Page 4 of 4 Project number: HELEM2203000134-1 SGS Fimko Ltd. Takomotie 8, FI-00380 Helsinki Finland t +358 9 6963 361 f +358 9 692 5474 www.sgs.fi Member of SGS Group (Société Générale de Surveillance) Photograph 6. Added ferrite core on the baseline camera cable Photograph 7. Microphone
Contact Information
Applicant
Joni Salonen(Project & Service Engineer)
Technical Contact
Non-Technical Contact
Zenniz OyJoni Salonen
[email protected]358442577639
Test Firm
SGS Fimko OyJanne Nyman
Technical Specifications
| # | Rule Parts | Frequency Range | Power Output |
|---|---|---|---|
| 1 | 15B | - | - |