2AAP800006Bluetooth Car Kit
Guoguang Electric Co.,Ltd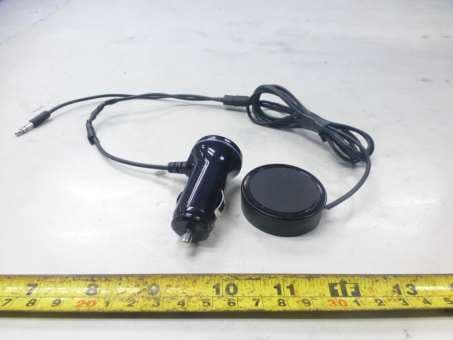
Click to zoom
Application Details
- Equipment Class
- DSS - Part 15 Spread Spectrum Transmitter
- Date of Grant
- May 20, 2014
- Application Purpose
- Original Equipment
- Date of Application
- May 20, 2014
- Equipment Note
- Bluetooth Car Kit
- Frequency Range
- 2402.00000000 - 2480.00000000
- Company
- Guoguang Electric Co.,Ltd
- Country
- China
Documents & Files
Document Text
Text extracted from the exhibit documents filed with the FCC. Open a document above to read the original.
Users Manual
User Instruction Manual Amazon Bluetooth Car Kit logo INITIAL SETUP Connect to power and AUX: 1. Insert the cigarette plug & ignition, the plug power up and showed the green LED. 2. Plug in the 3.5mm plug into car's Aux In 3. Make sure your car stereo is On and set the input source to AUX In Decide the Bluetooth receiver location: • The Bluetooth receiver can place on the car dashboard that in front of the driver or next to the driver area. • The microphone is built in the Bluetooth receiver. So, it is recommend to locate the Bluetooth receiver as close as your convenience. • Locate the Bluetooth receiver in a smooth and flat surface. • Make sure the surface is dry and free of dirt. Located the Bluetooth receiver • After decide the Bluetooth receiver location, we need to set up the mounting disc to hold the Bluetooth receiver • Peel off the back adhesive of the mounting disc and stick it on the decided Bluetooth receiver location • The Bluetooth receiver will magnetically attach to the mounting disc. TURN ON AND PAIRING 1. Press the Multi-function key once to turn on the Bluetooth receiver, the Red and Blue LED will turn on 1 second in the same time, then it will turn to solid Red and a notable tone. The receiver will be connect to last device when powered on. 2. When the receiver power on, press and hold the multi-function key around 5 seconds to enter the pairing mode and a notable tone. 3. The Red LED will blink slowly as it is in the pairing mode. 4. Turn On your BT device and scan, select “Amazon_BTC1” to connect. 5. The Red LED will stop to blink and the LED color will change to solid Blue with beep tone after paired. 6. Then, you can press multi-function key once to play music in the car audio system from your Bluetooth device. 7. If you want to turn off the unit, press and hold the multi-function key by 7 seconds to power off the Bluetooth receiver. The Red LED will fast flashing 10 times and the unit turn off accordingly. Pairing with a different device Only one device can be paired in each time. To pair a different Bluetooth device, • Press and hold the multi-function key around 5 seconds to enter the pairing mode, the Red LED will blink slowly • Repeat the pairing instruction listed previously. PLAYING MUSIC / CALL OPERATION Play and Pause • Press the multi-function key to control Play/Pause of your music after your device have been paired and playing the music. • To skip to the next song, double click the multi-function key. • When a call is come while you are playing music, the music will automatically pause. Incoming call 1. An incoming call when listen music, LED will be flashing in Blue color and the ring tone show in car's speaker system simultaneously. 2. Press the multi-function key once to take the call, the LED will turn to solid Blue status. 3. You can speak through the microphone of the Bluetooth receiver 4. If you want to reject the call, long press the multi-function key by 2 second to reject it, and the music will be retrieved. 5. You can simply press the multi-function button to end the call anytime. 6. When a second call is coming during you are in answering a call, you can simply press the multi-function key once to answer the second call. 7. While you are in answering two calls, you can also press the multi-function key to switch between two calls. 8. To end the second call, simply double press the multi-function key, you will enter back the first call. 9. After you end all the calls, the music will be retrieved. Voice dialing • Make a call using voice dialing. If your mobile device support voice dialing function, press and hold the multi-function key by 2 seconds and release, it can wake up the voice dialing function. • You can speak through the microphone of the Bluetooth receiver while you are using voice dialing function. • After you end all the call, the music will be retrieved. Standby mode • If the Bluetooth receiver is un-pair more than 10 minutes, it will get into standby mode, all LED off and notable tone. • You should simply press the multi-function key to re-activate the Bluetooth receiver, you will hear a tone at the same time. i TABLE OF CONTENTS (CONTENTS TO BE CONFIRMED.) 1. Introduction ................................................. 1 2. Setup ........................................................... 2 Initial Setup ......................................................... 2 Connectivity ........................................................ 4 Playing Music / Call Operation ............................ 6 4. Troubleshooting ........................................... x 5. Safety Warning ............................................ x 6. Information ................................................ 10 User Manual INITIAL SETUP Connect to power and AUX: 1. Insert the cigarette plug & ignition, the plug power up and showed the green LED. 2. Plug in the 3.5mm plug into car's Aux In 3. Make sure your car stereo is On and set the input source to AUX In Decide the Bluetooth receiver location: • The Bluetooth receiver can place on the car dashboard that in front of the driver or next to the driver area. • The microphone is built in the Bluetooth receiver. So, it is recommend to locate the Bluetooth receiver as close as your convenience. • Locate the Bluetooth receiver in a smooth and flat surface. • Make sure the surface is dry and free of dirt. Located the Bluetooth receiver • After decide the Bluetooth receiver location, we need to set up the mounting disc to hold the Bluetooth receiver • Peel off the back adhesive of the mounting disc and stick it on the decided Bluetooth receiver location • The Bluetooth receiver will magnetically attach to the mounting disc. TURN ON AND PAIRING 1. Press the Multi-function key once to turn on the Bluetooth receiver, the Red and Blue LED will turn on 1 second in the same time, then it will turn to solid Red and a notable tone. The receiver will be connect to last device when powered on. 2. When the receiver p…
Text truncated - open the document above for the full version.
External Photos
External Photos (BTC1)
ID Label/Location Info
35*35mm
Internal Photos
Internal Photos (BTC1) BT Antenna antenna
Test Report
A Test Lab Techno Corp. Report Number:1405FR11 Page 1 of 61 FCC 47 CFR PART 15 SUBPART C Product Type : Bluetooth Car Kit Applicant : Guoguang Electric Co.,Ltd Address : No. 8 Jinghu Road, Xinhua Town, Huadu Region, Guangzhou, 510800 P. R. China Model Number : BTC1 Trade Name : NA Test Specification : FCC 47 CFR PART 15 SUBPART C: Oct., 2012 Canada RSS-210 ISSUE 8: Dec., 2010 Canada RSS-Gen ISSUE 3: Dec., 2010 ANSI C63.4:2009 Receive Date : 18 April, 2014 Test Period : 22 April, 2014~05 May, 2014 Issue Date : 08 May, 2014 Issue by A Test Lab Techno Corp. No. 140-1, Changan Street, Bade City, Taoyuan County 334, Taiwan R.O.C. Tel:+886-3-2710188 / Fax:+886-3-2710190 Taiwan Accreditation Foundation accreditation number: 1330 Note: This report shall not be reproduced except in full, without the written approval of A Test Lab Techno Corp. This document may be altered or revised by A Test Lab Techno Corp. personnel only, and shall be noted in the revision section of the document. The client should not use it to claim product endorsement by TAF, or any government agencies. The test results in the report only apply to the tested sample. A Test Lab Techno Corp. Report Number:1405FR11 Page 2 of 61 Revision History Rev. Issue Date Revisions Revised By 00 08 May, 2014 Initial Issue A Test Lab Techno Corp. Report Number:1405FR11 Page 3 of 61 Ve r i f i c a t i o n o f C o m p l i a n c e Issued Date: 08 May, 2014 Product Type : Bluetooth Car Kit Applicant : Guoguang Electric Co.,Ltd Address : No. 8 Jinghu Road, Xinhua Town, Huadu Region, Guangzhou, 510800 P. R. China Model Number : BTC1 Trade Name : NA FCC ID : 2AAP800006 EUT Rated Voltage : DC 12V Test Voltage : DC 12V Applicable Standard : FCC 47 CFR PART 15 SUBPART C: Oct., 2012 ANSI C63.4:2009 Test Result : Complied Performing Lab. : A Test Lab Techno Corp. No. 140-1, Changan Street, Bade City, Taoyuan County 334, Taiwan R.O.C. Tel:+886-3-2710188 / Fax:+886-3-2710190 Taiwan Accreditation Foundation accreditation number: 1330 http://www.atl-lab.com.tw/e-index.htm The above equipment was tested by A Test Lab Techno Corp. The test data, data evaluation, test procedures, and equipment configurations shown in this report were made in accordance with the procedures given in ANSI C63.4: 2009 and the energy emitted by the sample tested as described in this report is in compliance with the requirements of FCC Rules Part 15.207, 15.209, 15.247 . The test results of this report relate only to the tested sample identified in this report. Approved By : Reviewed By : (Manager) (Testing Engineer) A Test Lab Techno Corp. Report Number:1405FR11 Page 4 of 61 TABLE OF CONTENTS 1 General Information ....................................................................................................... 6 1.1. Summary of Test Result ......................................................................................................... 6 1.2. Measurement Uncertainty ...................................................................................................... 6 2 EUT Description ............................................................................................................. 7 3 Test Methodology .......................................................................................................... 8 3.1. Mode of Operation ................................................................................................................. 8 3.2. Configuration of Test System Details .................................................................................... 9 3.3. Test Site Environment ............................................................................................................ 9 4 Maximum Conducted Output Power Measurement .................................................. 10 4.1. Limit ..................................................................................................................................... 10 4.2. Test Setup ............................................................................................................................. 10 4.3. Test Instruments ................................................................................................................... 10 4.4. Test Procedure ...................................................................................................................... 10 4.5. Test Result ............................................................................................................................. 11 5 Conducted Emission Measurement ........................................................................... 13 5.1. Limit ..................................................................................................................................... 13 5.2. Test Instruments ................................................................................................................... 13 5.3. Test Setup ............................................................................................................................. 13 5.4. Test Procedure ...................................................................................................................... 14 5.5. Test Result ............................................................................................................................ 14 6 Radiated Interference Measurement .......................................................................... 15 6.1. Limit ..................................................................................................................................... 15 6.2. Test Instruments ................................................................................................................... 15 6.3. Setup..................................................................................................................................... 17 6.4. Test Procedure ...................................................................…
Text truncated - open the document above for the full version.
Test Setup Photos
SET UP: RE below 1 GHz RE above 1 GHz
Contact Information
Applicant
Alan Song
Test Firm
Eurofins E&E Wireless Taiwan Co., LtdFly LU
Technical Specifications
| # | Rule Parts | Frequency Range | Power Output |
|---|---|---|---|
| 1 | 15C | 2.40 GHz - 2.48 GHz | 7.60 mW |
Other Applications from Guoguang Electric Co.,Ltd
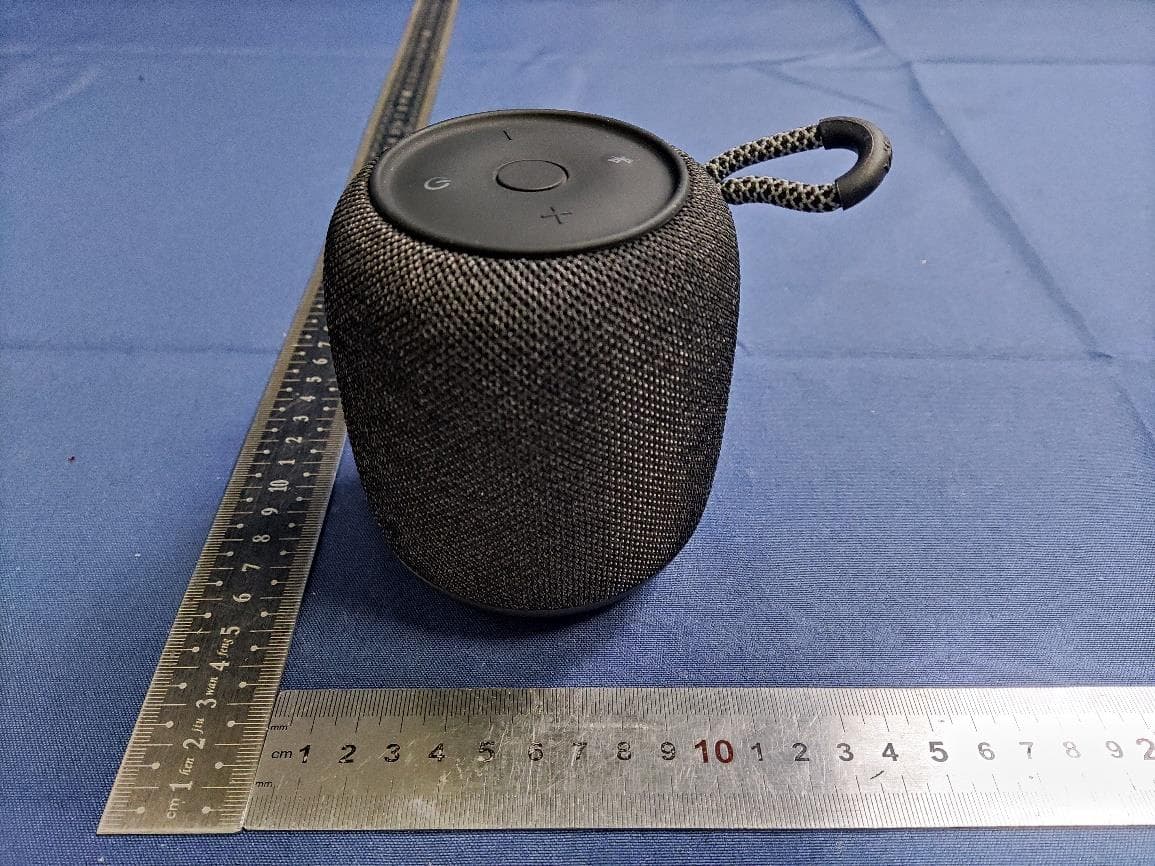
2AAP8-VIFA122
Feb 05, 2024Portable Bluetooth Speaker
Equipment Class
DSS - Part 15 Spread Spectrum Transmitter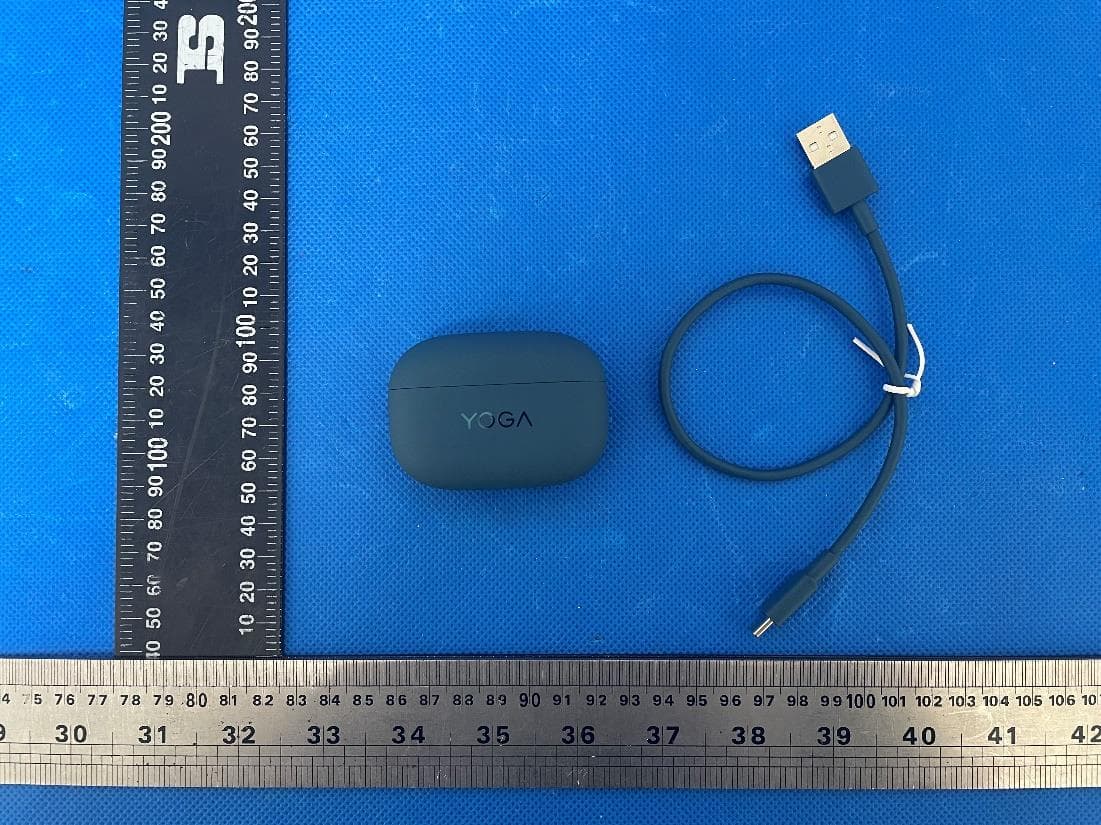
2AAP8-LT310
Jan 16, 2024Lenovo YOGA True Wireless Stereo Earbuds
Equipment Class
DTS - Digital Transmission System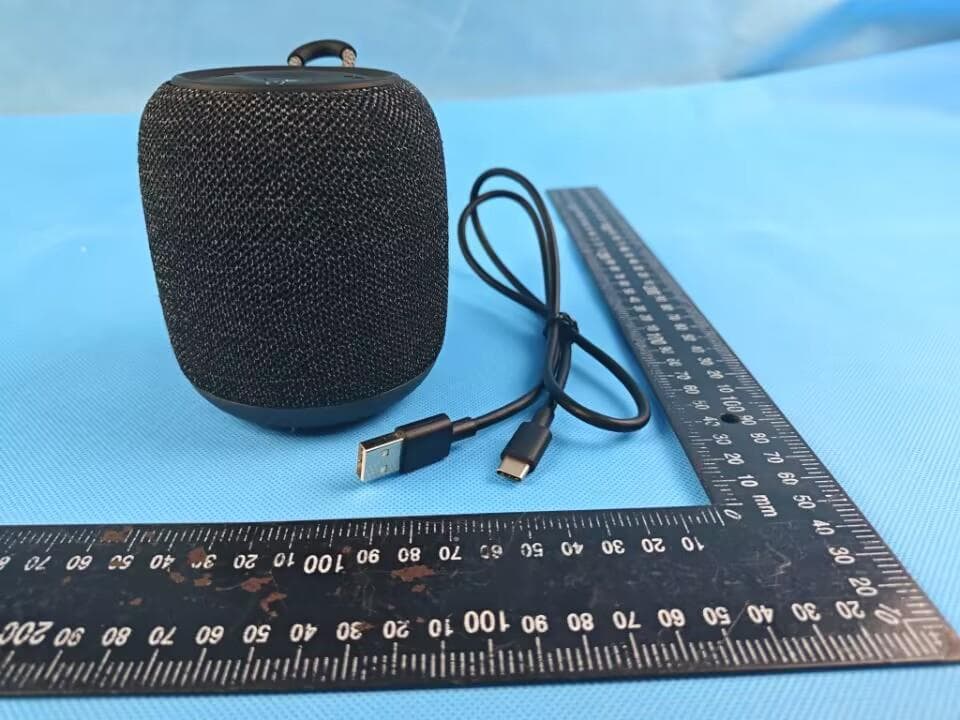
2AAP8-VIFA150
Sep 27, 2023Vifa AI Intelligent Speaker
Equipment Class
DTS - Digital Transmission System
2AAP8-VIFA062
Jul 06, 2023Portable Wireless Speaker
Equipment Class
DSS - Part 15 Spread Spectrum Transmitter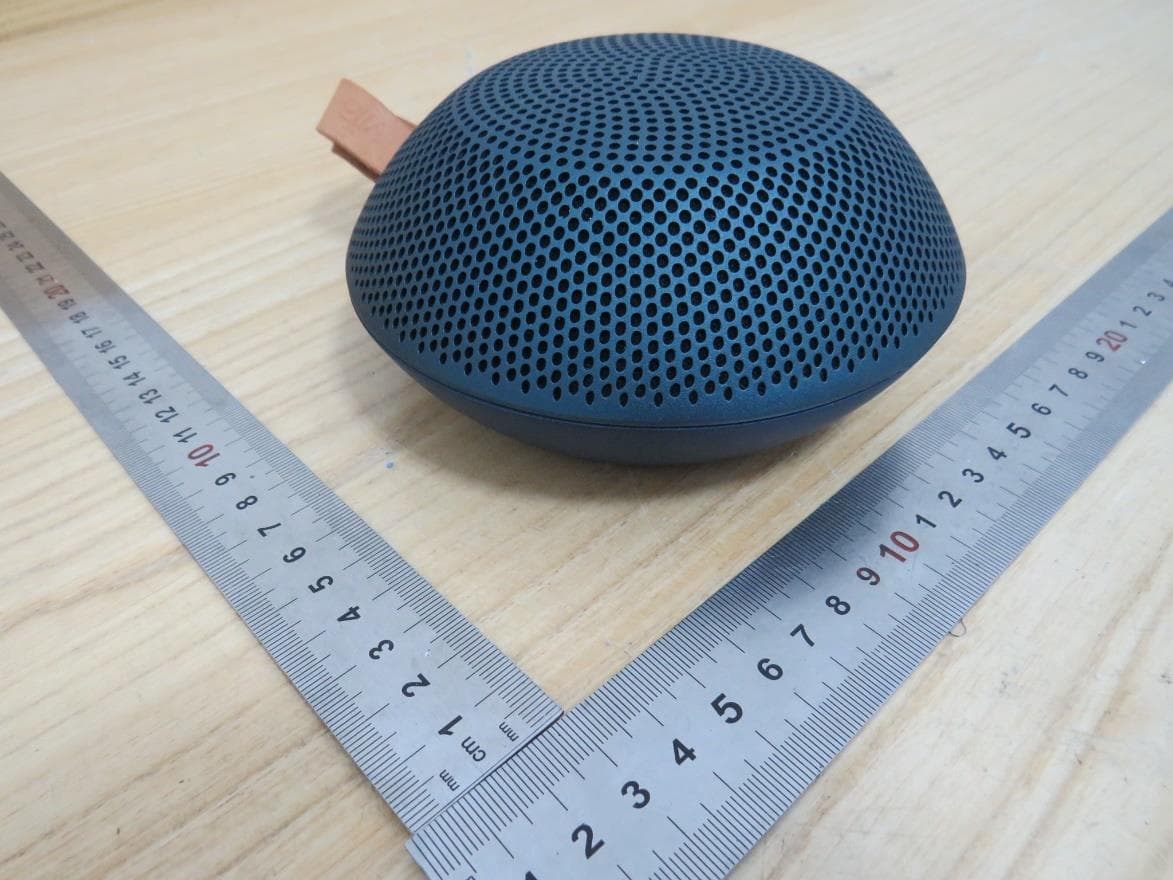
2AAP8-VIFANORDIC3-2
Jan 09, 2023Portable Wireless Speaker
Equipment Class
DSS - Part 15 Spread Spectrum Transmitter