2ASRB-P15Portable Label Maker
Zhuhai Quin Technology Co., Ltd.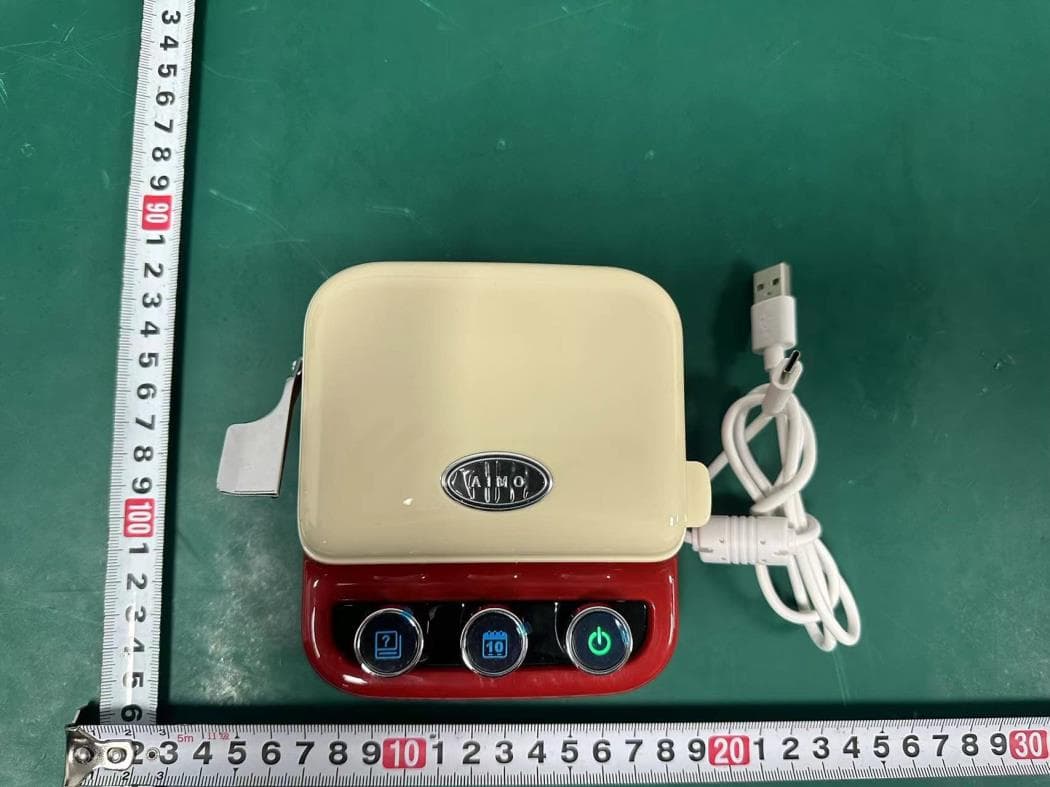
Click to zoom
Application Details
- Equipment Class
- DTS - Digital Transmission System
- Date of Grant
- Sep 19, 2024
- Application Purpose
- Original Equipment
- Date of Application
- Sep 19, 2024
- Equipment Note
- Portable Label Maker
- Frequency Range
- 2402.00000000 - 2480.00000000
- Country
- China
Documents & Files
Document Text
Text extracted from the exhibit documents filed with the FCC. Open a document above to read the original.
Users Manual
English Print er*1User Manual*1Label Paper*1 Type -C Da ta Cable*1 01. P ack ag e Content s No te: Random supplies are included with the purchase of a single machine, and the label ribbon is already installed in the machine. 02. Label Printer Component Over vie w Back Front Inside Power Button Power Button Lany ar d hole Rese t Hole Type -C P ort Manual Shutter Ribbon Exit Ribbon Compart- ment Opening Cut ter Safety Lock Printhead Carbon Ribbon Tak e-up Wheel Cont ac t Identification Chip Ribbon Cartridge La tch 03. Downlo ading the App Download on the Me thod II: You c an als o do wnload the App b y scanning the QR code di rectly . Me thod I: Ple ase ins tall the"Print Mas ter" App fr om Google Play or the App Store prio r to using the print er. Do wnlo ad the App by sc anning the QR code direc tly GET IT ON 05. R emo ving the Ribbon Cartridge ① Long press the Power Button for 3 seconds to turn off the device; the indicator light will go out. ② As shown, place your finger on the ribbon compartment opening (below the ribbon exit) and gently pull to open the ribbon compartment cover. ③ As shown, place your fingers on the both sides of the ribbon Cartridge and remove it. 04. Instruc tions for use ③ Long press the power button for 3s to turn on the device. If the indicator light appears green after the power button is long pressed for 3S, but the app prompts connection failure, please check the contents of this manual [More Help-Detailed Manuals-FAQ-App Permission Statement]. If the indicator light appears red after the power button is pressed and held down for 3S, please refer to the contents of [More Help - Indicator Light Indication] in this manual. If the indicator does not light up after the power button is long pressed for 3S, please refer to the contents of this manual [More Help-Detailed Manuals-Maintenance and Care]. a. b. c. ① Make sure that the "Print Master" app has been installed. ② Open the App. ④ The device is connected successfully. The f ollo wing printer de vic es ar e r ec ogniz ed ⑤ Edit your first label. Come edit your first label~ Ple ase enter c ont ent fulfillment ⑥ Printing is complete. ⑧ Bend the label gently along the easy-tear line to make it easier to peel off the backing paper. ⑦ When printing is complete, press the cutter to remove the label. Print ed successfully Start y our printing journey Easy Tear Line Vie w T ut orial 06. Installing the Ribbon Cartridge ① After removing the packaging, check if the front end of the ribbon is bent or has gone through the guide slot properly. If not, please thread it through as shown. Front End of the Ribbon Guide Slot ② As shown, place your finger on the ribbon compartment opening (below the ribbon exit) and gently pull to open the ribbon compartment cover. ③ Insert the ribbon cartridge into the compartment (with the ribbon front end facing the printer's ribbon exit), pressing down evenly until the cartridge latch locks into place. Caution: 1. When installing the ribbon cartridge, ensure tha t the ribbon or carbon ribbon is not hooked on the printhead. 2. Ensure the ribbon is taut befor e g ently inserting the c artridge. If the ribbon is loose, it may catch on pr ojec tions and bend or wrinkle when being ins talled, causing jams. 3. Ple ase r ef er t o the diagram t o adjust the ribbon or carbon ribbon slack. ① T o fix the ribbon slack, pull the ribbon out of the guide slot. ② T o fix the carbon ribbon slack, turn the gear in the direc tion of the arrow until the carbon ribbon is tightened. Carbon Ribbon Ge ar ④ Close the ribbon compartment cover. ⑤ Long press the power button for 3 seconds to turn on the device; the indicator light will stay green. Caution: ① When changing the label paper to a die-cut label, please click the power but ton t o position the label. Continuous paper does not r equir e label positioning. ② P ositioning label paper can pr event issues such as incomplete printing, missing print, and misaligned printing. 07. Computer Printing with Date Cable ① Long press 3S to turn on the device, and use the supplied cable to connect to the computer. ② Open the link: A30.phomemo.com ③ Install the Labelife editing software. For a more detailed tutorial go to: https://labelife.net. Power on A30.phomemo.com Do wnlo ad Do wnlo ad f or Windows Do wnlo ad f or Mac Custom One -click Installa tion USE NOW Suc cessful Labelife_S etup Me thod II: Ple ase sca n the code to view the ope ration vi deo, det ailed v ersio n of the electronic manual, frequently asked ques tions. Me thod I: Visit downlo adapp.qu-in.top/Ph fo r ho w-to videos , a detailed versio n of the eMan ual, and F AQs. 08. More Help Gr een Light Steady Gr een Light Flashing Quickly Gr een Light Blinking Slowly Red Light Steady On/ Char ged Indic ator Light StatusStatus E xplanation Char ging in Off State Char ging in On State Err or S tate(Lack of Paper , Ov erhe at) 8.1 Indicator Light Guide 8.2 Get mor e de tails Red Light Flashing Quickly Light off Pr ep aring to Shut Down Off -s tate do wnlo adapp.qu-in.top/Ph 09. F CC Caution 10. ISED NOTICE (Canada) This device complies with p art 15 of the FC C R ules . Op eration is sub ject to the follo wing two c onditions: (1)This device m ay not cause harmful interf erenc e, a nd (2) t his devic e must acce pt an y int erference r eceived, including interference tha t may cause unde- sir ed operation. Any Changes or modifications not e xpr essly approved by the party r esponsible for c ompliance c ould void the user's authority to operate the equipment. No te: This equipment has been tes ted and found to c omply with the limits f or a Class B digital de vic e, pursuan t t o p art 15 of the FCC Rules. These limit s ar e desi gne d t o pr ovide r easonab le pr otection against harmful interference in a residential installa tion. This equipment gener ates uses and c an r adi ate r adio freque ncy en ergy and, if not in stalled andused in accordan ce with the instruc- tions , may cau se harmful interference t o r ad…
Text truncated - open the document above for the full version.
Cover Letter(s)
Zhuhai Quin Technology Co., Ltd. I, the signer, Chloe Xu The only differences between these models are model name. Their enclosure/form factor, internal circuitry/PCB components and hardware/software are identical. Model name difference is for market and commercial purpose. Item Name :Portable Label Maker Model Number: P15 Additional Model: P15 PRO, P15 Pro, P15 SE, P15 Plus, P05, P05 PRO, P05 Pro, P05 SE, P05 Plus, P16, P16 PRO, P16 Pro, P16 SE, P16 Plus, P18, P18 PRO, P18 Pro, P18 SE, P18 Plus <Signature> Name: Chloe Xu Title: product manager Company: Zhuhai Quin Technology Co., Ltd.
External Photos
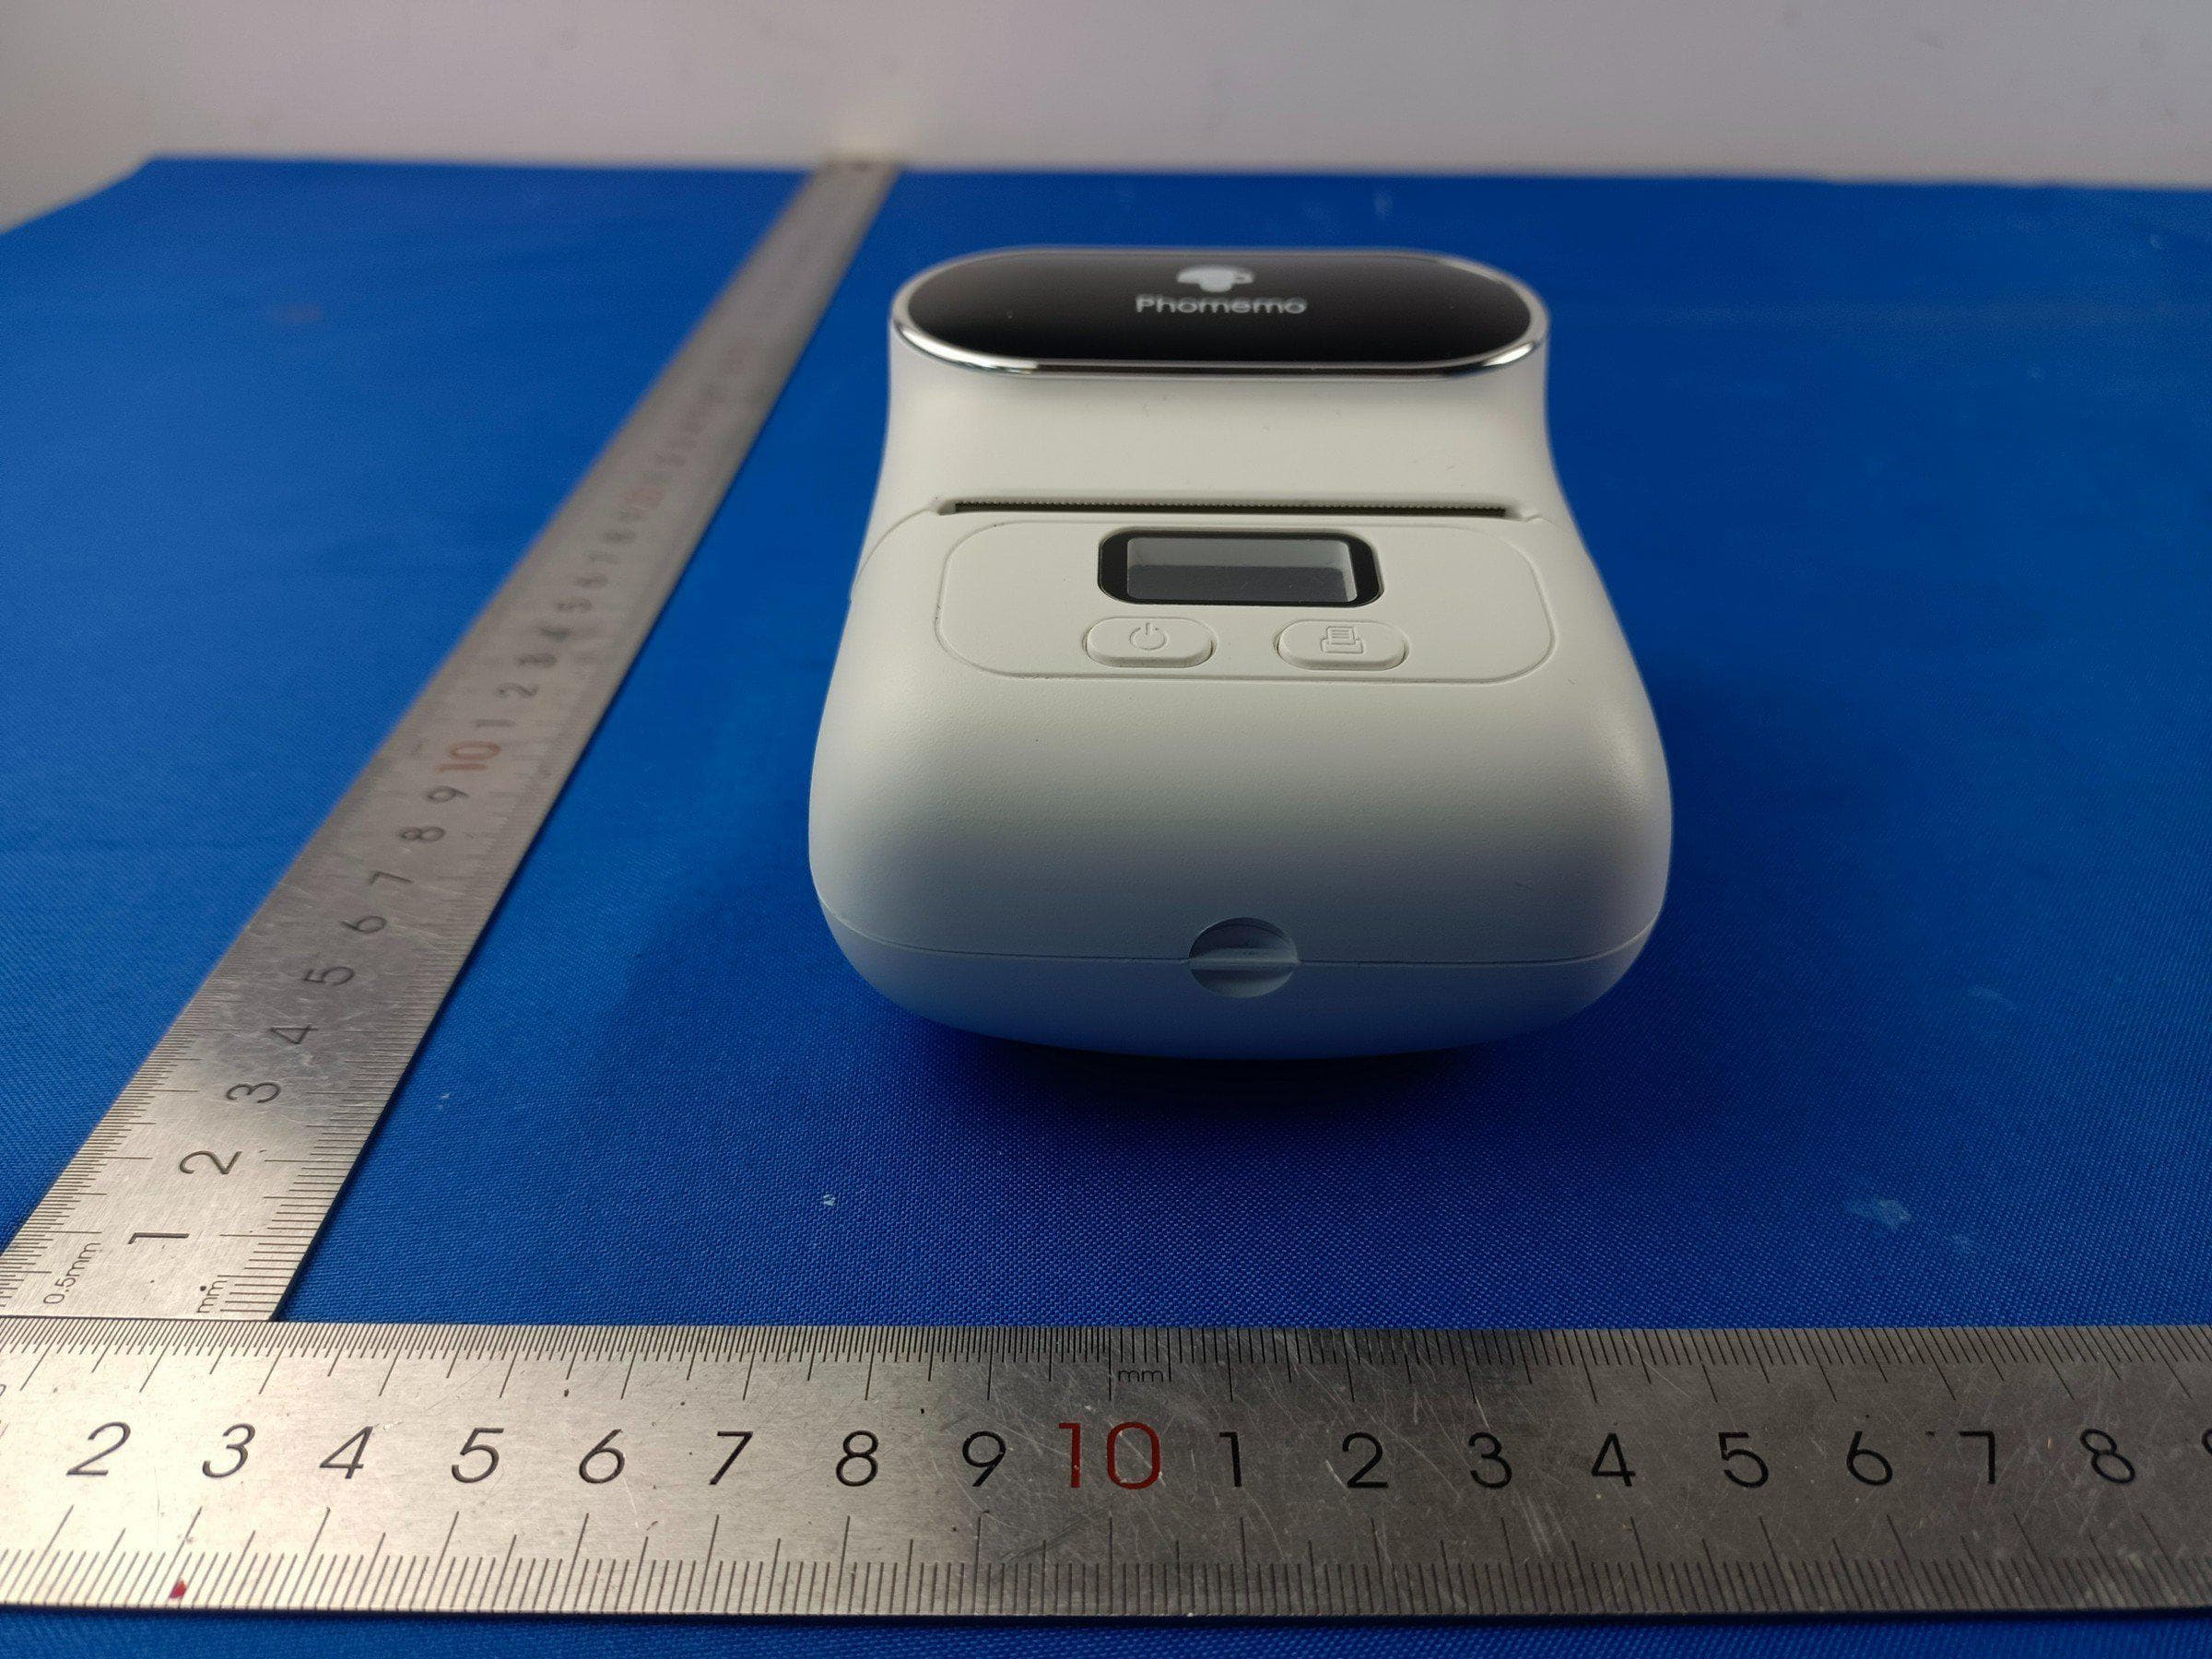
External photos M/N: P15 External photos M/N: P15 External photos M/N: P15 External photos M/N: P15
Internal Photos
Internal photos M/N: P15 Internal photos M/N: P15 Internal photos M/N: P15 Bluetooth antenna Internal photos M/N: P15 Internal photos M/N: P15
RF Exposure Info
Page 1 of 3 Report No. ESTE-R2408254 FCC RF EXPOSURE REPORT Zhuhai Quin Technology Co., Ltd. Portable Label Maker Model Number: P15 Addition Model: P15 PRO, P15 Pro, P15 SE, P15 Plus, P05, P05 PRO, P05 Pro, P05 SE, P05 Plus, P16, P16 PRO, P16 Pro, P16 SE, P16 Plus, P18, P18 PRO, P18 Pro, P18 SE, P18 Plus FCC ID: 2ASRB-P15 Applicant: Zhuhai Quin Technology Co., Ltd. Address: ROOM 103-029(CENTRALIZED OFFICE AREA),1F, BUILDING 1, NO. 18 FUTIAN ROAD, XIANGZHOU DISTRICT, ZHUHAI CITY, CHINA Prepared By: EST Technology Co., Ltd. Chilingxiang, Qishantou, Santun, Houjie, Dongguan, Guangdong, China Tel: 86-769-83081888-808 Report Number: ESTE-R2408254 Date of Test: Jun. 25, 2024 ~ Aug. 27, 2024 Date of Report: Aug. 30, 2024 Page 2 of 3 Report No. ESTE-R2408254 1. Applicable Standards FCC Part 2(Section 2.1093) FCC KDB 447498 D04 Interim General RF Exposure Guidance v01 2. Exposure Evaluation of Portable or Mobile Devices Human exposure to RF emissions from portable devices (47 CFR §2.1093), as defined by the FCC, must be evaluated with respect to the FCC-adopted limits for SAR. Evaluation of mobile devices, as defined by the FCC, may also be performed with respect to SAR limits, but in such cases it is usually simpler and more cost-effective to evaluate compliance with respect to field strength or power density limits. For certain devices that are designed to be used in both mobile and portable configurations similar to those described in 47 CFR §2.1091(d)(4), such as certain desktop phones and wireless modem modules, compliance for mobile configurations is also satisfied when the same device is evaluated for SAR compliance in portable configurations. The test exclusions are applicable only when the minimum test separation distance is ≤ 50 mm and for transmission frequencies between 300 MHz and 6 GHz. When the minimum test separation distance is < 5 mm, a distance of 5 mm is applied to determine SAR test exclusion. Page 3 of 3 Report No. ESTE-R2408254 3. Evaluation Results Mode Frequency (MHz) Peak output Power (dBm) Antenna Gain (dBi) effective radiated power (dBm) Target power (dBm) Max. Target power (mW) SAR Test Exemption Limit (mW) GFSK 2402 2.7 -0.58 -0.03 2±1 1.995 2.72 2441 2.67 -0.58 -0.06 2±1 1.995 2.72 2480 2.9 -0.58 0.17 2±1 1.995 2.72 π/4- DQPSK 2402 3.41 -0.58 0.68 3±1 2.512 2.72 2441 3.35 -0.58 0.62 3±1 2.512 2.72 2480 3.58 -0.58 0.85 3±1 2.512 2.72 BLE 1M 2402 2.56 -0.58 -0.17 2±1 1.995 2.72 2440 2.55 -0.58 -0.18 2±1 1.995 2.72 2480 2.77 -0.58 0.04 2±1 1.995 2.72 BLE 2M 2402 2.62 -0.58 -0.11 2±1 1.995 2.72 2440 2.68 -0.58 -0.05 2±1 1.995 2.72 2480 2.89 -0.58 0.16 2±1 1.995 2.72 Note: 1. Limited=3060*(0.5/20)^x, x=-log(60/(3060*√f)). 2. We choose f=2.48GHz (Highest frequency operate at bluetooth) to calculate MPE limit as higher frequency will have lower MPE limits. 3. SAR Test Exclusion Thresholds is 2.72mW for separation distance 5mm. Therefore, SAR test is not required. End of Test Report
Test Report
Inverted F Antenna Specification Summary ITEMANT SPEC Model Name 2.4G ANT HorizontalVertical 2400MHz 2400MHz2500MHz2400MHz2400MHz 2500MHz Center Frequency -1.26-0.76-0.58-5.25-2.46-1.86 MAX. Gain -0.58dBi PolarizationHorizontal and Vertical Azimuth Beam Pattern Omni-directional Impedance50 Ohm Antenna Length 38.20mm Manufacture ZHUHAI JIELI TECHNOLOGY CO.,LTD Antenna Photo & Length (mm) 14.4mm 11.5mm 5.8mm 4.45mm Horizontal: 2400 MHz 2450 MHz 2500 MHz Power (dBi) M ax: 0 Min: -40 Scale: 5/div Gain (dB) Frequency (MHz) MaxMinAvg 2400-1.26174-30.0801-7.18716 2450-0.765802-36.5604-7.48023 2500-0.585582-22.0315-6.59127 Vertical: 2400 MHz 2450 MHz 2500 M Hz Power (dBi) Max : 0 Min: -30 Scale: 5/div Gain (dB) Frequency (MHz) MaxMinAvg 2400-5.2537-22.1424-12.4294 2450-2.4652-24.5837-10.4702 2500-1.86120-29.5214-9.20432 ANT Test Labs:Attestation of Global Compliance Co., Ltd.
Test Report
Page 1 of 69 Report No.ESTE-R2408253 FCC PART 15C TEST REPORT FOR CERTIFICATION On Behalf of Zhuhai Quin Technology Co., Ltd. Portable Label Maker Model Number: P15 Addition Model: P15 PRO, P15 Pro, P15 SE, P15 Plus, P05, P05 PRO, P05 Pro, P05 SE, P05 Plus, P16, P16 PRO, P16 Pro, P16 SE, P16 Plus, P18, P18 PRO, P18 Pro, P18 SE, P18 Plus FCC ID: 2ASRB-P15 Applicant : Zhuhai Quin Technology Co., Ltd. Address: ROOM 103-029(CENTRALIZED OFFICE AREA), 1F, BUILDING 1, NO. 18 FUTIAN ROAD, XIANGZHOU DISTRICT, ZHUHAI CITY, CHINA Prepared By: EST Technology Co., Ltd. Chilingxiang, Qishantou, Santun, Houjie, Dongguan, Guangdong, China Tel: 86-769-83081888-808 Report Number: ESTE-R2408253 Date of Test: Jun. 25, 2024 ~ Aug. 27, 2024 Date of Report: Aug. 30, 2024 Page 2 of 69 Report No.ESTE-R2408253 TABLE OF CONTENTS Description Page TEST REPORT VERIFICATION .......................................................................................................... 3 1. GENERAL INFORMATION ................................................................................................................... 5 1.1. Description of Device (EUT) ............................................................................................................ 5 1.2. Antenna Information ......................................................................................................................... 5 1.3. Information of RF Cable ................................................................................................................... 5 2. SUMMARY OF TEST ........................................................................................................................... 6 2.1. Summary of test result ..................................................................................................................... 6 2.2. Test Facilities ..................................................................................................................................... 7 2.3. Measurement uncertainty ................................................................................................................ 8 2.4. Assistant equipment used for test .................................................................................................. 8 2.5. Block Diagram ................................................................................................................................... 8 2.6. Test Mode .......................................................................................................................................... 9 2.7. Power Setting of Test Software ...................................................................................................... 9 2.8. Duty Cycle .......................................................................................................................................... 9 2.9. Channel List ..................................................................................................................................... 10 2.10. Test Equipment List ...................................................................................................................... 11 3. 6DB BANDWIDTH ............................................................................................................................ 13 3.1. Limit ................................................................................................................................................... 13 3.2. Test Setup ........................................................................................................................................ 13 3.3. Spectrum Analyzer Setting ............................................................................................................ 13 3.4. Test Procedure ................................................................................................................................ 13 3.5. Test Result ....................................................................................................................................... 13 4. MAXIMUM PEAK OUTPUT POWER .................................................................................................. 14 4.1. Limit ................................................................................................................................................... 14 4.2. Test Setup ........................................................................................................................................ 14 4.3. Spectrum Analyzer Setting ............................................................................................................ 14 4.4. Test Procedure ................................................................................................................................ 14 4.5. Test Result ....................................................................................................................................... 14 5. POWER SPECTRAL DENSITY .......................................................................................................... 15 5.1. Limit ................................................................................................................................................... 15 5.2. Test Setup ........................................................................................................................................ 15 5.3. Spectrum Analyzer Setting ............................................................................................................ 15 5.4. Test Procedure ................................................................................................................................ 15 5.5. Test Result ....................................................................................................................................... 15 6. CONDUCTED BAND EDGE ....................................................................…
Text truncated - open the document above for the full version.
Test Setup Photos
Radiated emission test: Below 1GHz Radiated emission test: Above 1GHz Conducted emission test:
Contact Information
Applicant
Chloe Xu(product manager)
Test Firm
EST Technology Co., Ltd.Iceman Hu
[email protected]+86 0769-83081888
Technical Specifications
| # | Rule Parts | Frequency Range | Power Output |
|---|---|---|---|
| 1 | 15C | 2.40 GHz - 2.48 GHz | 1.95 mW |
Other Applications from Zhuhai Quin Technology Co., Ltd.
2ASRB-2CN2
Jul 20, 2026Label Maker
Equipment Class
DTS - Digital Transmission System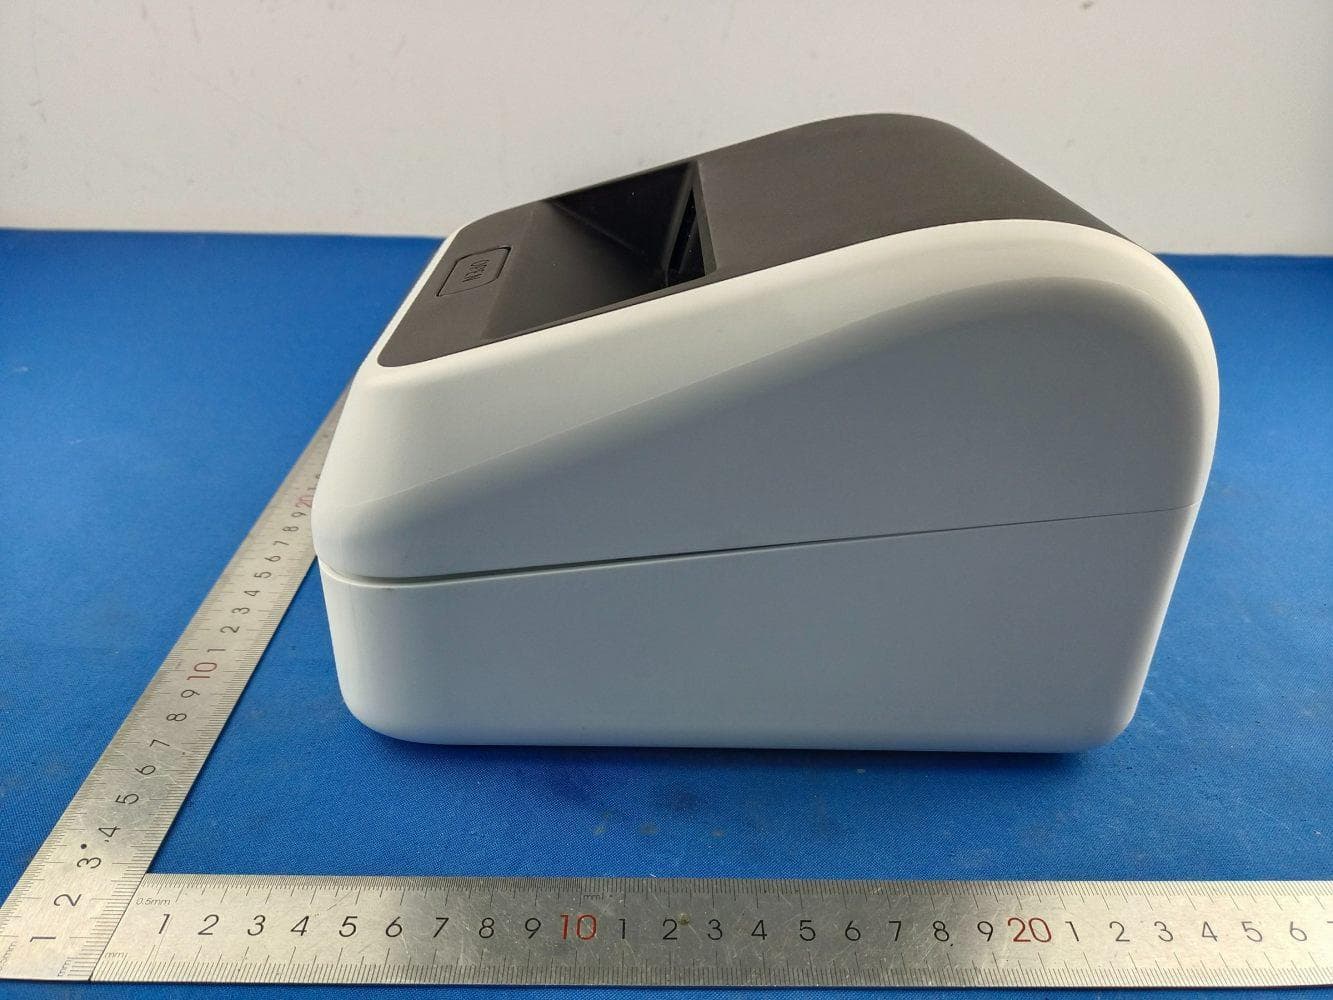
2ASRB-D421R
Jun 05, 2026Label Printer
Equipment Class
DXX - Part 15 Low Power Communication Device Transmitter
2ASRB-L85
May 11, 2026Portable Printer
Equipment Class
DSS - Part 15 Spread Spectrum Transmitter
2ASRB-A1281
Jan 05, 2026PGY Smart BMS-PGY141 and PGY SMART BMS-PGY157
Equipment Class
DTS - Digital Transmission System
2ASRB-PM64D
Sep 30, 2025Label Printer
Equipment Class
DTS - Digital Transmission System