2AVDG-7100716001600mW Laser Cutting Module
Shenzhen Snapmaker Technologies Co., Ltd.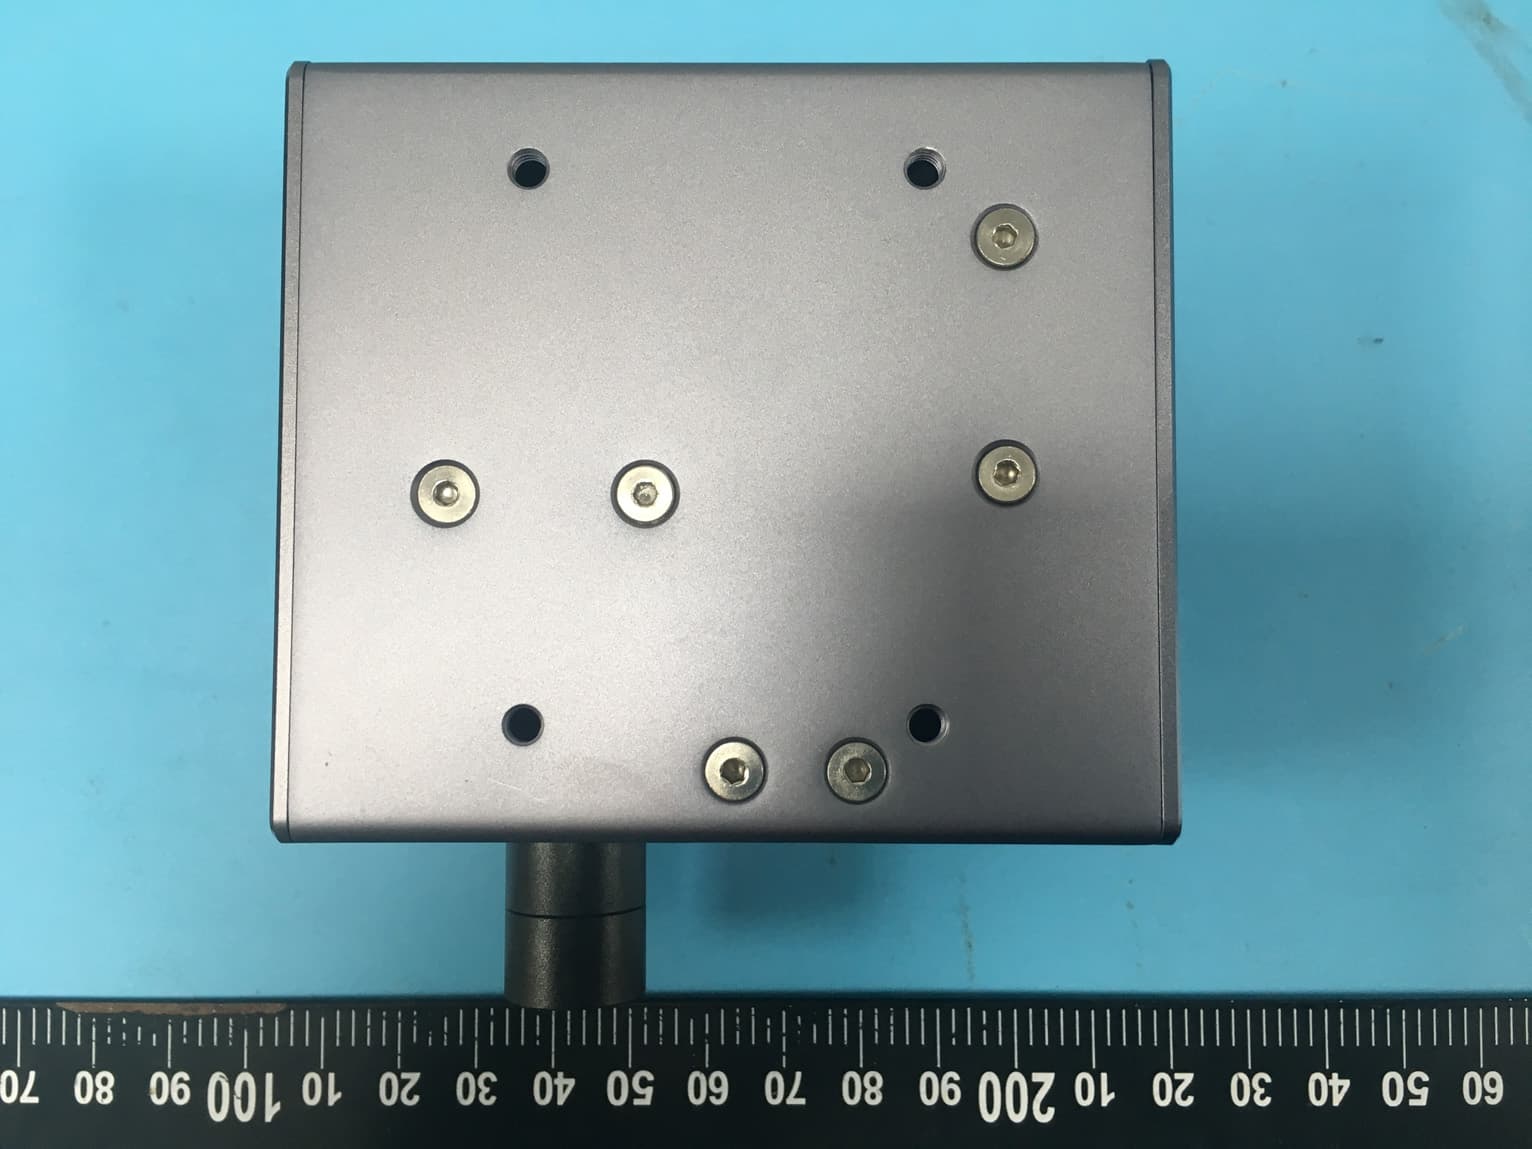
Click to zoom
Application Details
- Equipment Class
- DSS - Part 15 Spread Spectrum Transmitter
- Date of Grant
- Nov 11, 2020
- Application Purpose
- Original Equipment
- Date of Application
- Nov 11, 2020
- Equipment Note
- 1600mW Laser Cutting Module
- Frequency Range
- 2402.00000000 - 2480.00000000
- Country
- China
Documents & Files
Document Text
Text extracted from the exhibit documents filed with the FCC. Open a document above to read the original.
Users Manual
Make Something Wonderful Three years ago, when we were designing the Snapmaker Original, we broke the rules of traditional desktop 3D printers and created the first modular 3-in-1 3D printer on the market. At first, The Verge and a lot of other reviewers doubted that “Snapmaker is an upcoming Kickstarter project with a lofty goal: to be the holy trinity for at-home makers by using detachable modules to convertbetweena3Dprinter,aCNCcarver, anda laserengraver,”and “Atthe pricethat Snapmaker is selling, it’s possible the whole thingis toogoodto be true.” Weknewpeople had a lot of uncertainty about our project and were hesitant to back usbecause of the complexity of designing and making such a product. Despite all the doubts, we worked hard on pushing the boundaries of possibility, and we eventually made the impossible possible. Not only did we fulfill all the rewards, but we also sold over 10,000 units all over the world in 2018. And in 2019, we launched the Snapmaker 2.0. We went beyond our limits once again. Our goal is to build a system behind our modular 3D printers and give you the best maker tools that can work for all your projects. As creatives we all desire to make something wonderful and creativity makes us feel alive.The Snapmaker2.0willhelpyouturn your idea into reality. This quick start guide will guide you through your maker journey and takeyoufrom buildingyourown 3D Printer/Laser Cutter/CNC Carver to making your first creations utilizing all these tools. Congratulations on becoming part of the Snapmaker community! Thousands of people like you are using the Snapmaker to explore, make, and share in the world of making. We are strong believers that wonderful things will happen when creative minds meet the ideal tools. Have fun making and see you out there! Team Snapmaker Welcome to the world of making HappyMakingModular System This machine is built for innovators. Our goal is to assist you to make the world a better place with a machine we built with love. The difference could be something as small as a Christmas gift, or something as ambitious as exploring unknown territories of our mankind. Dream big and make it happen. Snapmaker is not only a 3D printer, but also a powerful machine that you can modify with all kinds of addons. You can equip your Snapmaker with an enclosure to protect you and your family from laser and dirt particles. New addons are coming soon with more exciting features. Please stay tuned. QuickStartGuide | 1 CONTENTS BEFORE YOU START 01 Before You Start 12 Machine Assembly 38 3D Printing 56 Laser Engraving and Cutting 72 CNC Carving Before YouStart 2 | QuickStartGuide | 3 1.1 Disclaimer Please read and understand the contents of the manual of this product carefully. Failure to read the manual may lead to personal injury, inferior results or damage to the Snapmaker products. Always make sure that anyone who uses this product knows and understands the contents of this manual to make the most out of it. This manual is provided for reference purposes only, we do not warrant the accuracy or completeness of the information provided by this manual. Wereserve the right to modify or revise this manual in our sole discretion at any time without notice, users can download the most up-to-date version of this manual on our official website. Whenmakingobjectsusing Snapmakerproducts, usersremainresponsibletoensurethat they donot infringe any third party intellectual property rights or violate any applicable laws or regulations. The conditions or methods used for assembling, handling, storage, use, maintaining or disposal of this product are beyond our control. Forthisreason, wedo notassumeresponsibility andexpressly disclaim liability for loss,injuries, damage, or expense arising out of or in any way connected with the assembly, handling, storage, use, maintaining or disposal of thisproduct. 1.2 Intended Use Snapmaker modular 3D printers come with improved 3-in-1 capabilities for 3D printing, laser engraving / cutting, and CNC carving. Snapmaker modular 3D printers are ideal choice for making large objects or accurate parts with outstanding print /engrave/cut/carve quality. Snapmaker modular 3D printersare intendedforuseunder theguidelinesprovided inthe product manual. Whenmakingobjectsusing Snapmaker modular3D printers,usersremainresponsible toqualifyand validatethe applicationof thecreated objectforits intendeduse,especiallycriticalforapplicationsinstrictly regulatedareas likemedical devicesand aeronautics. 1.3 Safety and Compliance General Safety Information -This machine is only intended for use by a skilled person. -Always operate this machine indoors on a solid horizontal table or workbench. -Do not expose this machine to rain or wet conditions. -Keepchildrenandbystandersawaywhileoperatingthismachine. -Stay alert, watch what you are doing and usecommonsensewhen operating this machine. Do not use this machine while you are tired or under the influence of drugs, alcohol or medication. -Do not reach inside the machine or touch the moving parts while the machine is still in operation. An injury may be caused by its moving parts. -Do not leave the machine unattended while it is still on. In all EU member states, operation of 5150-5250 MHz is restricted to indoor use only. Copyright © 2020 Snapmaker. All rights reserved. This language version of the manual is verified by the manufacturer (Original Instruction). No part of this publication,includingpicturesmaybereproducedand/ormadepublic,whetherbyprinting,photocopying, microfilm or by any other means whatsoever, without the prior written permission of Snapmaker. Before YouStart 4 | QuickStartGuide | 5 Stop using this product if any of the following occurs. Turn off the machine immediately. -There is a fire in this machine which persists after the machine turns off. -The machine stopsunexpectedly. -Yousee any damage to the interior components of this machine. -Younotice unusual light or an unusual sound coming from this mac…
Text truncated - open the document above for the full version.
Users Manual
3D Printing 40 | QuickStartGuide | 41 3D Printing Modulex 1M4 x 8 Screwx 4 Makesurethepowerswitch is in the Offposition. 3.1.1 Assemble the 3D Printer Guides & Pictures/ Snapmaker 02 /07 Connect the 3D Printing Module to the Controller. 01 /07 Attach the 3D Printing Module to the slider on the X axis. ToolheadCablex 1 3D Printing 03 /07 04 /07 42 | QuickStartGuide | 43 Attach the Filament Holder to the Z axis.Attach the Heated Bed to the Platform. 1:1 M4 x 10 Hex Flat Head Screwx 22 Heated Bedx 1 1:1 M4 x 10 Hex Socket Head Screwx 2 Filament Holder Sheetx 1 M4 x 10 Hex Socket Head Screwx 1 Filament Holder Tubex 1 3D Printing 05 /07 06 /07 44 | QuickStartGuide | 45 Print Sheetx 1 Place thePrintSheet.Connect the Heated Bed to the Controller. MakesuretheHeatedBediscleanandthereisn'tanydustordirtonitbeforeyouplacethe Print Sheet. Make sure the Print Sheet aligns perfectly with the Heated Bed. Heated Bed Screen USB Toolhead Add-on 1 Add-on 2 Add-on3 HeatedBed Power 3D Printing 46 | QuickStartGuide | 47 It is recommended to wait for 5 seconds when you turn your machine off and on again. Makesurethereisenoughcablelength for the toolhead for movement. Please skip this step if you have completed the initial setup.Ifyouneedtochange the settings above,swipe leftonthehomepageof the touchscreen-> select Settings-> tapWi-Fior About Machineas needed. The initial guide, which helps you get started, will appear only once. If you need to launch it again, swipe left on the homepage of the touchscreen -> select Settings->tapGuides. 07 /07 AttachtheCableHoldertotheZaxis,thenlocktheToolheadCableintoplace. 3.1.2Initial Setup Guides & Pictures/ Snapmaker Plugthe AC Power Cable into an electrical outlet. Switchthe power on and follow the prompts on the touchscreen: Read theTerms -> Namethe Machine -> Connect to a Wi-FiNetwork. Cable Holderx 1 M4 x 8 Screwx 2 3D Printing 48 | QuickStartGuide | 49 3.2.1 Calibrate theBed Guides & Pictures/ Snapmaker How It Works: Auto Leveling The3D printingmoduleconductsacompensationlevelingprocedure, withthe sensormeasuringthedistance between the nozzle and the heated bed at specific points. The movements of the extruder are adjusted to ensure that the nozzle and the heated bed are at an optimum distance throughout the printing process. How It Works: Adjusting the ZOffset Z Offset is the distance between the tip of the nozzle and the print surface. Adjusting the Z Offset is the process of tweaking the height of the nozzle by tiny increments. A proper Z Offset value helps ensure the first layer of your print sticks to the print sheet. How to Level 1.Run the Auto Leveling procedure on the touchscreen. 2.PlacethecalibrationcardorapieceofA4paperbetweenthenozzleandtheheatedbed,andmanually calibrate the Z Offset for the last point. 3.Keepadjustingtheheightof thenozzleusingUpandDownbuttonsuntilthereisslightresistancewhenyou pulloutthecalibrationcard,anditshouldbewrinkledwhenyoupushitforward.TapSavetosavethecalibration settings. Slight Resistance 0.1 mm Filament TooLowTooHigh Wrinkled Calibration Card Print Sheet 3D Printing 50 | QuickStartGuide | 51 You can change the targetNozzle Tempby sliding the scale bar. 3.2.2 Load Filament Guides & Pictures/ Snapmaker How It Works: Filament Loading Themotor drives the filament into the extruder, then the filament extrudes through the nozzle after being heated by the heatedblock. How to Load Filament 1.Hangthe providedPLA filament over the filament holder. Cut the bendingend of thefilament usingthe diagonal pliers, then insert the filament into the 3D printing module. 2.TapStartontheLoadFilamentscreen.Afterthetemperaturereachesthetargettemperature,tapLoadand then gently push the filament into the 3D printing module until you can feel the motor pulling the filament in. 3.Clean the nozzle using the tweezer,then tapDone. Ifthereisnofilamentcomingoutofthenozzle,donottapDoneuntilyourepeatthesteps above and the filament extrudes successfully. 3D Printing 52 | QuickStartGuide | 53 YoucanalsouploadyourownfilesbyclickingOpen Fileandconfigurethefilesettings.For more instructions, please refer to our online user manual. 2 2 1 3 4 3.3.1 Prepare the G-codeFile Guides & Pictures/ Snapmaker 1.Install the Software and Complete the Initial Setup Download our software Snapmaker Luban athttps://snapmaker.comand install it. Then connect to a Wi-Fi network:EntertheWorkspace ->Connection->SelectWi-Fi->Click ->Selectyourmachine->Click Open-> TapYeson the touchscreen. 2.Generate the G-code File and Send It to the Machine ① Load the test file -> ② Use the default settings specifically configured for the test file -> ③ Generate the G-code file -> ④ Load G-code to Workspace -> ⑤ Send G-code to the machine via Wi-Fi. 5 Files sent by Wi-Fi can be found on the touchscreen:Files>Local. You can also send the G-code files to the machine via the USB disk. ClickExport G-code to file in Snapmaker Luban and save it to the USB disk, then insert the USB disk into the controller and selectFiles>USBon the touchscreen. When you need to change the filament, selectControlsandNozzle. After the temperature reaches the target temperature, tapUnloadand pull the filament out of the module. Congratulations! Youarenowreadytoprint.Pleasecontinueto generate the G-codefile. 3D Printing 54 | QuickStartGuide | 55 The nozzle and the heated bed are still extremely hot right after printing. Share! Youcanshareyourprints inourFacebookgroupand our forum. 3.3.2StartYourFirstPrint Guides & Pictures/ Snapmaker 3.3.3 Remove the Print Guides & Pictures/ Snapmaker AfterreceivingtheG-codefile,tapYes andStarton the touchscreen to start printing. Wait for the temperatures of the nozzle and the heated bed to drop to room temperature (displayed on the touchscreen) . Remove the print sheet from the heated bed and bend it slightly. If you need to adjust settings, you can either tapAdjust Settings prior to printing or swipe left on the printing progress screen. If you run into the issue of poor adhesion, swipe left on the…
Text truncated - open the document above for the full version.
Attestation Statements
Shenzhen Snapmaker Technologies Co., Ltd. 5F, Honglai Kechuang Building 13, Pingshan 1st Road, Nanshan District, Shenzhen, China Tel: +86-18511870293 Email: [email protected] Date: 2020/11/02 FEDERAL COMMUNICATIONS COMMISSIONS Authorization and Evaluation Division 7435 Oakland Mills Road Columbia, MD 21046 To whom it may concern: The RF chip, model ESP32, which installed in our product 1600mW Laser Cutting Module, Model: 71007, FCC ID: 2AVDG-710071600, supports BDR (GFSK), EDR (π/4-DQPSK, 8DPSK), and BLE functions. For use in America and this chip will not support/enable BLE function. The BLE function has been shielded by the manufacturer using the software. Sincerely Yours, Signature: Chen Weido ng CTO
Cover Letter(s)
Shenzhen Snapmaker Technologies Co., Ltd. 5F, Honglai Kechuang Building 13, Pingshan 1st Road, Nanshan District, Shenzhen, China Tel: +86-18511870293 Email: [email protected] QA-FR-170-B 7/29/2014 FCC Authorization Date: 2020-11-02 FEDERAL COMMUNICATIONS COMMISSIONS Authorization and Evaluation Division 7435 Oakland Mills Road Columbia, MD 21046 Subject: Agent Authorization To whom it may concern: We Shenzhen Snapmaker Technologies Co., Ltd., the undersigned, hereby authorizes Bay Area Compliance Laboratories Corporation to act on its behalf in all matters relating to application for Equipment authorization, including the signing of all documents relating to these matters. All acts carried out by Bay Area Compliance Laboratories Corporation on our behalf shall have the same effect as our own action. We, the undersigned, hereby certify that we are not subject to a denial of federal benefits, that includes FCC benefits, pursuant to Section 5301 of the Anti-Drug Abuse Act of 1988, 21 U.S.C. 862. This authorization is valid until further written notice from the applicant. Sincerely Yours, Signature: Chen Weido ng CTO
Cover Letter(s)
Shenzhen Snapmaker Technologies Co., Ltd. 5F, Honglai Kechuang Building 13, Pingshan 1st Road, Nanshan District, Shenzhen, China Tel: +86-18511870293 Email: [email protected] FCC Confidential Authorization Date: 2020-11-02 FEDERAL COMMUNICATIONS COMMISSIONS Authorization and Evaluation Division 7435 Oakland Mills Road Columbia, MD 21046 Subject: Confidentiality Request regarding application for certification of FCC ID: 2AVDG-710071600 In accordance with Sections 0.457 and 0.459 of the Commission’s Rules, Shenzhen Snapmaker Technologies Co., Ltd. hereby reque sts long-term confidential treatment of information accompanying this application as outlined below: • Block Diagram • Schematics • Operation Description The above materials contain proprietary and confidential information not customarily released to the public. The public disclosure of these materials provides unjustified benefits to its competitors in the market. Sincerely Yours, Signature: Chen Weido ng CTO
External Photos
Bay Area Compliance Laboratories Corp. (Shenzhen) Project No.: RSZ200416002-RF Page 1 of 3 EXHIBIT B - EUT EXTERNAL PHOTOGRAPHS Bay Area Compliance Laboratories Corp. (Shenzhen) Project No.: RSZ200416002-RF Page 2 of 3 Bay Area Compliance Laboratories Corp. (Shenzhen) Project No.: RSZ200416002-RF Page 3 of 3
ID Label/Location Info
Bay Area Compliance Laboratories Corp. (Shenzhen) Project No.: RSZ200416002-RF EXHIBIT A - FCC ID LABEL AND LOCATION FCC ID Label FCC ID Label Location Information The label shown shall be permanently affixed at a conspicuous location on the device and be readily visible to the user at the time purchase (Labeling requirements per 2.925)
Internal Photos
Bay Area Compliance Laboratories Corp. (Shenzhen) Project No.: RSZ200416002-RF Page 1 of 9 EXHIBIT C - EUT INTERNAL PHOTOGRAPHS Bay Area Compliance Laboratories Corp. (Shenzhen) Project No.: RSZ200416002-RF Page 2 of 9 Bay Area Compliance Laboratories Corp. (Shenzhen) Project No.: RSZ200416002-RF Page 3 of 9 Bay Area Compliance Laboratories Corp. (Shenzhen) Project No.: RSZ200416002-RF Page 4 of 9 Bay Area Compliance Laboratories Corp. (Shenzhen) Project No.: RSZ200416002-RF Page 5 of 9 Bluetooth module BT chip The antenna is disconnected Bay Area Compliance Laboratories Corp. (Shenzhen) Project No.: RSZ200416002-RF Page 6 of 9 Bay Area Compliance Laboratories Corp. (Shenzhen) Project No.: RSZ200416002-RF Page 7 of 9 Bay Area Compliance Laboratories Corp. (Shenzhen) Project No.: RSZ200416002-RF Page 8 of 9 Bay Area Compliance Laboratories Corp. (Shenzhen) Project No.: RSZ200416002-RF Page 9 of 9 Bluetooth Antenna
Test Report
Note: This report may contain data that are not covered by the A2LA accreditation and are marked with an asterisk “★”. BACL is not responsible for the authenticity of any test data provided by the applicant. Data included from the applicant that may affect test results are marked with an asterisk ’*’. Customer model name, addresses, names, trademarks etc. are not considered data. This report cannot be reproduced except in full, without prior written approval of the Company. Unless otherwise stated the results shown in this test report refer only to the sample(s) tested. This report is valid only with a valid digital signature. The digital signature may be available only under the Adobe software above version 7.0. FCC PART 15.247 TEST REPORT For Shenzhen Snapmaker Technologies Co., Ltd. 5F, Honglai Kechuang Building 13, Pingshan 1st Road, Nanshan District, Shenzhen, China FCC ID: 2AVDG-710071600 Report Type: Original Report Product Type: 1600mW Laser Cutting Module Re port Number: RSZ200416002-00E Re port Date: 2020-09-17 Reviewed B y: Jimmy Xiao RF Engineer Prepared By: Bay Area Compliance Laboratories Corp. (Shenzhen) 6/F., West Wing, Third Phase of Wanli Industrial Building, Shihua Road, Futian Free Trade Zone, Shenzhen, Guangdong, China Tel: +86-755-33320018 Fax: +86-755-33320008 www.baclcorp.com.cn Bay Area Compliance Laboratories Corp. (Shenzhen) Report No.: RSZ200416002-00E FCC Part 15.247 Page 2 of 58 TABLE OF CONTENTS GENERAL INFORMATION ....................................................................................................................................... 4 PRODUCT DESCRIPTION FOR EQUIPMENT UNDER TEST (EUT) ..................................................................................... 4 OBJECTIVE ................................................................................................................................................................... 4 TEST METHODOLOGY .................................................................................................................................................. 4 MEASUREMENT UNCERTAINTY .................................................................................................................................... 5 TEST FACILITY ............................................................................................................................................................. 5 SYSTEM TEST CONFIGURATION .......................................................................................................................... 6 DESCRIPTION OF TEST CONFIGURATION ...................................................................................................................... 6 EUT EXERCISE SOFTWARE .......................................................................................................................................... 6 SPECIAL ACCESSORIES ................................................................................................................................................. 6 EQUIPMENT MODIFICATIONS ....................................................................................................................................... 6 SUPPORT EQUIPMENT LIST AND DETAILS .................................................................................................................... 6 EXTERNAL I/O CABLE .................................................................................................................................................. 6 BLOCK DIAGRAM OF TEST SETUP ................................................................................................................................ 7 SUMMARY OF TEST RESULTS ............................................................................................................................... 8 TEST EQUIPMENT LIST ........................................................................................................................................... 9 FCC §15.247 (i) & §2.1091- MAXIMUM PERMISSIBLE EXPOSURE (MPE) ........................................................ 10 APPLICABLE STANDARD ............................................................................................................................................ 10 RESULT ...................................................................................................................................................................... 10 FCC §15.203 – ANTENNA REQUIREMENT .......................................................................................................... 11 APPLICABLE STANDARD ............................................................................................................................................ 11 ANTENNA CONNECTOR CONSTRUCTION .................................................................................................................... 11 FCC §15.207 (a) – AC LINE CONDUCTED EMISSIONS ..................................................................................... 12 APPLICABLE STANDARD ............................................................................................................................................ 12 EUT SETUP ................................................................................................................................................................ 12 EMI TEST RECEIVER SETUP ....................................................................................................................................... 12 TEST PROCEDURE ...................................................................................................................................................... 12 CORRECTED FACTOR & MARGIN CALCULATION ....................................................................................................... 13 TEST DATA ....................................................................................................…
Text truncated - open the document above for the full version.
Test Setup Photos
Bay Area Compliance Laboratories Corp. (Shenzhen) Project No.: RSZ200416002-RF EXHIBIT D - TEST SETUP PHOTOGRAPHS Conducted Emissions - Front View Conducted Emissions - Side View EUT Bay Area Compliance Laboratories Corp. (Shenzhen) Project No.: RSZ200416002-RF Radiated Emissions - Front View (Below 1 GHz) Radiated Emissions - Side View (Below 1 GHz) Bay Area Compliance Laboratories Corp. (Shenzhen) Project No.: RSZ200416002-RF Radiated Emissions View (Above 1 GHz)
Contact Information
Applicant
Sofia JI(Certification Engineer)
Test Firm
Bay Area Compliance Laboratories Corp. (Shenzhen)Well Wang
[email protected]+86 (0) 755 33320018
Technical Specifications
| # | Rule Parts | Frequency Range | Power Output |
|---|---|---|---|
| 1 | 15C | 2.40 GHz - 2.48 GHz | 2.00 mW |
Other Applications from Shenzhen Snapmaker Technologies Co., Ltd.
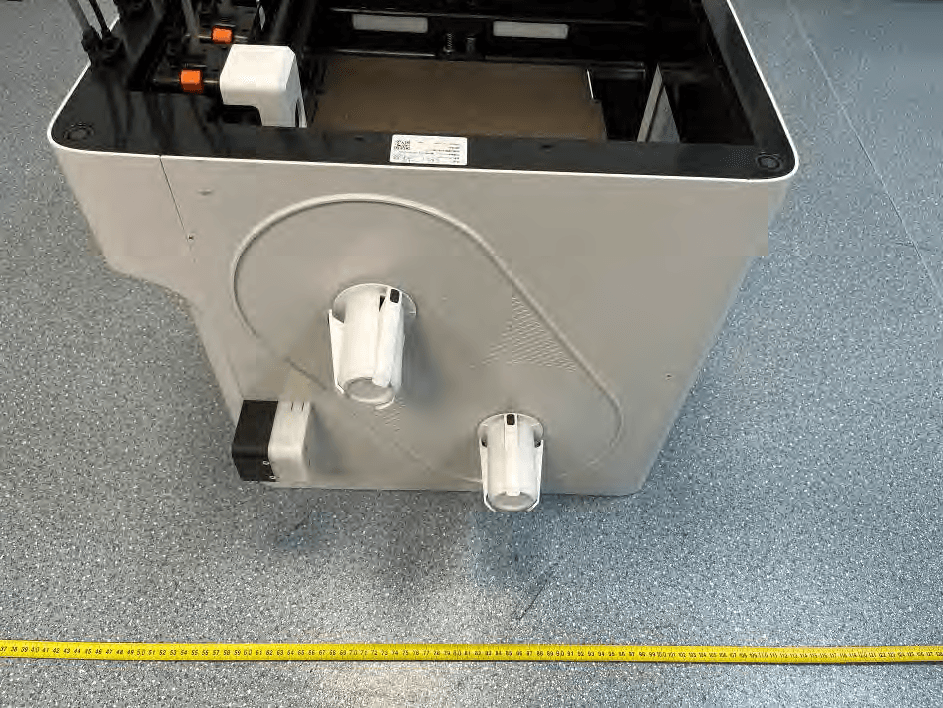
2AVDG-U1
Nov 24, 20253D Printer
Equipment Class
DTS - Digital Transmission System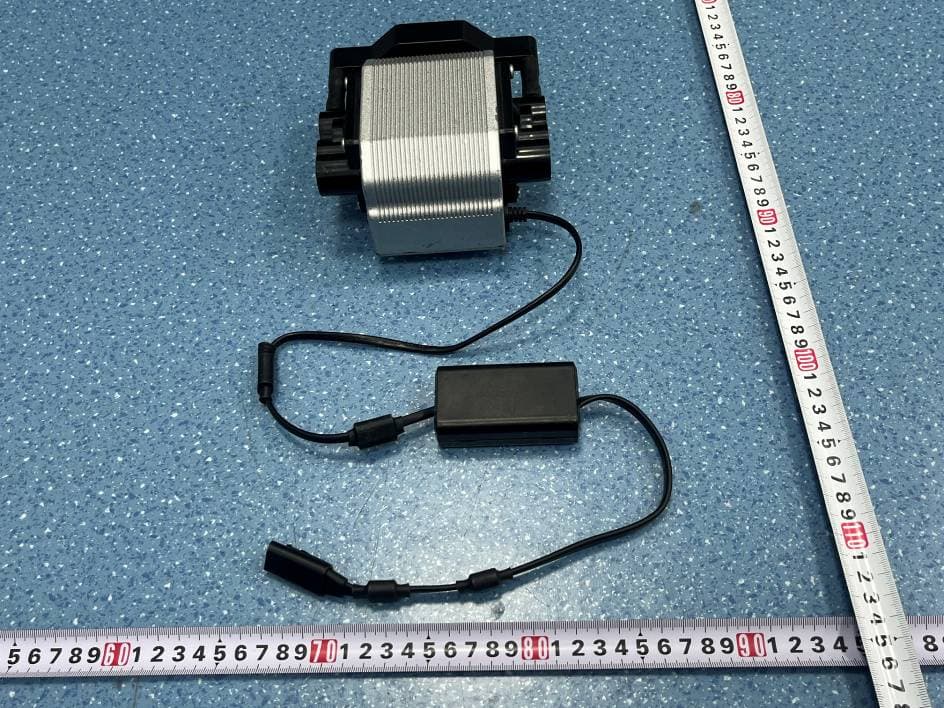
2AVDG-RAY
Oct 15, 2023Laser Engraver and Cutter
Equipment Class
DTS - Digital Transmission System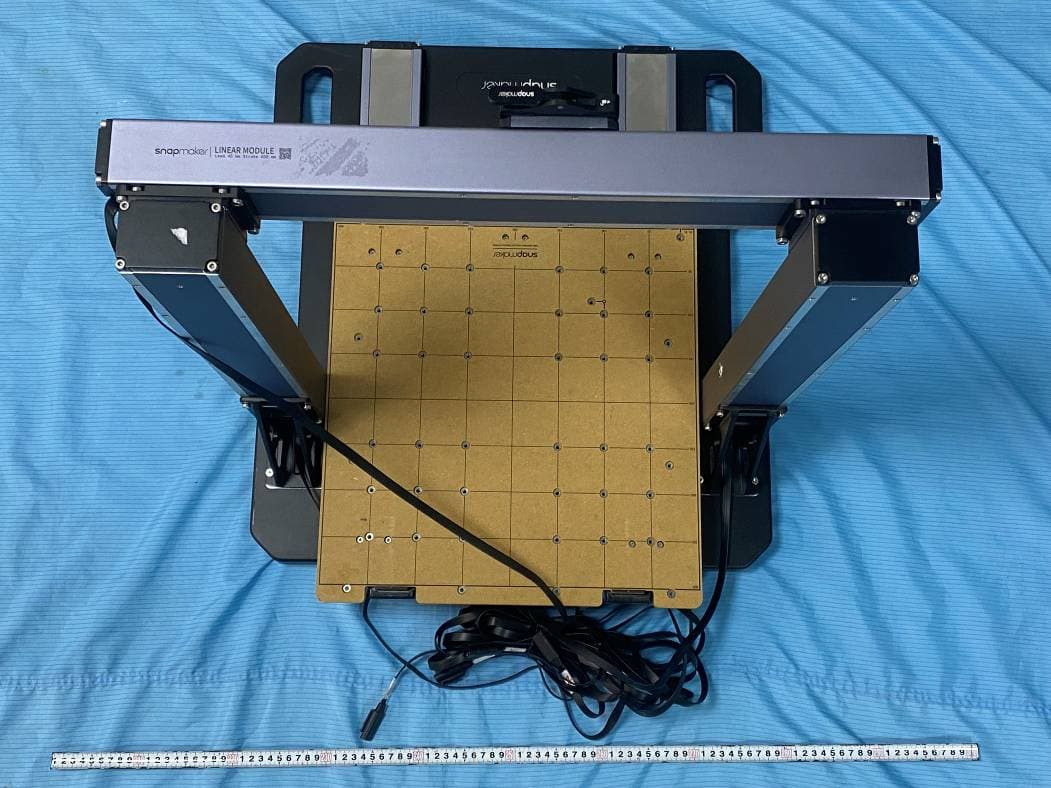
2AVDG-ARTISAN
Nov 08, 20223D Printer
Equipment Class
DTS - Digital Transmission System