2AWNU-H88X-TXRemote Control
GD DIGITAL LTD
Click to zoom
Application Details
- Equipment Class
- DXX - Part 15 Low Power Communication Device Transmitter
- Date of Grant
- Jul 13, 2020
- Application Purpose
- Original Equipment
- Date of Application
- Jul 13, 2020
- Equipment Note
- Remote Control
- Frequency Range
- 920.00000000 - 920.00000000
- Company
- GD DIGITAL LTD
- Country
- China
Documents & Files
Document Text
Text extracted from the exhibit documents filed with the FCC. Open a document above to read the original.
Users Manual
UserManual 1 Introduction Congratulations on the purchase of your new device. You have selected a high-quality product. The operating instruction is one constituent of this product. It contains important information about safety, use and disposal. Before using the product, familiarise yourself with all operating and safety instructions. Use this product only as described and only for the specified areas of application. Copyright This documentation is subject to copyright protection. Any copying or reproduction, including extracts thereof, and the reproduction of images (even in a modified state), is only permitted with the written authorisation of the manufacturer. Intended Use This device is intended only for recording digital photos and videos, particularly for observing wildlife. It is not 2 intended for any other use or for uses extending beyond those stated. This device is notintended for use in commercial or industrial environments. The manufacturer accepts no responsibility for damage caused by failure to observe these instructions, improper use, incompetent repairs, making unauthorised modifications or for using unapproved replacement parts. The operator alone bears liability. When the equipment will be placed in the outdoor filming, rapid changes in the weather could lead to error record. Safety Please read below safety precautions carefully before using the camera. · Do not try to disassemble the product case.Only authorized technician can repair the product. · The camera will be hot after using for too long time.This is normal. · Please use the accessory provided by our factory. 3 Parts Of The Camera 1.Display Screen 2.Up/Video Button 3.Shot Button 4.Right Button 5.OK Button 6.Speaker 7.Menu Button 8.Left Button 9.Playback Button 10.Down/Photo Button 11.Micro SD Card Slot 12.AV Jack 13.USB Jack 14.OFF-TEST-ON Mode Button 15.Infrared LEDs 16.Lens 17.Front Motion Sensor 18.Side Motion Sensor 4 Power Supply Please install batteries before using the camera. ♦Open the camera case and remove the battery cover. Install 8 pieces of 1.5V AA batteries. Please make sure the electrode is correct. ♦If the camera is in low power, please connect the camera to a power adapter(not provide) for power supply. Inserting Storage Media Please prepare a Micro SD card and insert it into the camera for saving more files. Before recording, please format the memory card first. ♦Support Micro SD card,up to 256GB. Suggest to use at least class 6 or above high speed card. ♦To avoid malfunction, the memory card should be far away water, strong vibration,dust, hot source and direct sunlight. ♦Do not insert the memory card forcibly. Please refer to the marking on the camera. 5 ♦For the first time use, please wait for the memory card temperature reach the ambient temperature.The camera will be short-circuit influenced by environment temperature and humidity. Please notice protection for the camera when using it outdoor. ♦If the capacity of memory card is full,the camera will stop recording automatically and the LEDs will go out. ♦Press the edge of the card gently to pop-up the TF card. Basic Operation Turn On And Off The Camera Switch the Mode Button to“Test/On”to turn on the camera. SwitchtheModeButtonto“Off” to turn off the camera. System Setup Switch Mode Button to “Test”, then you can set the system parameters. 6 1. Press Video/Photo button to switch between these two modes. 2. Press Menu button to open the setup menu. 3. Press Up/Down button to scan all menu. Then press OK button to enter the options interface. 4. Press Up/Down button to scan all options. And press OK button to confirm options. 5. Press Menu button again to turn back to last menu or exit the setup menu. Setup menu and functions are as below: Mode Set the working mode. In capture mode,the camera just take pictures. In Video mode,the camera just record video. In capture&video mode,the camera will take a photo first,then start to record video. Options :【 Photo 】 / 【 Video 】 / 【 Photo&Video 】 . Photo Resolution Set the still image resolution. 7 Options :【 20MP(5200x3900P) 】 / 【 16MP(4608x3456P) 】 / 【 12MP(4000x3000P) 】 / 【 8MP(3264x2448P) 】 / 【 5MP(2592x1944P) 】 / 【 3MP(2048x1536P) 】 / 【 1MP(1280x960P) 】 . Photo Series Set the photo number of continuous shooting. In photo mode, the camera will take photos continuously. Options :【 1photo 】 / 【 2 photos in series 】 / 【 3 photos in series 】 / 【 10 photos in series 】 . Video Resolution Set the video resolution. The bigger the resolution is ,the longerthevideotimecanbestored. Options :【 3840x2160P 】 / 【 2688x1520P 20FPS 】 / 【 1920x1080P 】 / 【 1280x720P 】 / 【 1280x720P 60FPS 】 / 【 848x480P 】 / 【 720x480P 】 / 【 640x480P 】 / 【 320x240P 】 . TL Video Resolution Set the resolution of time lapse video . 8 Options: 【 5200x3900P 】 / 【 4608x3456P 】 / 【 4416x3312P 】 / 【 4000x3000P 】 / 【 3648x2736P 】 / 【 3264x2448P 】 / 【 3072x2304P 】 / 【 2592x1944P 】 / 【 2048x1536P 】 . Video Length Set the duration of recording a video clip. The shortest time is 3 seconds and the longest time is 10 minutes. Options : 3 seconds~10 minutes. Audio Recording Open this function,the camera will record audio when recording video. Options :【 On 】 / 【 Off 】 . Shot Lag Set the time of delay shooting when the camera detects themotion.Withintheselectedtime,thecamerawillnot record any image or video. It can avoid to store too much same events and save more capacity. Options : 5 seconds~60 minutes. 9 IR Distance Set the distance of infrared induction. Options :【 Near 】 / 【 Middle 】 / 【 Far 】 . Side Motion Sensors Open/closethesidemotionsensors. Options: 【 On 】 / 【 Off 】 . Sensitivity Motion Sensors Set the sensitivity of the sensors. Environmental impact is small indoors, you can choose “ Low ” . In outdoor, choose “ Middle ” in normal condition. Choose “ High ” if the environment impact is huge outdoors. The temperature can also influence the sensor sensitivity. “ High Sensitivity ” applies to mild environment. ” Low Sensitivity ” applies…
Text truncated - open the document above for the full version.
Cover Letter(s)
GD DIGITAL LTD Address: 4th Building, Tianan Digital City, Huangge Road, Longgang District, Shenzhen, China. Tel.: 13691805156 Fax: / E-mail: [email protected] QA-FR-170-B FCC Authorization Date: 2020-07-06 FEDERAL COMMUNICATIONS COMMISSIONS Authorization and Evaluation Division 7435 Oakland Mills Road Columbia, MD 21046 Subject: Agent Authorization To whom it may concern: We, GD DIGITAL LTD hereby authorize Bay Area Compliance Laboratories Corporation to act on its behalf in all matters relating to application for Equipment authorization, including the signing of all documents relating to these matters. All acts carried out by Bay Area Compliance Laboratory Corporation on our behalf shall have the same effect as our own action. We, GD DIGITAL LTD the undersigned, hereby certify that we are not subject to a denial of federal benefits, that includes FCC benefits, pursuant to Section 5301 of the Anti-Drug Abuse Act of 1988, 21 U.S.C. 862. This authorization is valid until further written notice from the applicant. Sincerely Yours, Signature Name:xianglie Wang Title:R&D
Cover Letter(s)
GD DIGITAL LTD Address: 4th Building, Tianan Digital City, Huangge Road, Longgang District, Shenzhen, China. Tel.: 13691805156 Fax: / E-mail: [email protected] FCC Confidential Authorization Date: 2020-07-06 FEDERAL COMMUNICATIONS COMMISSIONS Authorization and Evaluation Division 7435 Oakland Mills Road Columbia, MD 21046 Subject: Confidentiality Request regarding application for certification of FCC ID: 2AW NU-H88X-TX In accordance with Sections 0.457 and 0.459 of the Commission’s Rules, GD DIGITAL LTD hereby requests long-term confidential treatment of information accompanying this application as outlined below: Block Diagram Schematics Operation Description The above materials contain proprietary and confidential information not customarily released to the public. The public disclosure of these materials provides unjustified benefits to its competitors in the market. Sincerely Yours, Signature Name:Xianglie Wang Tittle:R&D
External Photos
External Photo
ID Label/Location Info
Label and label location
Internal Photos
Internal photo Antenna
Test Report
Report No.: ATE20200658 Page 1 of 30 FCC ID: 2AWNU-H88X-TX Shenzhen Accurate Technology Co., Ltd. APPLICATION CERTIFICATION FCC Part 15C On Behalf of GD DIGITAL LTD Remote control Model No.: H881-TX FCC ID: 2AWNU-H88X-TX Prepared for : GD DIGITAL LTD Address : 4th Building, Tianan Digital City, Huangge Road, Longgang District, Shenzhen, China. Prepared by : Shenzhen Accurate Technology Co., Ltd. Address : 1/F., Building A, Changyuan New Material Port, Science & Industry Park, Nanshan District, Shenzhen, Guangdong, P.R. China. Tel: (0755) 26503290 Fax: (0755) 26503396 Report No. : ATE20200658 Date of Test : June 08, 2020--June 10, 2020 Date of Report : July 02, 2020 Report No.: ATE20200658 Page 2 of 30 FCC ID: 2AWNU-H88X-TX Shenzhen Accurate Technology Co., Ltd. TABLE OF CONTENTS Description Page Test Report Certification 1. GENERAL INFORMATION .......................................................................................................... 4 1.1. Description of Device (EUT) .................................................................................................................... 4 1.2. Special Accessory and Auxiliary Equipment ........................................................................................... 4 1.3. General disclaimer .................................................................................................................................... 4 1.4. Description of Test Facility ...................................................................................................................... 5 1.5. Measurement Uncertainty ......................................................................................................................... 5 2. MEASURING DEVICE AND TEST EQUIPMENT ..................................................................... 6 2.1. For Radiated Emission Measurement ....................................................................................................... 6 2.2. The Equipment Used to Measure Conducted Disturbance (L.I.S.N) ........................................................ 7 3. OPERATION OF EUT DURING TESTING ................................................................................. 8 3.1. Operating Mode ........................................................................................................................................ 8 3.2. Configuration and peripherals .................................................................................................................. 8 4. TEST PROCEDURES AND RESULTS ......................................................................................... 9 5. 20DB BANDWIDTH MEASUREMENT ...................................................................................... 10 5.1. Block Diagram of Test Setup .................................................................................................................. 10 5.2. The Requirement For Section 15.215(c) ................................................................................................. 10 5.3. Operating Condition of EUT .................................................................................................................. 10 5.4. Test Procedure ........................................................................................................................................ 10 5.5. Test Result .............................................................................................................................................. 11 6. BAND EDGE COMPLIANCE TEST ........................................................................................... 12 6.1. Block Diagram of Test Setup .................................................................................................................. 12 6.2. The Requirement For Section 15.249 ..................................................................................................... 12 6.3. EUT Configuration on Measurement ..................................................................................................... 12 6.4. Operating Condition of EUT .................................................................................................................. 12 6.5. Test Procedure ........................................................................................................................................ 12 6.6. Test Result .............................................................................................................................................. 13 7. AVERAGE FACTOR MEASUREMENT .................................................................................... 17 7.1. Block Diagram of Test Setup .................................................................................................................. 17 7.2. Average factor Measurement according to ANSI C63.10-2013 ............................................................. 17 7.3. EUT Configuration on Measurement ..................................................................................................... 17 7.4. Operating Condition of EUT .................................................................................................................. 17 7.5. Test Procedure ........................................................................................................................................ 18 7.6. Measurement Result ............................................................................................................................... 18 8. RADIATED SPURIOUS EMISSION TEST ................................................................................ 21 8.1. Block Diagram of Test Setup .................................................................................................................. 21 8.2. The Limit For Section 15.249 ............................................................................................................…
Text truncated - open the document above for the full version.
Test Setup Photos
Te s t P h o t o
Contact Information
Applicant
xianglie Wang(R&D)
Test Firm
Shenzhen Accurate Technology Co., Ltd.Lisa Zhang
[email protected]+86-755-26503290
Technical Specifications
| # | Rule Parts | Frequency Range | Power Output |
|---|---|---|---|
| 1 | 15C | 920 MHz - 920 MHz | - |
Other Applications from GD DIGITAL LTD
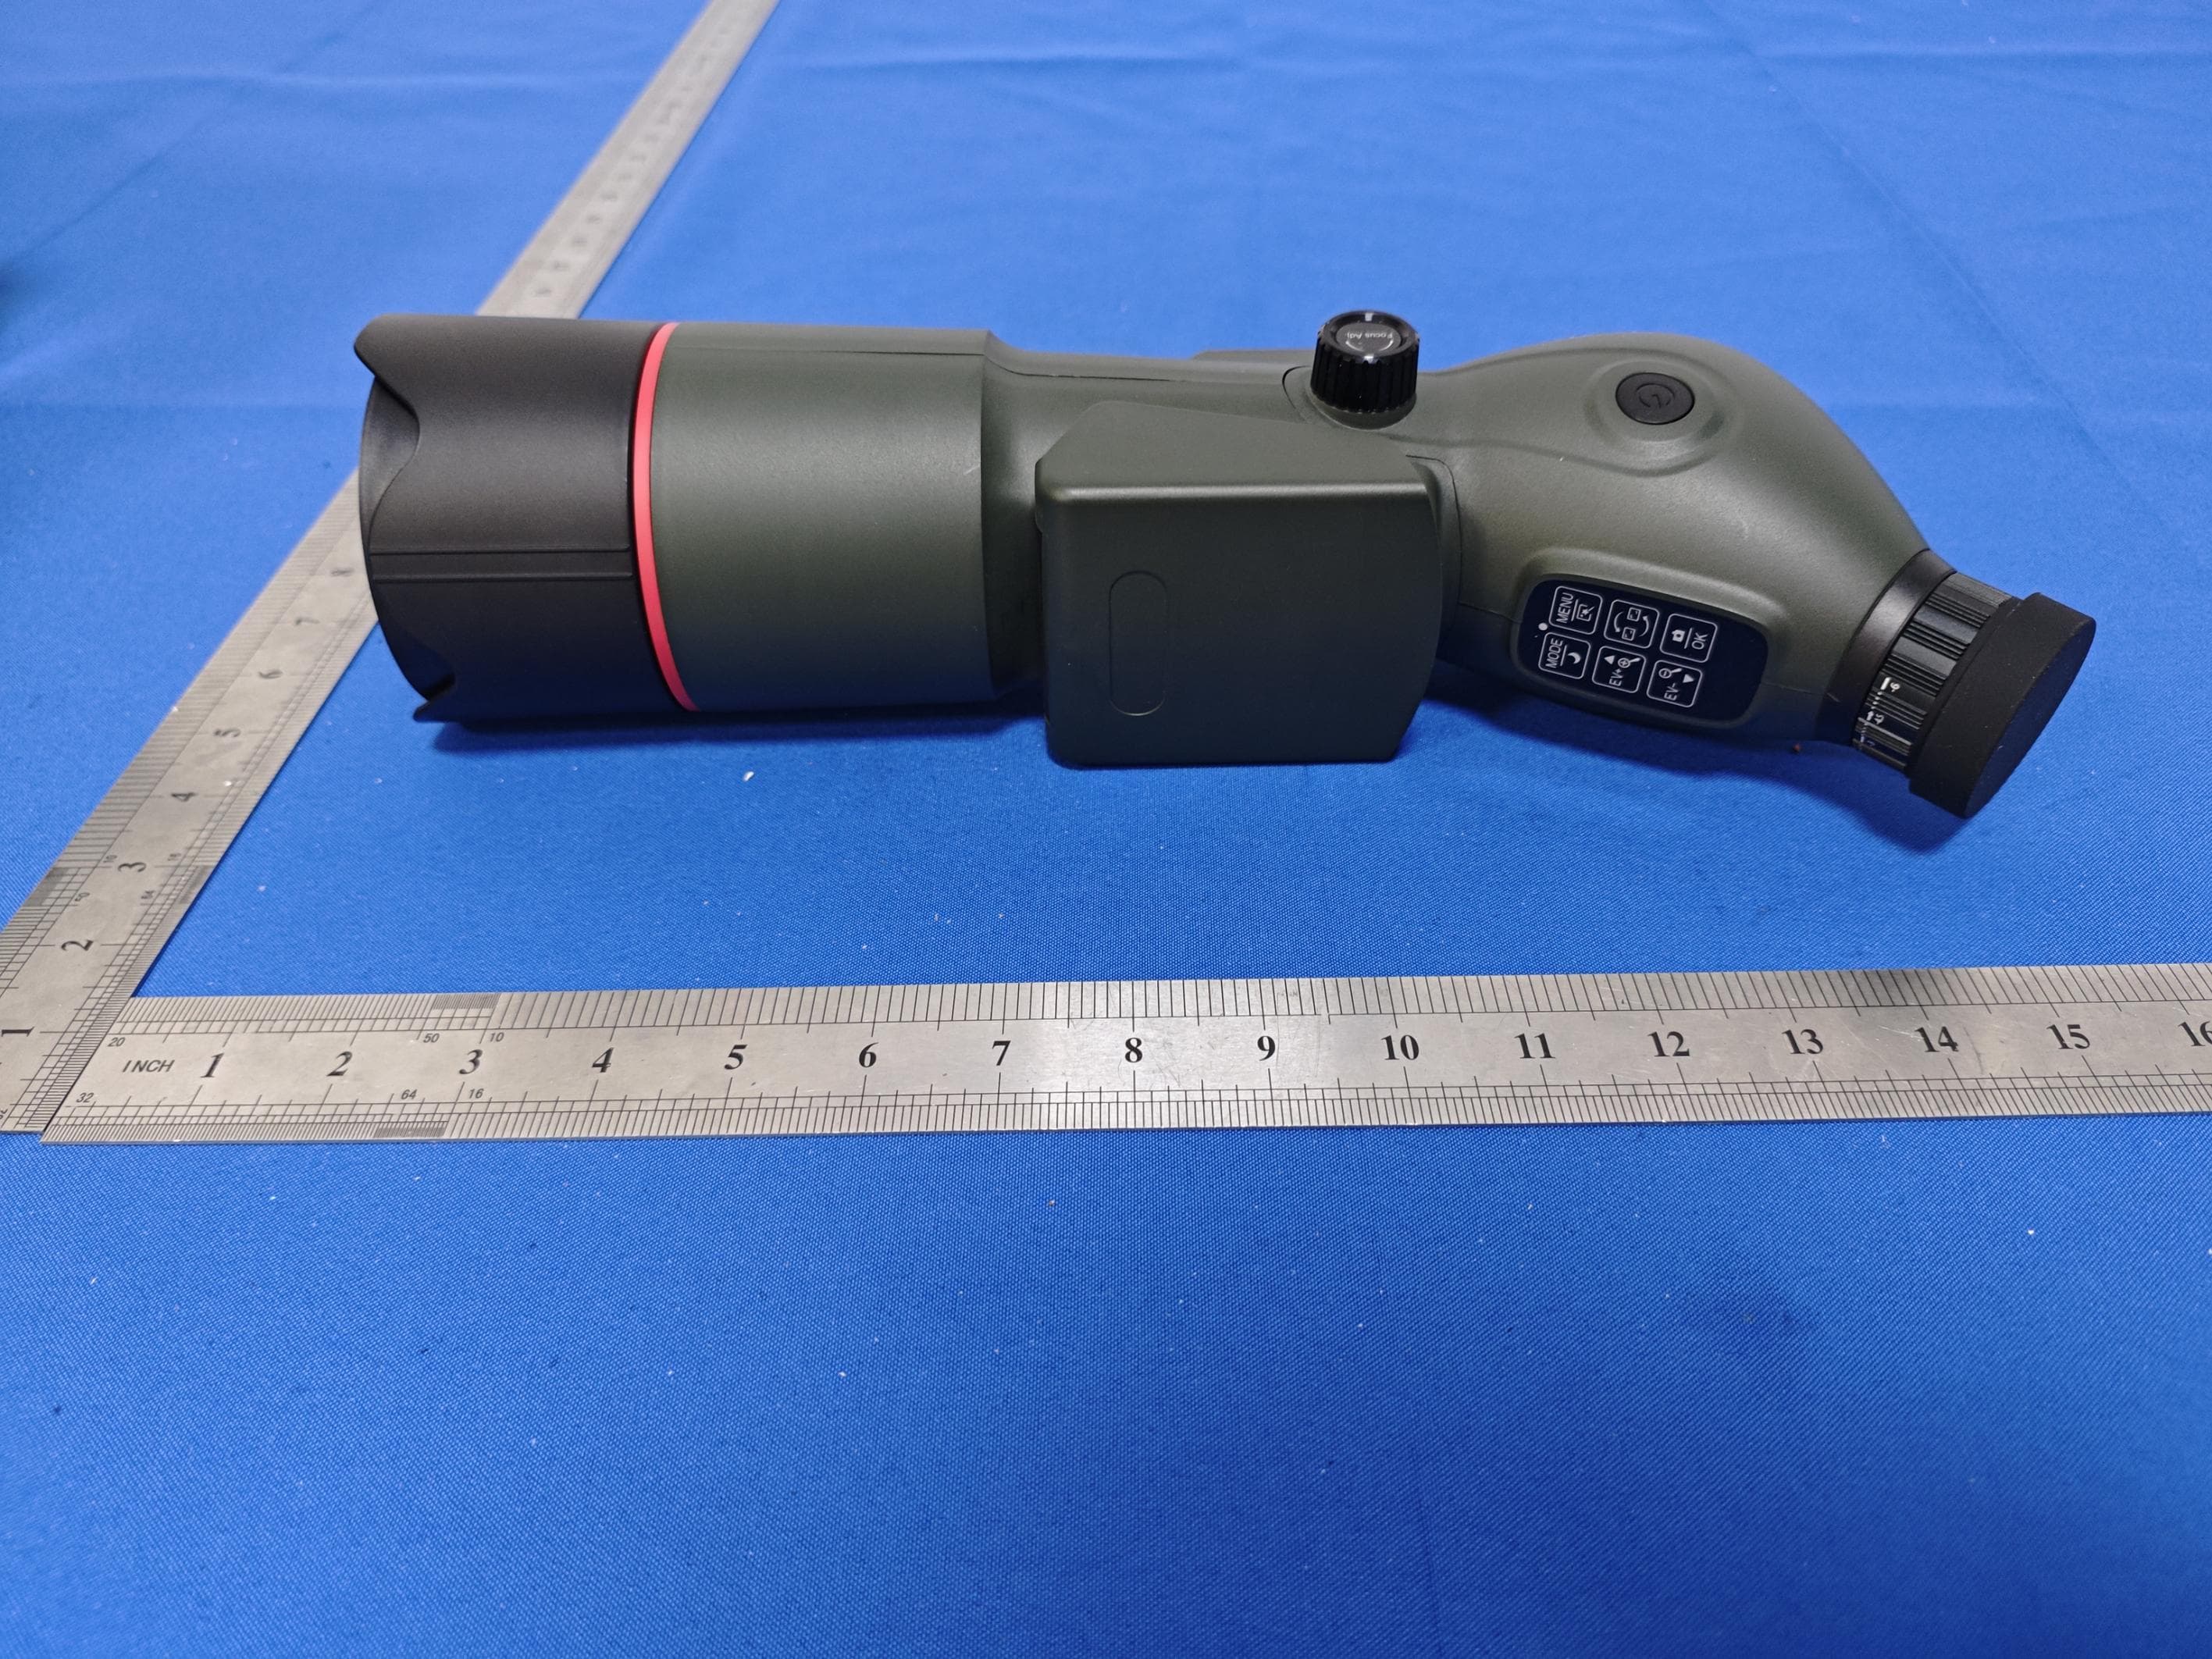
2AWNU-SPXX-80WIFI
Jul 08, 2026Digital Astronomical Telescope
Equipment Class
DTS - Digital Transmission System
2AWNU-BAA001
Sep 04, 2021USB-C to Bluetooth Audio Adapter
Equipment Class
DSS - Part 15 Spread Spectrum Transmitter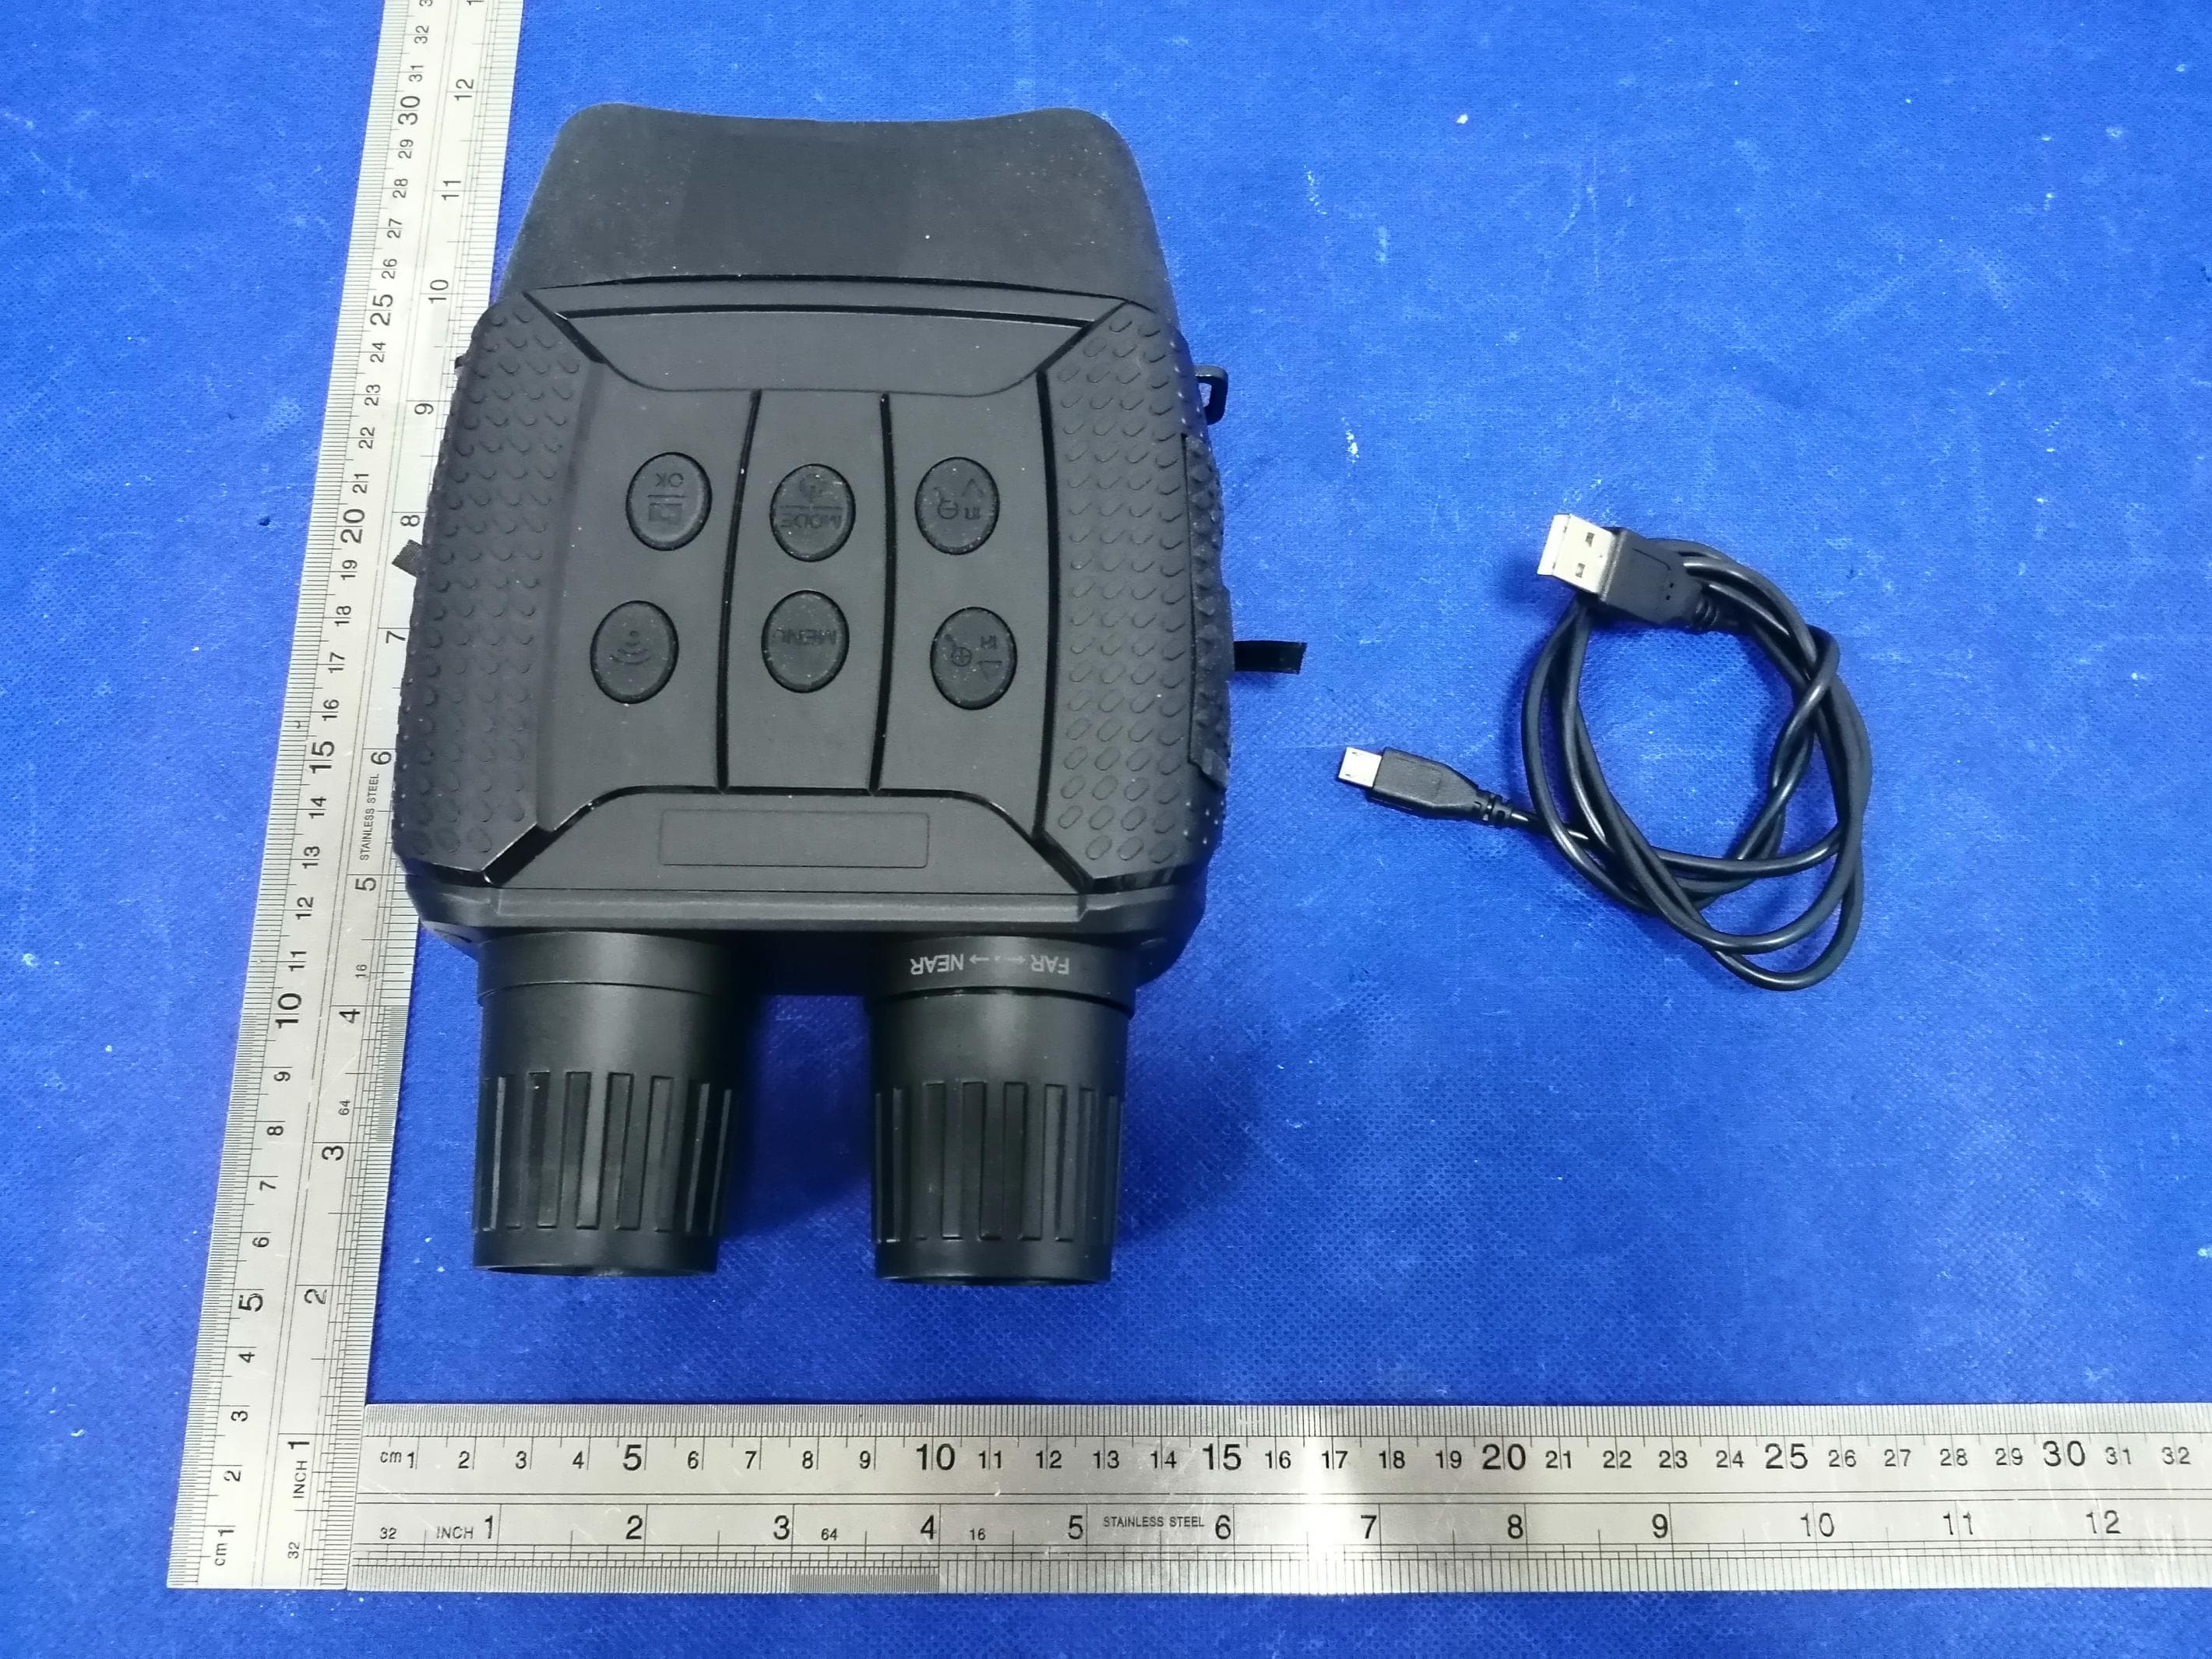
2AWNU-NV318X
Nov 09, 2020Night Vision
Equipment Class
DTS - Digital Transmission System
2AWNU-H88XWIFI
Jul 13, 2020Wild Camera
Equipment Class
DTS - Digital Transmission System