IYFTTX4022.4 GH Radio System Transmitter
Hobbico Inc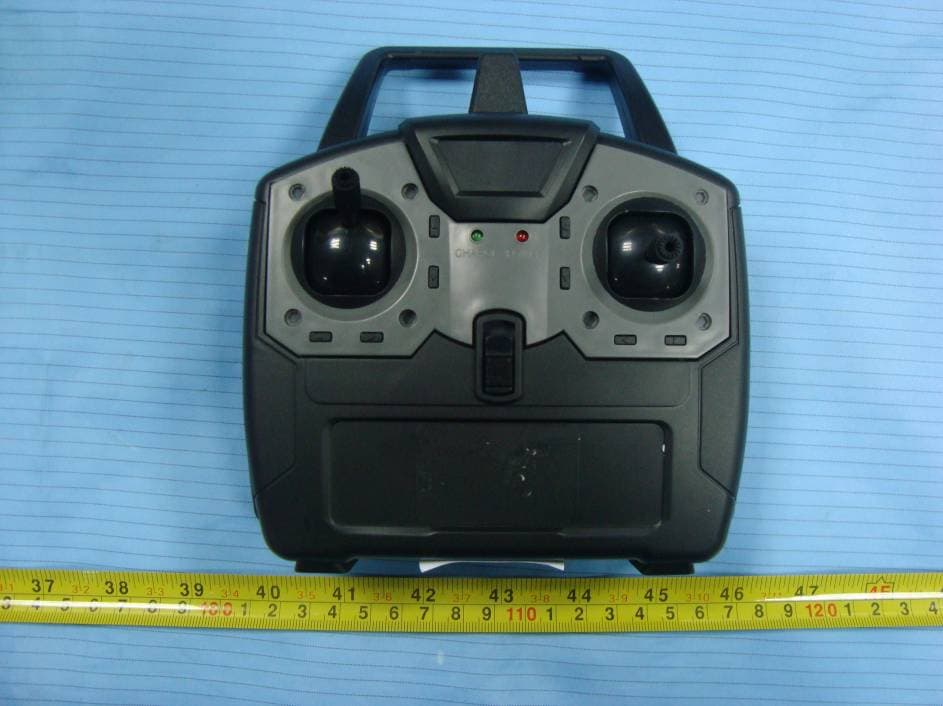
Click to zoom
Application Details
- Equipment Class
- DSS - Part 15 Spread Spectrum Transmitter
- Date of Grant
- Apr 21, 2011
- Application Purpose
- Original Equipment
- Date of Application
- Apr 21, 2011
- Equipment Note
- 2.4 GH Radio System Transmitter
- Frequency Range
- 2403.00000000 - 2480.00000000
- Company
- Hobbico Inc
- Country
- United States
Documents & Files
Document Text
Text extracted from the exhibit documents filed with the FCC. Open a document above to read the original.
Users Manual
The Tactic TTX402 Micro airplane radio system uses an advanced 2.4GHz spread spectrum technology to prevent outside interference from interrupting control of your model, ensuring error-free fl ying and eliminating the need to obtain frequency pins before every fl ight. Tactic 2.4GHz transmitters and receivers are not compatible with other brands of 2.4GHz equipment. For safe operation and best results, it’s strongly recommended you read this manual in its entirety before use! Also read and understand the instructions included with the model. Damage resulting from misuse or modifi cation will void your warranty. FEATURES Antenna Trim Buttons LED Charge Indicator Power Switch LED Power Indicator ● 2.4GHz frequency hopping spread spectrum technology ● Digital trims on all four channels ● Built-in charger for airborne 1S micro LiPo batteries ● Power status LED ● Transmitter can bind to multiple Tactic 2.4GHz receivers INSTRUCTION MANUAL TACJ2402 v1.0 2.4GHz 4-Channel Spread Spectrum Radio ™ TACJ2402 Mnl.indd 1TACJ2402 Mnl.indd 14/20/2011 9:51:24 AM4/20/2011 9:51:24 AM 2 TTX402 TRANSMITTER ( Tx ) The TTX402 4-Channel Micro airplane transmitter can be confi gured to operate as a 3-channel or 4-channel Tx. When confi gured for 4-channel operation the controls function like a normal Mode-2 transmitter with aileron + elevator on the right stick, and throttle + rudder on the left stick. Confi guring the Tx for 3-channel operation can help beginners concentrate on throttle control with one hand and full airplane directional control with the other hand. Here, the right stick operates elevator + rudder while the left stick will control the throttle. The aileron function will still be active, and now be on the left stick, but aileron control is often not needed for 3ch aircraft. See the diagram above for details. To change the TTX402 transmitter between 3ch and 4ch confi gurations: 1. Turn off the Tx power switch. 2. Move the right stick to the top-right corner, and the left stick to the top-left corner, and hold in these positions. 3. Move the Tx power switch to the On position. The power LED will fl ash, accompanied by three short tones from the Tx which indicates the Tx confi guration has been changed. Note that each time the Tx power switch is turned on you will hear either one short tone if the Tx is in the 3ch confi guration, or two short tones if the Tx is in the 4ch confi guration. TACJ2402 Mnl.indd 2TACJ2402 Mnl.indd 24/20/2011 9:51:26 AM4/20/2011 9:51:26 AM 3 INPUT POWER Five “AA” batteries are required to power the Tx (not included with individual radio systems). Non- rechargeable 1.5V alkaline, or 1.2V rechargeable nickel-cadmium (NiCd) or nickel-metal hydride (NiMH) cells can be used. Do not mix cell types, old and new cells, etc. See the SERVOS AND ACCESSORIES section on page 12 for optional products available at local hobby retailers. Slide the battery door down, and insert the cells. Make sure to note proper polarity for each cell. Reinstall the battery door. POWER LED, and LOW BATTERY ALARM The power LED should light when the power switch is moved upwards to the on position. The Tx should have adequate power for fl ight when the LED is on constantly. Anytime the LED begins to fl ash, accompanied by an audible tone, the Tx battery voltage has dropped too low and operation of the model should NOT be attempted! WARNING! Never operate an R/C model with weak Tx batteries! Reduced operational range and/or possible loss of control of the aircraft could result. Replace weak alkaline batteries, or re-charge NiCd or NiMH batteries before attempting a fl ight! If during a fl ight audible tones sound and the power LED starts to fl ash the Tx batteries have become weak and the aircraft should be landed as soon as possible! AILERON (CH1) Controls the moveable surfaces at the trailing edge of the main wings to rotate the airplane about the “roll” axis (an imaginary line which extends from the airplane’s nose to the tail). Since every airplane is different, the direction of movement for the aileron channel may need to be reversed so that moving the aileron stick to the right will cause the airplane’s right aileron to defl ect up, thus causing the right wing to drop and the airplane will bank to the right. Moving the aileron stick to the left will cause the airplane’s left wing to drop and the airplane will bank to the left. This is one important method for turning the aircraft. When the Tx is set to the 3ch confi guration the aileron channel will not be used. ELEVATOR (CH2) Controls the moveable horizontal surfaces on the airplane’s tail to rotate the airplane about the “pitch” axis (an imaginary line extending through the center of both main wings, from one wing tip to the other wing tip). The direction of movement for the elevator channel may need to be reversed so that pulling the elevator stick back (towards you) will cause the elevator to defl ect up, thus causing the nose of the airplane to rise. Pushing the elevator stick forward (away from you) will cause the nose of the airplane to drop. TACJ2402 Mnl.indd 3TACJ2402 Mnl.indd 34/20/2011 9:51:26 AM4/20/2011 9:51:26 AM 4 THROTTLE (CH3) Controls the speed (R.P.M.) at which the motor operates. Pushing the throttle stick forward will cause the motor’s speed to increase. Pulling the throttle stick back will cause the motor’s speed to decrease. Always place the throttle stick at the low position before switching on the transmitter. RUDDER (CH4) Controls the side-to-side movement of the airplane’s tail and will rotate the airplane about the “yaw axis” (an imaginary line from the top of the airplane’s fuselage to the bottom of the fuselage, located near the center-point of the fuselage). The direction of movement for the rudder channel may need to be reversed so that moving the rudder stick to the right causes the rudder to defl ect to the right, thus causing the nose of the airplane to point to the right. Moving the rudder stick to the left will cause…
Text truncated - open the document above for the full version.
External Photos
EXHIBIT B - EUT EXTERNAL PHOTOGRAPHS EUT – Top View EUT – Bottom View EUT – Front View EUT – Rear View EUT – Left View EUT – Right View
ID Label/Location Info
EXHIBIT A - FCC ID LABELING AND LOCATION FCC ID Label and Statement The label shown shall be permanently affixed at a conspicuous location on the device and be readily visible to the user at the time purchase (Labeling requirements per 2.925)
Internal Photos
EXHIBIT C - EUT INTERNAL PHOTOGRAPHS EUT – Battery off View EUT – Cover off View 1 EUT – Cover off View 2 Antenna EUT – Cover off View 3 EUT – Internal View EUT – Main Board Top View EUT – Main Board Bottom View
Test Report
Note: This test report is prepared for the customer shown above and for the device described herein. It may not be duplicated or used in part without prior written consent from Bay Area Compliance Laboratories Corp. This report must not be used by the customer to claim product certification, approval, or endorsement by NVLAP*, NIST, or any agency of the Federal Government. * This report contains data that are not covered by the NVLAP accreditation and are marked with an asterisk “★” (Rev.2) FCC PART 15.247 MEASUREMENT AND TEST REPORT For Hobbico, Inc. 2904 Research Road, Champaign, Illinois 61826, USA FCC ID: IYFTTX402 Report Type: Original Report Product Type: 2.4 GHz Radio System Transmitter Test Engineer: Sula Huang Report Number: RSZ11013006 Report Date: 2011-04-21 Reviewed By: Merry Zhao EMC Engineer Prepared By: Bay Area Compliance Laboratories Corp. (Shenzhen) 6/F, the 3rd Phase of WanLi Industrial Building, ShiHua Road, FuTian Free Trade Zone Shenzhen, Guangdong, China Tel: +86-755-33320018 Fax: +86-755-33320008 Hobbico, Inc. FCC ID: IYFTTX402 Report No.: RSZ11013006 Page 2 of 31 FCC Part15.247 Test Report TABLE OF CONTENTS GENERAL INFORMATION.......................................................................................................................................4 PRODUCT DESCRIPTION FOR EQUIPMENT UNDER TEST (EUT) .....................................................................................4 OBJECTIVE...................................................................................................................................................................4 RELATED SUBMITTAL(S)/GRANT(S).............................................................................................................................4 TEST METHODOLOGY..................................................................................................................................................4 TEST FACILITY.............................................................................................................................................................4 SYSTEM TEST CONFIGURATION ..........................................................................................................................6 DESCRIPTION OF TEST CONFIGURATION......................................................................................................................6 EQUIPMENT MODIFICATIONS.......................................................................................................................................6 EUT EXERCISE SOFTWARE..........................................................................................................................................6 BLOCK DIAGRAM OF TEST SETUP................................................................................................................................6 SUMMARY OF TEST RESULTS ...............................................................................................................................7 FCC §15.247(i) & §2.1091- MAXIMUM PERMISSIBLE EXPOSURE (MPE)...........................................................8 APPLICABLE STANDARD..............................................................................................................................................8 TEST DATA..................................................................................................................................................................8 FCC §15.203 – ANTENNA REQUIREMENT ............................................................................................................9 APPLICABLE STANDARD..............................................................................................................................................9 ANTENNA CONNECTOR CONSTRUCTION......................................................................................................................9 FCC §15.205, §15.209 & §15.247(d) – RADIATED EMISSIONS...........................................................................10 APPLICABLE STANDARD............................................................................................................................................10 MEASUREMENT UNCERTAINTY..................................................................................................................................10 EUT SETUP................................................................................................................................................................10 EMI TEST RECEIVER & SPECTRUM ANALYZER SETUP..............................................................................................11 TEST PROCEDURE......................................................................................................................................................11 CORRECTED AMPLITUDE & MARGIN CALCULATION.................................................................................................11 TEST EQUIPMENT LIST AND DETAILS.........................................................................................................................11 TEST RESULTS SUMMARY..........................................................................................................................................12 TEST DATA................................................................................................................................................................12 FCC §15.247(a) (1) - CHANNEL SEPARATION TEST .........................................................................................15 APPLICABLE STANDARD............................................................................................................................................15 TEST EQUIPMENT LIST AND DETAILS.........................................................................................................................15 TEST PROCEDURE.................…
Text truncated - open the document above for the full version.
Test Setup Photos
EXHIBIT D - TEST SETUP PHOTOGRAPHS Below 1 GHz: Radiated Emissions - Front View Below 1 GHz: Radiated Emissions - Rear View Above 1 GHz: Radiated Emissions - Front View Above 1 GHz: Radiated Emissions - Rear View
Contact Information
Applicant
Neal Cloud(Senior Product Manager)
Test Firm
Bay Area Compliance Laboratory Corp. (Shenzhen)John Chan
Technical Specifications
| # | Rule Parts | Frequency Range | Power Output |
|---|---|---|---|
| 1 | 15C | 2.40 GHz - 2.48 GHz | 1.00 mW |
Other Applications from Hobbico Inc
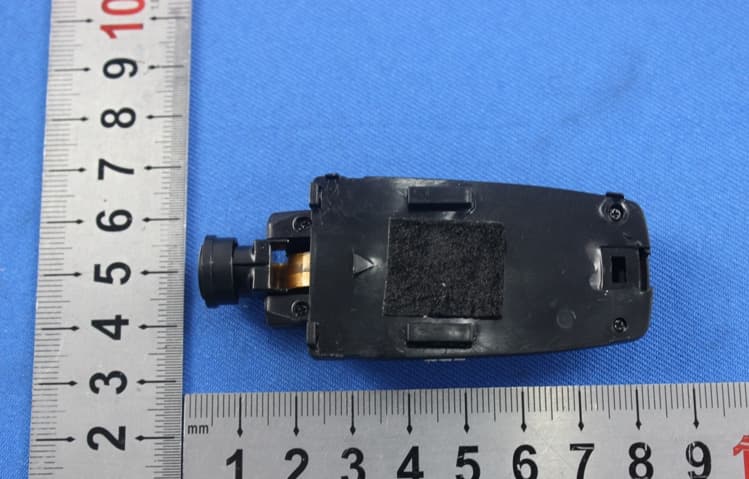
IYFZ1000
Oct 08, 2015wifi module (only for the camera)
Equipment Class
DTS - Digital Transmission System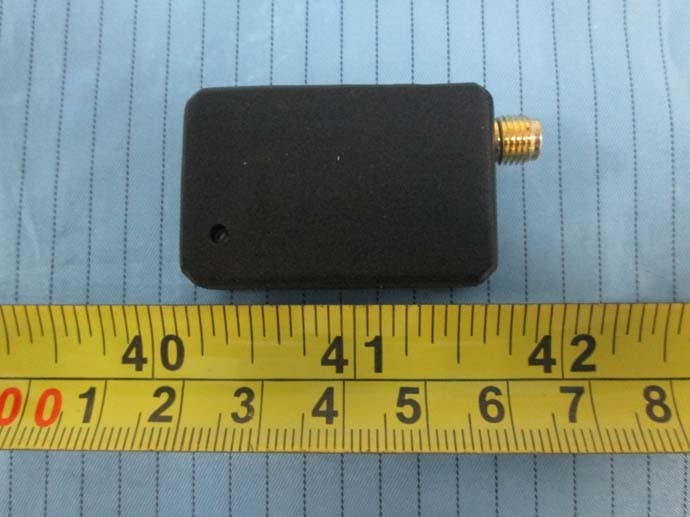
IYFFPVT1
Sep 28, 2015Tactic FPV-T1 5.8GHz 25mW Transmitter
Equipment Class
DXX - Part 15 Low Power Communication Device Transmitter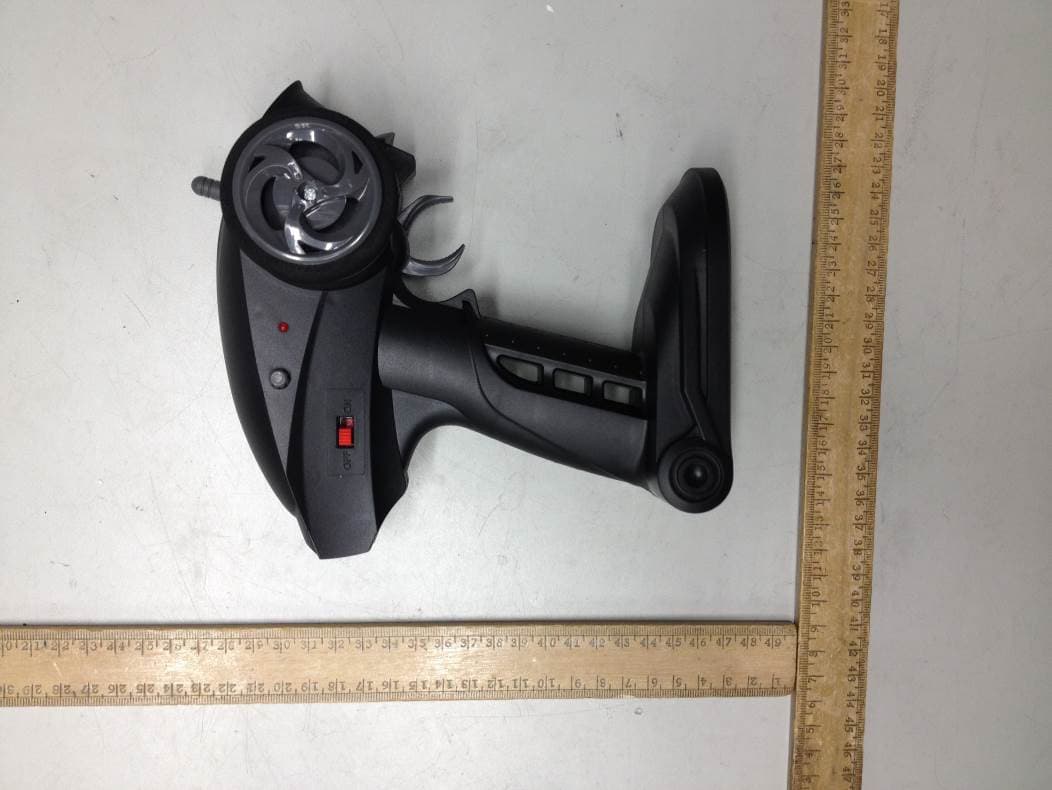
IYFRVLC01
Sep 08, 2015Radio Control Toy Transmitter (2.4GHz)
Equipment Class
DXX - Part 15 Low Power Communication Device Transmitter
IYFDIDJ1001
Aug 28, 2015D103
Equipment Class
DSS - Part 15 Spread Spectrum Transmitter
IYFMR100
Jul 01, 2015Radio controlled model quadcopter and transmitter/receiver
Equipment Class
DXX - Part 15 Low Power Communication Device Transmitter