V8VCNE8121CLARIONALL IN ONE DVD PLAYER
SKYPINE ELECTRONICS (SHEN ZHEN) CO., LTD.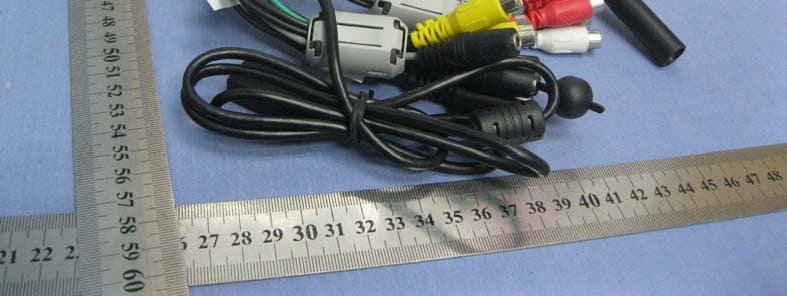
Click to zoom
Application Details
- Equipment Class
- DSS - Part 15 Spread Spectrum Transmitter
- Date of Grant
- Dec 13, 2012
- Application Purpose
- Original Equipment
- Date of Application
- Dec 13, 2012
- Equipment Note
- ALL IN ONE DVD PLAYER
- Frequency Range
- 2402.00000000 - 2480.00000000
- Country
- China
Documents & Files
Document Text
Text extracted from the exhibit documents filed with the FCC. Open a document above to read the original.
Users Manual
1 Operational Panel IR BND /END PS NAVI/AV ISR/SEN D 2 Changes or modifications to this unit not expressly approved by the party responsible for compliance could void the user’s authority to operate the equipment. NOTE: This equipment has been tested and found to comply with the limits for a Class B digital device, pursuant to Part 15 of the FCC Rules. These limits are designed to provide reasonable protection against harmful interference in a residential installation. This equipment generates, uses and can radiate radio frequency energy and, if not installed and used in accordance with the instructions, may cause harmful interference to radio communications. However, there is no guarantee that interference will not occur in a particularinstallation. If this equipment does cause harmful interference to radio ortelevision reception, which can be determined by turning the equipment off andon, the user is encouraged to try to correct the interference by one or more of 3 the following measures: Reorient or relocate the receiving antenna. Increase the separation between the equipment and receiver. Connect the equipment into an outlet on a circuit different from that to which the receiver is connected. Consult the dealer or an experienced radio/TV technician for help. This equipment complies with FCC RF radiation exposure limits set forth for an uncontrolled environment. This equipment should be installed and operated with a minimum distance of 20 centimeters between the radiator and your body. "RSS-Gen Issue 3 December 2010"&"CNR-Gen 3 edition Decembre 2010 " Functions of Buttons [NAVI/AV] Button • Press this button to enter navigation mode; press again to return current source. • Press and hold this button for 3 seconds to display the brightness setting panel. • Press this key to change display of sub LCD when panel is closed. [] Eject • Press to eject disc from unit. [MIC] •Internal microphone for use during Bluetooth phone calls. Sensitivity can be adjusted from the Settings menu. [RESET] Button •Press this button to hardware reset the unit. Note: when the [RESET] button is pressed, frequencies of radio station, titles, etc. 4 stored in memory are cleared. [AUX1 JACK] •AUX 1 Connector. [], [] Buttons • Press to search previous or next station or channel in Tuner, SiriusXM modes. • Press to search previous or next track or chapter in CD, MP3/WMA, iPod and DVD video modes. • Press and hold to fast forward or fast backward by 2x, 4x, 8x, 16x step in CD, MP3/WMA and DVD video modes. • Press and hold to fast forward or fast backward in iPod mode. • Press and hold to enter manual seek status in Tuner mode, then press briefly to seek station by step. [ ] Button •Press to play/pause audio or video. •Press to MUTE in Tuner mode. •Press and hold to stop audio or video files. [VOL+],[VOL-] Buttons Press to increase and decrease volume. [OPEN] Button • Press this button to open/close TFT panel. •Press and hold to enter TFT panel angle setting options. [MENU/PWR] Button • Press this button to display main menu, press again to return current source in power on mode. • Press this button to turn on the power in power off mode. • Keep pressing this button more than 2 seconds to turn off the power in power on mode. [BND/END PS]Button BND Function: •Press this button to enter AM/FM tuner mode from any source. • Once in AM/FM tuner mode, you can press into change bands among FM1, FM2, FM3,AM bands. • Press and hold to start Preset Scan. Press again to stop. END Function: Only be available when a call incoming or in telephone talking. • Press to reject call when a call incoming. • press to end a call when in telephone talking. 5 [ISR/SEND] Button ISR Function: When in tuner mode, press and hold this button for 3 seconds to save current station and band to ISR memory, and at the same time, the tuner will enter ISR mode with current station. Note: In ISR mode, the tuning operation is disabled. Press this button again to quit ISR mode. When in the other mode but not tuner mode, press this key will go to ISR memory station directly, it likes a shortcut. Press this key again to go back to previous mode. SEND Function: Only be available when there is a coming call. • Press this key to accept the coming call. •Press to switch to private mode when in talking. [IR] SENSOR • Receiver for the remote control unit (operating range: 30 degree in all directions). [microSD] • Insert a microSD in this. Note: The microSD card is only for navigation. Please don’t remove it. Otherwise, the navigation function will be disabled. Remote Control 6 Replacing the batteries 1. Press the retention tab and pull out the battery tray and remove the old battery. 2. Insert the new CR2025 battery and slide the battery tray back in the remote control the same direction that you removed it. Please ensure the tray is inserted in the correct direction. Note: Using batteries improperly can cause them to explode. Take note of the following points: • When replacing batteries, replace both batteries with new ones. • Do not short-circuit, disassemble or heat batteries. • Do not dispose of batteries into fire or flames. • Dispose of spent batteries properly. Note: • The wireless remote control operation may not be optimal in direct sunlight. Functions of Remote Control Buttons 7 [/] Button • Press this button to play or pause video and audio media. • Press this button more than 1 second to stop video and audio media. •Press to MUTE in Tuner mode. [MUTE] Button Mute or unmute the speaker. •The symbol on upper right area of the screen indicates that speaker is muted. [POWER/SRC] Button • Press this button to move the focus to next available source item on main menu. • Press this button to power on when the unit is power off. • Press this button more than 1 second to power off when the unit is power on. [0 - 9] Buttons • Use in the Key Pad screen to select the radio or Satellite Radio. • Use to select the track in the track list screen. • Press to …
Text truncated - open the document above for the full version.
Cover Letter(s)
SCS-F19: Confidentiality Request Letter Page 1 of 2 Rev 3.0 775 Montague Expressway Milpitas, CA 95035 Tel: 408-526-1188 Fax: 408-526-1088 Email: [email protected] Confidentiality Request Letter Revision History Reason for Amendment (current / obsolete) From To Approved Date Initial Release (obsolete) 1.0 1.0 Nov-14-2006 Adding CFR 2.459 (obsolete) 1.0 2.0 August – 11 - 2008 Updated company template & Added text box (current) 2.0 3.0 Jan-31-2012 SCS-F19: Confidentiality Request Letter Page 2 of 2 Rev 3.0 Nov. 19, 2012 To: Federal Communications Commission Authorization and Evaluation Division 7435 Oakland Mills Road Columbia, MD Subject: Permanent Confidentiality Request for FCC ID: V8VCNE8121CLARION We hereby request confidential treatment of information accompanying this application as outlined below: - Block Diagram - Circuit(Schematic) - description(Operation description) The above materials contain trade secrets and proprietary information not customarily released to the public. The public disclosure of these materials may be harmful to the applicant and provide unjustified benefits to its competitors. The applicant understands that pursuant to Section 0.457 & 0.459 of the Rules, disclosure of this application and all accompanying documentation will not be made before the date of the Grant for this application. Sincerely, Client’s signature : Client’s name / title : Aaron zheng / Vice President Contact information / address: A1 Building, No.6 Xinxing Industrial Park Xinhe Village, Fuyong Town, Baoan, Shenzhen City, 518103
Cover Letter(s)
Contact information / address: A1 Building, No.6 Xinxing Industrial Park Xinhe Village, Fuyong Town, Baoan, Shenzhen City, 518103 Client’s name : Aaron zheng
External Photos
EXTERNAL PHOTOGRAPHS OF EUT External View of EUT-1 External View of EUT-2 External View of EUT-3 External View of EUT-4
ID Label/Location Info
Label Location Label Contents Label Size: L75mm*W65mm
Internal Photos
INTERNAL PHOTOGRAPHS OF EUT Internal View of EUT-1 Internal View of EUT-2 Bluetooth Module Internal View of EUT-3 Internal View of EUT-4 Internal View of EUT-5 Internal View of EUT-6 Antenna Connector Internal View of EUT-7 (Bluetooth Module) Internal View of EUT-8 (Bluetooth Module) Antenna Connector
RF Exposure Info
FCC ID: V8VCNE8121CLARION RF Exposures Evaluation For Maximum Permissible Exposure (MPE) evaluation of the product, the maximum power density at 20 cm from this transmitter shall be less than the General Population / Uncontrolled MPE limit in OET Bulletin 65. For the EUT of tested model NAR, the measured maximum field strength measured (FS) was 86.0 dBμV/m. The distance (D) between the antenna and the equipment under test (EUT) was 3 meters. From these data, the exposed power density at a distance (R) of 20cm from the center of radiation of the antenna can be calculated according to OET Bulletin 65 as follow: The radiated power = (FS*D) 2 / 30 = 0.119mW The power density at 20 cm from the antenna = EIRP / = 0.000024 mW cm -2 In the frequency range of 2.4-2.4835GHz, the MPE limit is 1.0 mWcm -2 for general population and uncontrolled exposure. As the measured power density at 20cm from the transmitter is lower than the MPE limit, the compliance to the MPE limit can be ensured by indicating the minimum 20cm separation between the transmitter's radiating structures and body of the user or nearby persons. The following RF exposure statement is proposed to be included in the user manual: “This equipment complies with FCC RF radiation exposure limits set forth for an uncontrolled environment. This equipment should be installed and operated with a minimum distance of 20 centimeters between the radiator and your body.”
Test Report
Report No. : EESZE11190004 Page 2 of 44 TABLE OF CONTENTS Description Page 1. GENERAL INFORMATION ......................................................................................................................... 4 2. TEST SUMMARY ........................................................................................................................................ 5 3. MEASUREMENT UNCERTAINTY .............................................................................................................. 5 4. PRODUCT INFORMATION ......................................................................................................................... 5 5. SYSTEM TEST CONFIGURATION.............................................................................................................. 6 6. TEST EQUIPMENT LIST............................................................................................................................. 7 7. SUPPORT EQUIPMENT LIST .................................................................................................................... 7 8. 20DB BANDWIDTH MEASUREMENT ....................................................................................................... 8 8.1. LIMITS ................................................................................................................................................. 8 8.2. BLOCK DIAGRAM OF TEST SETUP.................................................................................................. 8 8.3. TEST PROCEDURE ........................................................................................................................... 8 8.4. TEST RESULT .................................................................................................................................... 8 9. CARRIER FREQUENCY SEPARATION ...................................................................................................11 9.1. LIMITS ............................................................................................................................................... 11 9.2. BLOCK DIAGRAM OF TEST SETUP................................................................................................ 11 9.3. TEST PROCEDURE ......................................................................................................................... 11 9.4. TEST RESULT .................................................................................................................................. 11 10. NUMBER OF HOPPING FREQUENCY................................................................................................ 14 10.1. LIMITS ............................................................................................................................................... 14 10.2. BLOCK DIAGRAM OF TEST SETUP................................................................................................ 14 10.3. TEST PROCEDURE ......................................................................................................................... 14 10.4. TEST RESULT .................................................................................................................................. 14 11. TIME OF OCCUPANCY (DWELL TIME)................................................................................................... 15 11.1. LIMITS ............................................................................................................................................... 15 11.2. BLOCK DIAGRAM OF TEST SETUP................................................................................................ 15 11.3. TEST PROCEDURE ......................................................................................................................... 15 11.4. TEST RESULT .................................................................................................................................. 15 Report No. : EESZE04010009-2 Page 3 of 44 12. MAXIMUM PEAK CONDUCTED OUTPUT POWER MEASUREMENT .............................................. 19 12.1. LIMITS ............................................................................................................................................... 19 12.2. BLOCK DIAGRAM OF TEST SETUP................................................................................................ 19 12.3. TEST PROCEDURE ......................................................................................................................... 19 12.4. TEST RESULT .................................................................................................................................. 19 13. BAND EDGE EMISSION MEASUREMENT ......................................................................................... 22 13.1. LIMITS ............................................................................................................................................... 22 13.2. BLOCK DIAGRAM OF TEST SETUP................................................................................................ 22 13.3. TEST PROCEDURE ......................................................................................................................... 22 13.4. TEST RESULT .................................................................................................................................. 22 14. SPURIOUS RF CONDUCTED EMISSIONS MEASUREMENT ........................................................... 24 14.1. LIMITS ............................................................................................................................................... 24 14.2. BLOCK DIAGRAM OF TEST SETUP................................................................................................ 24 14.3. TEST PROCEDURE ......................................................................................................................... 2…
Text truncated - open the document above for the full version.
Test Setup Photos
TEST SETUP PHOTOS TEST SETUP OF RADIATED EMISSION (30MHz-1GHz) TEST SETUP OF RADIATED EMISSION (above 1GHz)
Contact Information
Applicant
bobe Li(Senior Director)
Test Firm
Centre Testing InternationalLouisa Lu
[email protected]86-755-33683919
Technical Specifications
| # | Rule Parts | Frequency Range | Power Output |
|---|---|---|---|
| 1 | 15C | 2.40 GHz - 2.48 GHz | 1.49 mW |
Other Applications from SKYPINE ELECTRONICS (SHEN ZHEN) CO., LTD.
V8V-WZA12000
Jan 28, 2026Car Multimedia
Equipment Class
DSS - Part 15 Spread Spectrum Transmitter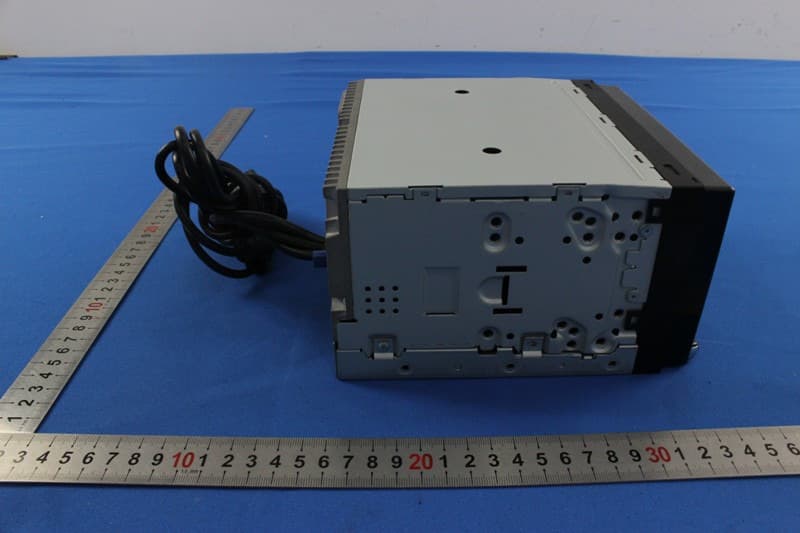
V8VNX706
Dec 13, 2015ALL IN ONE DVD PLAYER
Equipment Class
DTS - Digital Transmission System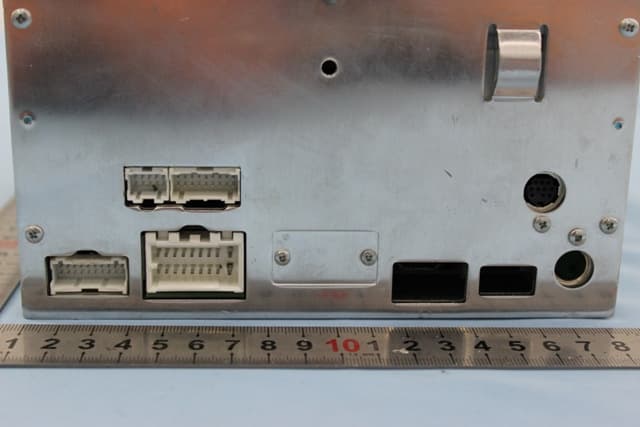
V8VCES8243CL
Dec 21, 2014All In One DVD Player
Equipment Class
DTS - Digital Transmission System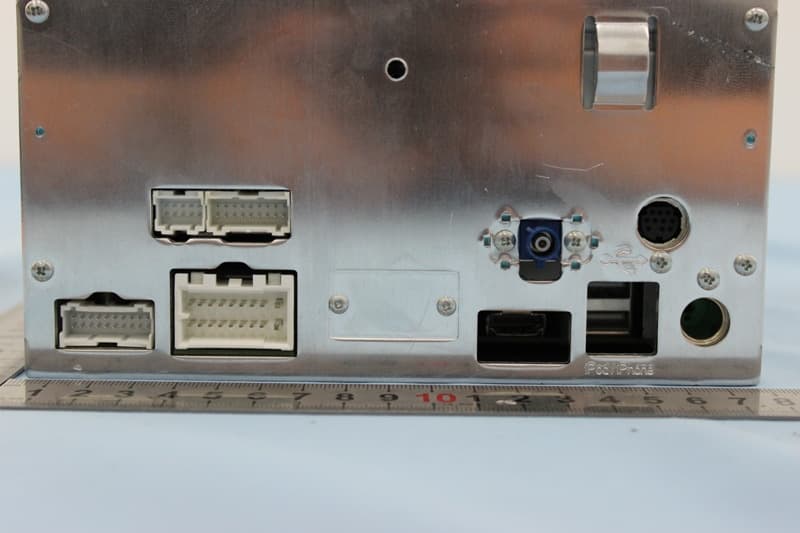
V8VCNE8243CCL
Dec 21, 2014All In One DVD Player
Equipment Class
DTS - Digital Transmission System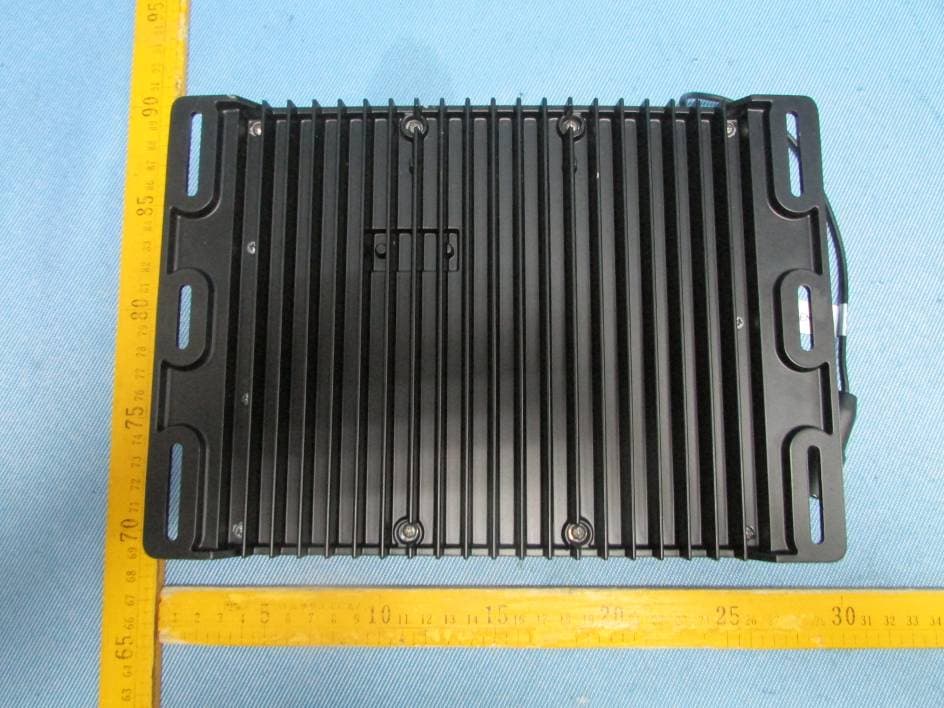
V8VMW4
Jul 07, 2014MARINE AUDIO SYSTEMS
Equipment Class
DSS - Part 15 Spread Spectrum Transmitter