ZNFE410FCellular/PCS GSM and Cellular WCDMA Phone with WLAN and Bluetooth
LG Electronics USA, Inc.
Click to zoom
Application Details
- Equipment Class
- DSS - Part 15 Spread Spectrum Transmitter
- Date of Grant
- Jun 19, 2013
- Application Purpose
- Original Equipment
- Date of Application
- Jun 18, 2013
- Equipment Note
- Cellular/PCS GSM and Cellular WCDMA Phone with WLAN and Bluetooth
- Frequency Range
- 2402.00000000 - 2480.00000000
- Company
- LG Electronics USA, Inc.
- Country
- United States
Documents & Files
Document Text
Text extracted from the exhibit documents filed with the FCC. Open a document above to read the original.
Users Manual
User Guide LG-E410f 00000000 (1.0) www.lg.com ENGLISH User Guide • Screen displays and illustrations may differ from those you see on an actual phone. • Some of the contents of this guide may not apply to your phone, depending on the software and your service provider. All information in this document is subject to change without notice. • This handset is not suitable for people who are visually impaired, due to the touch screen keyboard. • Copyright ©2013 LG Electronics, Inc. All rights reserved. LG and the LG logo are registered trademarks of LG Group and its related entities. All other trademarks are the property of their respective owners. • Google™, Google Maps™, Gmail™, YouTube™ and Play Store™ are trademarks of Google, Inc. ENGLISH 2 Table of contents For your safety ..........................................5 Safety instructions .................................12 Important notice .....................................20 Getting to know your phone ...................25 Phone overview .....................................25 Installing the SIM card and battery .........27 Charging your phone .............................29 Reducing the battery consumption ........31 Using the memory card..........................31 Locking and unlocking the screen ..........33 Your Home screen ...................................34 Touch screen tips ..................................34 Home screen .........................................35 Home Screen Overview ........................35 Navigating Through the Home Screens ..35 Navigating Through the Application Menu ..................................................36 Navigating Through the Sub-Menus ......36 Customizing the Screen .........................37 Changing the Wallpaper of Home screen ... 37 Creating Shortcuts on Home screen ......37 Adding and Removing Widgets on Home screen ................................................38 Customizing the Apps Menu screen ......39 Returning to recently-used applications .39 Notifications ..........................................39 Swipe down for notifications & settings .40 Quick Settings .....................................40 Indicator icons on the Status Bar ..........41 Onscreen keyboard ................................42 Entering accented letters ......................42 Google account setup .............................43 Connecting to Networks and Devices ....44 Wi-Fi .....................................................44 Connecting to Wi-Fi networks ...............44 Turning Wi-Fi on and connecting to a Wi-Fi network ...............................................44 Bluetooth ...............................................45 Sharing your phone's data connection ...46 PC connections with a USB cable ...........48 Calls ........................................................50 Making a call .........................................50 Calling your contacts .............................50 Answering and rejecting a call ...............50 Adjusting the in-call volume ...................51 Making a second call .............................51 Viewing your call logs ............................51 Call settings ...........................................52 Contacts ..................................................53 Searching for a contact ..........................53 Adding a new contact ............................53 Favorite contacts ...................................53 Creating a group ....................................54 Messaging ...............................................55 Sending a message ...............................55 3 Threaded box .......................................56 Changing your message settings ...........56 E-mail ......................................................57 Managing an email account ...................57 Working with account folders .................57 Composing and sending email ...............58 Camera ....................................................59 Getting to know the viewfinder ..............59 Using the advanced settings ..................60 Taking a quick photo .............................61 Once you've taken a photo.....................61 Viewing your saved photos ....................63 Video camera ..........................................64 Getting to know the viewfinder ..............64 Using the advanced settings ..................65 Recording a quick video .........................65 After recording a video...........................66 Watching your saved videos ..................66 Adjusting the volume when viewing a video .....................................................66 LG Unique Function.................................67 QuickMemo function ..............................67 Using the QuickMemo options ..............68 Viewing the saved QuickMemo ............68 LG SmartWorld ......................................69 How to Get to LG SmartWorld from Your Phone .................................................69 How to use LG SmartWorld ...................69 Multimedia ..............................................71 Gallery ...................................................71 Viewing pictures ..................................71 Playing videos .....................................72 Editing photos......................................72 Deleting images ...................................72 Setting as wallpaper ............................72 Videos ...................................................72 Playing a video ....................................73 Music ....................................................73 Add music files to your phone ...............73 Transfer music using Media sync (MTP) 74 Playing a song .....................................74 Utilities ....................................................76 Setting your alarm .................................76 Using your calculator .............................76 Adding an event to your calendar ...........76 Voice Recorder ......................................77 …
Text truncated - open the document above for the full version.
Users Manual
41 Indicator icons on the Status Bar Indicator icons appear on the status bar at the top of the screen to report missed calls, new messages, calendar events, device status and more. The icons displayed at the top of the screen provide information about the status of the device. The icons listed in the table below are some of the most common ones. IconDescriptionIconDescription No USIM cardVibrate mode No signalBattery fully charged Airplane modeBattery is charging Connected to a Wi-Fi networkDownloading data Wired headsetUploading data Call in progressGPS is acquiring Call hold Receiving location data from GPS SpeakerphoneData is syncing Missed callNew Gmail Bluetooth is onNew message System warningSong is playing 42 Your Home screen Alarm is set Phone is connected to PC via USB cable or USB tethering is active New voicemail Portable Wi-Fi hotspot is active Ringer is silenced Both USB tethering and portable hotspot are active NOTE: The icon's location in the status bar may differ according to the function or service. Onscreen keyboard You can enter text using the on-screen keyboard. The on-screen keyboard appears automatically on the screen when you need to enter text. To manually display the keyboard, simply touch a text field where you want to enter text. Using the keypad & entering text Tap once to capitalize the next letter you type. Double-tap for all caps. Tap to switch to the numbers and symbols keyboard. Tap to enter a space. Tap to create a new line. Tap to delete the previous character. Entering accented letters When you select French or Spanish as the text entry language, you can enter special French or Spanish characters (e.g. "á"). For example, to input "á", touch and hold the "a" key until the zoom-in key grows bigger and displays characters from different languages. Then select the special character you want. 43 Google account setup When you first turn on your phone, you have the opportunity to activate the network, to sign into your Google Account and select how you want to use certain Google services. To set up your Google account: • Sign into a Google Account from the prompted set-up screen. OR • Touch > Apps tab > select a Google application, such as Gmail > select New to create a new account. If you have a Google account, touch Existing, enter your email address and password, then touch . Once you have set up your Google account on your phone, your phone automatically synchronizes with your Google account on the Web. Your contacts, Gmail messages, Calendar events and other information from these applications and services on the Web are synchronized with your phone. (This will depend on your synchronization settings.) After signing in, you can use Gmail™ and take advantage of Google services on your phone. 44 Connecting to Networks and Devices Wi-Fi With Wi-Fi, you can use high-speed Internet access within the coverage of the wireless access point (AP). Enjoy wireless Internet using Wi-Fi, without extra charges. Connecting to Wi-Fi networks To use Wi-Fi on your phone, you need to access a wireless access point or ‘hotspot’. Some access points are open and you can simply connect to them. Others are hidden or use security features, you must configure your phone to be able to connect to them. Turn off Wi-Fi when you're not using it to extend the life of your battery. NOTE: If you are out of the Wi-Fi zone or have set Wi-Fi to OFF, additional charges may be applied by your mobile operator for mobile data use. Turning Wi-Fi on and connecting to a Wi-Fi network 1 Touch > Apps tab > Settings > Wi-Fi from the WIRELESS & NETWORKS tab. 2 Set Wi-Fi to ON and start scanning for available Wi-Fi networks. 3 Tap the Wi-Fi menu again to see a list of active and in-range Wi-Fi networks. • Secured networks are indicated by a lock icon. 4 Touch a network to connect to it. • If the network is secured, you are prompted to enter a password or other credentials. (Ask your network administrator for details) 5 The status bar displays icons that indicate Wi-Fi status. 45 Bluetooth You can use Bluetooth to send data by running a corresponding application, not from the Bluetooth menu as on most other mobile phones. NOTE: • LG is not responsible for the loss, interception or misuse of data sent or received via the Bluetooth wireless feature. • Always ensure that you share and receive data with devices that are trusted and properly secured. If there are obstacles between the devices, the operating distance may be reduced. • Some devices, especially those that are not tested or approved by Bluetooth SIG, may be incompatible with your device. Turning on Bluetooth and pairing up your phone with a Bluetooth device You must pair your device with another device before you connect to it. 1 Touch > Apps tab > Settings > set Bluetooth to ON from the WIRELESS & NETWORKS tab. 2 Tap the Bluetooth menu again. You will see the option to make your phone visible and option to search devices. Now tap Search for devices to view the devices in the Bluetooth Range. 3 Choose the device you want to pair with from the list. Once the paring is successful, your device will connect to the other device. NOTE: Some devices, especially headsets or hands-free car kits, may have a fixed Bluetooth PIN, such as 0000. If the other device has a PIN, you will be asked to enter it. 46 Connecting to Networks and Devices Send data using the Bluetooth wireless feature 1 Select a file or item, such as a contact, calendar event or media file from an appropriate application or from Downloads. 2 Select the option for sending data via Bluetooth. NOTE: The method for selecting an option may vary by data type. 3 Search for and pair with a Bluetooth-enabled device. Receive data using the Bluetooth wireless feature 1 Touch > Apps tab > Settings > set Bluetooth to ON and touch Make phone visible to be visible on other devices. NOTE: To select the length of time that your device will be visible, touch > Visibility timeout. 2 Select Accept to confir…
Text truncated - open the document above for the full version.
Users Manual
57 E-mail You can use the Email application to read emails from services like Gmail. The Email application supports the following account types: POP3, IMAP and Exchange. Your service provider or system administrator can provide you with the account settings you need. Managing an email account The first time you open the E-mail application, a set-up wizard opens to help you to set up an email account. After the initial set-up, E-mail displays the contents of your inbox. If you have added more than one account, you can switch among accounts. To add another email account: • Touch > Apps tab > E-mail > touch > Accounts > in the Accounts screen, touch > Add account. To change an email account's settings: • Touch > Apps tab > E-mail > touch > Accounts > in the Accounts screen, touch > Entire settings. To delete an email account: • Touch > Apps tab > E-mail > touch > Accounts > in the Accounts screen, touch > Remove account > touch an account you want to delete > Remove > select Yes. Working with account folders Touch > Apps tab > E-mail > touch and select Folders. Each account has an Inbox, Outbox, Sent and Drafts folder. Depending on the features supported by your account's service provider, you may have additional folders. 58 E-mail Composing and sending email To compose and send a message 1 While in the E-mail application, touch . 2 Enter an address for the message's intended recipient. As you enter text, matching addresses will be proposed from your Contacts. Separate multiple addresses using semicolon. 3 Touch the Cc/Bcc field to add Cc/Bcc and Touch to attach files, if required. 4 Enter the text of the message. 5 Touch . If you aren't connected to a network, for example, if you're working in airplane mode, the messages that you send will be stored in your Outbox folder until you connect to a network again. If it contains any pending messages, the Outbox will be displayed on the Accounts screen. TIP! When a new email arrives in your Inbox, you will be notified by a sound or vibration. 59 Camera To open the Camera application, tap Camera on the Home screen. Getting to know the viewfinder Zoom – Zoom in or zoom out. Cheese shutter – To take a photo, say one of the following words: Cheese, Smile, Whisky, Kimchi or LG. Brightness – Defines and controls the amount of sunlight entering the image. Camera size – Selects photo resolution. If you choose high resolution, file size will increase, which means you will be able to store fewer photos in the memory. Settings – Touch this icon to open the settings menu. See Using the advanced settings. Video mode – Touch this icon to switch to video mode. Taking a photo Gallery – Touch to view the last photo you captured. This enables you to access your gallery and view saved photos while in camera mode. NOTE: Please ensure the camera lens is clean before taking pictures. 60 Camera Using the advanced settings In the viewfinder, tap to open the advanced options. You can change the camera settings by scrolling through the list. After selecting the option, tap the Back key. Touch if you want to change the viewfinder menu. Finds the color and light settings for the current environment. The ISO rating determines the sensitivity of the camera's light sensor. The higher the ISO, the more sensitive the camera. This is useful in darker conditions when you cannot use the flash. Improves colour quality in various lighting conditions. Applies artistic effects to your pictures. Sets a delay after the capture button is pressed. This is ideal if you want to be in the photo. Activate this to use your phone's location-based services. Take pictures wherever you are and tag them with the location. If you upload tagged pictures to a blog that supports geotagging, you can see the pictures displayed on a map. NOTE: This function is only available when the GPS function is active. Selects a shutter sound. Automatically shows you the picture you just took. Select storage to save images. Restore all camera default settings. 61 Touch this whenever you want to know how a function works. This icon will provide you with a quick guide. TIP! • When you exit the camera, some settings return to their defaults, such as white balance, color effect, timer and scene mode. Check these before you take your next photo. • The setting menu is superimposed over the viewfinder so, when you change photo color or quality elements, you will see a preview of the changed image behind the Settings menu. Taking a quick photo 1 Open the Camera application. 2 Holding the phone horizontally, point the lens towards the subject you want to photograph. 3 Touch to capture the photo. Once you've taken a photo Touch to view the last photo you took. Tap to view the Gallery of your saved photos. Touch to take another photo immediately. Touch to send your photo to others or share it via social network services. Touch to delete the photo. 62 Camera TIP! If you have an SNS account and set it up on your phone, you can share your photo with your SNS community. NOTE: Additional charges may apply when MMS messages are downloaded while roaming. Touch the Menu key to open all advanced options. Set image as – Touch to use the photo as a Contact photo, Home screen wallpaper or Lock screen wallpaper. Move – Touch to move the photo to another place. Copy – Touch to copy the selected photo and save it to another album. Rename – Touch to edit the name of the selected photo. Rotate left/right – To rotate left or right. Crop – Crop your photo. Move your finger across the screen to select the area to be cropped. Edit – View and edit the photo. Select photo resolution. If you choose high resolution, file size will increase, which means you will be able to store fewer photos in the memory. Improves color quality in various lighting conditions. Applies artistic effects to your photos. Applies additional options to your photos. Slideshow – Automatically shows you the images in the current folder one after the other. Details – Find out more…
Text truncated - open the document above for the full version.
Users Manual
67 LG Unique Function QuickMemo function Use the QuickMemo function practicallfy and efficiently; create memos during a call, with a saved picture or on the current phone screen. OR 1 Enter the QuickMemo screen by pressing both the Volume up and down keys for one second on the screen you want to capture. OR Touch and slide down the status bar and touch . 2 Select the desired menu option from Pen type, Colour, Eraser and create a memo. 68 LG Unique Function 3 Touch in the Edit menu to save the memo with the current screen. NOTE: Please use a fingertip while using the QuickMemo function. Do not use your fingernail. Using the QuickMemo options You can easily use the QuickMenu options when using the QuickMemo function. Touch to keep the current memo on the screen and use the phone simultaneously. Selects whether to use the background screen or not. Undo or Redo. Selects the pen type and the colour. Erases the memo that you created. Touch to send your memo to others or share it via social network services. Saves the memo with the current screen in the Gallery. Viewing the saved QuickMemo Touch Gallery and select the QuickMemo album. 69 LG SmartWorld LG SmartWorld offers an assortment of exciting content - games, applications, wallpaper and ringtones - giving LG phone users the chance to enjoy richer "Mobile Life" experiences. How to Get to LG SmartWorld from Your Phone 1 Touch > Apps tab > tap the icon to access LG SmartWorld. 2 Tap Sign in and enter ID/PW for LG SmartWorld. If you have not signed up yet, tap Register to receive your LG SmartWorld membership. 3 Download the content you want. NOTE: What if there is no icon? 1 Using a mobile Web browser, access LG SmartWorld (www.lgworld.com) and select your country. 2 Download the LG SmartWorld App. 3 Run and install the downloaded file. 4 Access LG SmartWorld by tapping the icon. How to use LG SmartWorld • Participate in monthly LG SmartWorld promotions. Search content. Find content by category (e.g. Games, Education, Entertainment etc). List of downloaded/to-be updated content. 70 LG Unique Function • Try the easy Menu buttons to find what you’re looking for fast. Apps for you – Recommended content based on your previous choices. Settings – Set Profile and Display. Sign in – Set your ID and Password. • Try other useful functions as well. (Content Detail screen) NOTE: LG SmartWorld may not be available from all carriers or in all countries. 71 Gallery You can store multimedia files in internal memory for easy access to all your multimedia files. Use this application to view multimedia files like pictures and videos. 1 Touch > Apps tab > Gallery. Open a list of catalog bars that store your multimedia files. NOTE: • Some file formats are not supported, depending on the software installed on the device. • Some files may not play properly, depending on how they are encoded. Viewing pictures Launching Gallery displays your available folders. When another application, such as Email, saves a picture, the download folder is automatically created to contain the picture. Likewise, capturing a screenshot automatically creates the Screenshots folder. Select a folder to open it. Pictures are displayed by creation date in a folder. Select a picture to view it full screen. Scroll left or right to view the next or previous image. Zooming in and out Use one of the following methods to zoom in on an image: • Double-tap anywhere to zoom in. • Spread two fingers apart on any place to zoom in. Pinch to zoom out or double-tap to return. Multimedia 72 Multimedia Playing videos Video files show the icon in the preview. Select a video to watch it and tap . The Videos application will launch. Editing photos When viewing an photo, tap the Menu key > Edit to use the use the advanced editing options. Deleting images Use one of the following methods: • In a folder, tap and select photos/Videos by ticking, and then tap on Delete. • When viewing a photo/Video, tap . Setting as wallpaper When viewing an photo, touch the Menu key > Set image as to set the image as wallpaper or to assign it to a contact. NOTE: • Some file formats are not supported, depending on the device software. • If the file size exceeds the available memory, an error can occur when you open files. Videos Your phone has a built-in video player that lets you play all of your favorite videos. To access the video player, touch > Apps tab > Videos. 73 Playing a video 1 Touch > Apps tab > Videos. 2 Select the video you want to play. Touch to pause video playback. Touch to resume video playback. Touch to go 10 seconds forward. Touch to go 10 seconds backward. Touch to manage the video volume. Touch to change the ratio of the video screen. To change the volume while watching a video, press the up and down volume keys on the left-hand side of the phone. Touch and hold a video in the list. The Share, Delete, Details options will be displayed. Music Your phone has a built-in music player that lets you play all your favorite tracks. To access the music player, touch > Apps tab > Music. Add music files to your phone Start by transferring music files to your phone: • Transfer music using Media sync (MTP). • Download from the wireless Web. • Synchronize your phone to a computer. • Receive files via Bluetooth.
Users Manual
74 Multimedia Transfer music using Media sync (MTP) 1 Connect the phone to your PC using the USB cable. 2 Select the Media sync (MTP) option. Your phone will appear as another hard drive on your computer. Click on the drive to view it. Copy the files from your PC to the drive folder. 3 When you’re finished transferring files, swipe down on the Status Bar and touch USB connected > Charge only. You may now safely unplug your device. Playing a song 1 Touch > Apps tab > Music. 2 Touch Songs. 3 Select the song you want to play. Touch to pause playback. Touch to resume playback. Touch to skip to the next track on the album or in the playlist. Touch to go back to the beginning of the song. Touch twice to return to the previous song. Touch to find the files with YouTube Touch to manage the music volume Touch to set repeat mode Touch to set shuffle mode Touch to set the favorites Touch to see the current playlist 75 To change the volume while listening to music, press the up and down volume keys on the left-hand side of the phone. Touch and hold any song in the list. The Play, Add to playlist, Share, Set as ringtone, Delete, Details and Search options will be displayed. NOTE: • Some file formats are not supported, depending on the device software. • If the file size exceeds the available memory, an error can occur when you open files. NOTE: Music file copyrights may be protected by international treaties and national copyright laws. Therefore, it may be necessary to obtain permission or a licence to reproduce or copy music. In some countries, national laws prohibit private copying of copyrighted material. Before downloading or copying the file, check the national laws of the relevant country concerning the use of such material. 76 Setting your alarm 1 Touch > Apps tab > Alarm/Clock > . 2 After you set the alarm, your phone lets you know how much time is left before the alarm will go off. 3 Set Repeat, Snooze duration, Vibration, Alarm sound, Alarm volume, Auto App starter, Puzzle lock and Memo. Touch Save. NOTE: To change alarm settings in the alarm list screen, touch the Menu key and select Settings. Using your calculator 1 Touch > Apps tab > Calculator. 2 Touch the number keys to enter numbers. 3 For simple calculations, touch the function you want to perform (+, –, x or ÷) followed by =. 4 For more complex calculations, touch , select the Advanced panel, then choose sin, cos, tan, log etc. 5 To check the history, tap the icon . Adding an event to your calendar 1 Touch > Apps tab > Calendar. 2 On the top of the screen, you can find the different view types for the Calendar (Day, Week, Month, Agenda). 3 Tap on the date for which you wish to add an event and touch . 4 Touch Event name and enter the event name. 5 Touch Location and enter the location. Check the date and enter the time you wish your event to start and finish. Utilities 77 6 If you wish to add a note to your event, touch Description and enter the details. 7 If you wish to repeat the alarm, set REPEAT, and set REMINDERS, if necessary. 8 Touch Save to save the event in the calendar. Voice Recorder Use the voice recorder to record voice memos or other audio files. Recording a sound or voice 1 Touch > the Apps tab and select Voice Recorder. 2 Touch to begin recording. 3 Touch to end the recording. 4 Touch to listen to the recording. NOTE: Touch to access your album. You can listen to the saved recording. The available recording time may differ from actual recording time. Sending the voice recording 1 Once you have finished recording, you can send the audio clip by touching . 2 Choose from Bluetooth, E-mail, Gmail, Memo or Messaging. When you select Bluetooth, E-mail, Gmail, Memo or Messaging, the voice recording is added to the message. You may then write and send the message as you usually would. 78 Utilities Tasks This task can be synchronized with MS Exchange account. You can create task, revise it and delete it in MS outlook or MS Office Outlook Web Access. To Synchronize MS Exchange 1 From the Home Screen, Touch > System settings. 2 Touch Accounts & sync > ADD ACCOUNT. 3 Touch Microsoft Exchange to create Email address and Password. 4 Make sure if you checkmark Sync task. Polaris Viewer 4 Polaris Viewer is a professional mobile office solution that lets users conveniently view various types of office documents, including Word, Excel and PowerPoint files, anywhere or anytime, using their mobile devices. Touch > Apps tab > Polaris Viewer 4. Viewing files Mobile users can now easily view a wide variety of file types, including Microsoft Office documents and Adobe PDF, right on their mobile devices. When viewing documents using Polaris Office, the objects and layout remain the same as in the original documents. Google+ Use this application to stay connected with people via Google’s social network service. • Touch > Apps tab > Google+. NOTE: This application may not be available depending on the region or service provider. 79 Voice Search Use this application to search webpages using voice. 1 Touch > Apps tab > Voice Search. 2 Say a keyword or phrase when Speak now appears on the screen. Select one of the suggested keywords that appear. NOTE: This application may not be available depending on the region or service provider. Downloads Use this application to see what files have been downloaded through the applications. • Touch > Apps tab > Downloads. NOTE: This application may not be available depending on the region or service provider. 80 The Web Internet Use this application to browse the Internet. Browser gives you a fast, full-color world of games, music, news, sports, entertainment and much more, right on your mobile phone wherever you are and whatever you enjoy. NOTE: Additional charges apply when connecting to these services and downloading content. Check data charges with your network provider. 1 Touch > Apps tab > Internet. Using the Web toolbar Touch and hold the Web toolbar and slide it upwards with your finger to open. Touch…
Text truncated - open the document above for the full version.
Users Manual
82 The Web Opening a page To go to a new page, tab > New tab. To go to another webpage, tap , scroll up or down, and tap the page to select it. Searching the Web by voice Tap the address field, tap , speak a keyword and select one of the suggested keywords that appear. Syncing with other devices Sync open tabs and bookmarks to use with Chrome on another device, when you are logged in with the same Google account. To view open tabs on other devices, tap Menu > Other devices. Select a webpage to open. To view bookmarks, tap . 83 Settings Accessing the Settings menu 1 On the Home screen, touch > Apps tab > Settings. or On the Home screen, touch > System settings. 2 Select a setting category and select an option. WIRELE…
Text truncated - open the document above for the full version.
Contact Information
Applicant
David Kim(Team leader, LGEUS NA Policy & Regulatory Affairs)
Technical Contact
PCTEST Engineering Laboratory, Inc.Randy Ortanez
[email protected]410-290-6652
6660-B Dobbin Road · Columbia, Maryland · United States
Test Firm
HCT Co., LTDSang Lee
Technical Specifications
| # | Rule Parts | Frequency Range | Power Output |
|---|---|---|---|
| 1 | 15C | 2.40 GHz - 2.48 GHz | 6.00 mW |
Other Applications from LG Electronics USA, Inc.

ZNFTONET80S
Nov 13, 2023Bluetooth Earbuds
Equipment Class
DTS - Digital Transmission System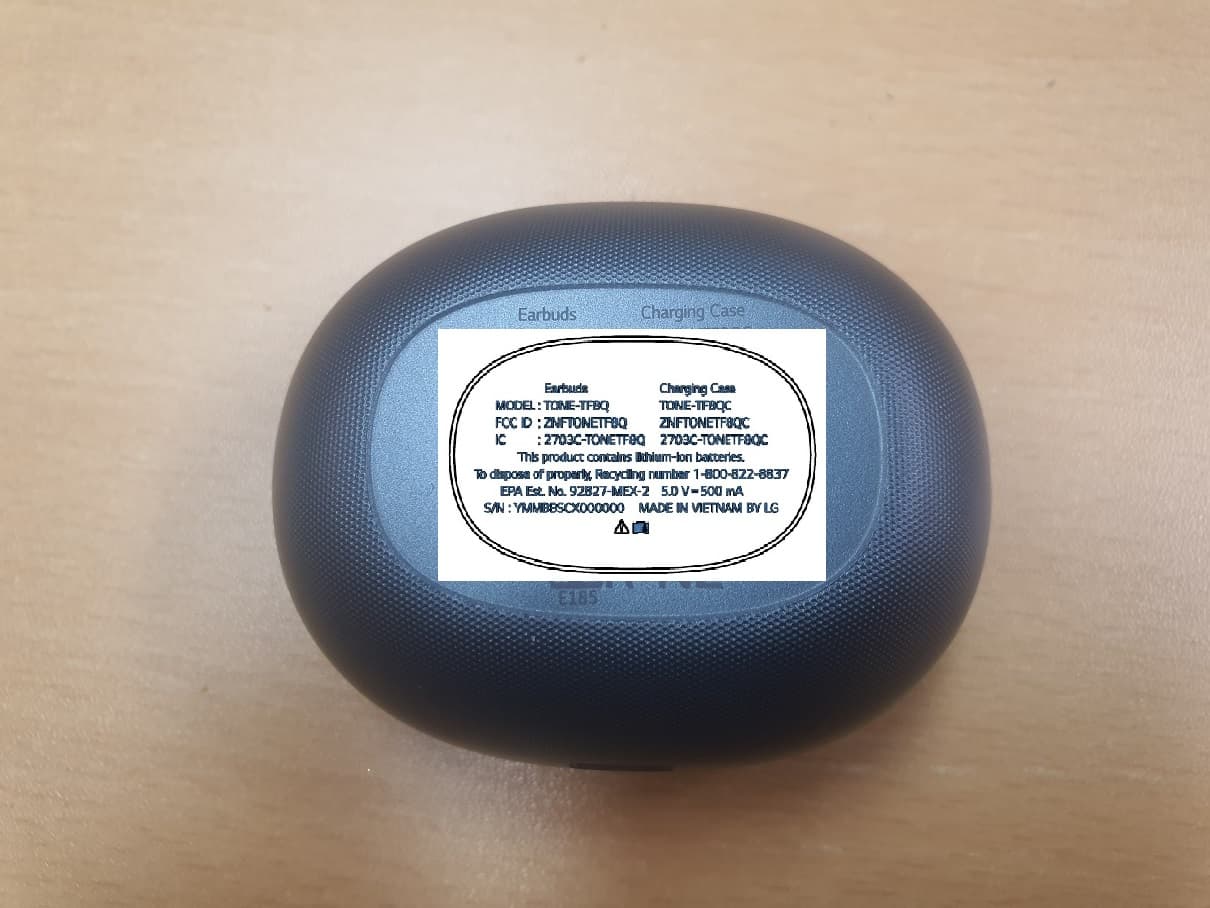
ZNFTONETF8QC
Jun 21, 2022Bluetooth Earbud (Cradle)
Equipment Class
JBP - Part 15 Class B Computing Device Peripheral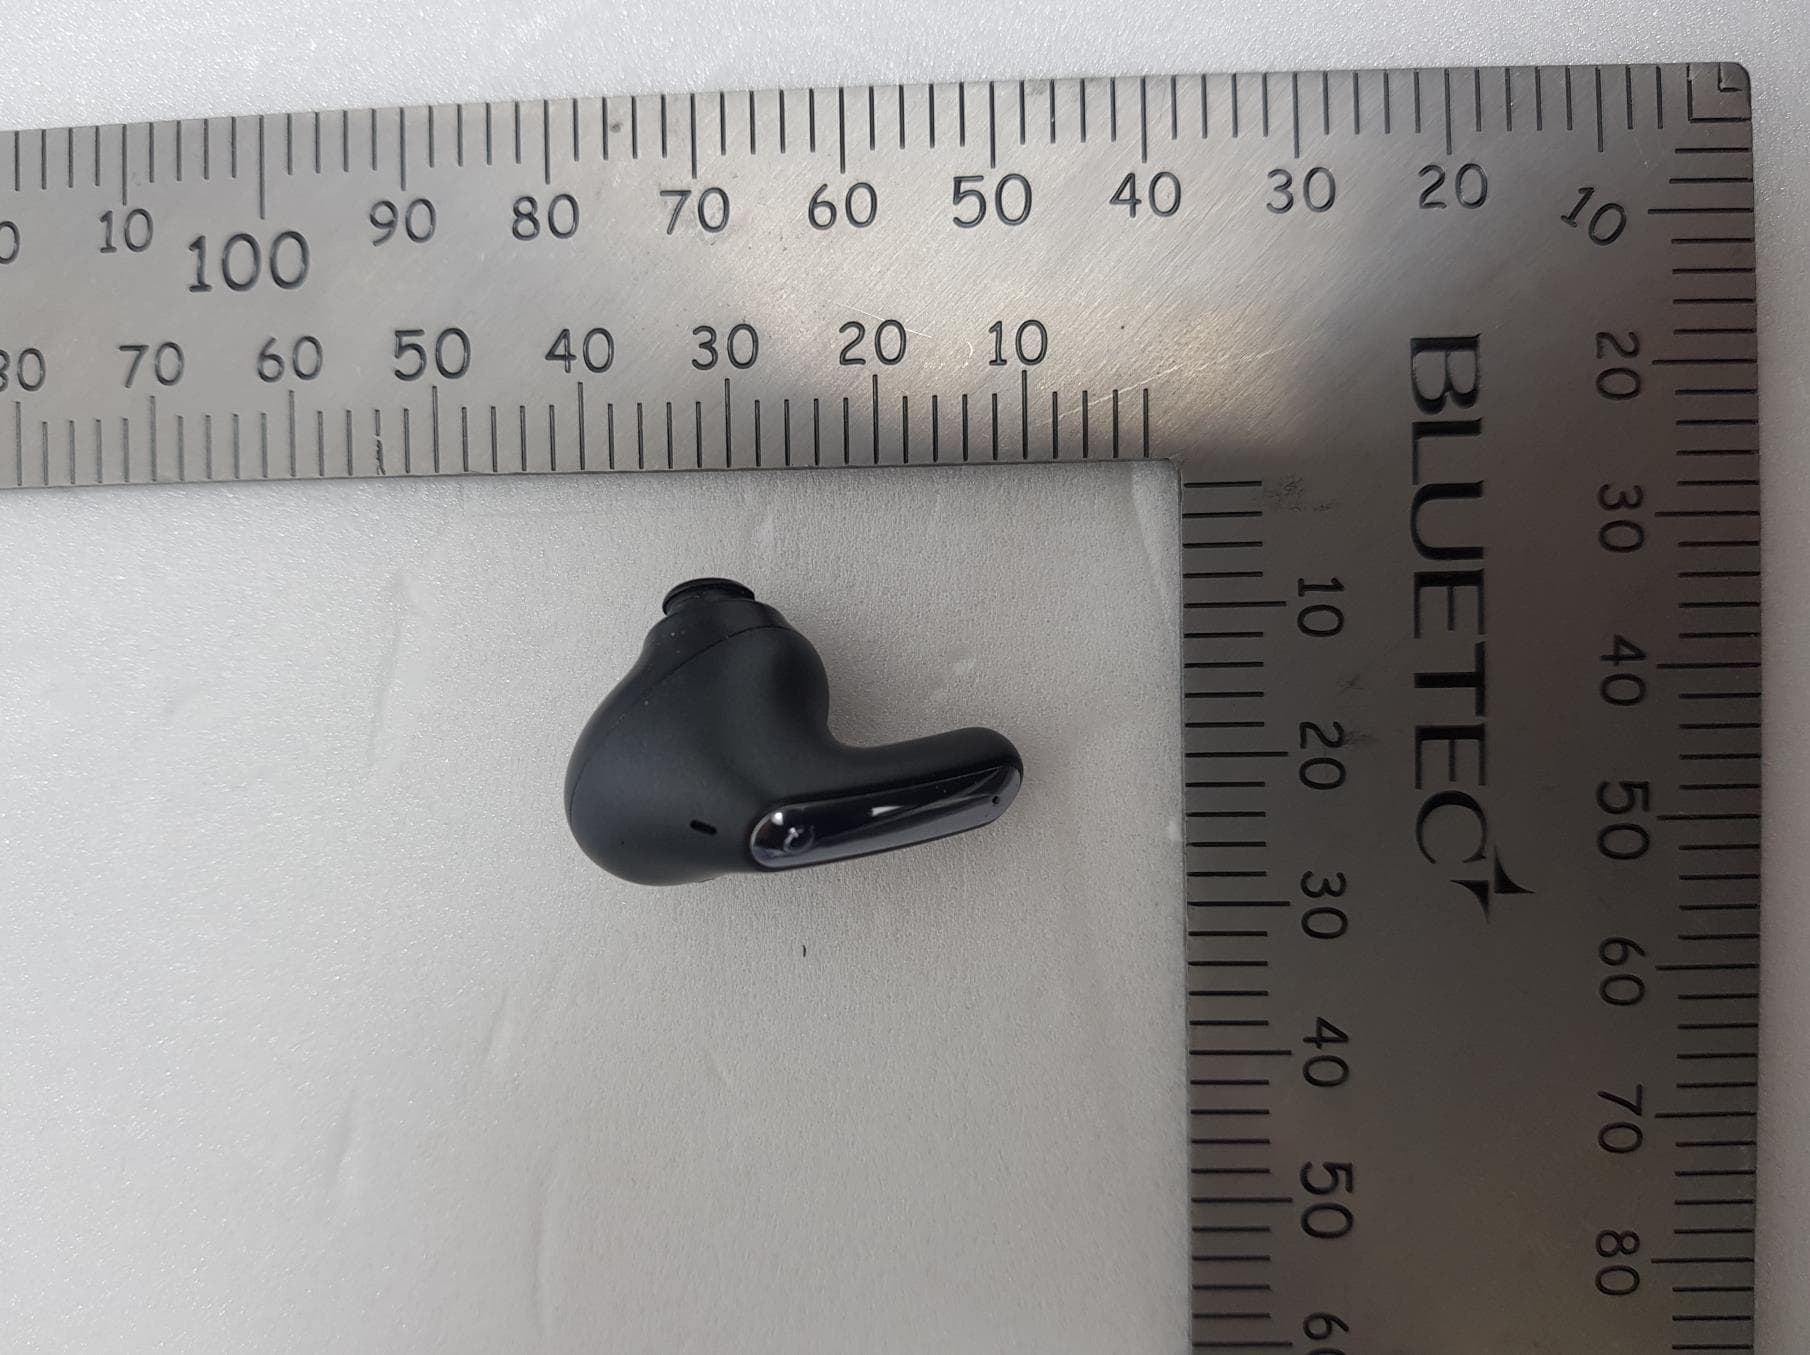
ZNFTONEFP8
May 30, 2021Bluetooth Earbud
Equipment Class
DTS - Digital Transmission System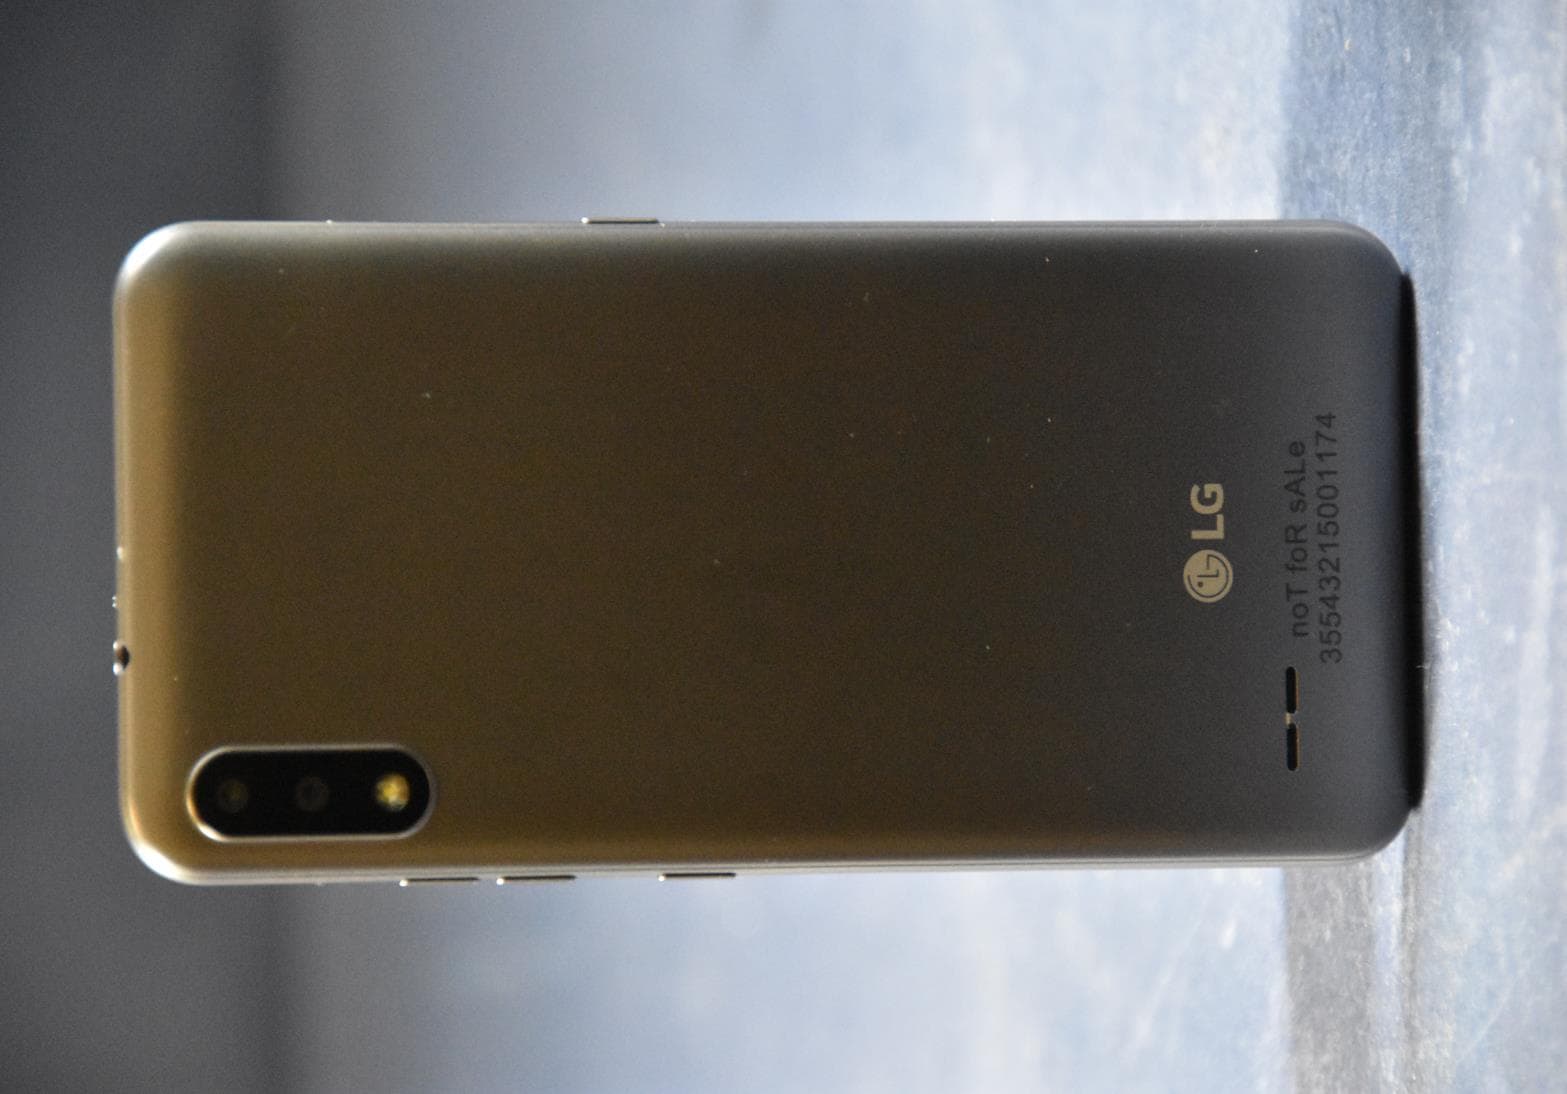
ZNFK200AM
Feb 18, 2021Portable Handset
Equipment Class
DSS - Part 15 Spread Spectrum Transmitter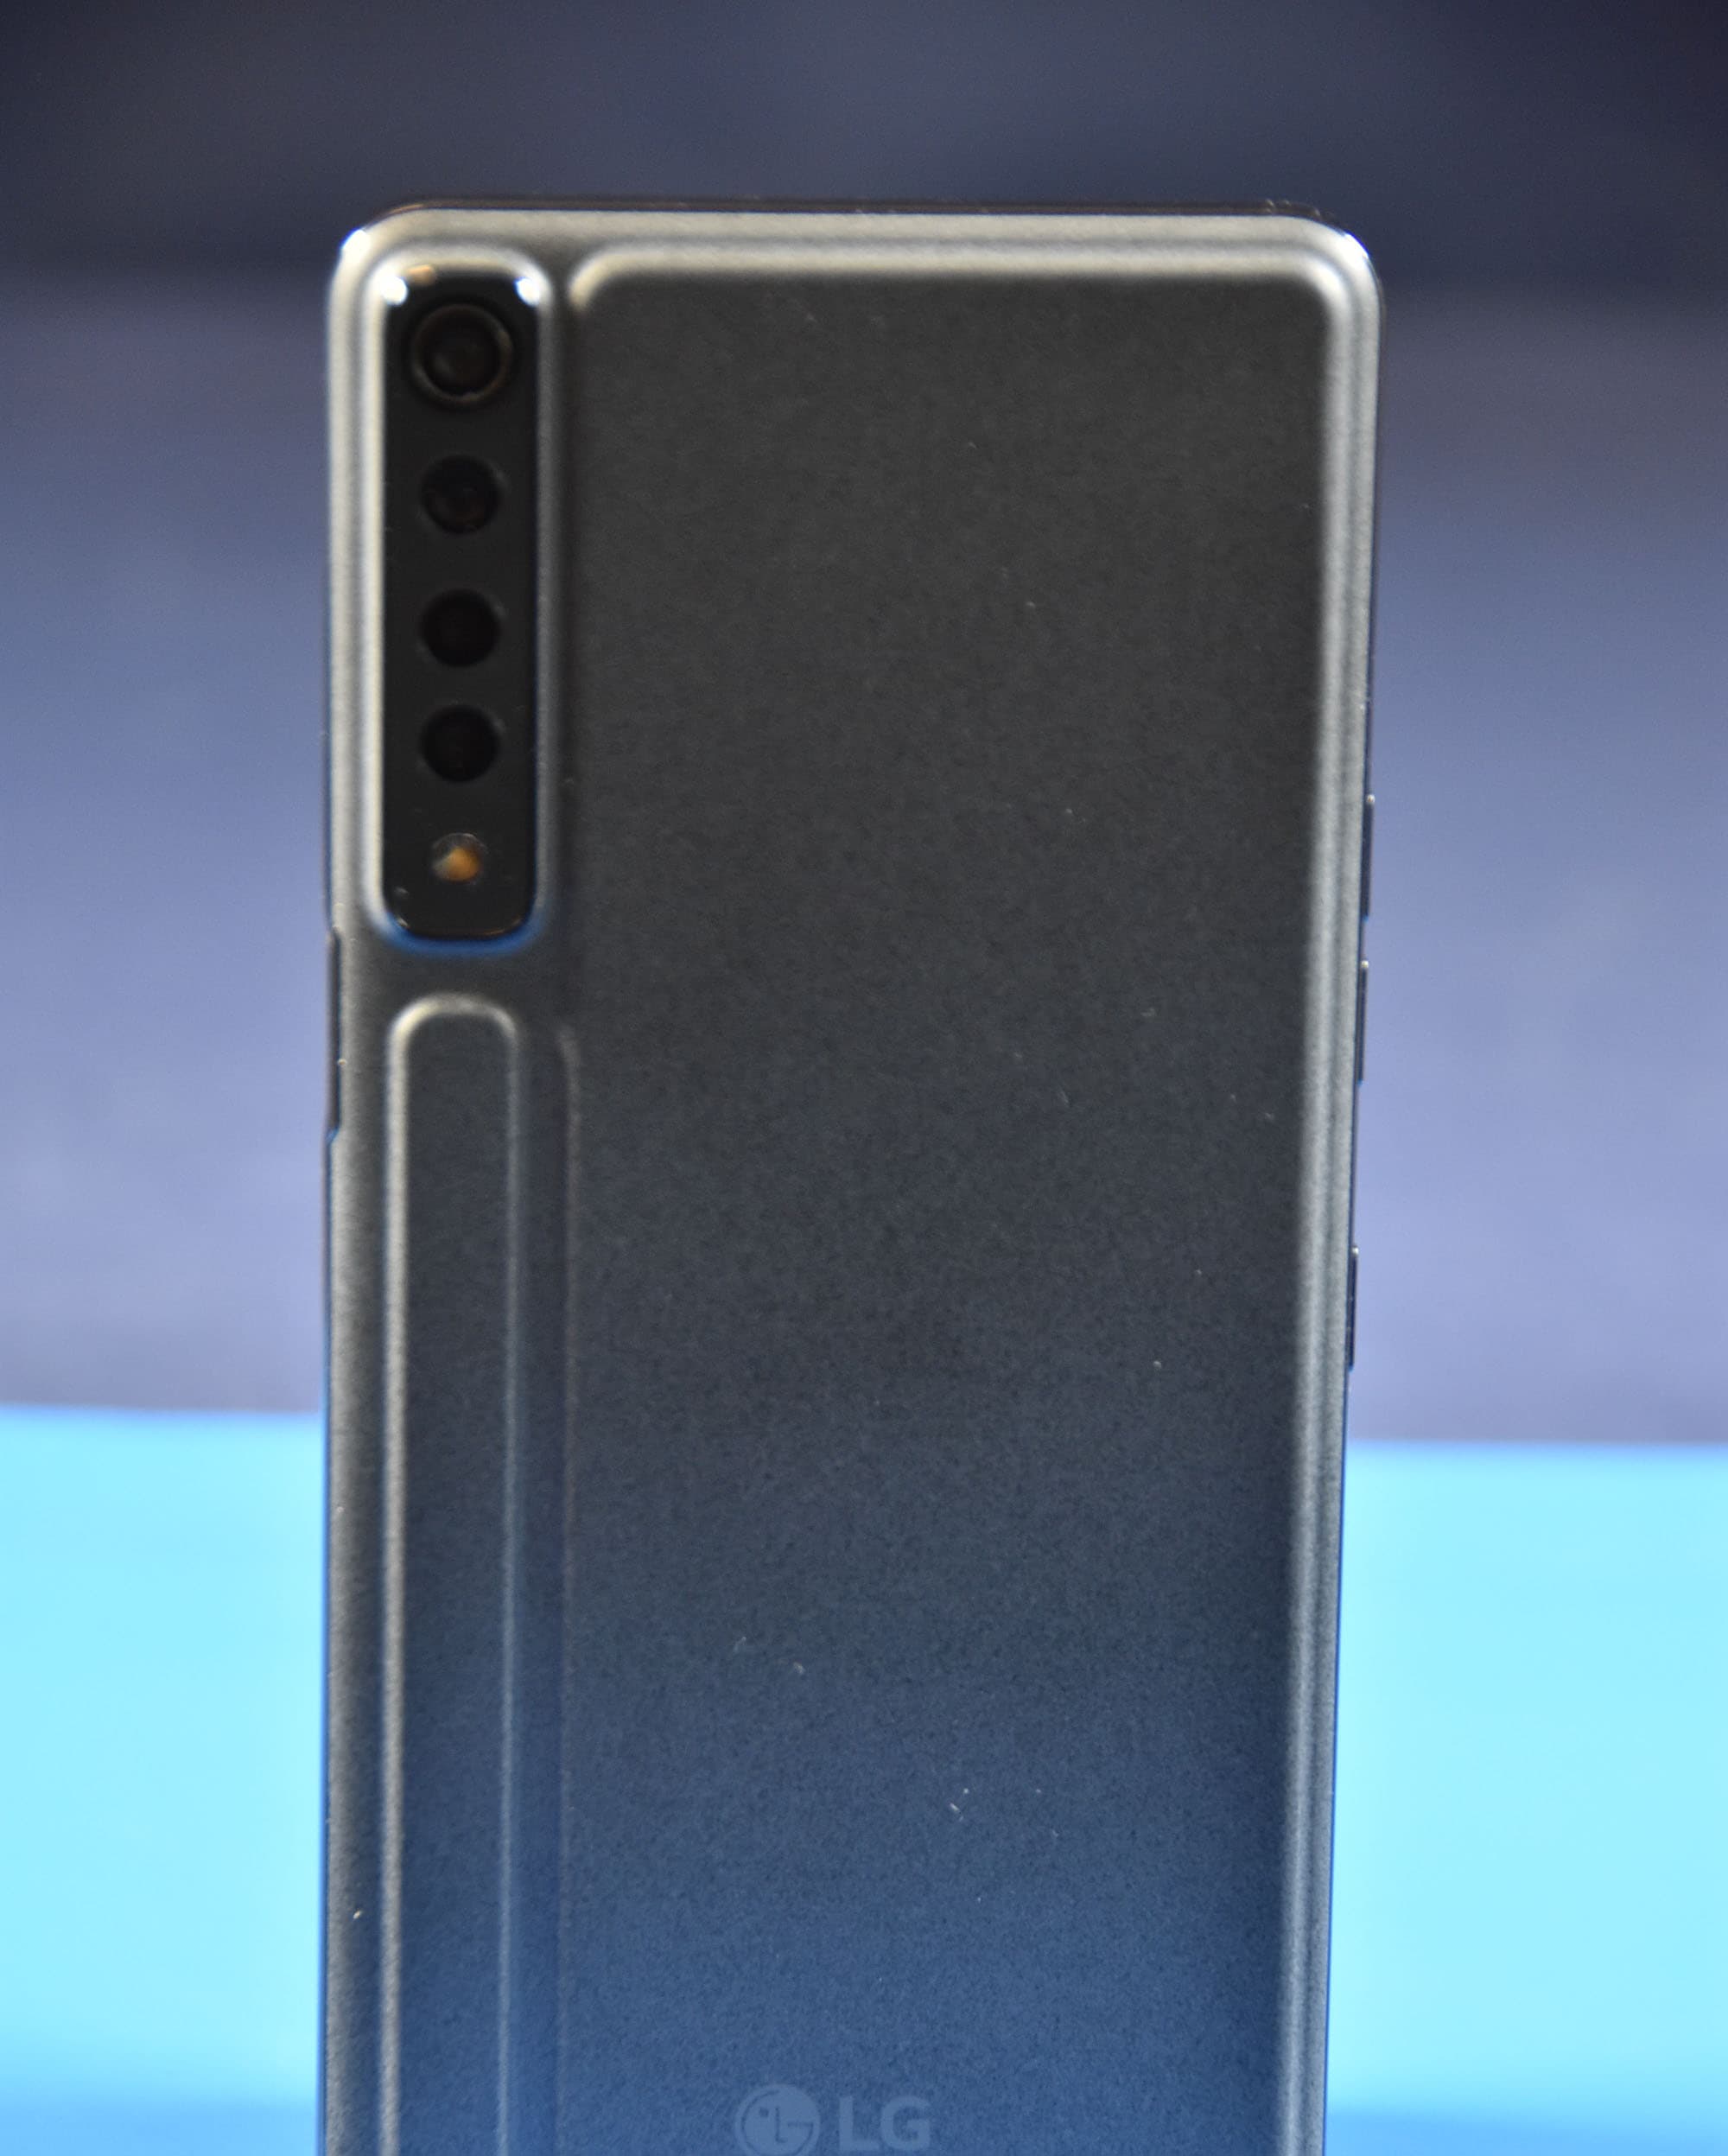
ZNFK735MM
Feb 10, 2021Portable Handset
Equipment Class
NII - Unlicensed National Information Infrastructure TX