2ABTYMHPTV8800W UHF ATSC DTV Transmitter
Anywave Communication Technologies, Inc.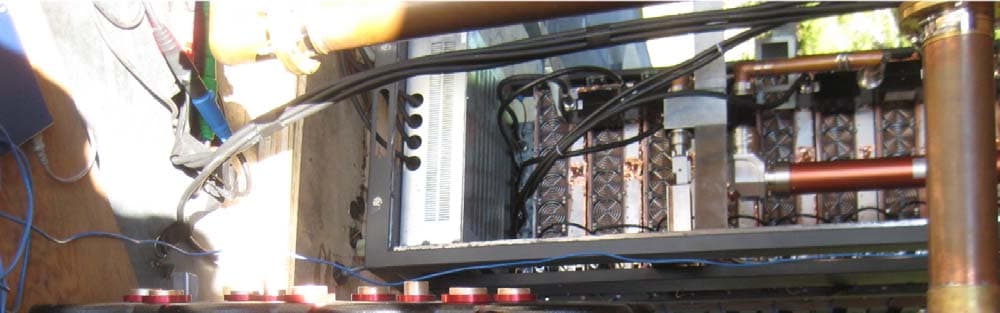
Click to zoom
Application Details
- Equipment Class
- TBC - Licensed Broadcast Station Transmitter
- Date of Grant
- Apr 06, 2020
- Application Purpose
- Original Equipment
- Date of Application
- Mar 24, 2020
- Equipment Note
- 8800W UHF ATSC DTV Transmitter
- Frequency Range
- 470.00000000 - 806.00000000
- Country
- United States
Documents & Files
Document Text
Text extracted from the exhibit documents filed with the FCC. Open a document above to read the original.
Users Manual
Version 1.1 June 6, 2017 MEDIUM-HIGH POWER TV TRANSMITTERS MHPTV User Manual October 18, 2019 - Version 3.0 COMMUNICATION TECHNOLOGIES ANYWAVE MHPTV TX User Manual MHPTV-USR-DOC-V3.0, 10/18/2019 Page 2 of 148 Copyright Notice Copyright © Anywave Communication Technologies, Inc. 2019, All rights reserved. No part of this publication may be reproduced, translated, transcribed, stored in a retrieval system, or transmitted into any form or by any means, without the express written permission of Anywave Communication Technologies, Inc. FCC Compliance Note: This equipment has been tested and found to comply with the limits for a Class A digital device, pursuant to part 15 of the FCC Rules. These limits are designed to provide reasonable protection against harmful interference when the equipment is operated in a commercial environment. This equipment generates, uses, and can radiate radio frequency energy and, if not installed and used in accordance with the instruction manual, may cause harmful interference to radio communications. Operation of this equipment in a residential area is likely to cause harmful interference in which case the user will be required to correct the interference at his own expense The antenna(s) used for this transmitter must be fixed-mounted on the outdoor permanent structures. RF exposure compliance is addressed at the time of licensing, as required by the responsible FCC Bureau(s), including antenna co-location requirements of §1.1307(b)(3). Changes or modifications not expressly approved by Anywave Communication Technologies, Inc. could void the user's authority to operate the equipment. Disclaimer Information provided by Anywave Communication Technologies is believed to be accurate and complete; however, no liability can be assumed for its use. The manufacturer makes no representations or warranties, either expressed or implied, by or with respect to anything in this manual, and shall not be liable for any implied warranties of fitness for a particular purpose or for any indirect, special, or consequential damages. Information in this document is subject to change without notice and does not represent a commitment on the part of the manufacturer. USE OF THIS PRODUCT IN A MANNER OTHER THAN DESCRIBED IN THIS MANUAL MAY RESULT IN DAMAGE TO THE EQUIPMENT AND/OR PERSONAL INJURY. MHPTV TX User Manual MHPTV-USR-DOC-V3.0, 10/18/2019 Page 3 of 148 PLEASE READ THIS MANUAL IN ITS ENTIRETY BEFORE ATTEMPTING TO OPERATE THE EQUIPMENT. CONTACT ANYWAVE WITH ANY QUESTIONS OR CONCERNS YOU MAY HAVE. Unpacking Carefully unpack the equipment and perform a visual inspection to determine if any apparent damage has occurred during shipment. Please notify the delivery carrier and Anywave immediately if shipment damage has occurred. Retain all original shipping materials. Please locate and reference the Packing Check List to verify you have received all components of your system. Retain the Packing Check List for future reference. Also, please identify and remove all packing materials and supports (foam pads, etc.) prior to the initial turn-on of the equipment. Returns and Exchanges Written approval and a Return Material Authorization number (RMA) are required from Anywave for all equipment returns. Please direct all return inquiries to the Anywave Service Department at [email protected], providing the Sales Order number and Serial Number(s) of the equipment. Complete details regarding the nature and circumstances of your return must be included in your RMA request. Proper handling and return shipping instructions will be provided with an approved RMA number. Technical Support Technical support and troubleshooting assistance for Anywave Transmitters are available through the Anywave Technical Support Department during normal business hours (9:00 AM - 5:00 PM Central Time) at (847) 415-2258 (option 2). After hour Emergency Support is available at (847) 415-2258 (option 3). Email questions anytime to [email protected] and a Technical Support Engineer will respond as soon as possible. Anywave Communication Technologies Inc. 300 Knightsbridge Parkway, Suite 150, Lincolnshire, IL 60069 Tel: (847) 415-2258 Fax: (847) 415-2112 http://www.anywavecom.net/ MHPTV TX User Manual MHPTV-USR-DOC-V3.0, 10/18/2019 Page 4 of 148 WARNING THE VOLTAGES, CURRENTS, AND RF ENERGY IN THIS EQUIPMENT ARE DANGEROUS. PERSONNEL MUST AT ALL TIMES OBSERVE ALL SAFETY WARNINGS, INSTRUCTIONS, AND REGULATIONS. IN THE CASE OF EMERGENCY, ENSURE THAT ALL POWER HAS BEEN DISCONNECTED. ALWAYS DISCONNECT POWER BEFORE REMOVING COVERS, ENCLOSURES, OR SHIELDS. DO NOT PERFORM SERVICE ON THE EQUIPMENT WHEN ALONE OR FATIGUED. KNOW YOUR EQUIPMENT AND DO NOT TAKE RISKS. This manual is provided as a general guide for trained and qualified personnel well aware of the dangers inherent in handling potentially hazardous electrical transmission equipment. The installation, operation, maintenance and service of this equipment involves risks both to personnel and equipment and must ONLY be performed by qualified personnel exercising due care. Anywave Communication Technologies, Inc. shall not be responsible for injury or damage resulting from improper handling or from the use of improperly trained or inexperienced personnel performing such tasks. All local building and electrical codes, as well as fire protection standards, must be observed in the installation and operation of the equipment. MHPTV TX User Manual MHPTV-USR-DOC-V3.0, 10/18/2019 Page 5 of 148 Contents 1. Introduction ................................................................................... 7 1.1 TX System Configuration ........................................................................................ 8 1.2 TX Overview ........................................................................................................... 9 1.2.1 System Block Diagram ................................................................ 9 1.2.2 1-PA TX ....................…
Text truncated - open the document above for the full version.
Users Manual
MHPTV TX User Manual MHPTV-USR-DOC-V3.0, 10/18/2019 Page 53 of 148 BPF standing on the floor next to the TX cabinet: Please note: The 1.1kw~5.5kw MHPTV comes standard with a 1 5/8 EIA Flanged output connector, and the 6.6kw~8.8kw MHPTV comes standard with a 3 1/8 EIA Flanged output connector. If your Antenna feed is other than the standard connector (as shown on left), you will need to provide whatever adapter hardware is necessary to facilitate this connection to your Antenna feed). Low Pass Filter Band Pass Filter MHPTV TX User Manual MHPTV-USR-DOC-V3.0, 10/18/2019 Page 54 of 148 Before and After BPF Directional Coupler installation Please be sure to install the Before and After BPF Directional Couplers in the correct positions and orientation. Incorrect operation of the TX system may result if these directional couplers are not installed in the proper locations with the proper orientation as labeled. MHPTV TX User Manual MHPTV-USR-DOC-V3.0, 10/18/2019 Page 55 of 148 1.6 TX Ventilation MHPTV PA cooling is from front to rear. In a standard installation, warm air is vented out perforations in the cabinet rear door and into the room. A proper air- conditioned, dust-free environment is required to operate the TX equipment. There is an option to exhaust heat out the top of the cabinet. The top-down cabinet drawings below show the provision for the top panel ventilation hole (11 inches). Please specify cabinet ventilation when ordering. If you specify top ventilation, the TX will be delivered with a solid rear panel door (instead of the standard perforated rear door). All TXs are provisioned with a single ventilation hole at the top of the cabinet. 1 PA 2 PA MHPTV TX User Manual MHPTV-USR-DOC-V3.0, 10/18/2019 Page 56 of 148 3 & 4 PA 5 PA 6 & 8 PA MHPTV TX User Manual MHPTV-USR-DOC-V3.0, 10/18/2019 Page 57 of 148 MHPTV TX User Manual MHPTV-USR-DOC-V3.0, 10/18/2019 Page 58 of 148 2. Theory of Operation The MHPTV transmitter is conceptually simple to understand and easy to operate. The Transmitter operates on either 240VAC single-phase (3-wire) or 208VAC three-phase (4-wire) AC Mains service. An AC Mains Distribution compartment is located on the back-rear floor of the TX. This compartment is shielded for personnel safety and provides the distribution of appropriate AC power to the various modules inside the TX cabinet. A standard ASI input stream is provided to one of the BNC connectors located on the rear panel of the Exciter. The Exciter (different platforms) supports options for DVB-ASI and SMPTE310M (ATSC 9x exciter only) stream formats as well as an RF off-air input via a built-in tuner and TSoIP support via an RJ-45 input. The Exciter performs the appropriate modulation to produce an RF output at the desired channel frequency. Exciter configurations may vary – for DTV (ATSC, ATSC 3.0, DVBT/T2, ISDBT, DTMB, etc.). The TX supports both Single and Dual Drive (DD) Exciter configurations and manages the automatic and manual switchover between Exciters in a DD configuration. The modulated RF output signal from the Exciter(s) is (are) fed into the Control module which contains a preamp driver stage and built-in N-ways splitter (for multiple PA configurations). The N-ways outputs of the Controller preamp are then to feed the RF inputs of each of the PA modules. The PA modules contain 8 x BLF888E Doherty devices that amplify the RF signal to produce 1300W of output power per PA. The amplified output signals are fed into an N-way Hybrid Combiner (for 2/3/4/5/6/8 PAs configuration) and then into a Directional Coupler (for 2/3/4/5/6/8 PAs configuration) and finally out the top of the cabinet via a section of 1 5/8 or 3 1/8 transmission line. The 1 5/8 or 3 1/8 output stack of the Transmitter is then fed into an inline 1 5/8 or 3 1/8 Harmonic Filter (if required) before entering a Before-Filter directional coupler and the input to the channel mask BPF mounted on top of the cabinet. The output of the BPF connects through an After-Filter directional coupler into the Antenna feed to radiate the DTV signal on-air. The Exciter receives the two feedback signals from the Before-Filter and After- Filter directional couplers located at the input and output of the BPF. These before and MHPTV TX User Manual MHPTV-USR-DOC-V3.0, 10/18/2019 Page 59 of 148 after BPF feedback signals are used by the Exciter to provide automatic Linear and Non-Linear pre-correction of the forward path signal. Additional feedback signals are provided to the Control module, which monitors these samples to implement protective protocols including forward power reduction and shutting down the TX in the event of high reflected power or other unsafe operating conditions. System FWD and REV power samples are provided to the Control module from the Directional Coupler located directly after the N-way power combiner (for 2/3/4/5/6/8 PAs configuration). The Control module also receives feedback samples from the System Reject Load(s) (for 2/3/4/5/6/8 PAs configuration), enabling it to control the variable fan speed of the reject load(s). The Control module is in constant communication with the Exciter and PA modules via an RS-485 serial bus. Each module has a unique ID on the bus, and the Control module is continually talking with the Exciter and PA modules to provide monitoring and control capabilities via its front panel touchscreen and built-in web user interfaces. Both the Control module and the Exciter provide RJ-45 Ethernet connections through which the user may remotely monitor and control the TX via their respective built-in web interfaces. MHPTV TX User Manual MHPTV-USR-DOC-V3.0, 10/18/2019 Page 60 of 148 2.1 Control Unit 2.1.1 Control Unit(CTL-S) For 1, 2 and 3 PA configurations, the TX Control Unit CTL-S consists of a pre- amp and a powerful control system. It receives the RF input(s) from the exciter(s), performs the pre-amplification, and sends RF output to a PA or an external N-way splitter to feed up to 3 PAs. The CTL-S communica…
Text truncated - open the document above for the full version.
Users Manual
MHPTV TX User Manual MHPTV-USR-DOC-V3.0, 10/18/2019 Page 101 of 148 4. Press the word AUTO_G_P to run automatic, adaptive phase/gain matching between all PA modules in the system. A window pops up asking the user to confirm. Press Yes to start Optitune. It takes about 3 minutes to complete. 5. After Optitune is done, check all rejected power to see if they are within the desired range. If not, you can rerun Optitune again for optimization. 6. Raise the transmitter power level back to your desired level. Remote Control: The procedure of running Optitune via remote control is similar to the local control. 1. Make sure AGC is turned OFF, then lower the overall transmitter forward power level to 1kw. 2. Log in the Controller Web Interface. MHPTV TX User Manual MHPTV-USR-DOC-V3.0, 10/18/2019 Page 102 of 148 3. Click to AUTO-GAIN-PHASE section on the left. Then on the right lower corner, click ALL to run. 4. After Optitune is done, check all rejected power to see if they are within the desired range. If not, you can rerun Optitune again for optimization. 5. Raise the transmitter power level back to your desired level. Note: On the web interface it shows more readings/settings in the AUTO-GAIN- PHASE section. They are for manufacturer used. Please leave them untouched, or it may affect the Optitune performance. MHPTV TX User Manual MHPTV-USR-DOC-V3.0, 10/18/2019 Page 103 of 148 4.7 VOLTAGE ADJUSTMENTS (Available in CTL-M) When the transmitter is not running at its rated power, it may have headroom in power level. So that reducing the output DC voltage of PSUs will help improve the system efficiency. Optitune is only available in the model of CTL-M controller. We provide a One-Button feature reducing all PSUs voltage to 46V for those users who need it. Also, a One-Button feature bringing PSUs voltage back to the regular 50V. Local Control: 1. Navigate to the System screen on the Controller by pressing the CONFIG button and then selecting AmpCF (Amplifier Configuration) The AmpCF screen is used to configure advanced settings of the TX System and PAs and is locked with a password. When pressing the “AmpCf” button in the Config Menu, a pop-up window requiring a password will appear. Please enter the “AmpCf” password “27654” and then press “OK”. MHPTV TX User Manual MHPTV-USR-DOC-V3.0, 10/18/2019 Page 104 of 148 2. With the password properly entered, the AmpCf configuration screen will appear, as shown below. Press the System button. 3. The System screen is used to run Optitune (AUTO_G_P, see section 4.6) and One-Button Reducing/Resuming PSUs output voltage. 4. Press the V_Down button to One-Button reducing all PSUs’ output DC voltage to 46VDC. If the transmitter is running at reducing power, reducing PSU output voltage will help improving system efficiency while performance still guaranteed. 5. Likewise, press the V_Resume button to One-Button bringing all PSUs’ output DC voltage back to the regular 50VDC. MHPTV TX User Manual MHPTV-USR-DOC-V3.0, 10/18/2019 Page 105 of 148 Remote Control: 1. Log in the Controller Web Interface. 2. Click to POST-AMP-SET section on the left. 3. Near the top, there are two buttons, one is “50V”, which is the One-Button bringing all PSUs’ output DC voltage back to the regular 50VDC. The other is “46V”, which is the One-Button reducing all PSUs’ output DC voltage to 46VDC. MHPTV TX User Manual MHPTV-USR-DOC-V3.0, 10/18/2019 Page 106 of 148 5. Local (Touch Screen) User Interface 5.1 HOME SCREEN Turn on the power supply and the TX enters the initialization process, and after 5 seconds, the TX enters the home screen (as shown below). The home screen is divided into 4 parts: Title Bar (left column), Power Metering (upper right), Block Diagram (middle right) and Status Bar (lower right), as shown below. Title Bar: Shown in the picture above, the “Home” button is highlighted, indicating the Home screen is now displayed. This TX Control Unit screen is a touch screen. You may navigate to the other screens (Config, Log, Control, Help) by simply touching the corresponding button in the Title Bar. Power Metering ON/OFF (Green) Button: Provides TX ON/OFF control. When GREEN (as shown above), this indicates the TX is ON. When RED, this indicates the TX is OFF. Note: When there is an alarm, this button is always RED. FWD: Forward Power Meter. Touching the white display box of FWD will toggle its display units between “dBm” and “W”. REFL: Reflected Power Meter. REJT” in the “Home” screen shows the value of rejected power. Press the white box beside the “REJT” button, to enter a screen showing all rejected power values. 1-PA TX has no reject load. 2-PA TX has 1 reject load. 3-PA system has 2 reject loads. 4-PA TX has 3 reject loads. 5-PA TX has 4 reject loads. If there is more than one “REJT” value, the MHPTV TX User Manual MHPTV-USR-DOC-V3.0, 10/18/2019 Page 107 of 148 “REJT” value in the HOME screen will show the highest one (the one which is the closest to the preset threshold). VSWR: Voltage Standing Wave Ratio REJT: This is the system Reject Load Power Meter, derived from the REJT Load feedback sample. Displayed in units of “W” and cannot be changed. Status Bar: During normal operation, the default status is “RUNNING OK”. If there is an alarm, the alarm will show up in the Status Bar of each screen. Block Diagram: Press the “Exc A/B” graphic to navigate to the Dual Exciters Switching screen (shown below). This screen shows which exciter is currently on- air (highlighted GREEN) and allows the user to manually change the on-air exciter. MHPTV TX User Manual MHPTV-USR-DOC-V3.0, 10/18/2019 Page 108 of 148 5.2 A/B EXCITER ICON SCREEN Dual Exciters - Switching Screen: As mentioned above, pressing the “Exc A/B” icon will bring you to the Dual Exciters Switching Screen, a shown below. Manual Exciter Switchover: Exciter A is the default on-air exciter. The on-air exciter’s status will be “GREEN”, as shown in the screen above, indicating that Exciter B is the current on-ai…
Text truncated - open the document above for the full version.
Users Manual
MHPTV TX User Manual MHPTV-USR-DOC-V3.0, 10/18/2019 Page 144 of 148 MHPTV TX User Manual MHPTV-USR-DOC-V3.0, 10/18/2019 Page 145 of 148 MHPTV TX User Manual MHPTV-USR-DOC-V3.0, 10/18/2019 Page 146 of 148 MHPTV TX User Manual MHPTV-USR-DOC-V3.0, 10/18/2019 Page 147 of 148 MHPTV TX User Manual MHPTV-USR-DOC-V3.0, 10/18/2019 Page 148 of 148 Anywave Communication Technologies Inc. 300 Knightsbridge Parkway, Suite 150, Lincolnshire, IL 60069 Tel: (847) 415-2258 Fax: (847) 415-2112 Email: [email protected] http://www.anywavecom.net/
ID Label/Location Info
Anywave Communication Technologies FCCID Label –MHPTV UHF ATSC TX Contact Information Anywave Communication Technologies Inc. 300 Knightsbridge Parkway, Suite 150 Lincolnshire, IL 60069 +1 847 415 2258 www.anywavecom.net Anywave Communication Technologies, Inc. 4
Internal Photos
Exciter – Main Board Exciter – Communications Board Exciter –Receiver Board Exciter – GPS Board
Test Report
This report contains a total of 51 pages and may be reproduced in full only. Partial reproduction may only be done with the written consent of CKC Laboratories, Inc. Anywave Communication Technologies Inc. EMC TEST REPORT FOR 1100W UHF PA-ATSC, Model: AMP-8_C_MH-C 8800W UHF ATSC Transmitter System, Model: TRN-5X-U-88-C Controller Module, Model: CTL-M 5X+ Exciter, Model: EXC-5X+C 8,8KW LPF(Harmonic Filter), Model: LPF-U-318-8800H 12000W 8-Pole UHF CH22 (518-524MHz) BPF, Model: A-TF8D220C-A013 Tested to The Following Standards: FCC Part 74 Subpart G Report No.: 103031-15 Date of issue: March 17, 2020 This test report bears the accreditation symbol indicating that the testing performed herein meets the test and reporting requirements of ISO/IEC 17025 under the applicable scope of testing for CKC Laboratories, Inc. We strive to create long-term, trust based relationships by providing sound, adaptive, customer first testing services. We embrace each of our customers’ unique EMC challenges, not as an interruption to set processes, but rather as the reason we are in business. Test Certificate # 803.01 Page 2 of 51 Report No.: 103031-15 TABLE OF CONTENTS Administrative Information .......................................................................................................................... 3 Test Report Information ............................................................................................................................................ 3 Report Authorization ................................................................................................................................................. 3 Test Facility Information ............................................................................................................................................ 4 Software Versions ...................................................................................................................................................... 4 Site Registration & Accreditation Information .......................................................................................................... 4 Summary of Results ................................................................................................................................................... 5 Modifications During Testing ..................................................................................................................................... 6 Conditions During Testing.......................................................................................................................................... 6 Equipment Under Test ............................................................................................................................................... 7 General Product Information..................................................................................................................................... 8 FCC Part(s) 74 .............................................................................................................................................. 11 74.735(b)(2) Power Limitations ............................................................................................................................... 12 74.794(a)(2)(ii) Occupied Bandwidth / Stringent Mask ........................................................................................... 16 74.794(b)(1) Radio Navigation Satellite Service Bands (GPS) .................................................................................. 20 74.794(a)(2)(ii) Spurious Emissions at Antenna Terminal ....................................................................................... 22 74.794(a)(2)(ii) Field Strength of Spurious Radiation .............................................................................................. 30 74.761(a)/74.761(b) Frequency Tolerance –Temperature / Voltage ...................................................................... 38 Appendix A: Modifications Made During Testing ....................................................................................... 42 Supplemental Information .......................................................................................................................... 50 Measurement Uncertainty ...................................................................................................................................... 50 Emissions Test Details .............................................................................................................................................. 50 Page 3 of 51 Report No.: 103031-15 ADMINISTRATIVE INFORMATION Test Report Information REPORT PREPARED FOR: REPORT PREPARED BY: Anywave Communication Technologies Inc. 300 Knightsbridge Parkway, Suite 150 Lincolnshire, IL 60069 Terri Rayle CKC Laboratories, Inc. 5046 Sierra Pines Drive Mariposa, CA 95338 Representative: Ted Karam - Anywave Communication Technologies Inc. Erin Littell F-Squared Labs Project Number: 103031 Customer Reference Number: 4684R4 DATE OF EQUIPMENT RECEIPT: October 22, 2019 DATE(S) OF TESTING: October 22-26, 2019 and February 19-20, 2020 Report Authorization The test data contained in this report documents the observed testing parameters pertaining to and are relevant for only the equipment provided by the client, tested in the agreed upon operational mode(s) and configuration(s) as identified herein. Compliance assessment remains the client’s responsibility. This report may not be used to claim product endorsement by A2LA or any government agencies. This test report has been authorized for release under quality control from CKC Laboratories, Inc. . Steve Behm Director of Quality Assurance & Engineering Services CKC Laboratories, Inc. Page 4 of 51 Report No.: 103031-15 Test Facility Information Our laboratories are configured to effectively test a wide variety of product types. CKC utilizes first class tes…
Text truncated - open the document above for the full version.
Contact Information
Applicant
Ted Karam(Vice President)
Test Firm
CKC Laboratories, Inc.Steve Behm
Technical Specifications
| # | Rule Parts | Frequency Range | Power Output | Emission | Tolerance |
|---|---|---|---|---|---|
| 2 | 74 | 470 MHz - 806 MHz | 8913 W | 6M00C7W | 0.002 % |
Other Applications from Anywave Communication Technologies, Inc.
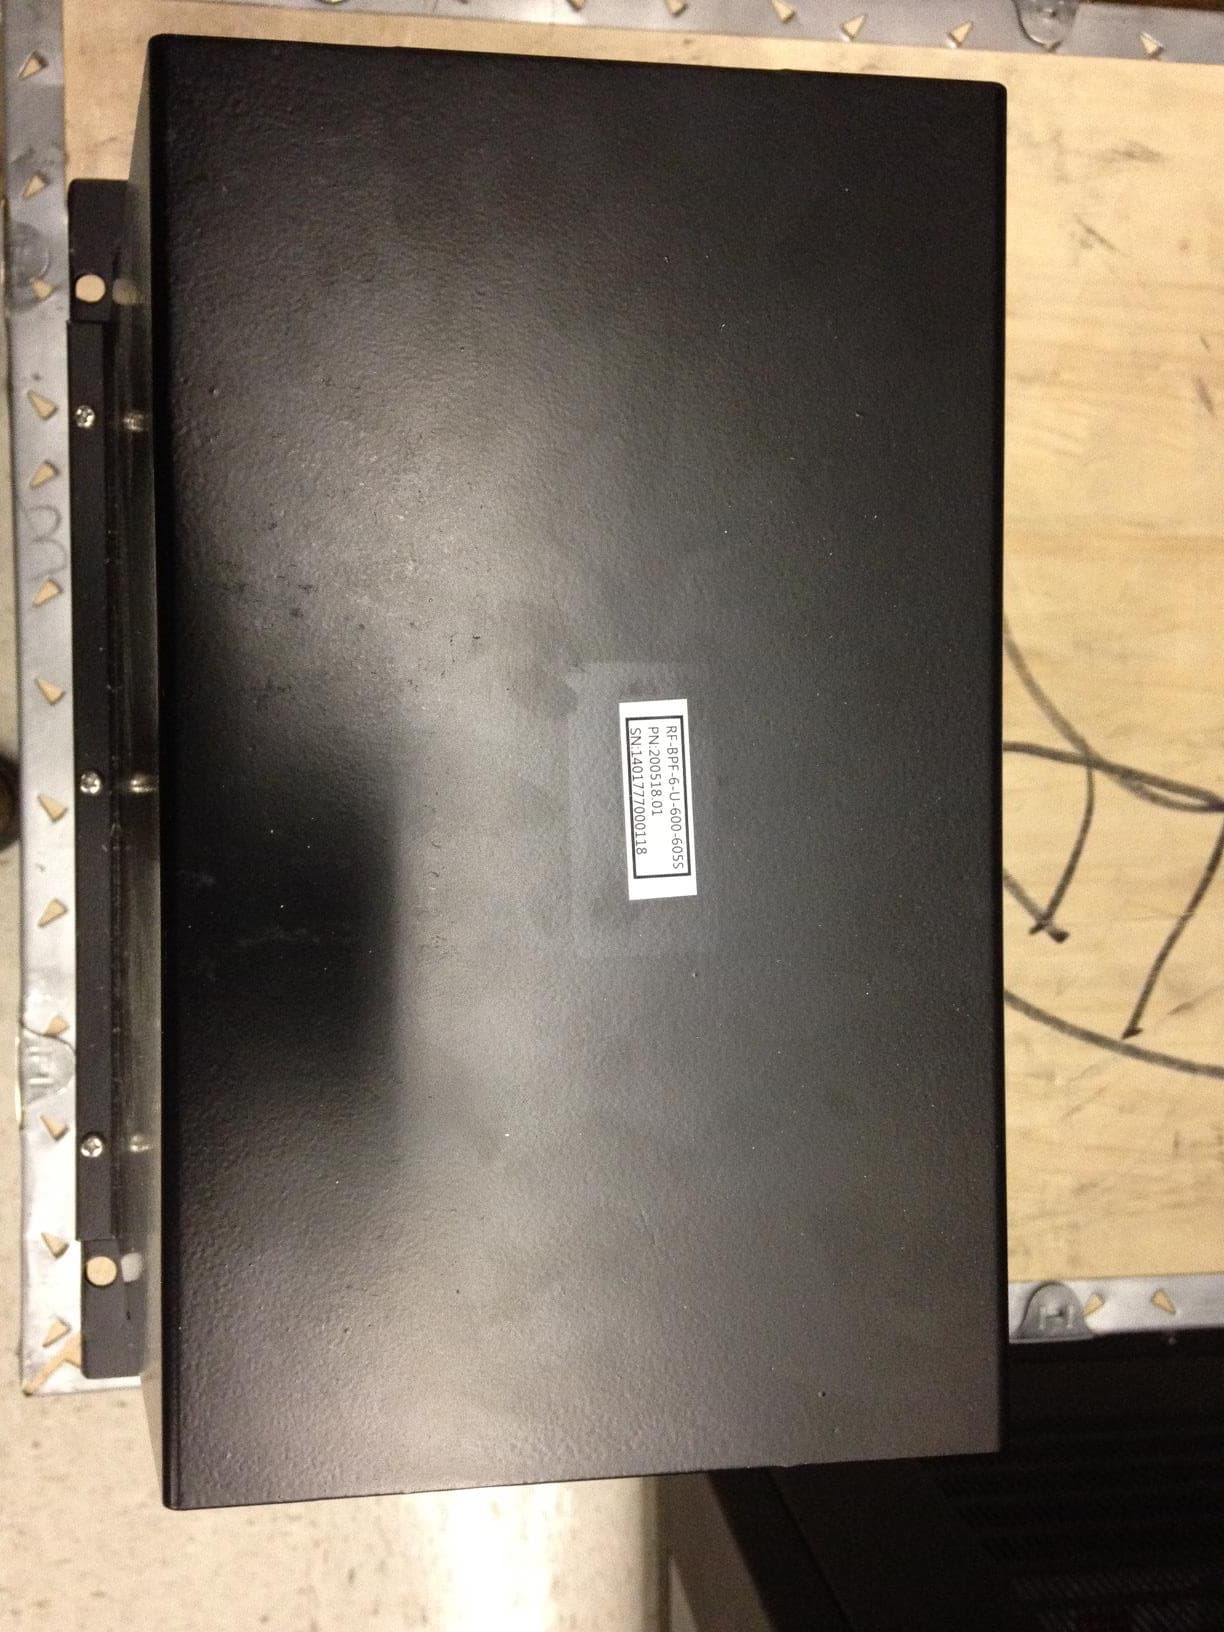
2ABTYLPTV
Aug 27, 2014560 W UHF ATSC DTV Transmitter
Equipment Class
TBC - Licensed Broadcast Station Transmitter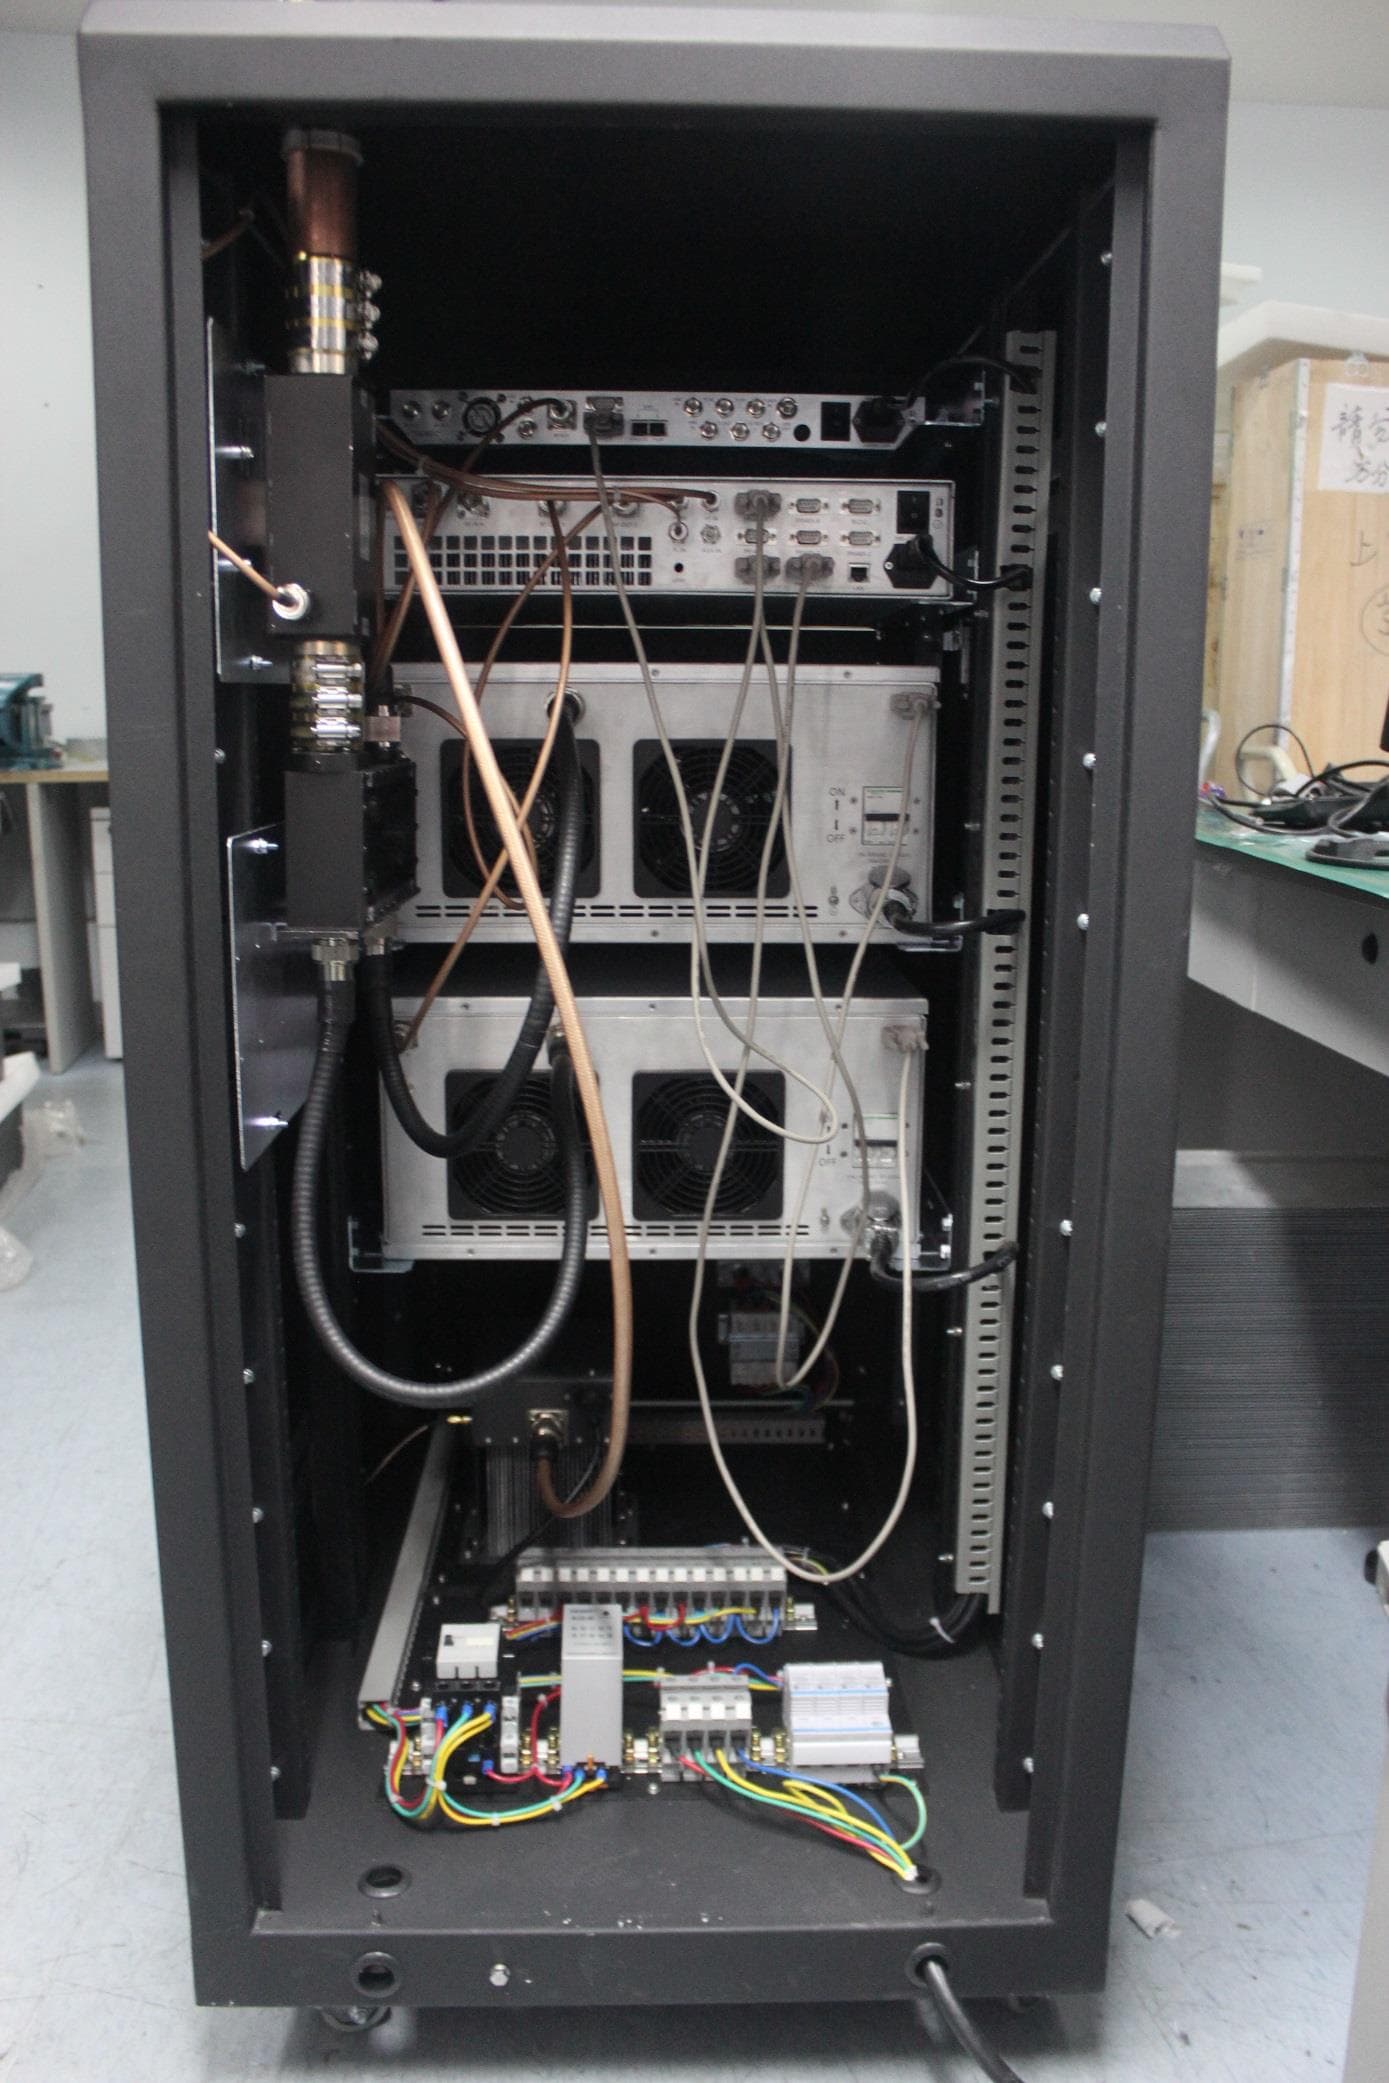
2ABTYMPTV
Aug 17, 20141 kW DTV ATSC Transmitter
Equipment Class
TBC - Licensed Broadcast Station Transmitter