2ADTD-R0201100010Security Radar
Hangzhou Hikvision Digital Technology Co., Ltd.
Click to zoom
Application Details
- Equipment Class
- DXX - Part 15 Low Power Communication Device Transmitter
- Date of Grant
- Mar 17, 2020
- Application Purpose
- Original Equipment
- Date of Application
- Mar 17, 2020
- Equipment Note
- Security Radar
- Frequency Range
- 24125.00000000 - 24125.00000000
- Country
- China
Documents & Files
Document Text
Text extracted from the exhibit documents filed with the FCC. Open a document above to read the original.
Users Manual
10 20 30 40 50 60 70 80 90 100 DS-PRP100 Security Radar Diagram References ENGLISH Indicator Installation For detailed settings, scan the QR code to get the User Manual of Security Radar. 1. Download and install the iVMS-4200 client software. 2. Enter Device Management page, and click Online Device. Note: You should activate the device for the first usage. Select the device in the Online Device List, click Activate, create a password to activate the device. Scan the QR code to get the User Manual of Security Radar. 3. Select the radar in the Online Device List. Click Add , set the port as 80, and check Import to Group. If the IP segment of the radar is not the same as the PC’s, click Add in the Device for Management list and enter the radar IP address in the pop-up window to add the radar. You need to set the port as 80 and check Import to Group. 4. Upload Map: In iVMS-4200 client software, enter E-map, select a radar and click Add map to select a map. 5. Click Edit Scale, draw a path on the map and set the plotting scale. 6. Expand the device group in the list on the left, and drag the radar onto the map. 7. Move along the edge of the required monitoring filed. Make sure the target sign (red arrow) is moving within the radar area (gray sector) shown on the added map. If the target sign is not within the sector, you need to adjust the mounting position or angle of the radar. Power on the radar and make sure there is no large object in the monitoring area. Make the detector access into the Internet. The radar and the PC that runs the software should be in the same IP segment. Test the radar after installation to make sure it is properly mounted. 1. In iVMS-4200 client software, select the radar on Device Management page and click to enter the configuration page. You can also enter the device IP address in the web browser to enter the configuration page. 2. Click Smart Rule Settings - Camera Linkage Settings. 3. Click + to add cameras to the radar. 4. Select a camera in the Camera IP Address list, and select the radar zone or the alarm line (or whole field) in the Zone Linkage list or the Alarm Line list. 5. Add the camera to iVMS-4200 client software: In the client software, enter Device Management page, click Add in the Device for Management list, and enter the IP address, user name and password of the camera in the pop-up window. 1. Select a reference object about 50 m away from the speed dome. On the reference object, select a point whose altitude is the same as the speed dome’s. 2. Enter the IP address of the speed dome in the web browser to enter the web client. Adjust the PTZ buttons on the Live View page to make the reference object displayed in the image, and click to zoom in the reference object. 3. Click , and click the reference point to middle the point in the frame. 4. Enter Configuration - PTZ - Initial Position, and click Set to set the initial position. Link the camera to the Zone Before calibration, set the initial position of the speed dome to ensure the tracking accuracy. 1. In iVMS-4200 client software, enter Device Management page, click Group. Click Encoding Channels in the group of the radar. Click Import and check cameras to link with the radar. 2. In iVMS-4200 client software, enter E-map page, click Edit - RadarEdit - MasterSlaveEdit. 3. Click the live view window, select the linked camera needs to be calibrated, and double click the live view window to maximum it. 4. Select Single Calibration as the calibration mode. 5. Ask the calibration staff to move in the radar detection field. Click the track of the calibrate staff, and the color of the selected track will change from red to white. 6. Click Add Cal to add a calibration point. 7. Ask the calibration staff to stand at the calibration point within 20 to 40 m directly in front of the radar. Note: The track disappears if the calibration staff is standing in the place for more than 7 s. If the calibration staff does not move to the calibration point when the track disappears, you need to ask the calibration staff to move again, and click the track of the calibration staff to continue the calibration. 8. Click the added calibration point in the Info list to update the radar position of the calibration staff. 9. Adjust the PTZ buttons on the right of the live view window to update the PTZ position: Click +/- to scale the calibration staff to a fit size (The altitude of the calibration staff is about 2/3 of the altitude of the window), and adjust the PTZ to make the object align with the sign + at the center of the frame. 10. Select the live view window of the speed dome, and Check Enable Tracking. 11. Click Sure. Calibrate the Speed Dome Calibration Initial Position settings Te s t 1 4 Wiring 3 Formatting 2 5 Set Up 6 Specification 1. Attach the mounting bracket on the detector with four supplied screws. 2. Loosen the screws on both side of the bracket. 3. Adjust the angle of the detector. 4. Tighten the screws on both sides of the bracket to complete the installation. 1. Attach the mounting bracket on the detector with four supplied screws. 2. Loosen the screws on both sides of the bracket. 3. Adjust the angle of the detector. 4. Tighten the screws on both sides of the bracket to complete the installation. a. Power Supply Indicator Solid Green: Detector Power on b. Fault Alarm Indicator Flashing Red: Fault Alarm Occurred Solid Green: Alarm Restored c. Zone Alarm Indicator Solid Red: Zone Alarm Occurred Solid Green: Alarm Restored d. Formatting Indicator Red and Green LED Flashes 3 Times: Formatting Successfully a. Alarm Output Wiring (4-Ch Weak Current Output) b. Alarm Input Wiring (Reserved) c. DC Power Supply Wiring d. Ethernet (PoE Port) Wiring e. Grounding Loosen the screws on the rear cover to remove the cover. Hold the Reset button while powering the radar on until the red and green LED flashes 3 times. Ceiling Mounting Pole Mounting Before You Start: The recommended installation height is 2.5 m. Make sure …
Text truncated - open the document above for the full version.
Cover Letter(s)
Company: Hangzhou Hikvision Digital Technology Co., Ltd. Add: No.555 Qianmo Road, Binjiang District, Hangzhou 310052, China Tel: +86-571-88075998 Fax: +86-571-87356146 E-mail: [email protected] DECLARATION Dear Sir or Madam: We, Hangzhou Hikvision Digital Technology Co., Ltd., hereby declare that product: Security Radar (Model name: DS-PRP100, DS-PRP100-UHK, DS-PRP100-CKV, DS-PRP100-KVO, DS-PRP100-HUN. FCC ID: 2ADTD-R0201100010), these models are electrically identical with the PCB design, components and electromagnetic compatibility characteristics. And DS-PRP100 has been tested by B ACL. Please contact me if there is need for any additional clarification or information. Best Regards, Signature: Print Name: Xiuying Zhang Title: Manager FEDERAL COMMUNICATIONS COMMISSIONS Authorization and Evaluation Division 74 35 Oakland Mi lls Road Columbia, MD 21046 The differences o f them are as follows: Model names. Date: 2019-10-21
Cover Letter(s)
F C C A u t h o rization Date: 2019-10-21 FEDERAL COMMUNICATIONS COMMISSION Authorization and Evaluation Division 7435 Oakland Mills Road Columbia, MD 21046 Subject: Agent Authorization To whom it may concern: We, Hangzhou Hikvision Digital Technology Co., Ltd., the undersigned, Hereby authorizes Bay Area Compliance Laboratories Corporation to act on its behalf in all matters relating to application for Equipment authorization, including the signing of all documents relating to these matters. All acts carried out by Bay Area Compliance Laboratories Corp. on our behalf shall have the same effect as our own action. We, the undersigned, hereby certify that we are not subject to a denial of federal benefits, that includes FCC benefits, pursuant to Section 5301 of the Anti-Drug Abuse Act of 1988, 21 U.S.C. 862. Company: Hangzhou Hikvision Digital Technology Co., Ltd. Add: No.555 Qianmo Road, Binjiang District, Hangzhou 310052, China Tel: +86-571-88075998 Fax: +86-571-87356146 Sincerely Yours, Signature: Typed or Printed Name: Xiuying Zhang Title: Manager This authorization is valid until further written notice from the applicant.
Cover Letter(s)
FCC Co nfidentia l Authori z ation Date: 2019-10-21 FEDERAL COMMUNICATIONS COMMISSIONS Authorization and Evaluation Division 7435 Oakland Mills Road Columbia, MD 21046 Subject: Confidentiality Request regarding application for certification of FCC ID: 2ADTD-R0201100010 To: whom it may concern, In accordance with Sections 0.457 and 0.459 of the Commission’s Rules, Hangzhou Hikvision Digital Technology Co., Ltd. hereby requests long-term confidential treatment of information accompanying this application as outlined below: Block Diagram Schematics Operation Description The above materials contain proprietary and confidential information not customarily released to the public. The public disclosure of these materials provides unjustified benefits to its competitors in the market. Sincerely Yours, Signature: Typed or Printed Name: Xiuying Zhang Title: Manager Company: Hangzhou Hikvision Digital Technology Co., Ltd. Add: No.555 Qianmo Road, Binjiang District, Hangzhou 310052, China Tel: +86-571-88075998 Fax: +86-571-87356146 E-mail: [email protected]
External Photos
EXHIBIT A - EUT EXTERNAL PHOTOGRAPHS
Internal Photos
EXHIBIT B- EUT INTERNAL PHOTOGRAPHS Antenna
Test Report
Note: This test report is prepared for the customer shown above and for the device described herein. It may not be duplicated or used in part without prior written consent from Bay Area Compliance Laboratories Corp. This report is valid only with a valid digital signature. The digital signature may be available only under the Adobe software above version 7.0. FCC PART 15.249 TEST REPORT For Hangzhou Hikvision Digital Technology Co., Ltd. No.555 Qianmo Road, Binjiang District, Hangzhou 310052, China Report Type: Original Report Product Type: Security Radar Test Engineer: Sam Ye Report Number: RKSA191021001-00A Report Date: 2020-01-08 Reviewed By: Oscar Ye EMC Manager Test Laboratory: Bay Area Compliance Laboratories Corp. (Kunshan) No.248 Chenghu Road,Kunshan,Jiangsu province,China Tel: +86-0512-86175000 Fax: +86-0512-88934268 www.baclcorp.com.cn FCC ID: 2ADTD-R0201100010 Bay Area Compliance Laboratories Corp. (Kunshan) Report No.: RKSA191021001-00A FCC Part 15.249 Page 2 of 33 TABLE OF CONTENTS GENERAL INFORMATION ....................................................................................................................................... 3 PRODUCT DESCRIPTION FOR EQUIPMENT UNDER TEST (EUT) ..................................................................................... 3 OBJECTIVE ................................................................................................................................................................... 3 RELATED SUBMITTAL(S)/GRANT(S) ............................................................................................................................. 3 TEST METHODOLOGY .................................................................................................................................................. 3 MEASUREMENT UNCERTAINTY .................................................................................................................................... 4 TEST FACILITY ............................................................................................................................................................. 4 SYSTEM TEST CONFIGURATION .......................................................................................................................... 5 JUSTIFICATION ............................................................................................................................................................. 5 EUT EXERCISE SOFTWARE .......................................................................................................................................... 5 SUPPORT EQUIPMENT LIST AND DETAILS .................................................................................................................... 5 EXTERNAL I/O CABLE .................................................................................................................................................. 5 BLOCK DIAGRAM OF TEST SETUP ................................................................................................................................ 6 SUMMARY OF TEST RESULTS ............................................................................................................................... 9 TEST EQUIPMENT LIST ......................................................................................................................................... 10 FCC§15.203 - ANTENNA REQUIREMENT ............................................................................................................ 12 APPLICABLE STANDARD ............................................................................................................................................ 12 ANTENNA CONNECTOR CONSTRUCTION .................................................................................................................... 12 FCC §15.207 (A) – AC LINE CONDUCTED EMISSIONS .................................................................................... 13 APPLICABLE STANDARD ............................................................................................................................................ 13 EUT SETUP ................................................................................................................................................................ 13 EMI TEST RECEIVER SETUP ....................................................................................................................................... 13 TEST PROCEDURE ...................................................................................................................................................... 13 FACTOR & OVER LIMIT CALCULATION ...................................................................................................................... 14 TEST RESULTS SUMMARY .......................................................................................................................................... 14 TEST DATA ................................................................................................................................................................ 14 FCC§15.205, §15.209&§15.249- RADIATED EMISSIONS& OUT OF BAND EMISSION ................................ 19 APPLICABLE STANDARD ............................................................................................................................................ 19 EUT SETUP ................................................................................................................................................................ 19 TEST EQUIPMENT SETUP ............................................................................................................................................ 21 TEST PROCEDURE ...................................................................................................................................................... 21 CORRECTED AMPLITUDE & MARGIN CALCULATION ..…
Text truncated - open the document above for the full version.
Test Setup Photos
EXHIBIT C- TEST SETUP PHOTOGRAPHS Conducted Emissions (Front View) – Power supply by Adapter Conducted Emissions (Side View) - Power supply by Adapter Radiated Emissions (Below 1 GHz) - Power supply by Adapter Radiated Emissions (1GHz-18GHz) - Power supply by Adapter Radiated Emissions (18GHz-40GHz) - Power supply by Adapter Radiated Emissions (40GHz-60GHz) - Power supply by Adapter Radiated Emissions (60GHz-75GHz) - Power supply by Adapter Radiated Emissions (75GHz-90GHz) - Power supply by Adapter Radiated Emissions (90GHz-100GHz) - Power supply by Adapter Conducted Emissions (Front View) - Power supply by POE Conducted Emissions (Side View) - Power supply by POE Radiated Emissions (Below 1 GHz) - Power supply by POE Radiated Emissions (1GHz-18GHz) - Power supply by POE Radiated Emissions (18GHz-40GHz) - Power supply by POE Radiated Emissions (40GHz-60GHz) - Power supply by POE Radiated Emissions (60GHz-75GHz) - Power supply by POE Radiated Emissions (75GHz-90GHz) - Power supply by POE Radiated Emissions (90GHz-100GHz) - Power supply by POE
Contact Information
Applicant
Long Cheng
Test Firm
Bay Area Compliance Laboratories Corp. (Kunshan)Mr. John Chan
[email protected]+86 0512 86175000
Technical Specifications
| # | Rule Parts | Frequency Range | Power Output |
|---|---|---|---|
| 1 | 15C | 24.13 GHz - 24.13 GHz | - |
Other Applications from Hangzhou Hikvision Digital Technology Co., Ltd.
2ADTD-3WR15X
Nov 09, 2022Ethernet Switch
Equipment Class
NII - Unlicensed National Information Infrastructure TX
2ADTD-K1T321MFWX
Nov 09, 2022Face Recognition Terminal
Equipment Class
DXX - Part 15 Low Power Communication Device Transmitter
2ADTD-K1T6QTF43EFW
Nov 08, 2022Face Recognition Terminal
Equipment Class
DTS - Digital Transmission System
2ADTD-K7CRT01E
Nov 08, 2022Stand Pole
Equipment Class
DCD - Part 15 Low Power Transmitter Below 1705 kHz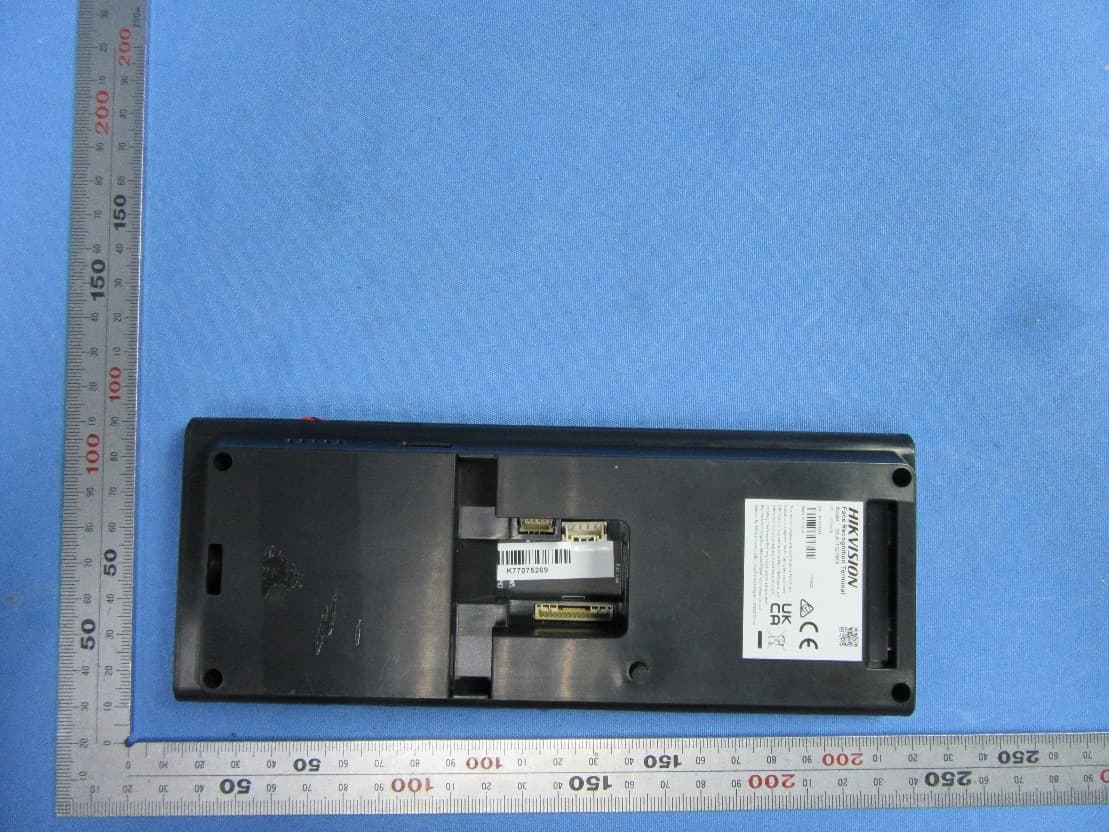
2ADTD-K1T321MFX
Nov 08, 2022Face Recognition Terminal
Equipment Class
DXX - Part 15 Low Power Communication Device Transmitter