2AYFSHT60202012Digital Night Vision
Shenzhen Shi Yutong Technology Co. LTD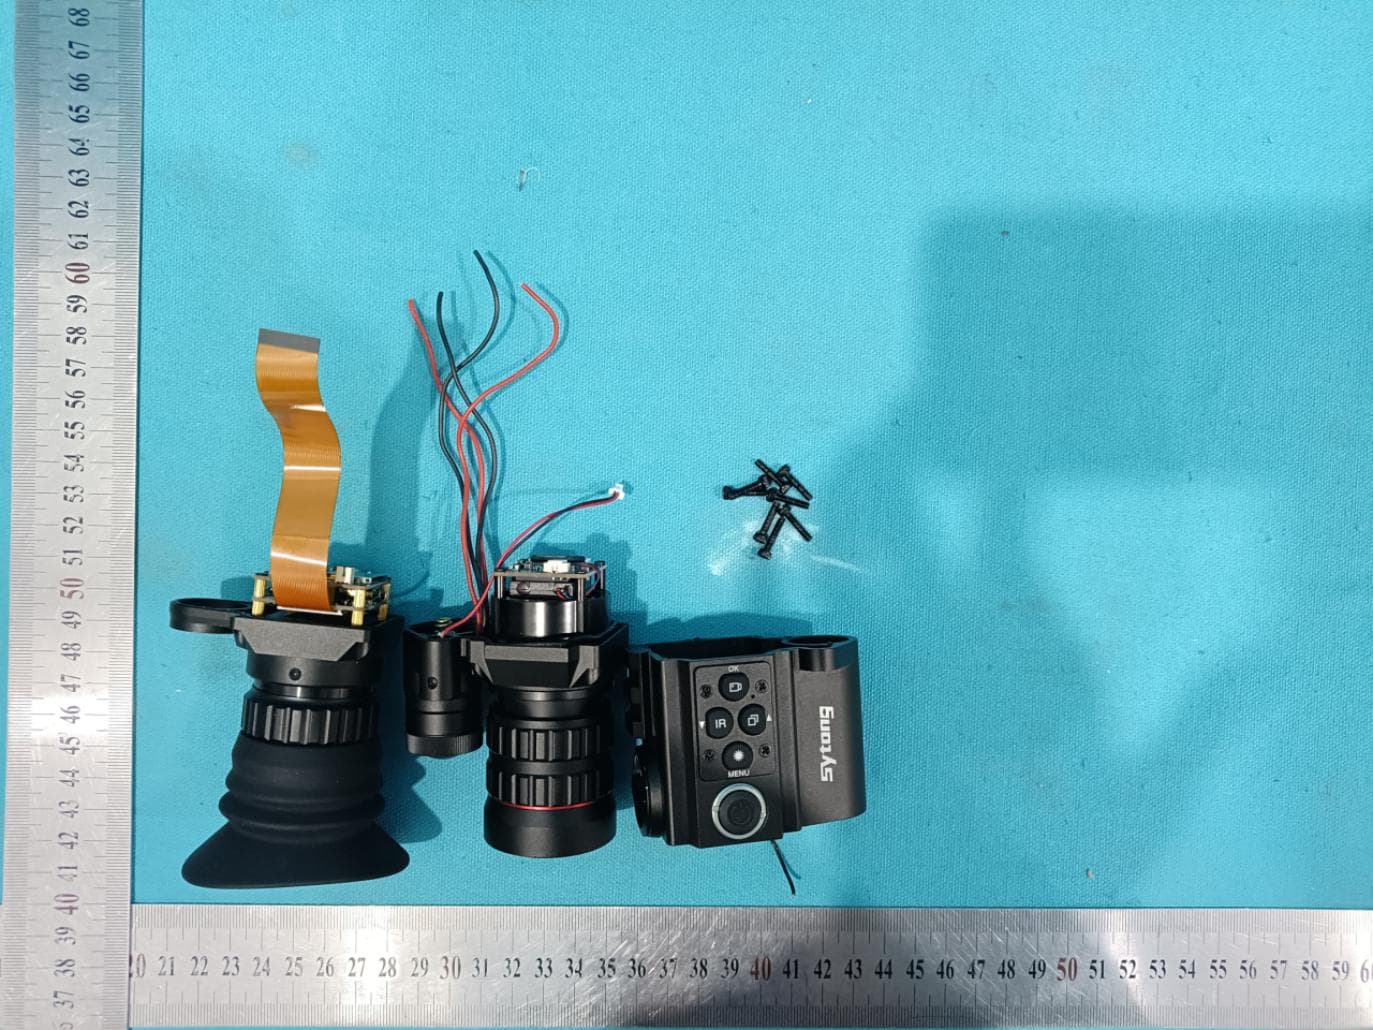
Click to zoom
Application Details
- Equipment Class
- DTS - Digital Transmission System
- Date of Grant
- Jan 12, 2021
- Application Purpose
- Original Equipment
- Date of Application
- Jan 12, 2021
- Equipment Note
- Digital Night Vision
- Frequency Range
- 2412.00000000 - 2462.00000000
- Country
- China
Documents & Files
Document Text
Text extracted from the exhibit documents filed with the FCC. Open a document above to read the original.
Users Manual
Cautions 1.Do not look at the IR infrared light directly in case of damage to your eyes! 2.Massive power will be gathered when the infrared light is turned on. Do notaimatflammableitemsatacloserange,otherwiseitmaycausefire. leaseturntheinfraredlightofforswitchtosleepmodeafteruse. 3.Please use rechargeable battery with rated voltage of 3.7V 4.fitemisdefective,notifypointofpurchasecontactformaintenance. Attempts to disassemble or repair the device unauthorized will make the warranty invalid. -1- -2- Note : only suitable for charging voltage below 5v. Do not charge the device with voltage over 5v. 6.Laser adjustment holes Stretchablefilllight oerindicator 1/2.Power/Sleep button 7.Menu/Laser red dot Battery compartment cap 3yeiecediotre adjustmentring Data cap icatinnyrail 4Objectivelens focusingadjustmentring HDhigh-definition interface TF card slot SBchargingort Components 1*HT60 Standard Version; 1* Micro USB cable; 2*Hex-nut wrenches; 1* Mount Storage card is not included. Please prepare a TF card (128g maximum) for data storage. Installation Battery leaseuselithiumchargeable3.7Vflatbattery1650.Removebatterycom- partment cap and make sure setting the positive polar towards to the direction inward. Put the cap back and screw it until tight. ( Fail to do so may result in restarting!). Adjustments Tocheckthefunctionaftertheinstallationofbattery.First,rotateandadjustthe eyepiecedioptreadjustmentring(3untilyouseethefour-charactericononthe screen(there'snoneedtoseeaclearimage,thenrotatetheObjectivelens adjustmentring(4untilyoucanseeyourtargetclearly.Second,switchtodiffer- entmodes,testR,ReddotorRangefinder. Mount Installation There are three mounting holes in the base of the device. Attach the mount to the base of the device by using a hex-nut wrench and screws. The mount can be installed in multiple rails. -4- -5- -6- -3- 2. 3. 1. Instructions rnOnOff Turnonthedevicewithashortpressofowerbutton(1/2.Turnoffthedevice withalongpressofowerbutton(1/2.owerindicatorwillkeepONwhenthe device is turned on. Sleep Mode Enter sleep mode with a short press of Power/Sleep button(1/2) when the deviceisturnedon.owerindicatorwillkeepONwhenthedeviceenteringsleep mode. The Eyepiece Dioptre Adjustment Thepurposeofdioptreadjustmentistogetaclearimageforuserswithdifferent vision.Rotateandadjustthedioptreadjustmentring(3until >PIP (Picture-in-Picture) EnterthesubmenumodewithashortpressofOKbutton.Select“off,on, shortcutkeyofforshortcutkeyonwith/button.Confirmyourselectionwith ashortpressofOKbutton. Oncetheshortcutkeyofisturnedon,enterorexitmodewithashort press of Menu button(7). (Laser function can not work in this situation) >Reticle Adjustment EnterthesubmenureticleadjustmentwithashortpressofOKbutton.Select optionswithashortpressofOKbutton.Adjustoptionsorvaluewithsomeshort press of / button . Toconfirmyoursettingbyenter“Savewithashortpressof+button,choose “eswithashortpressofOKbuttonTodenyyoursettingbyenter“Save withashortpressofbutton,choose“NowithashortpressofOKbutton. yougetaclearviewofthefour-charactericononthescreen.Oneadjustment only for each eye-view. (leasenoteit'spossiblethattheimageisnotclearwithouttheadjustment ofobjectivelens. The Objective Lens Adjustment Makesuretheeyepiecedioptreadjustmentisfinished.Aimingatyourtarget, rotateandadjusttheobjectivelensringuntilyougetaclearandwell-focused image. IR Fill Light Control Turnonthedevice,enterblackandwhitemodewithalongpressofRbutton. SwitchtoR1-3oroffwithashortpressofRbutton.Thepartoffilllight(5is stretchablewhichcanbepulloutorpushbacktomakeaquickadjustment. Red dot Adjustment Turnonthedevice,thenturnthelaseron/offwithashortpressofLaser/Menu button.Thepositionoflasercanbeadjustedonthelaseradjustmentholes(6by a hex-nut wrench. Menu operation Enter the menu with a long press of Menu button. Press / button to select options.EnterasubmenuwithashortpressofOKbutton.Exitthemenuwitha short press of Menu button. -7- -8- -9- -10- 1 2 1. 2. 3. 4. 5. 6. 7. >Gyroscope EnterthesubmenuGyroscopewithashortpressofOKbutton.SelectDisplay orCalibrationwithashortpressof/button.SelectOnorOfftoturn on/offthegyroscopeafterenteringDisplay.Turnonthegyroscopebeforeyou selectCalibration.EnterCalibrationbypressingOKbutton.Keepthemachine level and remain still for about 8 seconds to complete the calibration. efaltagncaton EnterthesubmenuDefaultMagnificationwithashortpressofOKbutton.Select “6.5xor“13xasdefaultmagnification.Confirmyourselectionwithashort pressofOKbutton. >Default Color EnterthesubmenuDefaultColorwithashortpressofOKbutton.Select “Colorfulor“Black/Whitemodewithashortpressof/button.Confirmyour selectionwithashortpressofOKbutton. >Brightness Of IR EnterthesubmenuBrightnessofRwithashortpressofOKbutton.Select“Off, “1,“2,or“3withashortpressof/button.Confirmyourselectionwithashort pressofOKbutton.leasenotethissettingisforthedefaultbrightnessofR. ressingRbuttonunderBlack&WhitemodeforinstantsettingofRbrightness. >LCD Brightness EnterthesubmenuBrightnesswithashortpressofOKbutton.Select“Super Dark,“Dark,“Normal,“Bright“SuperBrightwithashortpressof/button. ConfirmyourselectionwithashortpressofOKbutton. pressofOKbutton. >Loop Recording EnterthesubmenuLoopRecordingwithashortpressofOKbutton.Selec…
Text truncated - open the document above for the full version.
External Photos
Report No. :EED32M80106501Page 86 of 94 PHOTOGRAPHS OF EUT Constructional Details Test model No.: HT60 View of Product-1 View of Product-2 Report No. :EED32M80106501Page 87 of 94 View of Product-3 View of Product-4 Report No. :EED32M80106501Page 88 of 94 View of Product-5 View of Product-6 Report No. :EED32M80106501Page 89 of 94 View of Product-7 View of Product-8
ID Label/Location Info
Shenzhen Shi Yutong Technology Co., LTD FCC ID:2AYFSHT60202012 RoHS Digital Night Vision Model:HT60 Voltage:5V 2.5A Made in China Waterproof glue Labellocation:
Internal Photos
Report No. :EED32M80106501Page 89 of 101 View of Product-7 View of Product-8 Report No. :EED32M80106501Page 90 of 101 View of Product-9 View of Product-10 Report No. :EED32M80106501Page 91 of 101 View of Product-11 View of Product-12 Report No. :EED32M80106501Page 92 of 101 View of Product-13 View of Product-14 Report No. :EED32M80106501Page 93 of 101 View of Product-15 View of Product-16 Report No. : EED32M80106501Page 94 of 101 View of Product-17 View of Product-18 Report No. :EED32M80106501Page 95 of 101 View of Product-19 View of Product-20 Report No. :EED32M80106501Page 96 of 101 View of Product-21 View of Product-22 Report No. :EED32M80106501Page 97 of 101 View of Product-23 View of Product-24 Report No. :EED32M80106501Page 98 of 101 View of Product-25 View of Product-26 Report No. :EED32M80106501Page 99 of 101 View of Product-27 View of Product-28 Report No. :EED32M80106501Page 100 of 101 View of Product-29 View of Product-30 Report No. :EED32M80106501Page 101 of 101 View of Product-31 The test report is effective only with both signature and specialized stamp, The result(s) shown in this report refer only to the sample(s) tested. Without written approval of CTI, this report can’t be reproduced except in full. *** End of Report ***
RF Exposure Info
ReportNo.:EED32M80106502Page1of8 1COVERPAGE RFExposureEvaluationReport Product:DigitalNightVision Trademark:Sytong Model/Typereference:HT60 SerialNumber:N/A ReportNumber:EED32M80106502 FCCID: 2AYFSHT60202012 DateofIssue:Jan.06,2021 TestStandards: 47CFRPart1.1307 47CFRPart1.1310 KDB447498D01GeneralRFExposure Guidancev06 Testresult:PASS Preparedfor: ShenzhenShiYutongTechnologyCo.LTD LianjianScienceandTechnologyIndustrialPark, DalangStreet,LonghuaDistrict,Shenzhencity,China Preparedby : CentreTestingInternationalGroupCo.,Ltd. HongweiIndustrialZone,Bao’an70District, Shenzhen,Guangdong,China TEL:+86-755-33683668 FAX:+86-755-33683385 Compiledby:Reviewedby: VitoheAaronMa Approvedby:Date:Jan.06,2021 DavidWang CheckNo:4059031220 ReportNo.:EED32M80106502Page2of8 2Version VersionNo.DateDescription 00 Jan.06,2021 Original ReportNo.:EED32M80106502Page3of8 3Contents Page 1COVERPAGE......................................................................................................................................................................1 2VERSION..............................................................................................................................................................................2 3CONTENTS..........................................................................................................................................................................3 4GENERALINFORMATION...............................................................................................................................................4 4.1C LIENT I NFORMATION ....................................................................................................................................................4 4.2G ENERAL D ESCRIPTIONOF EUT..................................................................................................................................4 4.3P RODUCT S PECIFICATIONSUBJECTIVETOTHISSTANDARD ........................................................................................4 4.4T EST L OCATION .............................................................................................................................................................5 4.5D EVIATIONFROM S TANDARDS ......................................................................................................................................5 4.6A BNORMALITIESFROM S TANDARD C ONDITIONS ..........................................................................................................5 4.7O THER I NFORMATION R EQUESTEDBYTHE C USTOMER ..............................................................................................5 5SAREVALUATION.............................................................................................................................................................6 5.1RFE XPOSURE C OMPLIANCE R EQUIREMENT ...............................................................................................................6 5.1.1StandardRequirement........................................................................................................................................6 5.1.2EUTRFExposure...............................................................................................................................................7 PHOTOGRAPHSOFEUTCONSTRUCTIONALDETAILS............................................................................................8 ReportNo.:EED32M80106502Page4of8 4GeneralInformation 4.1ClientInformation Applicant: ShenzhenShiYutongTechnologyCo.LTD AddressofApplicant: LianjianScienceandTechnologyIndustrialPark,DalangStreet, LonghuaDistrict,Shenzhencity,China Manufacturer: ShenzhenShiYutongTechnologyCo.LTD AddressofManufacturer: LianjianScienceandTechnologyIndustrialPark,DalangStreet, LonghuaDistrict,Shenzhencity,China Factory: ShenzhenShiHuiTongTechnologyCo.LTD AddressofFactory: LianjianScienceandTechnologyIndustrialPark,DalangStreet, LonghuaDistrict,Shenzhencity,China 4.2GeneralDescriptionofEUT ProductName:DigitalNightVision ModelNo.(EUT): HT60 TradeMark: Sytong EUTSupportsRadios application: 2.4GWIFI 4.3 ProductSpecificationsubjectivetothisstandard FrequencyRange:2402MHz~2480MHz ModulationType: IEEEfor802.11b:DSSS(CCK,DQPSK,DBPSK) IEEEfor802.11g:OFDM(64QAM,16QAM,QPSK,BPSK) IEEEfor802.11n(HT20):OFDM(64QAM,16QAM,QPSK,BPSK) TestPowerGrade: ReferenceTable TestSoftwareofEUT: SecureCRT AntennaType:PCBAntenna AntennaGain:0dBi PowerSupply:DC5V MaxConductedPeak OutputPower: 8.15 dBm TheMaxConductedPeakOutputPowerdatarefertothereport EED32M80106501 SampleReceivedDate: Dec.04,2020 SampletestedDate: Dec.04,2020toDec.18,2020 CompanyNameandAddressshownonReport,thesample(s)andsampleInformationwas/were providedbytheapplicantwhoshouldberesponsiblefortheauthenticitywhichCTIhasn’tverified. ReportNo.:EED32M80106502Page5of8 4.4TestLocation Alltestswereperformedat: CentreTestingInternationalGroupCo.,Ltd BuildingC,HongweiIndustrialParkBlock70,Bao'anDistrict,Shenzhen,China Telephone:+86(0)75533683668Fax:+86(0)75533683385 Notestsweresub-contracted. FCCDesignationNo.:CN1164 4.5DeviationfromStandards None. 4.6AbnormalitiesfromStandardConditions None. 4.7OtherInformationRequestedbytheCustomer None. ReportNo.:EED32M80106502Page6of8 5SAREvaluation 5.1RFExposureComplianceRequirement 5.1.1StandardRequirement AccordingtoKDB447498D01GeneralRFExposureGuidancev06 StandaloneSARtestexclusionconsiderations UnlessspecificallyrequiredbythepublishedRFexposureKDBprocedures,standalone1-gheadorbody and10-gextremitySARevaluationforgeneralpopulationexposureconditions,bymeasurementor numericalsimulation,isnotrequiredwhenthecorrespondingSARExclusionThresholdcondition,listed below,issatisfied. Limits The1-gand10-gSARtestexclusionthresholdsfor100MHzto6GHzattestseparationdistances ≤50mmaredeterminedby: [(max.powerofchannel,includingtune-uptolerance,mW)/(min.testseparationdistance,mm)]· [√f(GHz)]≤3.0for1-gSARand≤7.5for10-gextremitySAR,where f(GHz)istheRFch…
Text truncated - open the document above for the full version.
Test Report
ReportNo.:EED32M80106501Page1of101 1 COVERPAGE TESTREPORT Product:DigitalNightVision Trademark:Sytong Model/Typereference:HT60 SerialNumber:N/A ReportNumber:EED32M80106501 FCCID: 2AYFSHT60202012 DateofIssue:Jan.06,2021 TestStandards: 47CFRPart15SubpartC Testresult:PASS Preparedfor: ShenzhenShiYutongTechnologyCo.LTD LianjianScienceandTechnologyIndustrialPark, DalangStreet,LonghuaDistrict,Shenzhencity,China Preparedby : CentreTestingInternationalGroupCo.,Ltd. HongweiIndustrialZone,Bao’an70District, Shenzhen,Guangdong,China TEL:+86-755-33683668 FAX:+86-755-33683385 Compiledby:Reviewedby: VitoheAaronMa Approvedby:Date:Jan.06,2021 DavidWang CheckNo:4059031220 ReportNo.:EED32M80106501Page 2 of 101 2Version VersionNo.DateDescription 00Jan.06,2021Original ReportNo.:EED32M80106501Page 3 of 101 3TestSummary TestItemTestRequirementTestmethodResult AntennaRequirement 47CFRPart15SubpartCSection 15.203/15.247(c) ANSIC63.10-2013PASS ACPowerLineConducted Emission 47CFRPart15SubpartCSection 15.207 ANSIC63.10-2013PASS ConductedPeakOutput Power 47CFRPart15SubpartCSection 15.247(b)(3) ANSIC63.10-2013PASS 6dBOccupiedBandwidth 47CFRPart15SubpartCSection 15.247(a)(2) ANSIC63.10-2013PASS PowerSpectralDensity47CFRPart15SubpartCSection15.247(e)ANSIC63.10-2013PASS Band-edgeforRF ConductedEmissions 47CFRPart15SubpartCSection 15.247(d) ANSIC63.10-2013PASS RFConductedSpurious Emissions 47CFRPart15SubpartCSection 15.247(d) ANSIC63.10-2013PASS RadiatedSpurious Emissions 47CFRPart15SubpartCSection 15.205/15.209 ANSIC63.10-2013PASS Restrictedbandsaround fundamentalfrequency (RadiatedEmission) 47CFRPart15SubpartCSection 15.205/15.209 ANSIC63.10-2013PASS Remark: TestaccordingtoANSIC63.4-2014&ANSIC63.10-2013. CompanyNameandAddressshownonReport,thesample(s)andsampleInformationwas/wereprovided bytheapplicantwhoshouldberesponsiblefortheauthenticitywhichCTIhasn’tverified. ReportNo.:EED32M80106501Page 4 of 101 4Content 1COVERPAGE.....................................................................................................................................................................1 2VERSION..............................................................................................................................................................................2 3TESTSUMMARY................................................................................................................................................................3 4CONTENT.............................................................................................................................................................................4 5TESTREQUIREMENT.......................................................................................................................................................5 5.1T ESTSETUP ................................................................................................................................................................... 5 5.1.1ForConductedtestsetup ................................................................................................................................... 5 5.1.2ForRadiatedEmissionstestsetup ................................................................................................................... 5 5.1.3ForConductedEmissionstestsetup ............................................................................................................... 6 5.2T EST E NVIRONMENT ...................................................................................................................................................... 6 5.3T EST C ONDITION ........................................................................................................................................................... 6 6GENERALINFORMATION...............................................................................................................................................7 6.1C LIENT I NFORMATION ....................................................................................................................................................7 6.2G ENERAL D ESCRIPTIONOF EUT..................................................................................................................................7 6.3P RODUCT S PECIFICATIONSUBJECTIVETOTHISSTANDARD ........................................................................................7 6.4D ESCRIPTIONOF S UPPORT U NITS ...............................................................................................................................8 6.5T EST L OCATION .............................................................................................................................................................8 6.6D EVIATIONFROM S TANDARDS ......................................................................................................................................8 6.7A BNORMALITIESFROM S TANDARD C ONDITIONS ..........................................................................................................8 6.8O THER I NFORMATION R EQUESTEDBYTHE C USTOMER ..............................................................................................8 6.9M EASUREMENT U NCERTAINTY (95% CONFIDENCELEVELS , K =2)..............................................................................8 7EQUIPMENTLIST..............................................................................................................................................................9 8RADIOTECHNICALREQUIREMENTSSPECIFICATION........................................................................................12 AppendixA):ConductedPeakOutputPower ........................................................................................................ 17 AppendixB):6dBOccupiedBandwidth .................................................................................................................. 19 AppendixC):Band-edgeforR…
Text truncated - open the document above for the full version.
Test Report
ReportNo.:EED32M80106501Page 53 of 101 Mode:802.11bTransmittingChannel:2412 Remark:PK TestGraph NO Freq. [MHz] Ant Factor [dB] Cable loss [dB] Pream gain [dB] Reading [dBμV] Level [dBμV/m] Limit [dBμV/m] Margin [dB] ResultPolarity 12390.000032.2513.37-43.1249.8052.3074.0021.70 Pass Vertical 22413.341732.2813.36-43.1266.5369.0574.004.95 Pass Vertical ReportNo.:EED32M80106501Page 54 of 101 Mode:802.11bTransmittingChannel:2412 Remark:AV TestGraph NO Freq. [MHz] Ant Factor [dB] Cable loss [dB] Pream gain [dB] Reading [dBμV] Level [dBμV/m] Limit [dBμV/m] Margin [dB] ResultPolarity 12390.000032.2513.37-43.1238.4240.9254.0013.08 Pass Horizontal 22412.766032.2813.36-43.1269.3171.8354.00-17.83 Pass Horizontal ReportNo.:EED32M80106501Page 55 of 101 Mode:802.11bTransmittingChannel:2412 Remark:AV TestGraph NO Freq. [MHz] Ant Factor [dB] Cable loss [dB] Pream gain [dB] Reading [dBμV] Level [dBμV/m] Limit [dBμV/m] Margin [dB] ResultPolarity 12390.000032.2513.37-43.1238.6041.1054.0012.90 Pass Vertical 22412.766032.2813.36-43.1259.8362.3554.00-8.35 Pass Vertical ReportNo.:EED32M80106501Page 56 of 101 Mode:802.11bTransmittingChannel:2462 Remark:PK TestGraph NO Freq. [MHz] Ant Factor [dB] Cable loss [dB] Pream gain [dB] Reading [dBμV] Level [dBμV/m] Limit [dBμV/m] Margin [dB] ResultPolarity 12460.420532.3413.48-43.1074.8777.5974.00-3.59 Pass Horizontal 22483.500032.3813.38-43.1149.7352.3874.0021.62 Pass Horizontal ReportNo.:EED32M80106501Page 57 of 101 Mode:802.11bTransmittingChannel:2462 Remark:PK TestGraph NO Freq. [MHz] Ant Factor [dB] Cable loss [dB] Pream gain [dB] Reading [dBμV] Level [dBμV/m] Limit [dBμV/m] Margin [dB] ResultPolarity 12459.985032.3413.48-43.1069.5272.2474.001.76 Pass Vertical 22483.500032.3813.38-43.1149.0851.7374.0022.27 Pass Vertical ReportNo.:EED32M80106501Page 58 of 101 Mode:802.11bTransmittingChannel:2462 Remark:AV TestGraph NO Freq. [MHz] Ant Factor [dB] Cable loss [dB] Pream gain [dB] Reading [dBμV] Level [dBμV/m] Limit [dBμV/m] Margin [dB] ResultPolarity 12463.033832.3513.47-43.1168.3771.0854.00-17.08 Pass Horizontal 22483.500032.3813.38-43.1140.4443.0954.0010.91 Pass Horizontal ReportNo.:EED32M80106501Page 59 of 101 Mode:802.11bTransmittingChannel:2462 Remark:AV TestGraph NO Freq. [MHz] Ant Factor [dB] Cable loss [dB] Pream gain [dB] Reading [dBμV] Level [dBμV/m] Limit [dBμV/m] Margin [dB] ResultPolarity 12462.961232.3513.47-43.1163.2365.9454.00-11.94 Pass Vertical 22483.500032.3813.38-43.1140.4443.0954.0010.91 Pass Vertical ReportNo.:EED32M80106501Page 60 of 101 Mode:802.11gTransmittingChannel:2412 Remark:PK TestGraph NO Freq. [MHz] Ant Factor [dB] Cable loss [dB] Pream gain [dB] Reading [dBμV] Level [dBμV/m] Limit [dBμV/m] Margin [dB] ResultPolarity 12390.000032.2513.37-43.1249.4751.9774.0022.03 Pass Horizontal 22417.803532.2813.38-43.1175.4678.0174.00-4.01 Pass Horizontal ReportNo.:EED32M80106501Page 61 of 101 Mode:802.11gTransmittingChannel:2412 Remark:PK TestGraph NO Freq. [MHz] Ant Factor [dB] Cable loss [dB] Pream gain [dB] Reading [dBμV] Level [dBμV/m] Limit [dBμV/m] Margin [dB] ResultPolarity 12390.000032.2513.37-43.1249.4051.9074.0022.10 Pass Vertical 22418.235332.2913.38-43.1266.5869.1374.004.87 Pass Vertical ReportNo.:EED32M80106501Page 62 of 101 Mode:802.11gTransmittingChannel:2412 Remark:AV TestGraph NO Freq. [MHz] Ant Factor [dB] Cable loss [dB] Pream gain [dB] Reading [dBμV] Level [dBμV/m] Limit [dBμV/m] Margin [dB] ResultPolarity 12390.000032.2513.37-43.1238.4040.9054.0013.10 Pass Horizontal 22418.091432.2913.38-43.1263.0265.5754.00-11.57 Pass Horizontal ReportNo.:EED32M80106501Page 63 of 101 Mode:802.11gTransmittingChannel:2412 Remark:AV TestGraph NO Freq. [MHz] Ant Factor [dB] Cable loss [dB] Pream gain [dB] Reading [dBμV] Level [dBμV/m] Limit [dBμV/m] Margin [dB] ResultPolarity 12390.000032.2513.37-43.1238.4940.9954.0013.01 Pass Vertical 22415.500632.2813.37-43.1154.8157.3554.00-3.35 Pass Vertical ReportNo.:EED32M80106501Page 64 of 101 Mode:802.11gTransmittingChannel:2462 Remark:PK TestGraph NO Freq. [MHz] Ant Factor [dB] Cable loss [dB] Pream gain [dB] Reading [dBμV] Level [dBμV/m] Limit [dBμV/m] Margin [dB] ResultPolarity 12455.629532.3413.50-43.1174.1676.8974.00-2.89 Pass Horizontal 22483.500032.3813.38-43.1149.5652.2174.0021.79 Pass Horizontal ReportNo.:EED32M80106501Page 65 of 101 Mode:802.11gTransmittingChannel:2462 Remark:PK TestGraph NO Freq. [MHz] Ant Factor [dB] Cable loss [dB] Pream gain [dB] Reading [dBμV] Level [dBμV/m] Limit [dBμV/m] Margin [dB] ResultPolarity 12456.282932.3413.50-43.1168.6571.3874.002.62 Pass Vertical 22483.500032.3813.38-43.1148.6851.3374.0022.67 Pass Vertical ReportNo.:EED32M80106501Page 66 of 101 Mode:802.11gTransmittingChannel:2462 Remark:AV TestGraph NO Freq. [MHz] Ant Factor [dB] Cable loss [dB] Pream gain [dB] Reading [dBμV] Level [dBμV/m] Limit [dBμV/m] Margin [dB] ResultPolarity 12456.573232.3413.50-43.1161.6064.3354.00-10.33 Pass Horizontal 22483.500032.3813.38-43.1140.4443.0954.0010.91 Pass Horizontal ReportNo.:EED32M80106501Page 67 of 101 Mode:802.11gTransmittingChannel:2462 Remark:AV TestGraph NO Freq. [MHz] Ant Factor [dB] Cable loss [dB] Pream gain [dB] Reading [dBμV] Level [dBμV/m] Limit [dBμV/m] Margin [dB] ResultPolarity 12455.339232.3413.51-43.1257.3960.1254.00-6.12 Pass Vertical 22483.500032.3813.38-43.1140.4743.1254.0010.88 Pass Vertical ReportNo.:EED32M80106501Page 68 of 101 Mode:802.11n(HT20)TransmittingChannel:2412 Remark:PK TestGraph NO Freq. [MHz] Ant Factor [dB] Cable loss [dB] Pream gain [dB] Reading [dBμV] Level [dBμV/m] Limit [dBμV/m] Margin [dB] ResultPolarity 12390.000032.2513.37-43.1250.0552.5574.0021.45 Pass Horizontal 22419.962532.2913.39-43.1274.2276.7874.00-2.78 Pass Horizontal ReportNo.:EED32M80106501Page 69 of 101 Mode:802.11n(HT20)TransmittingChannel:2412 Remark:PK TestGraph NO Freq. [MHz] Ant Factor [dB] Cable loss [dB] Pream gain [dB] Reading [dBμV] Level [dBμV/m] Limit [dBμV/m] Margin [dB] ResultPolarity 12390.000032.2513.37-43.1249.3951.8974.0022.11 Pass Vertical 22419.386732.29…
Text truncated - open the document above for the full version.
Test Setup Photos
Report No. :EED32M80106501Page 83 of 94 PHOTOGRAPHS OF TEST SETUP Test model No.: HT60 Radiated spurious emissionTest Setup-1(Below 30MHz) Radiated spurious emissionTest Setup-2(Below 1GHz) Report No. :EED32M80106501Page 84 of 94 Radiated spurious emissionTest Setup-3(Above 1GHz) Radiated spurious emissionTest Setup-4(Above 18GHz) Report No. :EED32M80106501Page 85 of 94 Radiated spurious emissionTest Setup-5(Above 1GHz) There are absorbing materials under the ground. Conducted Emissions Test Setup
Contact Information
Applicant
Fang-fang he(quality supervisor)
Test Firm
Centre Testing International Group Co., LtdVicky Zhou
Technical Specifications
| # | Rule Parts | Frequency Range | Power Output |
|---|---|---|---|
| 1 | 15C | 2.41 GHz - 2.46 GHz | 6.50 mW |
Other Applications from Shenzhen Shi Yutong Technology Co. LTD
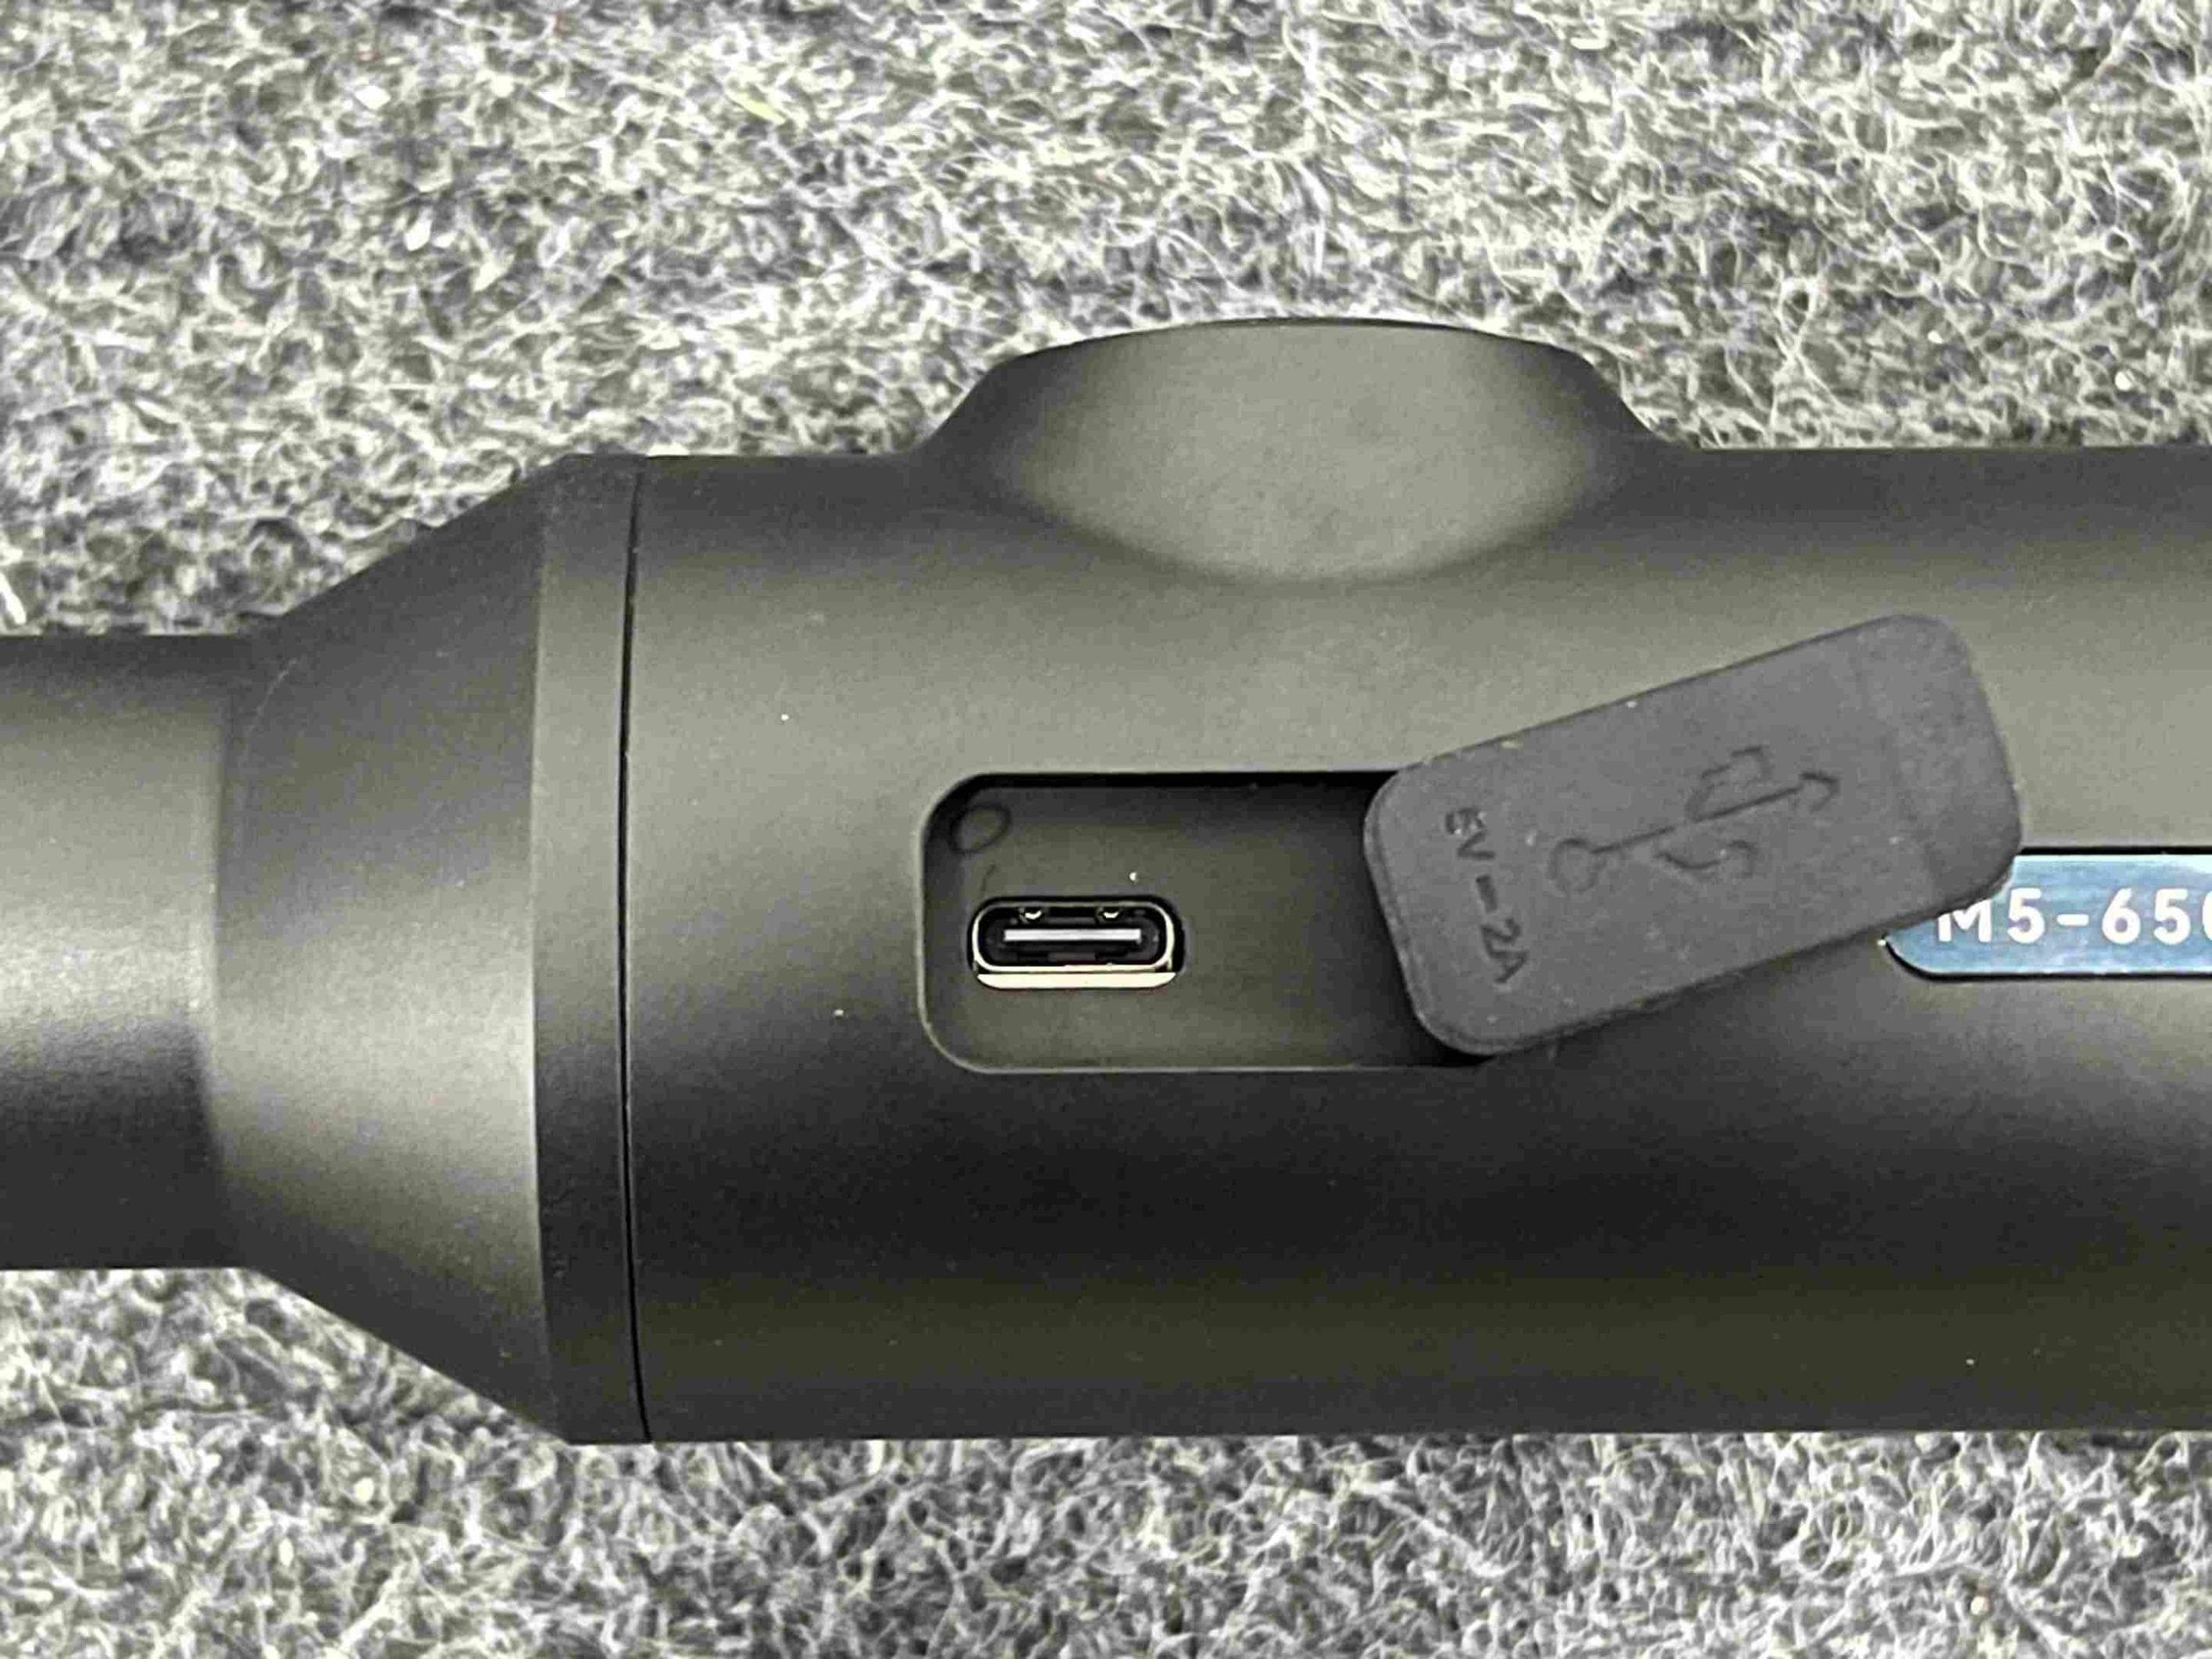
2AYFS-M5-650L
Apr 09, 2026Thermal lmaging Telescope
Equipment Class
DTS - Digital Transmission System2AYFS-AM06-35
Dec 08, 2025Thermal lmaging Telescope
Equipment Class
DTS - Digital Transmission System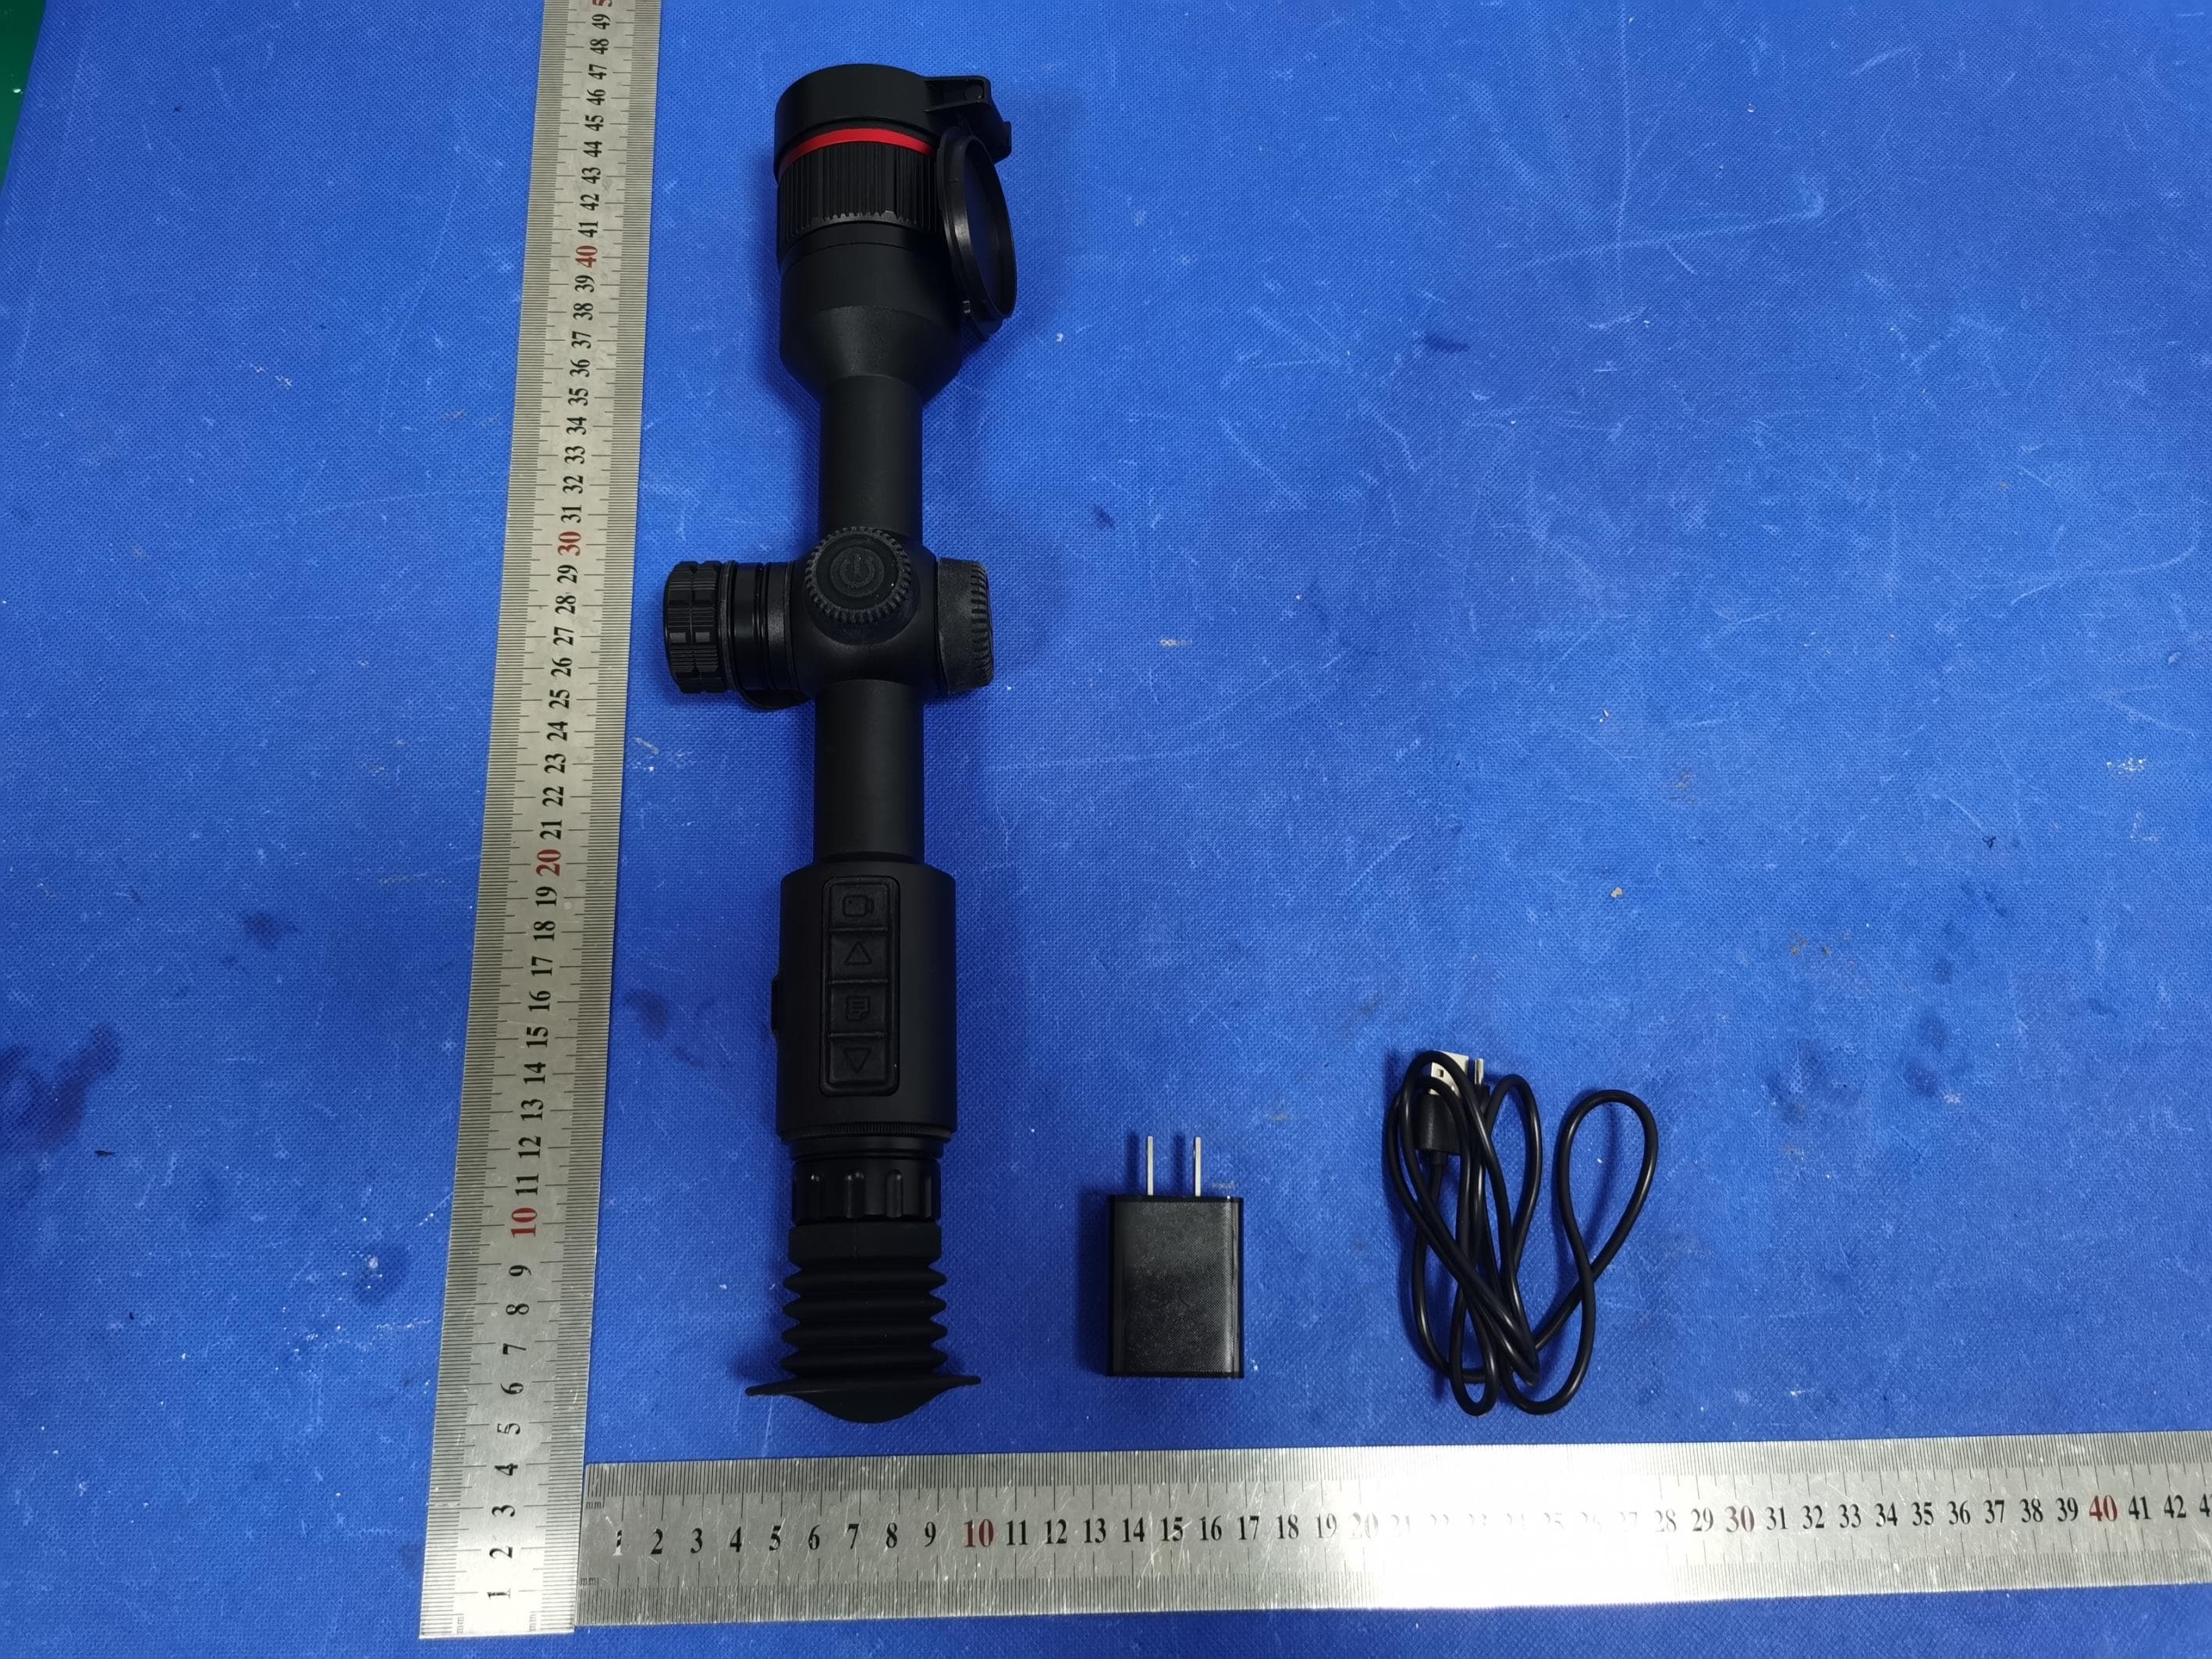
2AYFS-GM03-50
Aug 20, 2024GM03-50 series Thermal imager
Equipment Class
DTS - Digital Transmission System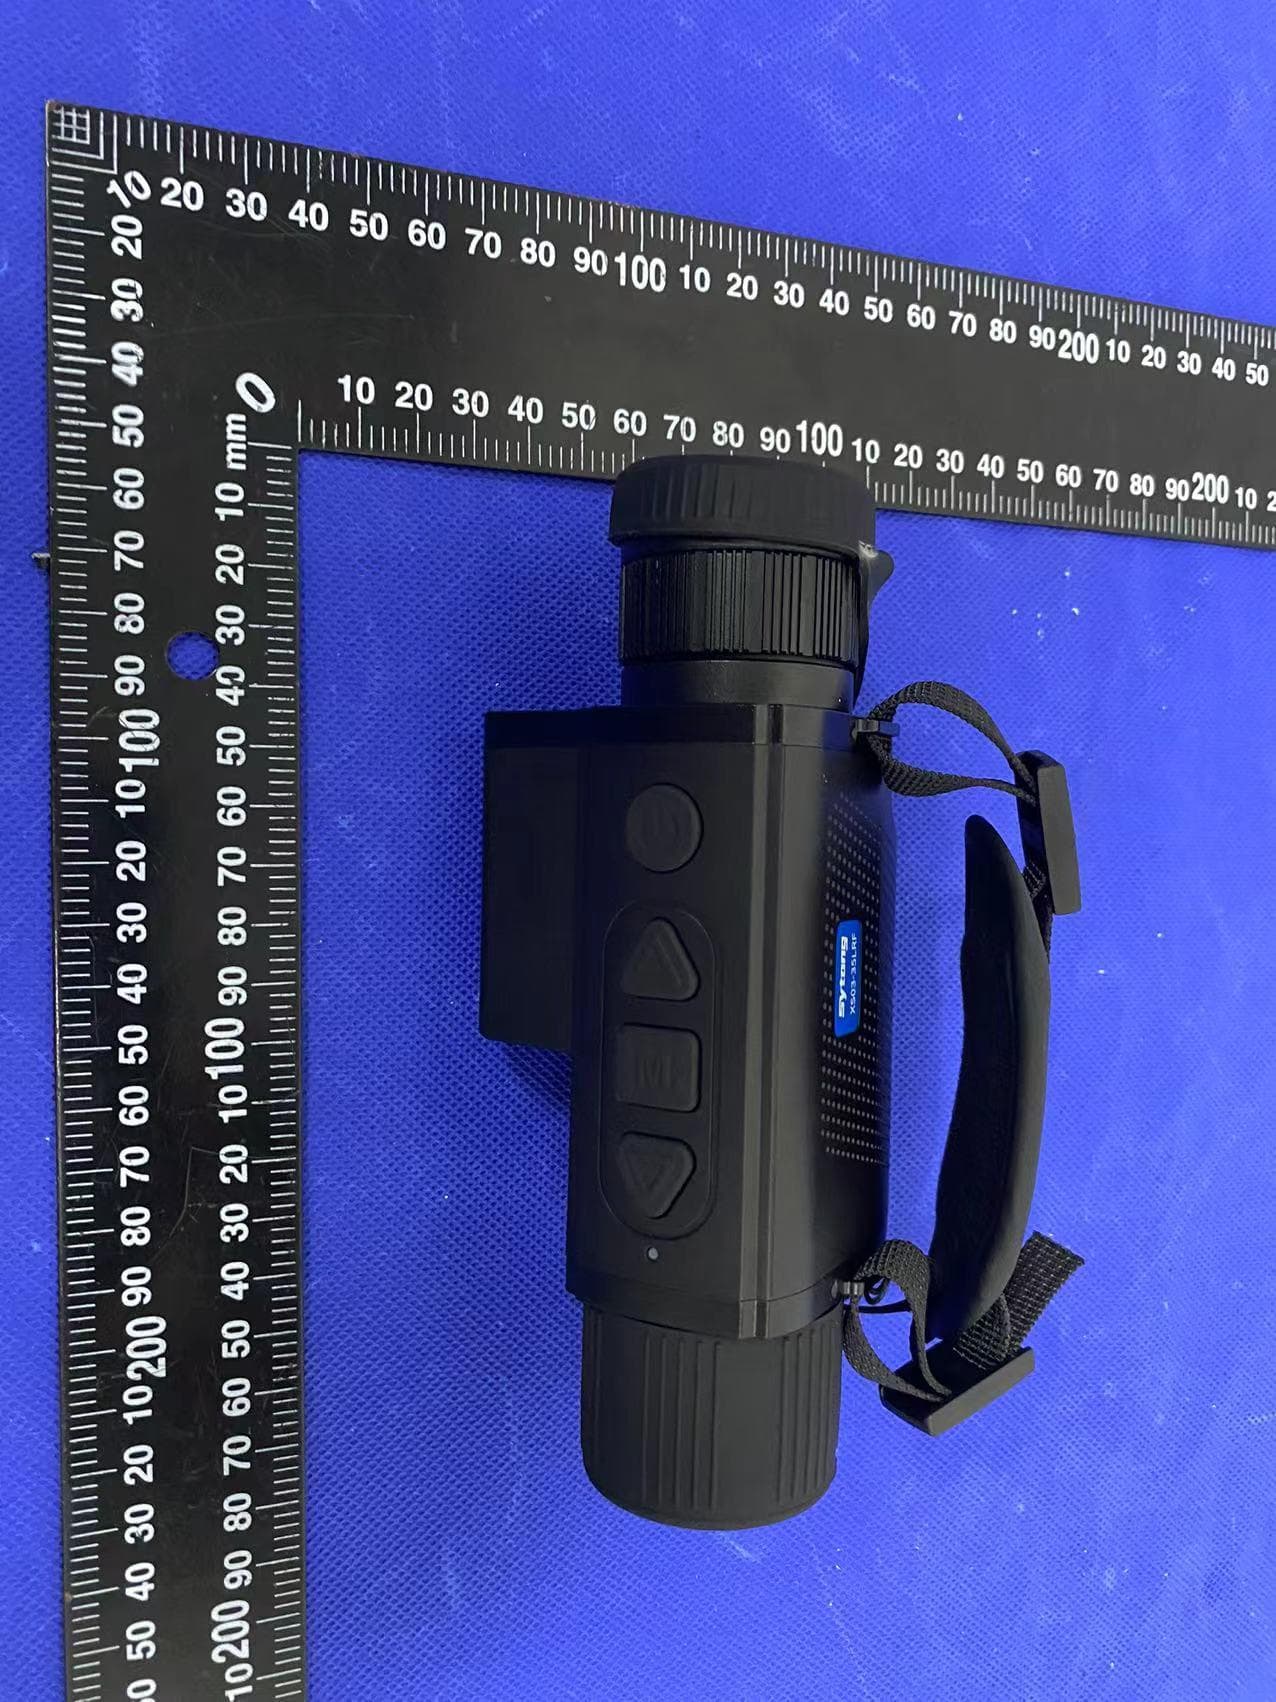
2AYFSXS03-25
May 16, 2023XS series Thermal imager
Equipment Class
DTS - Digital Transmission System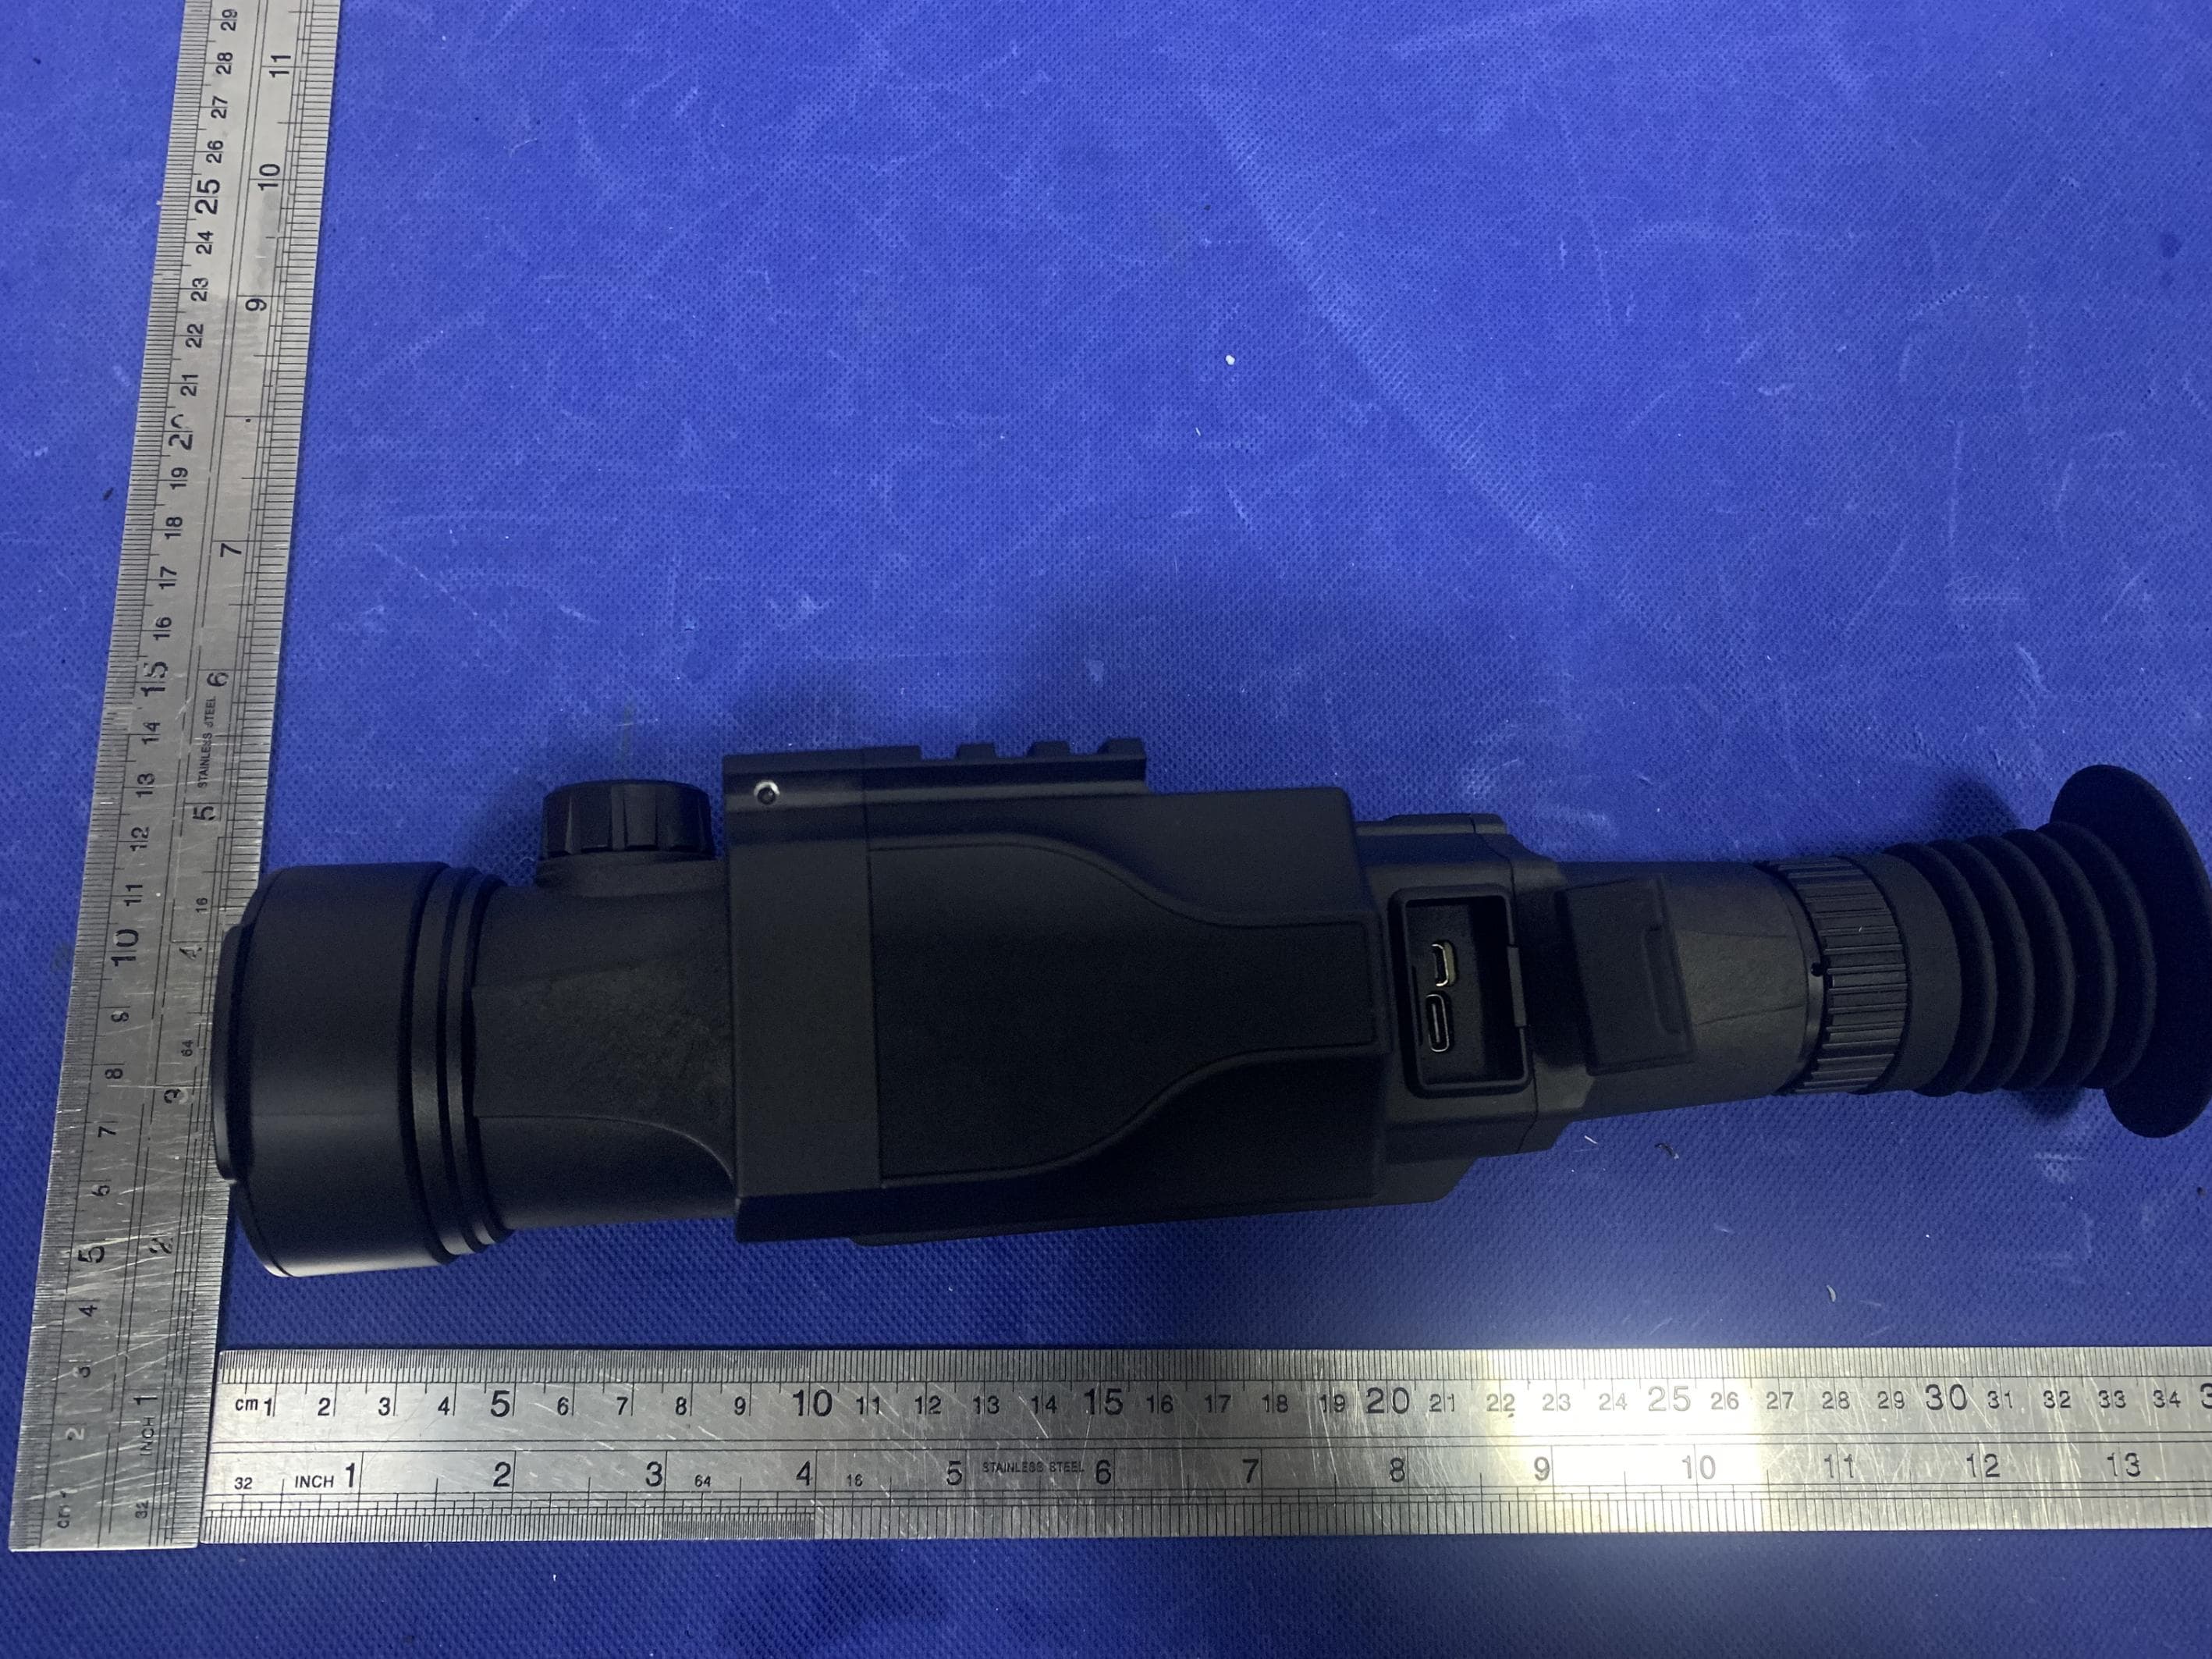
2AYFS-NM06LRF-35
Jul 31, 2022Nm series Thermal imager
Equipment Class
DTS - Digital Transmission System