AUST160Stereo Turntable System
Modern Marketing Concepts, Inc.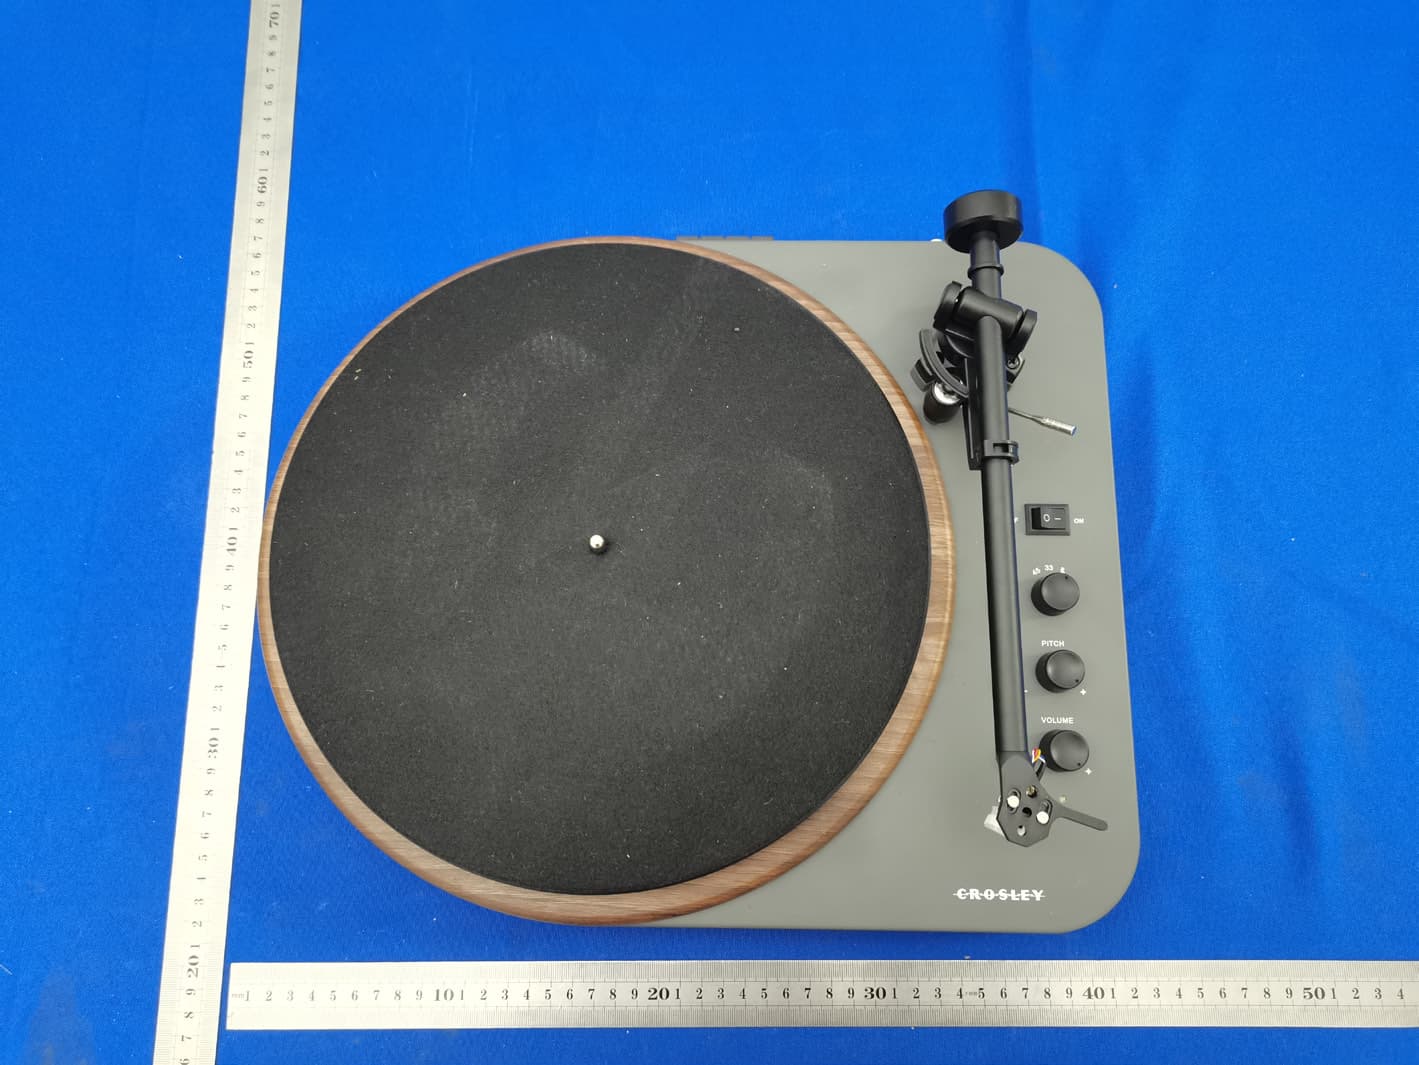
Click to zoom
Application Details
- Equipment Class
- DSS - Part 15 Spread Spectrum Transmitter
- Date of Grant
- Feb 17, 2022
- Application Purpose
- Original Equipment
- Date of Application
- Feb 17, 2022
- Equipment Note
- Stereo Turntable System
- Frequency Range
- 2402.00000000 - 2480.00000000
- Country
- United States
Documents & Files
Document Text
Text extracted from the exhibit documents filed with the FCC. Open a document above to read the original.
Users Manual
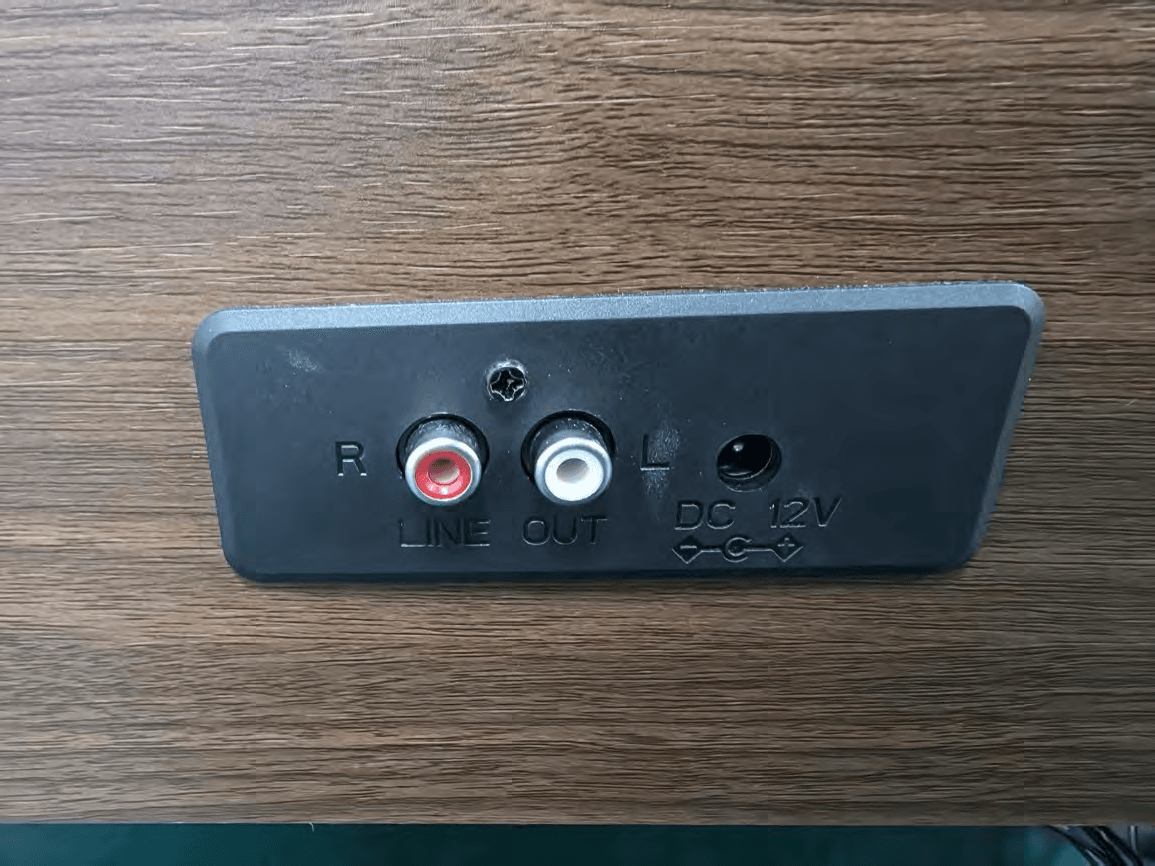
T160A Stereo Turntable System Instruction Manual Questions, problems, missing parts? Before returning to the store, call Customer Service 8 a.m. – 6 p.m., EST, Monday – Friday 1-888-CROSLEY www.crosleyradio.com English 2 Safety Instructions Read and understand this entire manual before using this product. Keep these instructions for future reference. 1. Do not use this product near water. 2. This product should be operated only by the type of power source indicated on the marking label or in this instruction manual. 3. Do not defeat the safety purpose of the polarized plug. A polarized plug has two blades with one blade wider than the other. This plug will fit into the power outlet only one way. If you are unable to insert the plug fully into the outlet try reversing the plug. If the plug should still fail to fit, contact your electrician. 4. Protect the power cord from being walked on or pinched particularly at plugs, convenience receptacles, and the point where they exit from the product. 5. Do not overload wall outlets, extension cords, or integral convenience receptacles as this can result in a risk of fire or electric shock. 6. Never push objects of any kind into this product through openings as they may touch dangerous voltage points or short-out parts that could result in a fire or electric shock. Never spill liquid of any kind on the product. 7. Do not attempt to service this product yourself as opening or removing covers may expose you to dangerous voltage or other hazards. Refer all servicing to qualified service personnel. 8. Changes or modifications to this unit not expressly approved by the party responsible for compliance could void the user’s authority to operate the equipment. 9. Do not use attachments not recommended by the product manufacturer as they may cause hazards. 10. A product and cart combination should be moved with care. Quick stops, excessive force, and uneven surfaces may cause the product and cart combination to overturn. 11. Slots and openings in the cabinet are provided for ventilation and to ensure reliable operation of the product and to protect it from overheating. Do not block or cover these openings. 12. Unplug the product during lightning storm or when unused for long periods of time. English 3 Items in this package Before throwing away any packaging materials, please check thoroughly and make sure you find the following items that come along with this package: • Turntable • Turntable Slip Mat • 45 RPM adapter • Speaker wire • Power adaptor Please contact Crosley customer service if there is any accessory missing from the package. Retain the original packaging materials for exchange or return purposes. Specifications Power AC power adaptor, DC output 12V 2.5A Power consumption 24 W Speaker 4”, 4Ω, 8W x 2 Turntable speed 33 1 / 3 , 45 RPM Replacement needle Crosley NP-15 Note: • Design and specifications are subject to change without notice. English 4 Product Description 1. Turntable Platter 2. Turntable Spindle 3. Tonearm Counterweight 4. Tonearm Lever 5. Tonearm Rest 6. Power Switch 7. Tonearm 8. Function Knob 9. Pitch Control 10. Volume Knob 11. Power Indicator 12. Ground Connector 13. RCA Jacks 14. Phono/Line Switch 15. Power Jack 16. Speaker Output Terminals 17. Speaker Input Terminals 18. 45 RPM Adapter English 5 Initial Setup Essential Setup 1. Place the unit on a flat and level surface. The selected location should be stable and free from vibration. 2. Remove the tie-wrap that is holding the tonearm. 3. Install the turntable platter and drive belt accordingly 4. Place the slip mat on top of the turntable platter. 5. Slide Tonearm Counterweight onto the rear shaft of tonearm and push it as close to the stop point as possible. This will automatically set the needle’s down force to be in range for the factory fitted needle (2.5g-3.5g). 6. Use the Speaker Wire to connect the left and right speakers’ Input Terminals to the turntable’s Output Terminals correspondingly. Make sure the left and right channels are connected correctly. 7. Connect AC adaptor to the Power Jack of the unit. Note: Do not plug the AC power adaptor to power outlet before all the assembly is completed. Before turning the power on, make sure again all the connection settings are correct. Always turn off the power when connecting or disconnecting. Turntable Platter and Belt Setup 1. Install the drive belt over the inner ring under the platter and make sure it won’t fall off during the setup. 2. Place the platter through the turntable spindle, then rotate the platter until you see the drive motor pulley through the window at the top right corner. 3. Carefully grab the drive belt and put it around the slot of motor pulley. English 6 Phono/Line Switch For increased flexibility of use, this unit has a built-in stereo phono pre-amplifier. If you prefer to use the phono input of your stereo system or your standalone phono pre-amplifier, set the Phono/Line switch to the PHONO position. Otherwise, please set it to LINE position and make connection to the AUX input or other high-level input on your stereo system. Stereo System Connection RCA Jacks • The RCA Jacks of this unit can be used as either Phono output jacks or Line output jacks. This is determined by using the Phone/Line Switch. • To connect to active speakers, set Phono/Line switch to Line setting. To connect to a phono pre-amp or the phono input of a stereo system, set Phono/Line switch to Phono setting. • The Red plug connects with the Right channel and the White plug connects with the Left channel. Note: − If the Phono/Line switch is set at LINE position but RCA jacks connected to the stereo system’s phono input, the sound might be distorted due to input overload and could damage your stereo system. − If the Phono/Line switch is set at PHONO position but RCA jack connected to the stereo system’s line input, the volume will be very low due to lacking signal pre- amplification. − RCA Jack is not designed to be connected direct…
Text truncated - open the document above for the full version.
Attestation Statements
Modern Marketing Concepts, Inc. Model Difference Product description: Stereo Turntable System Model name: T160A-GY, T160XX-XXXX(“XX-XXXX” can be replaced by letter from “A” to “Z”, number from “0” to “9” or blank) Trade Name: CROSLEY FCC ID: AUST160 All the model are the same circuit and RF module, only for model name. Regards Sincerely Client’s signature: Client’s name / title : Scott McWhorter (Director of Engineering) Contact information / address: 1220 E Oak, St. Louisville, KY 40204 United States
Cover Letter(s)
C5266091_X8_Ed.1 1/1 Letter of Authorization Modern Marketing Concepts, Inc. Company: Modern Marketing Concepts, Inc. Address: 1220 E Oak, St. Louisville, KY 40204 United States Product Name: Stereo Turntable System Model Number: T160A-GY, T160XX-XXXX(“XX-XXXX” can be replaced by letter from “A” to “Z”, number from “0” to “9” or blank) FCC Identifier: AUST160 We authorize LGAI Technological Center S.A., Ronda de la Font del Carme, s/n, 08193 Bellaterra, Spain, to act on our behalf on all matters concerning the above named equipment. Any individual within LGAI Technological Center S.A. is authorized to act on our behalf and take action on the application. We declare that authorize LGAI Technological Center S.A., Ronda de la Font del Carme, s/n, 08193 Bellaterra, Spain, is allowed to forward all information related to the approval project to the Federal Communication Commission and to discuss any issues concerning the approval application. Any and all acts carried out by LGAI Technological Center S.A. on our behalf shall have the same effect as acts of our own. Name: Scott McWhorter Date: 2022.02.11 Title: Director of Engineering Signature of applicant:
Cover Letter(s)
C5266091_X10_Ed.2 1/1 Modern Marketing Concepts, Inc. Office of Engineering Technology Federal Communications Commission 7435 Oakland Mills Road Columbia, MD 21046 Date: 2022.02.11 Subject: Request for Confidentiality FCC ID: AUST160 To Whom It May Concern, Pursuant to the provisions of Sections 0.457 and 0.459 of Commission's rules (47CFR0.457, 0.459), we are requesting the Commission to withhold the following attachment(s) as confidential document from public disclosure. Exhibits Long-Term Confidentiality Short-Term Confidentiality NOTE 2 ID Label/Location No No Attestation Statement No No External Photos No ☐ Block Diagram ☒ ☐ Schematics ☒ ☐ Test Report No No Test Setup Photos No ☐ User’s Manual ☐ NOTE 1 ☐ Internal Photos ☐ NOTE 1 ☐ Parts List / Tune Up ☐ ☐ RF Exposure Info No No Operational Description ☒ ☐ Cover Letter(s) No No SDR Software / Security Info ☐ No NOTE 1: Long-Term Confidentiality may be permitted under special conditions (See II. LONG-TERM CONFIDENTIALITY, Section 3 of KDB 726920, use last in force) NOTE 2: Short-Term Confidentiality can be requested for a maximum of 180 days from the date of the grant. Above mentioned document contains detailed system and equipment description are considered as proprietary information in operation of the equipment. The public disclosure of above documents might be harmful to our company and would give competitor an unfair advantage in the market. In case of short-term Confidentiality, the applicant requests the exhibits selected above are withheld from public view for a period of ____45 __ days from the date of the Grant of Equipment Authorization and prior to marketing. It is our understanding that all measurement test reports, FCC ID label format and correspondent during certification review process cannot be granted as confidential documents and those information will be available for public review once the grant of equipment authorization is issued. Sincerely, C5266091_X10_Ed.2 1/1 Signature: Name: Scott McWhorter Title: Director of Engineering
External Photos
External Photos
ID Label/Location Info
Model: T160A-GY FCC ID: AUST160 Label Location
Internal Photos
Internal Photos ANT
RF Exposure Info
FCC §15.247 (i), §2.1091 – RF Exposure FCC ID: AUST160 Applied procedures / limit According to FCC §15.247(i) and §1.1307(b)(1), systems operating under the provisions of this section shall be operated in a manner that ensures that the public is not exposed to radio frequency energy level in excess of the Commission’s guidelines. Limits for Occupational / Controlled Exposure Frequency Range (MHz) Electric Field Strength (E) (V/m) Magnetic Field Strength (H) (A/m) Power Density (S) (mW/ cm 2 ) Averaging Time |E| 2 ,|H| 2 or S (minutes) 0.3-3.0 614 1.63 (100)* 6 3.0-30 1842 / f 4.89 / f (900 / f)* 6 30-300 61.4 0.163 1.0 6 300-1500 F/300 6 1500-100,000 5 6 Note: ƒ is frequency in MHz * = Power density limit is applicable at frequencies greater than 100 MHz Limits for General Population / Uncontrolled Exposure Frequency Range (MHz) Electric Field Strength (E) (V/m) Magnetic Field Strength (H) (A/m) Power Density (S) (mW/ cm 2 ) Averaging Time |E| 2 ,|H| 2 or S (minutes) 0.3-1.34 614 1.63 (100)* 30 1.34-30 824/f 2.19/f (180/f)* 30 30-300 27.5 0.073 0.2 30 300-1500 F/1500 30 1500-100,000 1.0 30 Note: f = frequency in MHz * = Plane-wave equivalent power density MPE PREDICTION Predication of MPE limit at a given distance, Equation from OET Bulletin 65, Edition 97-01 Where: S = power density P = power input to antenna G = power gain of the antenna in the direction of interest relative to an isotropic radiator R = distance to the center of radiation of the antenna,R=20cm Test Result of RF Exposure Evaluation Tune up Produce power Maximu m peak output power (dBm) Output power to antenn a (mW) Antenna Gain (numeric) Power Density (S) (mW/ cm2) Limit (mW / cm2 ) Result BT 2.5±1 3.5 3.63 1.259 (1.00dBi) 0.000561 1 Pass
Test Report
Shenzhen CTB Testing Technology Co., Ltd. Report No.: CTB211225001RFX TEST REPORT Compiled by: Reviewed by: Approved by: Chen Zheng Bin Mei Rita Xiao/ Director The test report is effective only with both signature and specialized stamp. This result(s) shown in this report refer only to the sample(s) tested. Without written approval of Shenzhen CTB Testing Technology Co., Ltd. this report can’t be reproduced except in full. The tested sample(s) and the sample information are provided by the client. Product Name: Stereo Turntable System FCC ID: AUST160 Trademark: CROSLEY Model Number: T160A-GY, T160XX-XXXX(“XX-XXXX” can be replaced by letter from “A” to “Z”, number from “0” to “9” or blank) Prepared For: Modern Marketing Concepts, Inc. Address: 1220 E Oak, St. Louisville, KY 40204 United States Manufacturer: Timsen Development Limited Address: 5F, 447# Tianhebei Road, Guangzhou, China Prepared By: Shenzhen CTB Testing Technology Co., Ltd. Address: Floor 1&2, Building A, No. 26 of Xinhe Road, Xinqiao Community, Xinqiao Street, Baoan District, Shenzhen, Guangdong China Sample Received Date: Dec. 20, 2021 Sample tested Date: Dec. 20, 2021 to Dec. 24 , 2021 Issue Date: Jan. 14, 2022 Report No.: CTB211225001RFX Test Standards FCC Part15.247 ANSI C63.10:2013 Test Results PASS Remark: This is Bluetooth radio test report. Report Tel: 4008-707-283Web: http://www.ctb-lab.net Page 1 of 59 Shenzhen CTB Testing Technology Co., Ltd. Report No.: CTB211225001RFX TABLE OF CONTENT Test Report Declaration Page 1. VERSION ...................................................................................................... 4 2. TEST SUMMARY ........................................................................................... 5 3. MEASUREMENT UNCERTAINTY .................................................................. 6 4. PRODUCT INFORMATION AND TEST SETUP ............................................... 7 4.1 Product Information ............................................................................................. 7 4.2 Test Setup Configuration ..................................................................................... 7 4.3 Support Equipment .............................................................................................. 7 4.4 Channel List ........................................................................................................ 8 4.5 Test Mode ........................................................................................................... 8 4.6 Test Environment ................................................................................................ 8 5. TEST FACILITY AND TEST INSTRUMENT USED .......................................... 9 5.1 Test Facility ......................................................................................................... 9 5.2 Test Instrument Used .......................................................................................... 9 6. AC POWER LINE CONDUCTED EMISSION ................................................... 12 6.1 Block Diagram Of Test Setup ............................................................................ 12 6.2 Limit ................................................................................................................... 12 6.3 Test procedure .................................................................................................. 12 6.4 Test Result ........................................................................................................ 14 7. RADIATED SPURIOUS EMISSION............................................................... 18 7.1 Block Diagram Of Test Setup ............................................................................ 18 7.2 Limit ................................................................................................................... 18 7.3 Test procedure .................................................................................................. 19 7.4 Test Result ........................................................................................................ 20 8. BAND EDGE AND RF COUNDUCTED SPURIOUS EMISSIONS ................... 31 8.1 Block Diagram Of Test Setup ............................................................................ 31 8.2 Limit ................................................................................................................... 31 8.3 Test procedure .................................................................................................. 31 8.4 Test Result ........................................................................................................ 32 9. COUDUCTED PEAK OUTPUT POWER ........................................................ 37 9.1 Block Diagram Of Test Setup ............................................................................ 37 9.2 Limit ................................................................................................................... 37 Report Tel: 4008-707-283 Web: http://www.ctb-lab.net Page 2 of 59 Shenzhen CTB Testing Technology Co., Ltd. Report No.: CTB211225001RFX 9.3 Test procedure .................................................................................................. 37 9.4 Test Result ........................................................................................................ 38 10. 20DB OCCUPIED BANDWIDTH ................................................................... 41 10.1 Block Diagram Of Test Setup .......................................................................... 41 10.2 Limit ................................................................................................................. 41 10.3 Test procedure ................................................................................................ 41 10.4 Test Result ...................................................................................................... 41 11. CARR…
Text truncated - open the document above for the full version.
Test Setup Photos
Radiated Emission Below 1G Above 1G Conducted emission
Contact Information
Applicant
Scott McWhorter(Director of Engineering)
Technical Contact
Non-Technical Contact
Shenzhen CTB Testing Technology Co., Ltd.Simon Lee
[email protected](86) 13662574496
Test Firm
Shenzhen CTB Testing Technology Co., Ltd.Rita Xiao
[email protected]86-13538218145
Technical Specifications
| # | Rule Parts | Frequency Range | Power Output |
|---|---|---|---|
| 1 | 15C | 2.40 GHz - 2.48 GHz | 2.07 mW |
Other Applications from Modern Marketing Concepts, Inc.
AUSCR7023AV2
Sep 15, 2026SERENADE 8-IN-1 RECORED PLAYER
Equipment Class
DTS - Digital Transmission System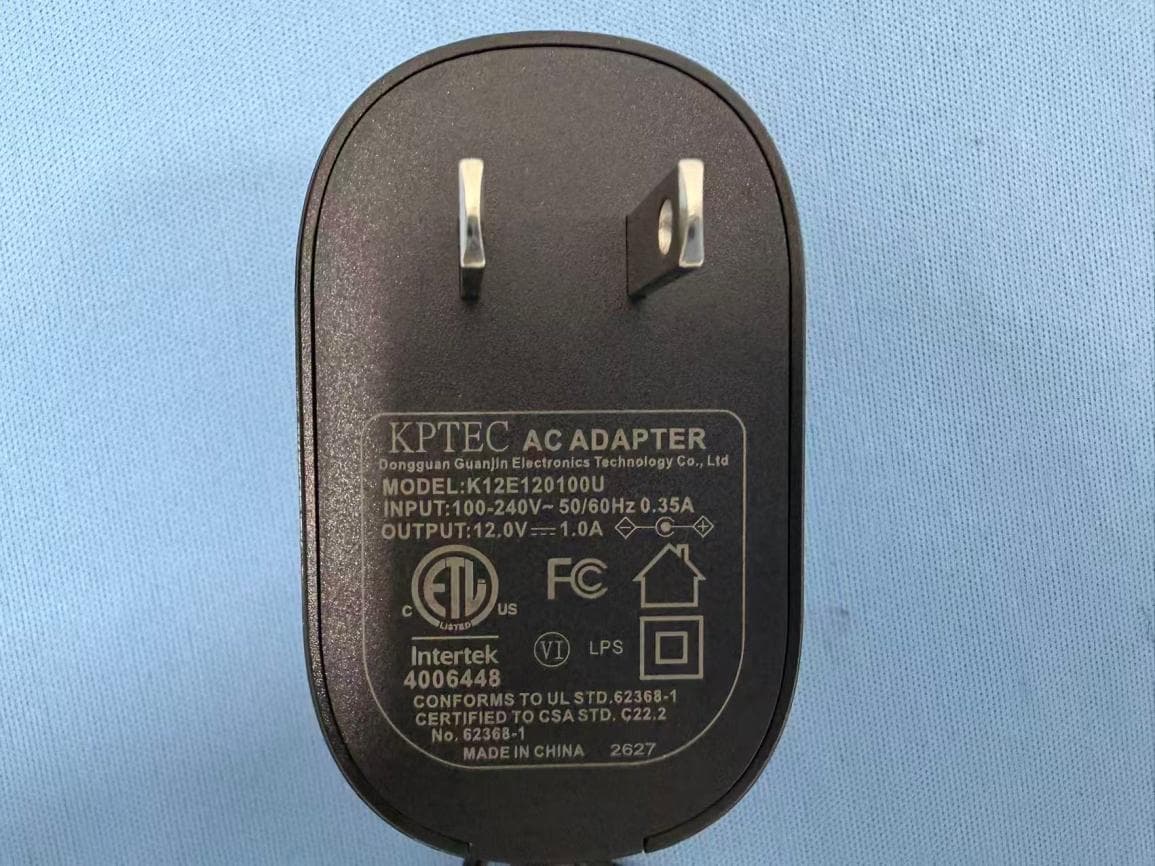
AUSCR31DV2
Sep 03, 2026COMPANION RADIO
Equipment Class
DSS - Part 15 Spread Spectrum Transmitter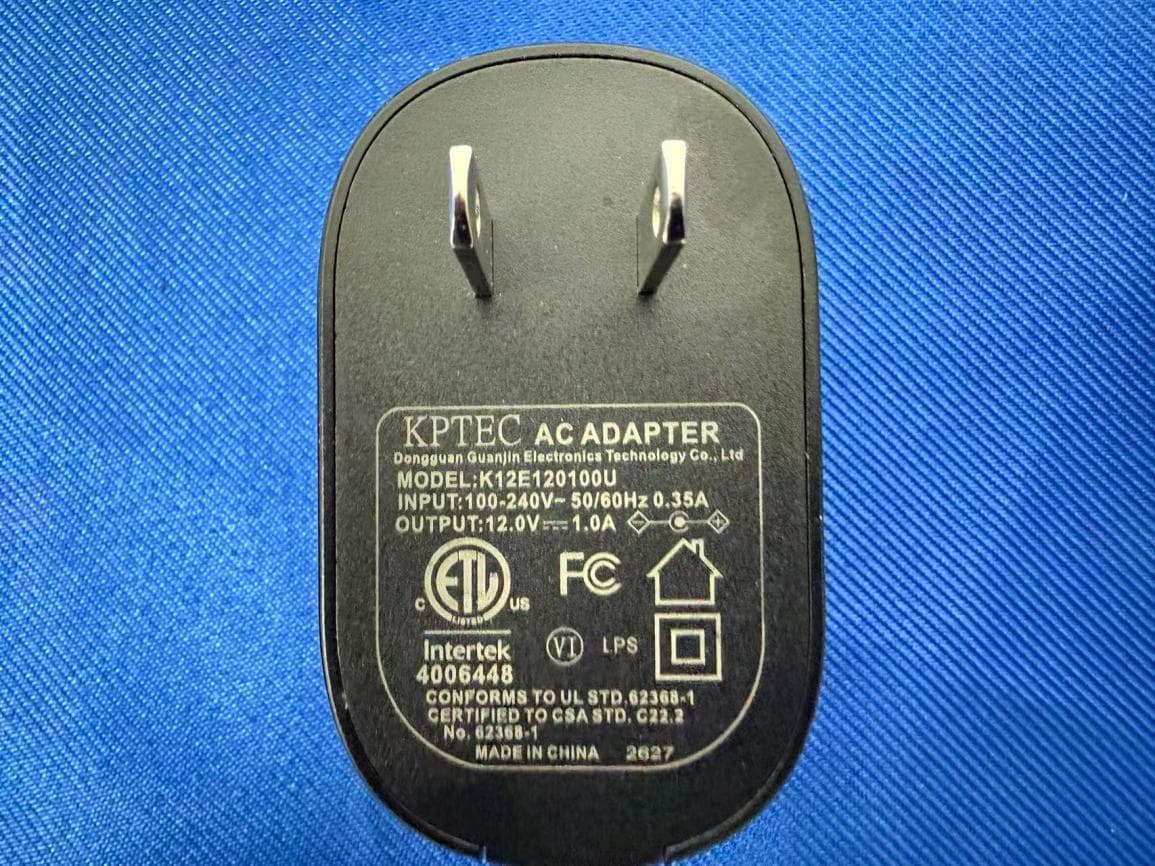
AUSCR32DV2
Sep 02, 2026CATHEDRAL RADIO CD PLAYER
Equipment Class
DSS - Part 15 Spread Spectrum TransmitterAUSCR3506A
Aug 11, 2026VIBE CD PLAYER
Equipment Class
DSS - Part 15 Spread Spectrum Transmitter
AUSCR8009TB
Jun 18, 2026Discovery Turntable
Equipment Class
DSS - Part 15 Spread Spectrum Transmitter