BCGA2459Apple iPad
Apple Inc.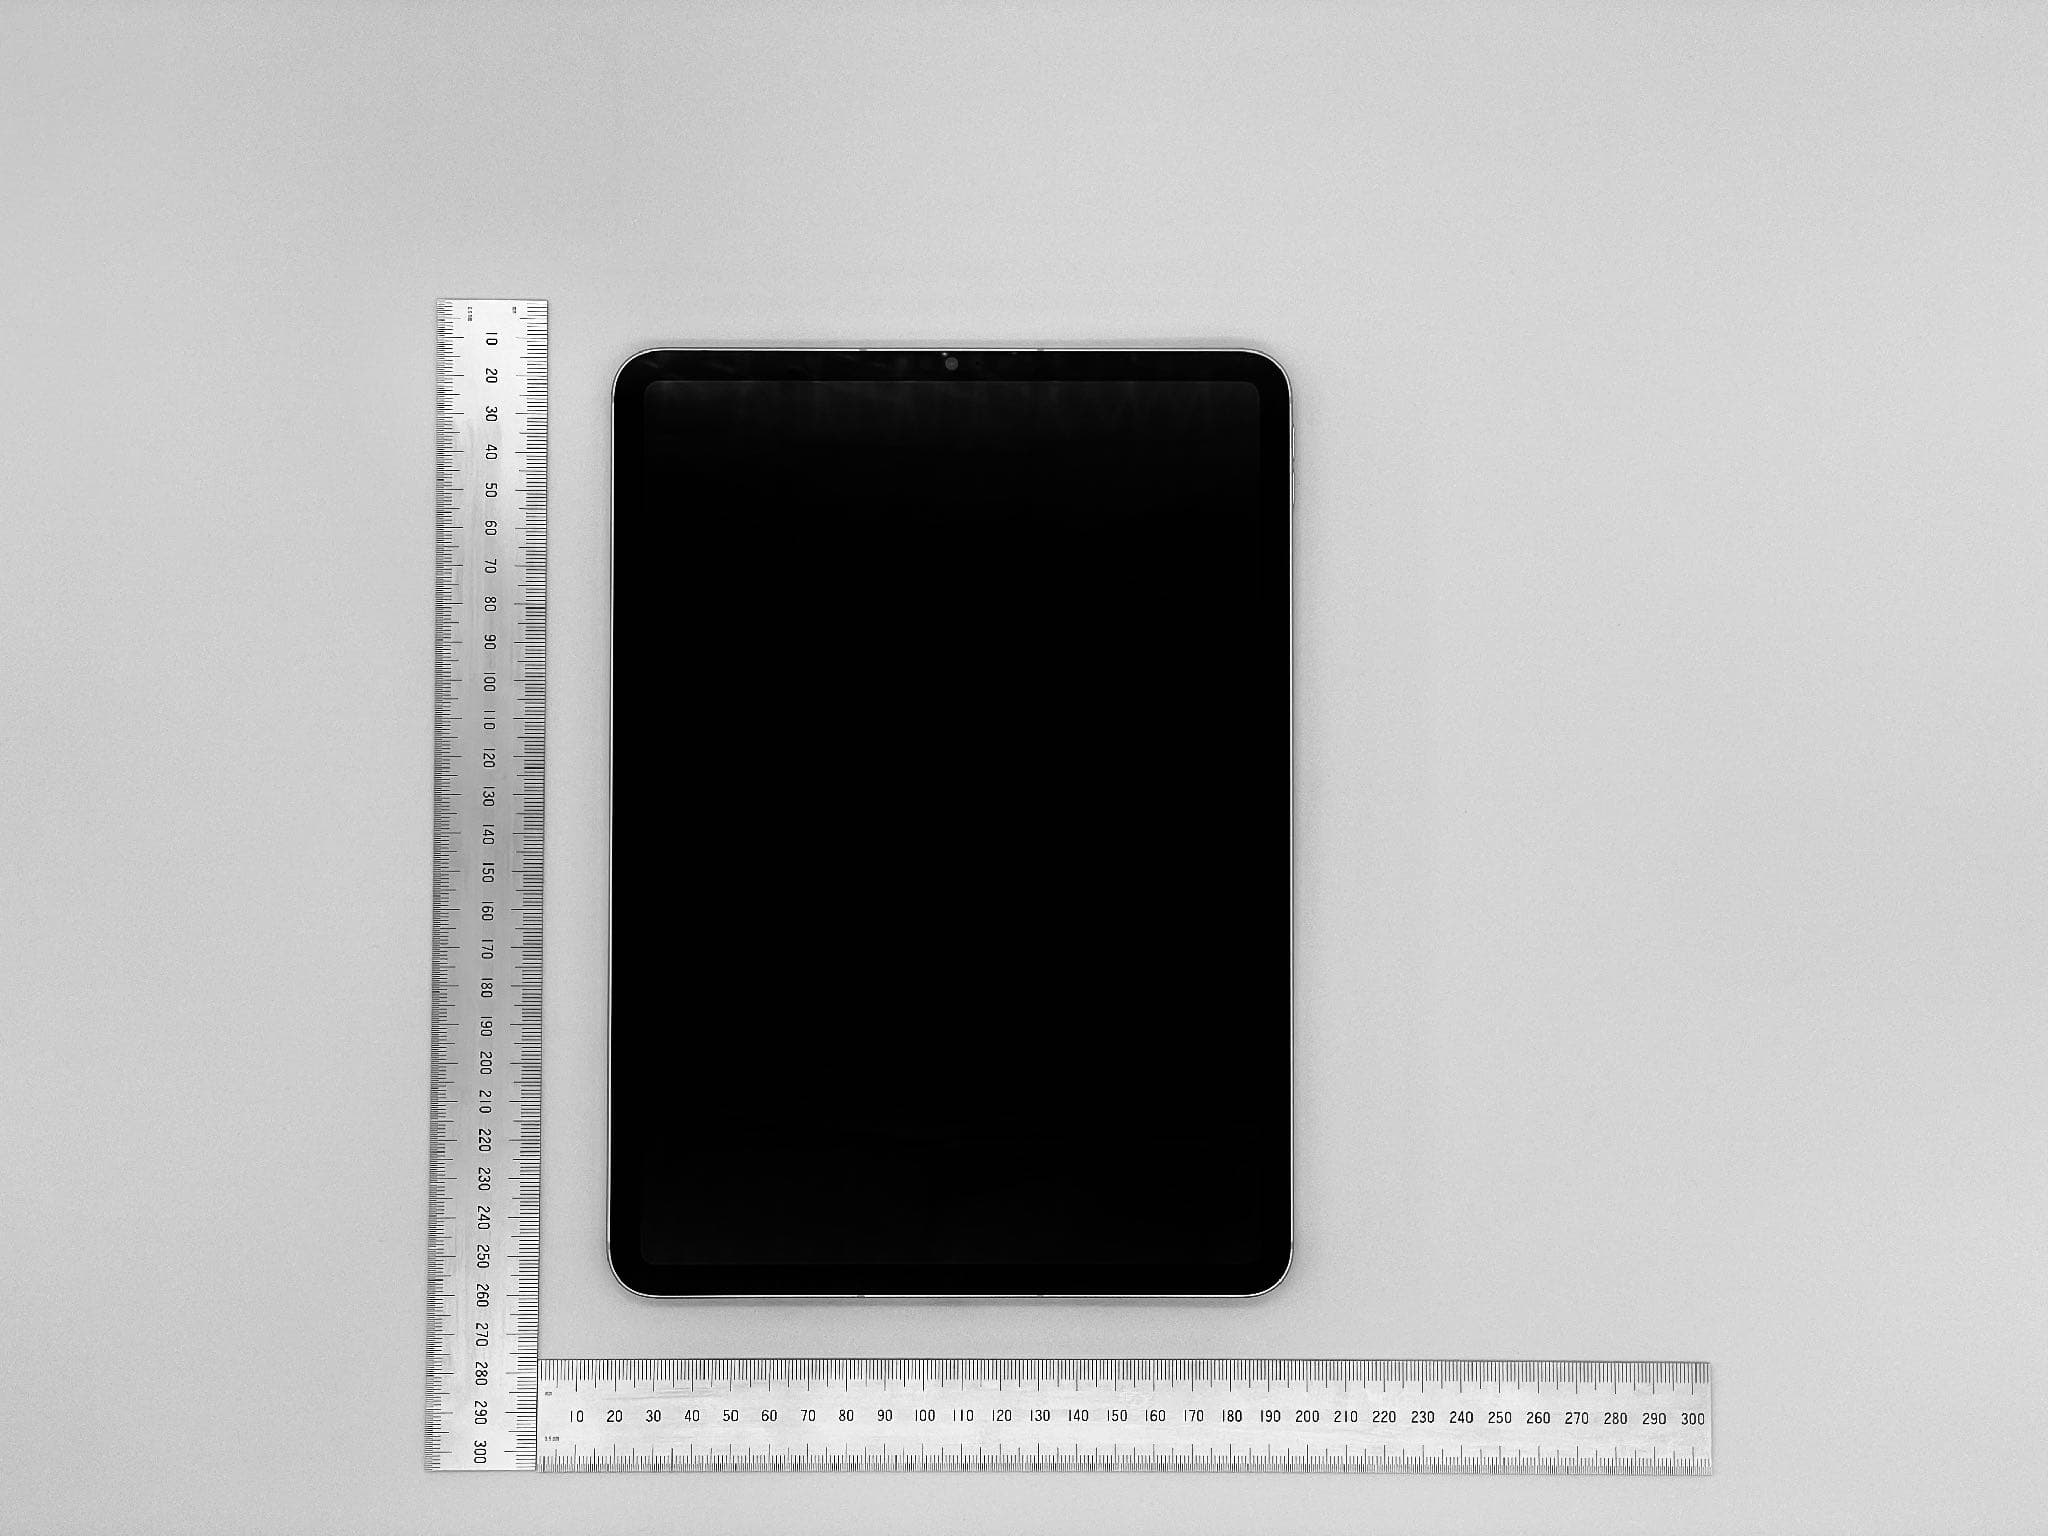
Click to zoom
Application Details
- Equipment Class
- DCD - Part 15 Low Power Transmitter Below 1705 kHz
- Date of Grant
- Apr 19, 2021
- Application Purpose
- Original Equipment
- Date of Application
- Apr 01, 2021
- Equipment Note
- Apple iPad
- Frequency Range
- 0.12777000 - 0.12777000
- Company
- Apple Inc.
- Country
- United States
Documents & Files
Document Text
Text extracted from the exhibit documents filed with the FCC. Open a document above to read the original.
Users Manual
iPad User Guide Everything you need to know about iPad Your iPad iPad models compatible with iPadOS 14.5 This guide helps you get started using iPad and discover all the amazing things it can do with iPadOS 14.5, which is compatible with the following models: iPad Pro 12.9-inch (5th generation) iPad Pro 12.9-inch (4th generation) iPad Pro 12.9-inch (3rd generation) iPad Pro 11-inch (3rd generation) iPad Pro 11-inch (2nd generation) iPad Pro 11-inch (1st generation) iPad Air (4th generation) iPad Pro 12.9-inch (1st and 2nd generation) iPad Pro 10.5-inch iPad Pro 9.7-inch iPad Air (3rd generation) iPad Air 2 iPad (8th generation) iPad (7th generation) iPad (6th generation) iPad (5th generation) iPad mini (5th generation) iPad mini 4 Find out your iPad model and iPadOS version Go to Settings > General > About. To determine your iPad model from the physical details, see the Apple Support article Identify your iPad model. You can update to the latest iPadOS software if your model supports it. Your features and apps may vary depending on your iPad model, region, language, and carrier. To find out which features are supported in your region, see the iOS and iPadOS Feature Availability website. iPad User Guide2 Note: Apps and services that send or receive data over a cellular network may incur additional fees. Contact your carrier for information about your service plan and fees. iPad Pro 12.9-inch (5th generation) Front camera Top button Volume buttons Rear cameras Flash LiDAR Scanner Smart Connector Thunderbolt / USB 4 connector SIM tray (Wi-Fi + Cellular) Magnetic connector for Apple Pencil Get started with iPad Pro Turn on and set up iPad Learn advanced gestures to interact with iPad Personalize your iPad iPad User Guide3 Unwind with iPad Whatʼs new in iPadOS 14 iPad Pro 12.9-inch (4th generation) Front camera Top button Volume buttons Rear cameras Flash LiDAR Scanner Smart Connector USB-C connector SIM tray (Wi-Fi + Cellular) Magnetic connector for Apple Pencil Get started with iPad Pro Turn on and set up iPad Learn advanced gestures to interact with iPad iPad User Guide4 Personalize your iPad Unwind with iPad Whatʼs new in iPadOS 14 iPad Pro 12.9-inch (3rd generation) Front camera Top button Volume buttons Rear camera Flash Smart Connector USB-C connector SIM tray (Wi-Fi + Cellular) Magnetic connector for Apple Pencil Get started with iPad Pro Turn on and set up iPad iPad User Guide5 Learn advanced gestures to interact with iPad Personalize your iPad Unwind with iPad Whatʼs new in iPadOS 14 iPad Pro 11-inch (3rd generation) Front camera Top button Volume buttons Rear cameras Flash LiDAR Scanner Smart Connector Thunderbolt / USB 4 connector SIM tray (Wi-Fi + Cellular) Magnetic connector for Apple Pencil iPad User Guide6 Get started with iPad Pro Turn on and set up iPad Learn advanced gestures to interact with iPad Personalize your iPad Unwind with iPad Whatʼs new in iPadOS 14 iPad Pro 11-inch (2nd generation) Front camera Top button Volume buttons iPad User Guide7 Rear cameras Flash LiDAR Scanner Smart Connector USB-C connector SIM tray (Wi-Fi + Cellular) Magnetic connector for Apple Pencil Get started with iPad Pro Turn on and set up iPad Learn advanced gestures to interact with iPad Personalize your iPad Unwind with iPad Whatʼs new in iPadOS 14 iPad Pro 11-inch (1st generation) iPad User Guide8 Front camera Top button Volume buttons iPad User Guide9 Rear camera Flash Smart Connector USB-C connector SIM tray (Wi-Fi + Cellular) Magnetic connector for Apple Pencil Get started with iPad Pro Turn on and set up iPad Learn advanced gestures to interact with iPad Personalize your iPad Unwind with iPad Whatʼs new in iPadOS 14 iPad Pro 12.9-inch (1st and 2nd generation) iPad User Guide10 Front camera Top button Volume buttons Home button/Touch ID Rear camera Flash Headphone jack Smart Connector Lightning connector SIM tray (Wi-Fi + Cellular) Note: Flash isnʼt available on iPad Pro 12.9-inch (1st generation). iPad User Guide11 Get started with iPad Pro Turn on and set up iPad Learn basic gestures to interact with iPad Personalize your iPad Unwind with iPad Whatʼs new in iPadOS 14 iPad Pro 10.5-inch Front camera Top button Volume buttons Home button/Touch ID iPad User Guide12 Rear camera Flash Headphone jack Smart Connector Lightning connector SIM tray (Wi-Fi + Cellular) Get started with iPad Pro Turn on and set up iPad Learn basic gestures to interact with iPad Personalize your iPad Unwind with iPad Whatʼs new in iPadOS 14 iPad Pro 9.7-inch iPad User Guide13 Front camera Top button Volume buttons Home button/Touch ID iPad User Guide14 Rear camera Flash Headphone jack Smart Connector Lightning connector SIM tray (Wi-Fi + Cellular) Get started with iPad Pro Turn on and set up iPad Learn basic gestures to interact with iPad Personalize your iPad Unwind with iPad Whatʼs new in iPadOS 14 iPad Air (4th generation) iPad User Guide15 Front camera Top button/Touch ID Volume buttons iPad User Guide16 Rear camera Microphone Smart Connector USB-C connector Magnetic connector for Apple Pencil Get started with iPad Air Turn on and set up iPad Learn basic gestures to interact with iPad Personalize your iPad Unwind with iPad Whatʼs new in iPadOS 14 iPad Air (3rd generation) iPad User Guide17 Front camera Top button Volume buttons Home button/Touch ID iPad User Guide18 Rear camera Headphone jack Smart Connector Lightning connector SIM tray (Wi-Fi + Cellular) Get started with iPad Air Turn on and set up iPad Learn basic gestures to interact with iPad Personalize your iPad Unwind with iPad Whatʼs new in iPadOS 14 iPad Air 2 iPad User Guide19 Front camera Top button Volume buttons Home button/Touch ID iPad User Guide20 Rear camera Headphone jack Lightning connector SIM tray (Wi-Fi + Cellular) Get started with iPad Air Turn on and set up iPad Learn basic gestures to interact with iPad Personalize your iPad Unwind with iPad Whatʼs new in iPadOS 14 iPad (8th generation) iPad User Guide21 Front camera Top button Volume but…
Text truncated - open the document above for the full version.
Users Manual
When using FaceTime or watching a video, tap or press the Home button (on an iPad with a Home button). The video window scales down to a corner of your screen so you can see the Home Screen and open other apps. With the video window showing, you can do any of the following: Resize the video window: To make the small video window larger, pinch open. To shrink it again, pinch closed. Show and hide controls: Tap the video window. Move the video window: Drag it to a different corner of the screen. Hide the video window: Drag it off the left or right edge of the screen. Close the video window: Tap . Return to a full FaceTime or video screen: Tap in the small video window. Move items with drag and drop on iPad With drag and drop, you can use a finger to move text and items within an app and copy items from one app to another. For example, you can drag an image from Notes into an email. (Not all third-party apps support drag and drop.) Move an item 1. Touch and hold the item until it lifts up (if itʼs text, select it first). iPad User Guide78 2. Drag it to another location within the app. If you drag to the bottom or top of a long document, it automatically scrolls. Copy an item between open apps 1. Open two items in Split View or in Slide Over, then touch and hold the item until it lifts up (if itʼs text, select it first). 2. Drag it to the other app. As you drag, appears wherever you can drop the item. If you drag to the bottom or top of a long document, the document automatically scrolls. Tip: If you want to drag the item to a new note or email, open the new note or email first so you can drag the item directly to it. Drag a link to a Split View or Slide Over window Touch and hold the link until it lifts up, then do one of the following: Replace a Split View or Slide Over window with the linkʼs destination: Drag the link to the window. Open the linkʼs destination in a Split View or Slide Over window: When there is no Split View or Slide Over window showing, drag the link to the left or right edge of the screen to open the destination in Split View, or drag the link close to the edge to open in Slide Over. Copy an item to an app on the Home Screen or in the Dock 1. Touch and hold the item until it lifts up (if itʼs text, select it first). 2. While you continue to hold the item, use another finger to swipe up from the bottom edge of the screen and pause to reveal the Dock or press the Home button (on an iPad with a Home button). 3. Drag the item over the other app to open it (a ghost image of the item appears under your finger as you drag). You can drag over items in the app to navigate to where you want to drop the item (as you drag, appears wherever you can drop the item). For example, you can drag over the notes list to open the note where you want to drop the item, or you can use another finger to open a new note where you can drop the item. If you change your mind about moving an item, lift your finger before dragging, or drag the item off the screen. Select multiple items to move iPad User Guide79 Select multiple items to move 1. Touch and hold the first selected item, drag it slightly, and continue holding it. 2. While still holding the first item, tap additional items with another finger. A badge indicates the number of selected items. 3. Drag all of the items together. If you change your mind about moving items, lift your finger before dragging, or drag the items off the screen. Enter, select, and revise text Type with the onscreen keyboard on iPad On iPad, you can use the onscreen keyboard to enter and edit text. You can also use an external keyboard, Apple Pencil, and dictation to enter text. Enter text using the onscreen keyboard In any app that allows text editing, open the onscreen keyboard by tapping a text field. You can pinch closed to shrink the keyboard, then tap individual keys to type, or use QuickPath to type by sliding from one letter to the next without lifting your finger (not available for all languages). To end a word, lift your finger. (If you tap after sliding to type a word, it deletes the whole word.) You can drag the smaller keyboard from the bottom of the screen to move it wherever you want for easy one-handed typing. To return to the full-size keyboard, pinch open. On the full-size keyboard, you tap keys to type. While entering text, you can do any of the following on both the smaller keyboard and the full-size keyboard: Type uppercase letters: Tap Shift, or touch the Shift key and slide from the Shift key to a letter. Turn on Caps Lock: Double-tap Shift. Quickly end a sentence with a period and a space: Double-tap the Space bar. Correct spelling: Tap a misspelled word (underlined in red) to see suggested corrections, then tap a suggestion to replace the word, or type the correction. Enter numbers, punctuation, or symbols: Tap or . Undo the last edit: Swipe left with three fingers or tap or . Redo the last edit: Swipe right with three fingers or tap . iPad User Guide80 Hide the onscreen keyboard: Tap . See Select and edit text on iPad. Enter emoji with the onscreen keyboard 1. Open the onscreen keyboard by tapping a text field. 2. Switch to the emoji keyboard by tapping or . 3. To search for an emoji, tap at the bottom left, then enter a commonly used word—such as “heart” or “smiley face”—in the search field above the keyboard. 4. To enter an emoji, tap it. To see more choices, swipe through the emoji that appear. See Enter emoji with an Apple external keyboard on iPad. Turn the onscreen keyboard into a trackpad 1. Touch and hold the Space bar with one finger until the keyboard turns light gray. 2. Move the insertion point by dragging around the keyboard. iPad User Guide81 3. To select text with handles, continue touching and holding the keyboard until handles appear on the insertion point, then move your fingers. To use the trackpad to move the insertion point, drag the insertion point to a new location before handles appear. Use a split keyboard You can type…
Text truncated - open the document above for the full version.
Users Manual
2. Do any of the following: Assign a photo to a contact: Tap Add Photo. You can take a photo or add one from the Photos app. Change a label: Tap the label, then select one in the list, or tap Add Custom Label to create one of your own. Add a birthday, social profile, related name, and more: Tap next to the item. Allow calls or texts from a contact to override Do Not Disturb: Tap Ringtone or Text Tone, then turn on Emergency Bypass. Add notes: Tap the Notes field. Add a prefix, phonetic name, pronunciation, and more: Tap “add field,” then select an item in the list. Delete contact information: Tap next to a field. 3. When youʼre finished, tap Done. To change how your contacts are sorted and displayed, go to Settings > Contacts. Add your contact info on iPad In the Contacts app , add your information to your contact card. iPad uses your Apple ID to create your contact card, called My Card, but you may need to provide your contact information (such as name and address) to complete it. Complete My Card Tap My Card at the top of your contacts list, then tap Edit. Contacts suggests addresses and phone numbers to help you set up My Card. If there is no My Card, tap , then enter your information. To create My Card with this information, go to Settings > Contacts > My Info, then tap your name in the Contacts list. Edit My Card Tap My Card at the top of your contacts list, then tap Edit. Use other contact accounts on iPad You can include contacts from other accounts in the Contacts app . iPad User Guide157 Use your iCloud contacts Go to Settings > [your name] > iCloud, then turn on Contacts. Use your Google contacts 1. Go to Settings > Contacts > Accounts, then tap Google. 2. Sign in to your account, then turn on Contacts. Add contacts from another account 1. Go to Settings > Contacts > Accounts, then tap Add Account. 2. Choose an account, sign in to it, then turn on Contacts. Access a Microsoft Exchange Global Address List 1. Go to Settings > Contacts > Accounts, then tap Exchange. 2. Sign in to your Exchange account, then turn on Contacts. Set up an LDAP or CardDAV account to access business or school directories 1. Go to Settings > Contacts > Accounts > Add Account, then tap Other. 2. Tap Add LDAP Account or Add CardDAV Account, then enter the account information. Keep contacts up to date across devices To keep your contact information up to date across all your devices where youʼre signed in with the same Apple ID, you can use iCloud. Go to Settings > [your name] > iCloud, then turn on Contacts. Alternatively, you can sync the information between iPad and your Mac or Windows PC to keep the information up to date across iPad and your computer. See Sync iPad with your computer. If you use iCloud for Contacts, your contacts are kept up to date automatically, and no options appear for syncing them with your computer. Import contacts from a vCard Tap a .vcf attachment in an email or message. iPad User Guide158 Add a contact from a directory 1. Tap Groups, then tap the GAL, CardDAV, or LDAP directory you want to search. 2. Tap Done, then enter your search. 3. Tap the personʼs name to save their info to your contacts. Show or hide a group Tap Groups, then select the groups you want to see. This button appears only if you have more than one source of contacts. Hide duplicate contacts on iPad In the Contacts app , link contact cards for the same person in different accounts so they appear only once in your All Contacts list. When you have contacts from multiple sources, you might have multiple entries for the same person in Contacts. To keep redundant contacts from appearing in your All Contacts list, contacts from different sources with the same name are linked and displayed as a single unified contact. Link contacts If two entries for the same person arenʼt linked automatically, you can unify them manually. 1. Tap one of the contacts, tap Edit, then tap Link Contacts. 2. Choose the other contact entry to link to, then tap Link. When you link contacts with different first or last names, the names on the individual cards donʼt change, but only one name appears on the unified card. To choose which name appears on the unified card, tap one of the linked cards, tap the contactʼs name on that card, then tap Use This Name For Unified Card. Note: When you link contacts, those contacts arenʼt merged. If you change or add information in a unified contact, the changes are copied to each source account where that information already exists. iPad User Guide159 FaceTime Set up FaceTime on iPad In the FaceTime app , you can make video or audio calls to friends and family, whether theyʼre using an iPhone, iPad, iPod touch, or a Mac. With the front camera, you can talk face-to-face; switch to the rear camera to share what you see around you. To capture a moment from your conversation, take a FaceTime Live Photo. Note: FaceTime, or some FaceTime features, may not be available in all countries or regions. 1. Go to Settings > FaceTime, then turn on FaceTime. 2. If you want to be able to take Live Photos during FaceTime calls, turn on FaceTime Live Photos. 3. Enter your phone number, Apple ID, or email address to use with FaceTime. Make and receive FaceTime calls on iPad With an internet connection and an Apple ID, you can make and receive calls in the FaceTime app (first sign in with your Apple ID, or create an Apple ID, if you donʼt have one). See Manage Apple ID and iCloud settings on iPad. On iPad Wi-Fi + Cellular models, you can also make FaceTime calls over a cellular data connection, which may incur additional charges. To turn this feature off, go to Settings > Cellular, then turn off FaceTime. See View or change cellular data settings on iPad (Wi-Fi + Cellular models). iPad User Guide160 Make a FaceTime call Ask Siri. Say something like: “Make a FaceTime call” or “Call Elizaʼs mobile.” Learn how to ask Siri. 1. In FaceTime, tap at the top of the screen. 2. Type the name or number you want to call in the entry fie…
Text truncated - open the document above for the full version.
Users Manual
2. Tap Directions on the information card. Use the Maps widget To quickly get directions to a likely destination from the Home Screen or Today View, use the Maps widget. See Add widgets on iPad. iPad User Guide248 To get directions, iPad must be connected to the internet. (On Wi-Fi + Cellular models, cellular data rates may apply. See View or change cellular data settings on iPad (Wi-Fi + Cellular models).) To get directions involving your current location, Location Services must be on. (See Control the location information you share on iPad.) Choose your preferred type of travel in Maps on iPad You can choose the default mode of transportation for getting directions in the Maps app . 1. Go to Settings > Maps. 2. Tap Driving, Walking, Transit, or Cycling (below Preferred Type of Travel). Get driving directions from your current location in Maps on iPad In the Maps app , you can get detailed driving directions to your destination. Get directions for driving Ask Siri. Say something like: “Give me driving directions home.” If multiple routes appear, tap Go for the route you want. Learn how to ask Siri. Or without asking Siri, you can do the following: 1. Tap your destination, such as a landmark on a map, or touch and hold any spot on the map. 2. Tap Directions, tap , then tap Go for the route you want. Note: Before you tap Go, you can select other route options. For example, you can choose to avoid tolls or highways. On Wi-Fi + Cellular models (with a cellular data plan and cellular data turned on in Settings > Maps), Maps speaks turn-by-turn directions to your destination. You can turn off voice directions, change the volume, or change the audio output device. See Change audio settings for turn-by-turn directions in Maps on iPad (Wi-Fi + Cellular models). Note: Turn-by-turn voice navigation is not available in all countries or regions. See the iOS and iPadOS Feature Availability website. iPad User Guide249 On other iPad models, Maps shows turn directions in a banner at the top left. To see the next direction, swipe left on the banner. iPad User Guide250 To end directions at any time, tap End, or say something to Siri like “Stop navigating.” Note: You can also see an overview map of your route or the entire list of driving directions. See See an overview of your route or its directions in a list in Maps on iPad. Share your driving ETA (Wi-Fi + Cellular models) As you follow turn-by-turn driving directions, you can let others know your estimated time of arrival (ETA). Ask Siri. Say something like: “Share my ETA.” Learn how to ask Siri. Or without asking Siri, you can do the following: 1. With turn-by-turn directions showing, tap the route card, then tap Share ETA. 2. Choose one or more suggested contacts, or tap Contacts to find a contact. 3. You can do the following during your trip: Stop sending ETA information: Tap Sharing ETA at the bottom of the screen, then choose a contact. Replace the Sharing ETA card with the route card: Tap on the Sharing ETA card. People using devices with iOS 13.1, iPadOS 13.1, or later receive a Maps notification with your ETA, and they can track your progress in Maps. People using devices with earlier versions receive the notification through iMessage. People using other mobile devices receive an SMS message. Note: Standard carrier data and text rates may apply. To disable Share ETA, go to Settings > Maps > Navigation & Guidance, then turn off Share ETA. Show or hide the compass or the speed limit (Wi-Fi + Cellular models) Go to Settings > Maps, tap Driving (below Directions), then turn Compass or Speed Limit on or off. Report traffic incidents in Maps on iPad In the U.S., you can report accidents, hazards, and speed checks in the Maps app (iPadOS 14.5 or later). You can also report that accidents and hazards have cleared. In China, you can report accidents, hazards, and road work (iPadOS 14.5 or later). Note: Incident reporting is currently available only in the U.S. and China. See the iOS and iPadOS Feature Availability website. Report an incident iPad User Guide251 Ask Siri. On Wi-Fi + Cellular models, say something like: “Report an accident” “Thereʼs something on the road” “Thereʼs a speed check here.” Learn how to ask Siri Or with turn-by-turn driving directions showing (Wi-Fi + Cellular models), you can tap the route card at the bottom of the screen, tap Report, then tap Accident, Hazard, or Speed Check. To report an incident when you arenʼt following turn-by-turn directions (all models), you can do the following: 1. Tap in the upper-right corner of the map, then tap Report an Issue. 2. Tap Accident, Hazard, or Speed Check. 3. Optionally, do any of the following to provide more information: Include a photo of the incident: Tap Add Photo. Add a description: Tap “Add more information about the incident,” then use the keyboard to enter a description or tap to speak a description. Refine the location: Tap the map, then drag it to move the incident marker. (You can tap Map, Transit, or Satellite at the bottom of the screen to change the view.) iPad User Guide252 4. Tap Submit. Apple evaluates incoming incident reports. When thereʼs a high level of confidence in the reports, incident markers for Accident, Hazard, and in China, Road Work are displayed in Maps for other users too. Note: Speed checks are not displayed with incident markers. Instead, notifications for speed checks appear when you follow turn-by-turn directions (U.S. only). Report on the status of a hazard or accident A map may display hazard and accident markers. When youʼre near the incidents, you can report their status (U.S. only). Ask Siri. On W-Fi + Cellular models, say something like “The hazard is gone” or “Clear the accident.” Learn how to ask Siri. Or on all models, you can do the following: 1. Tap the incident marker. 2. Tap Cleared or Still Here. Note: You canʼt clear reports of speed checks. iPad User Guide253 Apple evaluates incoming incident reports. When thereʼs a high level of confi…
Text truncated - open the document above for the full version.
Users Manual
Select your favorite genres and artists When you first tap Listen Now in the sidebar, youʼre asked to tell Apple Music about your preferences. Apple Music uses these preferences when recommending music. 1. Tap the genres you like (double-tap those you love, and touch and hold the genres you donʼt care for). 2. Tap Next, then do the same with the artists that appear. To add a specific artist who isnʼt listed, tap Add an Artist, then enter the artistʼs name. Play music 1. Tap Listen Now in the sidebar, then tap a playlist or album. 2. Tap Play, or tap Shuffle to shuffle the playlist or album. You can also touch and hold a playlist or album, then tap Play. Play songs from an artistʼs catalog Go to an artist page, then tap next to the artistʼs name. The Music app plays songs from the artistʼs entire catalog, mixing hits and deep cuts. Tell Apple Music what you love Do one of the following: Touch and hold an album, playlist, or song, then tap Love or Suggest Less Like This. iPad User Guide303 On the Now Playing screen, tap , then tap Love or Suggest Less Like This. Telling Apple Music what you love and dislike improves future recommendations. Rate music in your library 1. Go to Settings , then tap Music. 2. Turn on Show Star Ratings. 3. In Music, touch and hold a song in your library, tap Rate Song, then choose a rating from one to five stars. Song ratings sync to all devices that use the same Apple ID. This option appears only if you already have star ratings from a synced library on your device. Tell Apple Music to ignore your listening habits If you donʼt want your followers on Apple Music to see any of the music you play, follow these steps. 1. Go to Settings , then tap Music. 2. Turn off Use Listening History. Turning off your listening history impacts new music recommendations and the contents of Replay playlists. Listen to radio on iPad In the Music app , you can listen to Apple Music radio in the Radio tab. Apple Music radio features three world-class radio stations (Apple Music 1, Apple Music Hits, and Apple Music Country), the latest music from a variety of genres, and exclusive interviews. You can also listen to featured stations that have been created by music experts, and create your own custom stations from songs or artists you choose. Listen to Apple Music radio Tap Radio in the sidebar, then tap one of the currently playing Apple Music radio stations—Apple Music 1, Apple Music Hits, or Apple Music Country. No subscription is required to listen to Apple Music 1. Note: Because Apple Music radio stations are live radio, you canʼt rewind or skip songs. Listen to your favorite music genre iPad User Guide304 1. Tap Radio in the sidebar, then tap a genre listed below More to Explore. 2. Tap a featured station. Create a station You can create a radio station based on a particular artist or song. Chances are, if you like that artist or song, youʼll like the music the station plays. 1. Touch and hold an artist or song. 2. Tap Create Station. To create a station in Now Playing, tap , then tap Create Station. Search for music on iPad Using Search in the Music app , you can quickly browse through music categories, see recent searches, and search Apple Music or your library. 1. Tap Search in the sidebar, then do any of the following: Tap a category such as Pop or Fitness. Tap the search field, then tap something you recently chose while searching—a song or artist, for example. Tap the search field, tap Apple Music, then enter a song, artist, album, playlist, radio show or episode, station, video, category, curator, record label, or profile. Tap the search field, tap Your Library, then enter a song, album, playlist, artist, video, compilation, or composer. 2. Tap a result to play it. iPad User Guide305 You can search for a song in Apple Music based on its lyrics. In the search field, enter a few of the words you remember to find a song. Ask Siri. Say something like: “Play the song with the lyrics” and then say a key phrase from the lyrics. Learn how to ask Siri. Explicit lyrics and lyrics search arenʼt available in all countries or regions. Create playlists on iPad In the Music app , you can organize music into playlists that you can share with your friends. Create playlists to organize your music 1. To create a new playlist, do any of the following: Tap Library, tap Playlists, then tap New Playlist. Touch and hold a song, album, or playlist; tap Add to a Playlist; then tap New Playlist. On the Now Playing screen, tap , tap Add to a Playlist, then tap New Playlist. 2. To more easily identify the playlist later, enter a name and description. 3. To give your playlist cover art, tap , then take a photo or choose an image from your photo library. 4. To add music to the playlist, tap Add Music, then tap Listen Now, Browse, Library, or the search field. 5. Choose or search for music, then tap to add it to the playlist. iPad User Guide306 Tip: If you want to add songs to your library when you add them to a playlist, go to Settings > Music, then turn on Add Playlist Songs. Edit a playlist you created on iPad Tap the playlist, tap , tap Edit, then do any of the following: Add more songs: Tap Add Music, then choose music. You can also touch and hold a song, album, playlist, or music video; tap Add to a Playlist; then choose a playlist. Delete a song: Tap , then tap Delete. Deleting a song from a playlist doesnʼt delete it from your library. Change the song order: Drag next to a song. Changes you make to your music library are updated across all your devices when Sync Library is turned on in Music settings. If youʼre not an Apple Music subscriber, the changes appear in your music library the next time you sync your iPad with your computer. Delete a playlist Touch and hold the playlist in the sidebar, then tap Delete from Library. You can also tap the playlist, tap , then tap Delete from Library. See what your friends are listening to When youʼre an Apple Music subscriber, you can see music your friends…
Text truncated - open the document above for the full version.
Contact Information
Applicant
Abhishek Rala(Regulatory Compliance Manager)
Technical Contact
Apple Inc.Abhishek Rala
[email protected]650-703-8831
One Apple Park Way · Cupertino, California · United States
Test Firm
Element Materials Technology San Jose, CARandy Ortanez
Technical Specifications
| # | Rule Parts | Frequency Range | Power Output |
|---|---|---|---|
| 1 | 15C | 0.12777 MHz - 0.12777 MHz | - |
Other Applications from Apple Inc.
BCG-E9204A
Sep 09, 2026Smartphone
Equipment Class
6VL - 15E 6 GHZ Very Low Power DeviceBCGA3277
Sep 09, 2026Magnetic Charging Cable
Equipment Class
DCD - Part 15 Low Power Transmitter Below 1705 kHzBCGA3641
Sep 09, 2026Magnetic Charger
Equipment Class
DCD - Part 15 Low Power Transmitter Below 1705 kHzBCGA3669
Sep 09, 2026Magnetic Charger
Equipment Class
DCD - Part 15 Low Power Transmitter Below 1705 kHzBCG-E9193A
Sep 09, 2026Smartphone
Equipment Class
PCE - PCS Licensed Transmitter held to ear