BY39909-24GRR/C VEHICLE
Scientific Toys Ltd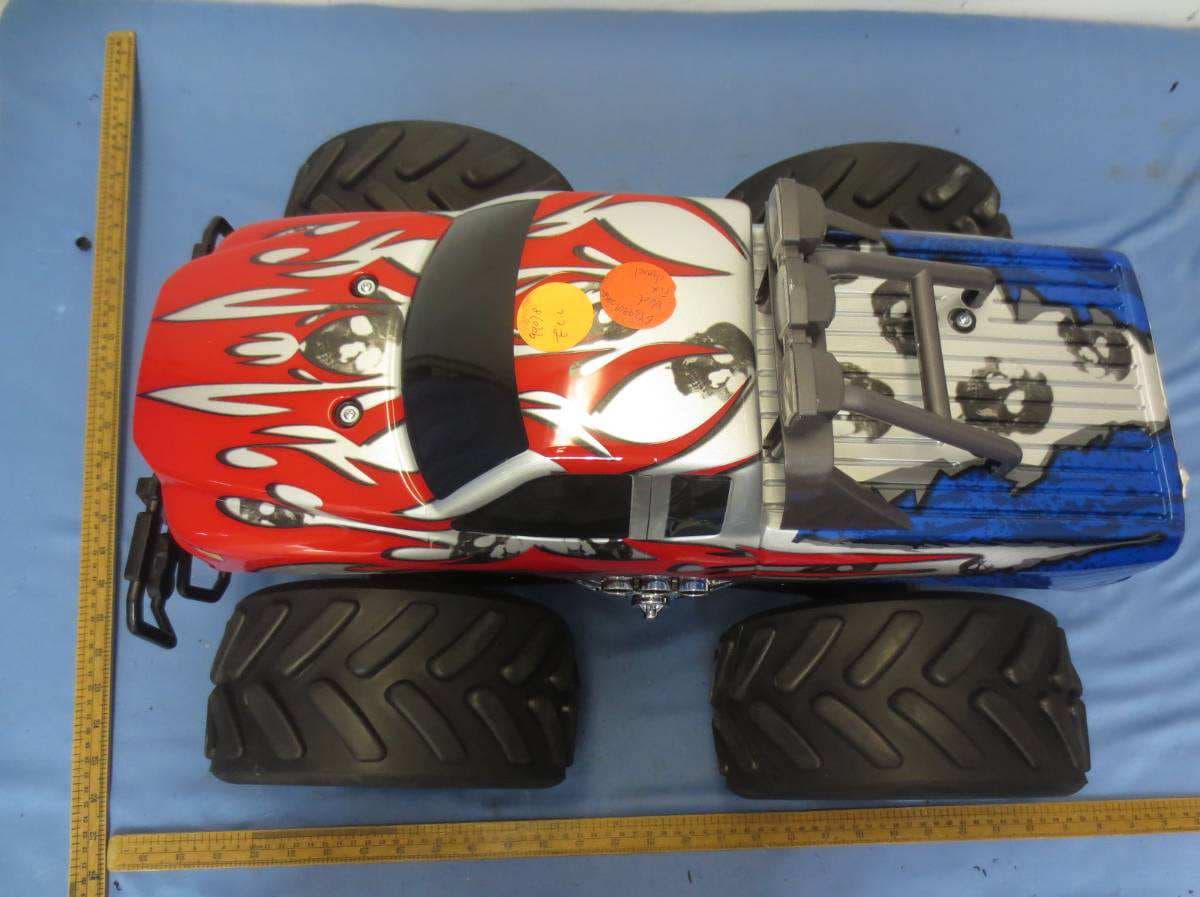
Click to zoom
Application Details
- Equipment Class
- DXX - Part 15 Low Power Communication Device Transmitter
- Date of Grant
- Sep 24, 2015
- Application Purpose
- Original Equipment
- Date of Application
- Sep 24, 2015
- Equipment Note
- R/C VEHICLE
- Frequency Range
- 2402.00000000 - 2480.00000000
- Company
- Scientific Toys Ltd
- Country
- Hong Kong
Documents & Files
Document Text
Text extracted from the exhibit documents filed with the FCC. Open a document above to read the original.
Users Manual
#99078 SIZE:210MM X 297MM PN#65-5872-000-0100 OPERATING INSTRUCTIONS KEEP PACKAGING AS IT CONTAINS IMPORTANT INFORMATION BATTERY INSTALLATION: (THE RECHARGEABLE BATTERY PACK IS NOT CHARGED, PLEASE CHARGE IT FOR 2 HOURS PRIOR TO USE) 1. Plug the wall pack battery charger into wall outlet. (See Diagram 1) 2. Click the battery pack into the charger. Make certain the battery pack is secure in charger. 3. To disconnect, push the button of the charger (See Diagram 1) and simultaneously slide battery pack out. 4. You should charge the battery pack for 2 hours. 5. If the speed of the car slows down suddenly, it is time to recharge. 6. After use, the battery pack will be hot! Wait at least 20 minutes until it cools before recharging. Recharging a warm or hot battery pack will greatly shorten the battery life. 7. The toy must be used with the recommended transformer. 8. The transformer is not a toy. ATTENTION PARENTS IT IS RECOMMENDED THAT THIS TOY AND ALL ACCESSORIES BE PERIODICALLY EXAMINED FOR POTENTIAL HAZARDS AND THAT ANY POTENTIALLY HAZARDOUS PARTS BE REPAIRED OR REPLACED. CARE Never drive the vehicle on a wet floor, on sand, grass, carpet, in mud, rain or snow. These can cause damage to the vehicle. Do not expose the vehicle to extreme temperatures. To protect the vehicle’s wheel mechanisms from lint and hair, do not drive it on carpet. Occasionally wipe the vehicle with a damp cloth to keep the wheels clean of dirt and dust. Do not use harsh chemicals to clean the vehicle. Modifying or tampering with the vehicle or the transmitter’s internal components can cause a malfunction. HELPFUL HINTS Running the vehicle continuously for long periods of time generates high levels of heat. Heat causes wear and tear on the motor. When the vehicle’s battery pack runs down, let the vehicle cool at least 10 minutes before installing a newly charged battery pack. This helps keep heat levels down. If the vehicle’s motor runs but does not respond to the transmitter, move the transmitter closer to the vehicle and try again. If a CB radio is used nearby, it might interfere with control of the vehicle. If this happens, move the vehicle and transmitter away from the CB radio. The vehicle cannot be operated near devices with transmitters that use the same frequency. Check the packaging to see which frequency your vehicle uses. If the vehicle moves slowly, and a recharged battery pack has been installed, check the wheel mechanisms for lint, thread, hair or dust. INSERTING BATTERIES VEHICLE 1. Turn over the vehicle and push the ON/OFF to "OFF" position. (See Diagram 2) 2. Open the battery cover. (See Diagram 2) 3. Insert the 9.6V battery pack into battery compartment. (See Diagram 3) 4. Replace the battery cover. TRANSMITTER 1. Unscrew to open the battery lid and insert the 9V/6LR61 battery as per the directions shown inside. (See Diagram 4) 2. Replace the battery cover. Note: Remove battery after you have finished using your vehicle. HOW TO PLAY START TO PLAY PAIRING TRANSMITTER WITH VEHICLE 1. Turn ON the vehicle (See Diagram 5). 2. Install the 9V/6LR61 battery in the transmitter, the pairing LED light on the transmitter will flash. 3. If pairing success, the pairing LED light will turn OFF 4. You must pairing the transmitter with the vehicle within 45 seconds, after 45 seconds you must push the control on the transmitter to pair again. 5. You must repeat pairing again when the transmitter needs to replace new batteries. FORWARD RUNNING 6. Push both the Driving Control Sticks forwards for forward motion. (See Diagram 6) REVERSE RUNNING 7. Pull both the Driving Control Sticks backwards for reverse motion. (See Diagram 7) STEERING OPERATION 8. Push only the Left Driving Control Stick forwards to turn Right. (See Diagram 8) 9. Push only the Right Driving Control Stick forwards to turn Left. (See Diagram 9) 360 DEGREE SPINS 10. Push the Left Driving Control Stick forwards while pulling the Right Driving Control Stick backwards at the same time. (See Diagram 10) 11. Push the Right Driving Control Stick forwards while pulling the Left Driving Control Stick backwards at the same time. (See Diagram 11) STOP OPERATION 12. Release both Driving Control Sticks, the vehicle will Stop. (See Diagram 12) 1 x 9 Volt Battery Unscrew to open Driving control stick Right ForwardBackward Unscrew to open Flathead screwdriver required, not included 9.6V Battery Pack Battery Charger Press button on side of charger to release battery pack Wall outlet Keep packaging as it contains important information. CAUTION: To prevent battery leakage: Be sure to insert batteries correctly and always follow the product and battery manufacturers' instructions. Never mix old and new batteries (replace all batteries at the same time). Never mix Alkaline, standard (Carbon Zinc) or rechargeable batteries. Only batteries of the same or equivalent type as recommended are to be used. Do not use RECHARGEABLE batteries, unless specified. Non-rechargeable batteries are not to be recharged. Rechargeable batteries are to be removed from the product before being charged (if removable). Rechargeable batteries are only to be charged under adult supervision (if removable). Always remove exhausted or dead batteries from the product. Remove batteries from product before extended storage. The supply terminals are not to be short-circuited. Batteries are to be inserted with correct polarity. Batteries may explode or leak if misused. ATTENTION: Battery / Batteries should be installed by an adult only. ATTENTION: User should remove the battery from the item before disposal. Battery Chargers WARNING: After use, the battery pack will be hot! Wait until it cools before recharging. Recharging a warm or hot battery (pack) will greatly shorten the battery’s life. Unplug the charger from the electrical outlet if it is not going to be used for a long period of time. Battery charger must be operated by adults only. Non-rechargeable batteries are not to be recharged. Do not charge a b…
Text truncated - open the document above for the full version.
Cover Letter(s)
May 7, 2015
External Photos
External Photos
ID Label/Location Info
37mm x 24mm
Internal Photos
Internal Photos
RF Exposure Info
1 INTERTEK TESTING SERVICES RF Exposure The Equipment under Test (EUT) is a Car unit for R/C VEHICLE model: BY39909-24GR operating at 2.4GHz band. It is powered by 1 x DC 9.6V rechargeable battery. For more detail information pls. refer to the user manual. Antenna Type: Integral antenna. Antenna Gain: 0dBi. The normal radiated output power (e.i.r.p) is: -18.0dBm (tolerance: +/- 3dB). The normal conducted output power is -18.0dBm (tolerance: +/- 3dB). Mo dulation Type: GFSK. According to the KDB 447498: The Maximum peak radiated emission for the EUT is 76.5dBμV/m at 3m in the f requency 2402MHz The EIRP = [(FS*D) ^2 / 30] mW = -18.73dBm which is within the production variation. The Minimum peak radiated emission for the EUT is 75.6dBμV/m at 3m in the f requency 2480MHz The EIRP = [(FS*D) ^2 / 30] mW = -19.63dBm which is within the production variation. The maximum conducted output power specified is -15.0dBm = 0.032mW T he source- based time-averaging conducted output power = 0.032* Duty cycle mW < 0.1 mW(Duty cycle <100%) The SAR Exclusion Threshold Level: = 3.0 * (min. test separation distance, mm) / sqrt(freq. in GHz) = 3.0 * 5 / sqrt (2.480) mW = 9.5 mW Since the source-based time-averaging conducted output power is well below the SAR low threshold level, so the EUT is considered to comply with SAR requirement without testing. The duty cycle is simply the on-time divided by the period: The duration of one cycle = 15.0870ms Effective period of the cycle = 2.5652ms DC = 2.5652ms / 15.0870ms = 0.1700 or 17.00% FCC ID: BY39909-24GR
Test Setup Photos
Radiated Photos
Contact Information
Applicant
Muk Shui Leung(Electronic Engineering Assistant Manager)
Technical Contact
Intertek Testing Services Shenzhen Ltd. Kejiyuan BShawn Xing
[email protected](86-755) 8614 0603
6F, D Block, Huahan Building, Langshan Road · Shenzhen · China
Non-Technical Contact
Intertek Testing Services Shenzhen Ltd. Kejiyuan BShawn Xing
[email protected](86-755) 8614 0603
Test Firm
Intertek Testing Services Shenzhen Ltd.Shawn Xing
Technical Specifications
| # | Rule Parts | Frequency Range | Power Output |
|---|---|---|---|
| 1 | 15C | 2.40 GHz - 2.48 GHz | - |
Other Applications from Scientific Toys Ltd

BY34723-24GB
Jun 30, 2021R/C VEHICLE
Equipment Class
DXX - Part 15 Low Power Communication Device Transmitter
BY33204-24GR
Jul 12, 2020R/C CAR
Equipment Class
DXX - Part 15 Low Power Communication Device Transmitter
BY34204-24B2
Jun 14, 2020RC/CAR
Equipment Class
DXX - Part 15 Low Power Communication Device Transmitter
BY34204-24B1
Jun 14, 2020R/C CAR
Equipment Class
DXX - Part 15 Low Power Communication Device Transmitter
BY35284-24B1
Apr 05, 2020B/O Toys
Equipment Class
DXX - Part 15 Low Power Communication Device Transmitter