G95DWI219IP Set Top Box
Vantiva USA LLC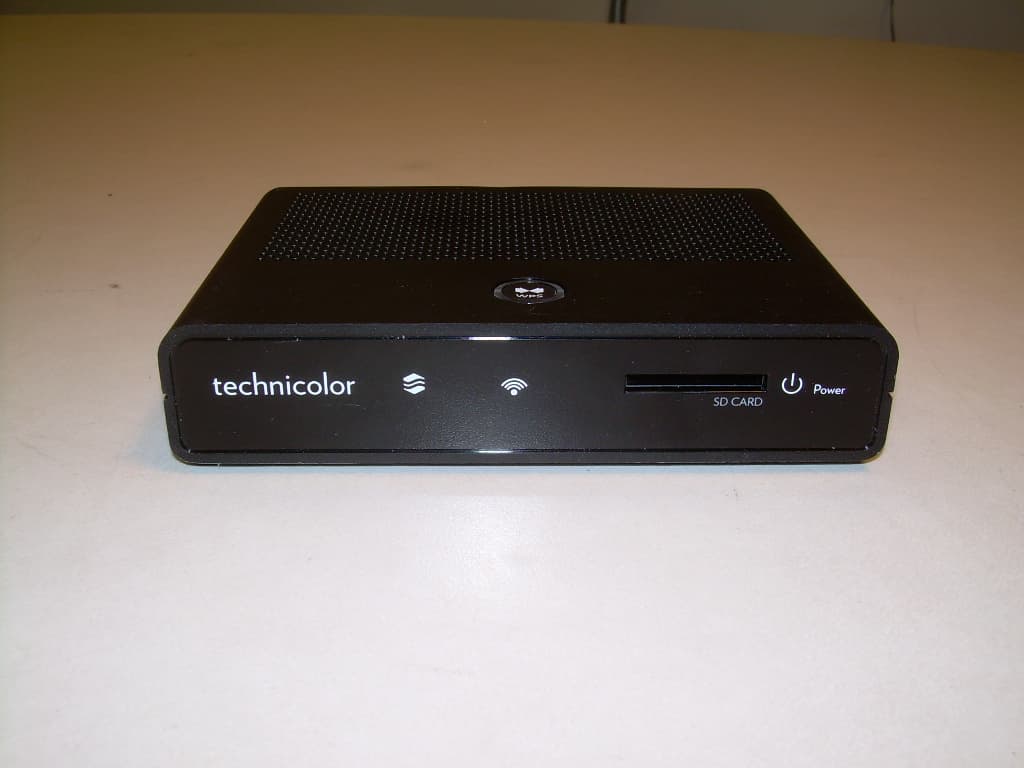
Click to zoom
Application Details
- Equipment Class
- DTS - Digital Transmission System
- Date of Grant
- Dec 22, 2011
- Application Purpose
- Original Equipment
- Date of Application
- Dec 22, 2011
- Equipment Note
- IP Set Top Box
- Frequency Range
- 2425.00000000 - 2475.00000000
- Company
- Vantiva USA LLC
- Country
- United States
Documents & Files
Document Text
Text extracted from the exhibit documents filed with the FCC. Open a document above to read the original.
Users Manual
Cable In HDMI TV Out HDMICameraUSBIRAudioEthernet Reset Power Lock Press to prevent accidental typing while using front of remote. Back of remote On/O Indicator Glowing LED indicates camera is on. Lens with Shutter Shutter closes when camera is o . Clip Adjust for placement. Front of camera NetworkMessagesPower SD Card WPS Use for wireless setup with WPS capable routers. (Currently not available) SD Slot Use for viewing media (Currently not available) Message Indicator Glowing LED indicates new messages. Network Indicator Glowing LED indicates connection to home network. Power Glowing LED indicates adaptor is on. Front of adaptor box Top of adaptor box HDMI Cable In HDMI TV Out USB/IR (Currently not available) Power EthernetCameraAudioReset Back of adaptor box LED indicates key press Use to pair remote Return homeClose and return to TV End call and ignore incoming call Zoom self-view and pan/scan to adjust video Pause camera Fast forward Switch profiles Change screen layout Place call on hold, mute mic and pause camera Play and pause Battery compartment See self-view Mute microphone Accept incoming calls and access contacts Select current option and navigate left/right/up/down Adjust volume Mute call Rewind ALT Press ALT for characters in blue—i.e. press ALT then Q for 1. You will need to press ALT for each character. Front of remote WPS Get to Know the Parts NetworkMessagesPower SD Card Remote (1) Pull the tab from the remote’s battery compartment before using Adaptor box (1) Camera with clip (1) If anything is missing, please call Comcast at 855-417-9342 for assistance. What’s in the Box You’ll Also Need: XFINITY® is your interface to a growing number of new products, services and features that will become available to you on your HDTV. Getting Started Guide The Reset button has two functions, depending on the length of time held: Normal Reset Insert a thin object and hold the Reset button for 2-5 seconds to reboot the adaptor and keep your personal settings. Factory Reset Insert a thin object and hold the Reset button for 15 or more seconds to delete ALL personal settings and restore the adaptor to the default factory settings. PULL jale Use the Left arrow to go back to the previous screen. Play/Pause/Forward/ Rewind are not available at this time. Important Information MicrophonesMicrophones Messages Power • HDMI-capable Comcast set-top box • HDTV http://speedtest.comcast.net) • Internet connection with at least 1.5 Mbps simultaneous upload and download speeds (check your speeds at • Comcast ID • Skype™ account Power adaptor cable (1)HDMI cable (2)Power adaptor (1)USB extension cable (1) Note: This packaging has been specially designed using sustainable materials. Be kind to the environment and re-use this box. 16983970 purse2 112/13/11 2:39 PM TV Top Set Up 1 Flat Surface OR TV Top Set Up 1 OR Place the front of the camera on top of your TV, with the bottom lip resting just below the top of the screen.* Push the clip down until it touches the back of the TV and the camera is secured. Pivot the angle of the camera and adjust to capture your preferred viewing area. Place the camera on your level surface with the lens facing the viewing area.* Hold the rubber bottom in place while pivoting the angle of the camera to capture your preferred viewing area. *The recommended viewing distance is 5' - 12'. Camera should not be used near strong magnetic fields. *The recommended viewing distance is 5' - 12'. Camera should not be used near strong magnetic fields. Important Note for Wall-Mounted TVs Make sure the combined weight of the camera (8.81 oz.) and TV does not exceed the maximum rating for your wall mount. Check the wall mount manufacturer’s manual for the maximum rating. The camera clip is not compatible with all TV wall mounts. For wall-mounted TVs that have been installed flush with the wall, camera placement on your TV is not recommended due to space constraints which may result in damage to your TV or the camera. Important Note for Fireplace-Mounted TVs The camera is not intended for use in high-temperature locations, such as above fireplaces. Flat Surface Plug in one of the provided HDMI cables to your set-top box and the other end to the HDMI Cable In port on your adaptor box. Plug the second HDMI cable to the HDMI TV Out port on your adaptor box and the other end to one of the available HDMI ports on your TV. Plug the camera cable into the Camera port. If the camera cable is not long enough to reach the Camera port, connect the provided USB extension cable to the camera cable. Decide if you want to connect to your home network using a wired Ethernet cable or wireless connection. Ethernet connection: Plug a CAT- 6 Ethernet cable (not provided) to the Ethernet port on the adaptor box and the other end to an available port on your modem or router. Wireless connection: Skip this step and follow the instructions during TV activation. If you’re using an audio receiver, disconnect the SPDIF (Optical Digital Audio) cable from your set-top box and plug it into the Audio port on the adaptor box instead. Connect the power adaptor to the power adaptor cable. Plug the power adaptor into the Power port on the adaptor box and the power adaptor cable to an electrical outlet. There is no actual power button on your adaptor box so this power cable is the only way to turn the system on and o . Using your TV remote, select the same HDMI input to which you connected the adaptor box. Connect and Power Up 2 Cable In HDMI TV Out HDMICameraUSBIRAudioEthernet Reset Power Digital Audio Receiver OutletCameraBack of TVBack of Modem if using Ethernet OR Not available at this time Not available at this time NetworkMessagesPower SD Card Activate 3 Messages Power 16983970 Printed in China Getting Started Guide v.0.2 Back of TV HDMI HDMI Messages Power Back of adaptor box TV Top: OR Flat Surface: Once you’ve connected the devices, you’ll see a black screen. In a few minutes (up to 15), you’ll be greeted with a We…
Text truncated - open the document above for the full version.
Users Manual
Skype on TV User Guide 0.1 Table of Contents2 © 2011 Comcast. All rights reserved. Table of Contents Welcome & About Skype on TV . . . .3 Get to Know the Parts . . . . . . . . . . . .4 Camera . . . . . . . . . . . . . . . . . . . . . . . . . . . .4 Adaptor Box . . . . . . . . . . . . . . . . . . . . . . . . .5 Remote . . . . . . . . . . . . . . . . . . . . . . . . . . . .6 Setup . . . . . . . . . . . . . . . . . . . . . . . . . . . .8 What You’ll Need to Get Started . . . . . . . . . .8 Camera Setup . . . . . . . . . . . . . . . . . . . . . . .9 T V Top . . . . . . . . . . . . . . . . . . . . . . . . . .9 Flat Surface . . . . . . . . . . . . . . . . . . . . . .9 Connect the Cables . . . . . . . . . . . . . . . . . .11 Power Up . . . . . . . . . . . . . . . . . . . . . . . . . .13 Activate . . . . . . . . . . . . . . . . . . . . . . . .14 Remote Pairing . . . . . . . . . . . . . . . . . . . . .14 Terms of Service . . . . . . . . . . . . . . . . . . . .14 Connect to Your Home Network . . . . . . . . .15 Ethernet Connection . . . . . . . . . . . . . . .15 Available WiFi Networks . . . . . . . . . . . .16 Hidden WiFi Networks . . . . . . . . . . . . . .17 WPS-Capable Routers . . . . . . . . . . . . . .19 Time Zone . . . . . . . . . . . . . . . . . . . . . . . . .19 System Check . . . . . . . . . . . . . . . . . . . . . .20 Resolution Check . . . . . . . . . . . . . . . . .20 TV Signal Check . . . . . . . . . . . . . . . . . .20 Camera Check . . . . . . . . . . . . . . . . . . .21 Microphone Check . . . . . . . . . . . . . . . .21 Set Volume . . . . . . . . . . . . . . . . . . . . . .22 Comcast Sign-In . . . . . . . . . . . . . . . . . . . .22 Skype Sign-In . . . . . . . . . . . . . . . . . . . . . .23 Sync Contacts . . . . . . . . . . . . . . . . . . . . . .24 Activation Complete . . . . . . . . . . . . . . . . . .24 Profiles . . . . . . . . . . . . . . . . . . . . . . . .25 Sign In . . . . . . . . . . . . . . . . . . . . . . . . . . .25 New Profiles . . . . . . . . . . . . . . . . . . . . . . .26 My Profile . . . . . . . . . . . . . . . . . . . . . . . . .27 Update Status . . . . . . . . . . . . . . . . . . . . . .27 Update Your Mood . . . . . . . . . . . . . . . . . . .29 Your Contacts’ Information . . . . . . . . . . . . .30 Calls and Chats . . . . . . . . . . . . . . . .31 Make a Video Call . . . . . . . . . . . . . . . . . . .31 Make an Audio Call . . . . . . . . . . . . . . . . . .34 Have a Text Chat . . . . . . . . . . . . . . . . . . . .36 Incoming Calls and Chats . . . . . . . . . . . . . .37 Call Waiting . . . . . . . . . . . . . . . . . . . . . . . .39 Features . . . . . . . . . . . . . . . . . . . . . . .40 Contacts . . . . . . . . . . . . . . . . . . . . . . . . . .41 Access . . . . . . . . . . . . . . . . . . . . . . . . .41 Available . . . . . . . . . . . . . . . . . . . . . . . .41 Suggestions . . . . . . . . . . . . . . . . . . . . .42 Pending . . . . . . . . . . . . . . . . . . . . . . . .43 All Contacts . . . . . . . . . . . . . . . . . . . . .43 Favorites . . . . . . . . . . . . . . . . . . . . . . .44 Add Contact . . . . . . . . . . . . . . . . . . . . .44 Custom Groups . . . . . . . . . . . . . . . . . . .46 Find a Contact . . . . . . . . . . . . . . . . . . .46 Recent . . . . . . . . . . . . . . . . . . . . . . . . . . .47 Notifications . . . . . . . . . . . . . . . . . . . . . . .48 Settings . . . . . . . . . . . . . . . . . . . . . . . . . . .49 Profile Settings . . . . . . . . . . . . . . . . . . .49 System Settings . . . . . . . . . . . . . . . . . .54 Glossary . . . . . . . . . . . . . . . . . . . . . . .59 Disclosure & Terms of Service . .61 Welcome & About Skype on TV3 Welcome! This User Guide is where you’ll find answers to questions along with easy to follow, step-by-step guidance on how to set up and use Skype™ on TV in your home . Learn how to maximize the full potential of every feature, make a call or text a friend—everything you need to know is right here . Have a question? We may have already answered it in the FAQ section on page 59 . Need a quick overview? Check out the Glossary for a rundown on all the equipment and terms on page 60 . If you have questions that aren’t answered in this User Guide, please visit http://trials.comcast.net . For additional support, please call the appropriate number below . • Set-up and Activation: 855-417-9342 • Post Activation: 877-704-7713 About Skype on TV Skype on TV delivers high quality, face-to-face video calling right to your TV . Enjoy unlimited video and audio calls—even text chats—without a computer, without opening a browser . It’s the next best thing to being there . • Connect with Skype users anywhere around the world–family, friends and colleagues–with HD video/ audio calls and text chats . Now you’ll never have to miss a milestone moment . • Once signed-in, you can accept (or decline) calls while you’re watching TV. You’ll see you who is calling and how they want to connect—by video, audio or text . • Works seamlessly with your XFINITY contacts. • The Emergency Alert System (EAS), the national public warning system, only broadcasts in TV mode (not during calls or chats). • Data used while enjoying Skype on TV counts toward your Comcast monthly Internet bandwidth usage. Get to Know the Parts4 Camera • High-Definition Video Resolution (720p at 30 fps) • On/Off Indicator • Digital/Optical Zoom Lens with Shutter • Built-In Directional Microphones • Adjustable Clip for Secure Placement For camera placement, see Camera Setup on page 9 . On/O Indicator Glowing LED indi- cates camera is on. Lens with Shutter Shutter closes when camera is o . Clip Adjust for placement. Front of camera MicrophonesMicrophones Get to Know the Parts Get to Know the Parts5 Adaptor Box • HDMI Connections Between Set-Top Box and TV • Dual-Band 802.11n WiFi • Ethernet-Ready for Wired Connection • Digital Audio Output • Audible Notifications • Integration with Skype • New Message Indicator (currently not available) • WPS-Capable for Wirele…
Text truncated - open the document above for the full version.
Users Manual
36Calls and Chats Helpful Hints for Text Chats • While you are typing, be careful not to press any buttons on the front of your remote. This will lock the remote and you will have to unlock to resume typing . • After 4 hours, your text chat will automatically end. You will be offered the option to CONTINUE if you want to keep chatting . • You can make and accept text chats while watching TV. Simply initiate or accept a text chat as you normally would then use your remote to select VIEWS on screen . Choose the view that’s right for you . a) Select someone from your Contacts or Recent lists . b) Click TEXT CHAT. c) A request to reply will be sent to your contact. Once accepted, you can start chatting by using the keyboard on the back of your remote . Simply type your message and press SEND . You will see your message, along with your contact’s response, onscreen as the conversation continues . Press the Unlock button on the remote keyboard to enable typing . Have a Text Chat Use your remote’s keyboard to type a message to one of your contacts . Your message, and your contacts response, will instantly appear as a text chat . These types of chats are considered instant text messages, not SMS (Short Message Service), which typically have more of a delayed response time. Text Chat Options • Views You can change the layout of your screen depending on your viewing preference . For instance, you can expand the screen that your TV program is on while minimizing the chat screen and vice versa . Personalize what you see by selecting from several configurations . You have the option to change your screen views at any time, as many times as you wish . To change the layout of your chat section, select VIEWS at the bottom of the screen or press the Views button on your remote to toggle through the choices . 37Calls and Chats a) When you have an incoming call or chat, a request to answer the call or chat appears on the screen . Continue by selecting the contact . If you do nothing, the contact will disappear from the screen within a few minutes . b) For video and audio calls, you can click DECLINE to ignore the call or ACCEPT WITH AUDIO to answer with just audio or ACCEPT WITH VIDEO to enjoy a face- to-face video call. Keep in mind, when you accept a call, you are choosing what you will share (either audio or video), not what you will see . So for instance, when you accept a video call with audio, you’ll see your contact’s video, but you will only share via audio . Remember that even if you accept as an audio call, you still have the option of turning on video at any time during the call . c) For a text chat, click IGNORE or REPLY to begin chatting . Incoming Calls and Chats If you’re signed in to use Skype on TV and a call comes in while you’re watching a TV program, you have the choice to ACCEPT WITH VIDEO, ACCEPT WITH AUDIO or DECLINE . You will see an onscreen message letting you know who is calling and if the request is a video call, audio call or text chat . If you don’t make a selection after 2 minutes, the incoming message box will disappear . Whether you are watching regular or “live” TV, On Demand or your DVR, you can accept or initiate a call and the TV program will continue to play while you are on the call or text chatting . 38Calls and Chats Helpful Hints for Incoming Calls and Chats • Please note that there is a difference between your XFINITY Voice (telephone) calls and your video/audio calls coming through Skype on TV. The Caller ID notification from XFINITY Voice will appear in the center of your screen while callers using Skype on TV will appear in the upper right corner of your screen. At this time, you can’t receive XFINITY Voice calls using Skype on TV. • To learn how to disable your XFINITY Voice (telephone) Caller ID while using Skype on TV, please visit http://xfinity.comcast.net/learn/voice/ • If you’re not signed in, you won’t receive any caller notifications from your Skype on TV service. 39 Call Waiting If you are on a call or text chatting and another call comes in, you can put the call on hold to answer the incoming call by using the call waiting option . a) When a request to answer an incoming call or chat appears while you’re on another call, you have the choice to accept the call or decline it . If you accept the incoming call, the first call will be put on hold automatically . b) If you do nothing, the contact will disappear from the screen within a few minutes . c) After accepting the call, your screen view will reflect the new caller addition . Change this layout using the View button on your remote or press VIEWS at the bottom of your screen . d) The SWITCH option on the bottom of your screen allows you to switch between the two callers . Please note only two calls can be active at once, so you can have just one call on hold while speaking to another person . 40Features Contacts Use your list of contacts to start connecting with family, friends and colleagues . If you chose to sync your XFINITY and Skype contacts during activation (see page 52 for details), all of these contacts can now be accessed from here . If you chose to skip syncing, you can go to Settings > Profile > Sync Contacts at any time to merge your contacts . From the Contacts screen, you can view and manage the following: • Available • Suggestions • Pending • All Contacts • Favorites • Add Contact • Custom Groups (not available at this time) You can also visit XFINITY.com > Connect > Sign In > My Account > Contacts to modify any of these: • Favorites (add/delete) • Custom Groups (add/delete) • Duplicate contacts (remove/merge) • Contact details (edit) If you manage your XFINITY or Skype contacts online, any changes you make will be reflected here. These updates will appear the next time you sign in or sync . 41Features Access your Contacts Start by selecting CONTACTS Yellow indicates the current selection. Blue indicates the number of new items since your last sign-in. Available Color Chart #FFE61E #A…
Text truncated - open the document above for the full version.
Users Manual
57Features • Audio Settings: System Sound System Sound refers to the sounds (such as chimes and melodies) heard as you navigate the menus or lists . You can choose to play or mute these sounds . • Audio Settings: Set Volume While the microphone test confirms that you will be heard, the volume check verifies that you’ll be able to hear your contact . Follow the steps to set your volume . Helpful Hints to Set Volume • If you can’t hear anything, make sure your TV sound is not muted. • If you’re using an audio receiver, disconnect the SPDIF (Optical Digital Audio) cable from your set-top box, plug it into the Audio port and try again . • Network Settings See the section, Connect to Your Home Network, on page 15 for instructions on connecting to your network . If you need additional help, If you need additional help, please visit http://trials.comcast.net/ or call 855-417-9342 . • General Settings: Set Time Zone Select your time zone by choosing from the options shown . Selecting your time zone will help provide the most accurate call time records, which you’ll find in your Recent conversations . 58Features • General Settings: Software Update From time to time, you will be alerted via Notifications about software updates to enhance your service . Onscreen directions will guide you through these simple steps . They’ll indicate how long they’ll take, any actions required or any issues that may occur . • General Settings: System Timeout If you don’t use Skype on TV while you’re signed in, the system will automatically return to your TV program . You can decide how much inactive time should pass before Skype on TV switches to TV, or opt for no timeouts at all . • The default setting for a system timeout is 7 days • The default setting for a call or chat timeout is 4 hours If you choose Never as your timeout option, be aware that screen burn may occur on your TV (particularly on plasma TVs). Screen burn, a permanent mark on your TV screen that degrades image quality, occurs when the same image remains on your screen for an extended period of time . 59Glossary59 Audio Call Connecting with your Contacts through audio only Available WiFi Networks Nearby WiFi networks, such your own home network, which Skype on TV lists in the network connection setup screens Avatar Personalized graphic (photo, image) that contacts will see (on your profile and during audio calls or text chats). Blocked Contact A contact you’ve restricted from calling or texting you via Skype on TV Calls Video and audio conversations with your contacts Chats Texting with your Contacts Contacts Anyone you’re connected with through Skype on TV Conversations Audio and video calls, as well as text chats, with your contacts Custom Groups (Not available at this time) Personalized groups of contacts pulled from your XFINITY and Skype contacts Ethernet Connection An Ethernet cable connects the XFINITY ® adaptor with your router/modem to establish a wired network connection Favorites Your online XFINITY contacts will also appear as Favorites on TV the next time you sign in or sync . Hidden WiFi Network A WiFi network not listed under available WiFi networks . If your home network is hidden, you’ll have to enter additional security information to connect . Mood Optional personalized message that lets your contacts know what you’re doing, how you’re feeling or whatever is on your mind Network Name (SSID) Identification of your WiFi home network needed if you want to connect to a hidden WiFi network Notifications Alerts and updates awaiting your review and response Pairing Process of syncing two different electronic devices, such as this system’s remote and XFINITY ® adaptor, so they can work together Primary Comcast ID Comcast account holder who can create, delete and suspend secondary accounts Profile Unique combination of a Comcast ID and a Skype Name Recent List of your recent calls or chats, shown with most recent ones first Security Encryption Methods Secures the data within your home wireless network Settings View and update profile and system information, including privacy and security preferences . Glossary 60Glossary Skype Software application integrated with Skype on TV that enables video and audio calls, as well as text chats . SPDIF Cable Optical digital audio cable (not included) required to connect the XFINITY ® adaptor if you use a digital audio receiver in your home entertainment system Status Lets your contacts know your availability to connect Suggestions List of potential contacts from your XFINITY contacts who have a Skype account, but are not yet connected to you via Skype or Skype on TV Text Chat Sending and receiving text messages using your remote that can be viewed on your TV USB Extension Cable Cable needed if the camera cable is not long enough to reach the Camera port on the back of the adaptor box (not provided) Video calls Connecting with your Contacts through video and audio Views Options for displaying layout (self-view, other caller and TV programming) WiFi Wireless industry standard for connecting electronic devices, such as XFINITY ® adaptor, to your home network WPS (WiFi Protected Setup) Button on top of your adaptor box used to pair with your WiFi home network (to be used only if you own a WPS-capable router or modem/currently not available) Legal and Safety Information C M Y CM MY CY CMY K 16999670 final.pdf 1 11/15/11 10:37 AM • Protect the power cord from being walked on or pinched particularly at plugs, convenience receptacles, and the point where they exit from the apparatus. • Only use attachments/accessories specified by the manufacturer. • Unplug this apparatus during lightning storms or when unused for long periods of time. • Refer all servicing to qualified service personnel. Servicing is required when the apparatus has been damaged in any way, such as power-supply cord or plug is damaged, liquid has been spilled or objects have fallen into the apparatus, the apparatus has been exposed to rain or …
Text truncated - open the document above for the full version.
External Photos
Front View of the EUT Back View of the EUT
ID Label/Location Info
SHT.:1of1 R.K. McNeely Technicolor THESE DRAWINGS AND SPECIFICATIONS ARE THE PROPERTY OF TECHNICOLOR AND SHALL NOT BE REPRODUCED, OR COPIED OR USED AS THE BASIS FOR THE MANUFACTURE OR SALE OF APPARATUS OR DEVICES WITHOUT PERMISSION. 16984730 LABEL SPECIFICATION, ATPA-T (DWI219COM ) Specification Number: 1698474A Create & Release16984730.R.K.M. 10/27/11 1 Model: ATPA-T Rating: +5V DC 3.0A S/N: TMD815700007 MAC address: AA:BB:00:00:00:00 WiFi MAC address: AA:BB:00:00:00:00 Audio/Video Apparatus E229301 6LA7 Made in Vietnam forTechnicolor PROPERTY OF COMCAST. THIS EQUIPMENTMUST BE SURRENDERED TO COMCASTUPON DEMAND OR AFTER DISCONNECTINGSERVICE. FOR MORE INFORMATION CALL1-888-COMCAST. FCC ID: G95DWI219Contains WiFi FCC ID: NHP-TG1502 Model: ATPA-T Rating: +5V DC 3.0A S/N: TMMPHYWWDXXXXX MAC address: AA:BB:00:00:00:00 WiFi MAC address: AA:BB:00:00:00:00 Audio/Video Apparatus6LA7 E229301 Made in Vietnam forTechnicolor PROPERTY OF COMCAST. THIS EQUIPMENTMUST BE SURRENDERED TO COMCASTUPON DEMAND OR AFTER DISCONNECTINGSERVICE. FOR MORE INFORMATION CALL1-888-COMCAST. S/N: TMMPHYWWDXXXXX FCC ID: G95DWI219Contains WiFi FCC ID: NHP-TG1502 S/N: TMMPHYWWDXXXXX Camera S/N: DCQA0012AA100E MAC address: AA:BB:00:00:00:00 WiFi MAC address: AA:BB:00:00:00:00 Made in Vietnam for Technicolor Model: ATPA-T Rating: +5V DC 3.0A Place on Carton Place on instrument Place in cartonwith liner for installer Note: All Barcodes are Code 128 Add “Contains” toWiFi FCC ID. Roll to1698474A.R.K.M. 12/21/11 2 SHT.:1of1 R.K. McNeely Technicolor THESE DRAWINGS AND SPECIFICATIONS ARE THE PROPERTY OF TECHNICOLOR AND SHALL NOT BE REPRODUCED, OR COPIED OR USED AS THE BASIS FOR THE MANUFACTURE OR SALE OF APPARATUS OR DEVICES WITHOUT PERMISSION. 16984730 LABEL SPECIFICATION, ATPA-T (DWI219COM ) Specification Number: 16984760 S/N: TMMPHYWWDXXXXX S/N: TMMPHYWWDXXXXX S/N: TMMPHYWWDXXXXX Note: All Barcodes are Code 128 Place on back panel as shown below.
Internal Photos
View of the EUT without Housing Side View of the EUT View of the Bottom Housing with RF Absorber View of the Connector Gasketing Top View of the Main PCB with Heatsink in Place Top View of the Main PCB with Heatsink Removed Top View of the Main PCB with RF Absorber Removed View of the Bottom Side of the Main PCB Bottom View of the Daughter Card with 802.11abgn Module Installed Bottom View of the Daughter Card with the 802.11abgn Module Removed Top View of the Daughter Card View of the Top Housing with the 802.11abgn Module and Antennas
RF Exposure Info
Report No.: SA110804C16 Report Format Version 4.0.0 1 RF EXPOSURE REPORT REPORT NO.: SA110804C16 MODEL NO.: TG-1502 FCC ID: NHP-TG1502 APPLICANT: CAMEO COMMUNICATIONS, INC. ADDRESS: No. 42, Sec. 6, Mincyuan E. Rd., Neihu District, Taipei City 114, Taiwan ISSUED BY: Bureau Veritas Consumer Products Services (H.K.) Ltd., Taoyuan Branch LAB ADDRESS: No. 47, 14th Ling, Chia Pau Tsuen, Lin Kou Hsiang, Taipei Hsien 244, Taiwan, R.O.C. TEST LOCATION: No. 19, Hwa Ya 2nd Rd, Wen Hwa Tsuen, Kwei Shan Hsiang, Taoyuan Hsien 333, Taiwan, R.O.C. This test report consists of 6 pages in total. It may be duplicated completely for legal use with the approval of the applicant. It should not be reproduced, except in full, without the written approval of our laboratory. The client should not use it to claim product certification, approval or endorsement by any government agency. The test results in the report only apply to the tested sample. Report No.: SA110804C16 Report Format Version 4.0.0 2 TABLE OF CONTENTS RELEASE CONTROL RECORD ............................................................................................. 3 1. CERTIFICATION .......................................................................................................... 4 2. RF EXPOSURE............................................................................................................ 5 2.1 LIMITS FOR MAXIMUM PERMISSIBLE EXPOSURE (MPE)...................................... 5 2.2 MPE CALCULATION FORMULA ................................................................................. 5 2.3 CLASSIFICATION ........................................................................................................ 5 2.4 CALCULATION RESULT OF MAXIMUM CONDUCTED POWER............................... 6 Report No.: SA110804C16 Report Format Version 4.0.0 3 RELEASE CONTROL RECORD ISSUE NO. REASON FOR CHANGE DATE ISSUED Original release NA Sep. 02, 2011 Report No.: SA110804C16 Report Format Version 4.0.0 4 1. CERTIFICATION PRODUCT: Astro Telepresence Adapter MODEL: TG-1502 BRAND: Technicolor APPLICANT: CAMEO COMMUNICATIONS, INC. TESTED: Aug. 05 ~ Aug. 29, 2011 TEST SAMPLE: ENGINEERING SAMPLE STANDARDS: FCC Part 2 (Section 2.1091) FCC OET Bulletin 65, Supplement C (01-01) IEEE C95.1 The above equipment (Model: TG-1502) has been tested by Bureau Veritas Consumer Products Services (H.K.) Ltd., Taoyuan Branch, and found compliance with the requirement of the above standards. The test record, data evaluation & Equipment Under Test (EUT) configurations represented herein are true and accurate accounts of the measurements of the sample’s EMC characteristics under the conditions specified in this report. PREPARED BY : , DATE:Sep. 02, 2011 Pettie Chen / Specialist APPROVED BY : , DATE:Sep. 02, 2011 Gary Chang / Technical Manager Report No.: SA110804C16 Report Format Version 4.0.0 5 2. RF EXPOSURE 2.1 LIMITS FOR MAXIMUM PERMISSIBLE EXPOSURE (MPE) FREQUENCY RANGE (MHz) ELECTRIC FIELD STRENGTH (V/m) MAGNETIC FIELD STRENGTH (A/m) POWER DENSITY (mW/cm 2 ) AVERAGE TIME (minutes) LIMITS FOR GENERAL POPULATION / UNCONTROLLED EXPOSURE 300-1500 ... ... F/1500 30 1500-100,000 ... ... 1.0 30 F = Frequency in MHz 2.2 MPE CALCULATION FORMULA Pd = (Pout*G) / (4*pi*r2) where Pd = power density in mW/cm2 Pout = output power to antenna in mW G = gain of antenna in linear scale Pi = 3.1416 R = distance between observation point and center of the radiator in cm 2.3 CLASSIFICATION The antenna o…
Text truncated - open the document above for the full version.
Contact Information
Applicant
Robert Lyall(Principal Certification Engineer)
Test Firm
VPI TechnologyJason Stewart
[email protected]801-495-2310
Technical Specifications
| # | Rule Parts | Frequency Range | Power Output |
|---|---|---|---|
| 1 | 15C | 2.42 GHz - 2.48 GHz | 225.00 µW |
Other Applications from Vantiva USA LLC
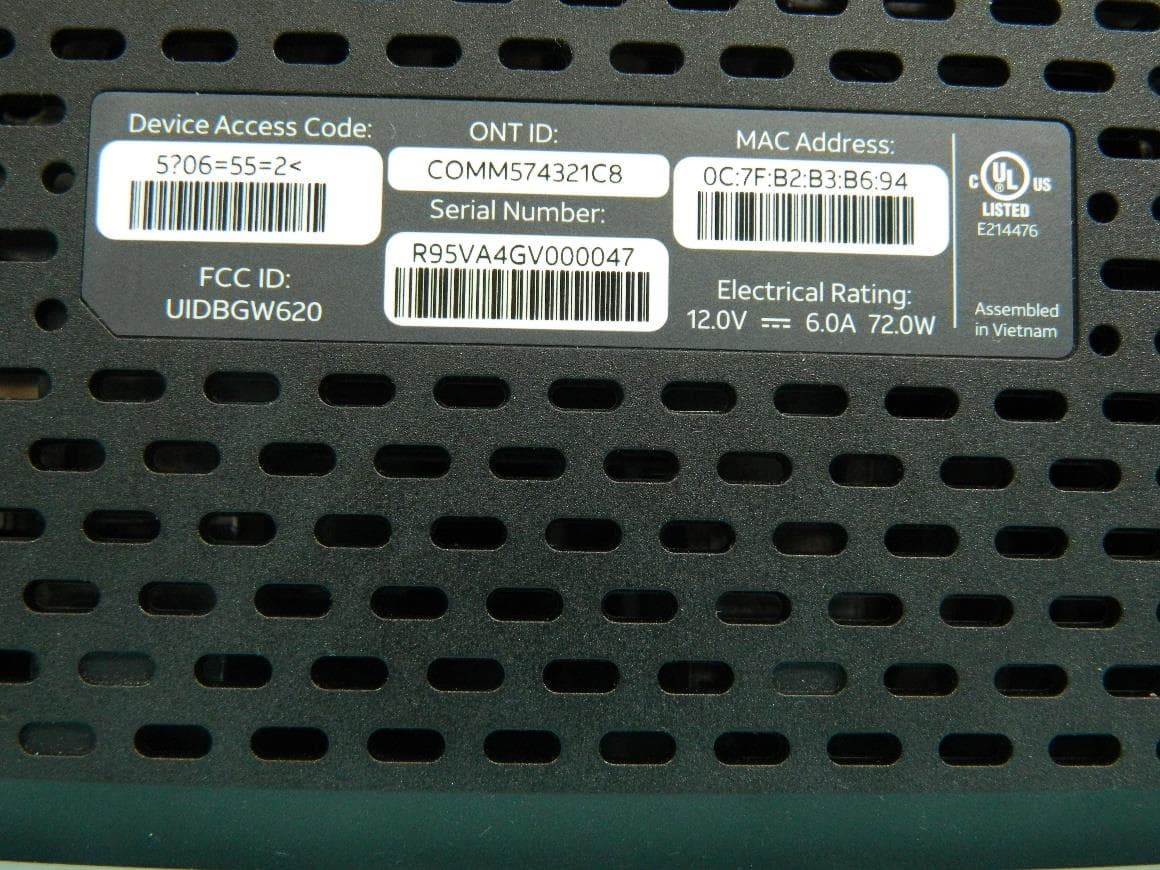
G95BGW620
Aug 26, 2024Wi-Fi 7 XGS-PON Gateway
Equipment Class
NII - Unlicensed National Information Infrastructure TX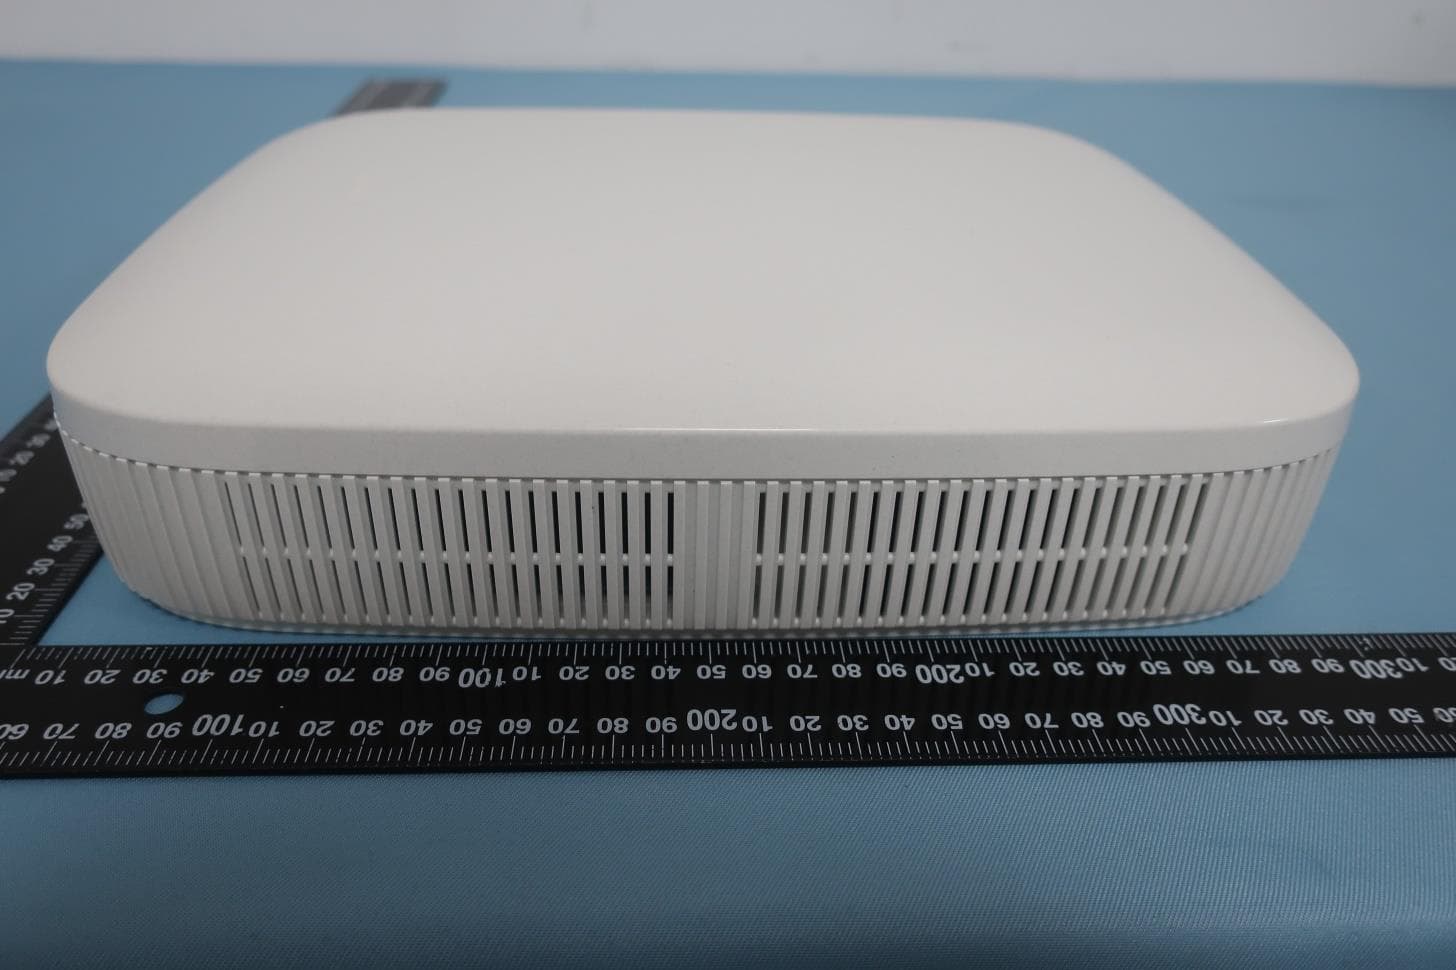
G954981X2
Jan 10, 2024DOCSIS 3.1
Equipment Class
NII - Unlicensed National Information Infrastructure TXG95OWA7111
Jul 20, 2023Wi-Fi 6E Extender
Equipment Class
6PP - 15E 6 GHz Subordinate Indoor Device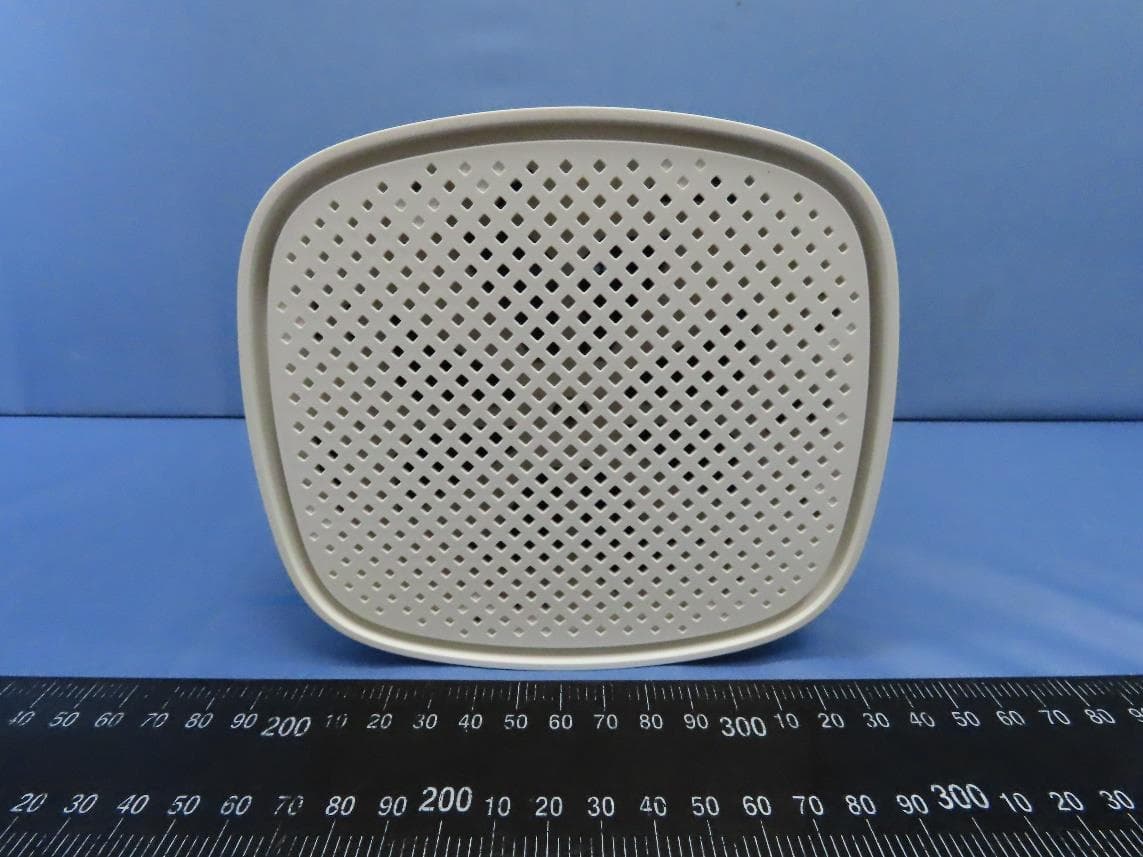
G95EWM322T
Jul 17, 2023Wireless Access Point
Equipment Class
DTS - Digital Transmission System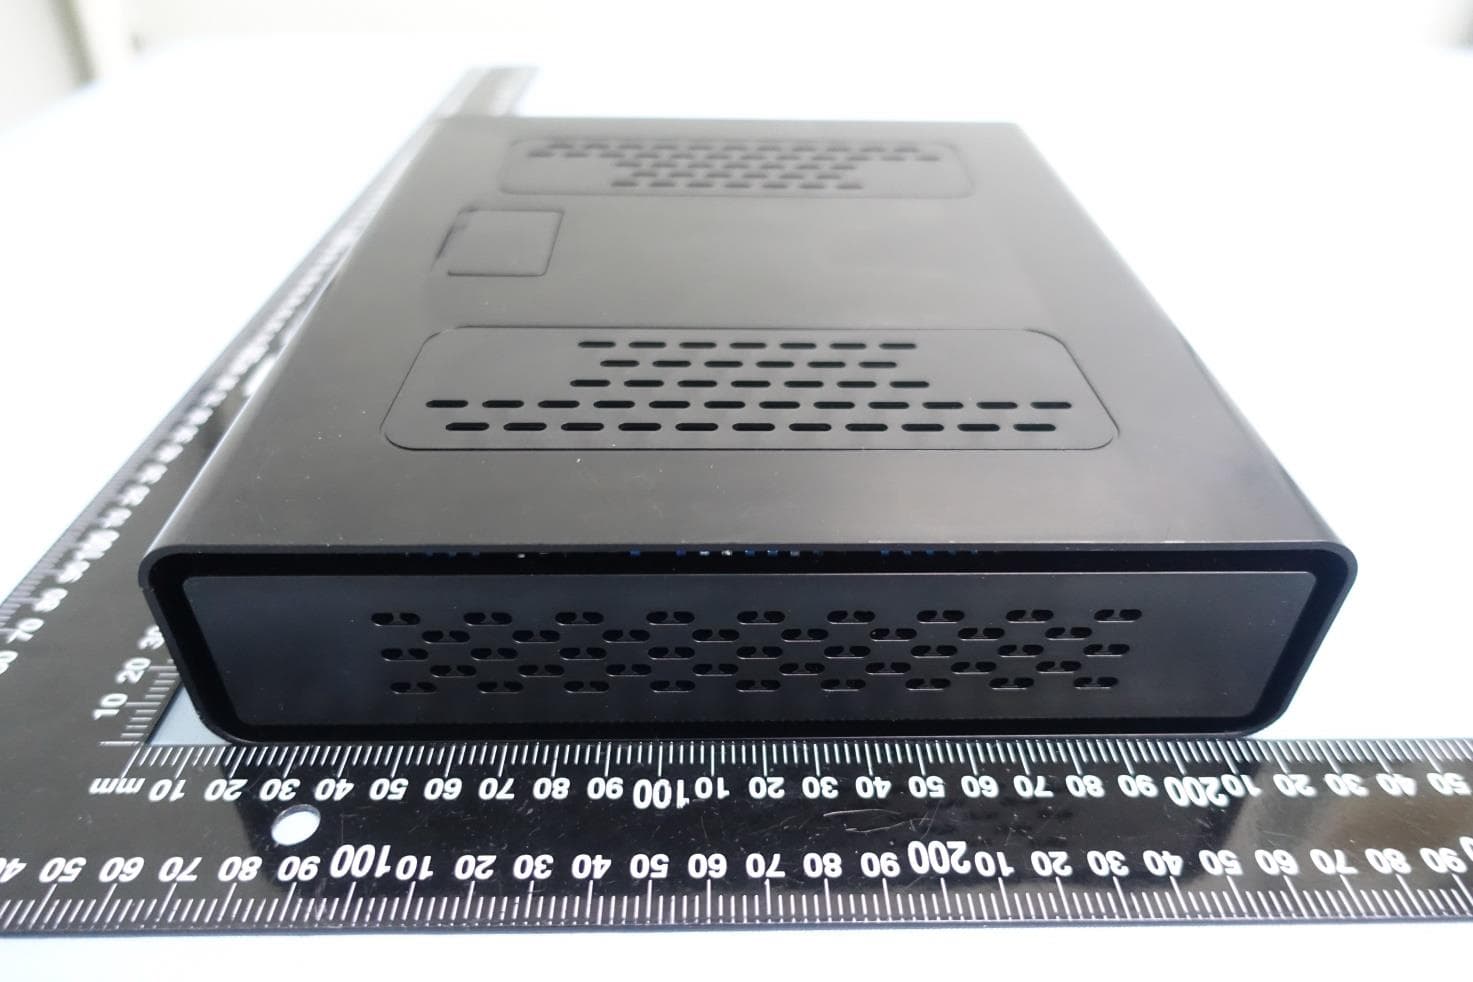
G95-CGA437T
Jan 14, 2023DOCSIS 3.1 Residential Voice Gateway
Equipment Class
NII - Unlicensed National Information Infrastructure TX