LF59774597745
Medtronic, Inc.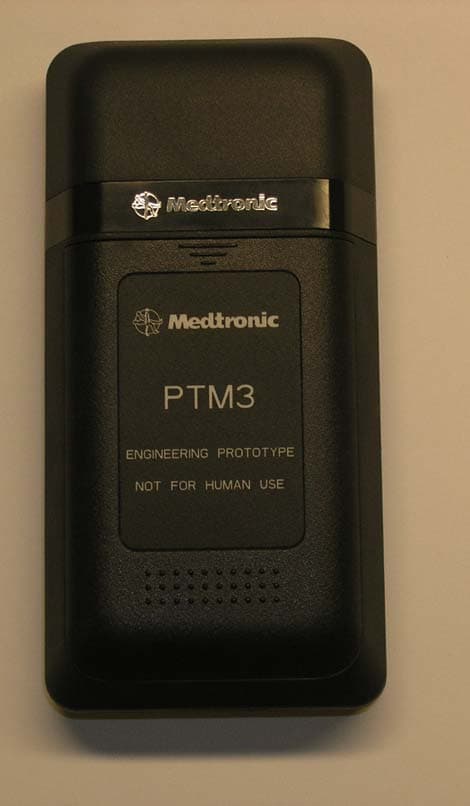
Click to zoom
Application Details
- Equipment Class
- DSS - Part 15 Spread Spectrum Transmitter
- Date of Grant
- Oct 25, 2012
- Application Purpose
- Original Equipment
- Date of Application
- Oct 25, 2012
- Equipment Note
- 97745
- Frequency Range
- 2402.00000000 - 2480.00000000
- Company
- Medtronic, Inc.
- Country
- United States
Documents & Files
Document Text
Text extracted from the exhibit documents filed with the FCC. Open a document above to read the original.
Users Manual
Form MEDN-0500 version 3.0 NEUROMODULATION CONFIDENTIAL DOCUMENT/RECORD This document/record is electronically controlled, printed copies are considered uncontrolled. Identifier Version Author Title: Pages: (including this page) APPROVALS Signed By Responsibility Date/Time (GMT) NDHF1245-1215864.0Monica Tuy 97745 User Manual DRAFT for Agency and Summative Testing Monica TuyTechnical Communications Approver7/12/2012 5:42:48 PM CONTROLLER 97745 Pain therapy user manual for Intellis ™ Model 97715 and Model 97725 Wireless External Neurostimulation Systems ! USA Rx only 2013 Filename Date Time UC200xxxxxx EN 4.625′′ x 6.0′′ inches (117 mm x 152 mm) Medtronic Confidential PPManual.xsl - PatientProgrammerTemplate.fm Version: 05-01-2012 M948515A001 Rev X 2013-04 Medtronic ® , AdaptiveStim ® , and SoftStart/Stop ® are trademarks of Medtronic, Inc., registered in the U.S. and other countries. Intellis™ is a trademark of Medtronic, Inc. ! USA FCC Information The following is communications regulation information on the Model 97745 Controller. FCC ID: LF597745 This device complies with Part 15 Rules. Operation is subject to the following two conditions: (1) this device may not cause harmful interference and (2) this device must accept any interference received, including interference that may cause undesired operation. IMPORTANT: Changes or modifications to this product not authorized by Medtronic, Inc., could void the FCC Certification and negate your authority to operate this product. This device complies with Industry Canada license- exempt RSS standard(s). Operation is subject to the following two conditions: (1) this device may not cause interference, and (2) this device must accept any interference, including interference that may cause undesired operation of the device. Filename Date Time UC200xxxxxx EN 4.625′′ x 6.0′′ inches (117 mm x 152 mm) Medtronic Confidential PPManual.xsl - PatientProgrammerTemplate.fm Version: 05-01-2012 M948515A001 Rev X 2013-04 Label Symbols Explanation of symbols on products and packaging. Refer to the appropriate product to see symbols that apply. Conformité Européenne (European Conformity). This symbol means that the device fully complies with AIMD Directive 90/385/EEC (NB 0123) and R&TTE Directive 1999/5/EC. Consult instructions for use MR Magnetic Resonance (MR) Unsafe Manufacturer Serial number PIN No. PIN number EC REP Authorized representative in the European community +XXX °F +XX °C -XX °F -XX °C Temperature limitation Non-ionizing electromagnetic radiation IEC 60601-1/EN60601-1, Type BF Equipment 97745 2013-04 English Filename Date Time UC200xxxxxx EN 4.625′′ x 6.0′′ inches (117 mm x 152 mm) Medtronic Confidential PPManual.xsl - PatientProgrammerTemplate.fm Version: 05-01-2012 M948515A001 Rev X 2013-04 3 Label Symbols System meets the applicable Canadian (CAN/CSA-C22.2 No. 60601-1) and US (UL 60601-1:2003) electrical safety standard requirements. Chinese Standard (SJ/T11364-2006) Logo: Electronic Information Products Pollution Control Symbol. (The date in this logo means the environmental protection use period of the product.) Do not dispose of this product in the unsorted municipal waste stream. Dispose of this product according to local regulations. See http:// recycling.medtronic.com for instructions on proper disposal of this product. For USA audiences only English 97745 2013-04 Filename Date Time UC200xxxxxx EN 4.625′′ x 6.0′′ inches (117 mm x 152 mm) Medtronic Confidential PPManual.xsl - PatientProgrammerTemplate.fm Version: 05-01-2012 M948515A001 Rev X 2013-04 4 Label Symbols Table of contents Label Symbols 3 Glossary 12 1 Introduction 20 How to use this manual 20 Patient guides 22 Patient identification card 25 2 Important therapy information 28 Purpose of the device 28 Purpose of the neurostimulation system (indications) 28 Description of your system 29 Therapies that may not be used with the neurostimulation system (contraindications) 33 Risks and benefits 33 Risks of surgery 34 Warnings 34 Precautions 43 97745 2013-04 English Filename Date Time UC200xxxxxx EN 4.625′′ x 6.0′′ inches (117 mm x 152 mm) Medtronic Confidential PPManual.xsl - PatientProgrammerTemplate.fm Version: 05-01-2012 M948515A001 Rev X 2013-04 5 Table of contents Individualization of Treatment 48 3 Recovery and care after surgery 52 Recovery from surgery 52 Activities 52 When to call your clinician 54 Care schedule 55 4 Using your controller 58 How your controller works 58 Controller screen and keys 59 Home screen 62 Unlocking and locking your controller 65 Unlocking your controller 65 Locking your controller 69 Turning your stimulation on or off 70 Turning your stimulation on for all pain areas 70 Turning your stimulation off for all pain areas 72 How to maintain neurostimulator batteries 75 English 97745 Filename Date Time UC200xxxxxx EN 4.625′′ x 6.0′′ inches (117 mm x 152 mm) Medtronic Confidential PPManual.xsl - PatientProgrammerTemplate.fm Version: 05-01-2012 M948515A001 Rev X 2013-04 6 Table of contents Checking the battery status of the controller and neurostimulator 75 Changing controller preferences using the Menu 80 To access the Menu screen 80 Changing the audio and vibration settings 84 Changing the brightness of the controller display 86 Changing the date 87 Changing the time 88 Changing the language 90 Changing the number format 91 Viewing information about the controller and the neurostimulator 92 5 Adjusting your stimulation 96 Introduction 96 Stimulation features 96 Adjusting stimulation settings 96 Programming modes 100 Changing parameter and stimulation settings 101 Increasing or decreasing a parameter (intensity, pulse width, or rate) 106 97745 2013-04 English Filename Date Time UC200xxxxxx EN 4.625′′ x 6.0′′ inches (117 mm x 152 mm) Medtronic Confidential PPManual.xsl - PatientProgrammerTemplate.fm Version: 05-01-2012 M948515A001 Rev X 2013-04 7 Table of contents Adjusting intensity for all pain areas together 108 Turning stimulation on or off for individua…
Text truncated - open the document above for the full version.
Users Manual
3 Recovery and care after surgery Filename Date Time UC200xxxxxx EN 4.625′′ x 6.0′′ inches (117 mm x 152 mm) Medtronic Confidential PPManual.xsl - PatientProgrammerTemplate.fm Version: 05-01-2012 M948515A001 Rev X 2013-04 Recovery from surgery It takes several weeks to heal from surgery. It is normal to feel some discomfort from the incision(s) and to have some pain at the implant site for 2 to 6 weeks. Your doctor may also prescribe physical therapy or medication to help manage your pain. Always follow your doctor’s instructions. w Warning: DO NOT use the recharger on an unhealed wound. The recharging system is not sterile, and contact with the wound can cause an infection. Activities Some movements can cause changes in stimulation. For example, leaning back may cause the lead to move closer to your spinal cord; this can increase the sensation of stimulation. Other movements may cause the lead to move further away from your spinal cord and decrease the stimulation sensation. Sudden English 97745 2013-04 Filename Date Time UC200xxxxxx EN 4.625′′ x 6.0′′ inches (117 mm x 152 mm) Medtronic Confidential PPManual.xsl - PatientProgrammerTemplate.fm Version: 05-01-2012 M948515A001 Rev X 2013-04 52 Recovery and care after surgery 3 changes in stimulation are most common while you are recovering from surgery. • Avoid activities where you must bend, stretch, or twist your body; these movements can move your leads, which affects your stimulation. • Avoid lying on your stomach. • Avoid reaching over your head. • Avoid turning from side to side. • Avoid bending forward, backward, or from side to side. • Avoid lifting more than 2 kilograms (5 pounds). As you begin to feel better, you should be able to perform activities such as: • Bathing or showering • Sexual activity • Working at home or at your business • Hobbies or activities, such as walking, gardening, cycling, or swimming 97745 2013-04 English Filename Date Time UC200xxxxxx EN 4.625′′ x 6.0′′ inches (117 mm x 152 mm) Medtronic Confidential PPManual.xsl - PatientProgrammerTemplate.fm Version: 05-01-2012 M948515A001 Rev X 2013-04 53 Recovery and care after surgery 3 • Traveling Remember, returning to your daily activities should make you feel better, not worse. Note: As you adjust to life with better pain management, you may want to try activities that you could not perform before your surgery. Discuss your activity level with your doctor. When to call your clinician Contact your clinician if any of the following events occur: • You have pain, redness, or swelling at the incision(s) later than 6 weeks after surgery. • You feel discomfort or pain during stimulation. Turn your stimulation off and call your clinician. • Your system is not working properly. • You cannot turn stimulation on or off. • You cannot adjust stimulation using your controller. English 97745 2013-04 Filename Date Time UC200xxxxxx EN 4.625′′ x 6.0′′ inches (117 mm x 152 mm) Medtronic Confidential PPManual.xsl - PatientProgrammerTemplate.fm Version: 05-01-2012 M948515A001 Rev X 2013-04 54 Recovery and care after surgery 3 Care schedule Your clinician will schedule follow-up visits to make sure you are receiving the most appropriate therapy. 97745 2013-04 English Filename Date Time UC200xxxxxx EN 4.625′′ x 6.0′′ inches (117 mm x 152 mm) Medtronic Confidential PPManual.xsl - PatientProgrammerTemplate.fm Version: 05-01-2012 M948515A001 Rev X 2013-04 55 Recovery and care after surgery 3 English 97745 2013-04 Filename Date Time UC200xxxxxx EN 4.625′′ x 6.0′′ inches (117 mm x 152 mm) Medtronic Confidential PPManual.xsl - PatientProgrammerTemplate.fm Version: 05-01-2012 M948515A001 Rev X 2013-04 56 Recovery and care after surgery 3 4 Using your controller Filename Date Time UC200xxxxxx EN 4.625′′ x 6.0′′ inches (117 mm x 152 mm) Medtronic Confidential PPManual.xsl - PatientProgrammerTemplate.fm Version: 05-01-2012 M948515A001 Rev X 2013-04 How your controller works The controller communicates wirelessly with your neurostimulator by sending signals to and receiving signals from the neurostimulator. Your neurostimulator only accepts communications from the controller or clinician programmer. Sending information from the neurostimulator to the controller will only occur after the controller and neurostimulator are "paired". Your neurostimulator will not be able to send information to anything except for the controller that it is paired with. Your doctor will pair your controller and neurostimulator. If you receive a new controller or for some other reason it is not paired with your neurostimulator, see "Setting up a new controller" on page 208, for information about how to pair the controller and the neurostimulator. Note: Make sure to keep your controller with you at all times in the event that you need to adjust or turn your stimulation off. Use the controller to: English 97745 2013-04 Filename Date Time UC200xxxxxx EN 4.625′′ x 6.0′′ inches (117 mm x 152 mm) Medtronic Confidential PPManual.xsl - PatientProgrammerTemplate.fm Version: 05-01-2012 M948515A001 Rev X 2013-04 58 Using your controller 4 • Turn your stimulation on or off. • Check the neurostimulator and controller battery status. • Change stimulation settings. Notes: • The controller can be used with all the neurostimulator models referenced in this manual; however, the available functions will be different for each model. Be sure to note when a specific neurostimulator is referenced to determine if the information is applicable for your neurostimulator. • The controller is an electronic device that should be used in accordance with any restrictions while traveling (eg, airplane takeoffs). Controller screen and keys Your controller has a touchscreen, a display screen that reacts to your touch and allows you to press buttons and functions that are displayed on the screen. Use one finger when 97745 2013-04 English Filename Date Time UC200xxxxxx EN 4.625′′ x 6.0′′ inches (117 mm x 152 mm) Medtronic Confidential PPManual.xsl - Pat…
Text truncated - open the document above for the full version.
Users Manual
5 Adjusting your stimulation Filename Date Time UC200xxxxxx EN 4.625′′ x 6.0′′ inches (117 mm x 152 mm) Medtronic Confidential PPManual.xsl - PatientProgrammerTemplate.fm Version: 05-01-2012 M948515A001 Rev X 2013-04 Introduction Various features are available for adjusting your stimulation. Each type or model of neurostimulator provides a unique set of stimulation features. Stimulation features Using the basic neurostimulation features, you can adjust the intensity, pulse width, and rate settings for your stimulation. For complete information, see "Changing parameter and stimulation settings" on page 101. For information about Single and Group mode, refer to "Programming modes" on page 100. For information about AdaptiveStim, refer to "Using AdaptiveStim" on page 117. Adjusting stimulation settings As your activities vary throughout the day, your therapy needs may change. The controller allows you to turn stimulation on and off, switch from one programmed stimulation option to English 97745 2013-04 Filename Date Time UC200xxxxxx EN 4.625′′ x 6.0′′ inches (117 mm x 152 mm) Medtronic Confidential PPManual.xsl - PatientProgrammerTemplate.fm Version: 05-01-2012 M948515A001 Rev X 2013-04 96 Adjusting your stimulation 5 another, and adjust the intensity, pulse width, and rate of the stimulation. Talk to your clinician about the settings that apply to your therapy. Your clinician programs the available functions and specifies the settings you can adjust with your controller. Discuss this with your clinician. There is often more than one way to change stimulation settings. These instructions describe the most common ways. Note: When a stimulation setting is changed, you will see the change when accessing a Pain area through the Home screen. To receive the most effective therapy, some days you may need to adjust your stimulation several times; other days you may not need to adjust it at all. Your clinician will provide complete guidelines about when you may want to adjust your stimulation. Table 5.1 provides general guidelines for adjusting your stimulation. For additional adjustment guidelines, refer to the sections on 97745 2013-04 English Filename Date Time UC200xxxxxx EN 4.625′′ x 6.0′′ inches (117 mm x 152 mm) Medtronic Confidential PPManual.xsl - PatientProgrammerTemplate.fm Version: 05-01-2012 M948515A001 Rev X 2013-04 97 Adjusting your stimulation 5 the specific features associated with your neurostimulator. Table 5.1 General stimulation adjustment guidelines SituationAction Stimulation is too strongDecrease intensities or pulse width(s). Stimulation is not strong enough Increase intensities or pulse width(s). Stimulation covers too much area Decrease intensities or pulse width(s) or change to a different program or group. Stimulation does not cover painful area Increase intensities or pulse width(s) or change to a different program or group. The pulses (tapping sensations) feel too slow Increase rate. The pulses (tapping sensations) feel too fast Decrease rate. English 97745 2013-04 Filename Date Time UC200xxxxxx EN 4.625′′ x 6.0′′ inches (117 mm x 152 mm) Medtronic Confidential PPManual.xsl - PatientProgrammerTemplate.fm Version: 05-01-2012 M948515A001 Rev X 2013-04 98 Adjusting your stimulation 5 Table 5.1 General stimulation adjustment guidelines (continued) SituationAction You have unexpected changes in stimulation 1.Turn off the neurostimulator. 2.Decrease intensities, turn on the neurostimulator, adjust parameters, and slowly increase intensities to the desired level. or Change to a different program or group and turn on the neurostimulator. You have tried adjusting stimulation but are unable to find an effective setting. Contact your clinician. 97745 2013-04 English Filename Date Time UC200xxxxxx EN 4.625′′ x 6.0′′ inches (117 mm x 152 mm) Medtronic Confidential PPManual.xsl - PatientProgrammerTemplate.fm Version: 05-01-2012 M948515A001 Rev X 2013-04 99 Adjusting your stimulation 5 Table 5.1 General stimulation adjustment guidelines (continued) SituationAction You will be passing through a theft detector or security device Before engaging in these activities, consult "Appendix A: Electromagnetic interference (EMI)" on page 225 for details. You will be using potentially dangerous equipment You will be having a medical procedure Programming modes Your clinician will choose one of two programming modes, Single or Group mode in order to best meet your stimulation needs. • Single mode–This programming mode allows you to adjust stimulation settings for individual pain areas. • Group mode–This programming mode allows you to adjust stimulation settings for a group of pain areas. English 97745 2013-04 Filename Date Time UC200xxxxxx EN 4.625′′ x 6.0′′ inches (117 mm x 152 mm) Medtronic Confidential PPManual.xsl - PatientProgrammerTemplate.fm Version: 05-01-2012 M948515A001 Rev X 2013-04 100 Adjusting your stimulation 5 The programming mode selected by your clinician determines what is displayed on the Home screen (Figure 5.1). Single modeGroup mode Figure 5.1 Programming modes displayed on the Home screen. Changing parameter and stimulation settings The Home screen displays the Pain areas that your clinician has programmed for stimulation (Figure 5.2). You may be able to adjust certain parameters and stimulation settings set up by your clinician. 97745 2013-04 English Filename Date Time UC200xxxxxx EN 4.625′′ x 6.0′′ inches (117 mm x 152 mm) Medtronic Confidential PPManual.xsl - PatientProgrammerTemplate.fm Version: 05-01-2012 M948515A001 Rev X 2013-04 101 Adjusting your stimulation 5 Single modeGroup mode Pain area buttons Figure 5.2 Pain area buttons on the Home screen. Note: If you have only 1 pain area and no additional parameter or stimulation settings, you may not be able to access pain area settings through the Home screen. After pressing a Pain area button on the Home screen, the Pain area will display the available settings (Figure 5.3). English 97745 2013-04 Filename Date Time UC…
Text truncated - open the document above for the full version.
Users Manual
6 MRI examinations Filename Date Time UC200xxxxxx EN 4.625′′ x 6.0′′ inches (117 mm x 152 mm) Medtronic Confidential PPManual.xsl - PatientProgrammerTemplate.fm Version: 05-01-2012 M948515A001 Rev X 2013-04 If you have an MRI appointment w Warning: MRI should not be prescribed for patients undergoing trial (test) stimulation or who have any neurostimulation system components that are not fully implanted. If an MRI scan is required, the clinician must explant all trial (test) stimulation components. MRI has not been tested on trial (test) stimulation components and may cause heating of the lead electrodes, resulting in tissue damage or serious patient injury. Depending on what kind of neurostimulation system components that you have implanted, you may be eligible for one of the following types of magnetic resonance imaging (MRI) scans: • MRI scans of the head only (this is referred to as head-only eligible). • MRI scans of any part of your body (this is referred to as full-body eligible). English 97745 2013-04 Filename Date Time UC200xxxxxx EN 4.625′′ x 6.0′′ inches (117 mm x 152 mm) Medtronic Confidential PPManual.xsl - PatientProgrammerTemplate.fm Version: 05-01-2012 M948515A001 Rev X 2013-04 128 MRI examinations 6 Responsibilities of the patient in preparing for the MRI appointment • If you have a patient identification (ID) card given to you by Medtronic for your implanted neurostimulation system, be sure to bring your most current card to every MRI appointment. The patient ID card shows the MRI clinician that Medtronic is the manufacturer of your implanted neurostimulation system. The patient ID card also identifies your neurostimulator model number. The MRI clinician can use this information to obtain instructions to determine the eligibility of your implanted neurostimulation system for the MRI scan and the MRI scan safety conditions required by your neurostimulation system. • Bring the MRI scan eligibility sheet to the MRI appointment if you were given one 97745 2013-04 English Filename Date Time UC200xxxxxx EN 4.625′′ x 6.0′′ inches (117 mm x 152 mm) Medtronic Confidential PPManual.xsl - PatientProgrammerTemplate.fm Version: 05-01-2012 M948515A001 Rev X 2013-04 129 MRI examinations 6 from your clinician managing your neurostimulation system. Note: The MRI scan eligibility sheet information should match what is displayed on the In MRI Mode screen of your controller. • Bring your controller to every MRI appointment. However, do not take the controller into the MRI scanner (magnet) room. At the MRI appointment • If you have a patient identification (ID) card given to you by Medtronic for your implanted neurostimulation system, present your most current card to the MRI clinician. • Be sure to inform the MRI clinician that you have an implanted neurostimulation system for chronic pain. • If you no longer have an implanted neurostimulator, be sure to inform the MRI English 97745 2013-04 Filename Date Time UC200xxxxxx EN 4.625′′ x 6.0′′ inches (117 mm x 152 mm) Medtronic Confidential PPManual.xsl - PatientProgrammerTemplate.fm Version: 05-01-2012 M948515A001 Rev X 2013-04 130 MRI examinations 6 clinician of any leads or other components that still remain implanted. • To obtain the MRI guidelines, the MRI clinician can refer to the contact information at the back of this manual, or the MRI clinician can go to www.medtronic.com/mri. w Warning: Inform the MRI clinician before you enter the MRI scanner (magnet) room that you have an implanted neurostimulation system. If you do not provide this important information, you may be given an inappropriate MRI scan, which could cause you injury or could cause damage to your implanted medical device. The MRI clinician conducting your MRI scan needs to be aware of all medical implants in order to assess the conditions for safely performing your MRI scan. Determining if you are in MRI mode Be sure your stimulation is turned off and your neurostimulator is in MRI mode. Refer to the 97745 2013-04 English Filename Date Time UC200xxxxxx EN 4.625′′ x 6.0′′ inches (117 mm x 152 mm) Medtronic Confidential PPManual.xsl - PatientProgrammerTemplate.fm Version: 05-01-2012 M948515A001 Rev X 2013-04 131 MRI examinations 6 following instructions to determine if you are in MRI mode. 1.If necessary, unlock your controller by pressing and holding the Lock ( ) button on the Unlock screen. – You should see the In MRI Mode screen. Refer to Figure 6.2 on page 136 for examples of these screens. If you see the In MRI Mode screen, you are in MRI mode. – If you see the Home screen, you are not in MRI mode. Refer to "Using your controller to activate MRI mode" on page 134. Notes: • If you bring your controller to the MRI appointment, the information displayed on the In MRI Mode screen accurately displays the MRI eligibility for your neurostimulation system. • If you also have an MRI eligibility sheet from your clinician, the In MRI Mode screen English 97745 2013-04 Filename Date Time UC200xxxxxx EN 4.625′′ x 6.0′′ inches (117 mm x 152 mm) Medtronic Confidential PPManual.xsl - PatientProgrammerTemplate.fm Version: 05-01-2012 M948515A001 Rev X 2013-04 132 MRI examinations 6 should match the information on the MRI eligibility sheet. Placing your neurostimulation system in MRI mode for the MRI scan Your implanted neurostimulation system must be placed in MRI mode before your MRI scan. MRI mode turns stimulation off. MRI mode can be activated with your controller or with a clinician programmer. Table 6.1 shows where to go in this chapter for more information. Table 6.1 Activating MRI mode With a controllerSee "Using your controller to activate MRI mode" on page 134. With a clinician programmer See "Visiting your clinician to activate MRI mode" on page 141. 97745 2013-04 English Filename Date Time UC200xxxxxx EN 4.625′′ x 6.0′′ inches (117 mm x 152 mm) Medtronic Confidential PPManual.xsl - PatientProgrammerTemplate.fm Version: 05-01-2012 M948515A001 Rev X 2013-04 133 MRI examinatio…
Text truncated - open the document above for the full version.
Users Manual
Figure 7.4 Batteries screen with neurostimulator Finished status. Notes: – If recharging is interrupted, or issues are experienced while attempting to recharge. Refer to "Troubleshooting" on page 163 for causes and solutions. – Refer to "Changing the recharging temperature and speed" on page 155 to change the recharging temperature English 97745 2013-04 Filename Date Time UC200xxxxxx EN 4.625′′ x 6.0′′ inches (117 mm x 152 mm) Medtronic Confidential PPManual.xsl - PatientProgrammerTemplate.fm Version: 05-01-2012 M948515A001 Rev X 2013-04 152 Using the recharging system with the implanted neurostimulator 7 and speed while recharging your neurostimulator battery. Table 7.1 Recharging status indicators IndicatorDescription Green flashing light Recharging is in progress. Green steady light Recharging is finished. The battery is fully charged. Amber flashing light There may be a recharging problem, see "Troubleshooting" on page 163 for information. Amber steady light Recharging ended due to a problem, see "Troubleshooting" on page 163 for more information. Audio alert (Beeping) There may be a recharging problem, the controller screen may display information to help you resolve the problems. If the problem is not resolved, see "Troubleshooting" on page 163 for more information. The Audio alert is optional and can be turned on or off from the controller Menu, see "Changing the audio and vibration settings" on page 84 for instructions for setting the preferences for the Audio alert. 97745 2013-04 English Filename Date Time UC200xxxxxx EN 4.625′′ x 6.0′′ inches (117 mm x 152 mm) Medtronic Confidential PPManual.xsl - PatientProgrammerTemplate.fm Version: 05-01-2012 M948515A001 Rev X 2013-04 153 Using the recharging system with the implanted neurostimulator 7 To stop recharging the neurostimulator battery You can stop the recharging process at any time, even before the Batteries screen indicates that recharging is Finished. 1.If necessary, press and hold the Lock ( ) button on the Unlock screen. 2.Press the Stop button on the Batteries screen (Figure 7.5). Figure 7.5 Batteries screen with the neurostimulator recharging quality. The Batteries screen will read Finished with the percentage of battery that the English 97745 2013-04 Filename Date Time UC200xxxxxx EN 4.625′′ x 6.0′′ inches (117 mm x 152 mm) Medtronic Confidential PPManual.xsl - PatientProgrammerTemplate.fm Version: 05-01-2012 M948515A001 Rev X 2013-04 154 Using the recharging system with the implanted neurostimulator 7 controller and neurostimulator currently hold (Figure 7.6). Figure 7.6 Batteries screen with neurostimulator Finished status. 3.Press the Exit () button to view the Home screen. Note: If you want to continue recharging, press the Recharge button shown on the Batteries screen. Refer to "Recharging the neurostimulator battery" on page 146. Changing the recharging temperature and speed The recharging temperature and speed can only be adjusted while the neurostimulator is 97745 2013-04 English Filename Date Time UC200xxxxxx EN 4.625′′ x 6.0′′ inches (117 mm x 152 mm) Medtronic Confidential PPManual.xsl - PatientProgrammerTemplate.fm Version: 05-01-2012 M948515A001 Rev X 2013-04 155 Using the recharging system with the implanted neurostimulator 7 being actively recharged. The higher the number, the quicker and warmer recharging will be. The default recharging temperature and speed is 4. 1.Start the process for recharging the neurostimulator battery. Refer to "Recharging the neurostimulator battery" on page 146. 2.If necessary, press and hold the Lock ( ) button on the Unlock screen. 3.Press the Exit ( ) button on the Batteries screen. 4.Press the Menu ( ) button on the Home screen. 5.Drag the slider bar, or use the Increase/ Decrease key to view additional preferences on the Menu screen. 6.Select the Recharging button. The Recharging screen is shown (Figure 7.7). English 97745 2013-04 Filename Date Time UC200xxxxxx EN 4.625′′ x 6.0′′ inches (117 mm x 152 mm) Medtronic Confidential PPManual.xsl - PatientProgrammerTemplate.fm Version: 05-01-2012 M948515A001 Rev X 2013-04 156 Using the recharging system with the implanted neurostimulator 7 Figure 7.7 Recharging screen. 7.Using the touchscreen or the Increase/ Decrease key, select the circle next to the desired recharging temperature and speed (Figure 7.7). – The more bars you select, and the higher the number, the faster the recharging speed and the warmer the recharger will feel while you are recharging. – It is normal to feel some heat under the recharger while recharging, if this is uncomfortable, reduce the recharging speed. 97745 2013-04 English Filename Date Time UC200xxxxxx EN 4.625′′ x 6.0′′ inches (117 mm x 152 mm) Medtronic Confidential PPManual.xsl - PatientProgrammerTemplate.fm Version: 05-01-2012 M948515A001 Rev X 2013-04 157 Using the recharging system with the implanted neurostimulator 7 – The recharging temperature and speed that you select will stay the same until you change the setting again. 8.Press the OK button to exit. 9.Press the Exit ( ) button to return to the Home screen. 10.Press the Battery status ( ) button to view the Batteries screen. Or, press the Lock ( ) button to lock the controller. Recharging the controller battery pack This procedure requires the power supply packaged with the recharging system. Refer to the manual packaged with the recharging system for more information about the power supply. The power supply cannot be used to recharge type AA batteries. 1.Plug the power supply into an electrical outlet (Figure 7.8). English 97745 2013-04 Filename Date Time UC200xxxxxx EN 4.625′′ x 6.0′′ inches (117 mm x 152 mm) Medtronic Confidential PPManual.xsl - PatientProgrammerTemplate.fm Version: 05-01-2012 M948515A001 Rev X 2013-04 158 Using the recharging system with the implanted neurostimulator 7 2.Plug the connector end of the power supply into the charging port of the controller (Figure 7.8). Figure 7.8 Plug the power supply into the electrical …
Text truncated - open the document above for the full version.
Contact Information
Applicant
Guillaume Girard(Sr. RF Regulatory Program Manager)
Test Firm
Northwest EMC, Inc.Greg Kiemel
Technical Specifications
| # | Rule Parts | Frequency Range | Power Output |
|---|---|---|---|
| 1 | 15C | 2.40 GHz - 2.48 GHz | 2.91 mW |
Other Applications from Medtronic, Inc.
LF5BLEIMPLANT5
Jul 09, 2026Confirma DR/SR MRI SureScan, Effectra DR/SR MRI SureScan, Refina CSP DR/SR MRI SureScan, Restoria CSP DR/SR MRI SureScan, ReSyncra CSP DR MRI SureScan, HarmoniaBP DR MRI SureScan
Equipment Class
DTS - Digital Transmission System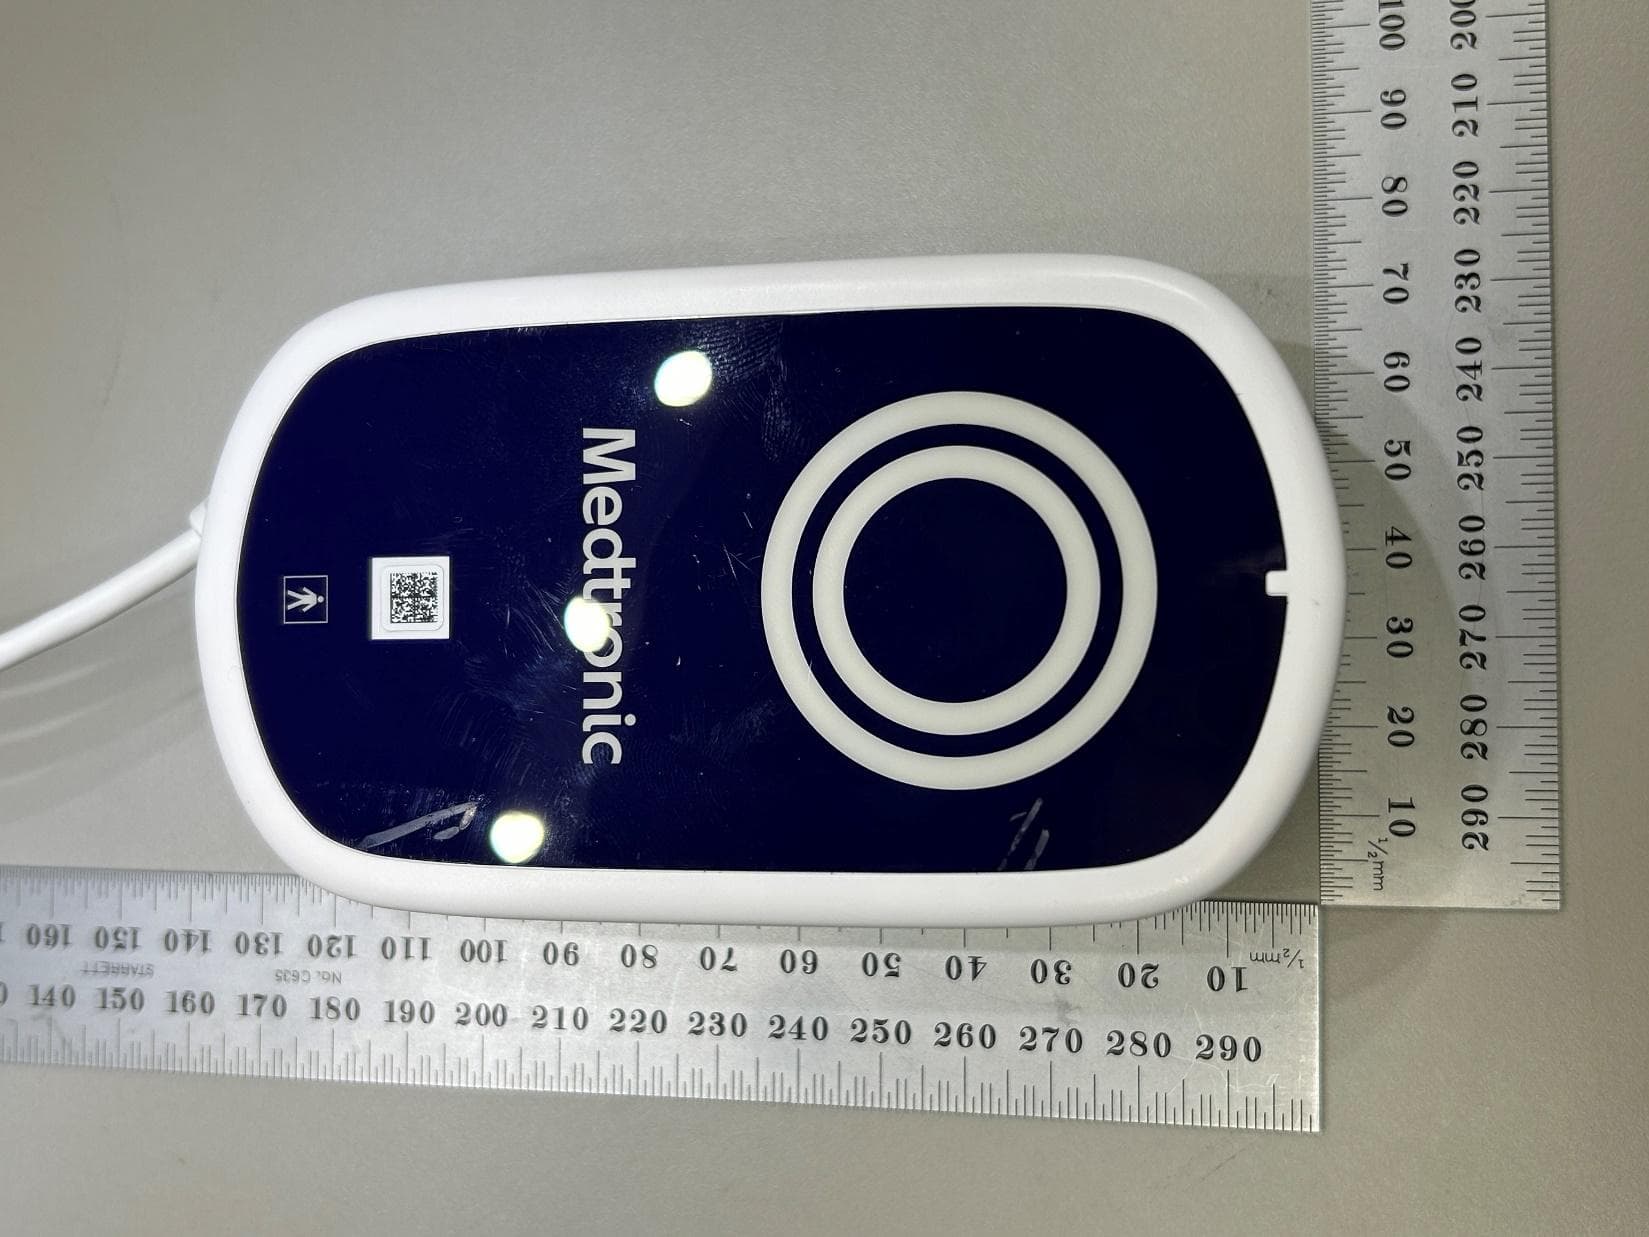
LF526950
Mar 27, 2026MyCareLink Home Communicator Model 26950
Equipment Class
DTS - Digital Transmission System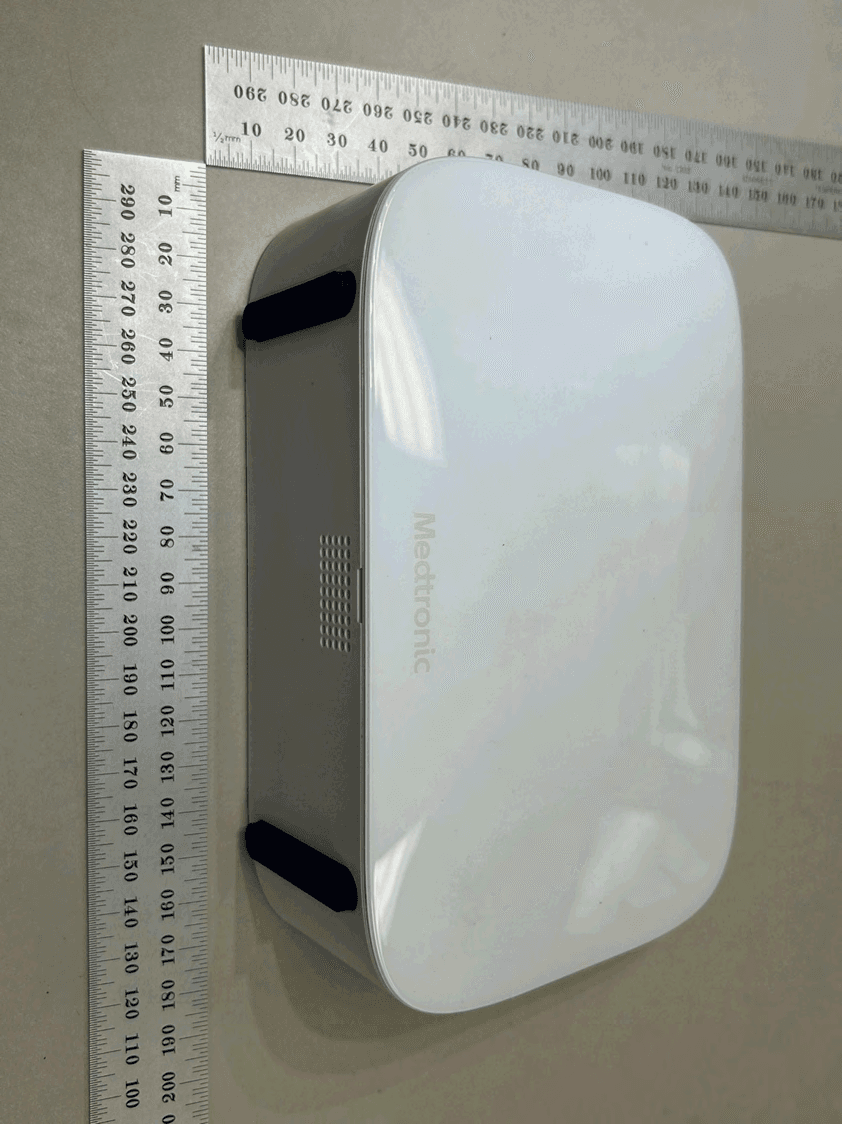
LF526900
Mar 27, 2026MyCareLink Home Communicator Model 26900
Equipment Class
DTS - Digital Transmission System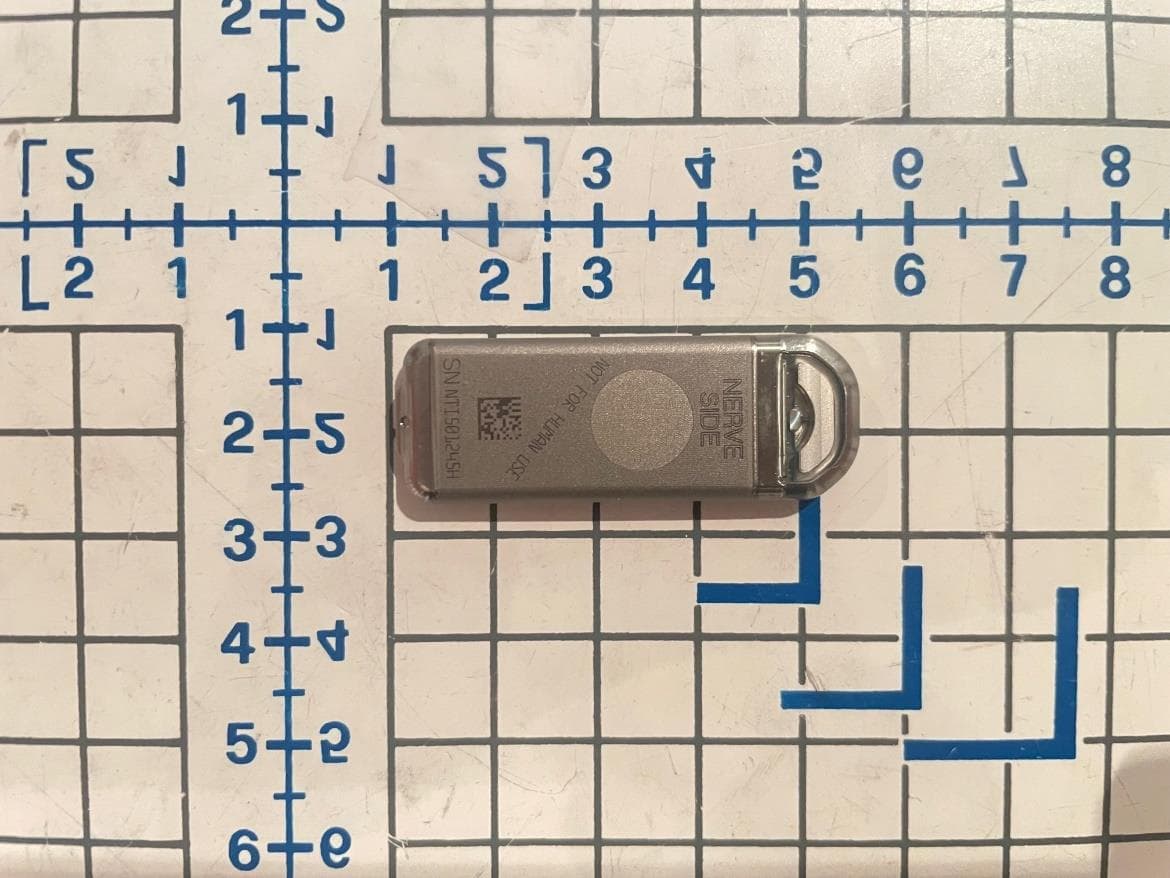
LF5P7850N
Sep 24, 2023Implantable Neurostimulator
Equipment Class
DCD - Part 15 Low Power Transmitter Below 1705 kHz
LF5MCS3101CO
May 14, 2020MCS3101CO
Equipment Class
DTS - Digital Transmission System