NW5MKDesktop Computer Security Lock
Ensure Technologies Inc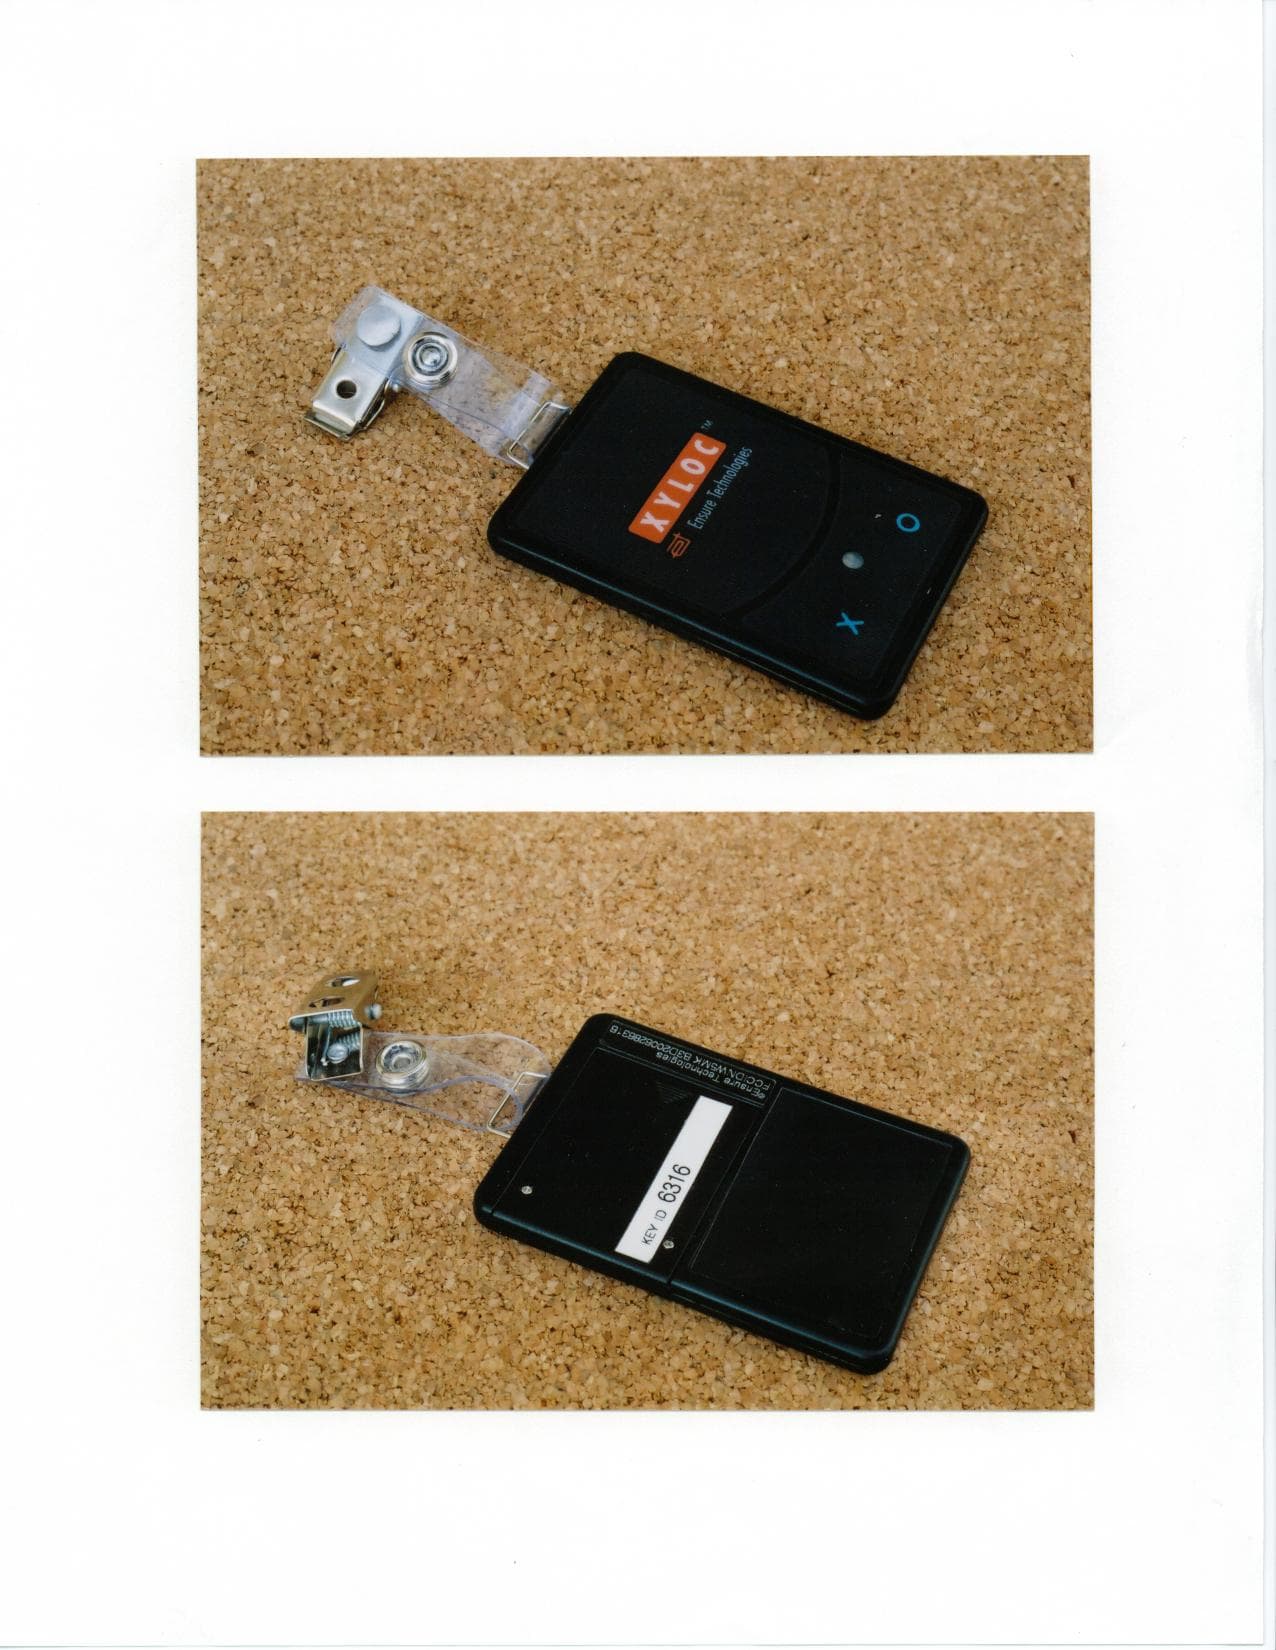
Click to zoom
Application Details
- Equipment Class
- DXX - Part 15 Low Power Communication Device Transmitter
- Date of Grant
- Mar 11, 2001
- Application Purpose
- Original Equipment
- Date of Application
- Mar 11, 2001
- Equipment Note
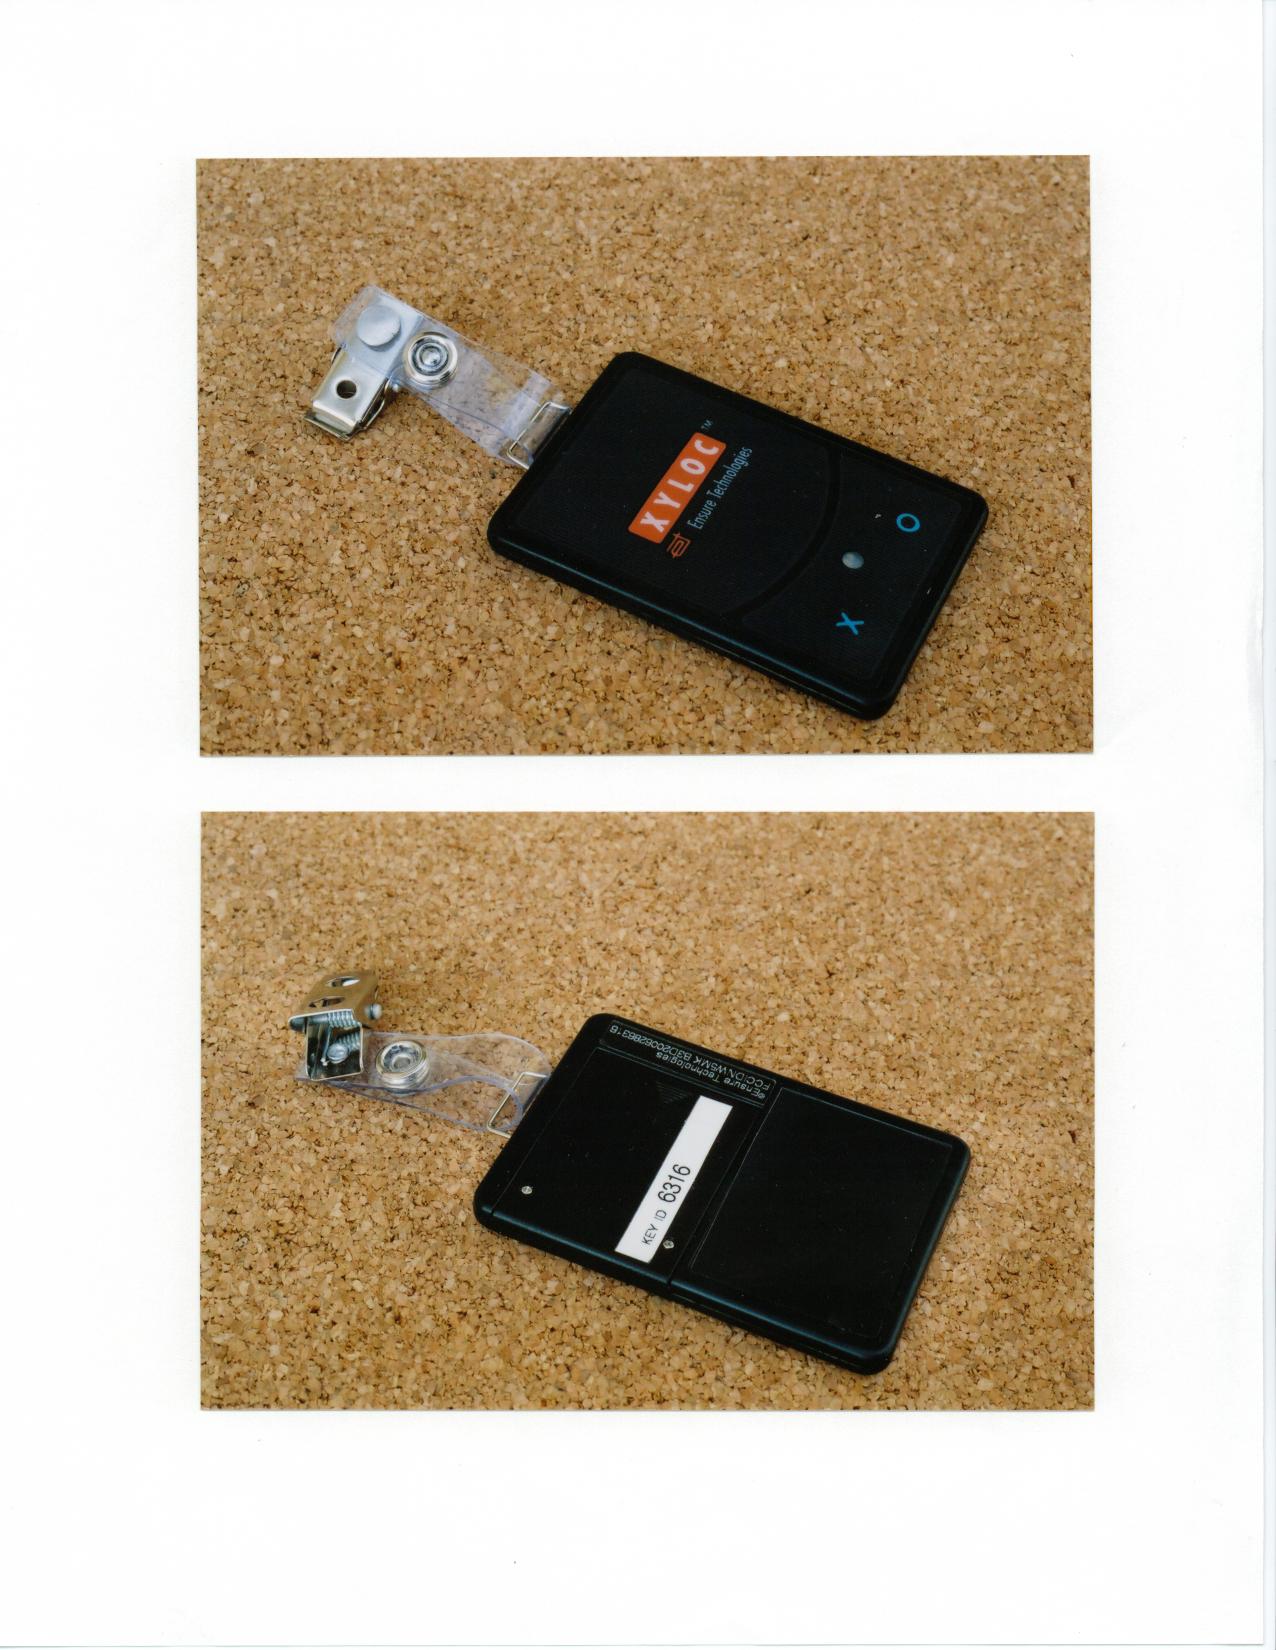
- Desktop Computer Security Lock
- Frequency Range
- 904.00000000 - 906.00000000
- Company
- Ensure Technologies Inc
- Country
- United States
Documents & Files
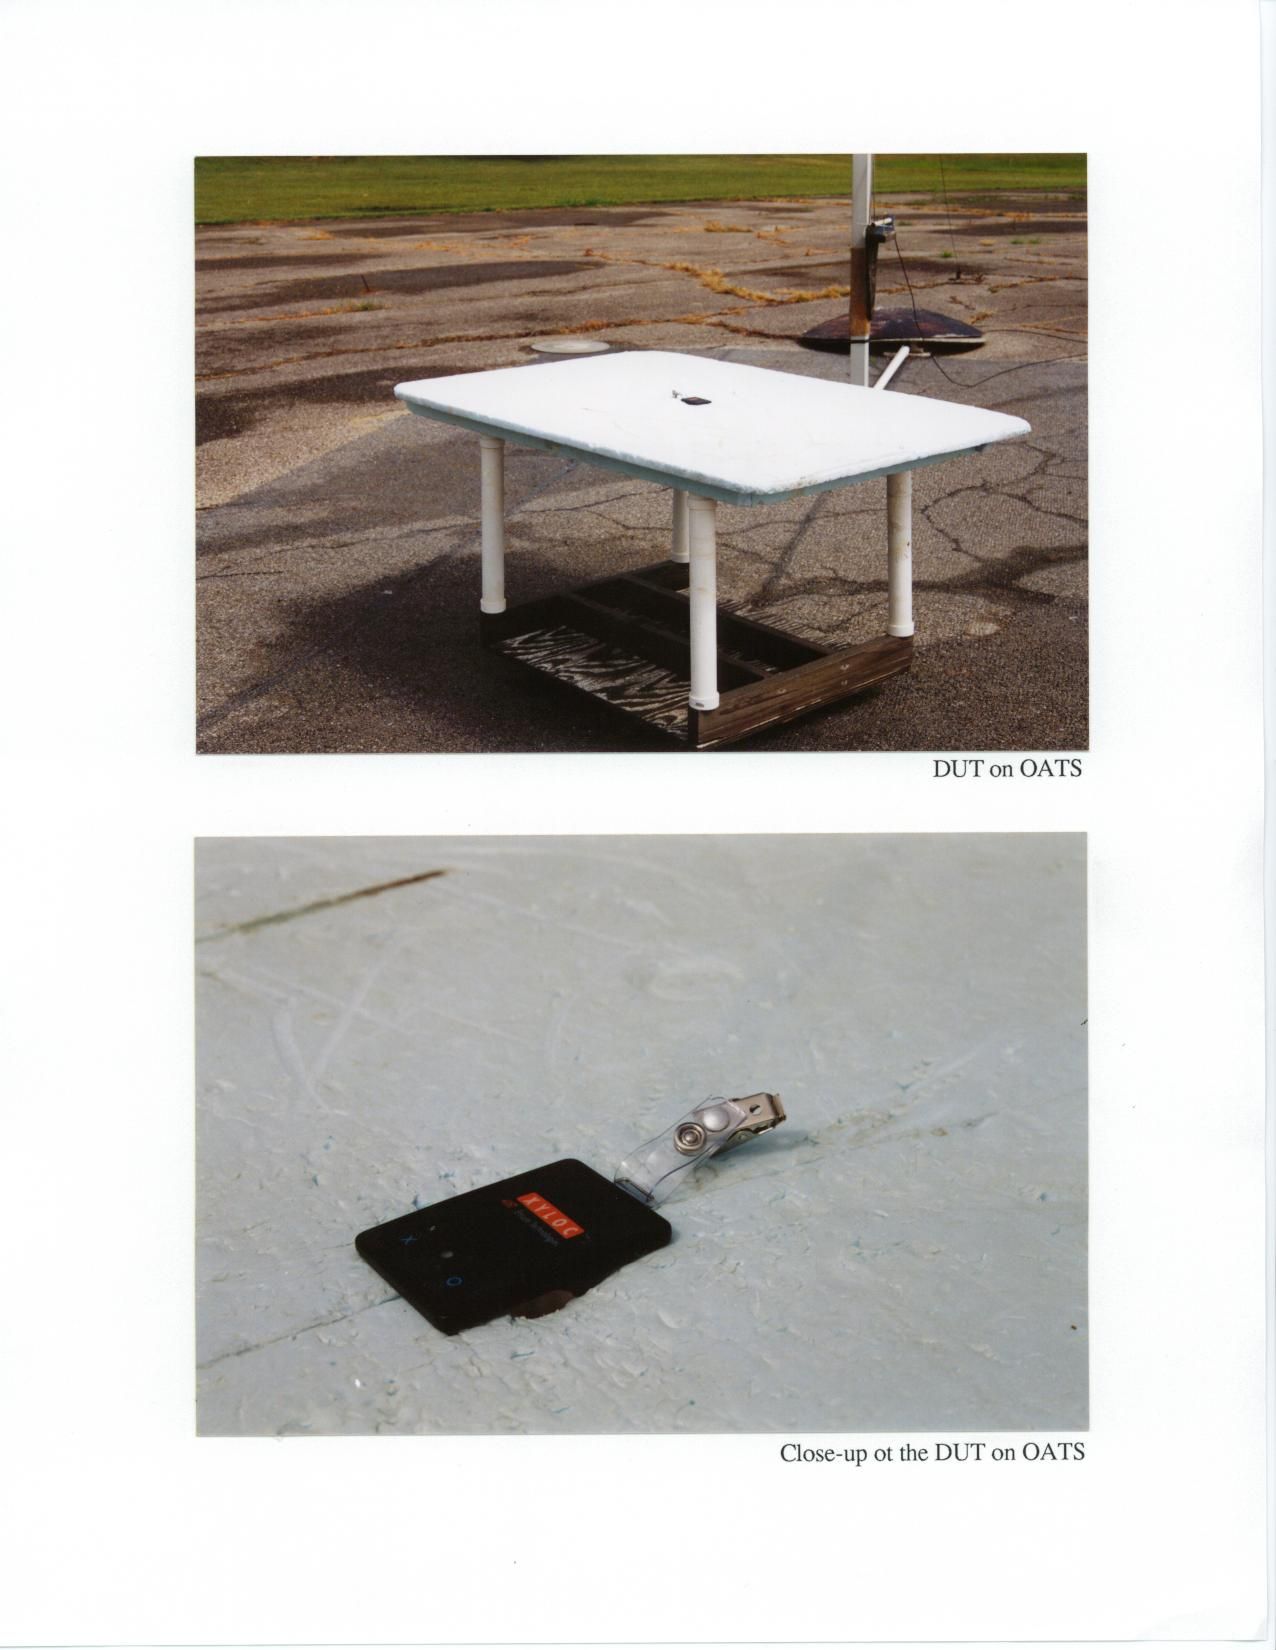
Document Text
Text extracted from the exhibit documents filed with the FCC. Open a document above to read the original.
Users Manual
© Ensure Technologies, 1998-2000. All rights reserved. Read Me First XyLoc Solo Quick Start Please refer to the following Quick Start instructions to get up and running with your XyLoc Solo without reading the entire User’s Guide. The numbers in parentheses refer to the page of the User’s Guide that provides more details for that step. Note: Windows NT users must have local Administrator privileges to complete the installation. To get up and running with your XyLoc Solo without reading through the entire User’s Guide, please refer to the following Quick Start instructions. Installing the XyLoc Lock (USB) 95B, 98 and 2000 1. Close all open applications. 2. Install the USB plug into an open USB port. Windows will respond with a message, indicating new hardware was found, followed by an Add New Hardware wizard. 3. Click the Next button to begin the Add New Hardware Wizard. 4. Select Search for the best driver for your device and click Next. 5. Install the XyLoc CD into the CD drive. 6. Select the CD drive by clicking on the CD ROM check box. The CD ROM check box must be the only box selected. NOTE: (If the Auto Run function starts the CD, please ignore it at this time). 7. Click Next to install the USB driver. 8. Click Finish. 9. Install the XyLoc System Software. If the Auto Run does not start the CD, please Explore the CD and click on the “Install.exe” file and follow the instructions. USB Plug Installing the XyLoc Lock (USB) NT 4 Only 1. Close all open applications. 2. Install the USB plug into an open USB port.. 3. Install the XyLoc CD into the CD drive. 4. Install the XyLoc System Software. If the Auto Run does not start the CD, please Explore the CD and click on the “Install.exe” file and follow the instructions. USB Plug XyLoc Solo Quick Start · Page 2 Installing the XyLoc Lock (Keyboard)-95,98,NT 4 ONLY Female PS/2 Plug 1. Shut down your computer and turn off the power. 2. Unplug the keyboard cable from the PC and plug it into the red female PS/2 plug on the XyLoc Lock cable. 3. Plug the red male PS/2 plug into the keyboard port of your computer. Note: Ignore the gray male plug: it is not used with the Keyboard version. 4. Turn on your computer. Male PS/2 Plug Installing the XyLoc Lock (Serial)-95,98,NT 4 and 2000 Female PS/2 Plug Male PS/2 Plug (Red) Male PS/2 Plug (Gray) 1. Shut down your computer and turn off the power. 2. Unplug the keyboard cable from the PC and plug it into the red female PS/2 plug on the XyLoc Lock cable. 3. Plug the red male PS/2 plug into the keyboard port of your computer. 4. Plug the serial port plug into the gray male PS/2 plug on the XyLoc Lock cable. 5. Plug the serial port plug into an available and unused serial port on your computer. 6. Turn on your computer. Serial Plug (Gray) Placement of the XyLoc Lock XyLoc uses advanced wireless technology to make PC security more convenient for the user. The proper placement of the XyLoc Lock will ensure that users get the best performance from XyLoc. Ideal placement is with the face of the Key parallel to the LED on the front of the Lock. The best performance of the system will be achieved by trying to maintain this positioning while you are seated at your PC doing your work. The primary factor in deciding where to place the XyLoc Lock is to determine where the user will wear the XyLoc Key the majority of the time. The Key can be clipped to a shirt pocket or belt or worn on a lanyard around the user’s neck. 3 Once you’ve identified where the Key will be worn, place the Lock at the same height as where the Key will be when the user is at the PC. You should also make sure that the path between the Lock and Key is unobstructed (such as obstruction caused by your arm that might occur while using your mouse or keyboard). For example, if the user will wear the Key on the left side of his shirt, use the Velcro strip to secure the Lock to the left side of the user’s monitor at the same height as the Key will be when the user is seated. If the user will wear the Key on the right side of her belt, use the Velcro strip to secure the Lock to the underside of the user’s desk at the same height as the Key will be when the user is seated and keeping the face of the Key pointing at the LED. If the user will wear the Key on the right side of her belt, use the Velcro strip to secure the Lock to the underside of the user’s desk at the same height as the Key will be when the user is seated and keeping the face of the Key pointing at the LED (see Figure 1). Ideal Lock Placement Figure 1 Less Desirable Lock Placement XyLoc Solo Quick Start · Page 4 Installing the XyLoc Software Note: Windows NT/2000 users must have local Administrator privileges to complete the installation. 1. Exit any applications that are currently running. 2. Place the XyLoc CD-ROM into the CD-ROM drive. 3. If the installer does not automatically launch, use either My Computer or Windows Explorer to select the CD-ROM drive, and run install.exe to run the Installation Wizard and then follow the Wizard’s instructions. 4. Login Account Selection: select the desired user name from the list (this list is gathered from the Users database on your PC, if none exists, you must first add a user in the Users control panel). 5. Turn your XyLoc Key on by depressing the “X” button on the front panel. A green LED will flash confirming that the Key is on and the battery is good. 6. Port Selection: XyLoc will attempt to find the port to which the Lock is attached. Please confirm that the correct port has been selected and correct it if necessary. 7. Confirm XyLoc Key ID: XyLoc will attempt to identify the closest Key and insert that Key ID into this field. Refer to the label on your XyLoc Key and verify that it matches the Key ID shown. If no Key ID is shown, or if it is not the correct Key ID, please enter it manually. 8. Personal Name Identification: Enter the user’s full name to further identify the Key owner. 9. XSS IP Configuration: If your installation is to be managed b…
Text truncated - open the document above for the full version.
Block Diagram
file://C:\WINDOWS\Desktop\Key Block Diagram.JPG 9/18/00
Operational Description
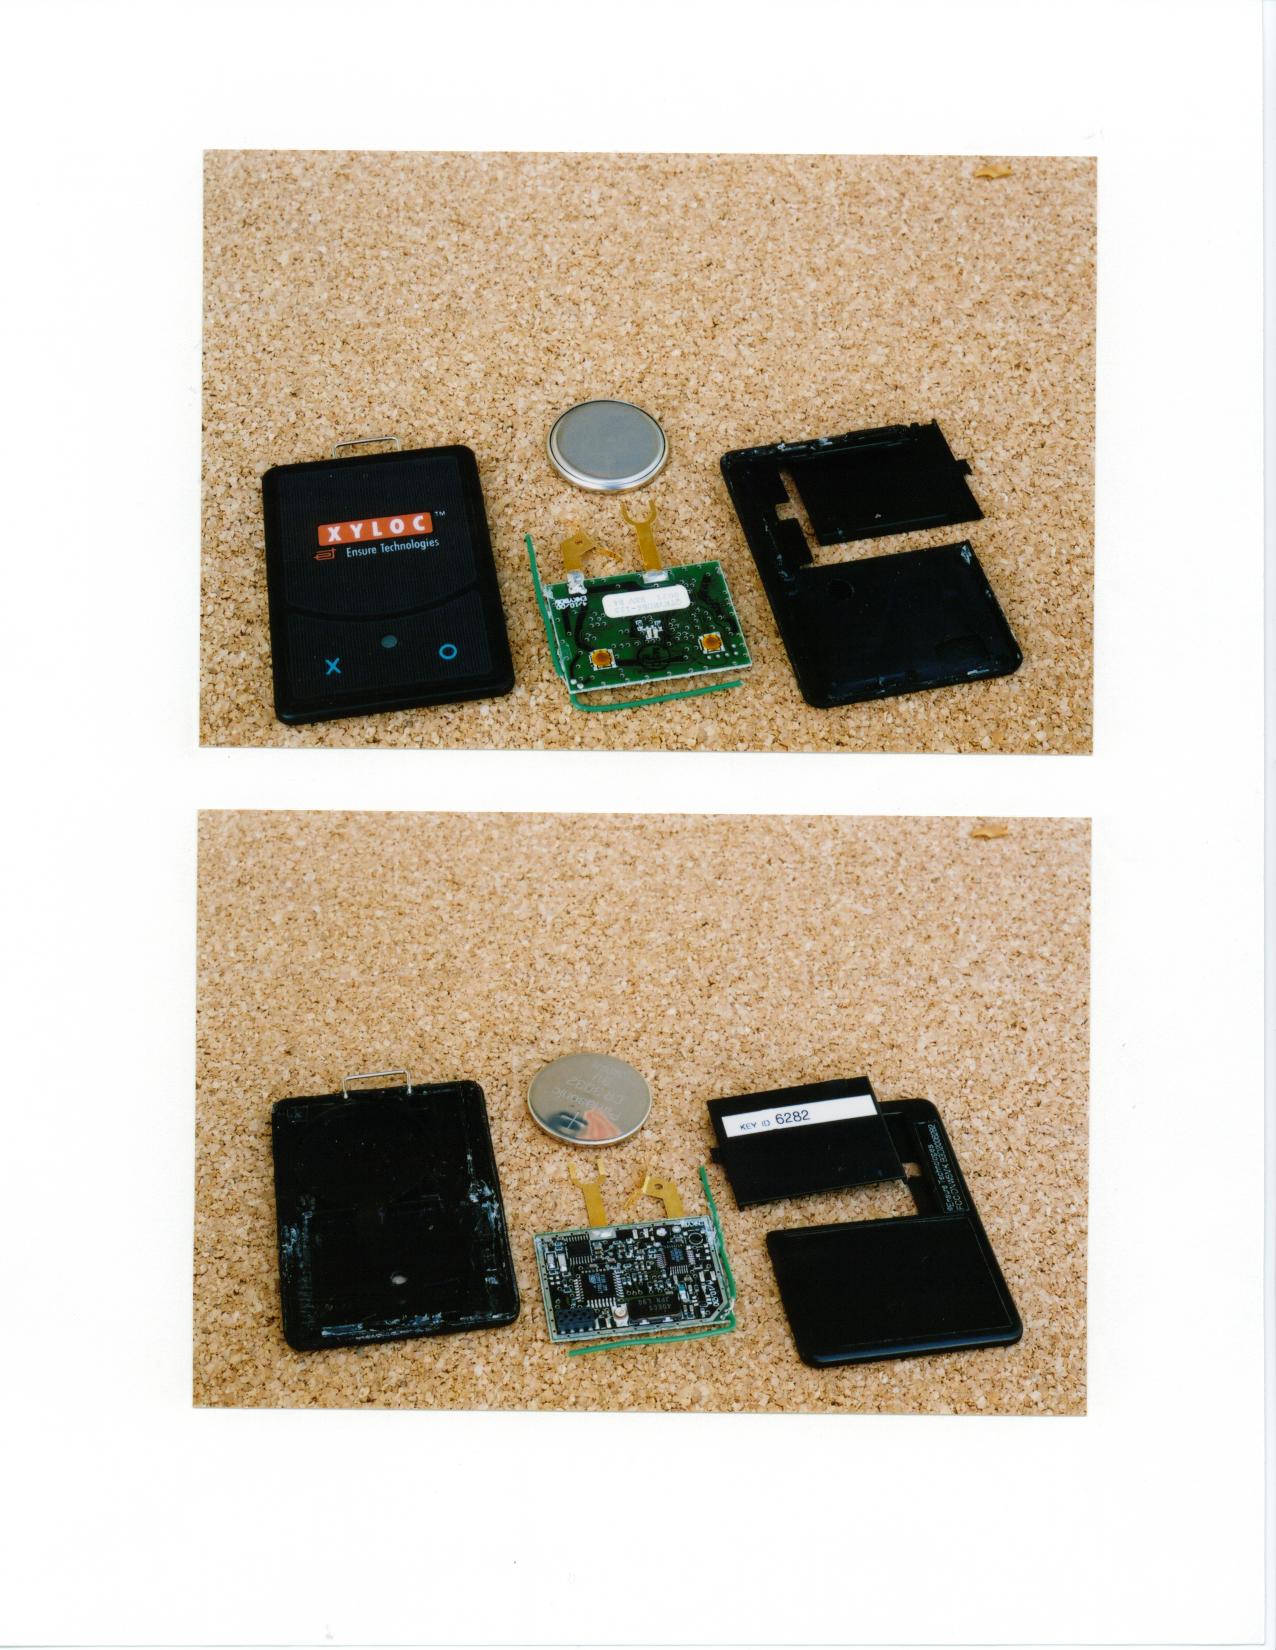
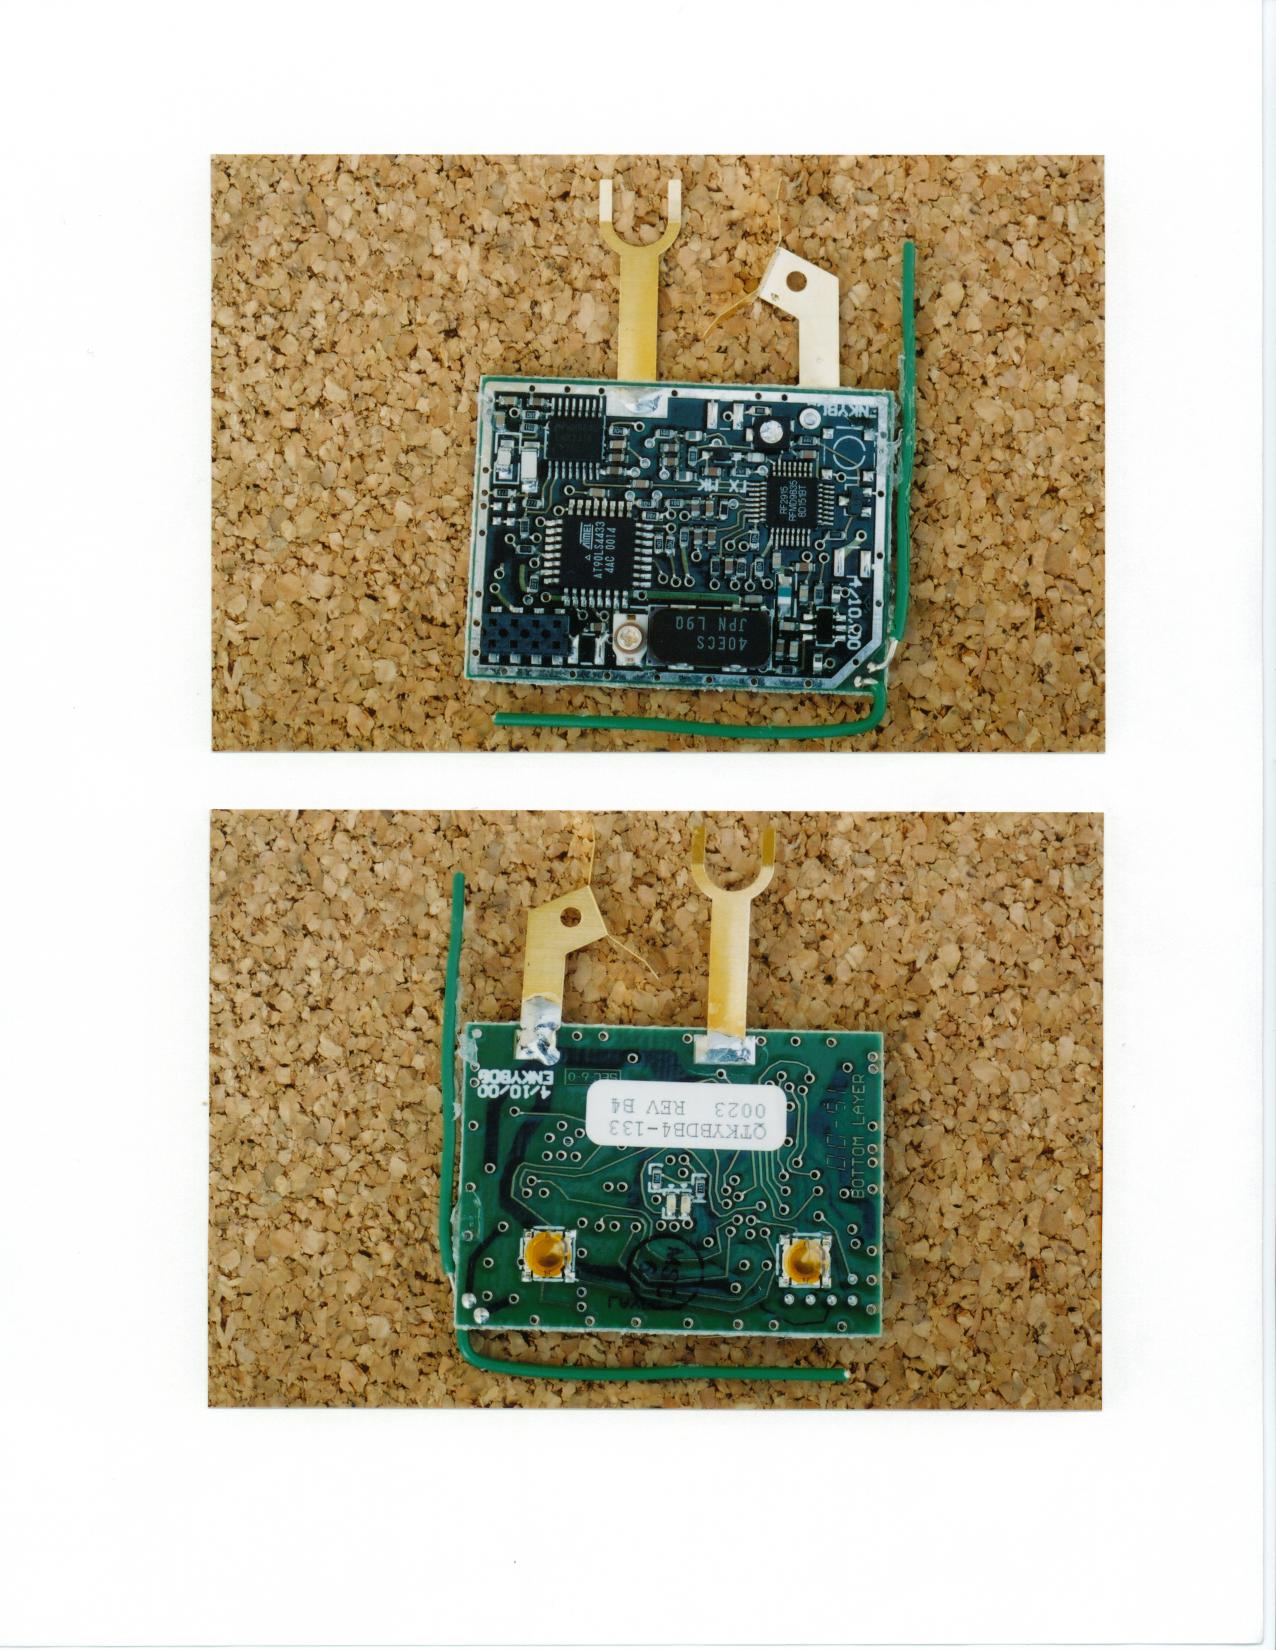
Theory of Operation Ensure Technologies Key XC-2 Please refer to the block diagram for this discussion. The key is a Gaussian shift keyed FSK transmitter. The transmitter consists of a directly modulated PLL synthesized VCO. The VCO drives a power amplifier. The output of the amplifier is filtered and applied to an internal antenna. A control microprocessor periodically wakes up and then initiates a transmission. The typical period between transmissions is 800 ms. The key has two buttons. One, the “ON” button initiates transmission and programs the key to transmit every 800 ms for 8 hours. The OFF button suspends transmission and puts the key into a sleep state. On alternate transmissions, the key changes it’s antenna pattern by shifting the internal antenna polarization by 90 degrees. It uses the RF switch U4 to switch antenna elements.
Contact Information
Applicant
Ty Tessmer
Technical Contact
University of Michigan / EECSValdis V Liepa
[email protected]734 483 4211
1301 Beal Avenue · Ann Arbor, Michigan · United States
Test Firm
University of MichiganValdis Liepa
Technical Specifications
| # | Rule Parts | Frequency Range | Power Output |
|---|---|---|---|
| 1 | 15C | 904 MHz - 906 MHz | - |
Other Applications from Ensure Technologies Inc
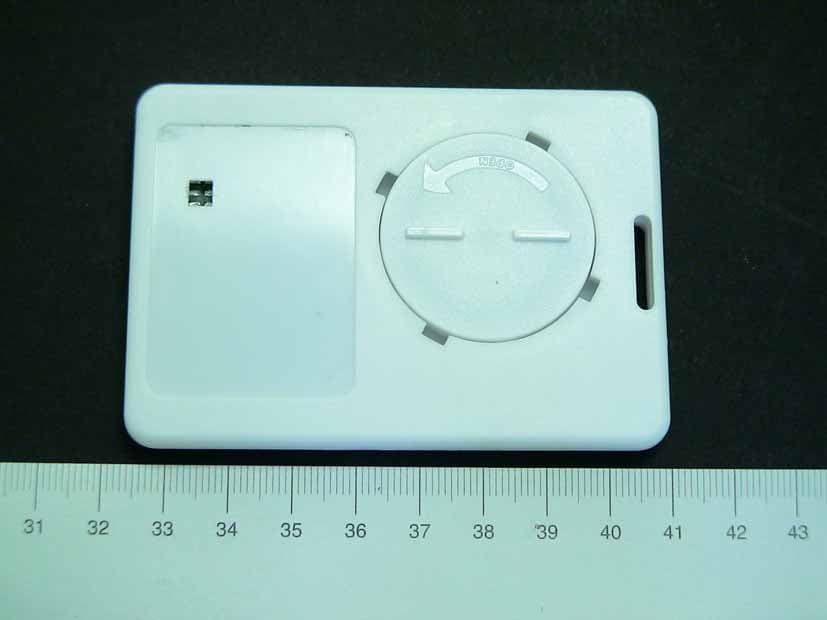
NW5XC4
Aug 19, 2009XyLoc KeyCard - Electronic Key for PC
Equipment Class
DXX - Part 15 Low Power Communication Device Transmitter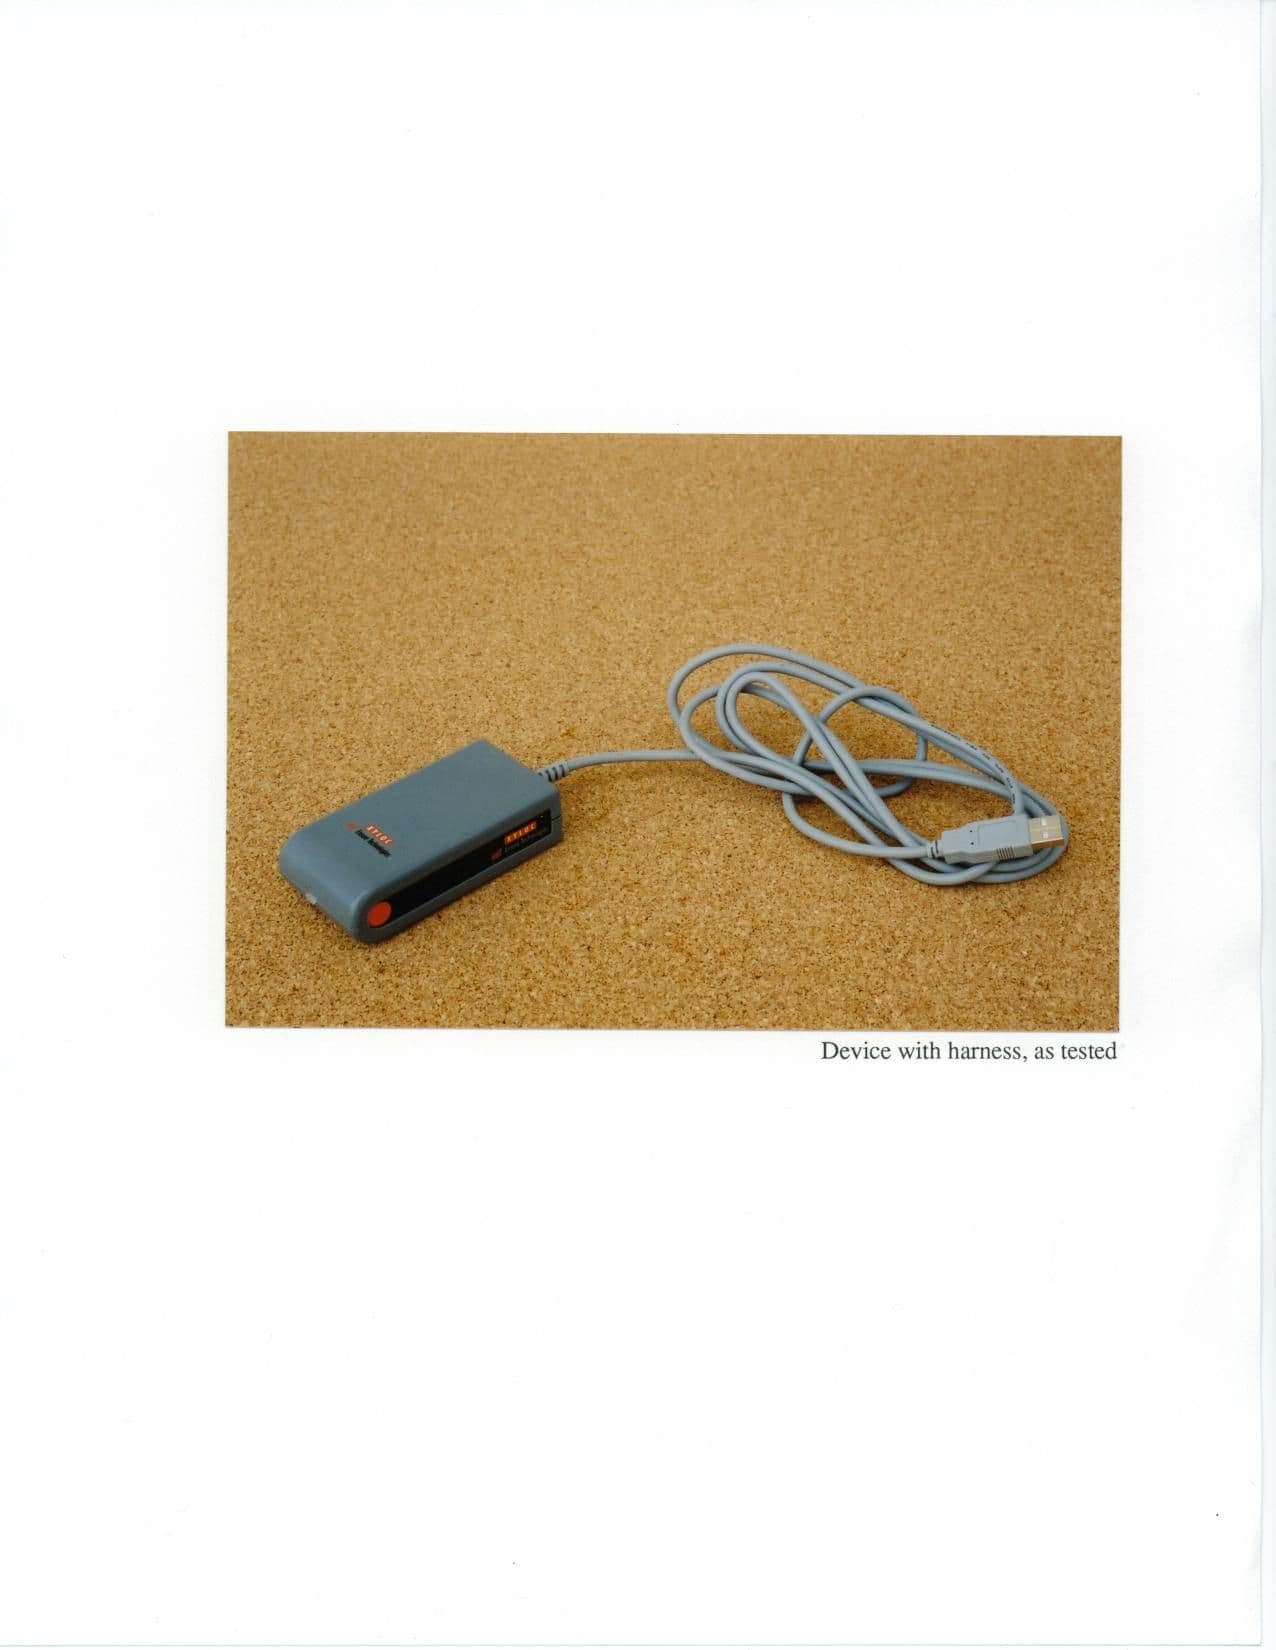
NW5LKA
Mar 12, 2001Desktop Computer Security Receiver Peripheral
Equipment Class
JBP - Part 15 Class B Computing Device Peripheral