OQYHA360DBWireless Doorbell Signaling Device
RHK Technology Inc.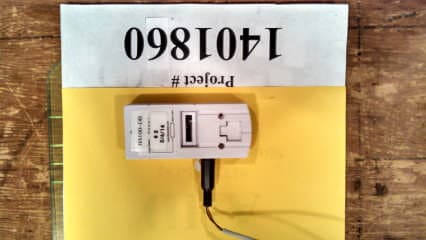
Click to zoom
Application Details
- Equipment Class
- DXT - Part 15 Low Power Transceiver, Rx Verified
- Date of Grant
- Sep 30, 2014
- Application Purpose
- Original Equipment
- Date of Application
- Sep 30, 2014
- Equipment Note
- Wireless Doorbell Signaling Device
- Frequency Range
- 915.00000000 - 915.00000000
- Company
- RHK Technology Inc.
- Country
- United States
Documents & Files
Document Text
Text extracted from the exhibit documents filed with the FCC. Open a document above to read the original.
Users Manual
Installation and setup for the HA360DB HomeAware™ Doorbell Signaler The HA360DB Doorbell Signaler will alert you when someone comes to visit. The HA360DB requires no wires and can be installed in seconds. The HA360DB will alert you to someone at the door via the HA360M master unit. The master unit receives a wireless signal from the Doorbell signaler and will flash a strobe, make a loud sound and vibrate a bed shaker. Once the master unit receives the signal from the doorbell it will also send a signal to all HomeAware remote receivers. In addition to the HomeAware receivers, if using our optional bridge unit you will also be alerted to the HA360DB doorbell signaler using your original Sonic Alert receivers (SA102, SA201, BL300, and SB1000). Step #1) Install Battery The HA360DB comes with two #357 silver oxide long lasting batteries that need to be installed into the bottom of the unit. See photo for Battery installation. Once installed the red light should light when the button is pushed. If the light does not show, you may have the batteries in backwards. Step #2) Installation of button outside There are two methods for installing the doorbell button, see #3 if you have an existing doorbell chime box. For this method you will need the provided hardware to install. We provide screws, and a mounting block see diagram for button install below, also step by step instructions. To install to a hard surface using the provided hardware follow these steps: 1) Install mounting block using provided short screw. Install the small side to the surface (side without arrow). This will provide a space for the unit to slide over in order to attach to the mounting block. 2) Remove the screw cover at the top of the doorbell unit; this will slide up to remove. Once removed, you’ll see the top screw mounting hole. 3) Once the mounting block is in place, and you’ve removed the top screw cover, position the back of the doorbell unit over the mounting block. There is a square opening that the block will fit into position that opening over the mounting block. Next slide the doorbell unit down on the block about 1/8 inch, the doorbell unit should stay on by itself if installed correctly. 4) Now that the doorbell unit is installed over the mounting block and in place, you now can install the long screw in the top hole, and replace the screw cover. Step #3) Installation to existing door chime inside With this method you can install the HA360DB to your existing AC powered doorbell chime. This method allows you to use the existing doorbell button so there aren’t two buttons outside. Use the provided wire to connect the Doorbell Signaler to your existing AC powered chime box. Remove chime box cover and connect the red and white wires to the existing terminal screws (common and front) if connecting to the front door. Otherwise connect the red and white wires to the (common and rear) screws for the rear door. Next, plug the jack at the opposite end of the wire into the input on the side of the Doorbell Signaler. To test press the doorbell button on the front, if the red LED lights up the installation was successful. If the red light does not light up check the wiring again, also check that the batteries are in correctly, check if chime box has power, also was it working before you installed the wire? Use the provided Velcro to attach the signaler next to or under the chime box cover if enough room. See diagram for Door Chime installation below. Step #4) Link button setup This procedure will link your HA360DB to your HomeAware Master unit. The Master unit will also provide an alert to all HomeAware remote receivers. When using the Sonic Alert bridge unit HA360BU all original Sonic Alert receivers (SA101, SA201, BL300, and SB1000) will also alert you. Its best to do the LINK procedure in the same room with the HomeAware Master unit, make sure this unit is plugged in. To link the HA360DB to your Sonic Alert HomeAware Master unit follow the steps below. 1) On the Master unit press the Set Up button. Now you will see the work CLOCK on the display. 2) Next, on the Master unit you’ll need to scroll through the options until you see the word LINK. Scroll up or down using the TONE & MINUTE buttons. Scroll up with the TONE button and down with the MINUTE button until you see the word LINK then press ENTER. 3) The word LINK will begin flashing for up to 1 minute until this part of the setup is finished. 4) At anytime if you need to exit out simply press the back button to exit. 5) Next Press the link button on the back of the HA360DB signaler. On the Master unit display the word FT DOOR will begin flashing. At this point you have these three options to select from (FT DOOR, RE DOOR, DOOR 3, DOOR 4). To select one of these four options you need to scroll through the display using the TONE & MINUTE buttons. Scroll up with the TONE button and down with the MINUTE button. When the display shows the option you want press the ENTER button. The red LED light on the front of the doorbell unit will blink several times during the link process. When done blinking the link setup is complete, the units are now linked together and ready to use. Step #5) Placement of the HA360DB doorbell transmitter Proper placement of the HomeAware doorbell signaler is important because it uses Digital RF frequencies to send its signal. It’s important to not place or install it on anything made of metal because RF signals cannot go through metal. The HomeAware doorbell comes with mounting hardware and is simple to install see Steps 2 & 3 above. Sonic Alert’s Limited Warranty The HA360DB Doorbell Signaler is warranted against manufacturing defects in material or workmanship for 1 year from the date of purchase. Within this period of time Sonic Alert will repair or replace at our option the HA360ss without charge for parts or labor. FCC Requirements This device complies with part 15 of the FCC rules, and with RSS-210 of Industry Canada. Operation is subject to t…
Text truncated - open the document above for the full version.
Cover Letter(s)
August 26, 2014 FCC ID: OQYHA360DB Request for Confidentiality In accordance with 47 C.F.R. Section 0.459, we, RHK Technology, Inc., DBA Sonic Alert, Inc., hereby request confidentiality for the block diagram, schematic, theory of operation, bill of materials and product description presented for certification. In support of the Request for Confidentiality, the following is stated: Enclosed within this application is technical information which we deem to be trade secrets and proprietary. If made public, the information might be used to our disadvantage. To assist in assuring that we receive the full value of our product and protect its competitive posture, we respectfully request this grant of confidentiality. Jim Hiller Production Manager
External Photos
HA360DB Exterior Photos Front View Rear View Side A View Side B View Top View Bottom View
ID Label/Location Info
HomeAware Doorbell Signaler MODEL: HA360DB See Inst. For Proper Installation FCC ID: OQYHA360DB CAN: 0000000 Troy, MI 48083 Made in China www.sonicalert.com LABEL WITH POSITION
Internal Photos
HA360DB Internal Photos Interior PCB Top View Interior PCB Bottom View
Test Report
Amber Helm Development L.C. 92723 Michigan Hwy-152 Sister Lakes, MI 49047 A copy of this Report will be on file with AHD to:July, 2024Page1 of 32 EMC Test Report #DB-1401860FX Issued8/25/2014 Regarding the FCC Part 15, SubPart C testing Door Bell Signaler Model Number:HA360DB FCCID: OQYHA360DB Category:15.249 Transmitting Device Judgments:FCC Part 15.249 – Compliant NVLAP LAB CODE 200129-0 Prepared for:Gary Tingley RHK Technology 1050 East Maple Rd Troy, Mi 48083 Test Date(s):7/19/14-7/26/14 Report prepared by:Report reviewed by David J. Miller, NCEGordon L. Helm, NCE Data recorded by:_________________________ Gordon L. Helm, NCE Test Engineer, AHD Test report #DB-1401860FXTested 7/19/14-7/26/14 15.249 testing For Door Bell Signaler AHD EMC Lab, 92723 Michigan Hwy-152, Sister Lakes, MI 49047 (269) 429-8352 Page 2 of 32 Table of Contents Statements concerning this report ....................................................................................................3 FCC Required user statements:....................................................................................................... 4 FCC Part 18 ISM Devices: ............................................................................................................. 4 FCC Part 15 Class A or B Digital Devices or Peripherals:............................................................. 4 Industry Canada Required user statements: .................................................................................... 5 Summary of Results .........................................................................................................................7 Changes Made to Achieve Compliance:......................................................................................... 7 EUT Descriptions.............................................................................................................................8 Specifications:................................................................................................................................. 8 EUT Block Diagram: ...................................................................................................................... 8 EUT Pictures ................................................................................................................................... 9 Equipment Test Setup: ...................................................................................................................11 Support Equipment & Cabling...................................................................................................... 11 Setup Pictures................................................................................................................................ 12 Measurement Report ......................................................................................................................16 Standards Applied to Test ............................................................................................................. 16 Equipment Configuration.............................................................................................................. 16 Test Methodology ......................................................................................................................... 16 Line Conducted:............................................................................................................................ 16 Radiated: ....................................................................................................................................... 16 Variance from Test Procedure: ..................................................................................................... 17 Test Data ....................................................................................................................................... 18 Radiated Spurious Emissions........................................................................................................ 18 Radiated Receive Measurements: ................................................................................................. 20 Radiated Transmit Measurements................................................................................................. 21 Environment.................................................................................................................................. 24 APPENDIX A ................................................................................................................................25 Measurement Procedures .............................................................................................................. 25 Line Conducted ............................................................................................................................. 25 Radiated ........................................................................................................................................ 25 Measurement Facilities & Equipment .......................................................................................... 27 Test Site ........................................................................................................................................ 27 Cable Loss..................................................................................................................................... 27 Antenna Factors ............................................................................................................................ 29 AHD Accreditation ....................................................................................................................... 30 NARTE Seal................................................................................................................................ 31 Test report #DB-1401860FXTested 7/19/14-7/26/14 15.249 testing For Door Bell Signaler AHD EMC Lab, 92723 Michigan Hwy-152, Sist…
Text truncated - open the document above for the full version.
Test Setup Photos
HA360DB Test Setup Photos Radiated Prescreen Setup Spurious Setup Front View Spurious Setup Rear View Tx Setup Flat Orientation Tx Setup Side Orientation Tx Setup End Orientation Environmental Test View
Contact Information
Applicant
Bryan Bartneck(President)
Test Firm
AHD EMC LaboratoryGordon Helm
Technical Specifications
| # | Rule Parts | Frequency Range | Power Output |
|---|---|---|---|
| 1 | 15C | 915 MHz - 915 MHz | - |
Other Applications from RHK Technology Inc.
OQYHA360M
Nov 03, 2014Home Aware Main Unit signaling system for the Deaf
Equipment Class
DXT - Part 15 Low Power Transceiver, Rx Verified
OQYHA360SS
Sep 29, 2014Wireless Sound Signaling Device
Equipment Class
DXT - Part 15 Low Power Transceiver, Rx Verified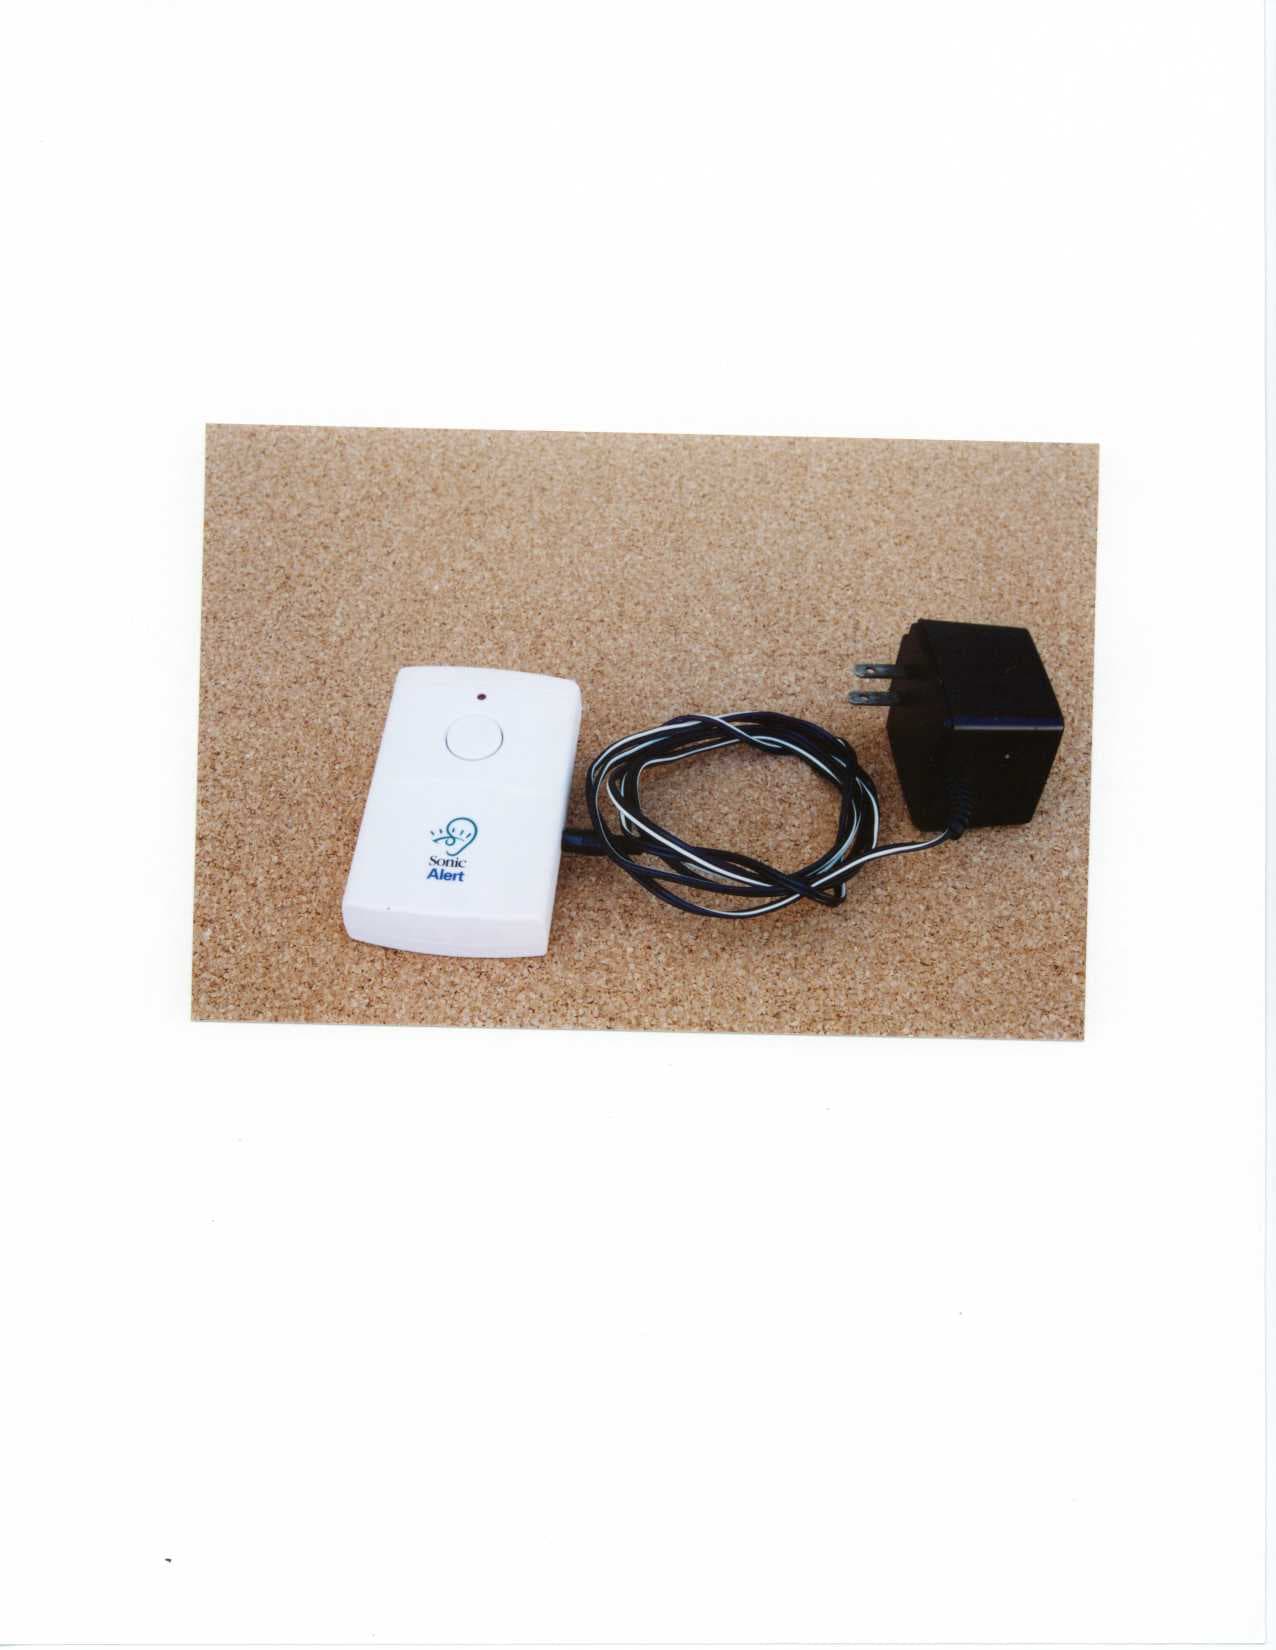
OQYDB100T
Dec 19, 2000Sonic Alert Transmitter
Equipment Class
DSC - Part 15 Security/Remote Control Transmitter
OQYDB100R
Nov 01, 2000Security Receiver
Equipment Class
CYY - Communications Receiver used w/Pt 15 Transmitter