P25P743601A1013CEclipse Mobile Mouse
Mad Catz, Inc.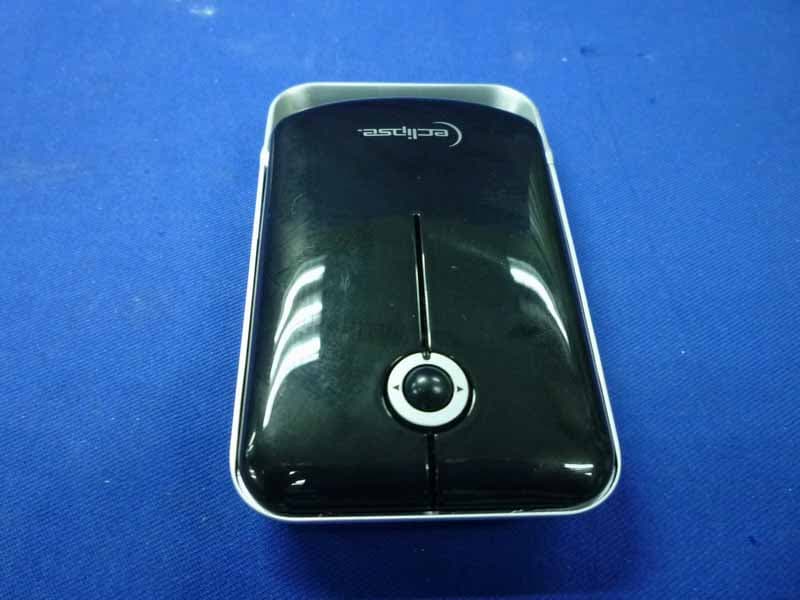
Click to zoom
Application Details
- Equipment Class
- DXX - Part 15 Low Power Communication Device Transmitter
- Date of Grant
- Aug 03, 2010
- Application Purpose
- Original Equipment
- Date of Application
- Aug 03, 2010
- Equipment Note
- Eclipse Mobile Mouse
- Frequency Range
- 2403.00000000 - 2474.00000000
- Company
- Mad Catz, Inc.
- Country
- United States
Documents & Files
Document Text
Text extracted from the exhibit documents filed with the FCC. Open a document above to read the original.
Users Manual
eclipsetouch.com User guide | Bedienungsanleitung | Guide d’utilisation | Manuale d’uso | Manual del usario contents: Before you start........................................................................................................................... Vor der Inbetriebnahme | Avant de commencer | Prima di cominciare | Antes de empezar Set up and pairing....................................................................................................................... Einrichten und Verbinden | Installation et connexion | Impostazione & Sintonizzazione | Con- figuración y pareado Power saving............................................................................................................................... Stromsparfunktion | Economie d’énergie | Risparmio di energia | Ahorro de energía Troubleshooting......................................................................................................................... Fehlerbehebung | Dépannage | Risoluzione dei problemi | Solución de problemas 4 6 8 11 4 Before you start | Push the battery cover of the back of the mouse. Insert the battery in the direction shown and remove the wireless receiver. Vor der Inbetriebnahme | Entfernen Sie die Batterieabdeckung, indem Sie auf die Mausunterseite drücken. Legen Sie die Batterie in der angezeigten Richtung ein und ent- fernen Sie den drahtlosen Empfänger. Avant de commencer | Retirez (en le poussant) le couvercle du compartiment à pile, situé sous la souris. Insérez la pile dans le sens indiqué et retirez le récepteur sans fil. Prima di cominciare | Rimuovere il coperchio della batteria nella parte inferiore del mouse. Inserire la batteria nella direzione indicata e rimuovere la ricevente wireless. Cuestiones preliminares | Empuje la tapa de la pila del fondo del ratón. Ponga la pila en la dirección indicada y extraiga el receptor inalámbrico. EN | DE | FR | IT | ES | Plug the wireless USB receiver into a USB port on your computer. Verbinden Sie den drahtlosen USB-Empfänger mit einem freien USB-Port auf Ihrem Com- puter. Branchez le récepteur sans fil USB sur l’un des ports USB libres de votre ordinateur. Collegare la ricevente USB wireless ad una delle entrate USB libere nel computer. Enchufe el receptor USB inalámbrico a un puerto USB que esté libre en su ordenador. EN | DE | FR | IT | ES | 5 Setup & Pairing Turn on the mobilemouse™ by pressing the side button for 3 seconds. Einrichten und Verbinden | Schalten Sie die mobilemouse™ ein, indem Sie 3 Sekunden lang die seitliche Taste mit dem ON/OFF Logo gedrückt halten. Installation et connexion | Allumez la mobilemouse™ en appuyant pendant 3 secondes sur le bouton ON/OFF, situé sur le côté. Impostazione & Sintonizzazione | Accendere il mobilemouse™ tenendo premuto il tasto laterale con il logo ON/OFF per 3 secondi. Configuración y pareado | Encienda el mobilemouse™; para ello, pulse 3 segundos el botón lateral con el rótulo ON/OFF (ENCENDIDO/APAGADO). EN | DE | FR | IT | ES | 6 7 When a link is established the blue LED will illuminate. Sobald eine Verbindung hergestellt wurde, leuchtet die blaue LED auf. Lorsqu’une connexion a été établie, le voyant LED bleu s’allume. Quando viene stabilito un collegamento si accenderà la LED blu. Cuando se realice la conexión pertinente, el diodo electroluminescente (DEL) se iluminará en azul. EN | DE | FR | IT | ES | Power saving | To save battery life when not using the mobilemouse™, press the connec- tion button on the side of the mouse once to switch it off. Stromsparfunktion | Wenn Sie die mobilemouse™ nicht verwenden, halten Sie zur Verlän- gerung der Batterielebensdauer die seitliche Taste 3 Sekunden lang gedrückt. Economie d’énergie | Pour économiser sur la durée de vie de la pile lorsque vous n’utilisez pas la mobilemouse™, appuyez sur le bouton situé sur le côté pendant 3 secondes. Risparmio di energia | Per risparmiare l’energia della batteria quando non si utilizza il mobi- lemouse™, tenere premuto il tasto laterale per 3 secondi. Ahorro de energía | Para no malgastar la pila cuando no esté usando el mobilemouse™, pulse 3 segundos el botón lateral. EN | DE | FR | IT | ES | 8 9 Software installation Insert the CD to install the software, this enables horizontal scrolling. Installation der Software | Zur Installation der Software legen Sie die CD ein und befolgen Sie die Anweisungen auf der Anzeige. Nach der Installation ist die horizontale Scrollingfunk- tion aktiviert. Die Geschwindigkeit dafür kann über das Windows Maus-Applet angepasst werden. Installation du logiciel | Insérez le CD pour installer le logiciel, puis suivez les instructions. Une fois l’installation effectuée, le défilement horizontal sera activé. La vitesse de défilement peut être ajustée avec l’applet « souris » de Windows. Installazione del software | Inserire il CD per installare il software e seguire le istruzioni che compaiono sullo schermo. Una volta installato il software sarà possibile effettuare lo scorrimento orizzontale. La velocità può essere regolata attraverso l’applet del mouse di Windows. Instalación del software | Inserte el CD para instalar el software y siga las instrucciones que aparezcan en la pantalla. Una vez instalado el CD, podrá desplazarse en horizontal. Puede ajustar la velocidad en la miniaplicación para ratón por defecto de Windows. EN | DE | FR | IT | ES | The red LED will flash when the battery is running low on power; the blue LED will also turn off. Die rote LED blinkt, wenn die Batterie nachlässt; die blaue LED schaltet sich ebenfalls ab. Le voyant LED rouge clignotera et le voyant LED bleu s’éteindra si la pile commence à être déchargée. Quando la batteria inizia a scaricarsi, la LED rossa lampeggerà e si spegnerà anche la LED blu. Un DEL parpadeará en rojo cuando la batería tenga poca carga; el DEL azul se apagará. EN | DE | FR | IT | ES | 10 11 Troubleshooting | If the mouse does not work: 1. Check the batteries have not expired and are inserted properly. 2. Make sure the …
Text truncated - open the document above for the full version.
External Photos
FCC ID:P25P743601A1013C page Audix Technology (Shenzhen) Co., Ltd. Report No. ACS-F10140 9-1 9. PHOTOGRAPH OF EUT Figure 1 General Appearance of the EUT Figure 2 General Appearance of the EUT FCC ID:P25P743601A1013C page Audix Technology (Shenzhen) Co., Ltd. Report No. ACS-F10140 9-2 Figure 3 General Appearance of the EUT Figure 4 General Appearance of the EUT
ID Label/Location Info
Label Location
Internal Photos
FCC ID:P25P743601A1013C page Audix Technology (Shenzhen) Co., Ltd. Report No. ACS-F10140 9-3 Figure 5 Inside of the EUT Figure 6 Inside of the EUT FCC ID:P25P743601A1013C page Audix Technology (Shenzhen) Co., Ltd. Report No. ACS-F10140 9-4 Figure 7 Inside of the EUT Figure 8 Inside of the EUT FCC ID:P25P743601A1013C page Audix Technology (Shenzhen) Co., Ltd. Report No. ACS-F10140 9-5 Figure 9 Inside of the EUT Figure 10 Inside of the EUT FCC ID:P25P743601A1013C page Audix Technology (Shenzhen) Co., Ltd. Report No. ACS-F10140 9-6 Figure 11 Inside of the EUT
Test Report
FCC ID:P25P743601A1013C Audix Technology (Shenzhen) Co., Ltd. Report No. ACS-F10140 APPLICATION FOR CERTIFICATION On Behalf of Mad Catz, Inc. Eclipse Mobile Mouse Model Number: 43601 FCC ID: P25P743601A1013C Prepared for : Mad Catz, Inc. 7480 Mission Valley Road, Suite 101, San Diego, California, 92108, USA Prepared By : Audix Technology (Shenzhen) Co., Ltd. No. 6, Ke Feng Rd., 52 Block, Shenzhen Science & Industrial Park, Nantou, Shenzhen, Guangdong, China Tel: (0755) 26639496 Report Number : ACS-F10140 Date of Test : Jun.12~25, 2010 Date of Report : Jun.29, 2010 FCC ID:P25P743601A1013C Audix Technology (Shenzhen) Co., Ltd. Report No. ACS-F10140 TABLE OF CONTENTS Description Page 1. SUMMARY OF STANDARDS AND RESULTS .................................................................. 1-1 1.1. Description of Standards and Results ............................................................................................. 1-1 2. GENERAL INFORMATION .................................................................................................. 2-1 2.1. Description of Device (EUT) ......................................................................................................... 2-1 2.2. Test Facility .................................................................................................................................... 2-2 2.3. Test Uncertainty (95% confidence levels, k=2) ............................................................................. 2-2 3. POWER LINE CONDUCTED EMISSION TEST ................................................................ 3-1 4. RADIATED EMISSION TEST ............................................................................................... 4-1 4.1. Test Equipment .............................................................................................................................. 4-1 4.2. Block Diagram of Test Setup ......................................................................................................... 4-1 4.3. Radiated Emission Limit Standard: FCC 15.209 and 15.249 ........................................................ 4-2 4.4. EUT Configuration on Test ............................................................................................................ 4-3 4.5. Operating Condition of EUT .......................................................................................................... 4-3 4.6. Test Procedure ................................................................................................................................ 4-3 4.7. Radiated Emission Test Results ..................................................................................................... 4-3 5. BAND EDGE COMPLIANCE TEST ..................................................................................... 5-1 5.1. Test Equipment .............................................................................................................................. 5-1 5.2. Limit ............................................................................................................................................... 5-1 5.3. Test Produce ................................................................................................................................... 5-1 5.4. Test Results .................................................................................................................................... 5-1 6. 20DB BANDWIDTH TEST ..................................................................................................... 6-1 6.1. Test Equipment .............................................................................................................................. 6-1 6.2. Limit ............................................................................................................................................... 6-1 6.3. Test Results .................................................................................................................................... 6-1 7. DEVIATION TO TEST SPECIFICATIONS ........................................................................ 7-1 8. PHOTOGRAPH OF TEST ...................................................................................................... 8-1 8.1. Photos of Radiated Emission Test (In Anechoic Chamber) ........................................................... 8-1 9. PHOTOGRAPH OF EUT ........................................................................................................ 9-1 FCC ID:P25P743601A1013C Page Audix Technology (Shenzhen) Co., Ltd. Report No. ACS-F10140 1-1 1. SUMMARY OF STANDARDS AND RESULTS 1.1. Description of Standards and Results The EUT have been tested according to the applicable standards as referenced below. EMISSION Description of Test Item Standard Results Power Line Conducted Emission Test FCC Part 15C: 15.207 ANSI C63.10-2009 N/A Radiated Emission Test FCC Part 15C: 15.209 FCC Part 15C: 15.249 ANSI C63.10-2009 PASS Band Edge Compliance Test FCC Part 15: 15.249 ANSI C63.10-2009 PASS 20dB Bandwidth Test FCC Part 15: 15.215 ANSI C63.10-2009 PASS N/A is an abbreviation for Not Applicable. FCC ID:P25P743601A1013C Page Audix Technology (Shenzhen) Co., Ltd. Report No. ACS-F10140 2-1 2. GENERAL INFORMATION 2.1. Description of Device (EUT) Product name : Eclipse Mobile Mouse Model Number : 43601 FCC ID : P25P743601A1013C Operation frequency : 2403MHz~2474MHz Modulation : GFSK Power Supply : DC 1.5V (Note: Batteries were full charged for all the test.) Applicant : Mad Catz, Inc. 7480 Mission Valley Road, Suite 101, San Diego, California, 92108, USA Date of Test : Jun.12~25, 2010 Date of Receipt : Jun.12, 2010 Sample Type : Prototype production FCC ID:P25P743601A1013C Page Audix Technology (Shenzhen) Co., Ltd. Report No. ACS-F10140 2-2 2.2. Test Facility Site Description Name of Firm : Audix Technology (Shenzhen) Co., Ltd. No. 6, Ke Feng Rd., 52 Block, Shenzhen Science & Industrial P…
Text truncated - open the document above for the full version.
Test Setup Photos
FCC ID:P25P743601A1013C page Audix Technology (Shenzhen) Co., Ltd. Report No. ACS-F10140 8-1 8. PHOTOGRAPH OF TEST 8.1. Photos of Radiated Emission Test (In Anechoic Chamber) 30~1000MHz FCC ID:P25P743601A1013C page Audix Technology (Shenzhen) Co., Ltd. Report No. ACS-F10140 8-2 Above 1000MHz
Contact Information
Applicant
Parco Liu(Quality Manager)
Technical Contact
AUDIX Technology (Shenzhen) Co., Ltd.Ken Lu No. 6, Ke Feng Rd., 52 Block, Shenzhen Science
[email protected]86-755-26639497
& Industrial Park, Shenzhen, China · Shenzhen · China
Non-Technical Contact
AUDIX Technology (Shenzhen) Co., Ltd.Kris Zheng
[email protected]86-755-26639497
Test Firm
Audix Technology (Shenzhen) Co., Ltd.Smart Tsai
Technical Specifications
| # | Rule Parts | Frequency Range | Power Output |
|---|---|---|---|
| 1 | 15C | 2.40 GHz - 2.47 GHz | - |
Other Applications from Mad Catz, Inc.
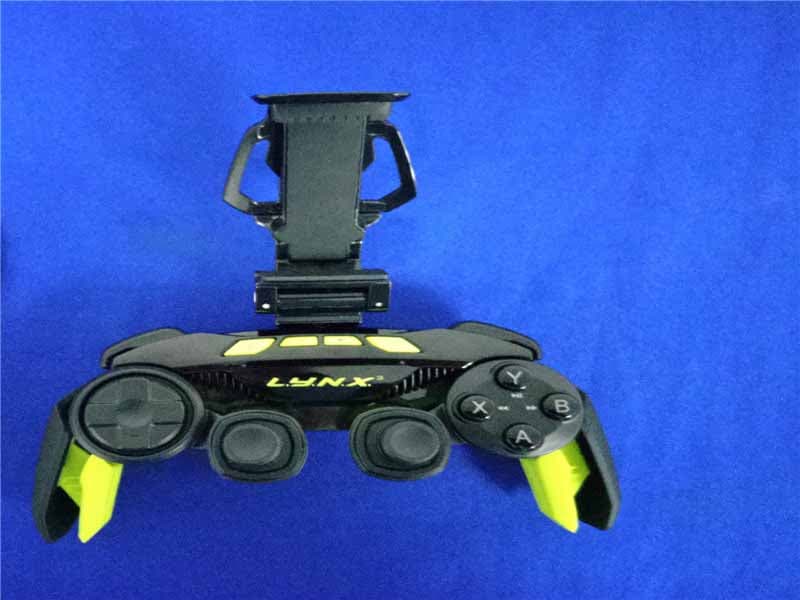
P25SS32269A
Aug 31, 2015Mad Catz L.Y.N.X.3 Mobile Wireless Controller
Equipment Class
DSS - Part 15 Spread Spectrum Transmitter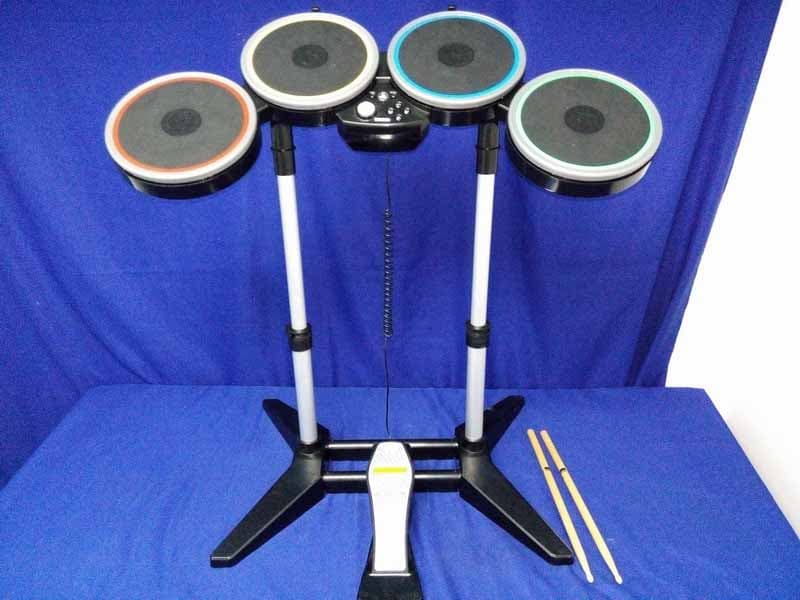
P25M991262A
Jun 24, 2015Rock Band 4 Wireless Drum Set for PlayStation 4
Equipment Class
DSS - Part 15 Spread Spectrum Transmitter
P25M991261A
Jun 02, 2015Rock Band 4 Wireless Fender Stratocasterfor PlayStation 4
Equipment Class
DSS - Part 15 Spread Spectrum Transmitter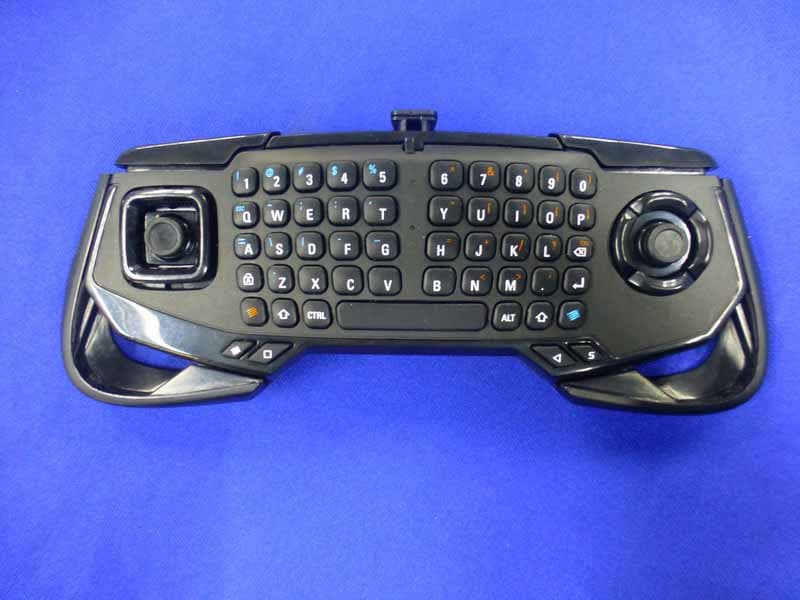
P25SS32272A
Apr 25, 2015Mad Catz S.U.R.F.R
Equipment Class
DSS - Part 15 Spread Spectrum Transmitter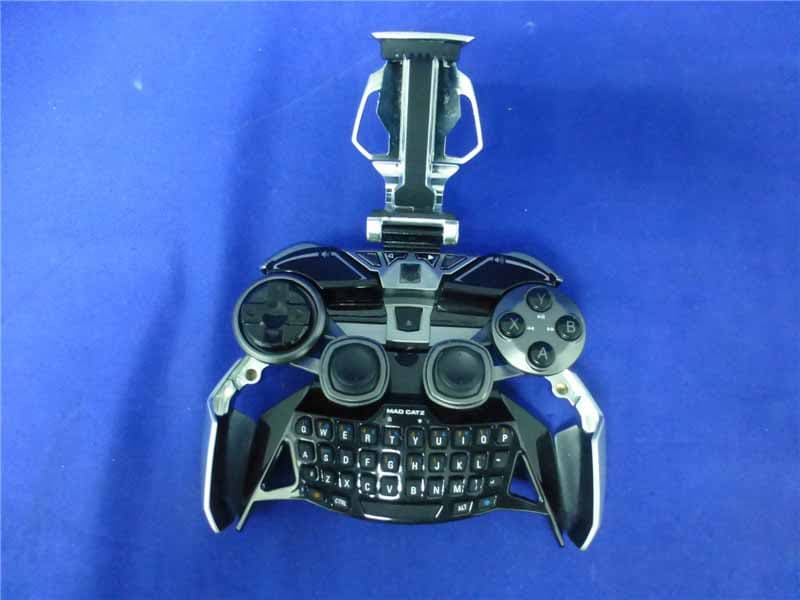
P25R232267A
Mar 03, 2015L.Y.N.X.9 Mobile Hybrid Controller
Equipment Class
DSS - Part 15 Spread Spectrum Transmitter