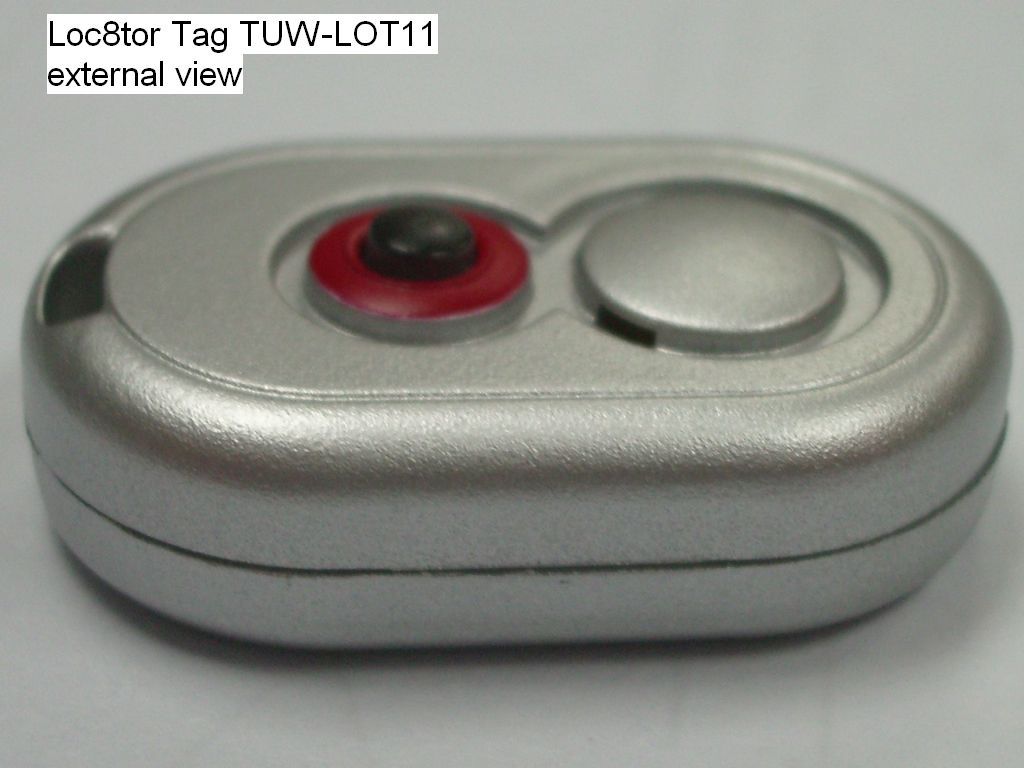
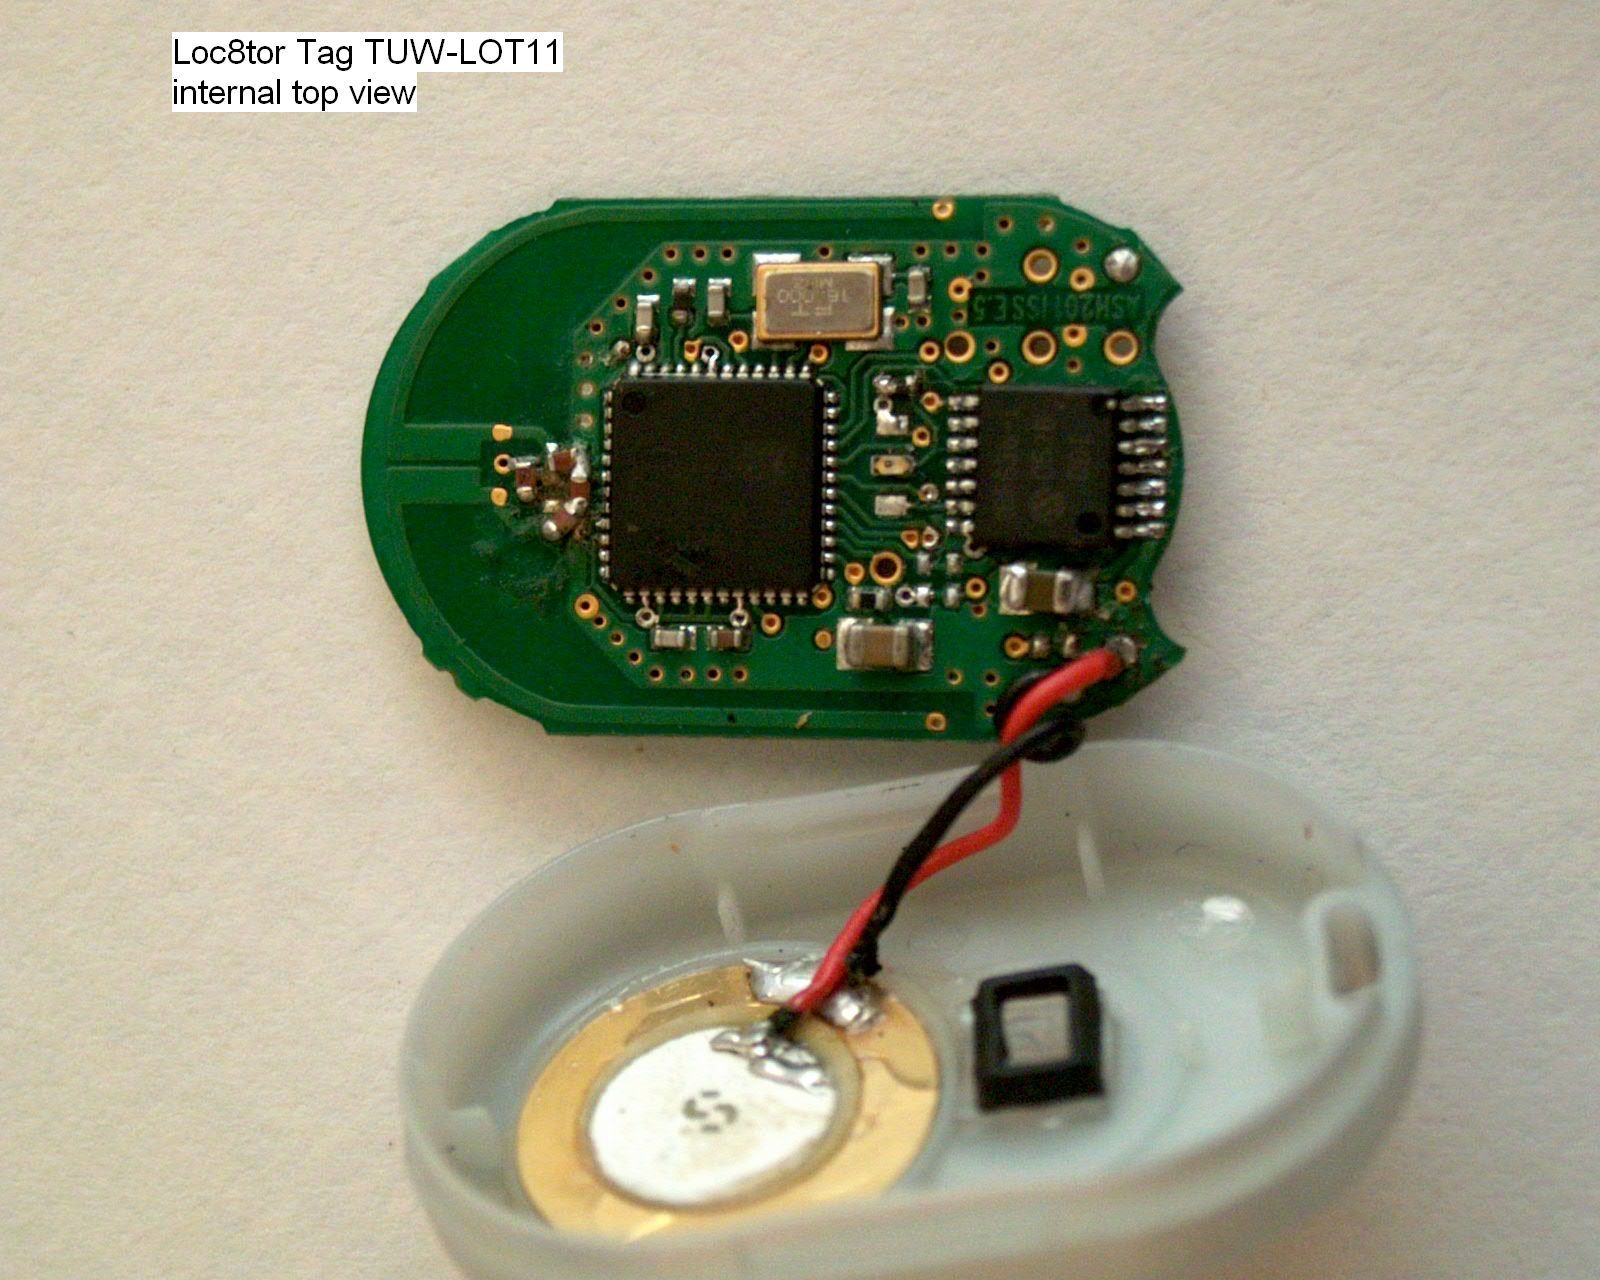
TUW-LOT11Asset tracking and management device
Loc8tor Ltd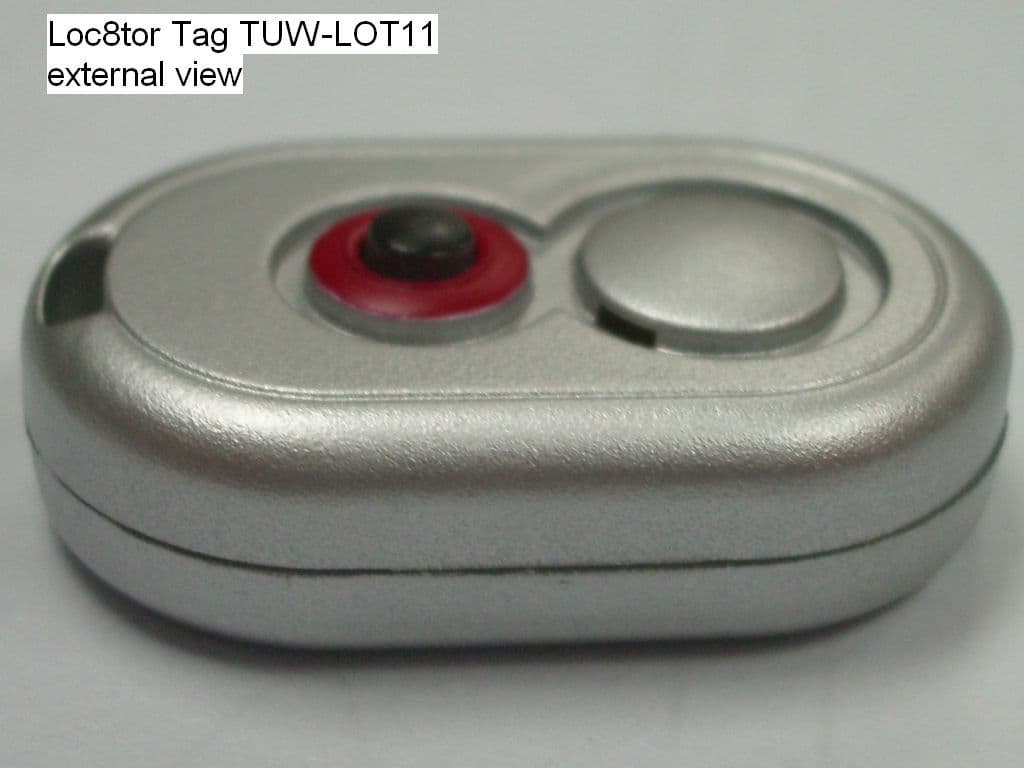
Click to zoom
Application Details
- Equipment Class
- DTS - Digital Transmission System
- Date of Grant
- May 24, 2006
- Application Purpose
- Original Equipment
- Date of Application
- May 24, 2006
- Equipment Note
- Asset tracking and management device
- Frequency Range
- 2445.00000000 - 2445.00000000
- Company
- Loc8tor Ltd
- Country
- United Kingdom
Documents & Files
Document Text
Text extracted from the exhibit documents filed with the FCC. Open a document above to read the original.
Users Manual
User Guide For Loc8tor models Loc8torLoc8tor Plus 1 Loc8tor Handheld1 Loc8tor Plus Handheld 2 Mini Homing Tags3 Mini Homing Tags 1 Key ring loop / adhesive pack1 Panic Homing Tag Batteries included2 Key ring loop / adhesive packs Batteries included Award (5018) Loc8tor User Manual 3/5/06 9:37 pm Page 1 Welcome to Loc8tor, the great new product that helps you find your mislaid items and can even stop you losing them in the first place*. We've designed the Loc8tor to be versatile and easy to use, whether at home, out and about or on business. Please take a few minutes to read through this User Guide to help you get the most out of your purchase. Loc8tor has been manufactured to quality standards to run trouble free and comes supplied with a 12 month warranty. Please visit our website at www.loc8tor.com/supportfor additional product information, contact details and frequently asked questions. We'd love to hear from you, what you like about Loc8tor and any suggestions you have to improve it. Visit www.loc8tor.com/feedback to have your say. We hope you enjoy your new purchase and can now rest at ease, avoiding those frustrating moments of mislaying your important items. With best wishes. Anthony Richards Managing Director *Loc8tor Plus- Comes supplied with Locate and Alert modes. Helps you find misplaced items and allows invisible safety zones to be set around you to stop items going astray. Loc8tor- Comes supplied with Locate mode. Helps you find misplaced items. www.loc8tor.com/support INTRODUCTION 2 (5018) Loc8tor User Manual 3/5/06 9:37 pm Page 2 Page Quick Key Guide3 Setting Up Your Loc8tor4 Locate Mode - Find a mislaid item5 Alert Mode* - Helps prevent items getting lost 6 Alert Activated7 Mini Homing & Panic Homing Tags8 Icons and Abbreviations8 Menu Functions9 Batteries10 General Care10 Changes11 Warranty11 Please NoteBack cover CONTENTS QUICK KEY GUIDE Grey button Shows list of registered Tags that can be located Blue button Loc8tor & Loc8tor Plus Shows Tag list and low battery warnings Loc8tor Plus Alert mode Tag settings Red button Turns ON or OFF all Alert enabled Tags (Loc8tor Plus only*) White button Selects item highlighted on screen Navigation ring Moves cursor around screen: left, right, up, down Yellow button To register a new Tag 3 (5018) Loc8tor User Manual 3/5/06 9:37 pm Page 3 1. Insert batteries (2 x AAA) With the Loc8tor buttons facing you push forwards and remove right hand side panel. Insert batteries (See diagram in battery compartment for correct insertion) and replace side panel. Loc8tor has no ON or OFF button. To use press any button. It will automatically turn ON. 2. Register Tags • Pull out white strip in Tag to activate batteries • Tag beeps and red light flashes once • Place Tag next to Handheld making sure all other Tags have been moved more than an arms length away • Press Yellow register button on the Handheld • Follow on-screen instructions • Repeat process for each new Tag 3. Naming your Tags • Tags can be personalised with a name of your choice up to 10 characters long • Use navigation ring to highlight letters • Press White button to select • Press OK to finish 4. Attach Tags Depending on use Tags can be attached with adhesive strips, key ring loop or left loose. Adhesive strips Best used when attaching to a hard, flat surface. Peel off backing to attach. Sticky tabs are not permanent but increase their bond with time. Ideally leave for a minimum of 10 minutes. Strongest bond after 24 hours. To remove insert flat tool under Tag and gently twist / prise off. Key ring loop Best used to attach Tag to items such as key ring, bags and belt loop. Push loop through the Tag hole and then pull ring through the loop. SETTING UP YOUR LOC8TOR 1. 3. 4. 4 (5018) Loc8tor User Manual 3/5/06 9:37 pm Page 4 LOST • Slide up lid and press Grey button (top left) to see list of Tags that can be located • Scroll down and select item to be found with White button • Scan area slowly turning full 360° circle • Once circle completed go back to direction of strongest audio and visual signal • Walk in this direction - As you get nearer audio pitch and frequency of beeps increase, lines on screen extend and signal strength numbers increase (1) • If in doubt, repeat 360° circle • When signal strength lines get close to the top of the screen Tag is close by • Try pressing select button on Handheld to Mute and listen for the Tag beep When you are almost on top of Tag, screen changes to Zooming in mode to guide you right in (2) • Select and press STOP when the item is found FOUND TIPS • Place the Tag on a surface and practice locating a few times to get a feel for how it works • If you are ever unsure which direction to go in slowly repeat full 360° circle and then go in direction with the strongest signal strength • Strongest signal is displayed when Handheld is pointing directly at Tag. Also try moving Handheld up and down as Tag could be upstairs or downstairs • If you are close to a wall whilst getting a strong signal check the room next door • If no signal is displayed try moving position to a different area LOCATE MODE - FIND A MISLAID ITEM 5 Find Keys MenuMute Stop Find Keys MenuMute Stop (1) (2) (5018) Loc8tor User Manual 3/5/06 9:37 pm Page 5 The Blue button (Tag Settings screen) controls your Alert settings. It enables you to decide what mode each Tag is in, Locate or Alert, and to set the distance for your required safety zone (Near, Medium or Far) for each Tag. Once you're happy with your settings simply press the Red button to activate Alert. All Tags with a (3) will now automatically be in Alert mode. Setting up Alert (Blue Button - Tag Settings Screen) • Attach Tag in or on item to be protected • Press Blue button for Tag Settings screen. A list of all your Tags will be displayed Selecting the Safety Range (1) • Scroll to the right hand column (under R) in line with selected Tag • Use White button to select distance between Tag and your Handheld N = Near, M = Medium, F …
Text truncated - open the document above for the full version.
Users Manual
Should one of the Tagged items go out of your safety zone the Handheld will vibrate, let off an alarm and the 'Tag Status' screen will automatically appear. The Tag Status lists which Tag/s have activated an Alert and whether the Tag is currently out of your designated safety zone. If a Tag has gone out of range but since returned to the safety zone, it also enables an Alert to be muted or removed from the Alert list altogether. Using the Tag Status Screen To turn all Alerts OFF press Red button on the Tag Status screen. To individually remove each Tag from the Alert enabled list select the ( 3) and change to a (-). Note - To return to Tag Status screen go to Alert options on main menu Tag Status ALERT ACTIVATED(Loc8tor Plus Model) 7 Select 3to remove Tag from Alert enabled list When shown Alarm active for that Tag When shown Alarm muted Identifies which Tag activated the Alert – Select item to Locate that Tag If the Tag is out of the safety zone an ‘!’ symbol will appear If the Tag has gone out of the safety zone but returned and now safe an ‘A’ will appear If a Panic Tag has been activated a ‘P’ will appear (see page 8) Mutes all current Alert alarms Alert mode on Sam (5018) Loc8tor User Manual 3/5/06 9:37 pm Page 7 Both Mini Homing and Panic Homing Tags can be used to Locate items and if used with the Loc8tor Plus model used in Alert mode. The Panic Tag provides the additional function of enabling a child or dependant in need to activate an alert alarm to call for help. Activating a Panic Tag For a Panic alarm to be activated, the Panic Tag must be set in Alert mode ( 3) in the Tag Settings screen (Blue button) and the Alert mode switched on (Red button) To activate the Panic alarm, simply press the centre of the red button on the Panic Tag. So long as the Panic Tag is within the set safety zone the Alert Alarm will be activated - the Handheld will vibrate, let off an alarm and identify which Tag has activated the Panic alarm Give or attach the Tag to the child / dependant as appropriate. MINI HOMING & PANIC HOMING TAGS Look out for our soon to launch Splash proof wrist strap that can help extend the range of your Tag when attached to a child / dependant 8 ICONS AND ABBREVIATIONS Throughout the menu system a variety of icons are used to inform on status. The screen shots shown contain icons you can expect to see whilst navigating Homing Tag Panic Tag (5018) Loc8tor User Manual 3/5/06 9:37 pm Page 8 MENU FUNCTIONS 9 (1) (2) (3) (4) LocateSame function as Grey button. Shows list of Tags that can be located Alert Options (Loc8tor Plus model only) (1) Range Settings - Enables Near (N), Medium (M) and Far (F) range to be increased or decreased as required Tag Settings - Same function as Blue button Tag Status - Control screen informing which Tag has activated an Alert alarm and the Tags current status Alert ON / OFF - Same function as the Red button Tag Options (2) Register Tag - Same function as Yellow button. Register a new Tag Rename Tag - Select Tag from list to be renamed. Enter in new name followed by OK Unregister Tag - Select Tag from list to be unregistered. Place Tag next to Handheld and confirm Tag is to be unregistered. This enables a Tag to be used on a different Loc8tor Handheld Settings (3) Lock Keypad - Protects against buttons being accidentally pressed. To unlock press Red then Blue button Volume - Select to adjust volume whilst locating, for Alert alarm or the Keypad. Left / right on navigation ring decreases / increases volume. Up / Down on navigation ring switches between volume control and bottom menu System Info - System information screen Handheld ID. - It is recommend you keep a note of your Loc8tor Handheld ID. Should your Handheld ever become lost you can re-program a new Handheld to re-register any of your existing Tags Contrast - Enables screen contrast to be made lighter or darker Upgrade (4)- Enables a Loc8tor Handheld to be upgraded to a Loc8tor Plus (activates Alert mode). Contact place of purchase or visit www.Loc8tor.com/upgrade for more details Help / Key Guide - Quick guide to what each button does and the icons used Help button also appears at the bottom of selected screens (5018) Loc8tor User Manual 3/5/06 9:37 pm Page 9 Handheld • To replace batteries use 2 x AAA 1.5 volt or equivalent (Also see Setting up your Loc8tor on page 4) • A low battery icon will appear in the top right hand corner of the screen when Handheld batteries are running low. Batteries are able to be used until screen starts to fade. Please Note - Battery life will vary depending on mode and frequency of use. Continuous use of Alert mode significantly reduces battery life. We recommend when not using to turn Alert mode off. Tags • To change the batteries gently prise open end with battery symbol. Replace with SR54 (silver oxide) 1.5v button cells or equivalent to provide best battery life. Gently snap bottom in to place. • If batteries are correctly inserted Tag will beep when case is closed. • Low Tag battery icon will appear in the Tag Settings screen (Blue button) on the very right hand side of the screen. The Icon will appear in line with the Tag that needs to be changed. Replace Tag batteries when icon is displayed to ensure Tag does not become lost. • Never clean with water, detergent or cleaning agent - simply use clean, dry cloth. Loc8tor has not been designed to get wet. • On the reverse of the Handheld lid are two black lines. These are aerials and essential to the functioning of your Loc8tor. Take care not to scratch. • Tag and Handheld operational temperature is between 0 ̊c to + 55 ̊C. Storage temperature is between - 10 ̊c and + 60 ̊c. BATTERIES GENERALCARE 10 (5018) Loc8tor User Manual 3/5/06 9:37 pm Page 10 The material in this User Guide is for information only and is subject to change without notice. Whilst reasonable efforts have been made in the preparation of these instructions to ensure its accuracy, Loc8tor Ltd. assumes no liability resulting from errors or o…
Text truncated - open the document above for the full version.
Cover Letter(s)
Loc8tor Ltd, Devonshire House, 404-406 Finchley Road, London NW2 2HZ UK Phone: 020 7431 1111 Fax: 020 7435 2111 Web: www.myloc8tor.co.uk e-mail: [email protected] VAT Registration No. 843 7922 03 Registered in England No. 05199185 04 May 2006 To whom it may concern: This is to certify that Loc8tor Ltd. hereby authorises ASH Communications Ltd to act on our behalf for the application of the Loc8tor Handheld and Tag devices to an FCC Telecommunication Certification Body. We certify that we are not subject to a denial of Federal benefits, that include FCC benefits, pursuant to Section 5301 of the Anti-Drug Abuse Act of 1988, 21 U.S.C. § 862 because of a conviction for possession or distribution of a controlled substance. See 47 CFR 1.2002(b) for the definition of a "party" for these purposes. Sincerely, A Richards, Managing Director
Cover Letter(s)
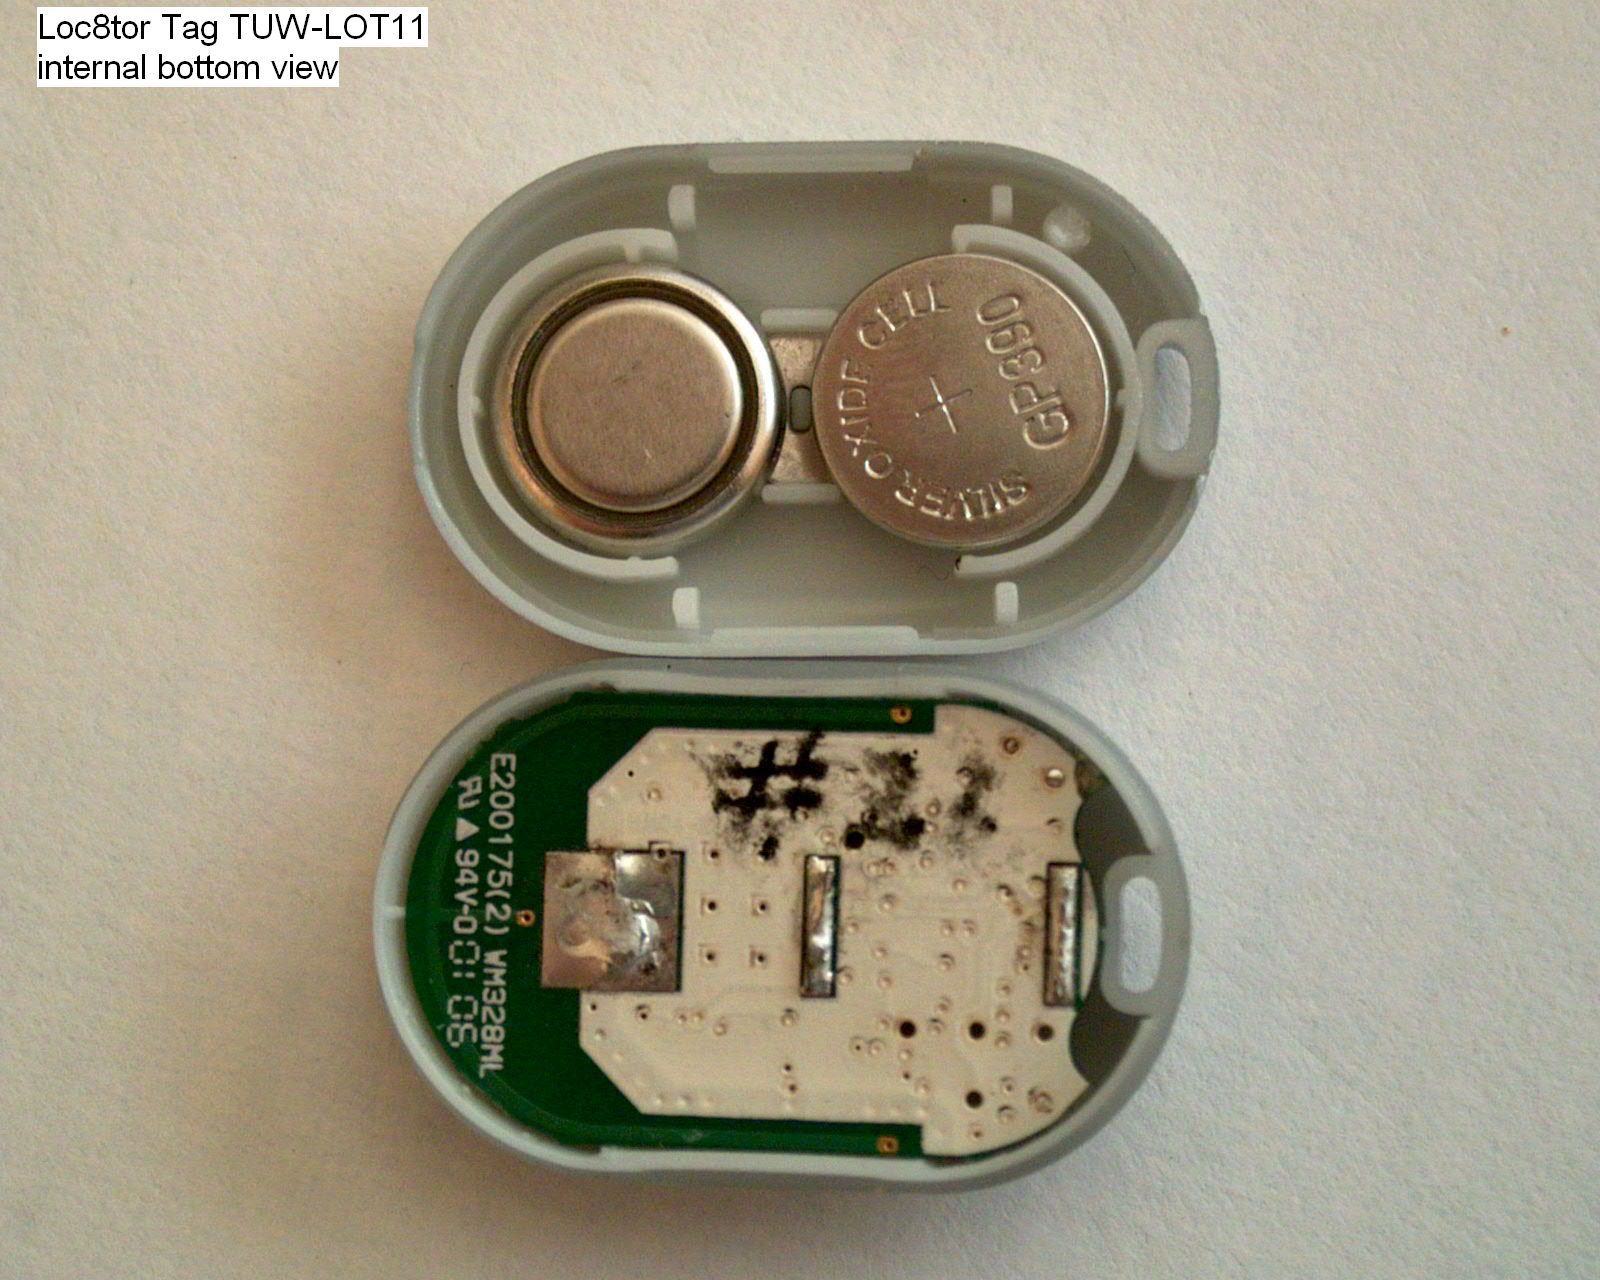
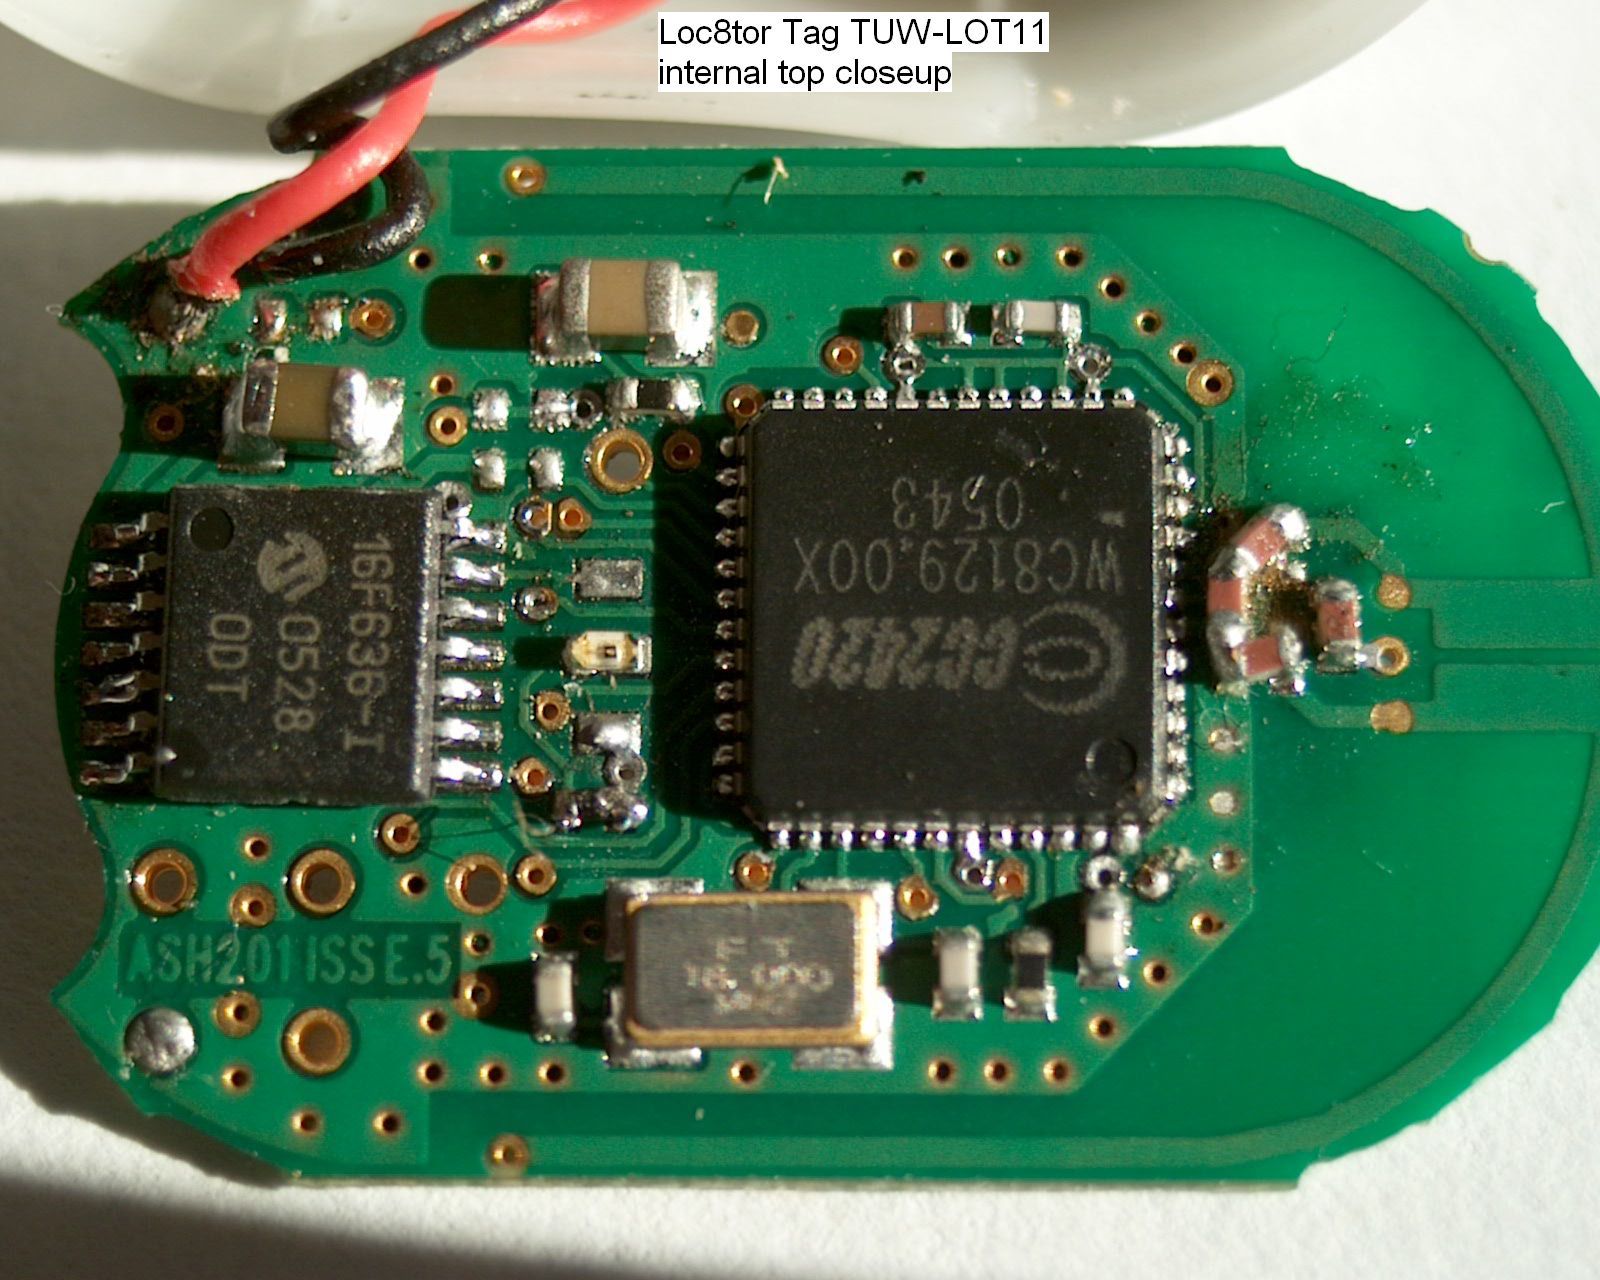
ASH Communications Ltd. Registered Office: 5 Shaftesbury Avenue, Southampton SO17 1SB. Reg. No 4148550 VAT Registration Number 777 3132 15 Director SJ Braithwaite Secretary RD Turnbull [email protected] http://www.ash-communications.com T/F ++44 23 80551044 ASH Communications wireless communications consultancy and training BABT Ltd Subject: Certification Application FCC ID: TUW-LOT11 It is requested that the following information is to be held confidential on behalf of Loc8tor Ltd. FCC Rules Part 0.459 refers. For all the exhibits listed below, the following statement applies: The information is commercial in confidence, would be of benefit to competitors, and is not available in the public domain not has it been released into the public domain. The information is the product of a lengthy design and development process and is not to form part of any information available to prospective customers who will be users of a system containing this component. Substantial competitive harm would result if the information were available to our competitors. The information has been held in commercially secure places, and any external body handling it has been subject to Non Disclosure Agreements. The information should not be made available for public disclosure for period of at least 10 years. The internal photos should not be made available for 45 days. Internal Photographs 1file "Tag photos.pdf" Schematics 1 file "ASH201 Tag schematic.pdf" Operational Description and Block Diagram 1 file "Tag Design Description and Block Diagram.pdf" Yours sincerely 2 2 SJ Braithwaite ASH Communications on behalf of Loc8tor Ltd.
ID Label/Location Info
scale 1:1 12X12.0mm Loc8tor engraving drawing scale 1:1 31.0X14.0mm R2.0 typ.4 Model: Loc8tor Tag FCC ID:TUW-LOT11 IC:6444A-LOT11 Model: Loc8tor Handheld Designed in UK, Made in China FCC ID:TUW-LOH11 IC:6444A-LOH11 20.5mm get center get center get center Please Note a. 183 metre / 600 feet range is based on clear line of sight. Actual range will vary depending on use, environment and location. b. Loc8tor is not a toy and should only be used by adults or with parental supervision. c. Locate mode has been designed to help find your possessions. It should not be relied on to find people. d. Alert mode has only been designed to act as an aid to warn against items getting misplaced or stolen. e. The Loc8tor Handheld works in one mode at a time. Whilst Locating an item Alert mode will be temporarily switched off. f. When a Tagged item goes out of the far range in Alert mode it may be out of range to locate. g. Usage of the Panic Tag button is limited to approximately 1,100 presses. h.The Loc8tor is intended to be used in accordance with instructions. i. BEWARE OF CHOKING HAZARD – KEEP LOOSE TAGS OUT OF THE REACH OF YOUNG CHILDREN. HANDHELD FCC ID: TUW-LOH11 IC: 6444A-LOH1 1 Designed in the UK. Made in China for Loc8tor Ltd in compliance with ISO 9001:2000 Certification Head Of fice Loc8tor Ltd, Devonshire House, 404 – 406 Finchley Road, London, NW2 2HZ Customer Services UK: 0870 431 1111 Head Office: +44 207 431 1111 www.loc8tor.com/support THE ENTIRE CONTENTS OF THIS BROCHURE © 2006, LOC8TOR LTD. TAG FCC ID: TUW-LOT11 IC: 6444A-LOT11 This device complies with part 15 of the FCC Rules. Operation is subject to the following two conditions: (1) This device may not cause harmful interference, and (2) this device must accept any interference received, including interference that may cause undesired operation. (5018) Loc8tor User Manual 3/5/06 2:57 pm Page 12
Test Report
REPORT ON Limited FCC CFR 47: Parts 15 B and C Testing in Support of an Application for Grant of Equipment Authorisation of a Loc8tor Ltd Loc8tor Tag (2.4GHz transceiver) COMMERCIAL-IN-CONFIDENCE FCC ID: TUW-LOT11 Report No OR615060/03 Issue 3 May 2006 Competence. Certainty. Quality. ASH Communications Ltd. – Confidential TUV Product Service Ltd, Octagon House, Concorde Way, Segensworth North, Fareham, Hampshire, United Kingdom, PO15 5RL Tel: +44 (0) 1489 558100. Website: www.tuvps.co.uk ; www.babt.com Report Number OR615060/03 Issue 3 Page 1 of 35 COMMERCIAL-IN-CONFIDENCE REPORT ON Limited FCC CFR 47: Parts 15 B and C Testing in Support of an Application for Grant of Equipment Authorisation of a Loc8tor Ltd Loc8tor Tag (2.4GHz transceiver) FCC ID: TUW-LOT11 Report No OR615060/03 Issue 3 May 2006 PREPARED FOR ASH Communications Ltd 5 Shaftesbury Avenue Highfield Southampton SO17 1SB PREPARED BY J Plummer Technical Author APPROVED BY J Adams M Jenkins Authorised Signatory Authorised Signatory DATED 16 th May 2006 This report has been re-issued as Issue 3 to update typographical errors in the original report and to add some additional explanation where required. The Test Results are unaffected. ENGINEERING STATEMENT The measurements shown in this report were made in accordance with the procedures described on test pages. All reported testing was carried out on a sample equipment to demonstrate limited compliance with FCC CFR 47: Parts 15 B & C. The sample tested was found to comply with the requirements defined in the applied rules. Test Engineers; J Holcombe A Guy FCC ID: TUW-LOT11 COMMERCIAL-IN-CONFIDENCE Report Number OR615060/03 Issue 3 Page 2 of 35 COMMERCIAL-IN-CONFIDENCE CONTENTS Section Page No 1 REPORT SUMMARY 1.1 Status.................................................................................................................................. 4 1.2 Introduction ......................................................................................................................... 5 1.3 Product Information............................................................................................................ 6 1.4 Brief Summary of Results................................................................................................... 8 1.5 Test Conditions................................................................................................................... 9 1.6 Deviations from the Standard............................................................................................. 9 1.7 Modification Record............................................................................................................ 9 2 TEST DETAILS Part 15 B 2.1 Spurious Radiated Emissions ............................................................................................ 11 Part 15 C 2.2 Measurement at the Band Edge......................................................................................... 13 2.3 6dB Bandwidth ................................................................................................................... 19 2.4 Maximum Peak Output Power (Radiated).......................................................................... 21 2.5 Spurious Radiated Emissions ............................................................................................ 23 2.6 Peak Power Spectral Density ............................................................................................. 26 3 TEST EQUIPMENT 3.1 Test Equipment .................................................................................................................. 30 3.2 Measurement Uncertainty .................................................................................................. 31 4 PHOTOGRAPHS 4.1 Photographs of Equipment Under Test (EUT)................................................................... 33 5 ACCREDITATION, DISCLAIMERS AND COPYRIGHT 5.1 Accreditation, Disclaimers and Copyright .......................................................................... 35 FCC ID: TUW-LOT11 COMMERCIAL-IN-CONFIDENCE Report Number OR615060/03 Issue 3 Page 3 of 35 COMMERCIAL-IN-CONFIDENCE SECTION 1 REPORT SUMMARY Limited FCC CFR 47: Parts 15 B and C Testing in Support of an Application for Grant of Equipment Authorisation of a Loc8tor Ltd Loc8tor Tag (2.4GHz transceiver) FCC ID: TUW-LOT11 COMMERCIAL-IN-CONFIDENCE Report Number OR615060/03 Issue 3 Page 4 of 35 COMMERCIAL-IN-CONFIDENCE 1.1 STATUS Equipment Under Test Loc8tor Tag (2.4GHz transceiver) Objective To undertake measurements to determine the Equipment Under Test's (EUT's) compliance with the specification. Name and Address of Client ASH Communications Ltd 5 Shaftesbury Avenue Highfield Southampton SO17 1SB Manufacturers Name and Address Loc8tor Ltd Devonshire House 404-406 Finchley Rd London NW2 2HZ Part Number LOC1200 Serial Number 101 (cont Tx) 202 (cont Rx) Hardware Version Issue E Declared Variants None Test Specification/Issue/Date FCC CFR 47: Part 15, Subparts B and C: 2003 and 2005 Number of Items Tested One Security Classification of EUT Commercial-in-Confidence Incoming Release Declaration of Build Status Date 8 th February 2006 Disposal Held pending disposal Reference Number Not Applicable Date Not Applicable Order Number ASH066 Date 30 th January 2006 Start of Test 8 th February 2006 Finish of Test 10 th February 2006 Related Documents ANSI C63.4: 2001 FCC 03-287: 2003 FCC 04-165: 2004 FCC ID: TUW-LOT11 COMMERCIAL-IN-CONFIDENCE Report Number OR615060/03 Issue 3 Page 5 of 35 COMMERCIAL-IN-CONFIDENCE 1.2 INTRODUCTION The information contained within this report is intended to show limited verification of compliance of the Loc8tor Ltd Loc8tor Tag (2.4GHz transceiver) to the requirements of FCC Specification Parts 15 B and C. Testing was carried out in support of an application for Grant of Equipment Authorisation in the name of Loc8tor Ltd. FCC ID: TUW-LOT11 COMMERCIAL-IN-CONFIDENCE Report Number OR…
Text truncated - open the document above for the full version.
Test Setup Photos
FCC ID: TUW-LOT11 ASH Communications Ltd Loc8tor Tag ©2006 Not to be reproduced, except in its entirety, Page 1 of 1 without the Permission of TUV Product Service Ltd BABT Reference: OR615060-03 PHOTOGRAPHS OF TEST SET UP Radiated Emissions
Contact Information
Applicant
Anthony Richards(Managing Director)
Technical Contact
ASH CommunicationsSteve Braithwaite
[email protected]02380551044
5 Shaftesbury Avenue · Southampton · United Kingdom
Test Firm
TUV SUD Product ServiceMark Jenkins
Technical Specifications
| # | Rule Parts | Frequency Range | Power Output | Emission | Tolerance |
|---|---|---|---|---|---|
| 1 | 15C | 2.44 GHz - 2.44 GHz | 1.00 mW | 20M0G1D | 10.0000000000 ppm |
Other Applications from Loc8tor Ltd
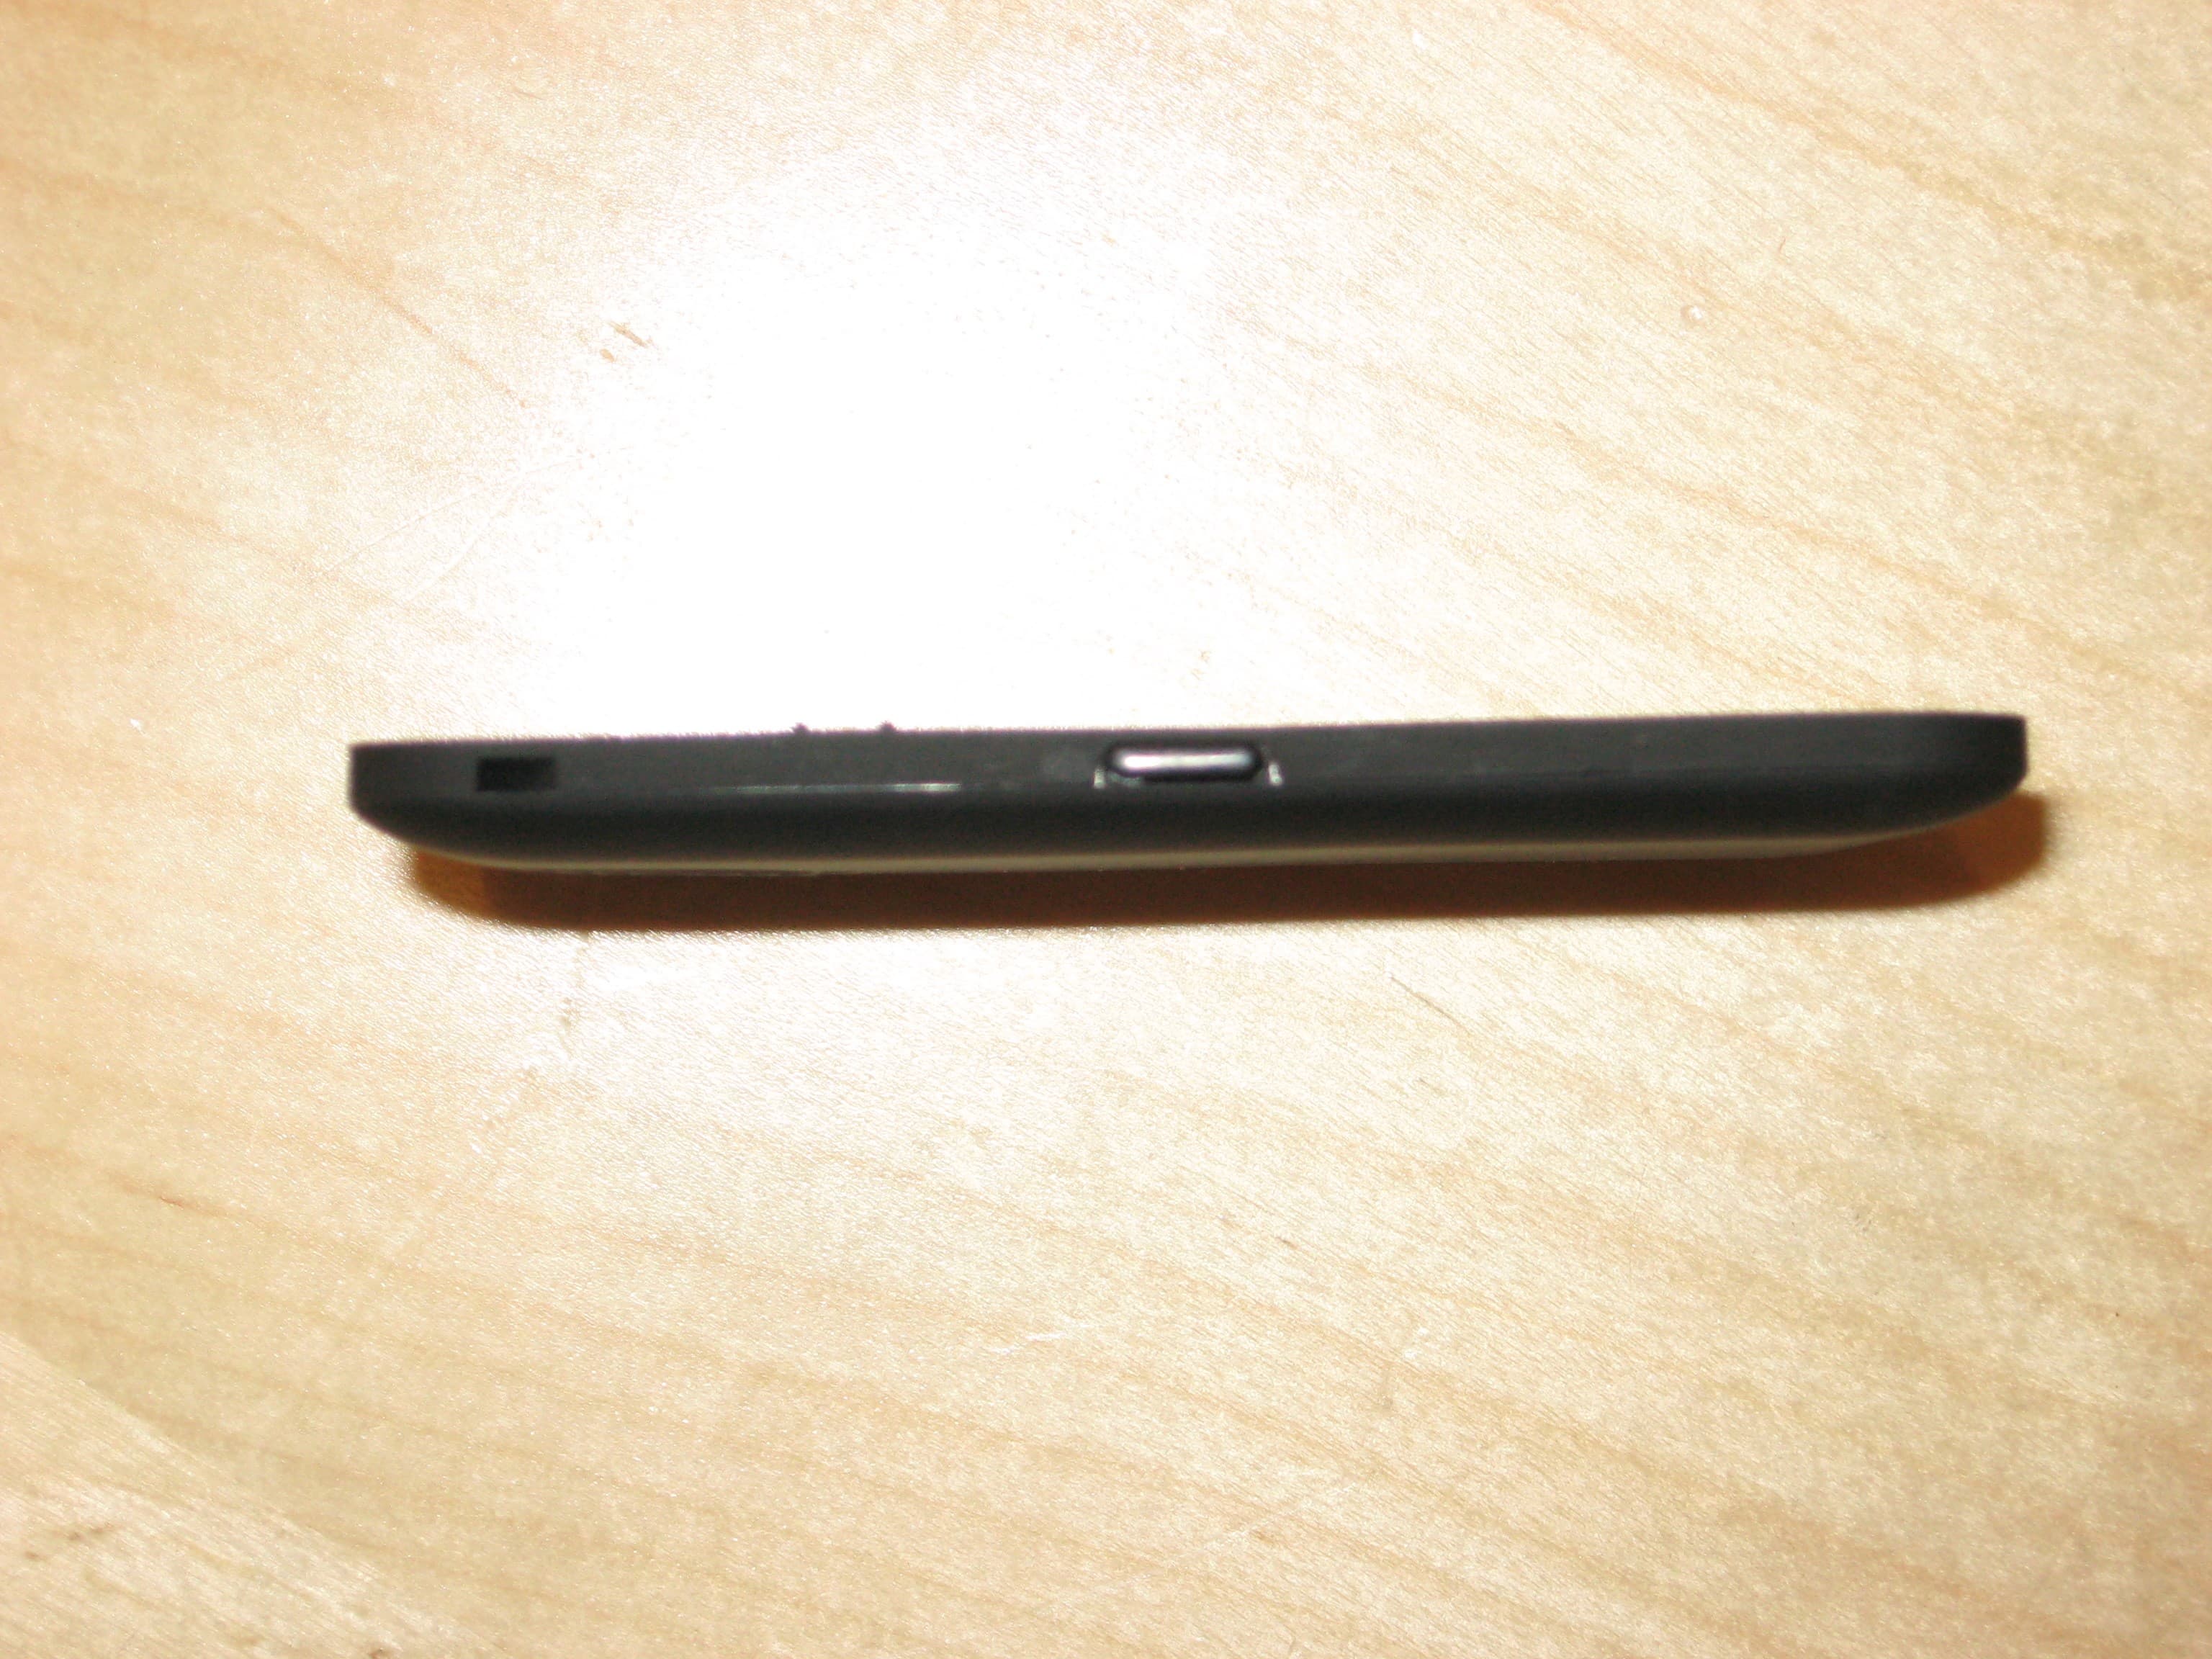
TUW-SYC1
Mar 06, 2008Asset tracking and management device
Equipment Class
DTS - Digital Transmission System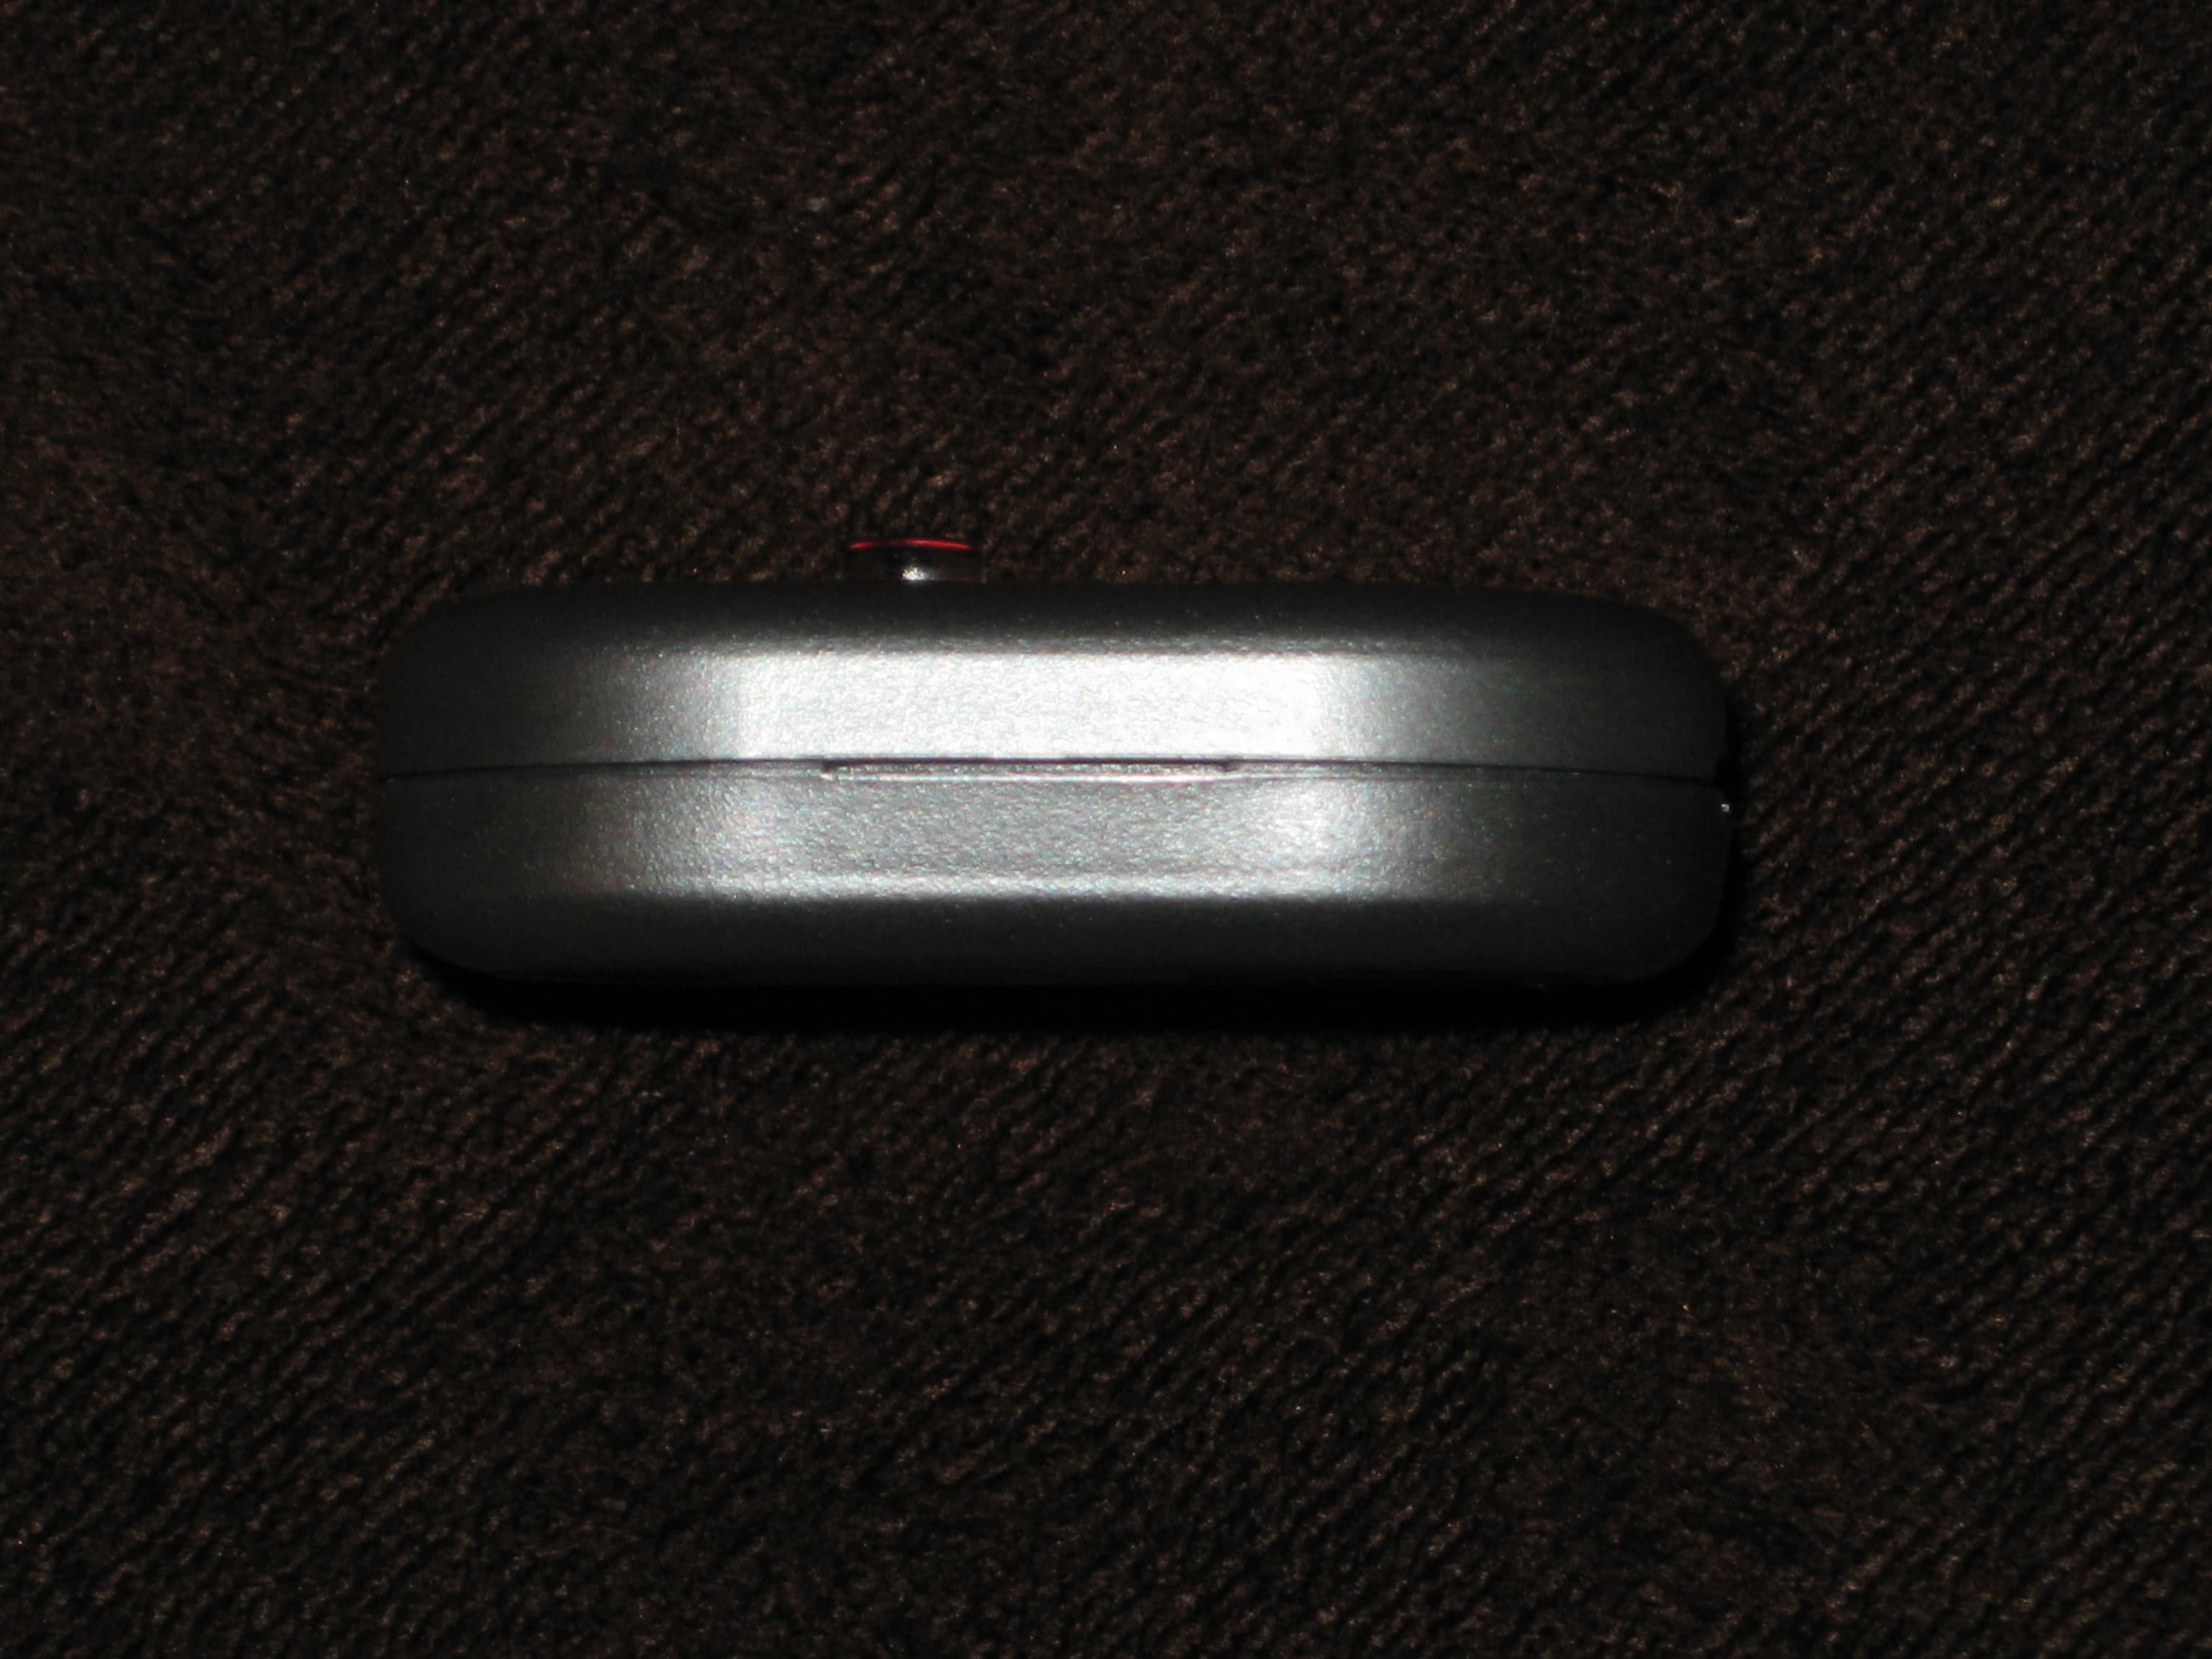
TUW-FIR1
Mar 06, 2008Asset management and tracking system
Equipment Class
DTS - Digital Transmission System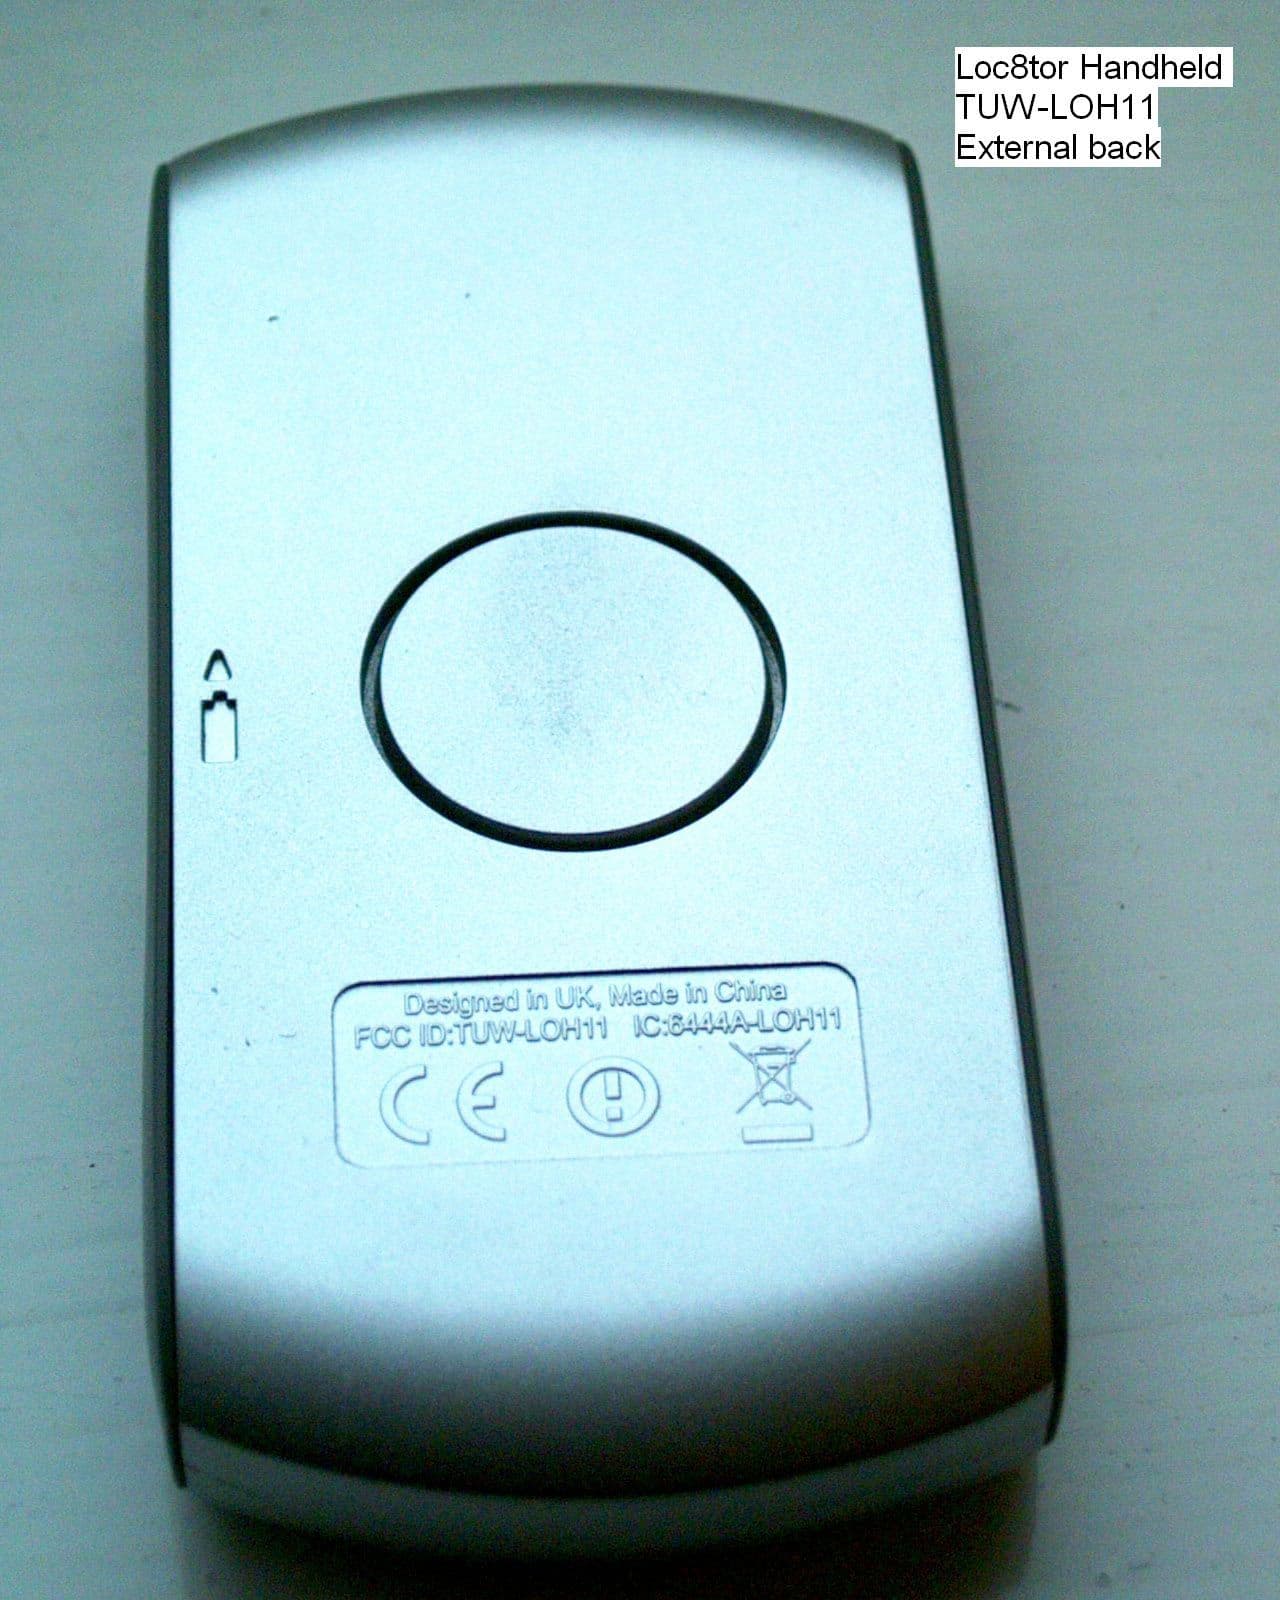
TUW-LOH11
May 24, 2006Asset tracking and management device
Equipment Class
DTS - Digital Transmission System