V3TPT420pocket transmitter for wireless microphones
AKG Acoustics GmbH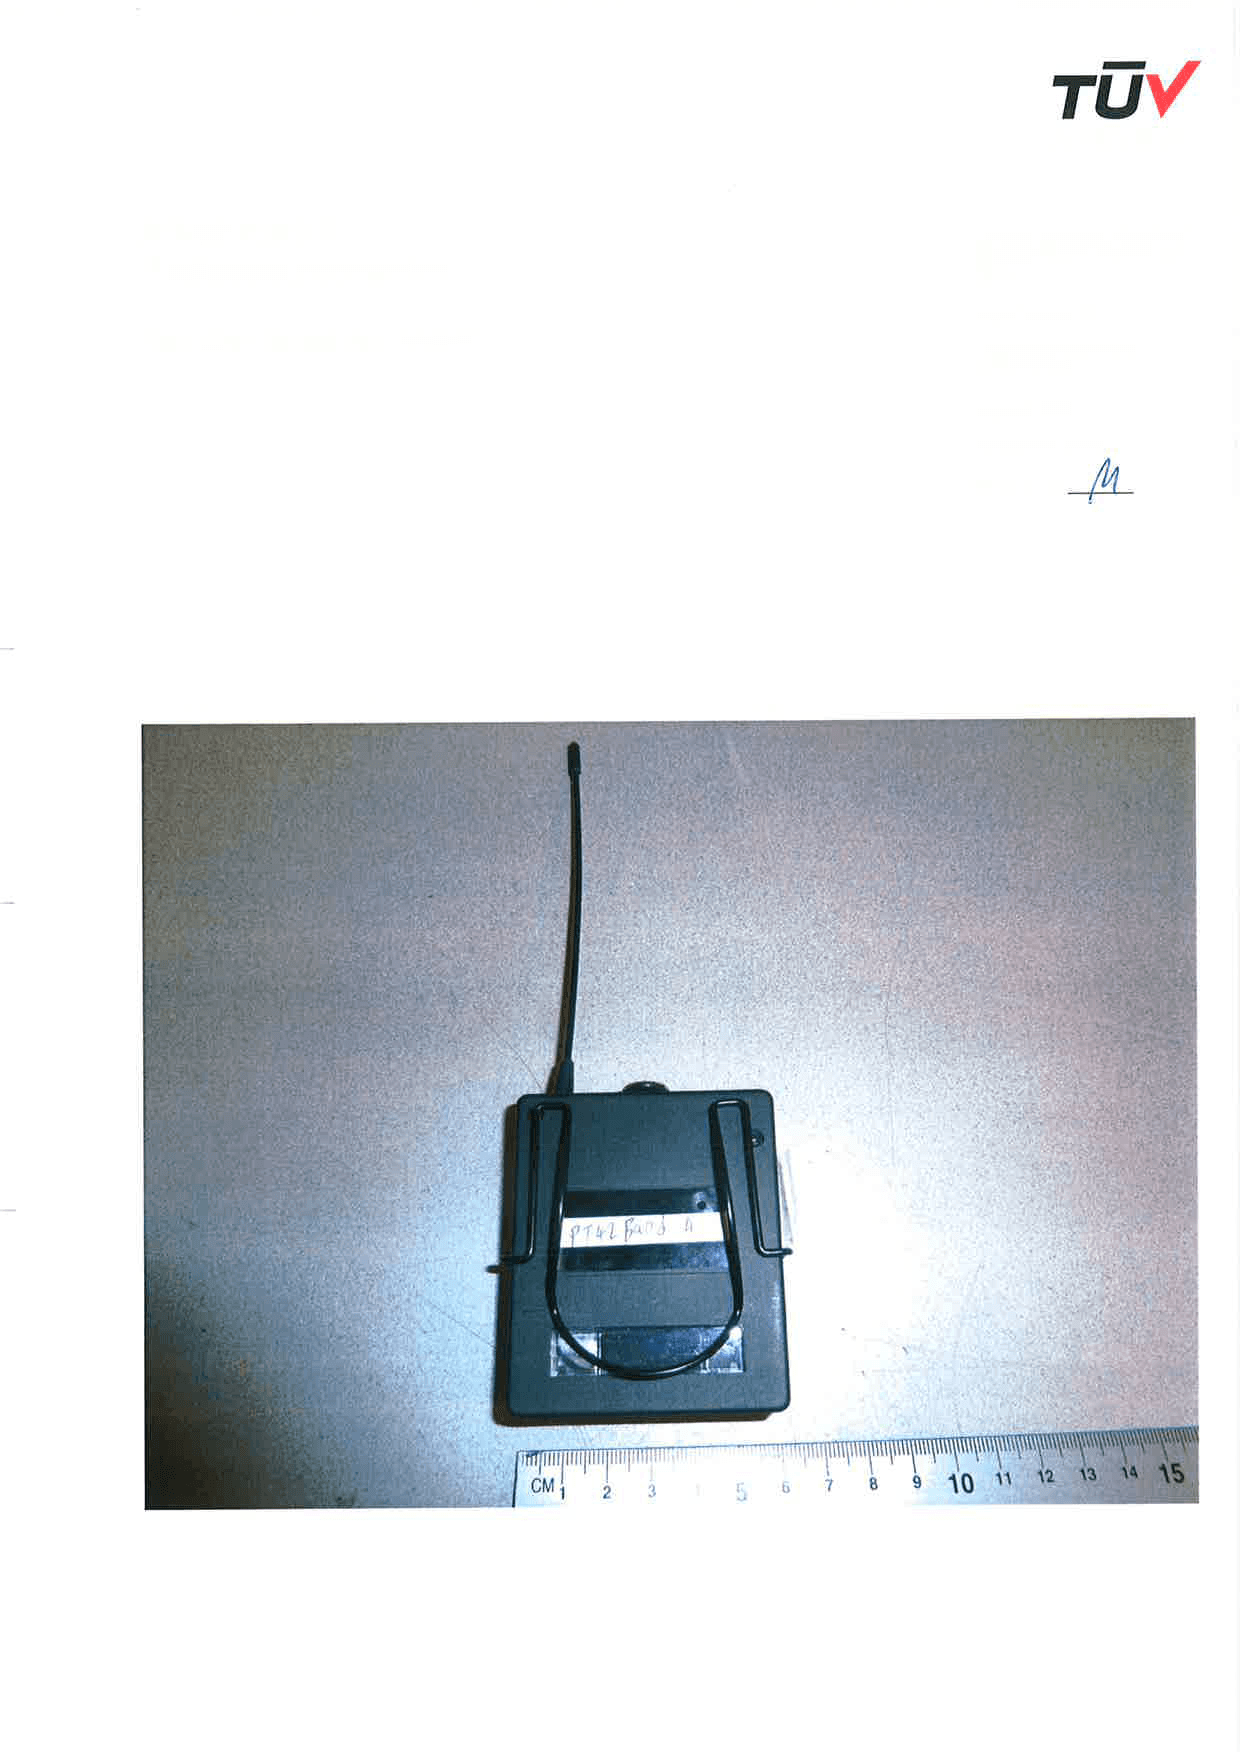
Click to zoom
Application Details
- Equipment Class
- TNT - Licensed Non-Broadcast Transmitter Worn on Body
- Date of Grant
- Mar 04, 2014
- Application Purpose
- Original Equipment
- Date of Application
- Mar 04, 2014
- Equipment Note
- pocket transmitter for wireless microphones
- Frequency Range
- 614.10000000 - 629.90000000
- Company
- AKG Acoustics GmbH
- Country
- Austria
Documents & Files
Document Text
Text extracted from the exhibit documents filed with the FCC. Open a document above to read the original.
Users Manual
+ - SR420 PT420 HT420 1 2 3 5 6 4 Ein/Aus Taste On/Off button Touche Marche/Arrêt Tasto ON/OFF Tecla Con/Des Botão Ligar/Desligar Lautstärkeregler Volume control Réglage du volume sonore Manopola di regolazione volume Regulador de volumen Regulador de volume RF OK leuchtet, wenn der Empfänger ein Signal ausreichender Stärke empfängt; bei keinem oder zu schwachem Signal leuchtet RF OK nicht RF OK lights up if the receiver is receiving a sufficiently strong signal; RF OK will not light up if a signal is not being received or the signal is too weak RF OK est allumé lorsque le récepteur reçoit un signal de puissance suffisante; en cas d'absence de signal ou de signal trop faible, RF OK ne s'allume pas RF OK: questo LED si illumina se viene ricevuto un segnale di intensità adeguata, mentre non si illumina se non viene ricevuto alcun segnale oppure se l'intensità del segnale è insufficiente RF OK se enciende cuando el receptor recibe una señal lo bastante fuerte; si no hay señal o ésta es muy débil, el RF OK no se enciende A luz RF OK acende quando o receptor recebe um sinal com intensidade suficiente; se não for recebido nenhum sinal ou se este for fraco, a luz RF OK não acende 1:2: 3: Only for frequencies designed for use in the USA. (Receiver complies to Part 15, transmitter to Part 74): 4: CLIP leuchtet wenn der Audiopegel zu hoch ist CLIP lights up if the audio level is too high CLIP est allumé lorsque le niveau audio est trop élevé CLIP: questo LED si illumina se il livello audio è troppo elevato CLIP se enciende cuando los niveles de audio son demasiado elevados A luz CLIP acende se o nível de áudio for demasiado alto 5: CHANNEL zum Einstellen von bis zu 8 verschiedenen Kanälen CHANNEL for selecting up to 8 different channels CHANNEL pour le réglage de 8 canaux au maximum CHANNEL manopola che consente di impostare fino ad 8 canali diversi CHANNEL para la sintonización de hasta 8 canales distintos Botão CHANNEL para definir até 8 canais diferentes 6: 4 4 6 7 GAIN Schieberegler zum Einstellen der Eingangsempfindlichkeit GAIN slide control for setting input sensitivity Curseur GAIN pour le réglage de la sensibilité d'entrée Cursore GAIN per la regolazione della sensibilità di ingresso GAIN Fader para ajustar la sensibilidad de entrada Botão deslizante GAIN para definir a sensibilidade de entrada 7: 8 Kontroll-LED für Betriebsbereitschaft und Batteriekapazität LED indicating readiness for operation and battery capacity DEL de contrôle pour l'état opérationnel et le niveau de charge des piles LED di controllo dello stato di carica e della capacità della batteria LED de control para la disponibilidad de servicio y la capacidad de la batería LED de controlo da operacionalidade e da capacidade das pilhas 8: Ein/Aus Schieberegler mit MUTE-Funktion On/Off slide control with MUTE function Curseur Marche/Arrêt avec fonction MUTE Cursore ON/OFF con funzione MUTE Conectar/Desconectar el fader con función MUTE Botão deslizante Ligar/Desligar com função MUTE (silêncio) 9: 9 9 10 8 Mini-XLR-Eingangsbuchse Mini-XLR input jack Fiche d'entrée mini XLR Mini-presa di ingresso XLR Clavija de entrada mini-XLR Tomada de entrada XLR mini 10: Gürtelspange Belt clip Agrafe de ceinture Clip per cintura Hebilla de cinturón Gancho para cinto 11: Batteriefachdeckel Battery compartment cover Couvercle du compartiment des piles Scomparto batterie Tapa de la batería Tampa do compartimento das pilhas 12: 11 12 Nur für Frequenzbänder für den Gebrauch in EC: Dieses Produkt entspricht den in der Konformitätserklärung angegebenen Normen. Sie können die Konformitätserklärung auf www.akg.com oder per E-Mail an [email protected] anfordern. Only for frequency bands designed for use in the EC: This product conforms to the standards listed in the Declaration of Conformity. To order a free copy of the Declaration of Conformity, visit www.akg.com or contact [email protected]. Conçu uniquement pour les bandes à fréquence, pour une utilisation dans la CE: Ce produit est conforme aux normes citées dans la Déclaration de Conformité, dont vous pouvez prendre connaissance en consultant le site www.akg.com ou en adressant un e-mail à [email protected]. Solo per bande di frequenza designate per l'uso nella CE: Questo prodotto corrisponde alle norme elencate nella dichiarazione di conformità, che è disponibile al sito www.akg.com oppure all'indirizzo email [email protected]. Sólo para bandas de frecuencia diseñadas para uso en la CE: Este aparato corresponde a las normas citadas en la declaración de conformidad. Esta última está disponible en el sitio www.akg.com o puede ser solicitada al correo electrónico [email protected]. Apenas para bandas de frequência concebidas para uso na CE: Este produto corresponde às normas citadas na declaração de conformidade, que pode pedir na nossa página da web www.akg.com, ou enviando-nos um email para [email protected]. Weitere Informationen finden Sie in der Bedienungsanleitung als PDF Download unter www.akg.com. Further information can be found in the operating instructions as a PDF download from www.akg.com. Pour toutes informations complémentaires, consulter la Notice d'utilisation à télécharger au format PDF sur le site www.akg.com. Ulteriori informazioni sono disponibili nelle istruzioni per l'uso, scaricabili in formato PDF dal sito www.akg.com. Obtendrá más información en el manual de funcionamiento que puede descargar en formato PDF en www.akg.com. Para mais informações transfira o manual de instruções em PDF a partir do site www.akg.com. Passen Sie den Audiopegel mit dem Volume-Button an Ihr angeschlossenes Gerät an. Für optimale Ergebnisse empfehlen wir einen möglichst hohen Eingangspegel um einen optimalen Signal-Rauschabstand zu erhalten. Beachten Sie jedoch, dass die Pegelanzeige auch bei lautem Besprechen des Mikrofons nie in den roten Bereich gerät, da es sonst zu unangenehm klingenden Verzerrungen kommen kann. Erhöhen Sie den Eingangspegel vorsichtig bis die Pegelanzeige gerade nicht rot aufleuchtet. Adjust the au…
Text truncated - open the document above for the full version.
Users Manual
WMS420 BEDIENUNGSANLEITUNG ....................... 2 Bitte vor Inbetriebnahme des Gerätes lesen! USER INSTRUCTIONS .......................... 18 Please read the manual before using the equipment! MODE D’EMPLOI ................................. 34 Veuillez lire cette notice avant d’utiliser le système! ISTRUZIONI PER L’USO ........................ 50 Prima di utilizzare l’apparecchio, leggere il manuale! MODO DE EMPLEO .............................. 66 ¡Sirvase leer el manual antes de utilizar el equipo! INSTRUÇÕES DE USO .......................... 82 Favor leia este manual antes de usar o equipamento! 2 WMS420 Inhaltsverzeichnis 1 Sicherheit und Umwelt .............................................................................................. 3 Sicherheit .................................................................................................................... 3 Umwelt ........................................................................................................................ 3 2 Beschreibung ............................................................................................................. 4 Einleitung .................................................................................................................... 4 Lieferumfang ............................................................................................................... 4 Optionales Zubehör ...................................................................................................... 4 Empfänger SR420 ........................................................................................................ 5 Handsender HT420 ...................................................................................................... 7 Taschensender PT420 ................................................................................................. 8 3 Inbetriebnahme ........................................................................................................ 10 Empfänger positionieren ............................................................................................. 10 Antennen anschließen ................................................................................................ 10 Empfänger an einen symmetrischen Eingang anschließen ............................................ 10 Empfänger an das Netz anschließen ............................................................................ 10 Batterien in den Hand-/Taschensender einlegen und testen .......................................... 11 Frequenz einstellen Empfänger ................................................................................... 11 Frequenz einstellen Hand-/Taschensender ................................................................... 11 Handsender in Betrieb nehmen ................................................................................... 11 Taschensender in Betrieb nehmen .............................................................................. 11 Vor dem Soundcheck ................................................................................................. 12 4 Mikrofontechnik ....................................................................................................... 13 Handsender HT420 .................................................................................................... 13 Taschensender PT420 ............................................................................................... 14 5 Reinigung ................................................................................................................. 15 Oberflächen ............................................................................................................... 15 Innenwindschutz des Handsenders .............................................................................. 15 6 Fehlerbehebung ....................................................................................................... 16 7 Technische Daten .................................................................................................... 17 Inhaltsverzeichnis WMS420 3 Sicherheit und Umwelt Schütten Sie keine Flüssigkeiten auf das Gerät. Stellen Sie keine mit Flüssigkeit gefüllten Gefäße auf das Gerät oder das Netzteil. Das Gerät darf nur in trockenen Räumen eingesetzt werden. Das Gerät darf nur von autorisiertem Fachpersonal geöffnet, gewartet und repariert werden. Im Inneren des Gehäuses befinden sich keinerlei Teile, die vom Laien gewartet, repariert oder ausgetauscht werden können. Prüfen Sie vor Inbetriebnahme des Geräts, ob die auf dem mitgelieferten Steckernetzteil angegebene Betriebsspannung der Netzspannung am Einsatzort entspricht. Betreiben Sie das Gerät ausschließlich mit dem mitgelieferten Steckernetzteil mit einer Ausgangsspannung von 12 V DC. Andere Stromarten und Spannungen könnten das Gerät ernsthaft beschädigen! Brechen Sie den Betrieb der Anlage sofort ab, wenn ein fester Gegenstand oder Flüssigkeit in das Geräteinnere gelangen sollte. Ziehen Sie in diesem Fall sofort das Steckernetzteil aus der Steckdose und lassen Sie das Gerät von unserem Kundendienst überprüfen. Ziehen Sie das Steckernetzteil bei längerer Nichtverwendung aus der Steckdose. Bitte beachten Sie, dass bei angestecktem Steckernetzteil das Gerät nicht vollständig vom Netz getrennt wird, wenn Sie es ausschalten. Stellen Sie das Gerät nicht in der Nähe von Wärmequellen wie z.B. Radiatoren, Heizungsrohren, Verstärkern, usw. auf und setzen Sie es nicht direkter Sonneneinstrahlung, starker Staub- und Feuchtigkeitsentwicklung, Regen, Vibrationen oder Schlägen aus. Verlegen Sie zur Vermeidung von Störungen bzw. Einstreuungen sämtliche Leitungen, speziell die der Mikrofoneingänge, getrennt von Starkstromleitungen und Netzleitungen. Bei Verlegung in Schächten oder Kabelkanälen achten Sie darauf, die Übertragungsleitungen in einem separaten Kanal unterzubringen. Reinigen Sie…
Text truncated - open the document above for the full version.
Users Manual
OWNER’S MANUAL — p. 1 MANUAL DE INSTRUCCIONES — p. 6 MODE D’EMPLOI — p. 11 MANUAL DO PROPRIETÁRIO — p. 16 MANUALE UTENTE — p. 21 BEDIENUNGSHANDBUCH — S. 26 ENGLISH ESPAÑOL FRANÇAIS ITALIANO DEUTSCH PORTUGUÊS UHF Wireless System™ FWG 1010 1 FWG 1010 Symbols Used The lightning flash with arrow point in an equilateral trian- gle means that there are dangerous voltages present within the unit. The exclamation point in an equilateral triangle on the equipment indicates that it is necessary for the user to refer to the User Manual. In the User Manual, this symbol marks instructions that the user must follow to ensure safe operation of the equipment. Safety and Environment Safety • Do not spill any liquids on the equipment. • Do not place any containers containing liquid on the device or the power pack. • The equipment may be used in dry rooms only. • The equipment must only be opened, serviced, and repaired by authorised personnel. The equipment contains no user-service- able parts. • Before connecting the equipment to power, check that the AC mains voltage stated on the supplied AC adapter is identical to the AC mains voltage available where you will use the equip- ment. • Only operate the equipment with the supplied AC adapter with a 12-VDC output. Using adapters with a different output voltage or current type may cause serious damage to the unit. • If any solid object or liquid should get into the equipment, shut down the system immediately. Disconnect the AC adapter from the power outlet at once and have the equipment checked by our customer service department. • If the equipment is not going to be used for a long time, discon- nect the AC adapter from the power outlet. Please note that if you turn the equipment off while leaving the AC adapter plugged in, it is not fully isolated from the power supply. • Do not place the equipment near heat sources such as radiators, heating ducts, amplifiers, etc. and do not expose it to direct sun- light, excessive dust, moisture, rain, mechanical vibrations, or shock. • To avoid hum or interference, route all audio lines, particularly those connected to the microphone inputs, away from power lines of any type. If you use cable ducts, be sure to use separate ducts for the audio lines. • Clean the equipment with a moistened (not wet) cloth only. Be sure to disconnect the AC adapter from the power outlet before cleaning the equipment. Never use caustic or scouring cleaners or cleaning products containing alcohol or solvents since these may damage the enamel and plastic parts. • Only use the equipment for the applications described in this manual. Fender cannot accept any liability for damages resulting from improper handling or misuse. Environment • The power supply unit consumes a small amount of electricity even when the unit is switched off. To save energy, unplug the power supply unit from the socket if you are not going to be us- ing the unit for some time. • The packaging is recyclable. Dispose of the packaging in an ap- propriate recycling collection system. • If you scrap the unit, separate the case, electronics and cables and dispose of all the components in accordance with the appro- priate waste disposal regulations. FCC STATEMENT The transmitter has been tested and found to comply with the limits for a low-power auxiliary station pursuant to Part 74 of the FCC Rules. The receiver has been tested and found to comply with the limits for a Class B digital device, pursuant to Part 15 of the FCC Rules. These limits are designed to provide reasonable protection against harmful interference in a residential installation. This equip- ment generates, uses, and can radiate radio frequency energy and, if not installed and used in accordance with the instructions, may cause harmful interference to radio communications. However, there is no guarantee that interference will not occur in a particular installation. If this equipment does cause harmful interference to radio or television reception, which can be determined by turning the equipment off and on, the user is encouraged to try to correct the interference by one or more of the following measures: • Reorient or relocate the receiving antenna. • Increase the separation between the equipment and the receiv- er. • Connect the equipment into an outlet on a circuit different from that to which the receiver is connected. • Consult the dealer or an experienced radio/TV technician for help. Shielded cables and I/O cords must be used for this equipment to comply with the relevant FCC regulations. Changes or modifica- tions not expressly approved in writing by FMIC may void the user’s authority to operate this equipment. The receiver complies with Part 15 of the FCC Rules. Operation is subject to the following two conditions: (1) this device may not cause harmful interference, and (2) this device must accept any interference received, including interference that may cause unde- sired operation. USA only: FCC CONSUMER ALERT Most users do not need a license to operate this wireless system. Nevertheless, operating this system without a license is subject to certain restrictions: the system may not cause harmful interference; it must operate at a low power level (not in excess of 50 milliwatts); and it has no protection from interference received from any other device. Purchasers should also be aware that the FCC is currently evaluating use of wireless systems, and these rules are subject to change. For more information, call the FCC at 1-888- CALL-FCC (TTY: 1-888-TELL- FCC) or visit the FCC’s website at www.fcc.gov/cgb/wirelessmicro- phones. ENGLISH 2 FW G 101 0 1. GENERAL Introduction . . . for purchasing a Fender product. This manual contain s important in structi ons for setting up and operating your equip ment. Please take a few minutes to read the in structi ons below car efull y before operat- in g the equip ment. Please keep the manual for future refe rence. We hope you enjoy using your system! Accessories/…
Text truncated - open the document above for the full version.
Cover Letter(s)
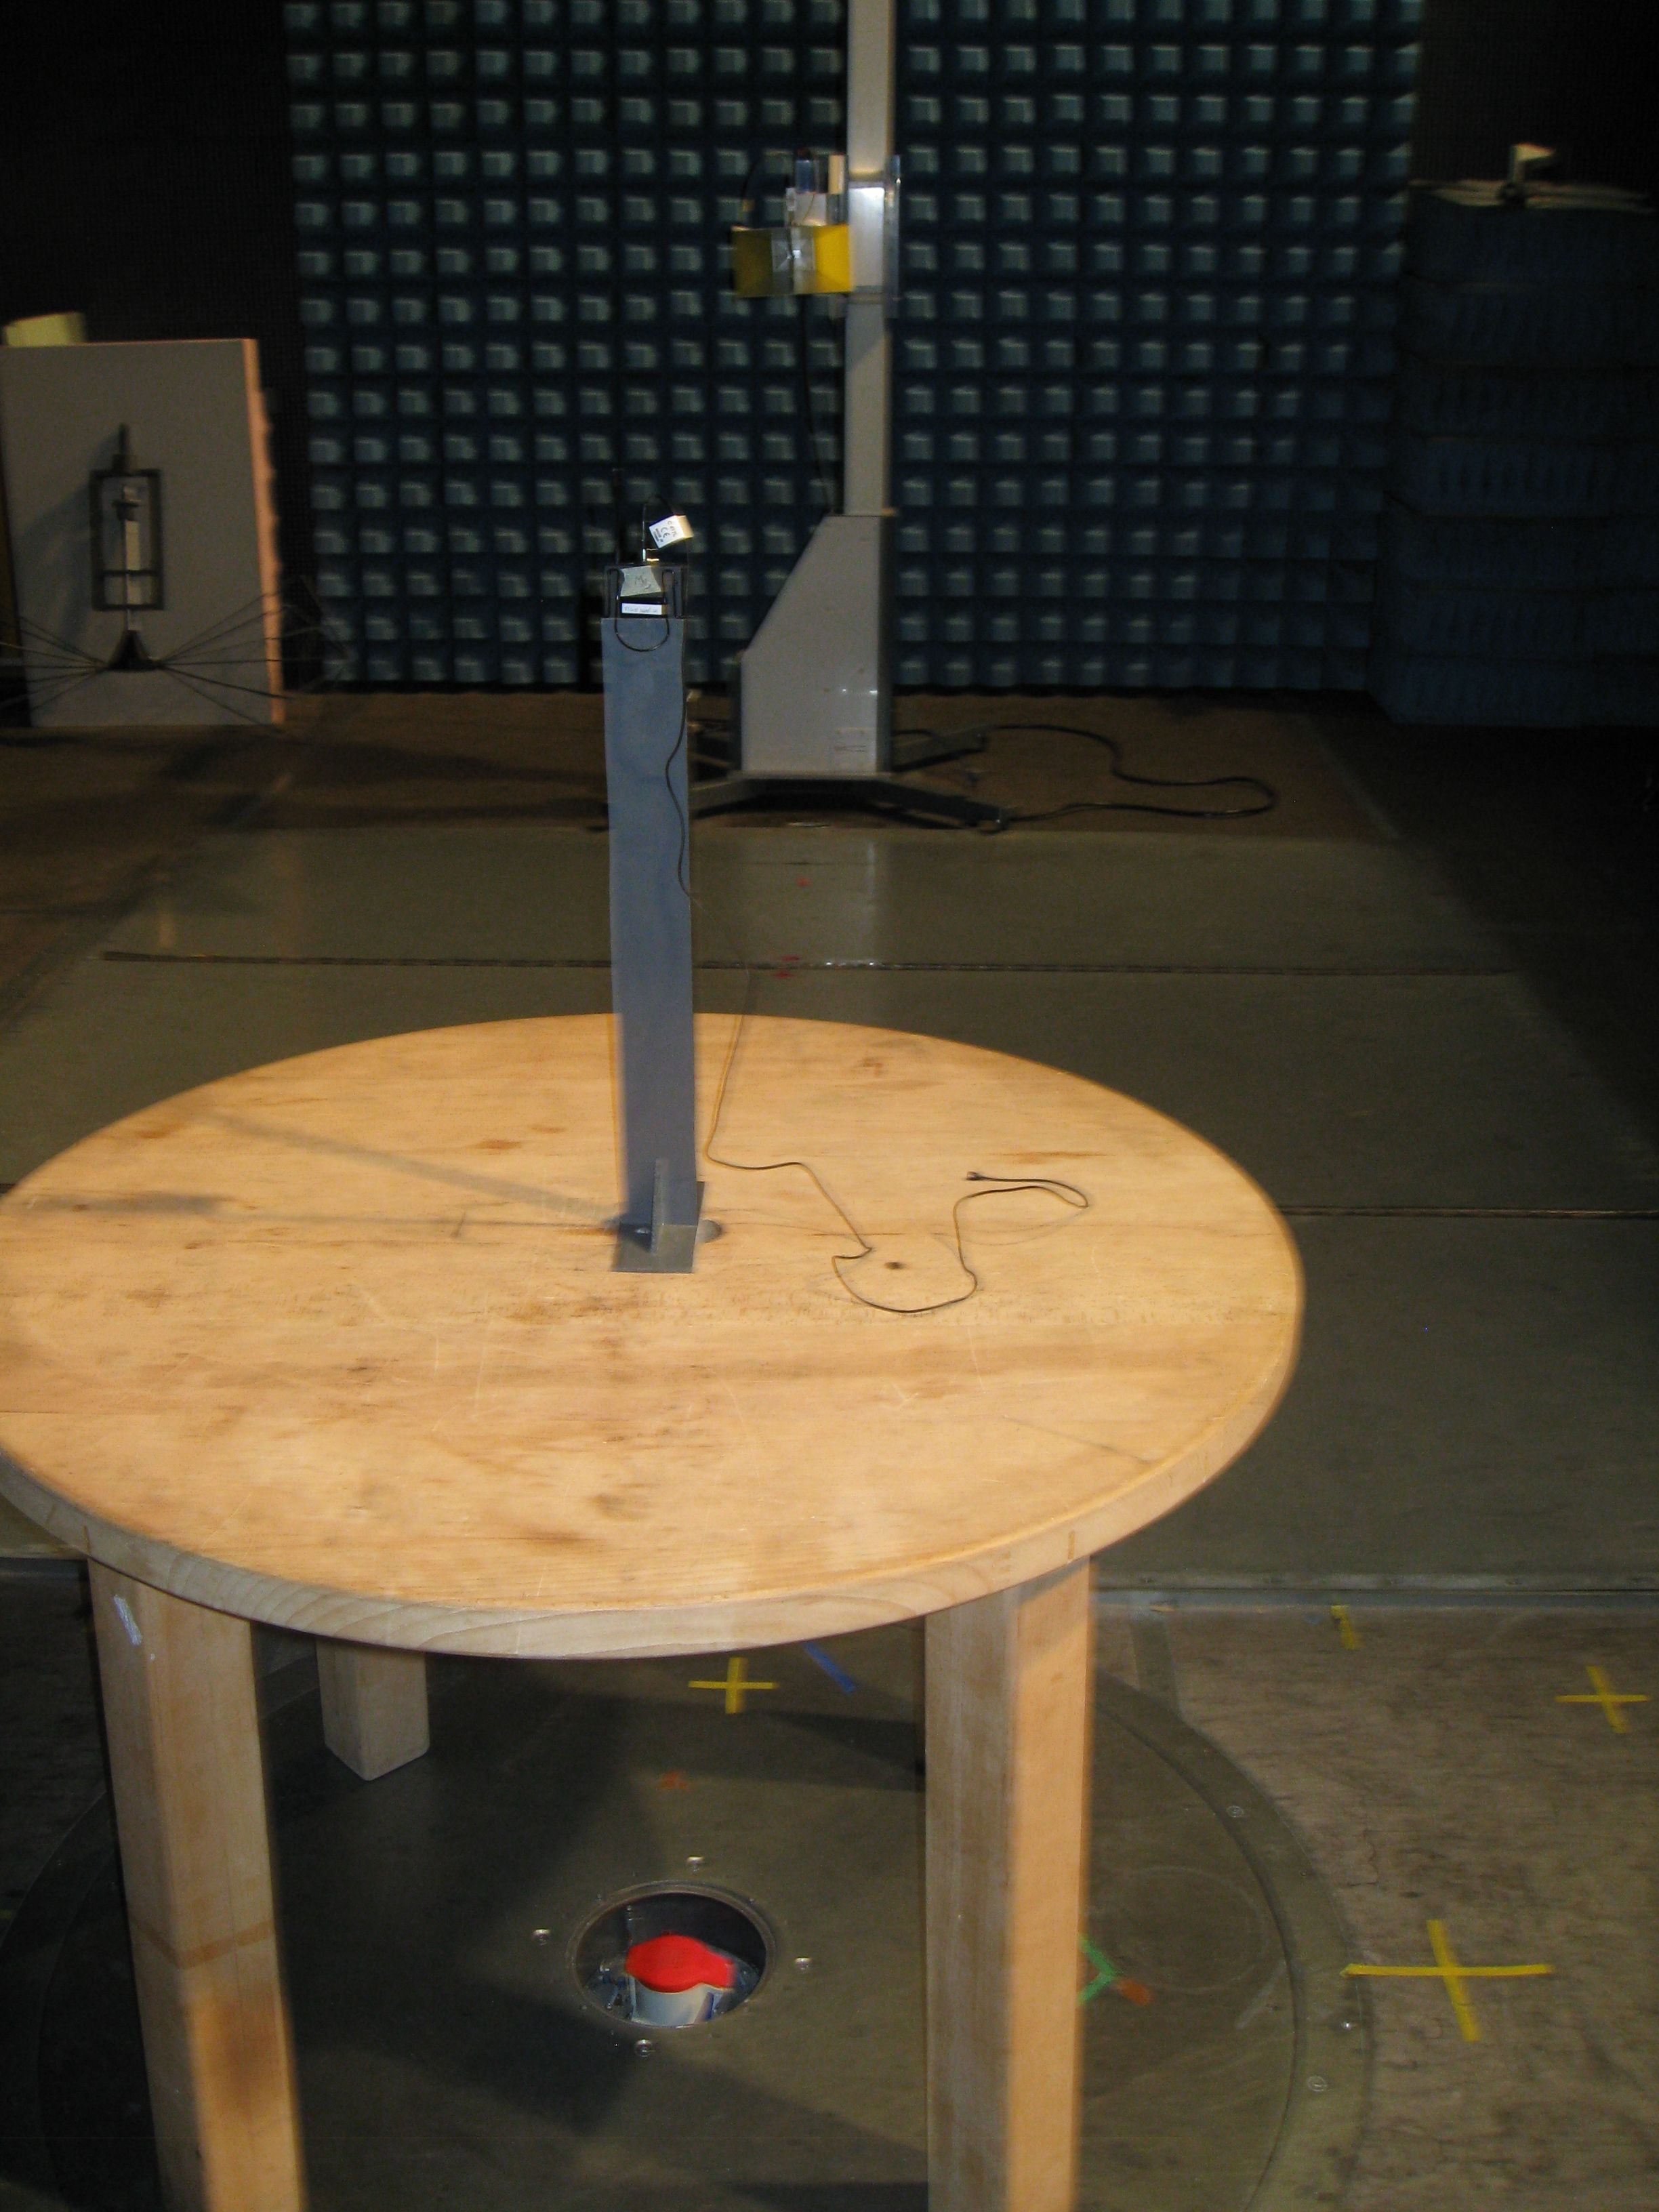
Coverletter: AKG Acoustics GmbH wants to get FCC-Certification for the following product: pocket transmitter for wireless microphones PT420 Bands A and U2. The unit will get the following FCC-ID: V3TPT420 List of documents: Exhibit Thema File Exhibit 01 Label and placement Label_14-124.pdf Label_14-125.pdf Stickers_1010.pdf Exhibit 02 Not needed -------------------- Exhibit 03 External Photos extern_14-124.pdf extern_14-125.pdf * Exhibit 04 Block Diagrams Block_PT420.pdf * Exhibit 05 Schematic Diagrams Schematics_PT420.pdf Exhibit 06 Testreport 14-124.pdf 14-125.pdf Exhibit 07 Test Set-up Photos IMG_4372.JPG Exhibit 08 User Manual QuickStartUpGuide.pdf 5042768_A_LIT_MNL_ONLINEMANUAL_WMS 420[1].pdf FWG 1010, draft-01 EN copy.pdf Exhibit 09 Internal Photos intern_14-124.pdf intern_14-125.pdf * Exhibit 10 Informations Partlist PT420_Band A.pdf Partlist PT420_Band U.pdf Startupprocedure.pdf Exhibit 11 RF exposure RF exposure compliance issues.pdf * Exhibit 12 Operational Description PT420 short description.pdf Exhibit 13 Cover letter Request for confidentiality This file Confidentiality_WMS420_AKG.pdf For the Exhibits marked with ‘*’ AKG Acoustics GmbH requested Confidentiality according to 47 CFR 0.457 and 0.459 of the FCC rules because these are sensitive parts owned by this company and include much of Know-How or sensitive data, it will not be provided to the public. The labelling on some photos is not the actual status. The correct labelling you can see on the label and placement photos in Exhibit 1.
ID Label/Location Info
PT 1010Rear Label 36mm x 18mm2301500000Label to be: Black VinylText to be: Pantone Cool Grey 2 C RF Band A - 10mW 530.025 - 559.000 MHz POCKET TRANSMITTER Made in China (P.R.C.) 2301500000 FCC ID: V3TPT420 PT 1010Rear Label 36mm x 18mm2301500200Label to be: Black VinylText to be: Pantone Cool Grey 2 C RF Band M - 50mW 826.300 - 831.000 MHz POCKET TRANSMITTER Made in China (P.R.C.) 2301500200 PT 1010Rear Label 36mm x 18mm2301500300Label to be: Black VinylText to be: Pantone Cool Grey 2 C RF Band D - 10mW 863.100 - 864.900 MHz POCKET TRANSMITTER Made in China (P.R.C.) 2301500300 SR 1010Rear Label 36mm x 18mm2301500000Label to be: Black VinylText to be: Pantone Cool Grey 2 C SR1010 RF Band A 530.025 - 559.000 MHz STATIONARY RECEIVER Made in China (P.R.C.) 2301500000 Tested To ComplyWith FCC Standards FOR HOME OR OFFICE USE AKG SR420 T H I S D E V I C E C O M P L I E S W I T H P A R T 1 5 O F F C C R U L E S . OPERATION IS SUBJECT TO THE FOLLOWING TWO CONDITION S: ( 1 ) THIS DEVICE MAY NOT CAUSE HARMFUL INTERFERENCE, AN D ( 2 ) THIS DEVICE MUST ACCEPT ANY INTERFERENCE RECEIVED, INCLUDING INTERFERENCE THAT MAY CAUSE UNDESIRED OPERATION. SR 1010Rear Label 36mm x 18mm2301500200Label to be: Black VinylText to be: Pantone Cool Grey 2 C Made in China (P.R.C.) 2301500200 SR1010 RF Band M 826.300 - 831.000 MHz STATIONARY RECEIVER SR 1010Rear Label 36mm x 18mm2301500300Label to be: Black VinylText to be: Pantone Cool Grey 2 C Made in China (P.R.C.) 2301500300 SR1010 RF Band D 863.100 - 864.900 MHz STATIONARY RECEIVER
RF Exposure Info
RF exposure compliance issues: According to FCC Part 2.1093 this kind of transmitter is categorically excluded from routine SAR evaluation.
Contact Information
Applicant
Gabor Mikovics(Mr.)
Test Firm
TUV AustriaIng Wilhelm Seier
Technical Specifications
| # | Rule Parts | Frequency Range | Power Output | Emission | Tolerance |
|---|---|---|---|---|---|
| 2 | 74 | 614.1 MHz - 629.9 MHz | 10.00 mW | 120KF3E | 5.54 ppm |
Other Applications from AKG Acoustics GmbH
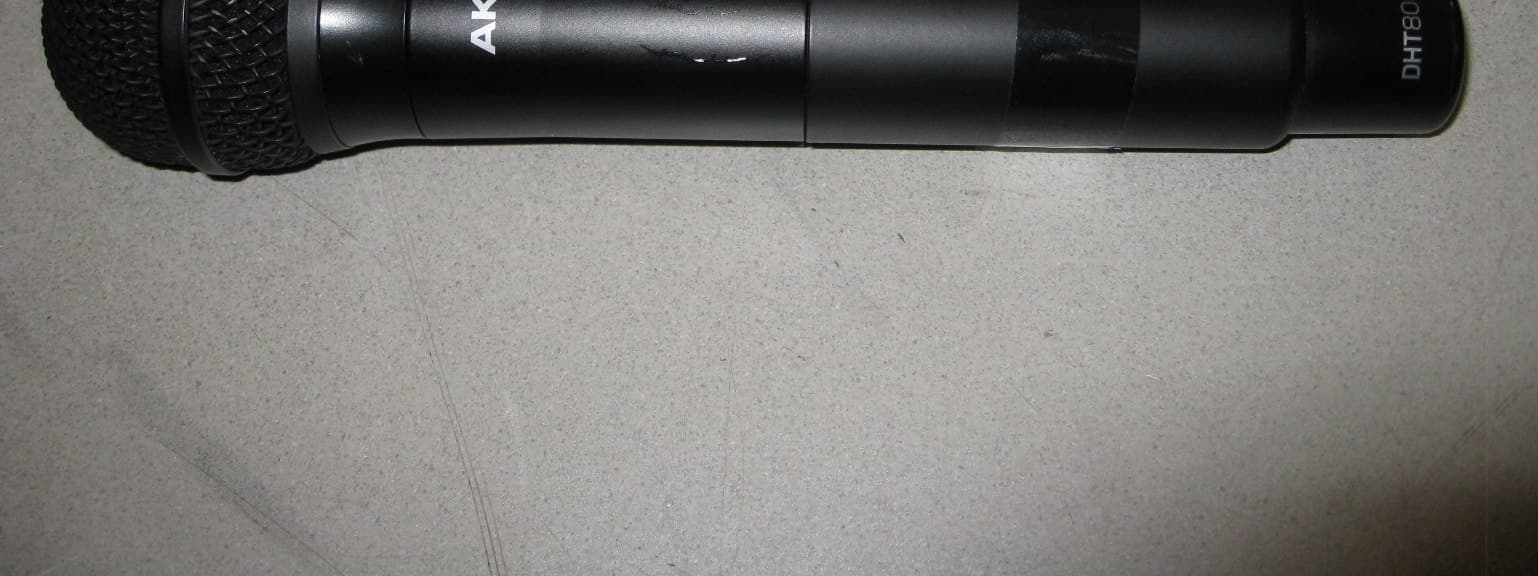
V3THT800
May 16, 2021DHT800 Band I
Equipment Class
TLD - Licensed LPAS Device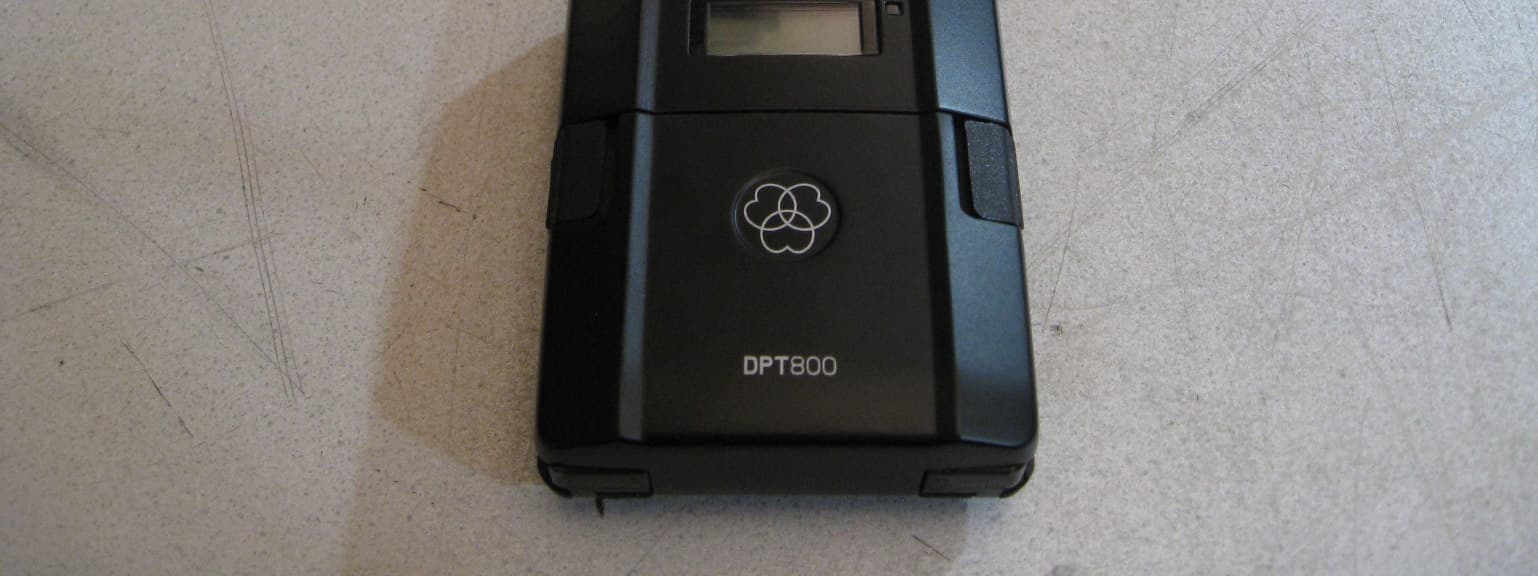
V3TPT800
Apr 29, 2021DPT800 Band I
Equipment Class
DWM - Part 15 Wireless Microphone
V3T-CSCHTXVII
Apr 28, 2020WMS470 wireless microphone system
Equipment Class
TNF - Licensed Non-Broadcast Transmitter Held to Face
V3T-CSCHTXVIII
Apr 28, 2020WMS470 wireless microphone system
Equipment Class
TNF - Licensed Non-Broadcast Transmitter Held to Face
V3T-CSCPTXVIII
Apr 28, 2020WMS470 wireless microphone system
Equipment Class
TNT - Licensed Non-Broadcast Transmitter Worn on Body