Text extracted from the exhibit documents filed with the FCC. Open a document above to read the original.
Rhein Tech Laboratories, Inc. Client: Cernium Corporation 360 Herndon Parkway Model #: AF3001000 Suite 1400 Standard: FCC 15.247 Herndon, VA 20170 http://www.rheintech.com FCC ID: X86-AF3001000 Report #: 2010038 Page 50 of 65 Appendix H: Manual Please refer to the following pages. Table of Contents Before You Start Make Sure You Have What You Need Step 1 Add Solo to Your Wireless Router Step 2 Assemble Solo 2-1 Assemble Mount Base for Ethernet (optional) Step 3 Install Solo Welcome to Video Monitoring Done Right™. Archerfish is the only smart, wireless security camera and recorder that can understand what it sees and send video alerts when important things happen. While the Getting Started with Archerfish Solo insert provides an overview, this guide takes you step-by-step to set up and personalize your Archerfish system. For additional help or troubleshooting, contact Archerfish Customer Support at [email protected] or 877.3.THEFISH (877.384.3347). We’re available Monday – Friday, 8 am – 8 pm Eastern Time. Online Help is available anytime at www.myarcherfish.com/solosetup. Welcome page 01Archerfish Solo Installation Guide Page 02 03 06 08 09 11 13 14 15 16 17 18 19 20 21 22 23 24 25 Step 4 Register Solo 4-1 Register Primary User 4-2 Define Notification Methods 4-3 Set Billing Preferences 4-4 Set Up Live Video Step 5 Customize Your System 5-1 Set Up Zones 5-2 Configure Events 5-3 Define Notification Methods by Camera Now that You’re Done Using the Dashboard Helpful Hints in Making Archerfish Work for You Appendix A: Port Forwarding Set Up Appendix B: Solo Device LED Quick Reference Notices Your Archerfish Solo comes with the items pictured in Figure 1. Other things you’ll need to set up are: - PC with Microsoft Internet Explorer (version 7.0 or 8.0) or Mozilla Firefox (version 3.5 or higher) - Active broadband Internet connection with an upload speed of at least 512 kbps - Wireless router (with available port for initial setup) connected to the Internet - Phillips and slotted (“flathead”) screwdrivers Before You Start Make Sure You Have What You Need page 02Archerfish Solo Installation Guide Figure 1 Archerfish Solo items Archerfish Solo Device MicroSD Card Archerfish Solo Mount Base Archerfish Solo Mount with Rotating Joint Archerfish Solo Power Supply Three Screws Ethernet Adaptor (usually not needed) Setting up wireless connectivity between Solo and your router is easy because there’s an Archerfish Solo Wi-Fi Wizard that does the work for you. Before the Wizard can begin, you need to connect the Ethernet connector to your wireless router and then connect the power connector to the power supply (Figure 2). Next, plug in the power supply. Wait for the small LED light on the bottom of Solo to turn green before proceeding to the next page. It may take several minutes for the light to turn green. Note: The LED light on the Solo device uses different color and blink patterns to tell you what it’s doing. For a summary of all the different LED states, see Appendix B on page 24. Step 1 Add Solo to Your Wireless Router page 03Archerfish Solo Installation Guide Figure 2 Solo device’s power and Ethernet connectors Ethernet connector power connector LED Step 1 Add Solo to Your Wireless Router (continued) page 04Archerfish Solo Installation Guide Figure 3 Archerfish Devices detected by the Wi-Fi Setup Wizard Figure 4 Creating a password for your Solo On a PC, go to www.myarcherfish.com/solosetup to download the Solo Wi-Fi Setup Wizard. Make sure you’re saving the file (Solo_WIFI_Config.exe) in the same local network you plan to install Solo on. Double click the file to run it. Note: If your Windows firewall or other security application asks if you want to run “SoloConfigWizard” you’ll need to agree. Once the Wizard has launched, click the Start button. The Wizard takes a few moments to detect all Solo devices that are connected to your router. Select the Solo device you wish to configure for Wi-Fi (Figure 3). If you have multiple Solo devices, you can see which device is which by matching the four digits displayed at the end of the Solo device name with the last four digits in the device serial number (included in the Getting Started insert). Click the Configure Selected Device button. Now you’ll need to provide and confirm a password for the Solo device (Figure 4). You’ll need this password if you ever need to go back and edit the device’s Wi-Fi configuration at a later time. Click OK. Step 1 Add Solo to Your Wireless Router (continued) page 05Archerfish Solo Installation Guide Next, you’ll be prompted for a Wireless Network Name, Wireless Network Key, and Wireless Network Key Type (Figure 5). The Wireless Network Name should be the name of your wireless router. The Wireless Network Key is the password you use to access your router (it may even be written on a label on your router). If you don’t have this information, you may have to ask your service provider. There are several available Wireless Network Key types, each corresponding to a level of security. These include WPA (most commonly used), WPA2, and WEP. If this field is empty and you don’t know which type of network key your router uses, you can test each one of these options until one of them works. Note: If using WEP (e.g., you are a Verizon FiOS customer using your router’s default settings), you may need to click the Hex Key checkbox. Click OK. If the wireless connectivity is successfully established, the Wizard will display a Congratulations message and display a snapshot of whatever’s currently in front of your Solo device (Figure 6). At this point, the LED light on the Solo device will be green. Before proceeding to the next step, disconnect both the Ethernet and power connections. Figure 5 Wireless network settings Figure 6 Wi-Fi Setup Wizard completion Step 2 Assemble Solo page 06Archerfish Solo Installation Guide Figure 7 MicroSD card inserted into the Solo device There are a few steps you need to perform to physically put…
Text truncated - open the document above for the full version.
Rhein Tech Laboratories, Inc. Client: Cernium Corporation 360 Herndon Parkway Model #: AF3001000 Suite 1400 Standard: FCC 15.247 Herndon, VA 20170 http://www.rheintech.com FCC ID: X86-AF3001000 Report #: 2010038 Page 43 of 65 Appendix B: ATCB Agency Authorization Letter Please refer to the following page.
Rhein Tech Laboratories, Inc. Client: Cernium Corporation 360 Herndon Parkway Model #: AF3001000 Suite 1400 Standard: FCC 15.247 Herndon, VA 20170 http://www.rheintech.com FCC ID: X86-AF3001000 Report #: 2010038 Page 44 of 65 Appendix C: FCC Confidentiality Request Letter Please refer to the following page.
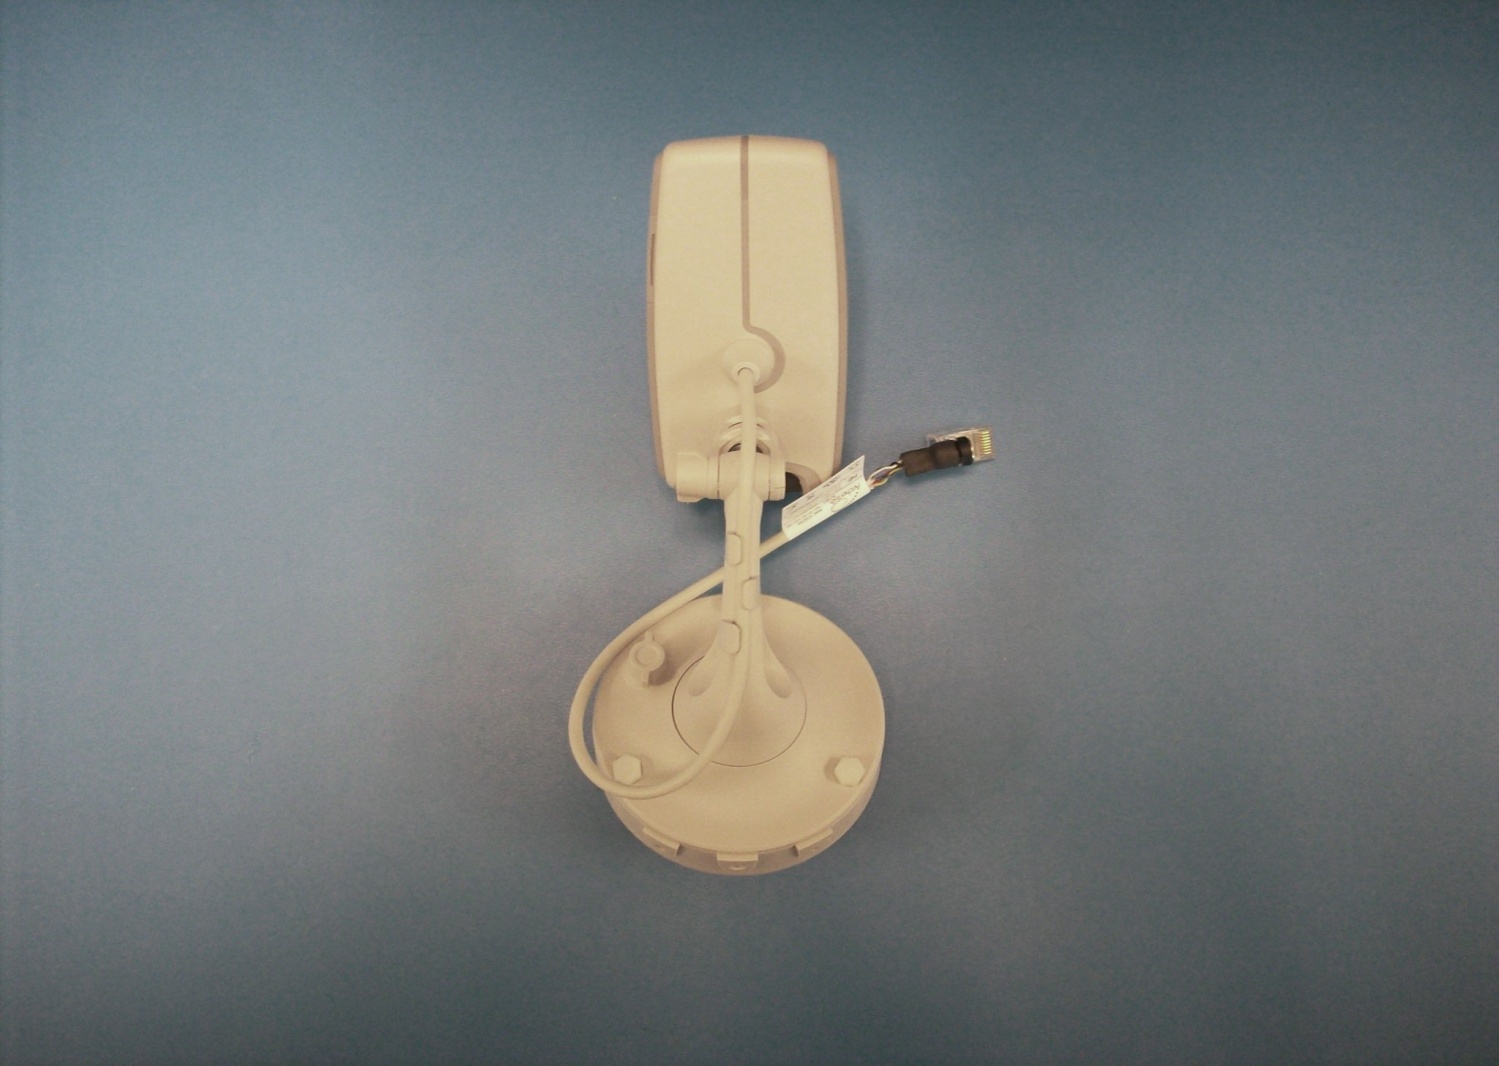
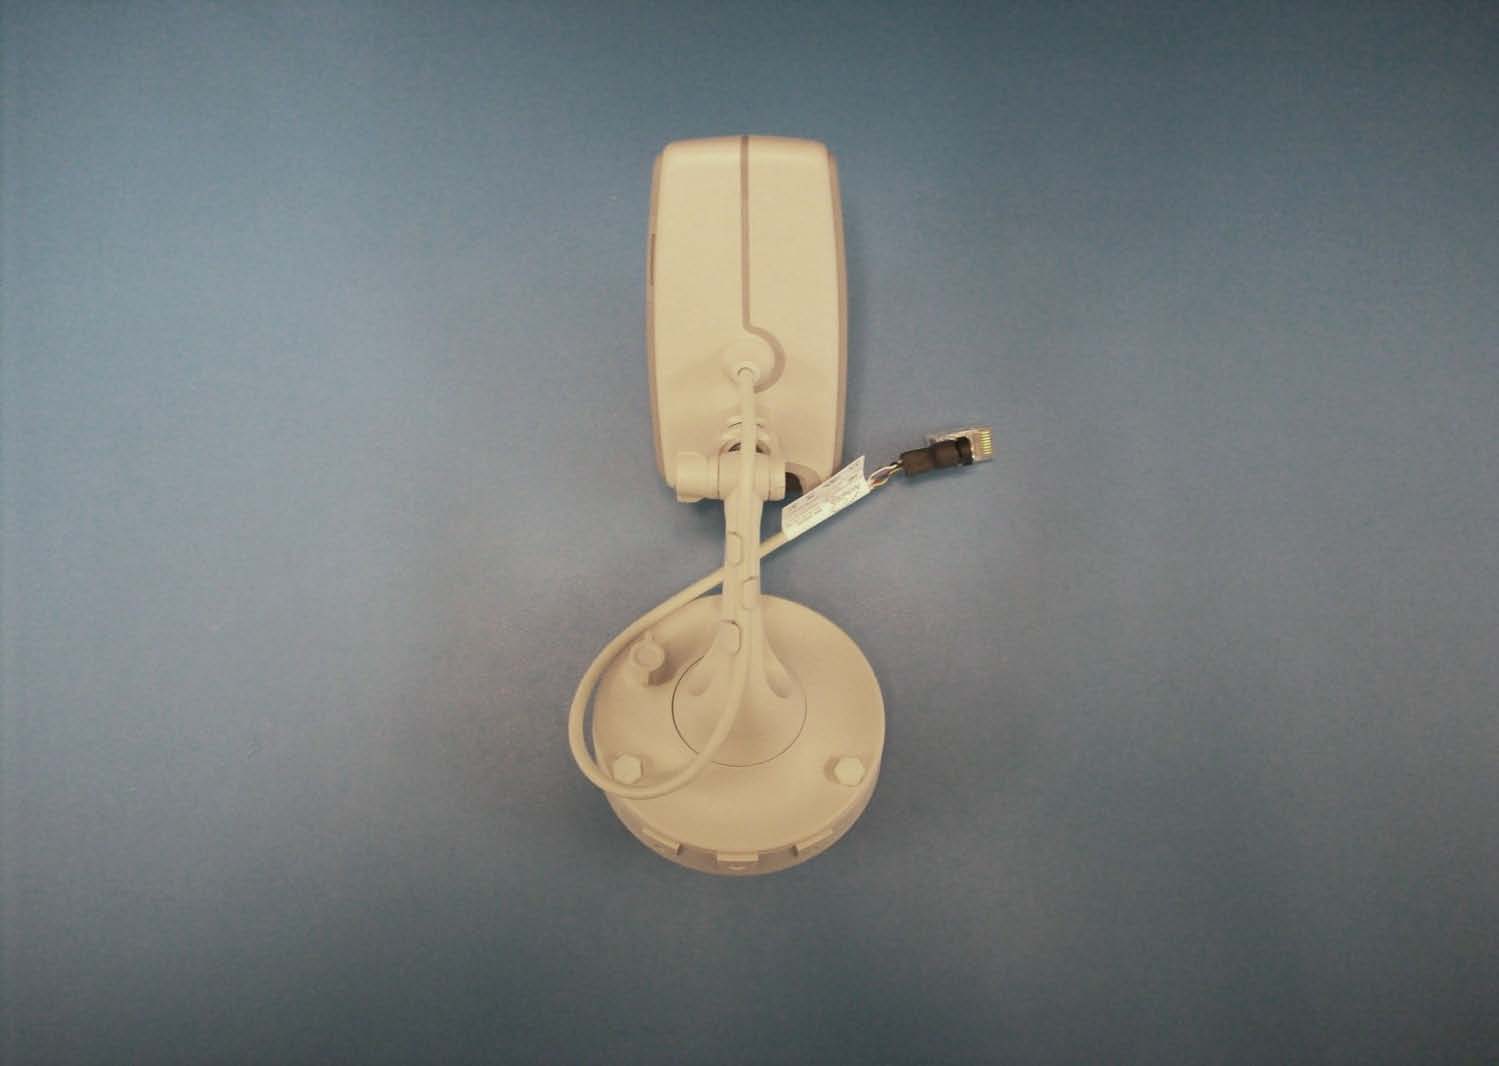
Rhein Tech Laboratories, Inc. Client: Cernium Corporation 360 Herndon Parkway Model #: AF3001000 Suite 1400 Standard: FCC 15.247 Herndon, VA 20170 http://www.rheintech.com FCC ID: X86-AF3001000 Report #: 2010038 Page 55 of 65 Appendix J: External Photographs Photograph 7: Archerfish Solo Front View Rhein Tech Laboratories, Inc. Client: Cernium Corporation 360 Herndon Parkway Model #: AF3001000 Suite 1400 Standard: FCC 15.247 Herndon, VA 20170 http://www.rheintech.com FCC ID: X86-AF3001000 Report #: 2010038 Page 56 of 65 Photograph 8: Archerfish Solo Rear View Rhein Tech Laboratories, Inc. Client: Cernium Corporation 360 Herndon Parkway Model #: AF3001000 Suite 1400 Standard: FCC 15.247 Herndon, VA 20170 http://www.rheintech.com FCC ID: X86-AF3001000 Report #: 2010038 Page 57 of 65 Photograph 9: Archerfish Solo Right Side View Rhein Tech Laboratories, Inc. Client: Cernium Corporation 360 Herndon Parkway Model #: AF3001000 Suite 1400 Standard: FCC 15.247 Herndon, VA 20170 http://www.rheintech.com FCC ID: X86-AF3001000 Report #: 2010038 Page 58 of 65 Photograph 10: Archerfish Solo Left Side View
Rhein Tech Laboratories, Inc. Client: Cernium Corporation 360 Herndon Parkway Model #: AF3001000 Suite 1400 Standard: FCC 15.247 Herndon, VA 20170 http://www.rheintech.com FCC ID: X86-AF3001000 Report #: 2010038 Page 45 of 65 Appendix D: ID Label and Label Location Photograph 1: ID Label Rhein Tech Laboratories, Inc. Client: Cernium Corporation 360 Herndon Parkway Model #: AF3001000 Suite 1400 Standard: FCC 15.247 Herndon, VA 20170 http://www.rheintech.com FCC ID: X86-AF3001000 Report #: 2010038 Page 46 of 65 Photograph 2: FCC ID Location on Rear of EUT
Rhein Tech Laboratories, Inc. Client: Cernium Corporation 360 Herndon Parkway Model #: AF3001000 Suite 1400 Standard: FCC 15.247 Herndon, VA 20170 http://www.rheintech.com FCC ID: X86-AF3001000 Report #: 2010038 Page 59 of 65 Appendix K: Internal Photographs Photograph 11: Archerfish Solo Internal View with PCA Assembly Rhein Tech Laboratories, Inc. Client: Cernium Corporation 360 Herndon Parkway Model #: AF3001000 Suite 1400 Standard: FCC 15.247 Herndon, VA 20170 http://www.rheintech.com FCC ID: X86-AF3001000 Report #: 2010038 Page 60 of 65 Photograph 12: Imager PCA Top View Rhein Tech Laboratories, Inc. Client: Cernium Corporation 360 Herndon Parkway Model #: AF3001000 Suite 1400 Standard: FCC 15.247 Herndon, VA 20170 http://www.rheintech.com FCC ID: X86-AF3001000 Report #: 2010038 Page 61 of 65 Photograph 13: Imager PCA Bottom View Rhein Tech Laboratories, Inc. Client: Cernium Corporation 360 Herndon Parkway Model #: AF3001000 Suite 1400 Standard: FCC 15.247 Herndon, VA 20170 http://www.rheintech.com FCC ID: X86-AF3001000 Report #: 2010038 Page 62 of 65 Photograph 14: WIFI PCA Bottom View Rhein Tech Laboratories, Inc. Client: Cernium Corporation 360 Herndon Parkway Model #: AF3001000 Suite 1400 Standard: FCC 15.247 Herndon, VA 20170 http://www.rheintech.com FCC ID: X86-AF3001000 Report #: 2010038 Page 63 of 65 Photograph 15: WIFI PCA Top View Rhein Tech Laboratories, Inc. Client: Cernium Corporation 360 Herndon Parkway Model #: AF3001000 Suite 1400 Standard: FCC 15.247 Herndon, VA 20170 http://www.rheintech.com FCC ID: X86-AF3001000 Report #: 2010038 Page 64 of 65 Photograph 16: CPU PCA Bottom View Rhein Tech Laboratories, Inc. Client: Cernium Corporation 360 Herndon Parkway Model #: AF3001000 Suite 1400 Standard: FCC 15.247 Herndon, VA 20170 http://www.rheintech.com FCC ID: X86-AF3001000 Report #: 2010038 Page 65 of 65 Photograph 17: CPU PCA Top View
Rhein Tech Laboratories, Inc. Client: Cernium Corporation 360 Herndon Parkway Model #: AF3001000 Suite 1400 Standard: FCC 15.247 Herndon, VA 20170 http://www.rheintech.com FCC ID: X86-AF3001000 Report #: 2010038 Page 42 of 65 Appendix A: FCC Part 1.1307, 1.1310, 2.1091, 2.1093: RF Exposure Per FCC 1.1310 Table 1, the maximum permissible RF exposure for an uncontrolled environment is 1 mW/cm 2 for the frequencies used in this device. The worst case power of the band of operation is used for the calculation below. The power density for the EUT is calculated as shown below. )4/()( 2 dGPS×××=π where: S = power density P = transmitter conducted power in (mW) G = antenna numeric gain d = distance to radiation center (cm) Note that 4.4 dBi = 2.75 numeric. Environment Numeric Gain Power (W) Separation Distance (cm) Calculated Power Density (mW/cm 2 ) General Population/ Uncontrolled 2.75 0.078 20 0.04 As shown above, the calculated power density at 20 cm is well below the limit. Radiation Exposure Statement This equipment shall only be installed and operated with antenna gain not more than that shown in the table above, and installed with a minimum of 20 cm of separation distance between the antenna and the general public.
Engineering and Testing for EMC and Safety Compliance Accredited under A2LA Testing Certificate # 2653.01 360 Herndon Parkway, Suite 1400 Herndon, VA 20170 Tel: 703-689-0368 Fax: 703-689-2056 FCC Part 15.247 Certification Application Test Report Test Lab: Rhein Tech Laboratories, Inc. Tel: 703-689-0368 360 Herndon Parkway Fax: 703-689-2056 Suite 1400 www.rheintech.com Herndon, VA 20170 E-Mail: [email protected] Applicant: Cernium Corporation Tel: 703-483-3365 1925 Isaac Newton Sq. Fax: 703-483-3380 3 rd Floor Reston, VA 20190 Contact: Craig Chambers FCC ID: X86-AF3001000 Test Report Date: March 22, 2010 Platform: Wireless Camera RTL Work Order #: 2010038 Model Name/Number: Archerfish Solo/AF3001000 RTL Quote #: QRTL10-154 American National Standard Institute: ANSI C63.4-2003: Methods of Measurement of Radio-Noise Emissions from Low-Voltage Electrical and Electronic Equipment in the Range of 9 kHz to 40 GHz FCC Classification: DTS – Part 15 Digital Transmission System FCC Rule Part(s)/Guidance: FCC Rules Part 15.247: Operation within the bands 920-928 MHz, 2400- 2483.5 MHz and 5725-5850 MHz Direct Sequence System October 1, 2009, DA 00-705 Digital Interface Information Digital Interface was found to be compliant Frequency Range (MHz) Output Power (W)* Frequency Tolerance Emission Designator 2412 – 2462 0.078 N/A 18M1G7D * power is peak conducted I, the undersigned, hereby declare that the equipment tested and referenced in this report conforms to the identified standard(s) as described in this test report. No modifications were made to the equipment during testing in order to achieve compliance with these standards. Furthermore, there was no deviation from, additions to, or exclusions from, the applicable parts of FCC Part 2, FCC Part 15 and ANSI C63.4. Signature: Date: March 22, 2010 Typed/Printed Name: Desmond A. Fraser Position: President This report may not be reproduced, except in full, without the written approval of Rhein Tech Laboratories, Inc. and Cernium Corporation The test results relate only to the item(s) tested. Rhein Tech Laboratories, Inc. Client: Cernium Corporation 360 Herndon Parkway Model #: AF3001000 Suite 1400 Standard: FCC 15.247 Herndon, VA 20170 http://www.rheintech.com FCC ID: X86-AF3001000 Report #: 2010038 Page 2 of 65 Table of Contents 1 General Information ............................................................................................................................... 6 1.1 Scope ............................................................................................................................................ 6 1.2 Description of EUT ........................................................................................................................ 6 1.3 Test Facility ................................................................................................................................... 6 1.4 Related Submittal(s)/Grant(s) ....................................................................................................... 6 1.5 Modifications ................................................................................................................................. 6 2 Test Information ..................................................................................................................................... 7 2.1 Description of Test Modes ............................................................................................................ 7 2.2 Exercising the EUT ....................................................................................................................... 7 2.3 Test Result Summary .................................................................................................................... 7 2.4 Test System Details ...................................................................................................................... 8 2.5 Configuration of Tested System .................................................................................................... 9 3 Peak Output Power - 15.247(b)(3) ....................................................................................................... 10 3.1 Power Output Test Procedure ..................................................................................................... 10 3.2 Power Output Test Data .............................................................................................................. 10 4 Compliance with the Band Edge – FCC 15.247(d) .............................................................................. 11 4.1 Band Edge Test Procedure ......................................................................................................... 11 4.2 Band Edge Test Results ............................................................................................................. 12 4.2.1 Calculation of Lower Band Edge for 802.11b ......................................................................... 12 4.2.2 Calculation of Upper Band Edge for 802.11b ......................................................................... 13 4.2.3 Calculation of Lower Band Edge for 802.11g ......................................................................... 14 4.2.4 Calculation of Upper Band Edge for 802.11g ......................................................................... 15 5 Antenna Conducted Spurious Emissions - 15.247(d).......................................................................... 16 5.1 Antenna Conducted Spurious Emissions Test Procedures ........................................................ 16 5.2 Antenna Conducted Spurious Emissions Test Results .............................................................. 16 6 6 dB Bandwidth - 15.247(a)(2) ............................................................................................................. 17 6.1 6 dB Bandwidth Test Procedure – Minimum 6 dB Bandwidth .............................…
Text truncated - open the document above for the full version.
Rhein Tech Laboratories, Inc. Client: Cernium Corporation 360 Herndon Parkway Model #: AF3001000 Suite 1400 Standard: FCC 15.247 Herndon, VA 20170 http://www.rheintech.com FCC ID: X86-AF3001000 Report #: 2010038 Page 51 of 65 Appendix I: Test Photographs Photograph 3: Radiated Emissions Testing – Front View Rhein Tech Laboratories, Inc. Client: Cernium Corporation 360 Herndon Parkway Model #: AF3001000 Suite 1400 Standard: FCC 15.247 Herndon, VA 20170 http://www.rheintech.com FCC ID: X86-AF3001000 Report #: 2010038 Page 52 of 65 Photograph 4: Radiated Emissions Testing – Back View Rhein Tech Laboratories, Inc. Client: Cernium Corporation 360 Herndon Parkway Model #: AF3001000 Suite 1400 Standard: FCC 15.247 Herndon, VA 20170 http://www.rheintech.com FCC ID: X86-AF3001000 Report #: 2010038 Page 53 of 65 Photograph 5: Conducted Emissions Testing – Front View Rhein Tech Laboratories, Inc. Client: Cernium Corporation 360 Herndon Parkway Model #: AF3001000 Suite 1400 Standard: FCC 15.247 Herndon, VA 20170 http://www.rheintech.com FCC ID: X86-AF3001000 Report #: 2010038 Page 54 of 65 Photograph 6: Conducted Emissions Testing – Back View
360 Herndon Parkway Suit 1400 · Herndon, Virginia · United States
| # | Rule Parts | Frequency Range | Power Output |
|---|---|---|---|
| 1 | 15C | 2.41 GHz - 2.46 GHz | 78.00 mW |

Wireless Security Camera
Equipment Class
DTS - Digital Transmission System