2AQ8A-KE1LNP5CEnkore
Pamex Inc.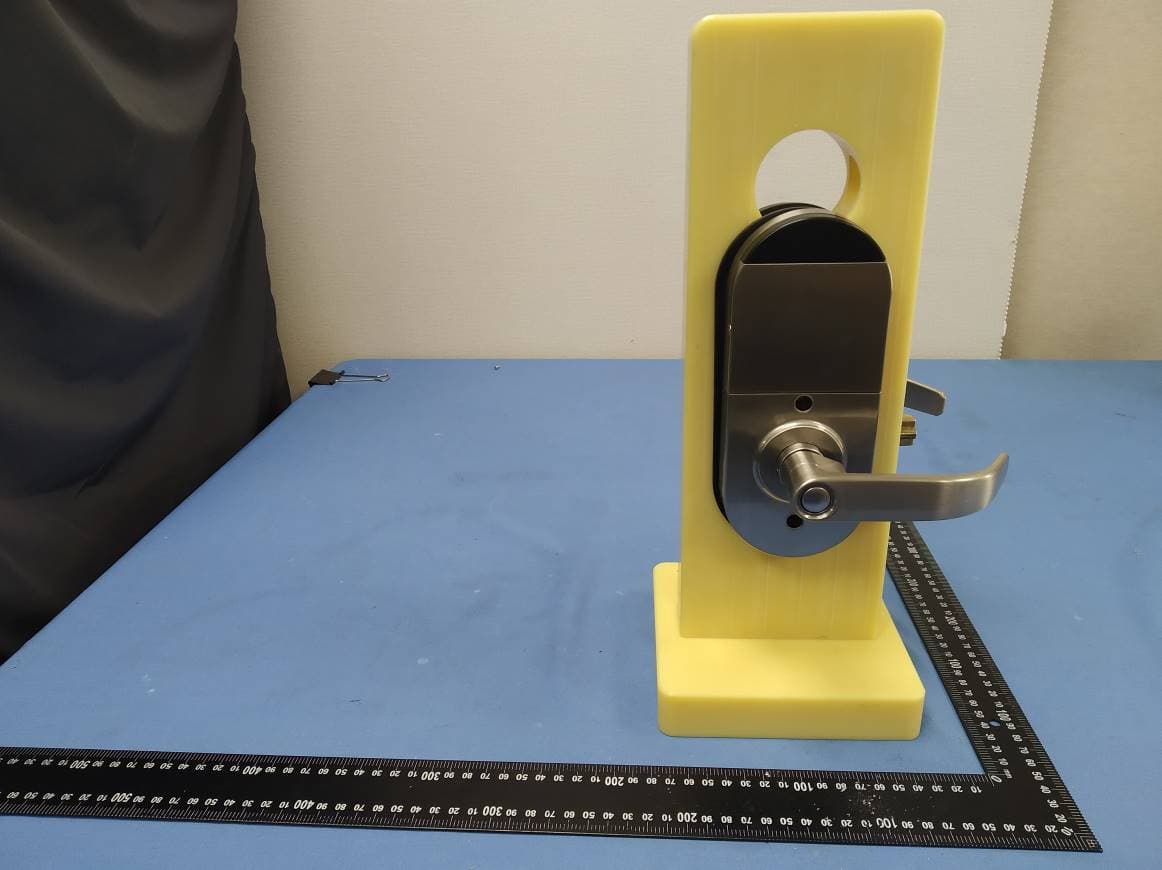
Click to zoom
Application Details
- Equipment Class
- DTS - Digital Transmission System
- Date of Grant
- Mar 07, 2020
- Application Purpose
- Original Equipment
- Date of Application
- Mar 07, 2020
- Equipment Note
- Enkore
- Frequency Range
- 2412.00000000 - 2462.00000000
- Company
- Pamex Inc.
- Country
- United States
Documents & Files
Document Text
Text extracted from the exhibit documents filed with the FCC. Open a document above to read the original.
Users Manual
KE1-LNP5C INSTALLATION INSTRUCTION INSTALLING THE LOCK ASSEMBLIES A. Choose handle direction Interior assembly Exterior assembliy Button Button B. Install the lock assemblies ( Touch-Bolt L ) B. Install the lock assemblies ( Touch-Bolt Lp ) Cable Interior gasket Mounting plate OR Connect to 6Vdc power adapter(Class 2) Cable Interior gasket AA Mounting plate AA Insert screws (2) and tighten. Connect the cable firmly into connector port. CC BB BB OR Insert screws (2) and tighten. CC Red wire into bottom pin. OR The cable must be arranged as shown in the diagram.
Users Manual
Pamex Enkore Series A Multi-Family Door Access Control Solution Project Implementation Guide 1 Table of Contents Introduction4 Before Installation6 Check List6 Pamex MFSP Service Platform6 Implementation Guide7 Concepts7 Construction Phase8 Lock Registration Phase9 Plan your area tree10 Build the area tree using MF-Admin Server11 Plan your programming cards14 Setup Wifi AP and Create Programming Cards16 Register Locks to MF-Admin Server19 Verify lock registration using Master Card21 Go-live Phase26 Create Tenant Cards34 Create Staff Card42 Create Vendor Card47 Create Guest/Temp Card54 Shutdown Public Area58 Area Time Control59 Lock Scheduling60 Access Control Rule64 Time Control - Add/Remove Holidays66 Advanced Setup Guide68 Lock Report Interval68 Alert Settings69 Appendix71 Lock UI Patterns (LED & Buzzer)71 Wall Reader73 Wall Reader74 Wifi AP Specification and Settings75 Factory default settings - Wall Reader76 Factory default settings - Deadbolt77 Factory default settings - Leverset78 Factory default settings - Interconnect79 MF-Admin Server Parameters default settings80 Application Parameters80 2 System Parameters80 Mifare Card Specification81 Card Types82 Area Types84 Lock Real Time Events85 Default Severity of Alert Types86 FCC Statement87 NCC Statement88 3 Introduction The Pamex Enkore series is a total solution for multi-family door access control. It not only has several models of the lock but also the browser-based central management system (MF-Admin server). Figure 1 : Pamex Enkore System Architecture Overview Figure 1 shows the system architecture of Pamex Enkore solution, Below are the brief description of each component: 1.Chrome browser: The user interface to the MF-Admin Server (2). You need a PC with a Chrome browser to use MF-Admin. The card reader/writer (No.6 in figure 1) will be connected to this PC using USB. You may also use the windows server (5) as the client PC. 2.MF-Admin Server: An application running on a Windows server (5). It provides all the functions to manage the access control of the locks and the cards/fobs. 3.Wifi AP: All the Enkore locks have the wifi capability and are necessary to connect to a wifi AP in order to be programmed by the MF-Admin server. There should be a few to many Wifi APs at a multi-family property. Wifi AP is not part of Enkore products. Check the lock specifications in the Appendix for the compatible Wifi AP. 4.Enkore smart locks and NFC cards: All the Enkore locks are smart locks that are accessed using NFC card/fob (Mifare Desfire). 5.Windows Server: MF-Admin server is installed on this server. 6.Card Reader/Writer: MP100 is the default reader to issue a new card/fob to users/residents. 4 Figure 2: MP100 7.DB Server : A database is installed on windows server to keep all the data of the system. It is installed and automatically configured by the install program. Please reference MF-Admin & MP100 installation guide. 8.MFSP platform : MFSP (Multi-Family Service Platform) is a cloud service for all the MF-Admin Servers around the world. This platform is operated by Pamex. Connected your MF-Admin Server to MFSP is not required but we encourage you to do so. MFSP will provide some enhancement to Enkore solution in the future. 5 Before Installation Check List ●Locks ●Cards : Crypto Card x 2, Construction Card x 5, Blank Card x 10 ●MF-Admin + MP100 Software ●MP100 Card Reader x 1 ●Windows Server x 1 Pamex MFSP Service Platform ●This section is for Pamex only. ●Before any Enkore installation, Pamex admin will have to create a project in MFSP in order to get the unique project code. ●An Enkore installation will need at least one Crypto card to activate all the locks. Crypto cards can only be issued through MFSP by Pamex. MFSP will keep the encryption keys of the Mifare Desfire card for every project. 6 Implementation Guide Concepts Pamex Enkore setup can be thought of in terms of three phases: Depending on the progress of your project, there are three phases defined as : ●Construction Phase : All the door locks are installed but not programmed yet. MF-Admin server is not necessary for this phase. ●Lock Registration Phase : The door locks are ready to be programmed/registered to the MF-Admin server. ●Go-Live Phase : All the locks are registered to MF-Admin Server. The system is ready to go. Normally, as time goes by, a project will first in the construction phase, then go to the lock registration phase, then the go-live phase. Each phase requires different tasks to be completed as described below. In this guide, we will use the term Card or Key from time to time. Both terms refer to the Mifare Card or Mifare key fob is issued by Pamex Enkore solution. Used by the Pamex Enkore system. MP100 is the only device you use to issue card/key. Note that sometimes you have to re-place (take a card off the reader then place the card on the reader again) the card on the reader to successfully complete your card operation. MF-Admin server will remind you to re-place the card as possible as it can. But remember to do so when you encounter MP100 reader error. It’s not a bug but the nature of Mifare Card operations. 7 Construction Phase Make sure you have Crypto Cards and Construction Cards on hand. Crypto Card and Construction Card are shipped from Pamex together with physical locks. (See Appendix: Card Types) In the scenario that wifi network and MF-Admin Server is not ready, and you have installed locks on the doors, you will need Construction Cards to unlock and open the door. A lock can be unlocked using Construction Card only after it has successfully scanned the Crypto Card but before programmed by programming card. No other cards can unlock the doors at this moment. A Construction Card can unlock any locks which have been scanned by Crypto Card given by Pamex for your project only. Depending on the lock model, the lock will present below response when scanning Mifare Cards : Lock Model Crypto Card Success Crypto Card Fail Wall Reader Green LED…
Text truncated - open the document above for the full version.
External Photos
Photo Documentation Page 1 of 3 Product: Enkore Type Identification: KE1-LNP5C Photo Documentation Page 2 of 3 Product: Enkore Type Identification: KE1-LNP5C Photo Documentation Page 3 of 3 Product: Enkore Type Identification: KE1-LNP5C
ID Label/Location Info
Lable Artwork Brand Name : Pamex Model name : KE1-LNP5C :
Internal Photos
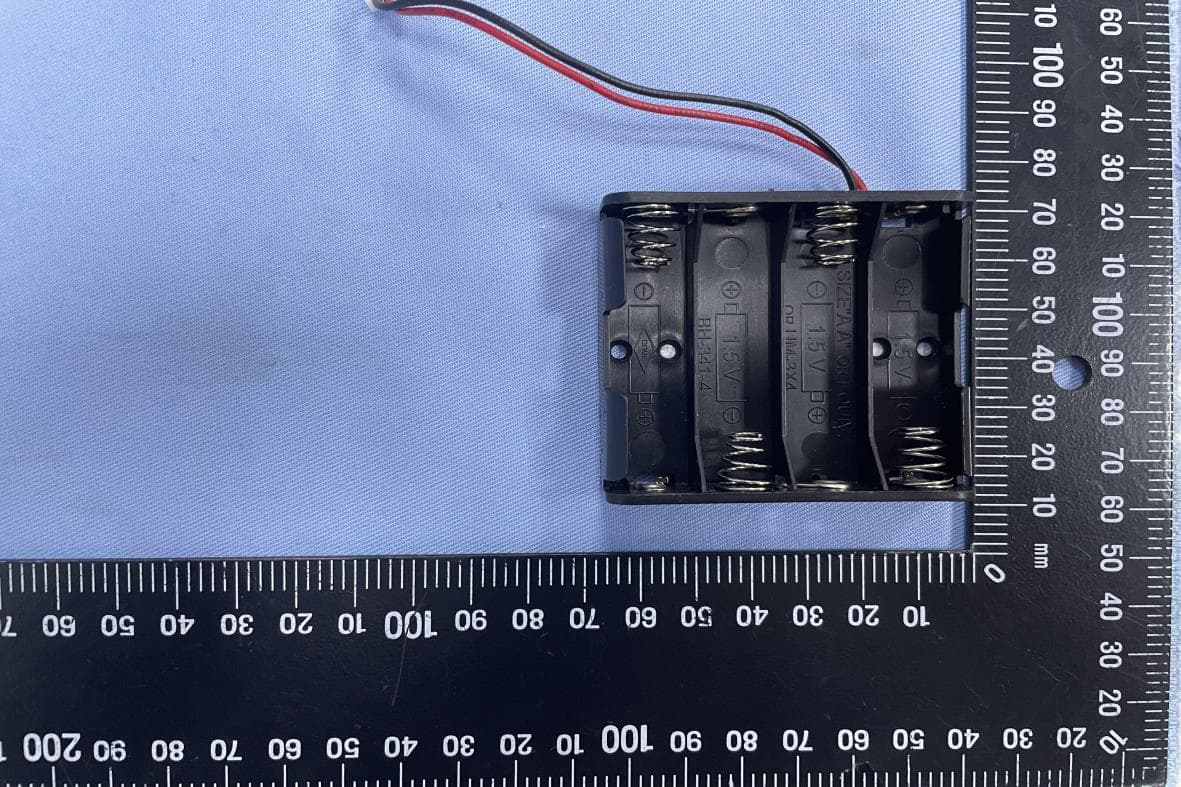
Photo Documentation Page 1 of 2 Product: Enkore Type Identification: KE1-LNP5C Photo Documentation Page 2 of 2 Product: Enkore Type Identification: KE1-LNP5C
Test Report
Produkte Products vc TUV Rheinland Taiwan Ltd. 11F., No. 758, Sec. 4, Bade Rd., Taipei 105, Taiwan, R.O.C. Prüfbericht-Nr.: Test Report No.: 50323264 001 Auftrags-Nr.: Order No.: 238110492 Seite 1 von 51 Page 1 of 51 Kunden-Referenz-Nr.: Client Reference No.: N/A Auftragsdatum: Order date: 26-Sep-2019 Auftraggeber: Client: Pamex Inc. PAMEX INC, 4680 VINITA CT, CHINO, CA, 91710, UNITED STATES Prüfgegenstand: Test item: Enkore Bezeichnung / Typ-Nr.: Identification / Type No.: KE1-LNP5C Auftrags-Inhalt: Order content: FCC Part 15C Test report (WiFi 2.4GHz) Prüfgrundlage: Test specification: FCC 47CFR Part 15: Subpart C Section 15.247 Wareneingangsdatum: Date of receipt: 04-Dec-2019 Prüfmuster-Nr.: Test sample No.: A001037229-001,002 Prüfzeitraum: Testing period: 05-Dec-2019 - 31-Jan-2020 Ort der Prüfung: Place of testing: EMC/RF Laboratory Taipei Prüflaboratorium: Testing laboratory: TUV Rheinland Taiwan Ltd. Prüfergebnis*: Test result*: Pass Report date / tested by: 03-Feb-2020 Mars Y.J. Lin/ Project Engineer kontrolliert von / reviewed by: 03-Feb-2020 Ryan Chen/ Project Manager Datum Date Name / Stellung Name / Position Unterschrift Signature Datum Date Name / Stellung Name / Position Unterschrift Signature Sonstiges / Other: Zustand des Prüfgegenstandes bei Anlieferung: Condition of the test item at delivery: Prüfmuster vollständig und unbeschädigt Test item complete and undamaged * Legende: 1 = sehr gut 2 = gut 3 = befriedigend 4 = ausreichend 5 = mangelhaft P(ass) = entspricht o.g. Prüfgrundlage(n) F(ail) = entspricht nicht o.g. Prüfgrundlage(n) N/A = nicht anwendbar N/T = nicht getestet Legend: 1 = very good 2 = good 3 = satisfactory 4 = sufficient 5 = poor P(ass) = passed a.m. test specification(s) F(ail) = failed a.m. test specification(s) N/A = not applicable N/T = not tested Dieser Prüfbericht bezieht sich nur auf das o.g. Prüfmuster und darf ohne Genehmigung der Prüfstelle nicht auszugsweise vervielfältigt werden. Dieser Bericht berechtigt nicht zur Verwendung eines Prüfzeichens. This test report only relates to the a. m. test sample. Without permission of the test center this test report is not permitted to be duplicated in extracts. This test report does not entitle to carry any test mark. Produkte Products Prüfbericht - Nr.: Test Report No.: 50323264 001 Seite 2 von 51 Page 2 of 51 T EST S UMMARY 5.1.1 A NTENNA R EQUIREMENT RESULT: Passed 5.1.2 P EAK O UTPUT P OWER RESULT: Passed 5.1.3 6 D B B ANDWIDTH AND 99% B ANDWIDTH RESULT: Passed 5.1.4 P OWER D ENSITY RESULT: Passed 5.1.5 C ONDUCTED SPURIOUS EMISSIONS AND F REQUENCY B AND E DGE MEASURED IN 100 K H Z B ANDWIDTH RESULT: Passed 5.1.6 S PURIOUS E MISSION RESULT: Passed 6.1.1 E LECTROMAGNETIC F IELDS RESULT: Passed Produkte Products Prüfbericht - Nr.: Test Report No. 50323264 001 Seite 3 von 51 Page 3 of 51 Contents 1. G ENERAL R EMARKS ............................................................................................... 5 1.1 C OMPLEMENTARY M ATERIALS ................................................................................. 5 1.2 D ECISION R ULE OF CONFORMITY .............................................................................. 5 2. T EST S ITES ............................................................................................................ 6 2.1 T EST L ABORATORY ................................................................................................ 6 2.2 T EST F ACILITY ........................................................................................................ 6 2.3 L IST OF T EST AND M EASUREMENT I NSTRUMENTS ...................................................... 7 2.4 T RACEABILITY ........................................................................................................ 8 2.5 C ALIBRATION ......................................................................................................... 8 2.6 M EASUREMENT U NCERTAINTY ................................................................................. 8 3. G ENERAL P RODUCT I NFORMATION ........................................................................... 9 3.1 P RODUCT F UNCTION AND I NTENDED U SE ................................................................. 9 3.2 S YSTEM D ETAILS AND R ATINGS ............................................................................... 9 3.3 I NDEPENDENT O PERATION M ODES ......................................................................... 10 3.4 N OISE G ENERATING AND N OISE S UPPRESSING P ARTS ............................................ 10 3.5 S UBMITTED D OCUMENTS ....................................................................................... 10 4. T EST S ET - UP AND O PERATION M ODES ................................................................... 11 4.1 P RINCIPLE OF C ONFIGURATION S ELECTION ............................................................ 11 4.2 T EST O PERATION AND T EST S OFTWARE ................................................................. 12 4.3 S PECIAL A CCESSORIES AND A UXILIARY E QUIPMENT ............................................... 13 4.4 C OUNTERMEASURES TO ACHIEVE EMC C OMPLIANCE .............................................. 13 4.5 T EST S ETUP D IAGRAM .......................................................................................... 13 5. T EST R ESULTS ..................................................................................................... 15 5.1 T RANSMITTER R EQUIREMENT & T EST S UITES ......................................................... 15 5.1.1 Antenna Requirement ................................................................................................................ 15 5.1.2 Peak Output Power .................................................................................................................... 16 5.1.3 6dB Bandwidth and 99% Bandwidth .......................................................................................... 18 5.1.4 Powe…
Text truncated - open the document above for the full version.
Test Report
Test Report No.50323264 001 Appendix D: Radiated and Mains Spurious Emission Data (File: 50323264 001AppendixD) Contents Spurious Emissions, Band Edges, 2.35-2.5GHz ............................................................................................ 2 Spurious Emissions, TX Mode, 1-26.5GHz ................................................................................................. 38 Spurious Emissions, TX Mode, 30MHz-1GHz ............................................................................................ 56 Spurious Emissions, TX Mode, 9kHz-30MHz ............................................................................................. 58 2 Spurious Emissions, Band Edges, 2.35-2.5GHz 3 4 5 6 7 8 9 10 11 12 13 14 15 16 17 18 19 20 21 22 23 24 25 26 27 28 29 30 31 32 33 34 35 36 37 38 Spurious Emissions, TX Mode, 1-26.5GHz 39 40 41 42 43 44 45 46 47 48 49 50
Test Setup Photos
Produkte Products Prüfbericht - Nr.: Test Report No. Seite 48 von 51 Page 48 of 51 7. Photographs of the Test Set-Up Photograph 1: Set-up for Spurious Emissions (Front View 1) Photograph 2: Set-up for Spurious Emissions (Front View 2) Produkte Products Prüfbericht - Nr.: Test Report No. Seite 49 von 51 Page 49 of 51 Photograph 3: Set-up for Spurious Emissions (Back View 1) Photograph 4: Set-up for Spurious Emissions (Back View 2) Produkte Products Prüfbericht - Nr.: Test Report No. Seite 50 von 51 Page 50 of 51 Photograph 5: Set-up for Spurious Emissions (Back View 3) Photograph 6: Set-up for Spurious Emissions (Back View 4)
Contact Information
Applicant
Charles Chen(Product Manager)
Technical Contact
Test Firm
TUV Rheinland Taiwan Ltd. Taipei Testing Lab.Kenji Lin
Technical Specifications
| # | Rule Parts | Frequency Range | Power Output |
|---|---|---|---|
| 1 | 15C | 2.41 GHz - 2.46 GHz | 60.39 mW |
Other Applications from Pamex Inc.
2AQ8A-EKSLNP5C
Mar 27, 2023Enkore Smart Leverset
Equipment Class
DXX - Part 15 Low Power Communication Device Transmitter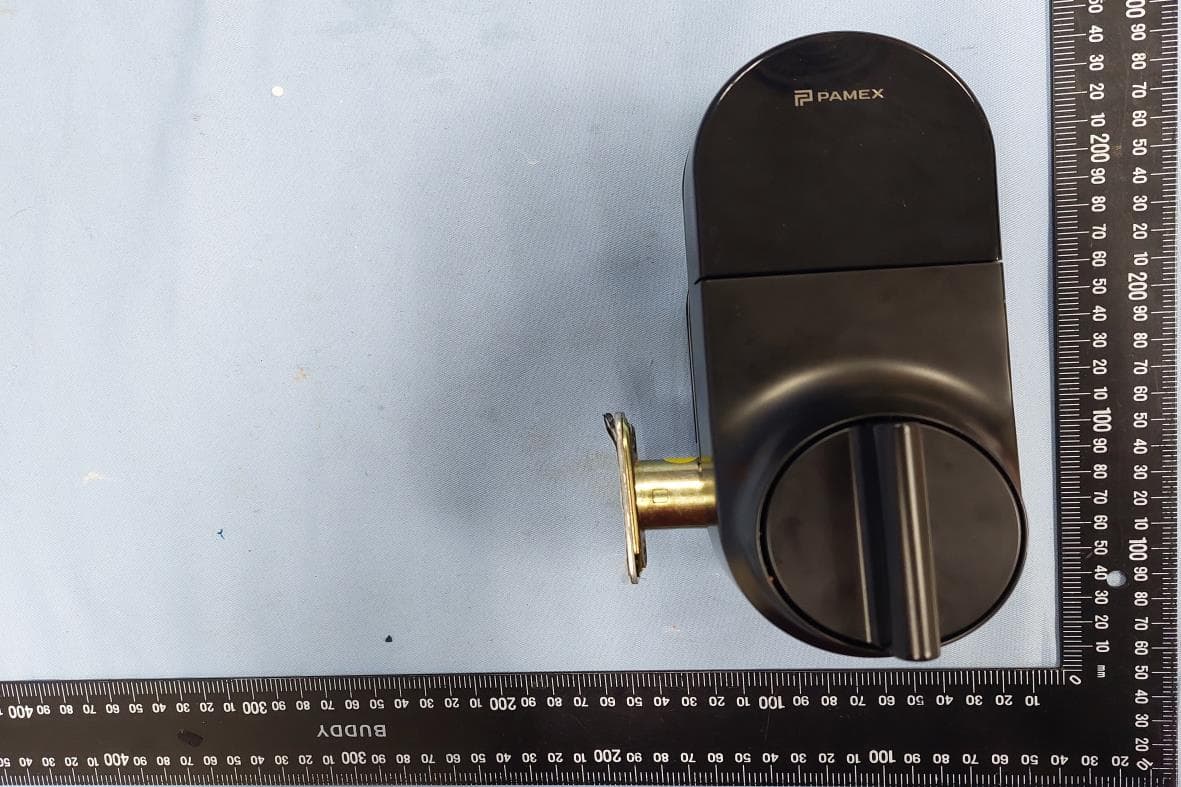
2AQ8A-EKSD7X1S
Feb 19, 2023Enkore Smart Semi-Auto Electronic Deadbolt
Equipment Class
DTS - Digital Transmission System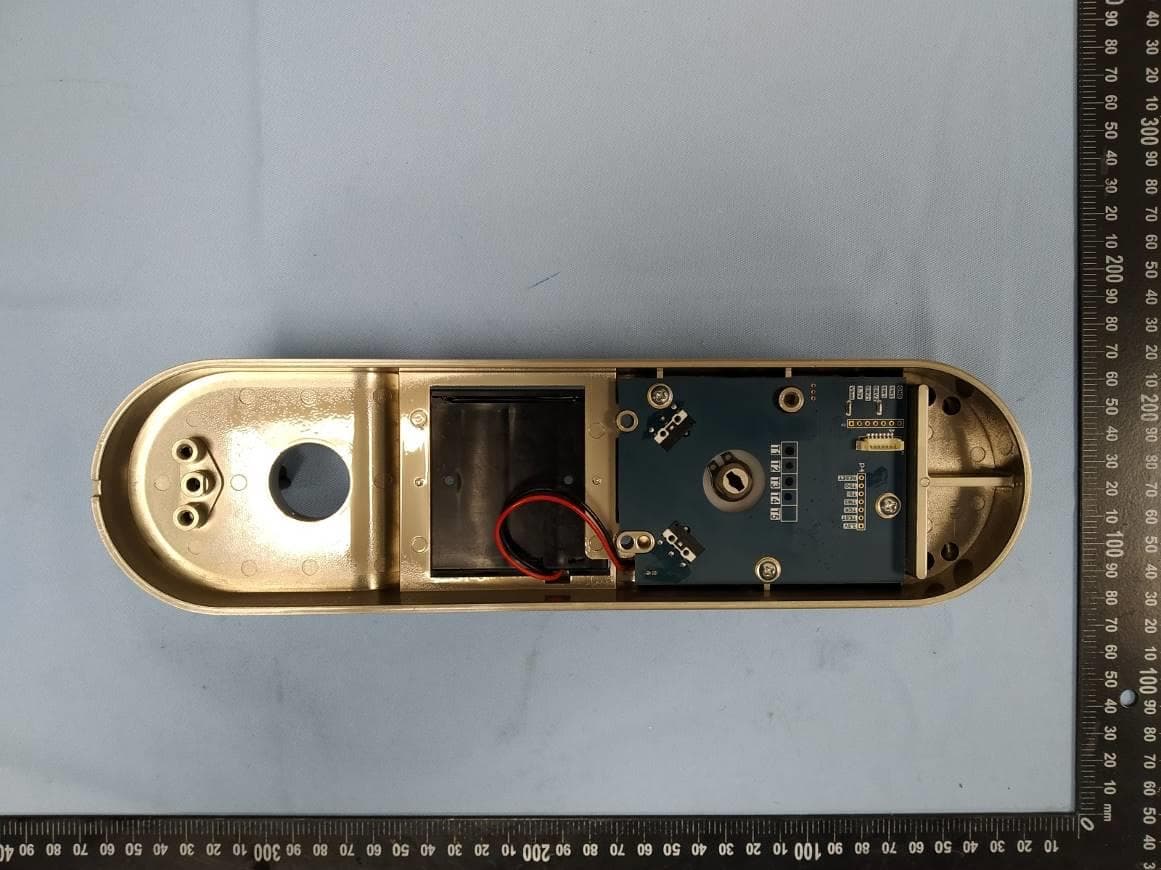
2AQ8A-KE1-DNI-A
Aug 30, 2020Enkore
Equipment Class
DTS - Digital Transmission System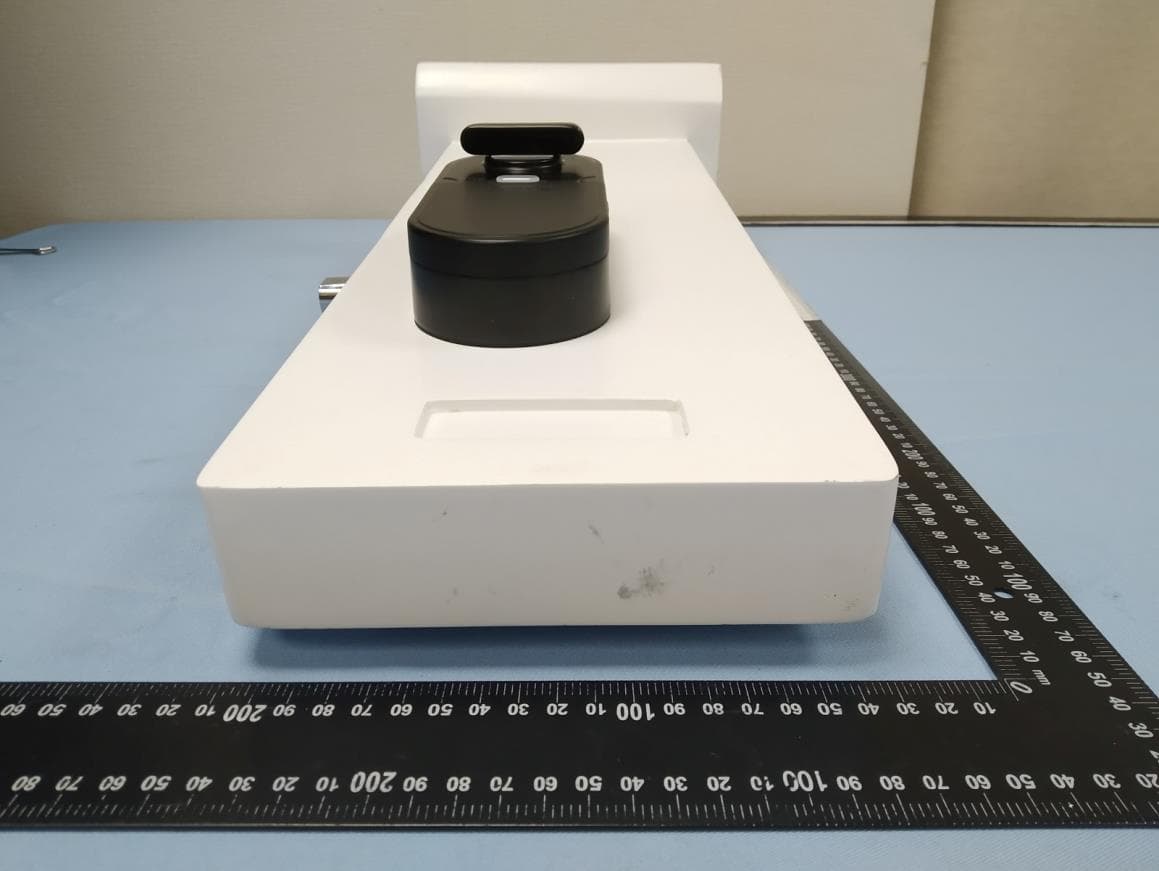
2AQ8A-KP1D7
Aug 16, 2020Kapture Auto Deadbolt
Equipment Class
DTS - Digital Transmission System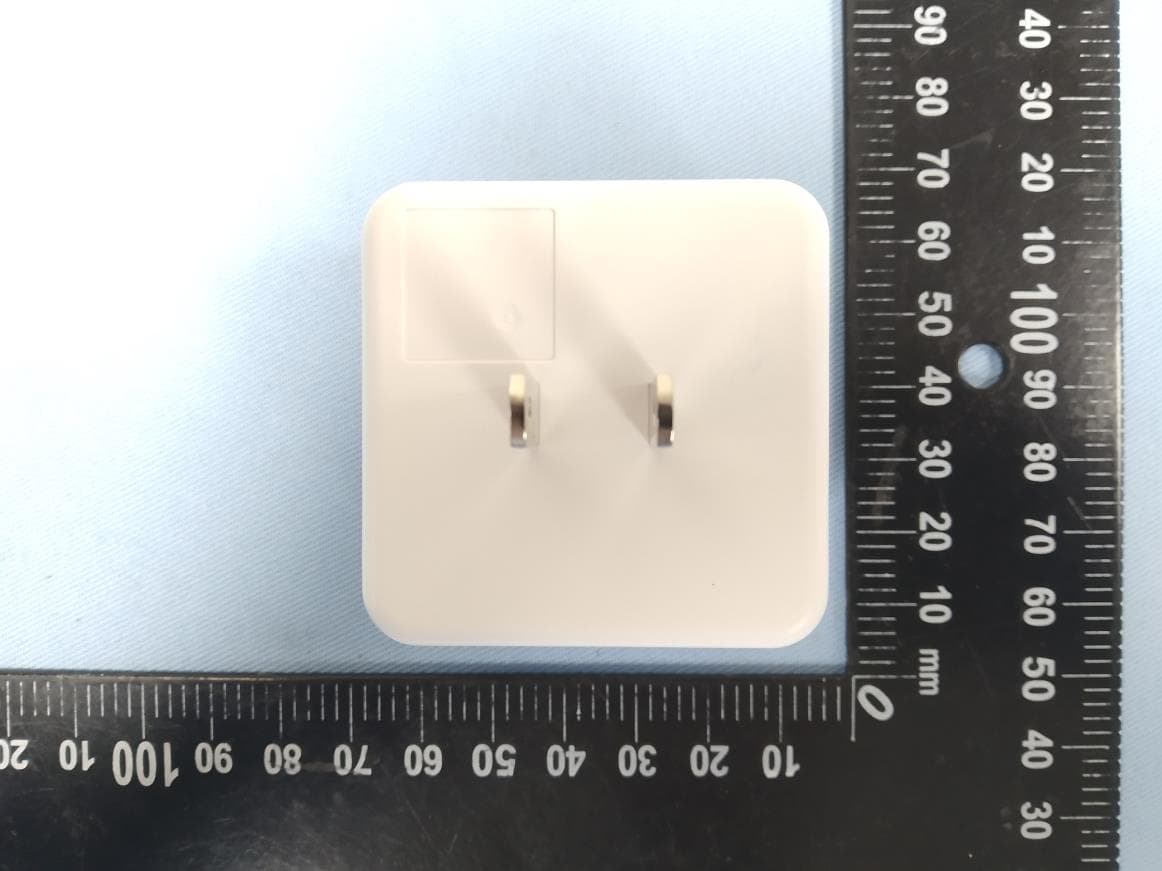
2AQ8A-KP1LINK
Aug 16, 2020Kapture Wifi Bridge
Equipment Class
DTS - Digital Transmission System