2AXJ4BE900BE24000 Quad-Band Wi-Fi 7 Router
TP-Link Corporation Limited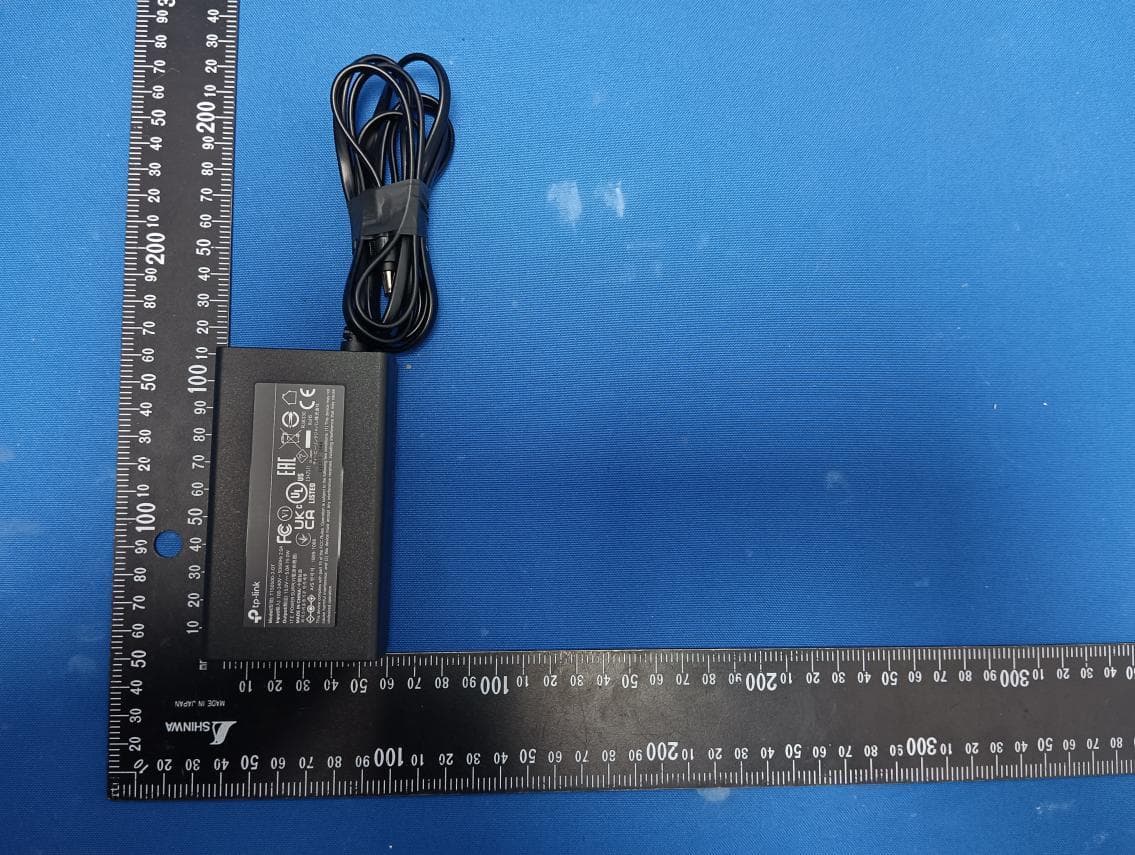
Click to zoom
Application Details
- Equipment Class
- NII - Unlicensed National Information Infrastructure TX
- Date of Grant
- Apr 03, 2023
- Application Purpose
- Original Equipment
- Date of Application
- Mar 16, 2023
- Equipment Note
- BE24000 Quad-Band Wi-Fi 7 Router
- Frequency Range
- 5250.00000000 - 5250.00000000
- Company
- TP-Link Corporation Limited
- Country
- Hong Kong
Documents & Files
Document Text
Text extracted from the exhibit documents filed with the FCC. Open a document above to read the original.
Users Manual
© 2023 TP-Link 1910013368 REV1.0.0 User Guide BE24000 Quad-Band Wi-Fi 7 Router Archer BE900 Contents About This Guide 1 Chapter 1 Get to Know About Your Router 3 1. 1. Product Overview. . . . . . . . . . . . . . . . . . . . . . . . . . . . . . . . . . . . . . . . . . . . . . . . . . . . . . . . . . . . 4 1. 2. Appearance . . . . . . . . . . . . . . . . . . . . . . . . . . . . . . . . . . . . . . . . . . . . . . . . . . . . . . . . . . . . . . . . . 4 1. 2. 1. Top Panel . . . . . . . . . . . . . . . . . . . . . . . . . . . . . . . . . . . . . . . . . . . . . . . . . . . . . . . . . . . . . 4 1. 2. 2. Back Panel and Side Panel. . . . . . . . . . . . . . . . . . . . . . . . . . . . . . . . . . . . . . . . . . . . . 5 Chapter 2 Connect the Hardware 7 2. 1. Position Your Router . . . . . . . . . . . . . . . . . . . . . . . . . . . . . . . . . . . . . . . . . . . . . . . . . . . . . . . . . 8 2. 2. Connect Your Router. . . . . . . . . . . . . . . . . . . . . . . . . . . . . . . . . . . . . . . . . . . . . . . . . . . . . . . . . 8 Chapter 3 Log In to Your Router 11 Chapter 4 Set Up Internet Connection 13 4. 1. Use Quick Setup Wizard . . . . . . . . . . . . . . . . . . . . . . . . . . . . . . . . . . . . . . . . . . . . . . . . . . . .14 4. 2. Quick Setup Via TP-Link Tether App. . . . . . . . . . . . . . . . . . . . . . . . . . . . . . . . . . . . . . . . .14 4. 3. Manually Set Up Your Internet Connection . . . . . . . . . . . . . . . . . . . . . . . . . . . . . . . . . .15 4. 4. Set Up the Router as an Access Point . . . . . . . . . . . . . . . . . . . . . . . . . . . . . . . . . . . . . . .18 4. 5. Set Up an IPv6 Internet Connection. . . . . . . . . . . . . . . . . . . . . . . . . . . . . . . . . . . . . . . . .19 Chapter 5 TP-Link Cloud Service 23 5. 1. Register a TP-Link ID. . . . . . . . . . . . . . . . . . . . . . . . . . . . . . . . . . . . . . . . . . . . . . . . . . . . . . . .24 5. 2. Change Your TP-Link ID Information. . . . . . . . . . . . . . . . . . . . . . . . . . . . . . . . . . . . . . . . .24 5. 3. Manage the User TP-Link IDs . . . . . . . . . . . . . . . . . . . . . . . . . . . . . . . . . . . . . . . . . . . . . . .25 5. 3. 1. Add TP-Link ID to Manage the Router. . . . . . . . . . . . . . . . . . . . . . . . . . . . . . . . .26 5. 3. 2. Remove TP-Link ID(s) from Managing the Router. . . . . . . . . . . . . . . . . . . . . .26 5. 4. Manage the Router via the TP-Link Tether App . . . . . . . . . . . . . . . . . . . . . . . . . . . . . .27 Chapter 6 Network Map 28 Chapter 7 Wireless Settings 32 7. 1. Specify Wireless Settings . . . . . . . . . . . . . . . . . . . . . . . . . . . . . . . . . . . . . . . . . . . . . . . . . .33 7. 2. Schedule Your Wireless Function . . . . . . . . . . . . . . . . . . . . . . . . . . . . . . . . . . . . . . . . . . .36 7. 3. Use WPS for Wireless Connection . . . . . . . . . . . . . . . . . . . . . . . . . . . . . . . . . . . . . . . . . .37 7. 3. 1. Connect via the Client’s PIN . . . . . . . . . . . . . . . . . . . . . . . . . . . . . . . . . . . . . . . . . .37 7. 3. 2. Connect via the Router’s PIN . . . . . . . . . . . . . . . . . . . . . . . . . . . . . . . . . . . . . . . . .38 7. 3. 3. Push the WPS Button. . . . . . . . . . . . . . . . . . . . . . . . . . . . . . . . . . . . . . . . . . . . . . . . .38 7. 4. Advanced Wireless Settings . . . . . . . . . . . . . . . . . . . . . . . . . . . . . . . . . . . . . . . . . . . . . . . .39 Chapter 8 Guest Network 41 8. 1. Create a Network for Guests . . . . . . . . . . . . . . . . . . . . . . . . . . . . . . . . . . . . . . . . . . . . . . .42 8. 2. Customize Guest Network Options. . . . . . . . . . . . . . . . . . . . . . . . . . . . . . . . . . . . . . . . . .43 Chapter 9 USB Settings 44 9. 1. Access the USB Storage Device . . . . . . . . . . . . . . . . . . . . . . . . . . . . . . . . . . . . . . . . . . . .45 9. 1. 1. Access the USB Device Locally. . . . . . . . . . . . . . . . . . . . . . . . . . . . . . . . . . . . . . .45 9. 1. 2. Access the USB Device Remotely . . . . . . . . . . . . . . . . . . . . . . . . . . . . . . . . . . . .46 9. 1. 3. Customize the Access Settings. . . . . . . . . . . . . . . . . . . . . . . . . . . . . . . . . . . . . . .48 9. 2. Media Sharing . . . . . . . . . . . . . . . . . . . . . . . . . . . . . . . . . . . . . . . . . . . . . . . . . . . . . . . . . . . . . .50 9. 3. Time Machine . . . . . . . . . . . . . . . . . . . . . . . . . . . . . . . . . . . . . . . . . . . . . . . . . . . . . . . . . . . . . .51 Chapter 10 HomeShield 53 10. 1. Network Check . . . . . . . . . . . . . . . . . . . . . . . . . . . . . . . . . . . . . . . . . . . . . . . . . . . . . . . . . . . . .54 10. 2. Parental Controls . . . . . . . . . . . . . . . . . . . . . . . . . . . . . . . . . . . . . . . . . . . . . . . . . . . . . . . . . . .54 10. 3. QoS . . . . . . . . . . . . . . . . . . . . . . . . . . . . . . . . . . . . . . . . . . . . . . . . . . . . . . . . . . . . . . . . . . . . . . . .58 10. 4. More Features . . . . . . . . . . . . . . . . . . . . . . . . . . . . . . . . . . . . . . . . . . . . . . . . . . . . . . . . . . . . . .58 Chapter 11 OneMesh with Seamless Roaming 60 11. 1. Set Up a OneMesh Network. . . . . . . . . . . . . . . . . . . . . . . . . . . . . . . . . . . . . . . . . . . . . . . . .61 11. 2. Manage Devices in the OneMesh Network . . . . . . . . . . . . . . . . . . . . . . . . . . . . . . . . . .63 Chapter 12 Network Security 65 12. 1. Protect the Network from Cyber Attacks . . . . . . . . . . . . . . . . . . . . . . . . . . . . . . . . . . . .66 12. 2. Access Control . . . . . . . . . . . . . . . . . . . . . . . . . . . . . . . . . . . . . . . . . . . . . . . . . . . . . . . . . . . . .66 12. 3. IP & MAC Binding . . . . . . . . . . . . . . . . . . . . . . . . . . . . . . . . . . . . . . . . . . . . . . . . . . . . . . . . . . .68 12. 4. ALG . . . . . . . . . . . . . . . . . . . . . . . . . . . . . . . . . . . . . . . . . . . . . . . . . . . . . . . . . . . . . . . .…
Text truncated - open the document above for the full version.
Users Manual
42 Chapter 8 Guest Network Tips: To view guest network information, go to Network Map and locate the Guest Network section. You can turn on or off the guest network function conveniently. 8 2 Customize Guest Network Options 1. Visit http://tplinkwifi.net, and log in with your TP-Link ID or the password you set for the router. 2. Go to Advanced > Wireless >Guest Network. Locate the Guest Permissions section. 3. Customize guest network options according to your needs. • Allow guests to see each other Tick this checkbox if you want to allow the wireless clients on your guest network to communicate with each other via methods such as network neighbors and Ping. • Allow guests to access your local network Tick this checkbox if you want to allow the wireless clients on your guest network to communicate with the devices connected to your router’s LAN ports or main network via methods such as network neighbors and Ping. 4. Click S AV E. Now you can ensure network security and privacy! Chapter 9 USB Settings This chapter describes how to use the USB ports to share files and media from the USB storage devices over your home network locally, or remotely through the internet. The router supports USB external flash drives and hard drives. It contains the following sections: • Access the USB Storage Device • Media Sharing • Time Machine 44 Chapter 9 USB Settings 9 1 Access the USB Storage Device Insert your USB storage device into the router’s USB port and then access files stored there locally or remotely. Tips: • If you use USB hubs, make sure no more than 4 devices are connected to the router. • If the USB storage device requires using bundled external power, make sure the external power has been connected. • If you use a USB hard drive, make sure its file system is FAT32, exFat, NTFS or HFS+. • Before you physically disconnect a USB device from the router, safely remove it to avoid data damage: Go to Advanced > USB > USB Storage Device and click Remove. 9 1 1 Access the USB Device Locally Insert your USB storage device into the router’s USB port and then refer to the following table to access files stored on your USB storage device. Windows computer • Method 1: Go to Computer > Network, then click the Network Server Name (TP- SHARE by default) in the Computer section. Note: Operations in different systems are similar. Here we take Windows 7 as an example. 45 Chapter 9 USB Settings Windows computer • Method 2: Open the Windows Explorer (or go to Computer) and type the server address \\tplinkwifi.net or ftp://tplinkwifi.net in the address bar, then press Enter. Mac 1 ) Select Go > Connect to Server. 2 ) Type the server address smb://tplinkwifi.net. 3 ) Click Connect. 4 ) When prompted, select the Guest radio box. (If you have set up a username and a password to deny anonymous access to the USB disks, you should select the Registered User radio box. To learn how to set up an account for the access, refer to To Set Up Authentication for Data Security.) Tablet Use a third-party app for network files management. Tips: You can also access your USB storage device by using your Network/Media Server Name as the server address. Refer to To Customize the Address of the USB Storage Device to learn more. 9 1 2 Access the USB Device Remotely You can access your USB disk outside the local area network. For example, you can: 46 Chapter 9 USB Settings • Share photos and other large files with your friends without logging in to (and paying for) a photo-sharing site or email system. • Get a safe backup for the materials for a presentation. • Remove the files on your camera’s memory card from time to time during the journey. Note: If your ISP assigns a private WAN IP address (such as 192.168.x.x or 10.x.x.x), you cannot use this feature because private addresses are not routed on the internet. Follow the steps below to configure remote access settings. 1 Visit http://tplinkwifi.net, and log in with your TP-Link ID or the password you set for the router. 2 Go to Advanced > USB > USB Storage Device. 3 Tick the Internet FTP checkbox, and then click S AV E. 4 Refer to the following table to access your USB disk remotely. 47 Chapter 9 USB Settings Computer 1 ) Open the Windows Explorer (or go to Computer, only for Windows users) or open a web browser. 2 ) Type the server address in the address bar: Type in ftp://<WAN IP address of the router>:<port number> (such as ftp://59.40.2.243:21). If you have specified the domain name of the router, you can also type in ftp://<domain name>:<port number> (such as ftp://MyDomainName:21) 3 ) Press Enter on the keyboard. 4 ) Access with the username and password you set in To Set Up Authentication for Data Security. Tips: You can also access the USB disk via a third-party app for network files management, which can resume broken file transfers. Tablet Use a third-party app for network files management. Tips: Click Set Up a Dynamic DNS Service Account to learn how to set up a domain name for you router. 9 1 3 Customize the Access Settings By default, all the network clients can access all folders on your USB disk. You can customize your sharing settings by setting a sharing account, sharing specific contents and setting a new sharing address on the router’s web management page. 1 Visit http://tplinkwifi.net, and log in with your TP-Link ID or the password you set for the router. 2 Go to Advanced > USB > USB Storage Device. • To Customize the Address of the USB Storage Device You can customize the server name and use the name to access your USB storage device. 1 In the Access Method session, make sure Samba for Windows is ticked, and enter a Network/Media Server Name as you like, such as MyShare, then click S AV E. 48 Chapter 9 USB Settings 2 Now you can access the USB storage device by visiting \\MyShare (for Windows) or smb://MyShare (for Mac). • To Only Share Specific Content Focus on the File Sharing section. Specify sharing folders that you want to share and click S AV E. • To Set Up…
Text truncated - open the document above for the full version.
Users Manual
93 Chapter 14 VPN Server&Client 3 ) Enter the VPN information provided by your VPN provider. • OpenVPN: Enter the VPN username and password if required by your VPN provider, otherwise simply leave them empty. Then import the configuration file provided by your VPN provider. • PPTP: Enter the VPN server address (for example: 218.18.1.73) and the VPN username and password provided by your VPN provider. 94 Chapter 14 VPN Server&Client • L2TP/IPSec VPN: Enter the VPN server address (for example: 218.18.1.73), VPN username and password, and IPSec pre-shared key provided by your VPN provider. 4 ) Save the settings. 5 ) In the server list, enable the one you need. 95 Chapter 14 VPN Server&Client 5. Add and manage the devices that will use the VPN function. 1 ) In the Device List section, click Add. 2 ) Choose and add the devices that will access the VPN server you have configured. 6. Save the settings. 96 Chapter 14 VPN Server&Client Done! Now the devices you specified can access the VPN server you enabled. Chapter 15 Customize Your Network Settings This chapter guides you on how to configure advanced network features. It contains the following sections: • Change the Internet Settings • Change the LAN Settings • Configure to Support IPTV Service • Specify DHCP Server Settings • Set Up a Dynamic DNS Service Account • Create Static Routes 98 Chapter 15 Customize Your Network Settings 15 1 Change the Internet Settings After setting up your internet, you can also easily change the internet settings if needed in the future. 1. Visit http://tplinkwifi.net, and log in with your TP-Link ID or the password you set for the router. 2. Go to Advanced > Network > Internet. • To change the internet port: 1. Select the desired internet port. Make sure the cable is securely connected to this port on your router. 2. Click S AV E. • To change the internet connection settings: 99 Chapter 15 Customize Your Network Settings 1. Select the internet connection type and configure the settings according to the information provided by your ISP. 2. Optional. Reveal the advanced settings and change the settings if needed. It’s recommended to keep the default settings. 3. Click S AV E. • To change the MAC address of the router: You have three options, Use Default MAC Address, Clone Current Device MAC, Use Custom MAC Address. 100 Chapter 15 Customize Your Network Settings • To change the Internet Port Negotiation Speed Setting You can change the internet port speed mode. Auto Negotiation is recommended. 15 2 Change the LAN Settings The router is preset with a default LAN IP 192.168.0.1, which you can use to log in to its web management page. The LAN IP address together with the Subnet Mask also defines the subnet that the connected devices are on. If the IP address conflicts with another device on your local network or your network requires a specific IP subnet, you can change it. 1. Visit http://tplinkwifi.net, and log in with your TP-Link ID or the password you set for the router. 2. Go to Advanced > Network > LAN. 3. Type in a new IP Address appropriate to your needs. And leave the Subnet Mask as the default settings. 4. Click S AV E. Note: If you have set the Port Forwarding, DMZ or DHCP address reservation, and the new LAN IP address is not in the same subnet with the old one, then you should reconfigure these features. 15 3 Configure to Support IPTV Service I want to: Configure IPTV setup to enable Internet/IPTV/Phone service provided by my internet service provider (ISP). How can I do that? 101 Chapter 15 Customize Your Network Settings 1 Visit http://tplinkwifi.net, and log in with your TP-Link ID or the password you set for the router. 2 Go to Advanced > Network > IPTV/VLAN. 3 If your ISP provides the networking service based on IGMP technology, e.g., British Telecom(BT) and Talk Talk in UK: 1 ) Tick the IGMP Proxy and IGMP Snooping checkbox, then select the IGMP Version, either V2 or V3, as required by your ISP. 2 ) Click S AV E. 3 ) After configuring IGMP proxy, IPTV can work behind your router now. You can connect your set-top box to any of the router’s Ethernet port. If IGMP is not the technology your ISP applies to provide IPTV service: 1 ) Tick Enable IPTV/VLAN. 2 ) Select the appropriate Mode according to your ISP. • Select Bridge if your ISP is not listed and no other parameters are required. • Select Custom if your ISP is not listed but provides necessary parameters. 3 ) After you have selected a mode, the necessary parameters, including the LAN port for IPTV connection, are predetermined. If not, select the LAN type to determine which port is used to support IPTV service. 4 ) Click S AV E. 102 Chapter 15 Customize Your Network Settings 5 ) Connect the set-top box to the corresponding LAN port which is predetermined or you have specified in Step 3. Done! Your IPTV setup is done now! You may need to configure your set-top box before enjoying your TV. 15 4 Specify DHCP Server Settings By default, the DHCP (Dynamic Host Configuration Protocol) Server is enabled and the router acts as a DHCP server; it dynamically assigns TCP/IP parameters to client devices from the IP Address Pool. You can change the settings of the DHCP Server if necessary, and you can reserve LAN IP addresses for specified client devices. 1. Visit http://tplinkwifi.net, and log in with your TP-Link ID or the password you set for the router. 2. Go to Advanced > Network > DHCP Server. • To specify the IP address that the router assigns: 1. Tick the Enable checkbox. 2. Enter the starting and ending IP addresses in the IP Address Pool. 3. Enter other parameters if the ISP offers. The Default Gateway is automatically filled in and is the same as the LAN IP address of the router. 4. Click S AV E. • To reserve an IP address for a specified client device: 1. Click Add in the Address Reservation section. 103 Chapter 15 Customize Your Network Settings 2. Click VIEW CONNECTED DEVICES and select the you device you want to reserve an IP for. Then the MAC…
Text truncated - open the document above for the full version.
Attestation Statements
THIS MUST BE SIGNED BY THE APPLICANT AND SHOULD BE PLACED ON APPROPRIATE LETTERHEAD 012423-17 rev2 Certification Application Attestation Statements Date: March 1, 2023 American Certification Body, Inc. 313 Park Avenue Suite 300 Falls Church, VA 22046 To Whom It May Concern: Statement for 47 CFR section 2.911(d)(5)(i) ____TP-Link Corporation Limited______ certifies that as of the date of the application the equipment for which authorization is sought is not “covered” equipment 1 prohibited from receiving an equipment authorization pursuant to section 2.903 of the FCC rules. If the equipment for which the applicant seeks authorization is produced by any of the entities identified on the current Covered List, including affiliates or subsidiaries of the named companies, the applicant must include an explanation on why the equipment is not “covered” equipment. Additional Explanation: <N/A> Statement for 47 CFR section 2.911(d)(5)(ii) _______TP-Link Corporation Limited______ (“the applicant”) certifies that, as of the date of the filing of this application, the applicant ☐ - is / - is not identified on the Covered List as an entity producing “covered” equipment. Thank you, By: __________________________ ____Sarah Wang___ (Signature 2 ) (Print name) Title: __ Regulatory Compliance Manager 1 - The Commission’s Covered List is published by the Public Safety and Homeland Security Bureau and posted on the Commission’s website. This Covered List, which is periodically updated, identifies particular equipment, produced by particular entities, that constitutes “covered” equipment. https://www.fcc.gov/supplychain/coveredlist . 2 - Letters should be placed on appropriate letterhead.
Cover Letter(s)
Attestation Letter Federal Communications Commission Authorization and Evaluation Division We Name: TP-Link Corporation Limited Address: Room 901, 9/F., New East Ocean Centre, 9 Science Museum Road, Tsim Sha Tsui, Kowloon, Hongkong Declare that the device does not support channel 12 ~ 13 in 2.4GHz band and any non-US channels in all the operational mode(s) for the following product. Product: BE24000 Quad-Band Wi-Fi 7 Router FCC ID: 2AXJ4BE900 Model: Archer BE900 Brand: tp-link Sincerely, _________________ Name: Sarah Wang Position: Regulatory Compliance Manager Date: 2023-02-27
Cover Letter(s)
Confidentiality Request Letter Federal Communications Commission Authorization and Evaluation Division FCC ID: 2AXJ4BE900 Confidentiality Request Pursuant to Sections 0.457 and 0.459 of the Commission’s Rules, we hereby request confidential treatment of information accompanying this application as outlined below: 1. Block Diagram 2. Schematics 3. Operational Description The above materials contain trade secrets and proprietary information not customarily released to the public. The public disclosure of these matters might be harmful to the applicant and provide unjustified benefits to its competitors. The applicant understands that pursuant to Rule 0.457, disclosure of this application and all accompanying documentation will not be made before the date of the Grant for this application. Sincerely, _________________ Name: Sarah Wang Position: Regulatory Compliance Manager Date: 2023-02-27
Cover Letter(s)
Declaration of Authorization We Name: TP-Link Corporation Limited Address: Room 901, 9/F., New East Ocean Centre, 9 Science Museum Road, Tsim Sha Tsui, Kowloon, Hongkong Declare that: Name Representative of agent: Marlin Chen Agent Company name: MRT Technology (Suzhou) Co., Ltd Address: D8 Building, Youxin Industrial Park, No.2 Tian'edang Rd., Wuzhong Economic Development Zone City: Suzhou Country: China is authorized to apply for Certification of the following product(s): Product: BE24000 Quad-Band Wi-Fi 7 Router FCC ID: 2AXJ4BE900 Model: Archer BE900 Brand: tp-link Sincerely, _________________ Name: Sarah Wang Position: Regulatory Compliance Manager Date: 2023-02-27
Cover Letter(s)
Declaration of Conformity We Name: TP-Link Corporation Limited Address: Room 901, 9/F., New East Ocean Centre, 9 Science Museum Road, Tsim Sha Tsui, Kowloon, Hongkong Declare that: Product: BE24000 Quad-Band Wi-Fi 7 Router FCC ID: 2AXJ4BE900 Model: Archer BE900 Brand: tp-link Product which bears the above FCC ID is also compliant with the FCC requirements for sDOC. And the sDOC procedure shall be carried out prior to marketing the device in the US. Sincerely, _________________ Name: Sarah Wang Position: Regulatory Compliance Manager Date: 2023-02-27
Cover Letter(s)
Non-SDR (Software Defined Radio) Cover Letter Refer to KDB 442812 D01 SDR apps Guide v02r03. The following six questions can be used for determining if a radio can elect to be, or must be an SDR. 1. Can the RF parameters of the device be altered through software? Yes - go to 2. No, not an SDR Answer: No 2. Can third parties not permitted by the Commission through specific filings modify, configure, or load different software, or make configuration settings to operate the device or host hardware radio frequency parameters (frequency range, modulation type, maximum output power or other radio parameters) in any other way than granted (or expected to be granted)? Yes, must be an SDR. No - go to 3. Answer: No 3. Is the device capable of operating in any other in any other way than granted, or will be, granted? Yes, - go to 4. No - go to 5. Answer: No 4. Is this a Part 15 client Device as defined in Section 15.202 (as opposed to a master device)? Yes, qualifies as a part 15 client devices - go to 5. No, must be an SDR. Answer: 5. Does the manufacturer elect SDR? Yes, elects to be an SDR. No, Not an SDR Answer: No Conclusion: According to the above questions reply, we can confirm this device (FCC ID: 2AXJ4BE900 & IC: 26583-BE900) must be a Non-SDR device. __________________ Name: Sarah Wang Position: Regulatory Compliance Manager Date: 2023-02-27
External Photos
Report No.: 2301RSU047-UE 1 of 5 External Photograph (1) EUT Photo (2) EUT Photo Report No.: 2301RSU047-UE 2 of 5 (3) EUT Photo (4) EUT Photo Report No.: 2301RSU047-UE 3 of 5 (5) EUT Photo (6) EUT Photo Report No.: 2301RSU047-UE 4 of 5 (7) EUT Photo (8) EUT Photo Report No.: 2301RSU047-UE 5 of 5 (9) EUT Photo
ID Label/Location Info
Label Label Location Label Here
Internal Photos
Report No.: 2301RSU047-CE 1 of 7 Internal Photograph (1) EUT Photo (2) EUT Photo Report No.: 2301RSU047-CE 2 of 7 (3) EUT Photo (4) EUT Photo Report No.: 2301RSU047-CE 3 of 7 (5) EUT Photo Report No.: 2301RSU047-CE 4 of 7 (6) EUT Photo (7) EUT Photo Report No.: 2301RSU047-CE 5 of 7 (8) EUT Photo (9) EUT Photo Report No.: 2301RSU047-CE 6 of 7 (10) EUT Photo (11) EUT Photo Report No.: 2301RSU047-CE 7 of 7 (12) EUT Photo
RF Exposure Info
MRT Technology (Suzhou) Co., Ltd Report No.: 2301RSU047-U5 Phone: +86-512-66308358 Report Version: V01 Web: www.mrt-cert.com Issue Date: 2023-03-01 Template Version:0.0 1 of 10 RF Exposure Evaluation Declaration FCC ID: 2AXJ4BE900 Applicant: TP-Link Corporation Limited Product: BE24000 Quad-Band Wi-Fi 7 Router Model No.: Archer BE900 Brand Name: tp-link FCC Classification: Digital Transmission System (DTS) Unlicensed National Information Infrastructure (NII) 15E 6GHz Low Power Indoor Access Point (6ID) FCC Rule Part(s): FCC Part 2.1091 Received Date: 2023-01-26 Result: Complies Reviewed By: Kevin Guo Approved By: Robin Wu The test results relate only to the samples tested. The test results shown in the test report are traceable to the national/international standards through the calibration of the equipment and evaluated measurement uncertainty herein. The test report shall not be reproduced except in full without the written approval of MRT Technology (Suzhou) Co., Ltd. Report No.: 2301RSU047-U5 2 of 10 Revision History Report No. Version Description Issue Date Note 2301RSU047-U5 V01 Initial Report 2023-03-01 Valid Report No.: 2301RSU047-U5 3 of 10 CONTENTS Description Page 1. General Information ................................................................................................................................ 4 1.1. Applicant ........................................................................................................................................ 4 1.2. Manufacturer ................................................................................................................................. 4 1.3. Testing Facility ............................................................................................................................... 4 1.4. Product Information ....................................................................................................................... 5 1.5. Antenna Details ............................................................................................................................. 5 1.6. Device Classification ..................................................................................................................... 6 1.7. Applied Standards ......................................................................................................................... 6 2. RF Exposure Evaluation ......................................................................................................................... 7 2.1. Test Limits ..................................................................................................................................... 7 2.2. MPE Exemptions ........................................................................................................................... 8 2.3. Calculated Result ......................................................................................................................... 11 Report No.: 2301RSU047-U5 4 of 10 1. General Information 1.1. Applicant TP-Link Corporation Limited Room 901, 9/F. , New East Ocean Centre, 9 Science Museum Road, Tsim Sha Tsui, Kowloon, Hongkong 1.2. Manufacturer TP-Link Corporation Limited Room 901, 9/F. , New East Ocean Centre, 9 Science Museum Road, Tsim Sha Tsui, Kowloon, Hongkong 1.3. Testing Facility Test Site – MRT Suzhou Laboratory Laboratory Location (Suzhou - Wuzhong) D8 Building, No.2 Tian’edang Rd., Wuzhong Economic Development Zone, Suzhou, China Laboratory Location (Suzhou - SIP) 4b Building, Liando U Valley, No.200 Xingpu Rd., Shengpu Town, Suzhou Industrial Park, China Laboratory Accreditations A2LA: 3628.01 CNAS: L10551 FCC: CN1166 ISED: CN0001 VCCI: R-20025 G-20034 C-20020 T-20020 R-20141 G-20134 C-20103 T-20104 Test Site – MRT Shenzhen Laboratory Laboratory Location (Shenzhen) 1G, Building A, Junxiangda Building, Zhongshanyuan Road West, Nanshan District, Shenzhen, China Laboratory Accreditations A2LA: 3628.02 CNAS: L10551 FCC: CN1284 ISED: CN0105 Test Site – MRT Taiwan Laboratory Laboratory Location (Taiwan) No. 38, Fuxing 2nd Rd., Guishan Dist., Taoyuan City 333, Taiwan (R.O.C.) Laboratory Accreditations TAF: L3261-190725 FCC: 291082, TW3261 ISED: TW3261 Report No.: 2301RSU047-U5 5 of 10 1.4. Product Information Product Name BE24000 Quad-Band Wi-Fi 7 Router Model No. Archer BE900 Wi-Fi Specification 802.11a/b/g/n/ac/ax/be Antenna Information Refer to selection 1.5 Working Voltage By Adapter Accessory Adapter Model: T150500-2-DT Input: 100-240V ~ 50/60Hz 2.0A Output: 15V=5.0A 75W Note: The information of EUT was provided by the manufacturer, and the accuracy of the information shall be the responsibility of the manufacturer. 1.5. Antenna Details Antenna Type Frequency Band (MHz) T X Paths Number of spatial streams Max Antenna Gain (dBi) Beamforming Directional Gain (dBi) CDD Directional Gain (dBi) For Power For PSD Dipole Antenna 2412 ~ 2462 4 1 2.91 8.93 2.91 8.93 5150 ~ 5250 4 1 3.02 9.04 3.02 9.04 5250 ~ 5350 4 1 3.08 9.10 3.08 9.10 5470 ~ 5725 4 1 3.13 9.15 3.13 9.15 5725 ~ 5850 4 1 2.97 8.99 2.97 8.99 5925 ~ 6425 4 1 3.10 9.12 3.10 9.12 4 4 3.10 -- 3.10 3.10 6425 ~ 6525 4 1 3.03 9.05 3.03 9.05 4 4 3.03 -- 3.03 3.03 6525 ~ 6875 4 1 3.04 9.06 3.04 9.06 4 4 3.04 -- 3.04 3.04 6875 ~ 7125 4 1 2.93 8.95 2.93 8.95 4 4 2.93 -- 2.93 2.93 Remark: 1. The EUT supports Cyclic Delay Diversity (CDD) mode, and CDD signals are correlated. If all antennas have the same ga…
Text truncated - open the document above for the full version.
Contact Information
Applicant
Sarah Wang
Technical Contact
MRT Technology (Suzhou) Co., LtdMarlin Chen
[email protected]+8651266308358
D8 Building, Youxin Industrial Park, No.2 Tian'eda · Suzhou · China
Non-Technical Contact
MRT Technology (Suzhou) Co., LtdMarlin Chen
[email protected]+8651266308358
Test Firm
MRT Technology (Suzhou) Co., Ltd.Mr. Marlin Chen
[email protected]8651266308358
Technical Specifications
| # | Rule Parts | Frequency Range | Power Output |
|---|---|---|---|
| 5 | 15E | 5.25 GHz - 5.25 GHz | 234.40 mW |
Other Applications from TP-Link Corporation Limited
2AXJ4TXE50UH
Jan 28, 2024AXE3000 Wi-Fi 6E High Gain Wireless USB Adapter
Equipment Class
NII - Unlicensed National Information Infrastructure TX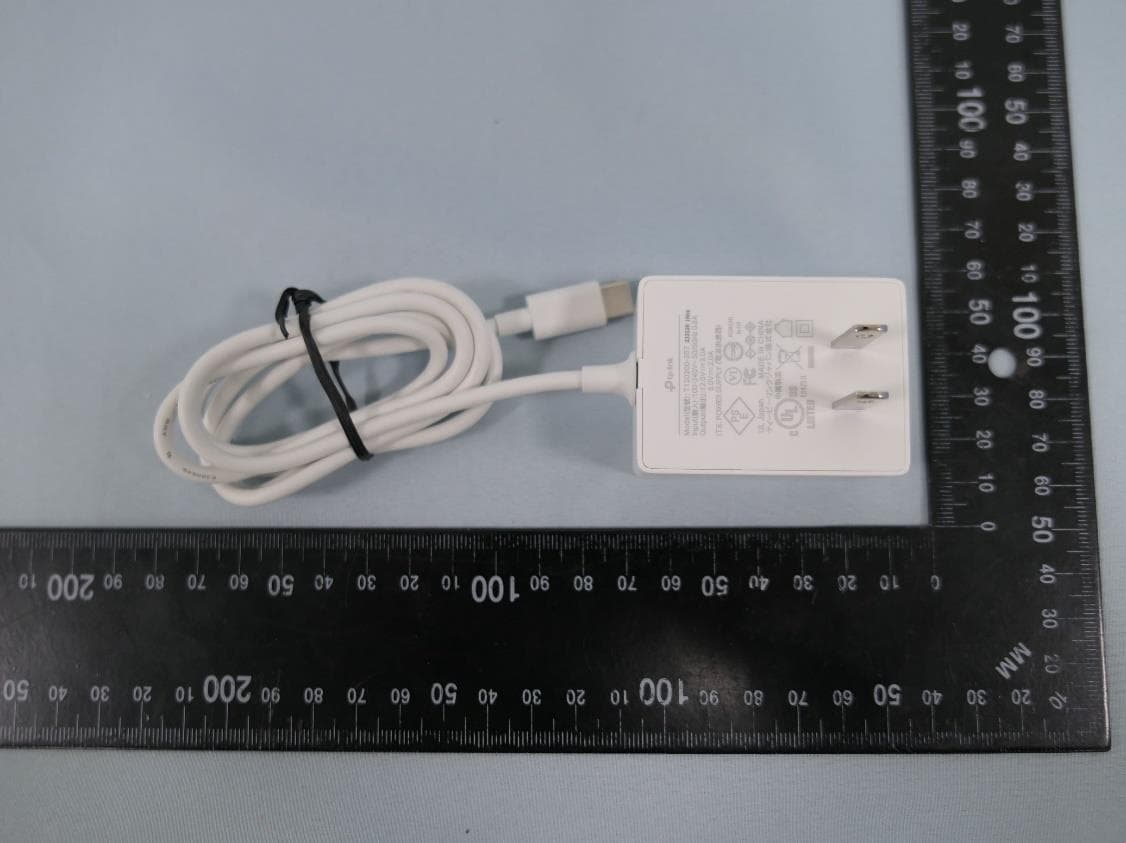
2AXJ4AIRE5
Jan 15, 2024AX3000 Wi-Fi 6 Air Range Extender
Equipment Class
DTS - Digital Transmission System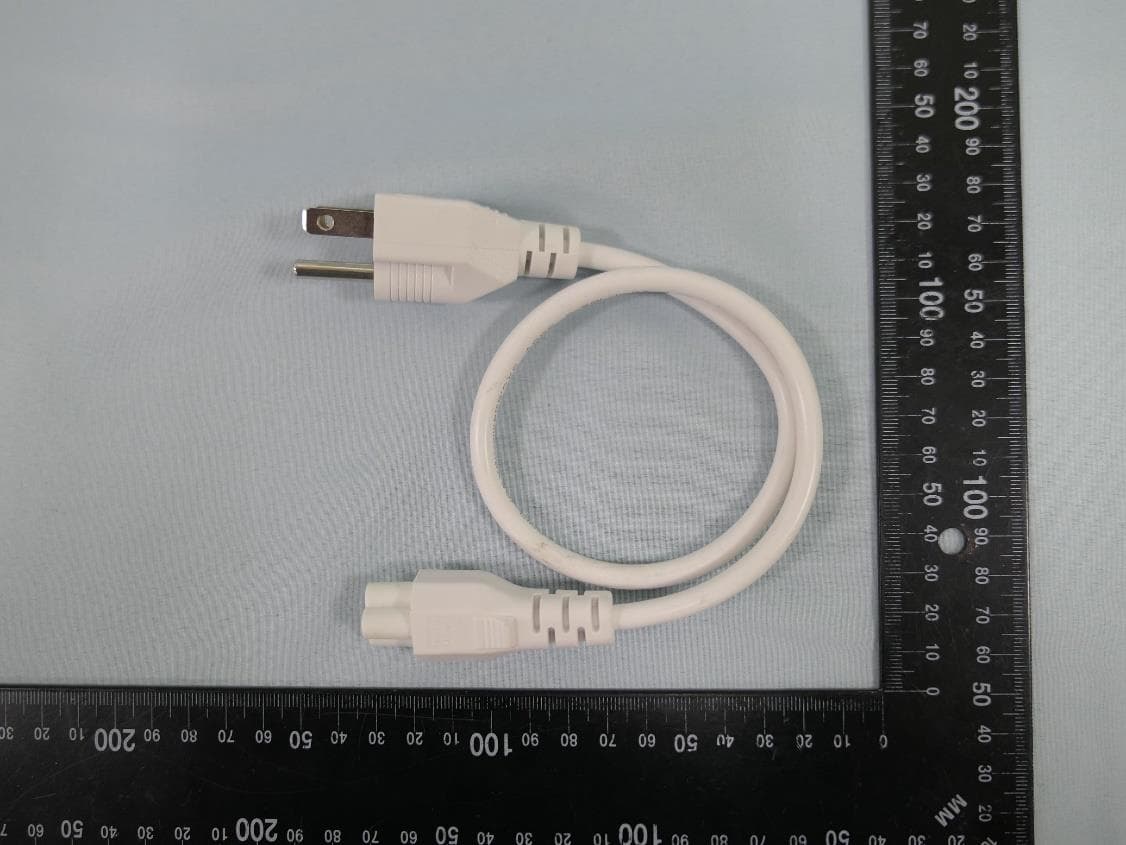
2AXJ4EAP115BRG
Jan 11, 20245GHz 300Mbps Long-range Indoor/Outdoor Access Point
Equipment Class
NII - Unlicensed National Information Infrastructure TX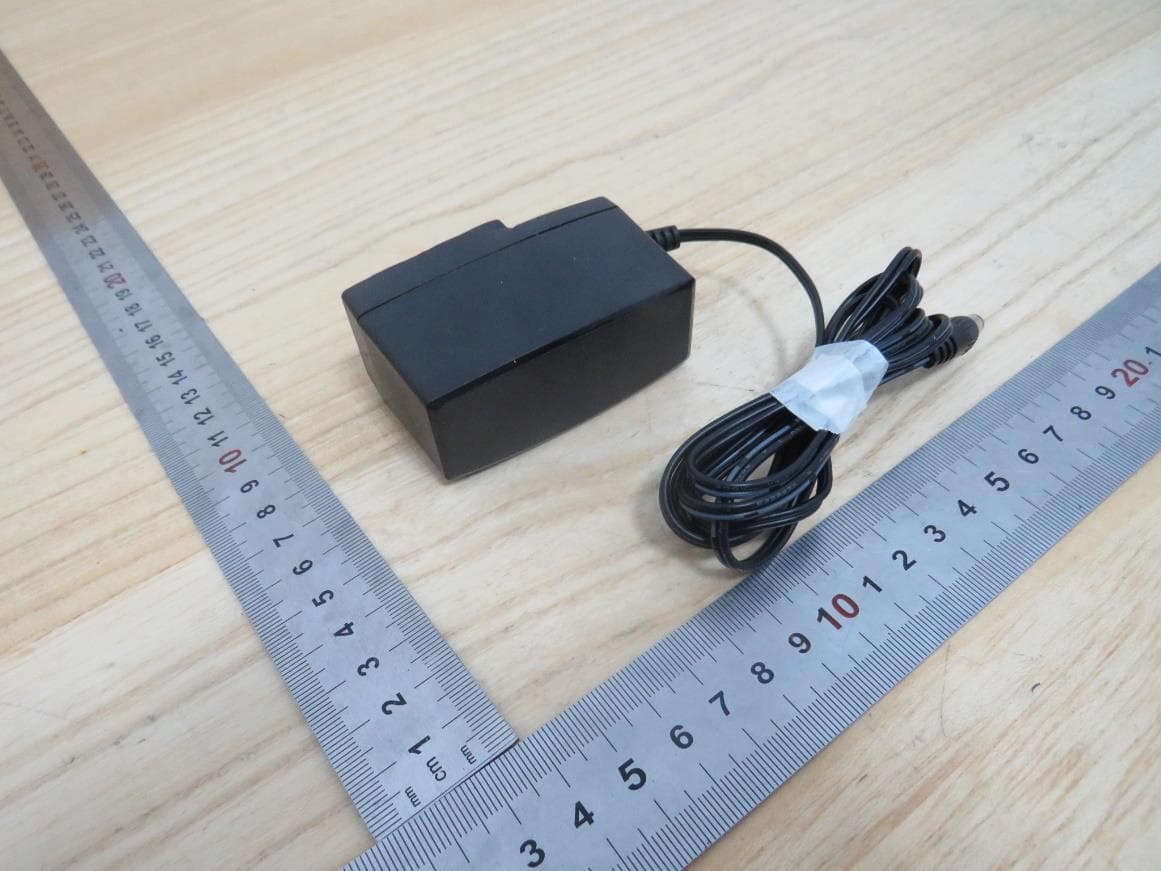
2AXJ4HX510V2
Jan 10, 2024AX3000 Whole Home Mesh Wi-Fi AP
Equipment Class
NII - Unlicensed National Information Infrastructure TX
2AXJ4EAP215BRG
Dec 11, 20235GHz 867Mbps Long-range Indoor/Outdoor Access Point
Equipment Class
NII - Unlicensed National Information Infrastructure TX