2AXJ4EX920AXE7800 Tri-Band Wi-Fi 6E Router
TP-Link Corporation Limited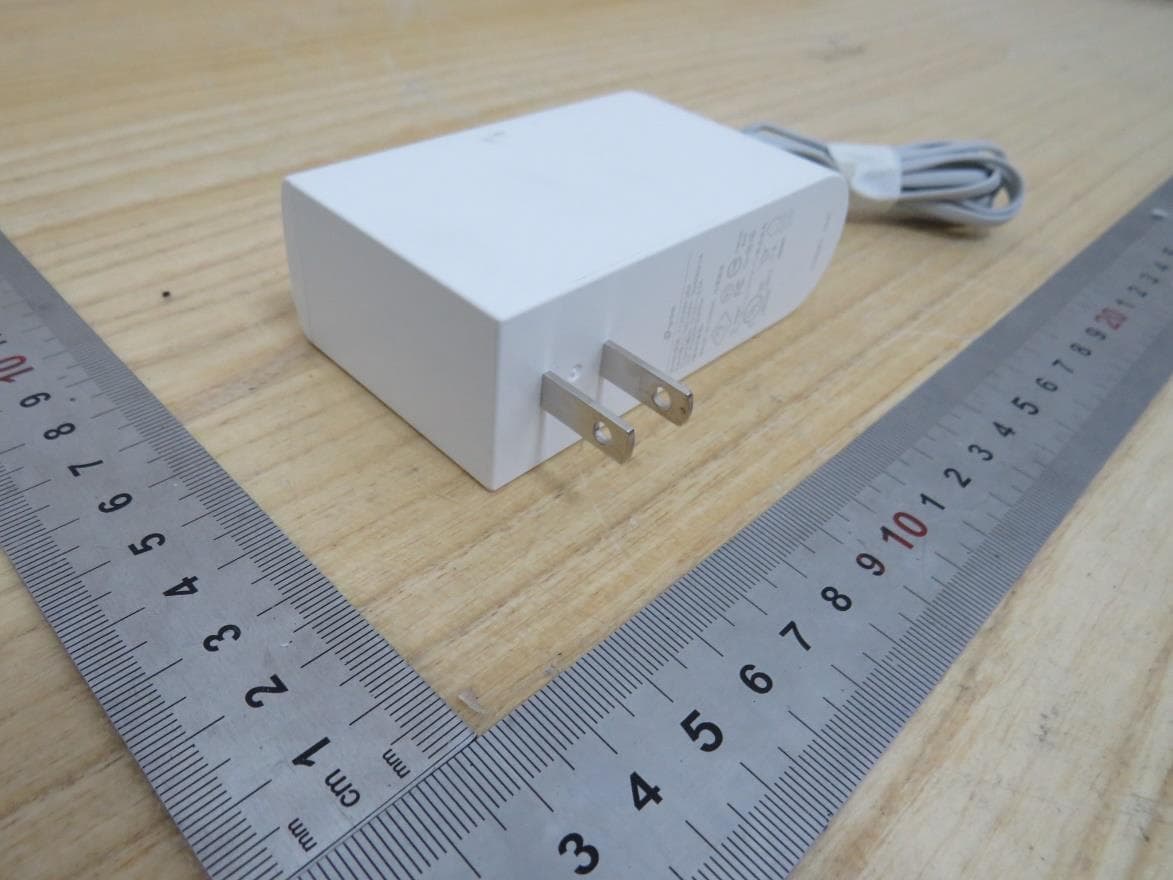
Click to zoom
Application Details
- Equipment Class
- NII - Unlicensed National Information Infrastructure TX
- Date of Grant
- Jan 17, 2023
- Application Purpose
- Original Equipment
- Date of Application
- Jan 16, 2023
- Equipment Note
- AXE7800 Tri-Band Wi-Fi 6E Router
- Frequency Range
- 5745.00000000 - 5825.00000000
- Company
- TP-Link Corporation Limited
- Country
- Hong Kong
Documents & Files
Document Text
Text extracted from the exhibit documents filed with the FCC. Open a document above to read the original.
Users Manual
© 2023 TP-Link 1910020940 REV1.0.0 User Guide BBA Tri-band Routers Contents About This Guide . . . . . . . . . . . . . . . . . . . . . . . . . . . . . . . . . . . . . . . . . . . . . . . . . . . . . 1 Chapter 1. Get to Know About Your Router . . . . . . . . . . . . . . . . . . . . . . . . . . . 3 1. 1. Product Overview. . . . . . . . . . . . . . . . . . . . . . . . . . . . . . . . . . . . . . . . . . . . . . . . . . . . . . . . . . . . 4 1. 2. Appearance . . . . . . . . . . . . . . . . . . . . . . . . . . . . . . . . . . . . . . . . . . . . . . . . . . . . . . . . . . . . . . . . . 4 1. 2. 1. Top Panel . . . . . . . . . . . . . . . . . . . . . . . . . . . . . . . . . . . . . . . . . . . . . . . . . . . . . . . . . . . . . 4 1. 2. 2. The Back Panel . . . . . . . . . . . . . . . . . . . . . . . . . . . . . . . . . . . . . . . . . . . . . . . . . . . . . . . . 5 Chapter 2. Connect the Hardware . . . . . . . . . . . . . . . . . . . . . . . . . . . . . . . . . . . . 7 2. 1. Position Your Router . . . . . . . . . . . . . . . . . . . . . . . . . . . . . . . . . . . . . . . . . . . . . . . . . . . . . . . . . 8 2. 2. Connect Your Router. . . . . . . . . . . . . . . . . . . . . . . . . . . . . . . . . . . . . . . . . . . . . . . . . . . . . . . . . 8 Chapter 3. Log In to Your Router . . . . . . . . . . . . . . . . . . . . . . . . . . . . . . . . . . . . 11 Chapter 4. Set Up Internet Connection . . . . . . . . . . . . . . . . . . . . . . . . . . . . . 13 4. 1. Use Quick Setup Wizard . . . . . . . . . . . . . . . . . . . . . . . . . . . . . . . . . . . . . . . . . . . . . . . . . . . . 14 4. 2. Quick Setup Via TP-Link Aginet App . . . . . . . . . . . . . . . . . . . . . . . . . . . . . . . . . . . . . . . . 15 4. 3. Manually Set Up Your Internet Connection . . . . . . . . . . . . . . . . . . . . . . . . . . . . . . . . . . 16 4. 4. Set Up the Router as an Access Point . . . . . . . . . . . . . . . . . . . . . . . . . . . . . . . . . . . . . . . 18 4. 5. Set Up an IPv6 Internet Connection . . . . . . . . . . . . . . . . . . . . . . . . . . . . . . . . . . . . . . . . . 19 4. 6. IPv6 Tunnel . . . . . . . . . . . . . . . . . . . . . . . . . . . . . . . . . . . . . . . . . . . . . . . . . . . . . . . . . . . . . . . . . 23 Chapter 5. Setup Your Network via TP-Link Aginet App . . . . . . . . . . . . . 26 5. 1. Set Up Your Router. . . . . . . . . . . . . . . . . . . . . . . . . . . . . . . . . . . . . . . . . . . . . . . . . . . . . . . . . . 27 5. 2. Dashboard. . . . . . . . . . . . . . . . . . . . . . . . . . . . . . . . . . . . . . . . . . . . . . . . . . . . . . . . . . . . . . . . . . 30 5. 3. Add More Mesh Devices . . . . . . . . . . . . . . . . . . . . . . . . . . . . . . . . . . . . . . . . . . . . . . . . . . . . 32 5. 4. Check Mesh Device Status . . . . . . . . . . . . . . . . . . . . . . . . . . . . . . . . . . . . . . . . . . . . . . . . .33 5. 5. Remove/Reboot Mesh Devices . . . . . . . . . . . . . . . . . . . . . . . . . . . . . . . . . . . . . . . . . . . . . 36 5. 6. Manage Connected Devices . . . . . . . . . . . . . . . . . . . . . . . . . . . . . . . . . . . . . . . . . . . . . . . . 37 5. 7. Create a New Network . . . . . . . . . . . . . . . . . . . . . . . . . . . . . . . . . . . . . . . . . . . . . . . . . . . . . . 38 5. 8. Parental Controls . . . . . . . . . . . . . . . . . . . . . . . . . . . . . . . . . . . . . . . . . . . . . . . . . . . . . . . . . . . 39 5. 9. Wi-Fi Settings . . . . . . . . . . . . . . . . . . . . . . . . . . . . . . . . . . . . . . . . . . . . . . . . . . . . . . . . . . . . . . 40 5. 10. Guest Network. . . . . . . . . . . . . . . . . . . . . . . . . . . . . . . . . . . . . . . . . . . . . . . . . . . . . . . . . . . . . . 41 5. 11. Internet Connection . . . . . . . . . . . . . . . . . . . . . . . . . . . . . . . . . . . . . . . . . . . . . . . . . . . . . . . . 42 5. 12. Block List . . . . . . . . . . . . . . . . . . . . . . . . . . . . . . . . . . . . . . . . . . . . . . . . . . . . . . . . . . . . . . . . . . . 44 5. 13. Upgrade Your Router. . . . . . . . . . . . . . . . . . . . . . . . . . . . . . . . . . . . . . . . . . . . . . . . . . . . . . . . 45 5. 14. Advanced Features . . . . . . . . . . . . . . . . . . . . . . . . . . . . . . . . . . . . . . . . . . . . . . . . . . . . . . . . . 46 Chapter 6. Customize Your Network Settings . . . . . . . . . . . . . . . . . . . . . . . 50 6. 1. Configure LAN Settings . . . . . . . . . . . . . . . . . . . . . . . . . . . . . . . . . . . . . . . . . . . . . . . . . . . . . 51 6. 1. 1. Change the LAN IP Address . . . . . . . . . . . . . . . . . . . . . . . . . . . . . . . . . . . . . . . . . . 51 6. 1. 2. Use the Router as a DHCP Server. . . . . . . . . . . . . . . . . . . . . . . . . . . . . . . . . . . . . 52 6. 1. 3. Reserve LAN IP Addresses . . . . . . . . . . . . . . . . . . . . . . . . . . . . . . . . . . . . . . . . . . . 53 6. 2. Configure IPv6 LAN Settings . . . . . . . . . . . . . . . . . . . . . . . . . . . . . . . . . . . . . . . . . . . . . . . .53 6. 2. 1. Configure the RADVD Address Type . . . . . . . . . . . . . . . . . . . . . . . . . . . . . . . . . . 54 6. 2. 2. Configure the DHCPv6 Server Address Type . . . . . . . . . . . . . . . . . . . . . . . . . 54 6. 3. Set Up a Dynamic DNS Service Account . . . . . . . . . . . . . . . . . . . . . . . . . . . . . . . . . . . . 55 6. 4. Create Static Routes . . . . . . . . . . . . . . . . . . . . . . . . . . . . . . . . . . . . . . . . . . . . . . . . . . . . . . . . 56 6. 5. RIP Settings . . . . . . . . . . . . . . . . . . . . . . . . . . . . . . . . . . . . . . . . . . . . . . . . . . . . . . . . . . . . . . . . 59 6. 6. Specify Wireless Settings. . . . . . . . . . . . . . . . . . . . . . . . . . . . . . . . . . . . . . . . . . . . . . . . . . . 60 6. 6. 1. Change Basic Wireless Settings . . . . . . . . . . . . . . . . . . . . . . . . . . . . . . . . . . . . . . 60 6. 6. 2. Advanced Wireless Settings . . . . . . . . . . . . . . . . . . . . . . . . . . . . …
Text truncated - open the document above for the full version.
Users Manual
88 Chapter 10 EasyMesh with Seamless Roaming 2. Connect a EasyMesh agent to this controller by following the setup instructions in the agent’s manual. The agent will be listed on the controller’s Mesh page. Note: To check full list of TP-Link EasyMesh devices, visit https://www.tp-link.com. 3. If you have set up the agent to join the EasyMesh network, it will be listed on the controller’s EasyMesh page. Otherwise, you need to find it in the Add Mesh Device list and click Add to add it to the EasyMesh network. 89 Chapter 10 EasyMesh with Seamless Roaming Done! Now your controller and agents successfully form a EasyMesh network! 10 2 Manage Devices in the EasyMesh Network In a EasyMesh network, you can manage all mesh devices and connected clients on your router’s web page. • To view mesh devices and connected clients in the network: 1. Visit http://tplinkwifi.net or http://192.168.0.1, and log in with your TP-Link ID or the password you set for the router. 2. Go to Basic > Network Map. 3. Click to view all mesh devices, and click to view all connected clients. 90 Chapter 10 EasyMesh with Seamless Roaming • To manage a EasyMesh device in the network: 1. Visit http://tplink wifi.net or http://192.168.0.1, and log in with your TP-Link ID or the password you set for the router. 2. Go to Basic > Network Map. 3. Click the Mesh device’s IP Address to redirect to the web management page of this device and view detailed information. 4. Manage the EasyMesh device as needed. You can: • Change device information. • Delete this devic e from the EasyMesh network. Chapter 11 Guest Network This function allows you to provide Wi-Fi access for guests without disclosing your main network. When you have guests in your house, apartment, or workplace, you can create a guest network for them. In addition, you can customize guest network options to ensure network security and privacy. It contains the following sections: • Create a Net work for Guests • Customize Guest Net work Options 92 Chapter 11 Guest Network 11 1 Create a Network for Guests 1. Visit http://tplinkwifi.net or http://192.168.0.1, and log in with your TP-Link ID or the password you set for the router. 2. Go to Advanced > Guest Network. Locate the Wireless section. 3. Create a guest network as needed. 1 ) Tick the Enable checkbox for the 2.4GHz or 5GHz wir eless network. 2 ) Customize the SSID. Don‘t select Hide SSID unless you want your guests to manually input the SSID for guest network access. 3 ) Select the Security type and customize your own password. If No security is selected, no password is needed to access your guest network. 4. Click Save. Now your guests can access your guest network using the SSID and password you set! Tips: To view guest network information, go to Network Map and locate the Guest Network section. You can turn on or off the guest network function conveniently. 11 2 Customize Guest Network Options 1. Visit http://tplinkwifi.net or http://192.168.0.1, and log in with your TP-Link ID or the password you set for the router. 93 Chapter 11 Guest Network 2. Go to Advanced > Guest Network. Locate the Settings section. 3. Customize guest net work options according to your needs. • Allow guests to see each other Tick this checkbox if you want to allow the wireless clients on your guest network to communicate with each other via methods such as network neighbors and Ping. 4. Click Sa ve. Now you can ensure network security and privacy! Chapter 12 NAT Forwarding The router’s NAT (Network Address Translation) feature makes devices on the LAN use the same public IP address to communicate with devices on the internet, which protects the local network by hiding IP addresses of the devices. However, it also brings about the problem that an external host cannot initiatively communicate with a specified device on the local network. With the forwarding feature the router can penetrate the isolation of NAT and allows devices on the internet to initiatively communicate with devices on the local network, thus realizing some special functions. The TP-Link router supports four forwarding rules. If two or more rules are set, the priority of implementation from high to low is Port Forwarding, Port Triggering, UPNP and DMZ. It contains the following sections: • ALG • Set Up Public Services on The L ocal Network by Virtual Servers • Open Ports Dynamic ally by Port Triggering • Make Applications F ree from Port Restriction by DMZ • Make Xbox Online Games Run Smoothly b y UPnP 95 Chapter 12 NAT Forwarding 12 1 ALG ALG allows customized Network Address Translation (NAT) traversal filters to be plugged into the gateway to support address and port translation for certain application layer “control/data” protocols such as FTP, TFTP, H323 etc. It is recommended to keep the default settings. You may need to disable SIP ALG when you are using voice and video applications to create and accept a call through the router, since some voice and video communication applications do not work well with SIP ALG. Visit http://tplinkwifi.net or http://192.168.0.1, and log in with your TP-Link ID or the password you set for the router. Go to Advanced > Security > ALG. 12 2 Set Up Public Services on The Local Network by Virtual Servers Virtual Servers are used to set up public services on the local network. A virtual server is defined as an external port, and all requests from the Internet to this external port will be redirected to a designated computer, which must be configured with a static or reserved IP address. When you build up a server on the local network and want to share it on the Internet, Virtual Servers can realize the service and provide it to the Internet users. The table displays the relevant parameters of the virtual server. To set up a Virtual Server rule: 1. Visit http://tplink wifi.net or http://192.168.0.1, and log in with your TP-Link ID or the password you set for the router. 2. Go to A dvanced > NAT Forwarding > Virtual Servers and click . 3. S…
Text truncated - open the document above for the full version.
Users Manual
138 Chapter 17 Manage Your Router 17 1 Set System Time System time is the time displayed while the router is running. The system time you configure here will be used for other time-based functions like Parental Controls and Wireless Schedule. You can manually set how to get the system time. Follow the steps below to set your system time. 1 Visit http:// tplinkwifi.net or http://192.168.0.1, and log in with the password you set for the router. 2 Go to Advanced > System Tools > Time Settings page. 3 Configure the system time using the following methods: Get from PC: Click this button if you want to use the current time of your PC. Get from the Internet: Click this button if you want to get time from the internet. Make sure your router can access the internet before you select this way to get system time. 4 Click Save. 5 Af ter setting the system time, you can set Daylight Saving Time according to your needs. Enable Daylight Saving Time, and set the start and end time and then click Save to make the settings effective. 139 Chapter 17 Manage Your Router 17 2 Control the LED The LED of the router indicates its activities and status. You can enable the Night Mode feature to specify a time period during which the LED is off. 1. Visit http://tplinkwifi.net or http://192.168.0.1, and log in with your TP-Link ID or the password you set for the router. 2. Go to Advanced > System > LED Control. 3. Enable Night Mode. 4. Specify the LED off time, and the LED will be off during this period every day. 5. Click S AV E. 17 3 Test Internet Connectivity Diagnostics function is used to test the connectivity between the router and the host or other network devices. 1 Visit http://tplinkwifi.net or http://192.168.0.1, and log in with the password you set for the router. 2 Go to Advanced > System Tools > Diagnostics page. ¾To t est the internet connection of the router: Locate the Diagnostic Tools section, and click the Start to test the internet connectivity and you will find the test results in the gray box. 140 Chapter 17 Manage Your Router ¾To run ping and traceroute tools: 1 ) Locate the Diagnostic Tools section. 2 ) Select Ping or Traceroute or Nslookup as the diagnostic tool to test the connectivity. • Ping is us ed to test the connectivity between the router and the tested host, and measure the round-trip time. • Tr aceroute is used to display the route (path) your router has passed to reach the tested host, and measure transit delays of packets across an internet Protocol network. • Nslookup is us ed to queries the Domain Name System (DNS) to obtain the mapping between a domain name and IP address, or other DNS records. 3 ) Enter the Target IP Address/Domain Name of the tested host. You can change the default test options if necessary. 141 Chapter 17 Manage Your Router 4 ) Click Start to begin the diagnostics, and you will find the test results in the gray box. 17 4 Update the Firmware TP-Link is dedicated to improving product features, giving you a better network experience. We will inform you through the web management page if there’s any update firmware available for your router. The latest firmware can also be downloaded from the Support page of our website www.tp-link.com for free. Note: 1. Make sure that you have a stable connection between the router and your computer. It is NOT recommended to upgrade the firmware wirelessly. 2. Back up your r outer configuration before upgrading the firmware. 3. DO NOT turn off the r outer during the firmware upgrade. ¾Follow the steps below to upgrade the firmware online: 1. Click Check for Upgr ades. 2. If a new firmware is displayed, click Upgrade and click Yes when prompted, then the router will automatically download the latest firmware file and upgrade. ¾Follo w the steps below to manually update the firmware: 1. Download the latest firmware file for the router from our website www.tp-link.com. 2. Visit http:// tplinkwifi.net or http://192.168.0.1, and log in with the password you set for the router. 3. Go to Advanced > System Tools > Firmware Upgrade. 4. Focus on the Device Information section. Make sure the downloaded firmware file matches with the Hardware Version. 5. Focus on the Local Upgrade section. Click Browse to locate the downloaded new firmware file, and click Upgrade. 142 Chapter 17 Manage Your Router 6. Wait a few minutes for the upgrading and rebooting. 17 5 Back Up and Restore Configuration Settings The configuration settings are stored as a configuration file in the router. You can back up the configuration file to your computer for future use and restore the router to a previous settings from the backup file when needed. Moreover, if needed you can erase the current settings and reset the router to its default factory settings. 1. Visit http://tplinkwifi.net or http://192.168.0.1, and log in with the password you set for the router. 2. Go to Advanced > System Tools > Backup & Restore. ¾To back up c onfiguration settings: Click Backup to save a copy of the current settings to your local computer. A conf.bin file will be stored to your computer. ¾To restore configuration settings: 1 ) Click Bro wse to locate the previous backup configuration file, and click Restore. 2 ) Wait a few seconds for the restoring and rebooting. ¾To r eset the router to factory default settings: 143 Chapter 17 Manage Your Router 1 ) Locate the Factory Default Restore section, and click Factory Restore to reset the router. 2 ) Wait a few minutes for the resetting and rebooting. Note: 1. During the resetting process, do not turn off the router. 2. We strongly recommend you back up the current configuration settings before resetting the router. 17 6 Reboot the Router The Reboot feature cleans the cache to enhance the running performance of the router. You can reboot the router manually or set it to reboot regularly. 1. Visit http:// tplinkwifi.net or http://192.168.0.1, and log in with the password you set for the router. 2. Go to Advanced > System Tools > Reboot Sch…
Text truncated - open the document above for the full version.
Cover Letter(s)
Declaration of Frequency Stability We [TP-Link Corporation Limited] ensure that the product (FCC ID: 2AXJ4EX920) meets e-CFR Title 47 section 15.407(g) and KDB 789033 D02v02r01 frequency stability such that the emissions are maintained within the band of operation under all conditions of normal operation as specified in the user's manual. Sincerely, _________________ Name: Sarah Wang Position: Regulatory Compliance Manager Date: 2023-1-5
Cover Letter(s)
Confidentiality Request Letter Federal Communications Commission Authorization and Evaluation Division FCC ID: 2AXJ4EX920 Confidentiality Request Pursuant to Sections 0.457 and 0.459 of the Commission’s Rules, we hereby request confidential treatment of information accompanying this application as outlined below: 1. Block Diagram 2. Schematics 3. Operational Description The above materials contain trade secrets and proprietary information not customarily released to the public. The public disclosure of these matters might be harmful to the applicant and provide unjustified benefits to its competitors. The applicant understands that pursuant to Rule 0.457, disclosure of this application and all accompanying documentation will not be made before the date of the Grant for this application. Sincerely, _________________ Name: Sarah Wang Position: Regulatory Compliance Manager Date: 2023-1-5
Cover Letter(s)
Declaration of Conformity We Name: TP-Link Corporation Limited Address: Room 901, 9/F., New East Ocean Centre, 9 Science Museum Road, Tsim Sha Tsui, Kowloon, Hongkong Declare that: Product: AXE7800 Tri-Band Wi-Fi 6E Router FCC ID: 2AXJ4EX920 Model: EX920 Brand: tp-link Product which bears the above FCC ID is also compliant with the FCC requirements for sDOC. And the sDOC procedure shall be carried out prior to marketing the device in the US. Sincerely, _________________ Name: Sarah Wang Position: Regulatory Compliance Manager Date: 2023-1-5
Cover Letter(s)
Declaration of Authorization We Name: TP-Link Corporation Limited Address: Room 901, 9/F., New East Ocean Centre, 9 Science Museum Road, Tsim Sha Tsui, Kowloon, Hongkong Declare that: Name Representative of agent: Denny Huang Agent Company name: UL Verification Services (Guangzhou) Co., Ltd., Song Shan Lake Branch Address: Building 10, Innovation Technology Park, Song Shan Lake Hi tech Development Zone, Dongguan , 523808, China City: Dongguan Country: China is authorized to apply for Certification of the following product(s): Product: AXE7800 Tri-Band Wi-Fi 6E Router FCC ID: 2AXJ4EX920 Model: EX920 Brand: tp-link Sincerely, _________________ Name: Sarah Wang Position: Regulatory Compliance Manager Date: 2023-1-5
Cover Letter(s)
Non-SDR (Software Defined Radio) Cover Letter Refer to KDB 442812 D01 SDR apps Guide v02r03. The following six questions can be used for determining if a radio can elect to be, or must be an SDR. 1. Can the RF parameters of the device be altered through software? Ye s - go to 2. No, not an SDR No 2. Can third parties not permitted by the Commission through specific filings modify, configure, or load different software, or make configuration settings to operate the device or host hardware radio frequency parameters (frequency range, modulation type, maximum output power or other radio parameters) in any other way than granted (or expected to be granted)? Yes, must be an SDR. No - go to 3. No 3. Is the device capable of operating in any other in any other way than granted, or will be, granted? Ye s , - go to 4. No - go to 5. No 4. Is this a Part 15 client Device as defined in Section 15.202 (as opposed to a master device)? Yes, qualifies as a part 15 client devices - go to 5. No, must be an SDR. 5. Does the manufacturer elect SDR? Yes, elects to be an SDR. No, Not an SDR No Conclusion: According to the above questions reply, we can confirm this device (FCC ID: 2AXJ4EX920) must be a Non-SDR device. __________________ Name: Sarah Wang Position: Regulatory Compliance Manager Date: 2023-1-5
Cover Letter(s)
Attestation Letter Federal Communications Commission Authorization and Evaluation Division We Name: TP-Link Corporation Limited Address: Room 901, 9/F., New East Ocean Centre, 9 Science Museum Road, Tsim Sha Tsui, Kowloon, Hongkong Declare that the device does not support channel 12 ~ 13 in 2.4GHz band and any non-US channels in all the operational mode(s) for the following product. Product: AXE7800 Tri-Band Wi-Fi 6E Router FCC ID: 2AXJ4EX920 Model: EX920 Brand: tp-link Sincerely, _________________ Name: Sarah Wang Position: Regulatory Compliance Manager Date: 2023-1-5
External Photos
Appendix I External Photographs Page 2 of 6 View of EUT-1 View of EUT-2 Page 3 of 6 View of EUT-3 View of EUT-4 Page 4 of 6 View of EUT-5 View of EUT-6 Page 5 of 6 View of EUT-7 View of EUT-8 Page 6 of 6 View of EUT-9
ID Label/Location Info
尺寸:53.7*28.7mm,R3.5,C2,公差±0.2mm EX920(US2) _1.0产品规格标贴 A1 100#珠光合成纸+雾膜 大方桶 EX920(US2) _1.0 赵鑫 2022-08-08 Pantone 877C 白色 Pantone 877C 注: 1)S/N、MAC、SSID、Wireless Password/PIN由工厂直接打印于锡标上; 码制均为Code 128B;字体均为Aktiv Grotesk Regular 3.5pt;条码高度均为3mm。 S/N:编码规则同我司,7位MO+6位流水号 MAC:打印WAN MAC,条码由“XXXXXXXXXXXX”生成,文本打印为“XX-XX-XX-XX-XX-XX”;具体内容以软件生成为准 SSID:“TP-Link_”为固定内容,“XXXX”为MAC地址后四位(大写),具体内容以软件生成为准 Wireless Password/PIN:具体内容以软件生成为准 2)图中条码仅为示意,具体请以生产实际为准。 Model: EX920 AXE7800 Tri-Band Wi-Fi 6E Router Model: EX920 (US2) Ver:1.0 S/N:XXXXXXXXXXXXX MAC:XX-XX-XX-XX-XX-XX Wireless Password/PIN:XXXXXXXX SSID:TP-Link_XXXX SSID:TP-Link_XXXX_6G TP-Link Corporation Limited Suite 901, New East Ocean Centre, Tsim Sha Tsui, Hong Kong Power: 12V 3.3A Default Access: http://tplinkwifi.net FCC ID:2AXJ4EX920 Indoor use only
Internal Photos
Appendix II Internal Photographs Page 2 of 7 Internal View of EUT-1 Internal View of EUT-2 2.4G WiFi Antenna 5G WiFi Antenna Page 3 of 7 Internal View of EUT-3 Internal View of EUT-4 Page 4 of 7 Internal View of EUT-5 Internal View of EUT-6 Page 5 of 7 Internal View of EUT-7 Internal View of EUT-8 Page 6 of 7 Internal View of EUT-9 Internal View of EUT-10 Page 7 of 7 Internal View of EUT-11
RF Exposure Info
The results reported herein have been performed in accordance with the laboratory’s terms of accreditation. This report shall not be reproduced except in full without the written approval of the Laboratory. The results in this report apply to the test sample(s) mentioned above at the time of the testing period only and are not to be used to indicate applicability to other similar products. FCC RF EXPOSURE REPORT For AXE7800 Tri-Band Wi-Fi 6E Router MODEL NUMBER: EX920 REPORT NUMBER: 4790653203-RF-3 ISSUE DATE: January 12, 2023 Prepared for TP-Link Corporation Limited Room 901, 9/F. , New East Ocean Centre, 9 Science Museum Road, Tsim Sha Tsui, Kowloon, Hong Kong Prepared by UL Verification Services (Guangzhou) Co., Ltd, Song Shan Lake Branch Building 10, Innovation Technology Park, No. 1, Li Bin Road, Song Shan Lake Hi- Tech Development Zone Dongguan, 523808, People’s Republic of China Tel: +86 769 22038881 Fax: +86 769 33244054 Website: www.ul.com REPORT NO.: 4790653203-RF-3 Page 2 of 7 UL Verification Services (Guangzhou) Co., Ltd, Song Shan Lake Branch FORM No.: 10-SL-F0112 This report shall not be reproduced except in full, without the written approval of UL Verification Services (Guangzhou) Co., Ltd, Song Shan Lake Branch. Revision History Rev. Issue Date Revisions Revised By V0 January 12, 2023 Initial Issue REPORT NO.: 4790653203-RF-3 Page 3 of 7 UL Verification Services (Guangzhou) Co., Ltd, Song Shan Lake Branch FORM No.: 10-SL-F0112 This report shall not be reproduced except in full, without the written approval of UL Verification Services (Guangzhou) Co., Ltd, Song Shan Lake Branch. TABLE OF CONTENTS 1. ATTESTATION OF TEST RESULTS ................................................................................. 4 2. TEST METHODOLOGY ..................................................................................................... 5 3. FACILITIES AND ACCREDITATION ................................................................................. 5 4. REQUIREMENT ................................................................................................................. 6 REPORT NO.: 4790653203-RF-3 Page 4 of 7 UL Verification Services (Guangzhou) Co., Ltd, Song Shan Lake Branch FORM No.: 10-SL-F0112 This report shall not be reproduced except in full, without the written approval of UL Verification Services (Guangzhou) Co., Ltd, Song Shan Lake Branch. 1. ATTESTATION OF TEST RESULTS Applicant Information Company Name: TP-Link Corporation Limited Address: Room 901, 9/F. , New East Ocean Centre, 9 Science Museum Road, Tsim Sha Tsui, Kowloon, Hong Kong Manufacturer Information Company Name: TP-Link Corporation Limited Address: Room 901, 9/F. , New East Ocean Centre, 9 Science Museum Road, Tsim Sha Tsui, Kowloon, Hong Kong EUT Information EUT Name: AXE7800 Tri-Band Wi-Fi 6E Router Model: EX920 Sample Received Date: November 28, 2022 Sample Status: Normal Sample ID: 5571490 Date of Tested: December 1, 2022 ~ January 12, 2023 APPLICABLE STANDARDS STANDARD TEST RESULTS FCC 47CFR§2.1091 PASS KDB-447498 D01 V06 PASS Prepared By: Checked By: Denny Huang Kebo Zhang Senior Project Engineer Senior Project Engineer Approved By: Stephen Guo Operations Manager REPORT NO.: 4790653203-RF-3 Page 5 of 7 UL Verification Services (Guangzhou) Co., Ltd, Song Shan Lake Branch FORM No.: 10-SL-F0112 This report shall not be reproduced except in full, without the written approval of UL Verification Services (Guangzhou) Co., Ltd, Song Shan Lake Branch. 2. TEST METHODOLOGY The tests documented in this report were performed in accordance with 47 CFR FCC Part 2 Subpart J, section 2.1091 and KDB 447498 D01 General RF Exposure Guidance v06. 3. FACILITIES AND ACCREDITATION Accreditation Certificate A2LA (Certificate No.: 4102.01) UL Verification Services (Guangzhou) Co., Ltd. Song Shan Lake Branch. has been assessed and proved to be in compliance with A2LA. FCC (FCC Designation No.: CN1187) UL Verification Services (Guangzhou) Co., Ltd. Song Shan Lake Branch. Has been recognized to perform compliance testing on equipment subject to the Commission's Delcaration of Conformity (DoC) and Certification rules ISED (Company No.: 21320) UL Verification Services (Guangzhou) Co., Ltd. Song Shan Lake Branch. has been registered and fully described in a report filed with ISED. The Company Number is 21320 and the test lab Conformity Assessment Body Identifier (CABID) is CN0046. VCCI (Registration No.: G-20019, R-20004, C-20012 and T-20011) UL Verification Services (Guangzhou) Co., Ltd. Song Shan Lake Branch. has been assessed and proved to be in compliance with VCCI, the Membership No. is 3793. Facility Name: Chamber D, the VCCI registration No. is G-20019 and R-20004 Shielding Room B , the VCCI registration No. is C-20012 and T-20011 Note 1: All tests measurement facilities use to collect the measurement data are located at Building 10, Innovation Technology Park, Song Shan Lake Hi tech Development Zone, Dongguan, 523808, China Note 2: The test anechoic chamber in UL Verification Services (Guangzhou) Co., Ltd. Song Shan Lake Branch had been calibrated and compared to the open field sites and the test anechoic chamber is shown to be equivalent to or worst case from the open field site. Note 3: For below 30MHz, lab had performed measurements at test anechoic chamber and comparing to measurements obtained on an open field site. And these measurements below 30MHz had been correlated to measurements performed on an OFS. REPORT NO.: 4790653203-RF-3 Page 6 of 7 UL Verification Services (Guangzhou) Co., Ltd, Song Shan Lake Branch FORM No.: 10-SL-F0112 This report shall not be reproduced except in full, without the written approval of UL Verification Services (Guangzhou) Co., Ltd, Song Shan Lake Branch. 4. REQUIREMENT LIMIT AND CALCULATION METHOD Systems operating under the provisions of FCC 47 CFR section shall be operated in a manner that ensures that the public is not exposed to radio frequency energy level in excess of the …
Text truncated - open the document above for the full version.
Test Report
Product Model: EX920(US2) 1.0 Version: 1.0 Date: Checked By: Index I. Antenna Distribution ..........…
Text truncated - open the document above for the full version.
Contact Information
Applicant
Sarah Wang
Technical Contact
UL Verification Services (Guangzhou) Co., Ltd, Sonvicky Gao
[email protected]+8676933817138
Building 10, Innovation Technology Park, No. 1, · Dongguan · China
Non-Technical Contact
UL Verification Services (Guangzhou) Co., Ltd, Sonvicky Gao
[email protected]+8676933817138
Test Firm
UL Verification Services (Guangzhou) Co., Ltd.Stephen Guo
[email protected]+86 0769 33817120
Technical Specifications
| # | Rule Parts | Frequency Range | Power Output |
|---|---|---|---|
| 2 | 15E | 5.75 GHz - 5.83 GHz | 810.00 mW |
Other Applications from TP-Link Corporation Limited
2AXJ4TXE50UH
Jan 28, 2024AXE3000 Wi-Fi 6E High Gain Wireless USB Adapter
Equipment Class
NII - Unlicensed National Information Infrastructure TX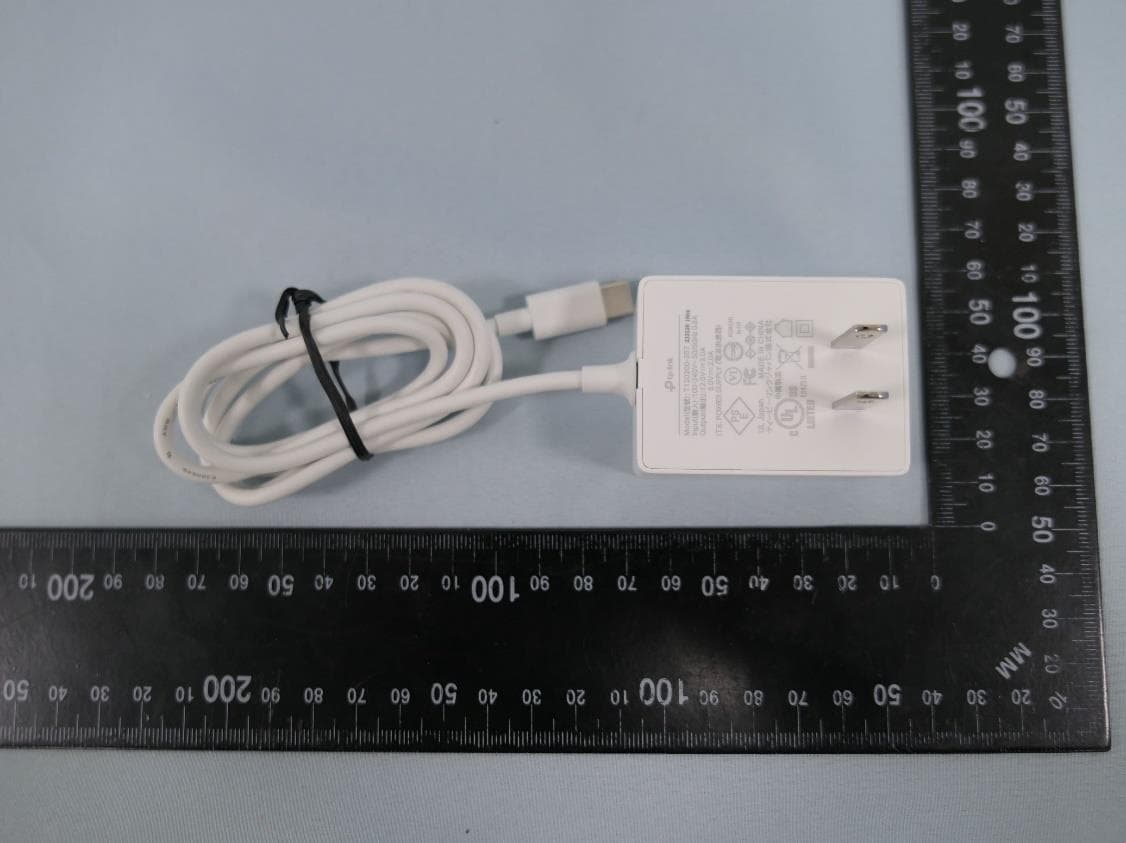
2AXJ4AIRE5
Jan 15, 2024AX3000 Wi-Fi 6 Air Range Extender
Equipment Class
DTS - Digital Transmission System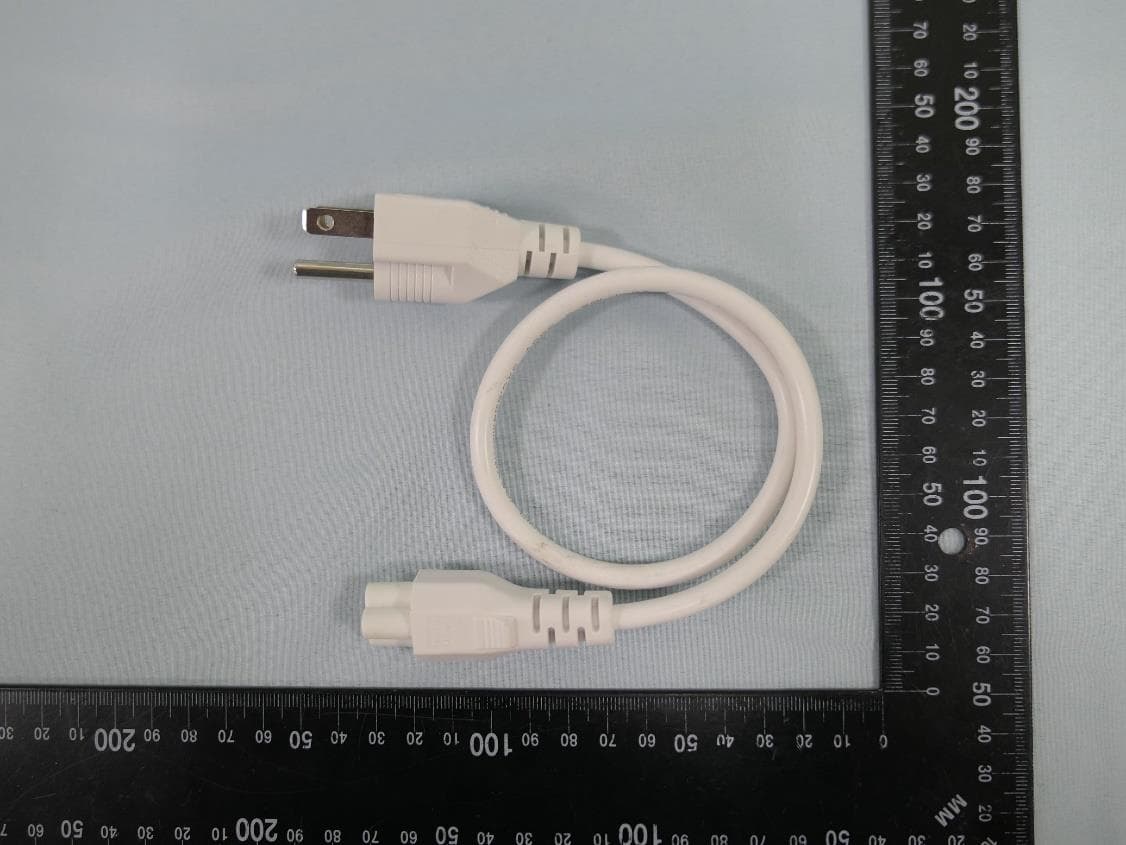
2AXJ4EAP115BRG
Jan 11, 20245GHz 300Mbps Long-range Indoor/Outdoor Access Point
Equipment Class
NII - Unlicensed National Information Infrastructure TX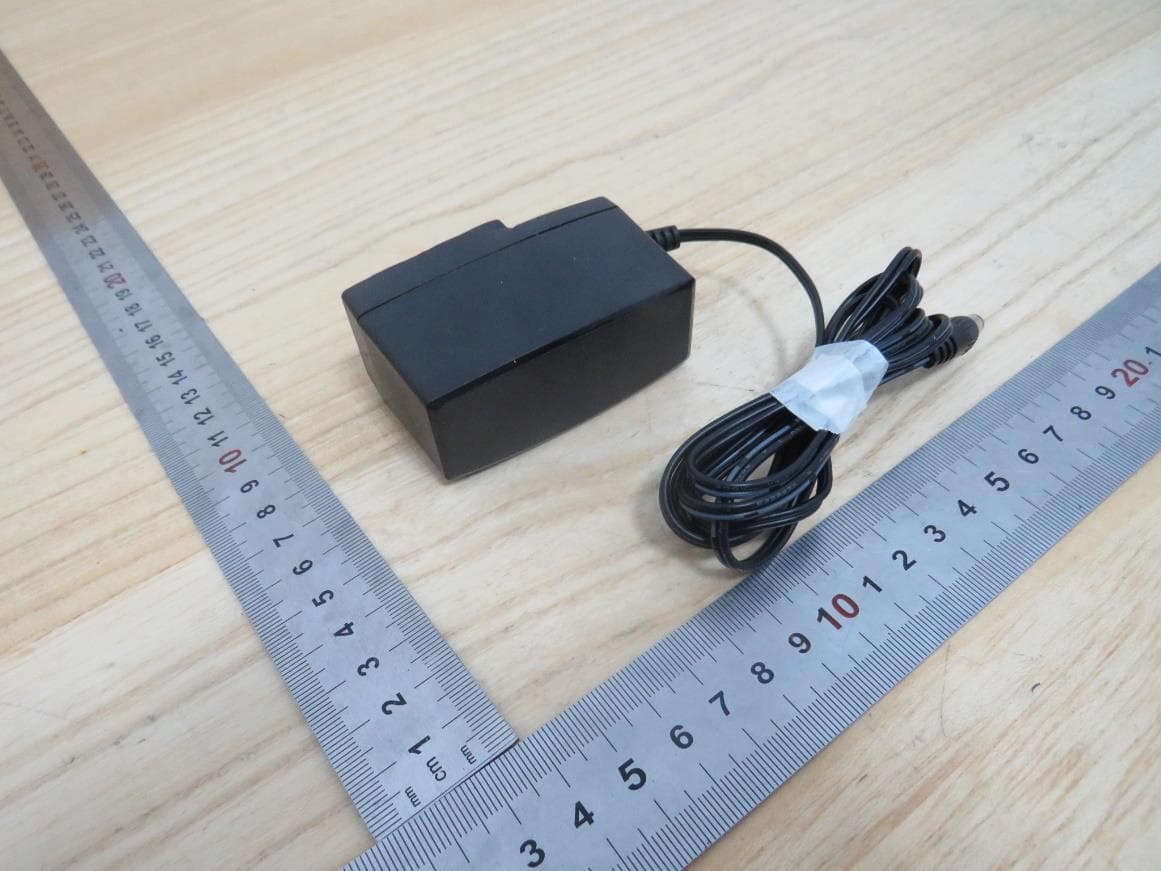
2AXJ4HX510V2
Jan 10, 2024AX3000 Whole Home Mesh Wi-Fi AP
Equipment Class
NII - Unlicensed National Information Infrastructure TX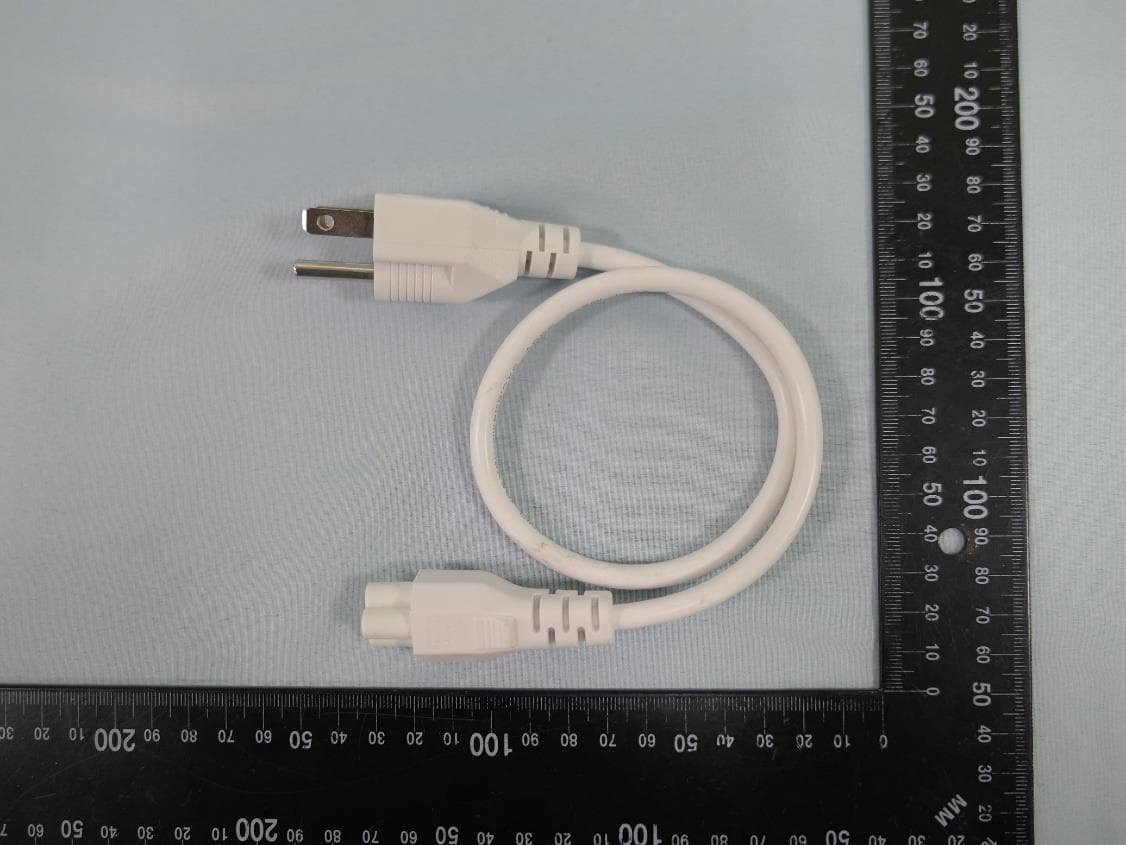
2AXJ4EAP215BRG
Dec 11, 20235GHz 867Mbps Long-range Indoor/Outdoor Access Point
Equipment Class
NII - Unlicensed National Information Infrastructure TX