B32OMNI3600DPoint of Sale Terminal
VeriFone Inc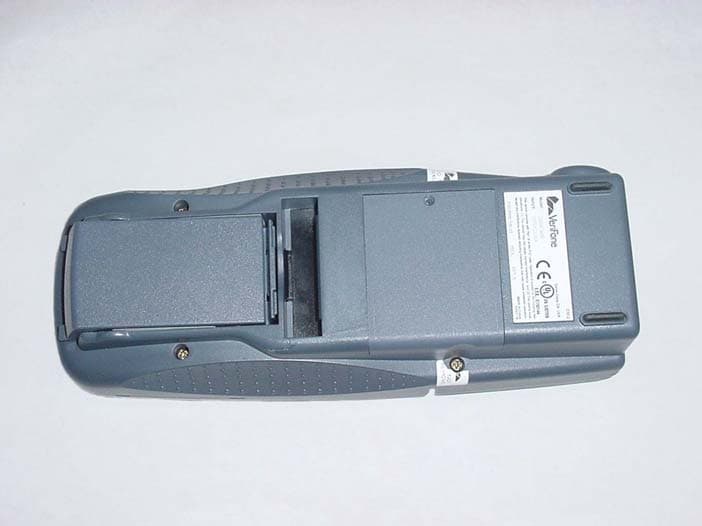
Click to zoom
Application Details
- Equipment Class
- PCB - PCS Licensed Transmitter
- Date of Grant
- Nov 03, 2003
- Application Purpose
- Original Equipment
- Date of Application
- Nov 03, 2003
- Equipment Note
- Point of Sale Terminal
- Frequency Range
- 1851.25000000 - 1908.75000000
- Company
- VeriFone Inc
- Country
- United States
Documents & Files
Document Text
Text extracted from the exhibit documents filed with the FCC. Open a document above to read the original.
Users Manual
Part Number 22379, Revision A VERIX OPERATING ENVIRONMENT SOFTPAY E-PAYMENT APPLICATION VERIX DEVELOPMENT TOOLS DEVELOPER TOOLKIT VERISHIELD SECURITY ARCHITECTURE OMNI 33XX MULTI-APPLICATION APPLIANCES VERICENTRE APPLIANCE MANAGEMENT SUITE RADIO MODEM OMNI 3600 APPLIANCES HAND-HELD OMNI 37XX HAND-OVER-COUNTER MULTI-APPLICATION APPLIANCES Omni 3600 Reference Manual All rights reserved. No part of the contents of this document may be reproduced or transmitted in any form without the written permission of VeriFone, Inc. The information contained in this document is subject to change without notice. Although VeriFone has attempted to ensure the accuracy of the contents of this document, this document may include errors or omissions. The examples and sample programs are for illustration only and may not be suited for your purpose. You should verify the applicability of any example or sample program before placing the software into productive use. This document, including without limitation the examples and software programs, is supplied “As-Is.” VeriFone, Inc. 2455 Augustine Drive Santa Clara CA 95054-3002 www.verifone.com Part Number 22379, Revision A Omni 3600 Reference Manual © 2003 VeriFone, Inc. VeriFone, the VeriFone logo, Omni, VeriCentre, Verix, and ZonTalk are registered trademarks of VeriFone. Other brand names or trademarks associated with VeriFone’s products and services are trademarks of VeriFone, Inc. All other brand names and trademarks appearing in this manual are the property of their respective holders. Comments? Please e-mail all comments in this document to [email protected] OMNI3600 REFERENCE MANUAL3 CONTENTS CHAPTER1 Omni 3600 Terminal and Omni 3600 Base Installation Select a Location . . . . . . . . . . . . . . . . . . . . . . . . . . . . . . . . . . . . . . . . . . . . . . . . . 7 Omni 3600 Terminal . . . . . . . . . . . . . . . . . . . . . . . . . . . . . . . . . . . . . . . . . . . . 7 Omni 3600 Base . . . . . . . . . . . . . . . . . . . . . . . . . . . . . . . . . . . . . . . . . . . . . . . 7 Environment . . . . . . . . . . . . . . . . . . . . . . . . . . . . . . . . . . . . . . . . . . . . . . . . . . 7 Convenience . . . . . . . . . . . . . . . . . . . . . . . . . . . . . . . . . . . . . . . . . . . . . . . . . . 8 Omni 3600 Terminal . . . . . . . . . . . . . . . . . . . . . . . . . . . . . . . . . . . . . . . . . . . . . . . 8 Unpack the Shipping Carton . . . . . . . . . . . . . . . . . . . . . . . . . . . . . . . . . . . . . . 8 Terminal Features. . . . . . . . . . . . . . . . . . . . . . . . . . . . . . . . . . . . . . . . . . . . . 10 Power Port . . . . . . . . . . . . . . . . . . . . . . . . . . . . . . . . . . . . . . . . . . . . . . . . . . 11 Smart Battery . . . . . . . . . . . . . . . . . . . . . . . . . . . . . . . . . . . . . . . . . . . . . . . . 11 Turn On/Off the Omni 3600 Terminal . . . . . . . . . . . . . . . . . . . . . . . . . . . . . . 14 Paper Installation . . . . . . . . . . . . . . . . . . . . . . . . . . . . . . . . . . . . . . . . . . . . . 14 Install/Replace MSAM Cards . . . . . . . . . . . . . . . . . . . . . . . . . . . . . . . . . . . . 16 Install/Replace SIM Card (GSM models) . . . . . . . . . . . . . . . . . . . . . . . . . . . 18 Wireless Transactions. . . . . . . . . . . . . . . . . . . . . . . . . . . . . . . . . . . . . . . . . . 20 Smart Card Reader Transactions . . . . . . . . . . . . . . . . . . . . . . . . . . . . . . . . . 20 Magnetic Card Reader Transactions . . . . . . . . . . . . . . . . . . . . . . . . . . . . . . 20 Antenna (Some Wireless Models) . . . . . . . . . . . . . . . . . . . . . . . . . . . . . . . . 21 Omni 3600 Base. . . . . . . . . . . . . . . . . . . . . . . . . . . . . . . . . . . . . . . . . . . . . . . . . 22 Unpack the Shipping Carton . . . . . . . . . . . . . . . . . . . . . . . . . . . . . . . . . . . . . 23 Omni 3600 Base Features . . . . . . . . . . . . . . . . . . . . . . . . . . . . . . . . . . . . . . 23 Power Connection. . . . . . . . . . . . . . . . . . . . . . . . . . . . . . . . . . . . . . . . . . . . . 26 Omni 3600 Terminal Docking . . . . . . . . . . . . . . . . . . . . . . . . . . . . . . . . . . . . 27 Spare Smart Battery Pack . . . . . . . . . . . . . . . . . . . . . . . . . . . . . . . . . . . . . . 27 Omni 3600 Base Communications Ports . . . . . . . . . . . . . . . . . . . . . . . . . . . 28 CHAPTER2 Using the Terminal Keys Data Entry Modes. . . . . . . . . . . . . . . . . . . . . . . . . . . . . . . . . . . . . . . . . . . . . . . . 32 The Keypad . . . . . . . . . . . . . . . . . . . . . . . . . . . . . . . . . . . . . . . . . . . . . . . . . . . . 32 Function Key Descriptions . . . . . . . . . . . . . . . . . . . . . . . . . . . . . . . . . . . . . . 33 Programmable Function (PF) Key Descriptions . . . . . . . . . . . . . . . . . . . . . . . . . 35 CHAPTER3 System ModeWhen to Use System Mode . . . . . . . . . . . . . . . . . . . . . . . . . . . . . . . . . . . . . . . . 37 Local and Remote Operations . . . . . . . . . . . . . . . . . . . . . . . . . . . . . . . . . . . . . . 37 Verifying Terminal Status . . . . . . . . . . . . . . . . . . . . . . . . . . . . . . . . . . . . . . . . . . 38 Entering System Mode . . . . . . . . . . . . . . . . . . . . . . . . . . . . . . . . . . . . . . . . . . . . 38 File Groups . . . . . . . . . . . . . . . . . . . . . . . . . . . . . . . . . . . . . . . . . . . . . . . . . . . . . 38 Passwords . . . . . . . . . . . . . . . . . . . . . . . . . . . . . . . . . . . . . . . . . . . . . . . . . . . . . 39 System Password . . . . . . . . . . . . . . . . . . . . . . . . . . . . . . . . . . . . . . . . . . . . . 39 File Group Passwords. . . . . . . . . . . . . . . . . . . . . . . . . . . . . . . . . . . . . . . . . . 39 System Mode Menus . . . . . . . . . . . . . . . . . . . . . . . . . . . . . . . . . . . . . . . . . . . . . 40 System Mode Procedures. . . . . . . . . . . . . . . . . . . . . . . . . . . . . . . . . . . . . . . 41 Enter and Exit Syst…
Text truncated - open the document above for the full version.
Users Manual
OMNI3600 TERMINAL AND OMNI3600 BASE INSTALLATION Omni 3600 Terminal 16OMNI3600 REFERENCE MANUAL Printer Test To ensure the printer is operating correctly: 1Turn on the terminal by pressing the green enter key (see Figure 2, page 10). 2Enter system mode by pressing F2+F4 at the initial copyright screen, and entering the system mode password (see Passwords). 3Toggle through the SYS MODE MENU screens, using the down arrow key until you reach SYS MODE MENU 6. 4Press F4 to enter the Printer ID screen. 5Press F3, Test, to start the printer self-test. The test printout, with printer information and repeating character strings, is approximately 38 cm (15 in.) long. Install/Replace MSAM Cards When you first receive your Omni 3600 terminal, you may need to install a merchant smart card or one or more micromodule-sized security account manager (MSAM) cards, or you may need to replace old cards. Often, these small cards arrive on a larger, credit card-style plastic card, from which they must be removed. The following procedure describes MSAM card installation. 1Remove the battery (see Smart Battery) 2Open the MSAM door located beneath the battery (Figure 9): aPush down and back on the raised arrow on the door. bLift up on the raised arrow with the tip of your index finger. cOpen the door until it is in the upright position, resting against the end of the terminal. NOTE To prevent damage to the print roller on the paper roll cover, always close the cover by gently pressing down on the paper roll cover tab. CAUTION Observe standard precautions for handling electrostatically sensitive devices. Electrostatic discharges can damage this equipment. An anti-static wrist strap grounded to a metal surface is recommended. OMNI3600 TERMINAL AND OMNI3600 BASE INSTALLATION Omni 3600 Terminal O MNI3600 REFERENCE MANUAL17 Figure 9Open the MSAM Access Door The three MSAM cardholders are now accessible. Each cardholder consists of a hinged tilt-up cover attached to a connector base (Figure 10). Figure 10MSAM Card Installation 3Access the MSAM cardholders (reference Figure 10): aUnlock the cardholder: Slide the lock plate to the unlocked position, in the OPEN direction (Figure 11). Figure 11MSAM Cardholder Lock Plate Detail OMNI3600 TERMINAL AND OMNI3600 BASE INSTALLATION Omni 3600 Terminal 18OMNI3600 REFERENCE MANUAL bOpen the cardholder by pivoting the cover on its hinge away from the connector base (Figure 12). Figure 12Insert MSAM Card into Cardholder 4Remove any previously installed MSAM card by sliding the card from the cover. 5Install an MSAM card by aligning the card and carefully sliding it within the guides on the cover until fully inserted. 6Close the cover (Figure 12). 7Lock each MSAM cardholder by sliding its locking plate towards the LOCK arrow until the plate stops (Figure 11). 8Close the MSAM door. 9Replace the smart battery. Install/Replace SIM Card (GSM models) The SIM (Subscriber Identity Module) card is a smart card inserted in the Omni 3600 GSM terminal that contains your GSM radio account information. Use the following procedure to replace or install a SIM card. NOTE The cardholder has a set of contacts and a notch on one corner to ensure the MSAM card is positioned correctly when the cover is closed. The MSAM card has a notch on one corner to ensure it is correctly positioned in the cardholder. Before inserting the MSAM card, position it as shown in Figure 12. CAUTION To avoid damage to the MSAM cardholders, ensure each cardholder is locked before closing the MSAM door. OMNI3600 TERMINAL AND OMNI3600 BASE INSTALLATION Omni 3600 Terminal O MNI3600 REFERENCE MANUAL19 1Remove screw from SIM card access door on back of Omni 3600 terminal (Figure 13). Figure 13Remove SIM Door Screw 2Remove the SIM card access door (Figure 14): Figure 14Slide Off SIM Card Access Door 3Open the SIM card holder and slide the SIM card supplied by your provider into the cardholder (Figure 15). Figure 15Insert SIM Card into Cardholder 4Replace the SIM card access door and screw. NOTE Do not lose the SIM card dust cover or retaining screw. NOTE The SIM cardholder has a notch on one corner to ensure the SIM card is positioned correctly. The SIM card has a notch on one corner for easy orientation in the cardholder. Before inserting the SIM card, position it as shown in Figure 15, with the card’s gold contacts facing down. OMNI3600 TERMINAL AND OMNI3600 BASE INSTALLATION Omni 3600 Terminal 20OMNI3600 REFERENCE MANUAL Wireless Transactions To conduct a wireless transaction: •Ensure the terminal is in an optimal position for transmitting. •Follow the on-screen instructions provided with your application. Smart Card Reader Transactions To conduct a smart card transaction: 1Position the smart card with the contacts up and insert it into the smart card reader slot in a smooth, continuous motion until it seats firmly (Figure 16). Leave the smart card in the card reader until the transaction is complete. Premature removal voids the transaction. Figure 16Using the Primary Smart Card Reader 2Remove the card when the display indicates the transaction is complete. Magnetic Card Reader Transactions To conduct a credit/debit card transaction: 1Position the card with the magnetic stripe facing down and towards the printer. 2Swipe it through the reader from left-to-right, as shown in Figure 17. Figure 17Using the Magnetic Card Reader OMNI3600 TERMINAL AND OMNI3600 BASE INSTALLATION Omni 3600 Terminal O MNI3600 REFERENCE MANUAL21 Antenna (Some Wireless Models) For some Omni 3600 terminals to establish a wireless connection, an external antenna is provided. This connection allows communication with your service provider to upload transaction data from the terminal and download system upgrades to the terminal. Radio service is activated by your service provider. Data transfers can also be performed through the Omni 3600 base (see Omni 3600 Base Communications Ports). This section only discusses Omni 3600 terminals with external antenna. Install…
Text truncated - open the document above for the full version.
Users Manual
OMNI3600 REFERENCE MANUAL31 CHAPTER 2 Using the Terminal Keys Before proceeding to other tasks, familiarize yourself with the operational features of the Omni 3600 terminal keypad to enter data (see Figure 29). This chapter describes how to use the keypad, including discussions on: •the12-key Telco-style keypad, •the three color-coded keys below the keypad, •the ALPHA key above the keypad, •the four ATM-style function keys (F1, F2, F3, and F4) to the right of the display (Figure 29), and •the four programmable function (PF) keys directly above the keypad. Using these keys you can perform all data-entry tasks described in this manual. Where a specific key is mentioned, it appears within square brackets (for example, the ALPHA key). The function keys allow you to navigate though system mode menus and select specific operations. Figure 29Front Panel Key Arrangement NOTE The PF and ATM-style keys can also be assigned application-specific functions in addition to those assigned to system mode operations. These functions are not discussed in this manual. USING THE TERMINAL KEYS Data Entry Modes 32OMNI3600 REFERENCE MANUAL Data Entry Modes Before you can use the keys on the front panel to enter ASCII characters, the Omni 3600 must be in a mode that accepts keyed data entry. There are two terminal operating modes, each enables you to press keys to enter data under specific circumstances: •Normal mode: This is the terminal operating mode where an application program is present in SRAM and currently running. •System mode: This is a special, password-controlled terminal operating mode for performing a variety of test and configuration procedures that cannot be performed when an application is running. If you turn on an Omni 3600 terminal that does not have an application stored in SRAM, the system prompt DOWNLOAD NEEDED appears. You can enter system mode by simultaneously pressing F2 and F4, and then entering the password. Once in system mode, you can configure the terminal as required and perform the necessary download. If you turn on an Omni 3600 terminal with an application stored in SRAM, the application executes and the terminal automatically enters normal mode. The application then controls how terminal keys–including the programmable function (PF) keys and the ATM-style keys–process transactions and when you can use specific keys to type characters or respond to prompts. The Keypad The keypad is a 13-key arrangement, consisting of a 12-key Telco-style keypad and the ALPHA key (Figure 29). Using the keypad, you can enter up to 50 ASCII characters, including the letters A–Z, the numerals 0–9, and the following 16 special characters: (*), (,), (‘), (“), (-), (.), (#), (%), (:), (!), (+), (@), (=), (&), (space), and (/). NOTE If you enter system mode while a terminal application is running in normal mode, system mode preempts the application and takes control of the display and keyboard. The preempted application continues to run in the background, but does not accept user input. The only way to exit system mode is to restart the terminal. For this reason, once you enter system mode, you cannot return to the application in the same session. NOTE If an application is in terminal memory, the default system password into system mode may have been changed. If so, you must press a special key combination and then type in the required system password to enter system mode. The behavior of key entries depends on the specific active system mode menu. NOTE The system mode functions described in the next section require that you enter numbers, letters, or symbols using the keypad. USING THE TERMINAL KEYS The Keypad O MNI3600 REFERENCE MANUAL33 Function Key Descriptions The terminal’s operating mode and context determine the specific action performed when you press one of the following function keys. The following descriptions are provided solely to acquaint you with some general characteristics of these function keys before presenting more detailed system mode procedure descriptions. Cancel Key Pressing the cancel key in normal mode—when the terminal’s application is loaded and running—usually has the same effect as pressing the Esc (escape) key on a PC. That is, it terminates the current function or operation. In system mode, use cancel to perform a variety of functions. The most common use of cancel in system mode is to exit a system mode submenu and return to the main system mode menu. The specific effect of pressing the cancel key depends on the currently active system mode menu. Backspace Key In normal mode, the backspace key is commonly used to delete a number, letter, or symbol on the terminal’s display screen. Press backspace one time to delete the last character typed on a line. To delete additional characters, moving from right to left, press backspace once for each character or hold down backspace to delete all characters on a line. In system mode, the specific effect of pressing backspace depends on the currently active system mode menu. ALPHA Key In normal mode, the ALPHA key enables you to enter one of the two or more characters or symbols assigned to individual keys on the 12-key Telco-style keypad. Use the ALPHA to enter up to 50 different ASCII characters through the following procedure: 1Press the key on the 12-key keypad that shows the letter or symbol you want (for example, use 2 to type 2, A, B, or C). The number (1–9 or 0) or the symbol (* or #) you pressed now displays. 2Press ALPHA once to display the first letter. Continuing our example, 2 ALPHA displays the letter A. 3Continue pressing ALPHA as many times as required to display the desired character. For example, press 2 to display the number 2; press ALPHA once to display the letter A, twice to display B, or three times to display C. If you press ALPHA one more time, you cycle back to the number 2. NOTE If you firmly press and hold down one of the keys on the 12-key keypad without using ALPHA, the same character repeats until you…
Text truncated - open the document above for the full version.
Users Manual
FILE AUTHENTICATION Introduction to File Authentication O MNI3600 REFERENCE MANUAL101 Figure 35The Development Process Pre-Deployment Process In this process: 1A sponsor goes to the VeriFone CA Web site and requests certificates for deployment terminals. 2Based on information provided by the sponsor through the VeriFone CA Web site, the VeriFone CA determines the required certificate structure. 3VeriFone CA generates the following items for the sponsor: aSmart card containing a set of certificates and keys. bSmart card PIN. 4VeriFone CA sends the smart card and smart card PIN to the sponsor. 5The sponsor uses the smart card and smart card PIN as inputs for the deployment process. FILE AUTHENTICATION Introduction to File Authentication 102OMNI3600 REFERENCE MANUAL Refer to Figure 36 illustrates the pre-deployment process. Figure 36The Pre-Deployment Process Deployment Process In this process: 1The sponsor provides the application file (from the development process) and the smart card and smart card PIN (from the pre-deployment process) as inputs to VeriShield. 2VeriShield extracts the signer key, signer certificate, and sponsor certificate from the smart card. 3VeriShield uses the extracted data, along with the application file, to create a signature file (*.p7s). 4VeriShield creates files suitable for downloading from the extracted smart card data. 5The signature file, the application file, and the extracted signer and sponsor certificates are downloaded into a deployment terminal, where the following actions occur: aThe terminal’s operating system searches for signature files. bIf a signature file is found, the operating system then searches for a matching application file. FILE AUTHENTICATION Introduction to File Authentication O MNI3600 REFERENCE MANUAL103 cIf a matching application file is found, the operating system compares the signature file’s signature against the values stored in the application file’s calculated signature. dIf the values match, the two files are authenticated and the ATTR_NOT_AUTH bit is set to 0. 6Each successfully authenticated executable application file is allowed to run on the terminal (otherwise, the executable remains stored in the terminal memory but is not allowed to run). Figure 37 illustrates the deployment process. FILE AUTHENTICATION Introduction to File Authentication 104OMNI3600 REFERENCE MANUAL Figure 37The Deployment Process Planning for File Authentication File authentication is an integral part of every Omni 3600 terminal. To safeguard the terminal’s logical security, the file authentication module requires that any executable code file must be successfully authenticated before the operating system allows it to execute on the terminal. FILE AUTHENTICATION Introduction to File Authentication O MNI3600 REFERENCE MANUAL105 Authentication Requirements for Specific File Types For the purposes of file authentication, executable code files include two file types that can be recognized by their filename extensions: Depending on the logical security requirements of specific applications, other types of files used by an application (that is, non-executable files) also need to be authenticated: •Data files (*.dat) that contain sensitive customer information or other data that needs to be secure •Font files (*.vft or *.fon) that may need to be secure to prevent unauthorized text or messages from being displayed on the terminal screen •Any other type of file used by an application and that the application designer wishes to logically secure using file authentication requirements Decide Which Files to Authenticate in a Specific Application The first step in the file authentication process is to determine which files must be authenticated for an application to meet its design specifications for logical security under the VeriShield security architecture. In most cases, application designers make these decisions based on specifications provided by the terminal sponsor. Which files to authenticate can be completely transparent to the person or business entity responsible for signing, downloading, and authenticating an application prior to deployment. How (and When) Signature Files Authenticate Their Target Files Signature files are usually downloaded together with their target application files in the same data transfer operation. This recommended practice lets you specify and confirm the logical security status of the Omni 3600 terminal each time you perform an application download. When the file authentication module detects a new signature file after a terminal restart, it locates and attempts to authenticate the target file that corresponds to the new signature file. It is not mandatory to always download a signature file at the same time as its target application file. For example, you can download the corresponding signature file in a separate operation. A non-authenticated application can reside in the terminal memory, but is not authenticated or allowed to run on the terminal until the signature files for the application executable files are processed by the file authentication module after a subsequent download procedure and terminal restart. File TypeExtension Compiled and linked application files*.out Global function libraries*.lib FILE AUTHENTICATION Introduction to File Authentication 106OMNI3600 REFERENCE MANUAL Determine Successful Authentication To ensure the Omni 3600 terminal’s logical security, never assume that a target file was authenticated simply because it downloaded to the Omni 3600 terminal together with its signature file. There are several ways to ensure a target file successfully authenticated after a download: •Confirm all downloaded executable files run. If an executable code file is not successfully authenticated, the operating system does not allow it to execute and run, either following the initial download or on subsequent terminal restarts. The effect of this rule depends on whether or not all executable files successfully …
Text truncated - open the document above for the full version.
Users Manual
2003 VeriFone, Inc. All rights reserved. VeriFone, Inc. 2455 Augustine Drive Santa Clara CA 95054-3002 Tel: 800-VeriFone (837-4366) www.verifone.com Omni 3600 Certifications and RegulationsVeriFone Part Number: 22475 Revision E Omni 3600 Certifications and Regulations FCC ComplianceManufacturer: VeriFone, Inc.Model: Omni 3600FCC Part 15 Class BThis device complies with Part 15 of the FCC Rules. Operation is subject to the following two conditions: (1) this device ma y not cause harmful interference, and (2) this device must accept any interference received, including interference that may cause undesired operation.SAR LabelingMobitexUSATo comply with the FCC RF exposure requirements, bystanders and parts of the users body other then the extremities must be at least 15.0mm away from the device.CDMAUSASAR compliance for body worn operating configurations is limited to the specific belt clips / holsters / accessories that have no metallic component in the assembly. The highest reported SAR values for Omni 3600C under the FCC ID B32OMNI3600C are: PMS modes (Part 22) – Body-worn 0.0056mW/g. The highest reported SAR values for Omni 3600D under the FCC ID B32OMNI3600D are: PMS modes (Part 22) – Body-worn 0.309mW/g, PCS mode (Part 24) - Body-worn: 0.232mW/g.Brazil"""O terminal Omni 3600 atende aos limites da Taxa de Absorção Específica referente à exposição a campos elécticos, magnéticos e electromagnéticos de radiofreqüências adoptados pela Anatel."""GSM/GPRSUSASAR compliance for body worn operating configurations is limited to the specific belt clips / holsters / accessories that have no metallic component in the assembly. The highest reported SAR values under this FCC ID are: PMS modes (Part 22) – Body-worn 0.245mW/g, PCS mode (Part 24) - Body-worn: 0.218mW/g.Australia Required Warning StatementPlease switch off and do not operate the equipment when in an area with a potentially explosive atmosphere, such as refueling points, fuel depots or storage areas, chemical plants, and blasting operations.ElectricalLI-ion Battery Module—Rechargeable Battery Unit CautionDo not:• disassemble, crush, puncture, or incinerate in fire. • short circuit contacts. • expose to temperatures exceeding 140 ° F (60 ° C). Power PacksBefore you connect the terminal power pack to an electrical outlet, check that the on/off power switch on the terminal is off . If the terminal does not have an on/off switch, check that the power cable connector is removed from the terminal’s power port. or When connecting the terminal to a power pack, always connect the three-pronged plug of the power pack to an electrical wall outlet first . Then connect the power cable to the terminal’s power port. AC AdapterThe AC adapter is designed to ensure your personal safety and to be compatible with this equipment. Please follow these guidelines:• Do not use the adapter in a high moisture environment. Never touch the adapter when your hands or feet are wet. • Allow adequate ventilation around the adapter. Avoid locations with restricted airflow. • Connect the adapter to a proper power source. The voltage and grounding requirements are found on the product case and/or packaging. • Do not use the adapter if the cord becomes damaged. • Do not attempt to service the adapter. There are no serviceable parts inside. Replace the unit if it is damaged or exposed to excess moisture. Separate Power SourcesSome peripherals require a separate power source. Before connecting a check reader or similar device, turn off power to the terminal. PeripheralsBefore connecting any peripheral device, turn off power to the terminal. Turn on power only after you are finished connecting the peripheral device(s). For complete information about peripheral installation and use, please refer to the user documentation supplied with those devices. Disconnecting PowerDisconnecting power during a transaction may cause transaction data files that are not yet stored in terminal memory to be lost. Surge ProtectorsTo protect your terminal against possible damage caused by lightning strikes and electrical surges, you may want to install a p ower surge protector. Location – Electrical ConsiderationsCAUTION: Due to risk of electrical shock or terminal damage, do not use the terminal near water, including a bathtub, wash bowl, kitchen sink or laundry tub, in a wet basement, or near a swimming pool. Also, avoid using this product during electrical storm s. Avoid locations near electrical appliances or other devices that cause excessive voltage fluctuations or emit electrical noise (for example, air conditioners, neon signs, high-frequency or magnetic security devices, or electric motors). EquipmentDamageCarefully inspect the shipping carton and its contents for any damage. If the terminal or any product component appears damaged or tampered with, immediately notify the shipping company and your VeriFone distributor or service provider.CAUTION : Do not use a terminal that has been damaged or tampered with. RepairsUnless otherwise instructed in this document, do not, under any circumstances , attempt any service, adjustments, or repairs on this equipment. Instead, contact your local VeriFone distributor or service provider for assistance. Failure to comply may invalidat e the product warranty. Location – Environmental ConsiderationsDo not plug the power pack into an outdoor outlet or operate the terminal outdoors. It is not waterproof or dustproof, and is f or indoor use only. Any damage to the unit from exposure to rain or dust may void your warranty.Do not use the terminal where there is high heat, dust, humidity, moisture, or caustic chemicals or oils. Keep the terminal awa y from direct sunlight and anything that radiates heat, such as a stove or a motor. Cleaners and SolventsNever use thinner, trichloroethylene, or ketone-based solvents to clean the terminal — they may deteriorate plastic or rubber p arts. Do not spray cleaners or other solutions directly onto the keypad or display…
Text truncated - open the document above for the full version.
Contact Information
Applicant
Kenji Chao(Sr. Director, Hardware Engineering)
Test Firm
Bay Area Compliance LaboratoryJohn Chan
Technical Specifications
| # | Rule Parts | Frequency Range | Power Output | Emission | Tolerance |
|---|---|---|---|---|---|
| 2 | 24E | 1.85 GHz - 1.91 GHz | 233.00 mW | 1M25F9W | 2.5 ppm |
Other Applications from VeriFone Inc
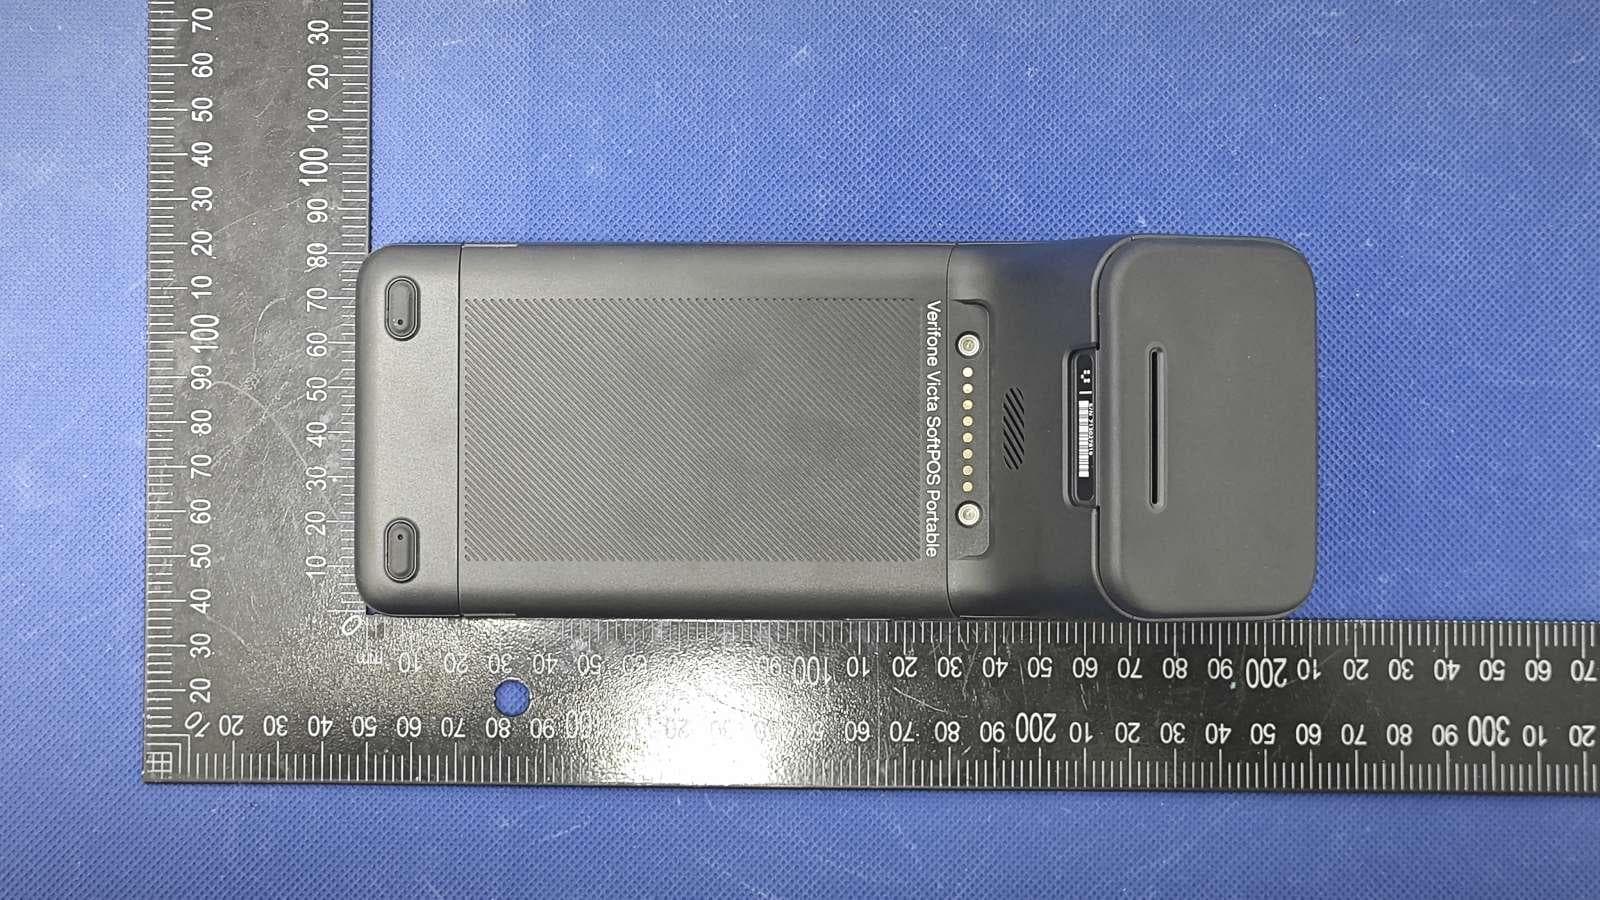
B32VS100P
Jun 22, 2026Point of Sale Terminal
Equipment Class
DXX - Part 15 Low Power Communication Device Transmitter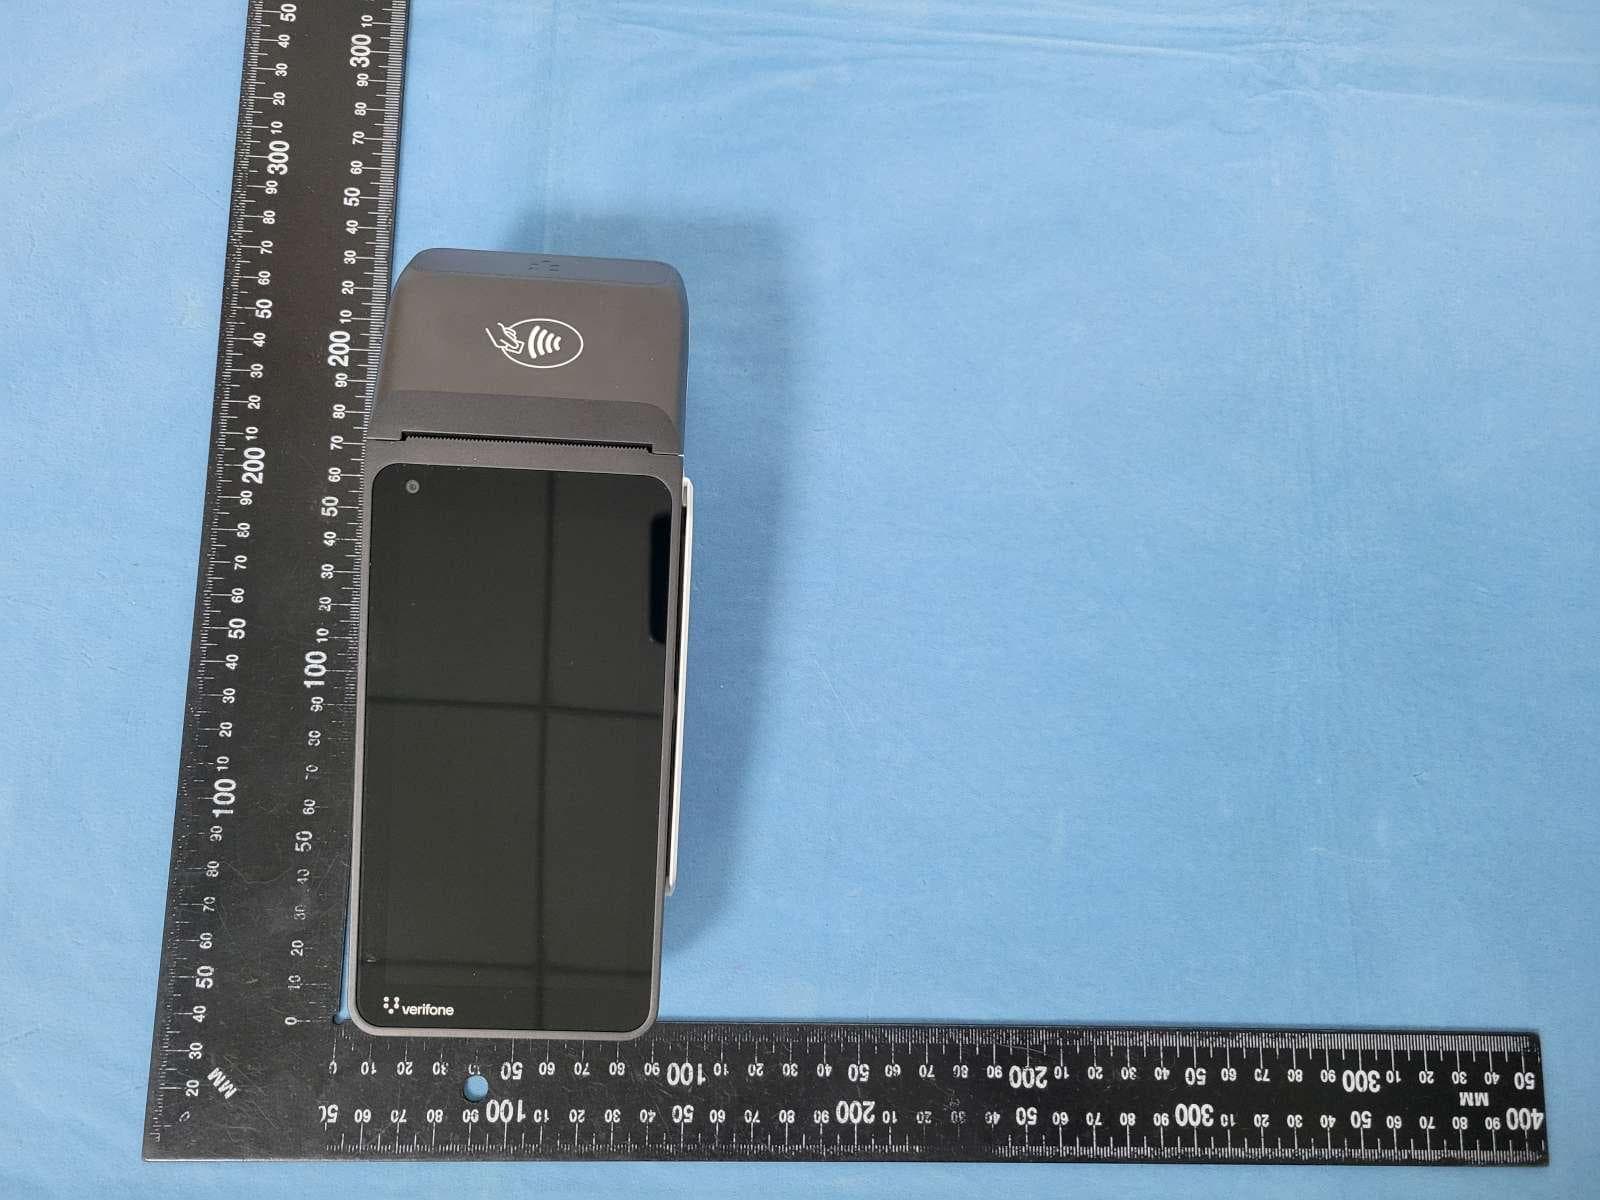
B32V660CA2
Apr 20, 2026Point of Sale Terminal
Equipment Class
NII - Unlicensed National Information Infrastructure TX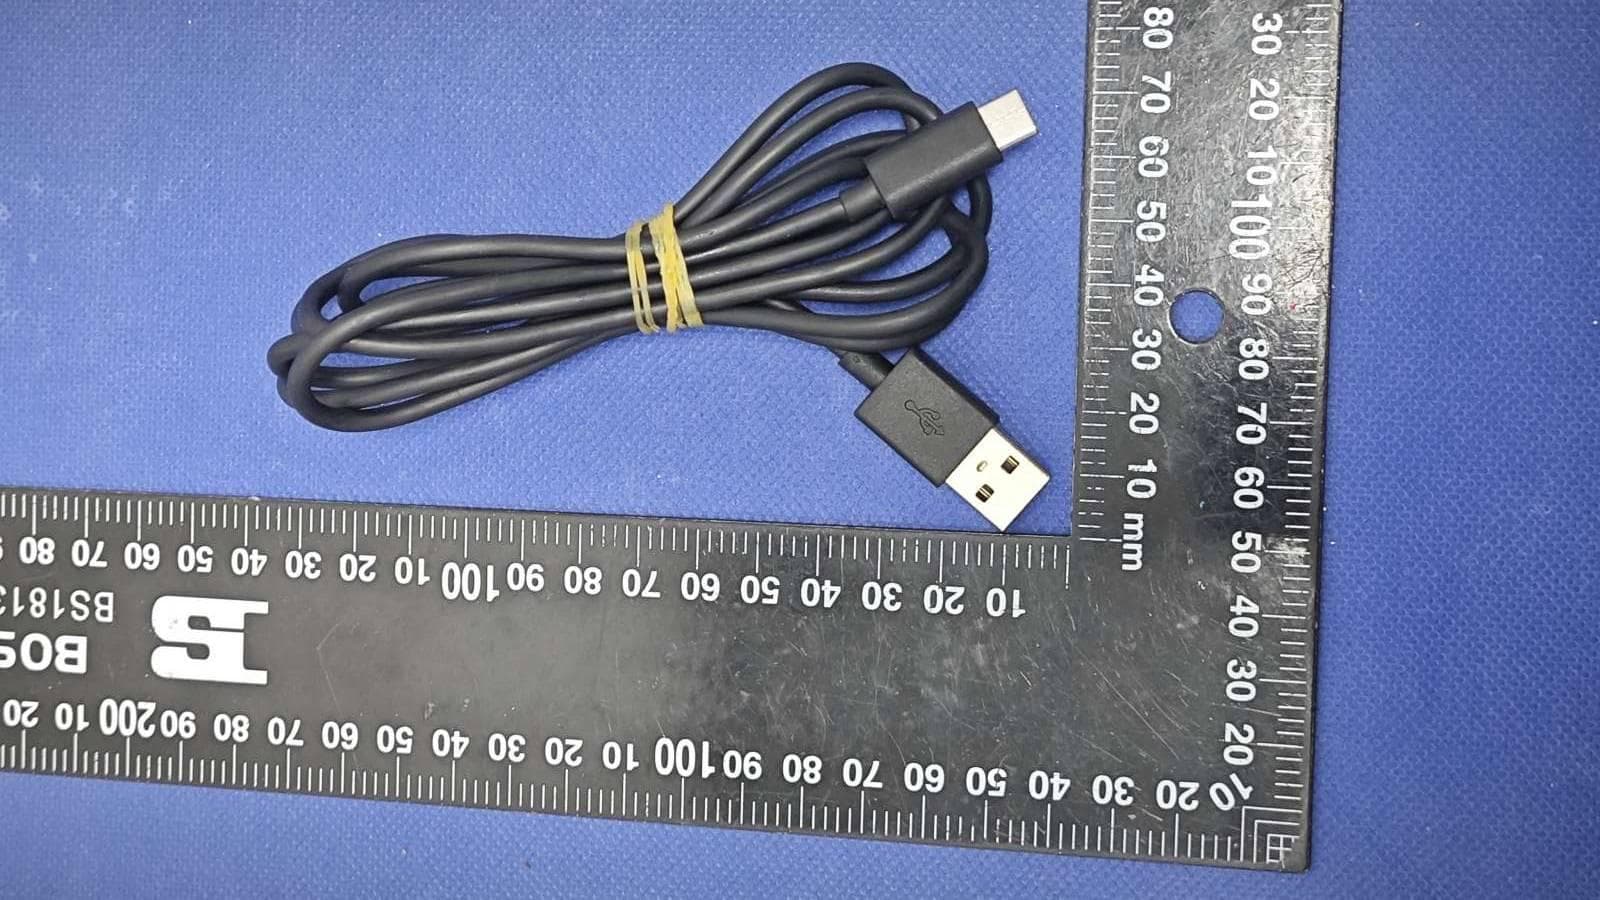
B32VM110R
Mar 31, 2026Point of Sale Terminal
Equipment Class
PCB - PCS Licensed Transmitter
B32VN100
Feb 02, 2026Point of Sale Terminal
Equipment Class
DXX - Part 15 Low Power Communication Device Transmitter
B32VS100M
Dec 03, 2025Point of Sale Terminal
Equipment Class
PCE - PCS Licensed Transmitter held to ear