EMJMMORFEVUODynex Wireless Optical Mouse
Primax Electronics Ltd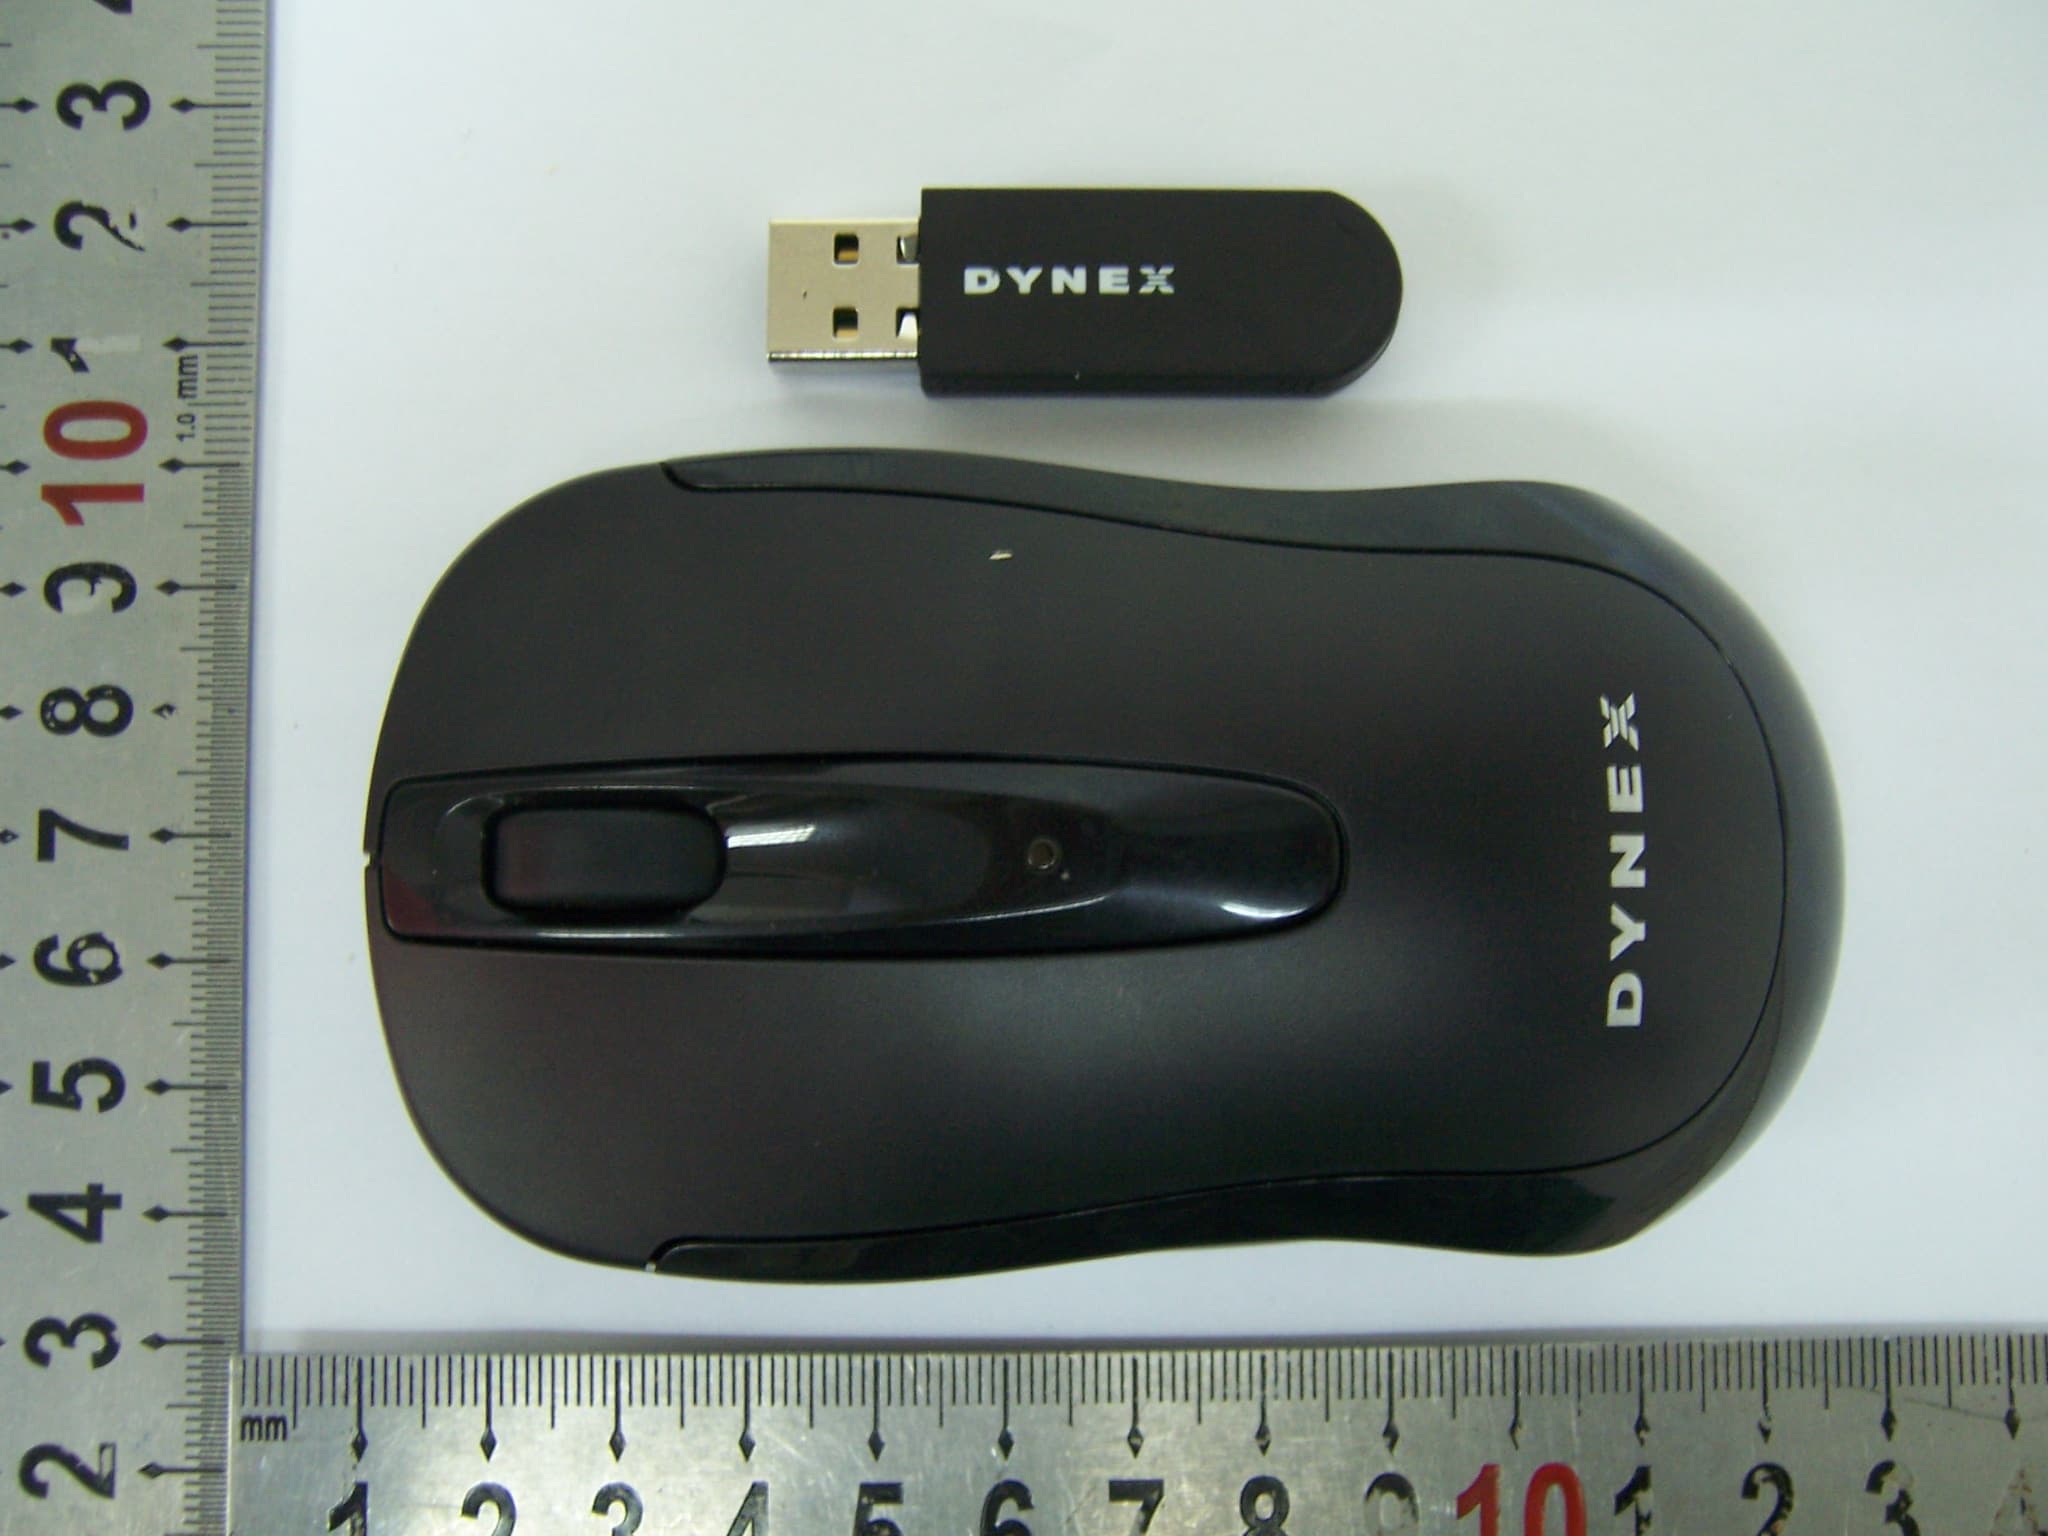
Click to zoom
Application Details
- Equipment Class
- DXX - Part 15 Low Power Communication Device Transmitter
- Date of Grant
- Jul 24, 2010
- Application Purpose
- Original Equipment
- Date of Application
- Jul 19, 2010
- Equipment Note
- Dynex Wireless Optical Mouse
- Frequency Range
- 27.04500000 - 27.04500000
- Company
- Primax Electronics Ltd
- Country
- Taiwan
Documents & Files
Document Text
Text extracted from the exhibit documents filed with the FCC. Open a document above to read the original.
Users Manual
DX-WLMSE2 Mouse/Souris DX-WLMSE2/ Ratón DX-WLMSE2/ DX-WLMSE2 System requirements • Windows XP, Windows Vista, or Windows 7 • One available USB port Setting up your mouse 1 Open the battery compartment cover. 2 Insert the supplied AA battery, making sure that the + and - on the battery match the + and - in the compartment. 3 Close the battery compartment. 4 Slide the power button to ON. 5 Plug the USB receiver into an open USB port on your laptop. The computer automatically detects the mouse. Cleaning your mouse Wipe the mouse with a damp, lint-free cloth. Con guration système requise • Windows XP, Windows Vista ou Windows 7 • Un port USB disponible Con guration de la souris 1 Ouvrir le couvercle du compartiment des piles. 2 Insérer les deux piles de type AA fournies, en vérifiant que le + et le – des piles sont alignés avec le + et le – à l’intérieur du compartiment. 3 Fermer le couvercle du compartiment des piles. 4 Faire glisser le bouton marche/arrêt sur ON (Marche). 5 Connecter le récepteur USB à un port USB de l’ordinateur portatif. L’ordinateur détecte automatiquement la souris. Nettoyage de la souris Essuyer la souris avec un chiffon humide non-pelucheux. Requisitos del sistema • Windows XP, Windows Vista o Windows 7 • Un puerto USB disponible Instalación del ratón 1 Abra la cubierta del compartimiento de las pilas. 2 Inserte las dos pilas AA suministradas, asegurándose de que los signos + y – de las pilas coincidan con los signos + y – en el interior del compartimiento de las pilas. 3 Cierre el compartimiento de las pilas. 4 Deslice el botón de encendido en la posición ON (Encendido). 5 Conecte el receptor en un puerto USB disponible en su laptop. Su computadora detectará automáticamente el ratón. Limpieza del ratón Limpie el ratón con un paño húmedo, sin pelusas. • Windows XPWindows VistaWindows 7 • USB 1 2 AA 3 4 5 USBUSB Mouse features Scroll wheel Left button Using your mouse 1 Press the left and right mouse buttons to perform standard left and right click functions. 2 Use the scroll wheel to scroll up and down the screen. 3 Press and hold down the scroll wheel, then move the mouse up and down to scroll up and down the screen. NOTE: this feature may not be available in all programs. 4 Use the back button for going back to a previously viewed item in programs that support the "Back" command, such as Web browsers. 5 Use the forward button for going to the next item in programs that support the "Forward" command, such as Web browsers. Troubleshooting • Make sure that your computer meets the system requirements. • Only use the mouse on a clean, flat, non-slippery surface to ensure smooth and accurate cursor action. • If your laptop BIOS setup has mouse options, make sure that they are set to default settings. Right button Back button Forward button One-year limited warranty For complete warranty, visit www.dynexproducts.com. FCC statement This equipment has been tested and found to comply with the limits for a Class B digital device, pursuant to Part 15 of the FCC Rules. These limits are designed to provide reasonable protection against harmful interference in a residential installation. This equipment generates, uses and can radiate radio frequency energy and, if not installed and used in accordance with the instructions, may cause harmful interference to radio communications. However, there is no guarantee that interference will not occur in a particular installation. If this equipment does cause harmful interference to radio or television reception, which can be determined by turning the equipment off and on, the user is encouraged to try to correct the interference by one or more of the following measures: • Reorient or relocate the receiving antenna. • Increase the separation between the equipment and receiver. • Connect the equipment into an outlet on a circuit different from that to which the receiver is connected. • Consult the dealer or an experienced radio/TV technician for help. Quick Setup Guide/Guide d’installation rapide/Guía de instalación rápida/ Top viewBottom view Battery cover Power button Receiver Canada ICES-003 Statement This Class B digital apparatus complies with Canadian ICES-003. Distributed by Best Buy Purchasing, LLC 7601 Penn Avenue South, Richfield, MN USA 55423-3645 © 2010 BBY Solutions, Inc., All Rights Reserved. Dynex is a trademark of BBY Solutions, Inc. Registered in some countries. All other brand names are trademarks of their respective owners. Utilisation de la souris 1 Appuyer sur les boutons gauche et droit de la souris pour obtenir les fonctions classiques de ces boutons. 2 Utiliser la molette de défilement pour faire défiler l’écran vers le haut ou vers le bas. 3 Appuyer et maintenir enfoncée la molette de défilement, puis déplacer la souris vers le haut ou vers le bas pour faire défiler l’écran dans les deux sens. REMARQUE : Cette caractéristique peut ne pas être disponible dans toutes les applications. 4 Utiliser le bouton « précédent » pour revenir à la page antérieure si l’application prend en charge la commande « Précédent », telle qu’un navigateur Web. 5 Utiliser le bouton « suivant » pour aller à la page suivante si l’application prend en charge la commande « Page suivante », telle qu’un navigateur Web. Problèmes et solutions • Vérifier que l’ordinateur est conforme aux spécifications requises du système. • Utiliser la souris uniquement sur une surface propre, plane et non-glissante pour assurer un mouvement régulier et précis du curseur. • Si la configuration du BIOS de l’ordinateur portatif comporte des options pour la souris, vérifier que celles-ci sont configurées sur les paramètres par défaut. Garantie limitée d’un an Pour le texte complet de la garantie, aller sur le site www.dynexproducts.com. Déclaration de la FCC : Cet équipement a été testé et déclaré conforme aux limitations prévues dans le cadre de la catégorie B des appareils numériques, définies par l’article 15 du règlement de la FCC. Ces limites ont été établies pou…
Text truncated - open the document above for the full version.
External Photos
Appendix 3 Test Report No.: Page 1 of 1 Figure 1 Figure 2
ID Label/Location Info
Dynex Wired Optical Mouse Model No:DX-WMSE2 Rating:5V 100mA S/N:YYMDDAXXXXXX Made in China 10 DX-WMSE2 Mouse label SCALE: 1:1 DX-WLMSE2 Mouse label SCALE: 1:1 DX-WLMSE2A Dongle label SCALE: 1:1 *26mm * 1 0 m m Model No:DX-WLMSE2A Made in China S/N:YYMDDAXXXXXX Rating:5V 80mA Dynex Wireless Optical Mouse Receiver 10 Dynex Wireless Optical Mouse Model No:DX-WLMSE2 Rating:3V 40mA Power:2 AAA batteries FCC ID: EMJMMORFEVUO S/N:YYMDDAXXXXXX Made in China 10 *48.6 mm * 2 7 . 7 m m * 3 5 . 7 m m *50.5 mm
Internal Photos
Internal photos Test Report No.: 17016532 001 Page 1 of 3 Figure 1 Figure 2 Internal photos Test Report No.: 17016532 001 Page 2 of 3 Figure 3 Figure 4 Internal photos Test Report No.: 17016532 001 Page 3 of 3 Figure 5 Figure 6
Test Report
Produkte Products Prüfbericht - Nr.: Test Report No. 17016532 001 Seite 2 von 21 Page 2 of 21 TEST SUMMARY 5.1.1 ANTENNA REQUIREMENT RESULT: Passed 5.1.2 FIELD STRENGTH WITHIN BAND RESULT: Passed 5.1.3 OUT-OF-BAND EMISSION RESULT: Passed 6.1.1 ELECTROMAGNETIC FIELDS RESULT: Passed Produkte Products Prüfbericht - Nr.: Test Report No. 17016532 001 Seite 3 von 21 Page 3 of 21 Contents 1. GENERAL REMARKS.........................................................................................................4 1.1 COMPLEMENTARY MATERIALS...........................................................................................4 2. TEST SITES.......................................................................................................................4 2.1 TEST FACILITIES...............................................................................................................4 2.2 LIST OF TEST AND MEASUREMENT INSTRUMENTS...............................................................5 2.3 TRACEABILITY..................................................................................................................6 2.4 CALIBRATION....................................................................................................................6 2.5 MEASUREMENT UNCERTAINTY...........................................................................................6 2.6 LOCATION OF ORIGINAL DATA...........................................................................................6 2.7 STATUS OF FACILITY USED FOR TESTING...........................................................................6 3. GENERAL PRODUCT INFORMATION....................................................................................7 3.1 PRODUCT FUNCTION AND INTENDED USE...........................................................................7 3.2 RATINGS AND SYSTEM DETAILS.........................................................................................7 3.3 INDEPENDENT OPERATION MODES.....................................................................................8 3.4 NOISE GENERATING AND NOISE SUPPRESSING PARTS........................................................8 3.5 SUBMITTED DOCUMENTS...................................................................................................8 4. TEST SET-UP AND OPERATION MODES...............................................................................9 4.1 PRINCIPLE OF CONFIGURATION SELECTION........................................................................9 4.2 TEST OPERATION AND TEST SOFTWARE............................................................................9 4.3 SPECIAL ACCESSORIES AND AUXILIARY EQUIPMENT..........................................................9 4.4 COUNTERMEASURES TO ACHIEVE EMC COMPLIANCE.........................................................9 4.5 TEST SETUP DIAGRAM....................................................................................................10 5. TEST RESULTS...............................................................................................................12 5.1 TRANSMITTER REQUIREMENT & TEST SUITES...................................................................12 5.1.1 Antenna Requirement................................................................................................................ 12 5.1.2 Field strength within band ......................................................................................................... 13 5.1.3 Out-of-band emission ................................................................................................................ 15 6. SAFETY HUMAN EXPOSURE.............................................................................................19 6.1 RADIO FREQUENCY EXPOSURE COMPLIANCE...................................................................19 6.1.1 Electromagnetic Fields .............................................................................................................. 19 7. PHOTOGRAPHS OF THE TEST SET-UP..............................................................................20 8. LIST OF TABLES..............................................................................................................21 9. LIST OF PHOTOGRAPHS...................................................................................................21 Produkte Products Prüfbericht - Nr.: Test Report No. 17016532 001 Seite 4 von 21 Page 4 of 21 1. General Remarks 1.1 Complementary Materials None. 2. Test Sites 2.1 Test Facilities TÜV Rheinland (Guangdong) Ltd. EMC Laboratory Guangzhou Auto Market, Yuan Gang Section of Guangshan Road, Guangzhou, P.R. China FCC Registration No.: 833845 Test site Industry Canada No.: 2932C-1 Produkte Products Prüfbericht - Nr.: Test Report No. 17016532 001 Seite 5 von 21 Page 5 of 21 2.2 List of Test and Measurement Instruments Table 1: List of Test and Measurement Equipment Kind of Equipment Manufacturer Type S/N Calibrated until Spurious emission and Radiated emission EMI Test Receiver Rohde & Schwarz ESCI-3 100216 2010-11-26 Spectrum Analyzer Rohde & Schwarz FSP30 100286 2010-08-24 Trilog-Broadband Antenna SCHWARZBECK MESS-ELEKTRONIK VULB9168 209 2010-11-07 Double-Ridged Waveguide Horn Antenna Rohde & Schwarz HF906 100385 2010-08-18 Pre-amplifier MITEQ AFS42- 00101800-25- S-42 1101599 2010-07-31 Standard Gain Horn Antenna EMCO 3160-09 21642 N/A Pre-amplifier MITEQ AFS33- 18002650-30- 8P-44 1108282 2010-07-31 3m Anechoic Chamber Albatross Project GmbH N/A N/A 2011-04-16 Loop Antenna Rohde & Schwarz HFH2-Z2 100111 2010-12-11 Produkte Products Prüfbericht - Nr.: Test Report No. 17016532 001 Seite 6 von 21 Page 6 of 21 2.3 Traceability All measurement equipment calibrations are traceable to NIST or where calibration is performed outside the United States, to equivalent nationally recognized standards organizations. 2.4 Calibration Equipment requiring calibration is calibrated peri…
Text truncated - open the document above for the full version.
Test Setup Photos
Produkte Products Prüfbericht - Nr.: Test Report No. 17016532 001 Seite 20 von 21 Page 20 of 21 7. Photographs of the Test Set-Up Photograph 1: Set-up for Emissions (9kHz - 30MHz) Photograph 2: Set-up for Emissions (30MHz-1GHz)
Contact Information
Applicant
Nelson Chou(Manager)
Test Firm
TUV Rheinland (GuangDong) Ltd.Yuxin Huang
Technical Specifications
| # | Rule Parts | Frequency Range | Power Output |
|---|---|---|---|
| 1 | 15C | 27.045 MHz - 27.045 MHz | - |
Other Applications from Primax Electronics Ltd
EMJ-BHS2705
Aug 28, 2026Wireless Headset
Equipment Class
DTS - Digital Transmission SystemEMJMMOBTN5O
Aug 22, 2024wegear MW1 Creator Mouse
Equipment Class
DTS - Digital Transmission SystemEMJDDGRFN5
Aug 22, 2024wegear MW1 2.4G Dongle
Equipment Class
DXX - Part 15 Low Power Communication Device Transmitter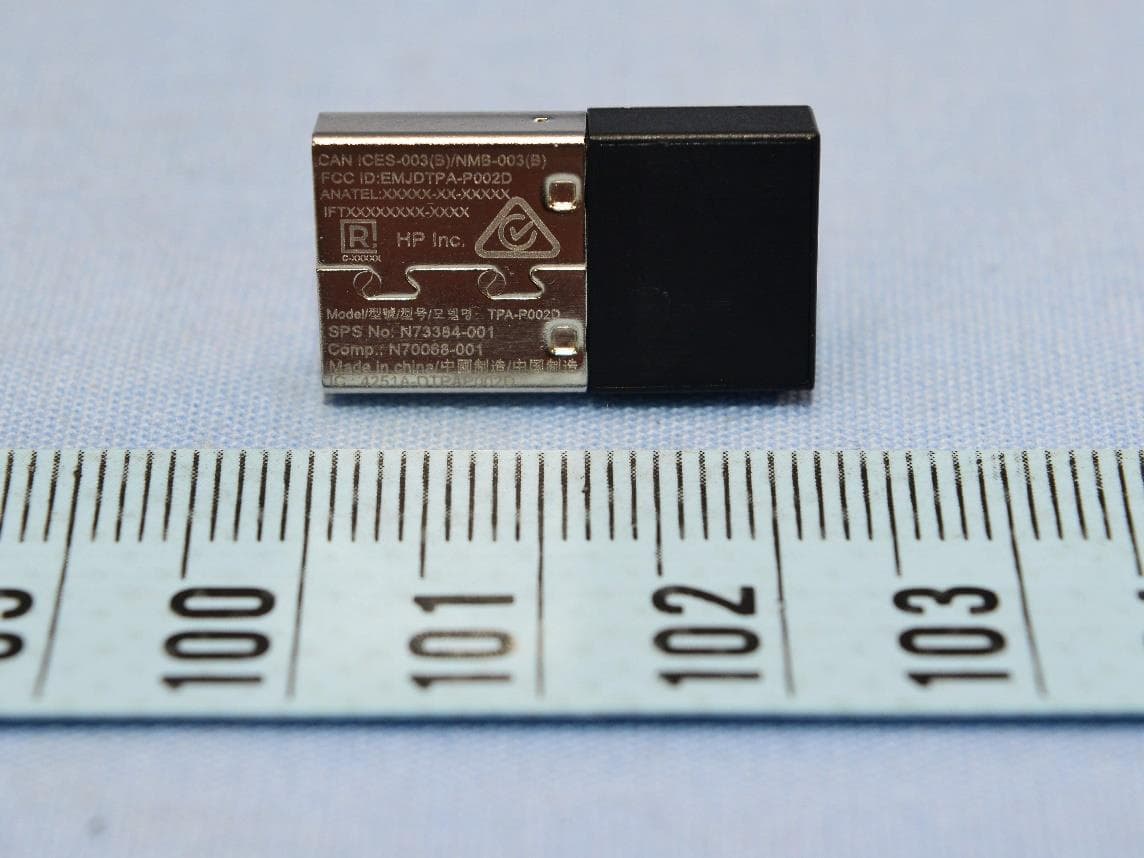
EMJDTPA-P002D
Jan 14, 2024Dongle
Equipment Class
DXX - Part 15 Low Power Communication Device Transmitter
EMJOH1
Oct 29, 2023Level Bridge
Equipment Class
DTS - Digital Transmission System