NZLMUAHL5Universal Garage Door Opener
Gentex Corporation
Click to zoom
Application Details
- Equipment Class
- DSS - Part 15 Spread Spectrum Transmitter
- Date of Grant
- Jan 27, 2015
- Application Purpose
- Original Equipment
- Date of Application
- Jan 27, 2015
- Equipment Note
- Universal Garage Door Opener
- Frequency Range
- 902.25000000 - 926.75000000
- Company
- Gentex Corporation
- Country
- United States
Documents & Files
Document Text
Text extracted from the exhibit documents filed with the FCC. Open a document above to read the original.
Users Manual
Programming and Information Guide Information on compatible products and video programming instructions are available at www.homelink.com Only press the transmitter button on the integrated garage door opener if there are no persons or objects present within the sweep of the garage door. People could otherwise be injured by the movement of the door. 1 2 3 4 Integrated garage door opener on the rear-view mi of this integrated garage door opener. rror Garage door remote control 5 is not part atteries in garage door remote control 5 before programming. e programming, clear all HomeLink memory by following the instructions in the "clearing memory" section (page 333) the ignition lock. ed garage door opener. Indicator lamp 1 lights up yellow. ntrol 5 towards buttons 2 to 4 on the rear-view mirror at a distance of 2 to 8 inches (5 to 20 cm). tton 6 on remote control 5 until indicator lamp 1 lights up green. If the indicator lamp 1 does not turn green, reposition the remote control 5 and repeat this step. To achieve the best result, insert new b •► For first tim •► Turn the SmartKey to position 2 in •► Press and release one of buttons 2 to 4 on the integrat •► Point remote co •► Press and hold bu HomeLink and the HomeLink house are registered trademarks of Gentex Corporation. •► Release button 6 on remote control 5. •► Firmly press, and release the programmed button 2, 3, or 4 of the integrated garage door e the device. If the device activates, programming is complete. If the device does not activate, continue with "Synchronizing the Rolling Code." Your vehicle must be within range of the garage or gate opener drive. Make sure that neither cts are present within the sweep of the door or gate. A ladder and/or second person may simplify the following steps. •► Turn the SmartKey to position 2 in the ignition lock. •► At the garage door opener receiver (motor-head unit) in the garage, locate the “Learn” or e motor-head unit (see the Garage Door Opener manual to identify the “Learn Button”). •► Press the previously programmed transmitter button 2, 3, or 4 of the integrated garage door the device activates, programming is complete. Canadian radio frequency laws require a "break" (or interruption) of the transmission signals nals may not therefore last long enough for the integrated garage door opener to recognize the signal during programming. Comparable with follows: r a •► Press button 6 of the garage door remote control 5 for two seconds, then release it for two opener up to three separate times to activat Synchronizing the rolling code your vehicle nor any persons/obje Observe the safety notes when performing the rolling code synchronization. “Smart” Button. This can usually be found directly on th There are typically 30 seconds to complete the next step. opener up to three separate times to activate the device. If Notes on programming the remote control after broadcasting for a few seconds. These sig Canadian law, some U.S. garage door openers also feature a “break.” If you live in Canada or have difficulties programming the garage door opener (regardless of where you live) when using the programming steps above, proceed as •► Press and hold one of transmitter buttons 2 to 4 of the integrated garage door opener. Afte short time, indicator lamp 1 lights up yellow. •► Release the button. Indicator lamp 1 flashed yellow. seconds. •► Repeat this sequence on button 6 of remote control 5 until indicator lamp 1 lights up green. HomeLink and the HomeLink house are registered trademarks of Gentex Corporation. •► Continue with the other programming steps (see above). Problems when programming If you are experiencing problems programming the integrated garage door opener on the rear- view mirror, take note of the following instructions: 5. This increases the likelihood that garage door remote control 5 will transmit a strong and precise signal to the integrated garage door ote control 5 at varying distances and angles from the button you are programming. Try various angles at a distance between 0 and 8 inches (0 to 20 cm) or at the me garage door drive is available, repeat the same programming steps with this remote control. Before you perform the steps, make sure that new nt of time (the indicator lamp on the remote control goes out). Press button 6 on remote control again before transmission ends. reception/transmission. pening / closing the garage door egrated garage door opener performs the function of the garage door system's remote control. Please also read the operating instructions for the garage martKey to position 2 in the ignition lock. operate the garage door. ressed. The transmission is halted after a maximum of ten seconds and indicator lamp 1 lights up yellow. to position 2 in the ignition lock. llow. - Replace the batteries in garage door remote control opener in the rear-view mirror. - When programming, hold rem same angle but at varying distances. - If another remote control for the sa batteries have been installed in the garage door remote control 5. - Note that some remote controls only transmit for a limited amou - Extend the antenna cable of the garage door opener unit. This can improve signal O After it has been programmed, the int door system. •► Turn the S •► Press button 2, 3 or 4 which you have programmed to The transmitter will transmit a signal for as long as the transmitter button is being p Press button 2, 3, or 4 again if necessary. Clearing the memory •► Turn the SmartKey •► Press buttons 2 and 4. The indicator lamp lights up ye HomeLink and the HomeLink house are registered trademarks of Gentex Corporation. HomeLink and the HomeLink house are registered trademarks of Gentex Corporation. green. nual, as part of Homologation regulations globally if applicable. l shall be written in the native language of the ountry of use. be mounted in the vehicle with only the button side of the device exposed to the nd user. ) and IC (Canada): ules part 15 and Industry Canada RSS-210. Ope…
Text truncated - open the document above for the full version.
External Photos
Model: MUAHL5
RF Exposure Info
FCC ID: NZLMUAHL5 RF Exposure/ S A R Statement Applicant: Gentex Corporation Model: MUAHL5 Calculations: The following information provides the minimum separation distance for the antenna as part of the design for the “MUAHL5” as calculated from the FCC OET Bulletin 65, Appendix A, Table (B) Limits for General Population/Uncontrolled Exposure. This calculation is based on the highest EIRP possible from the system, considering maximum power and antenna gain, and considering an f/1500mW/cm 2 (0.601mW/cm 2 ) uncontrolled exposure limit. The power density formula used was: S = (P*G)/ (4*PI*r 2 ) Where P = 13.85dBm (Maximum Power Output Power) G = 7.8dBi (Numerical Antenna Gain, 7.8dBi) R = 20.0cm (P+G) = 21.65dBm Converting 21.65dBm to mW = 146.21mW The Power Density S = 0.0215 mW/cm 2 This is less than the above limit.
Test Report
FCC Report Form for 15.247 Revision: 10/17/2014 Approved By: Craig Harder Uncontrolled copy if printed unless stamped as a Lab Controlled Document Technical Report to the FCC and Industry Canada Regarding Gentex Corporation - Homelink© 5 Model: MUAHL5 FCC ID: NZL MUAHL5 IC: 4112- MUAHL5 Emission Designator: 207KF7D 1/16/15 A report concerning approval for Gentex Corporation Homelink® model MUAHL5 Please issue grant immediately upon review. Measurements Made by: Measurements Reviewed by: Bolay Pannell Brian Miller Senior EMC Test Engineer Senior EMC Test Engineer Gentex Corporation Gentex Corporation Report and Application Prepared by: Report Approved and Submitted by: Brian Miller Craig Harder Senior EMC Test Engineer Lab Manager - EMC Lab Gentex Corporation Gentex Corporation FCC Report Form for 15.247 Revision: 10/17/2014 Approved By: Craig Harder Uncontrolled copy if printed unless stamped as a Lab Controlled Document 1. General Information 1.1. Product Description The Gentex Corporation HomeLink® HL5 Universal Garage Door Opener is a low-power transceiver OEM device that is installed into a rearview mirror of the automobile. The installation is provided by trained technicians during the course of the manufacture of the automobile. It is powered by the 12 Volt system of the automobile. This Universal Garage Door Opener has the capability to 1. Learn the frequency and bit code format of the user’s existing garage door remote control devices 2. Transmit and receive frequency hopping spread spectrum in the 902 to 928 MHz band using an internal antenna as per Federal Communications Commission “Code of Federal Regulations”, Title 47, Part 15.247 The unit is designed for the periodic operation of a control signal, which typically activates a garage door opener receiver. The unit is supplied to the automobile manufacturer without harness. For testing purposes a typical assembly and 2-conductor cable harness were used to power to the unit. The three-button HomeLink® unit replaces up to three hand-held transmitters. In addition to the typical operation of the garage door, the unit will learn the radio frequency codes of other transmitter types to activate entry door locks, estate gates, security systems, and home or office lighting. The antenna system is an integral part of the unit. It cannot be altered nor replaced by the user. Service of this system is only available from the Automobile Manufacturer’s Dealerships and Gentex Corporation. 1.2. Related Grants This device will have functionality that is covered under CFR 47 15.231. The device will have a FCC ID # of NZLMUAHL5 and an IC ID # of 4112A-MUAHL5 under both rule parts. A separate report is submitted for functionality covered under CFR 47 15.231. 1.3. Test Methodology Radiated Emissions testing was performed according to ANSI C63.4-2003. The power source for this product is a 12V automotive vehicle battery. Conducted measurements were performed using a power supply. Measurements were performed per FCC KDB 867751 & DA 00-0705 (March 30, 2000). FCC Report Form for 15.247 Revision: 10/17/2014 Approved By: Craig Harder Uncontrolled copy if printed unless stamped as a Lab Controlled Document The unit is supplied to the automobile manufacturer without harness. For testing purposes a 2-conductor cable harness was used to interface to the unit. The unit ground is provided through the negative terminal of the harness. 1.4. Test Facility The Open Area Test Site where these measurements were taken, is located on the grounds of Gentex Corporation’s Technical Campus, in the city of Holland, county of Ottawa, state of Michigan, United States of America. The site is a fully enclosed 10m weather-protected OATS. All structure materials above the conducting ground-plane are non-metallic and consist of wood, laminated lumber, fiberglass, glue, plastic, or fiberglass reinforced plastic. The site contains a 15-foot diameter turntable capable of supporting large cars and light trucks under test. Tabletop testing was conducted on a smaller 3m turntable described in the site recertification report. The test site has been fully described in a reports filled with the FCC and Industry Canada. The report filed with the FCC is dated November 10, 2013, was accepted by the FCC in a letter dated November 15, 2013. The report filled with Industry Canada, dated November 10, 2013, was accepted via a letter dated November 20, 2013. Our OATS is registered with the IC under file number IC# 4112A. Corporate Mailing/Shipping Address Gentex Corporation 600 N. Centennial Street Zeeland, MI 49464 Site Address Gentex Corporation 864 E. 24 th Street Holland, MI 49423 1.5. Accreditation The Gentex Corporate EMC Lab is accredited to ISO 17025 by the American Association for Laboratory Accreditation (A2LA). Our laboratory scope and accreditation certificate #2529.01 are available from their web site www.a2la.org. Our scope of accreditation covers ANSI C63.4 Radiated Emissions at 3m, FCC 47 CFR Part 15, and IC RSS-210. 2. Product Labeling 2.1. Identifiers The FCC Identifier assigned is FCC ID: NZLMUAHL5. The Industry Canada certification number is 4112A-MUAHL5. These identifiers will be labeled on the product housing. The label will be placed on the exterior of the HL housing using laser etching that will permanently affix the label. Because of the small size of the device and because the installation is inside a portion of the automobile, the following statements will appear in the user’s manual. Refer to attachment “Users Manual.pdf” for the entire text of the user’s manual. “This device complies with FCC rules Part 15 and with Industry Canada RSS-210. Operation is subject to the following two conditions: FCC Report Form for 15.247 Revision: 10/17/2014 Approved By: Craig Harder Uncontrolled copy if printed unless stamped as a Lab Controlled Document (1) This device may not cause harmful interference, (2) This device must accept any interference that may be received including interf…
Text truncated - open the document above for the full version.
Test Setup Photos
Test Setup Photos Test Setup Test Setup Photos Test Setup – Flat Orientation Test Setup Photos Test Setup – Side Orientation Test Setup Photos Test Setup – End Orientation Test Setup Photos Test Setup – 15.247 Conducted Emissions
Contact Information
Applicant
Brian Miller(Corporate Labs Group Leader - Wireless Regulatory)
Technical Contact
Gentex CorporationCraig Harder
[email protected]6167721590
380 Riley · Zeeland, Michigan · United States
Non-Technical Contact
Gentex CorporationBrian Miller
[email protected]6167721590
Test Firm
Gentex CorporationCraig Harder
[email protected]6167721590
Technical Specifications
| # | Rule Parts | Frequency Range | Power Output |
|---|---|---|---|
| 1 | 15C | 902.25 MHz - 926.75 MHz | 24.00 mW |
Other Applications from Gentex Corporation
NZLRDHL6A
Jul 29, 2026Wireless Garage Door Opener
Equipment Class
CYY - Communications Receiver used w/Pt 15 Transmitter
NZLFDMHL6D
Jun 15, 2026Wireless Garage Door Opener
Equipment Class
DTS - Digital Transmission System
NZLFDMHL6B
May 18, 2026Wireless Garage Door Opener
Equipment Class
DSS - Part 15 Spread Spectrum Transmitter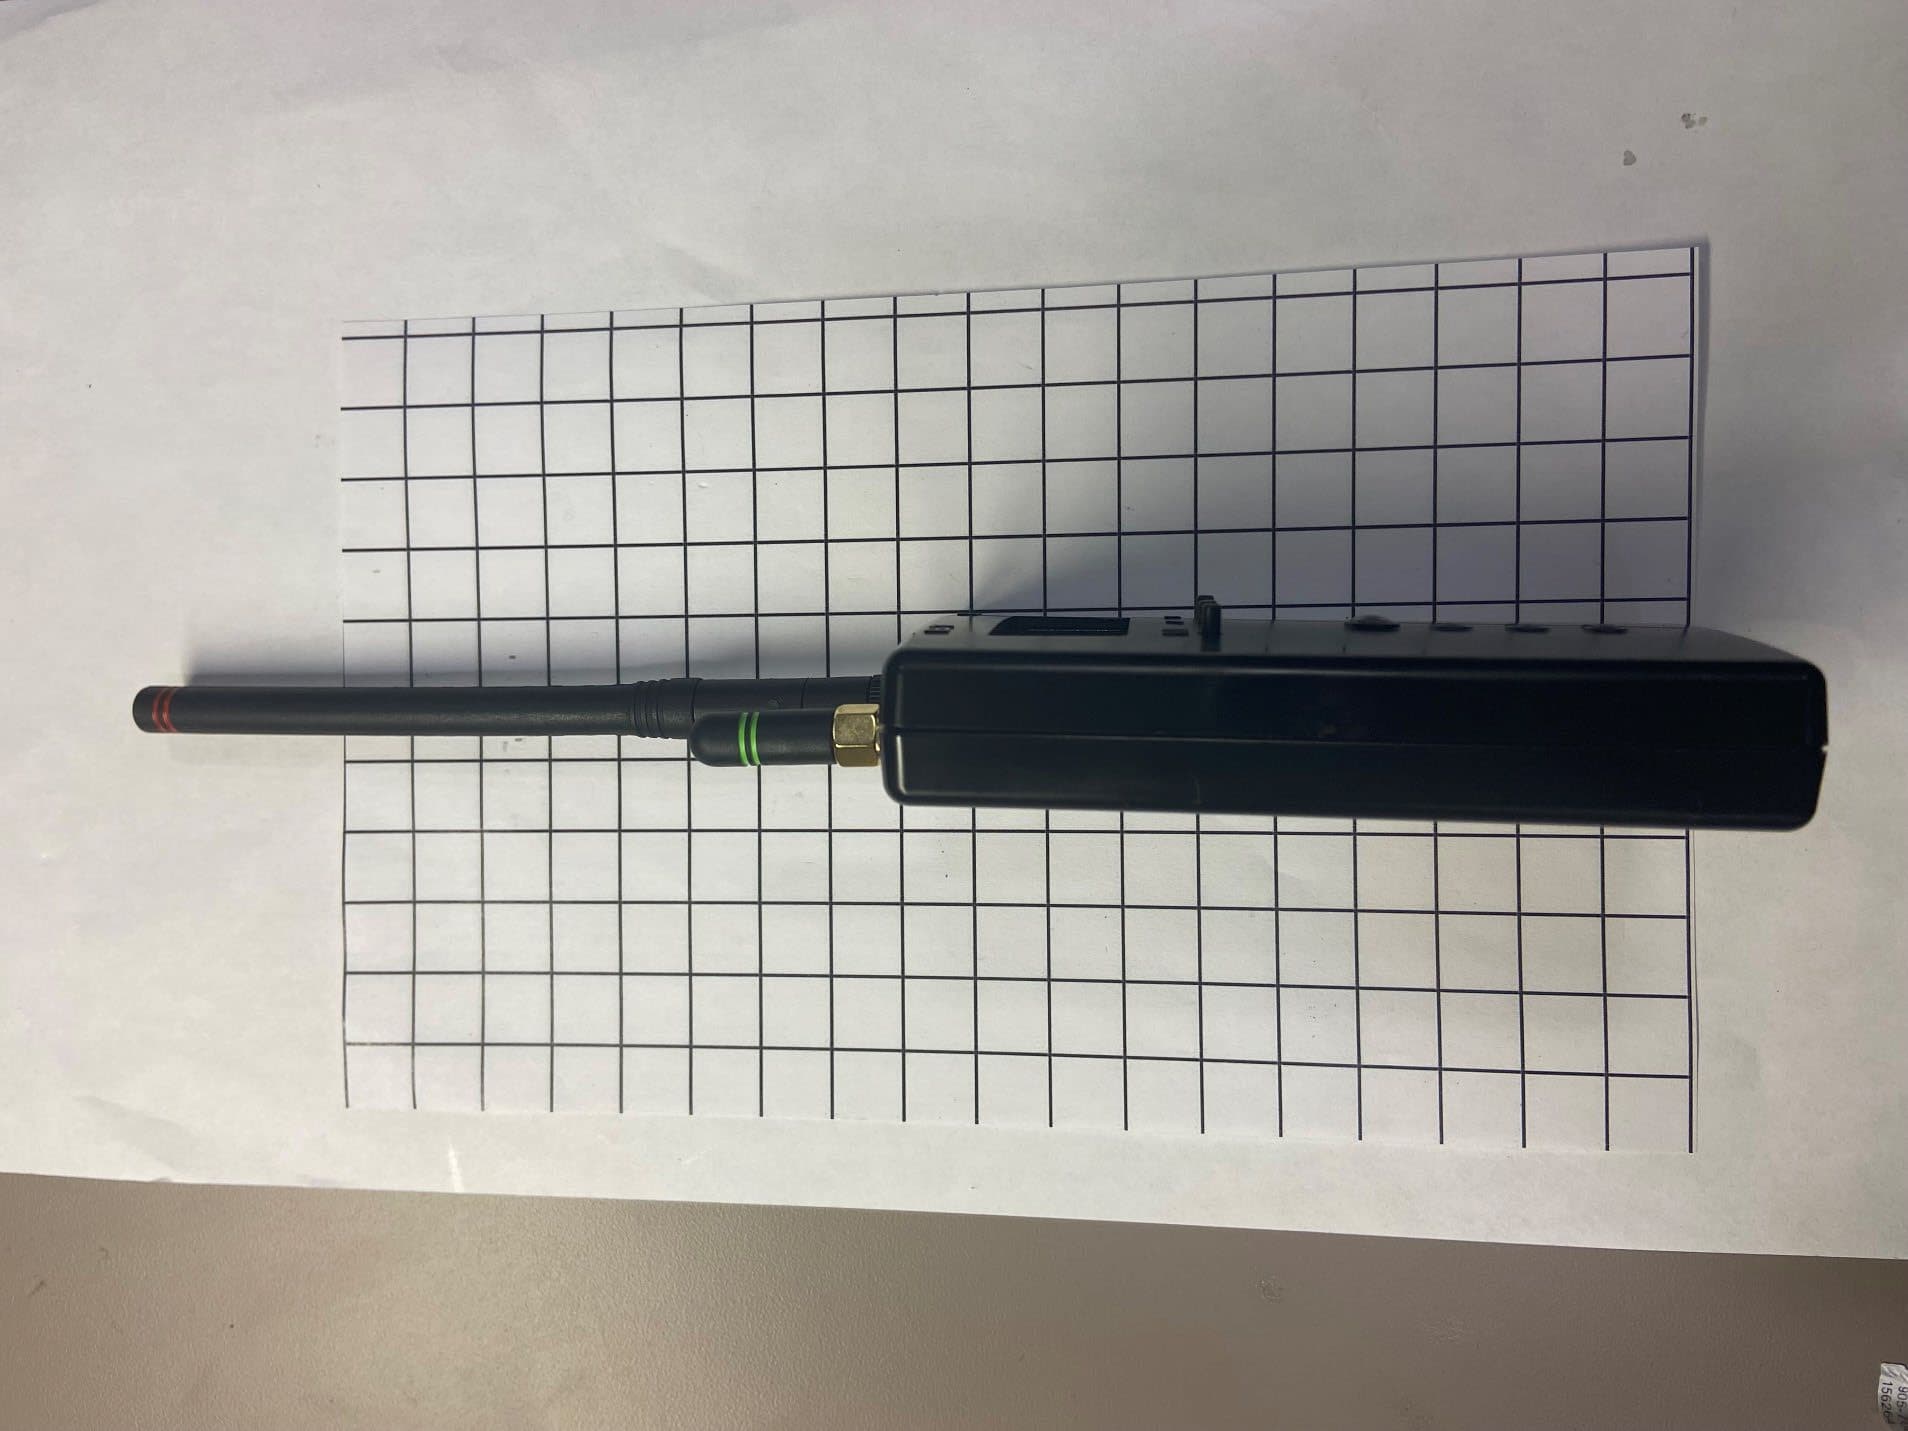
NZLDEFRX6
May 04, 2026Default Receiver
Equipment Class
DTS - Digital Transmission System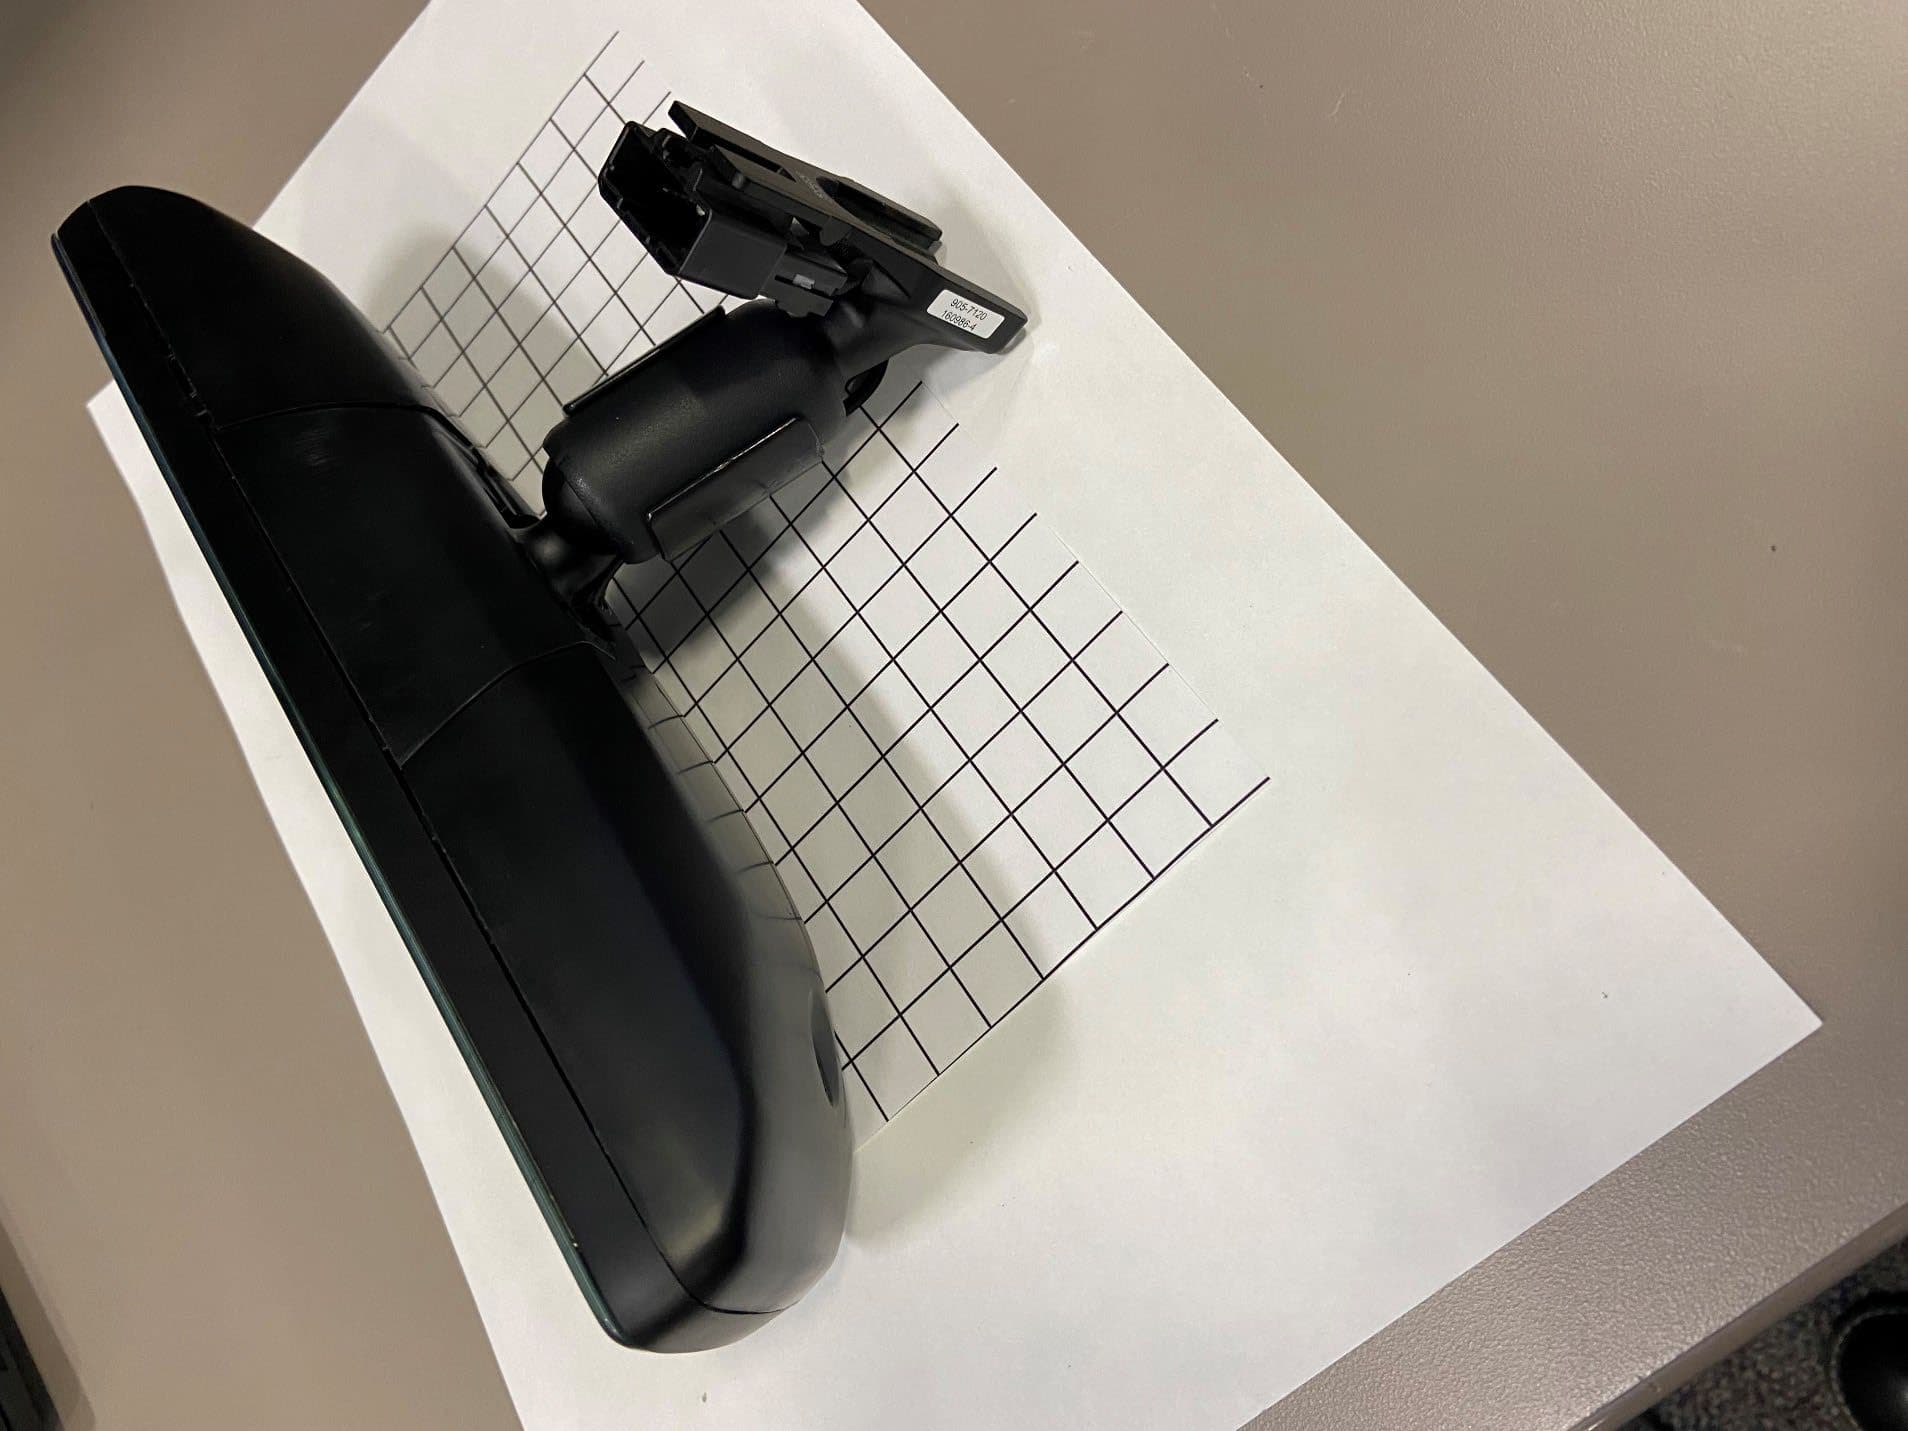
NZLFDMHL6A
Jan 12, 2026Wireless Garage Door Opener
Equipment Class
DTS - Digital Transmission System