RJYP900P.I.R. Motion Detector
Chuango Security Technology Corporation
Click to zoom
Application Details
- Equipment Class
- DSC - Part 15 Security/Remote Control Transmitter
- Date of Grant
- Jan 18, 2013
- Application Purpose
- Original Equipment
- Date of Application
- Jan 18, 2013
- Equipment Note
- P.I.R. Motion Detector
- Frequency Range
- 315.85990000 - 315.85990000
- Country
- China
Documents & Files
Document Text
Text extracted from the exhibit documents filed with the FCC. Open a document above to read the original.
Users Manual
Appearance 1 2 3 1. Detection window 2. LED indicator 3. Bracket PIR-900 Operation Manual Wireless PIR Motion Detector (For Indoor Use) Infrared sensor: Tamper switch: It detects the infrared rays released by human body motion, please don’t touch the surface and always keep it clean. Once the case is opened in working state, the tamper switch will be triggered and then generates an alarm signal. PCB Layout Infrared sensor Tamper switch Zone setting A A 1 . 5 V L R 6 A A 1 . 5 V L R 6 LED ON / OFF Usage Open the case and remove the battery activation strip to activate batteries. It will start self-testing for one minute. LED Indication Flash continuously: Flash once: Flash twice: Flash once per 3 seconds: Under the self-testing state. Intruder is detected. Self-testing is finished, enters the working mode. Under voltage indication, please change the batteries immediately.(User will get alert SMS about the low battery if the PIR detector is connected to the GSM alarm system.) 1. This device complies with Part 15 of the FCC Rules. Operation is subject to the following two conditions: (1) This device may not cause harmful interference, and (2) This device must accept any interference received, including interference that may cause undesired operation. 2. Changes or modifications not expressly approved by the party responsible for compliance could void the user's authority to operate the equipment. Features FCC Statement PIR-900 is a high performance wireless P.I.R. motion detector. It consists of digital dual-core fuzzy logic infrared control chip and intelligent analysis which effectively identify interference signals from body movement signals and reduce false alarm rate. With automatic temperature compensation and anti-air turbulence technology, it easily adapts to environmental changes. The detector also has the advantages of energy saving, reliability and easy installation. Fix the bracket on the wall with screws and attach the detector to the bracket. Adjust installation height or bracket to change the detection distance and angle. It is recommended to mount it at the height of 2m from the ground. The detector is more sensitive to the cross movement than to the vertical movement, so the performance of detector is best when the detection direction is vertical to the walking direction of people. Ver: 900-EN-1212-2.0 2m Installation & Notices Avoid mounting the detector close to windows, air conditioner, heater, refrigerator, oven, sunshine and places where the temperature changes fast or the air stream flows frequently. If two detectors are installed in the same detection scope, please adjust the location to avoid interference and false alarm. Ground Top view Side view In working state, if the sensor is triggered more than twice within 3 minutes, it will enter sleeping mode to save power. After no movement within next 3 minutes, the sensor goes back to the working mode. Press the connect key on the alarm panel, and then press the test button of the sensor twice to send alarm signal. When one beep is heard, they are connected. To check if they are connected successfully, arm the system, and trigger the sensor again, if there is an alarming, the connection is successful. Working mode: Connect to alarm panel: Detection Scope 2m 4m 6m8m0m 0m 2m 110° Top view Side view Testing (Walk Test) A. After installation, power on the detector. After one minute self-testing, press the test button, walk in the scope (from left to right or from right to left) and watch the LED indicator to make sure the detector is working. B. The LED indicator flashes once when body movement is detected. C. Adjust the detector angle accordingly to achieve the best detection effect. Mode Setting Testing mode: After self-testing, press the test button, the sensor enters testing mode, and detects once every 10 seconds. After 3 minutes, the LED flashes twice, and the sensor enters the working mode. Test Button Specifications Power supply Static current Alarm current Detection scope Transmitting distance Radio frequency Housing material Operation Condition Detector dimensions (L x W x H) Bracket dimensions (L x W x H) DC 3V (AA 1.5V LR6 Battery x 2 pcs) ≤ 50uA ≤ 9.5mA 8m/110° ≤ 80m (in open area) ABS plastic Temperature: -10°C~55°C Relative humidity: ≤80% (non-condensing) 108 x 52 x 36.8 mm 52 x 30 x 26.5 mm 315.8599MHz
Cover Letter(s)
Chuango Security Technology Co., Ltd. December 25, 2012 To: SIEMIC, INC. 775 Montague Expressway Milpitas , CA 95035 USA Dear Sir/Madam, Re: Project and Product Certification Representative Authorization Letter We, ______ Chuango Security Technology Co., Ltd. ___hereby authorize SIEMIC, INC. to act as a Certification Body for certifying for the following project(s): Product Description: P.I.R. Motion Detector Model name: PIR-900 FCC ID: RJYP900 We affirm that between SIEMIC and __ Chuango Security Technology Co., Ltd. ___, any difference in understanding, including test plan, measurement methods, applicable standards and relevant procedures and processes have been resolved prior to commencement of testing activities. Sincerely, Client’s signature: Client’s name / title: Ken Li / CEO Contact information / address: 6-17, Overseas Students Pioneer Park, No. 108, Jia Economic & Technological Development Zone, Fuzhou 350015, China
Cover Letter(s)
SCS-F19: Confidentiality Request Letter Page 1 of 1 Rev 2.0 Chuango Security Technology Co., Ltd. December 25, 2012 To: Federal Communications Commission Authorization and Evaluation Division 7435 Oakland Mills Road Columbia, MD Confidentiality Request regarding application for certification of FCC ID: RJYP900 We hereby request confidential treatment of information accompanying this application as outlined below: - Block Diagram - Operational Description - Schematic The above materials contain trade secrets and proprietary information not customarily released to the public. The public disclosure of these materials may be harmful to the applicant and provide unjustified benefits to its competitors. The applicant understands that pursuant to Section 0.457 & 0.459 of the Rules, disclosure of this application and all accompanying documentation will not be made before the date of the Grant for this application. Sincerely, Client’s signature: Client’s name / title: Ken Li / CEO Contact information / address: 6-17, Overseas Students Pioneer Park, No. 108, Jia Economic & Technological Development Zone, Fuzhou 350015, China
ID Label/Location Info
FCC Certification label Sample FCC ID: RJYP900 This device complies with Part 15 of the FCC Rules. Operation is subject to the following two conditions: (1) This device may not cause harmful interference, and (2) This device must accept any interference received, including interference that may cause undesired operation.
ID Label/Location Info
FCC Certification Label Location Sample Label location
Internal Photos
Antenna
Test Report
Page 1 of 31 FCC ID: RJYP900 ACCURATE TECHNOLOGY CO., LTD REPORT NO. ATE20122854 APPLICATION CERTIFICATION On Behalf of Chuango Security Technology Co., Ltd. P.I.R. Motion Detector Model No.: PIR-900 FCC ID: RJYP900 Prepared for : Chuango Security Technology Co., Ltd. Address : 6-17, Overseas Students Pioneer Park, No. 108, Jia Economic & Technological Development Zone, Fuzhou 350015, China Prepared by : ACCURATE TECHNOLOGY CO., LTD Address : F1, Bldg. A, Changyuan New Material Port, Keyuan Rd. Science & Industry Park, Nanshan, Shenzhen, Guangdong P.R. China Tel: (0755) 26503290 Fax: (0755) 26503396 Report Number : ATE20122854 Date of Test : December 20-29, 2012 Date of Report : December 29, 2012 Page 2 of 31 FCC ID: RJYP900 ACCURATE TECHNOLOGY CO., LTD REPORT NO. ATE20122854 TABLE OF CONTENTS Description Page Test Report Certification 1. GENERAL INFORMATION .......................................................................................................... 4 1.1. Description of Device (EUT)....................................................................................................................4 1.2. Description of Test Facility ......................................................................................................................5 1.3. Measurement Uncertainty.........................................................................................................................5 2. MEASURING DEVICE AND TEST EQUIPMENT ..................................................................... 6 3. SUMMARY OF TEST RESULTS................................................................................................... 7 4. THE FIELD STRENGTH OF RADIATION EMISSION ............................................................ 8 4.1. Block Diagram of Test Setup....................................................................................................................8 4.2. The Field Strength of Radiation Emission Measurement Limits..............................................................9 4.3. Configuration of EUT on Measurement ...................................................................................................9 4.4. Operating Condition of EUT ....................................................................................................................9 4.5. Test Procedure ........................................................................................................................................10 4.6. The Field Strength of Radiation Emission Measurement Results ..........................................................11 5. 20DB OCCUPIED BANDWIDTH ................................................................................................ 12 5.1. Block Diagram of Test Setup..................................................................................................................12 5.2. The Bandwidth of Emission Limit According To FCC Part 15 Section 15.231(c) ................................12 5.3. EUT Configuration on Measurement .....................................................................................................13 5.4. Operating Condition of EUT ..................................................................................................................13 5.5. Test Procedure ........................................................................................................................................13 5.6. Measurement Result ...............................................................................................................................14 6. RELEASE TIME MEASUREMENT............................................................................................ 15 6.1. Block Diagram of Test Setup..................................................................................................................15 6.2. Release Time Measurement According To FCC Part 15 Section 15.231(a) ..........................................15 6.3. EUT Configuration on Measurement .....................................................................................................16 6.4. Operating Condition of EUT ..................................................................................................................16 6.5. Test Procedure ........................................................................................................................................16 6.6. Measurement Result ...............................................................................................................................17 7. AVERAGE FACTOR MEASUREMENT .................................................................................... 18 7.1. Block Diagram of Test Setup..................................................................................................................18 7.2. Average factor Measurement according to ANSI 63.4: 2009.................................................................18 7.3. EUT Configuration on Measurement .....................................................................................................19 7.4. Operating Condition of EUT ..................................................................................................................19 7.5. Test Procedure ........................................................................................................................................19 7.6. Measurement Result ...............................................................................................................................20 8. ANTENNA REQUIREMENT........................................................................................................ 21 8.1. The Requirement ....................................................................................................................................21 8.2. Antenna Construction ...............................................................…
Text truncated - open the document above for the full version.
Test Setup Photos
Radiated emissions test < 30MHz Radiated emissions test 30MHz- 1GHz Radiated emissions test > 1GHz
Contact Information
Applicant
Ken Li(CEO)
Test Firm
Accurate Technology Co., Ltd.Sean Liu
Technical Specifications
| # | Rule Parts | Frequency Range | Power Output |
|---|---|---|---|
| 1 | 15.231 | 315.8599 MHz - 315.8599 MHz | - |
Other Applications from Chuango Security Technology Corporation
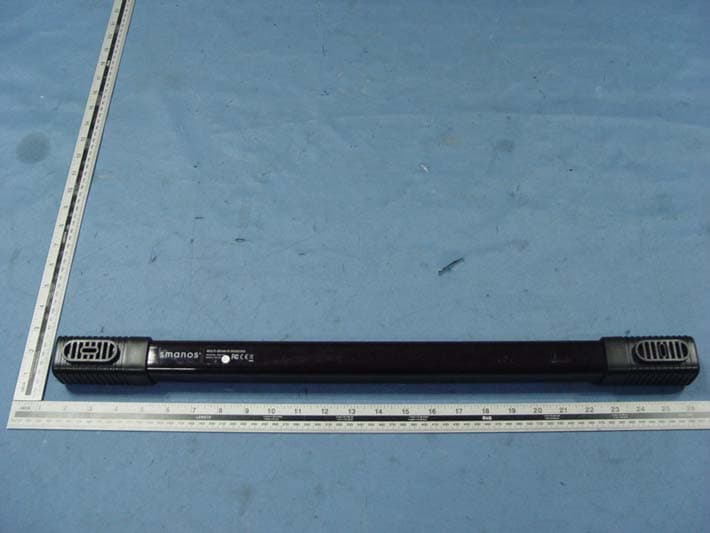
RJYBM4200
Oct 25, 2015Multi-Beam IR Sensors
Equipment Class
DXX - Part 15 Low Power Communication Device Transmitter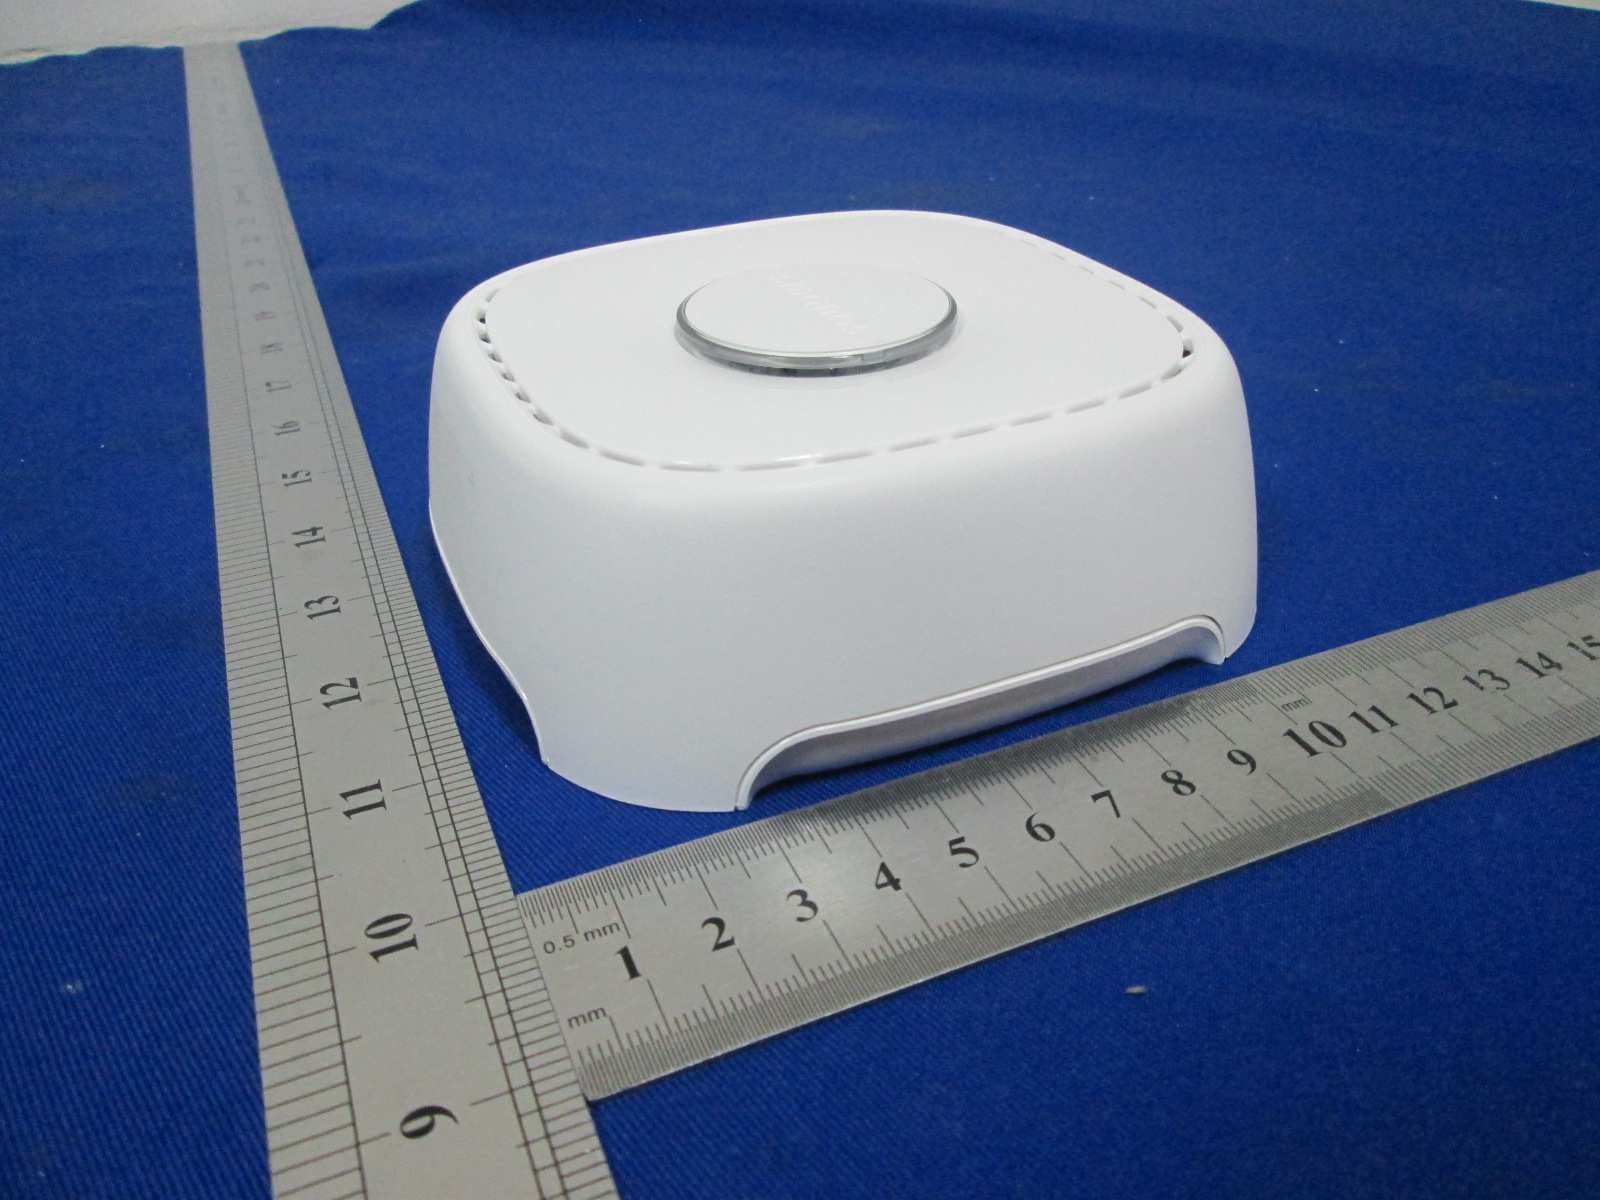
RJY-L020
Aug 18, 2015Security Alarm System
Equipment Class
DXX - Part 15 Low Power Communication Device Transmitter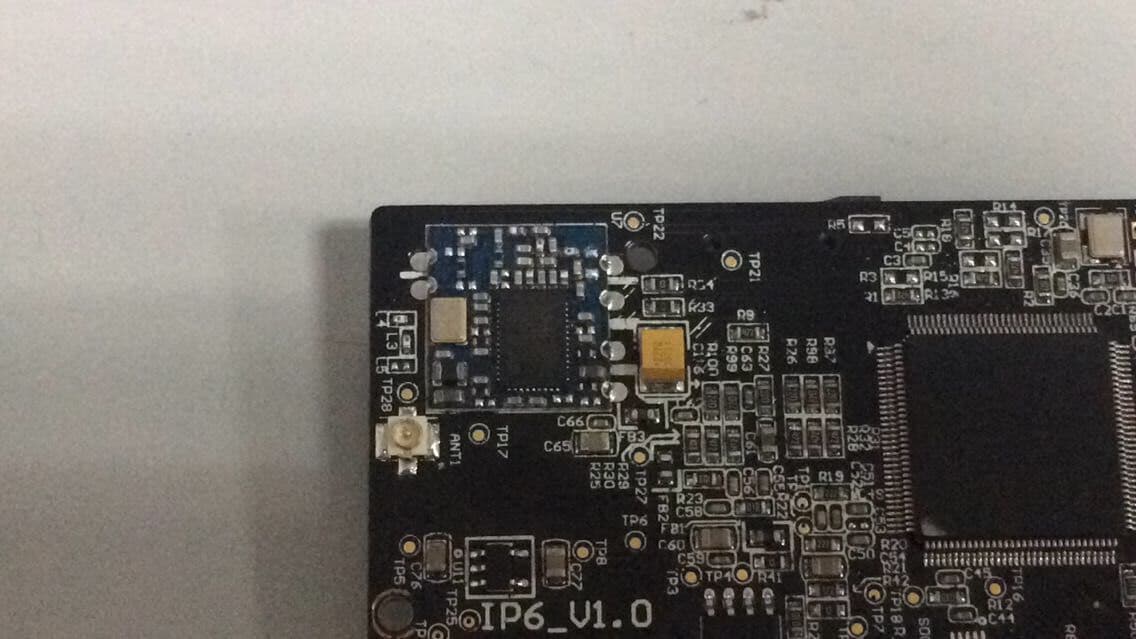
RJY-IP6
Apr 28, 2015HD WiFi Camera
Equipment Class
DTS - Digital Transmission System
RJY-MD9100
Apr 20, 2015Pet-Immune PIR Motion Detector
Equipment Class
DSC - Part 15 Security/Remote Control Transmitter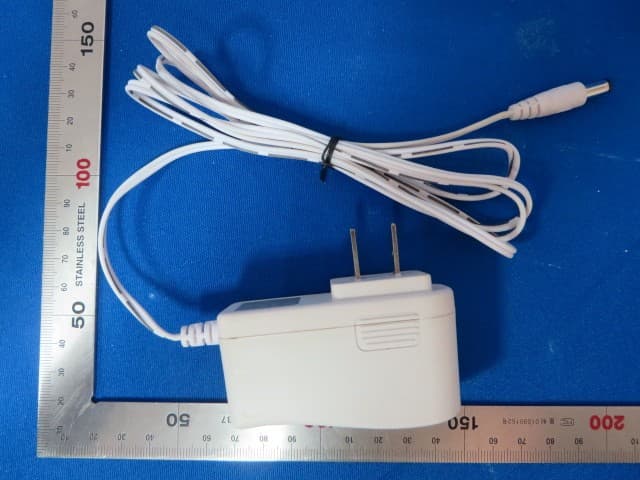
RJYW100
Sep 30, 2014WiFi Alarm System
Equipment Class
CYY - Communications Receiver used w/Pt 15 Transmitter