RODSI561Table Lamp
Sun Luen Electrical Mfg. Co. Ltd.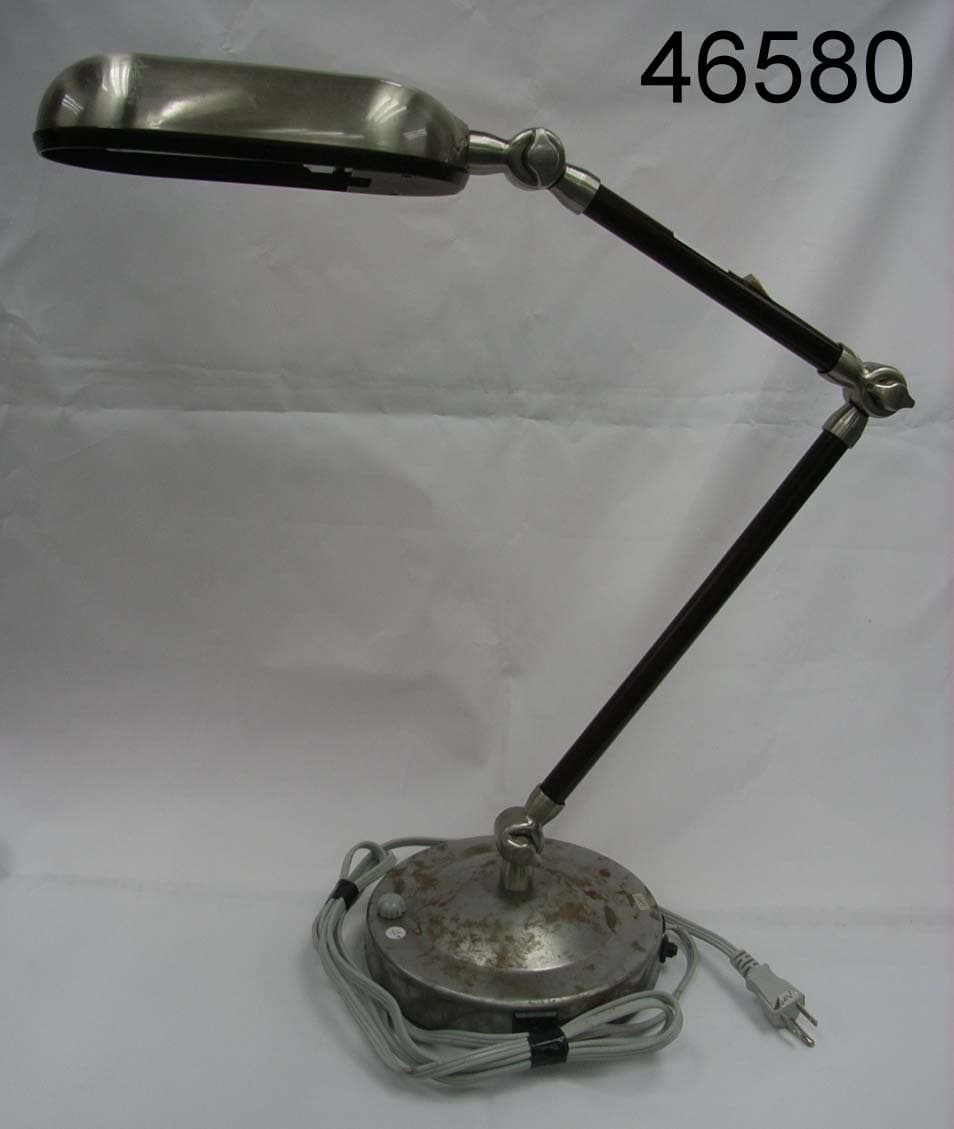
Click to zoom
Application Details
- Equipment Class
- 8CC - Part 18 Consumer Device
- Date of Grant
- Dec 18, 2006
- Application Purpose
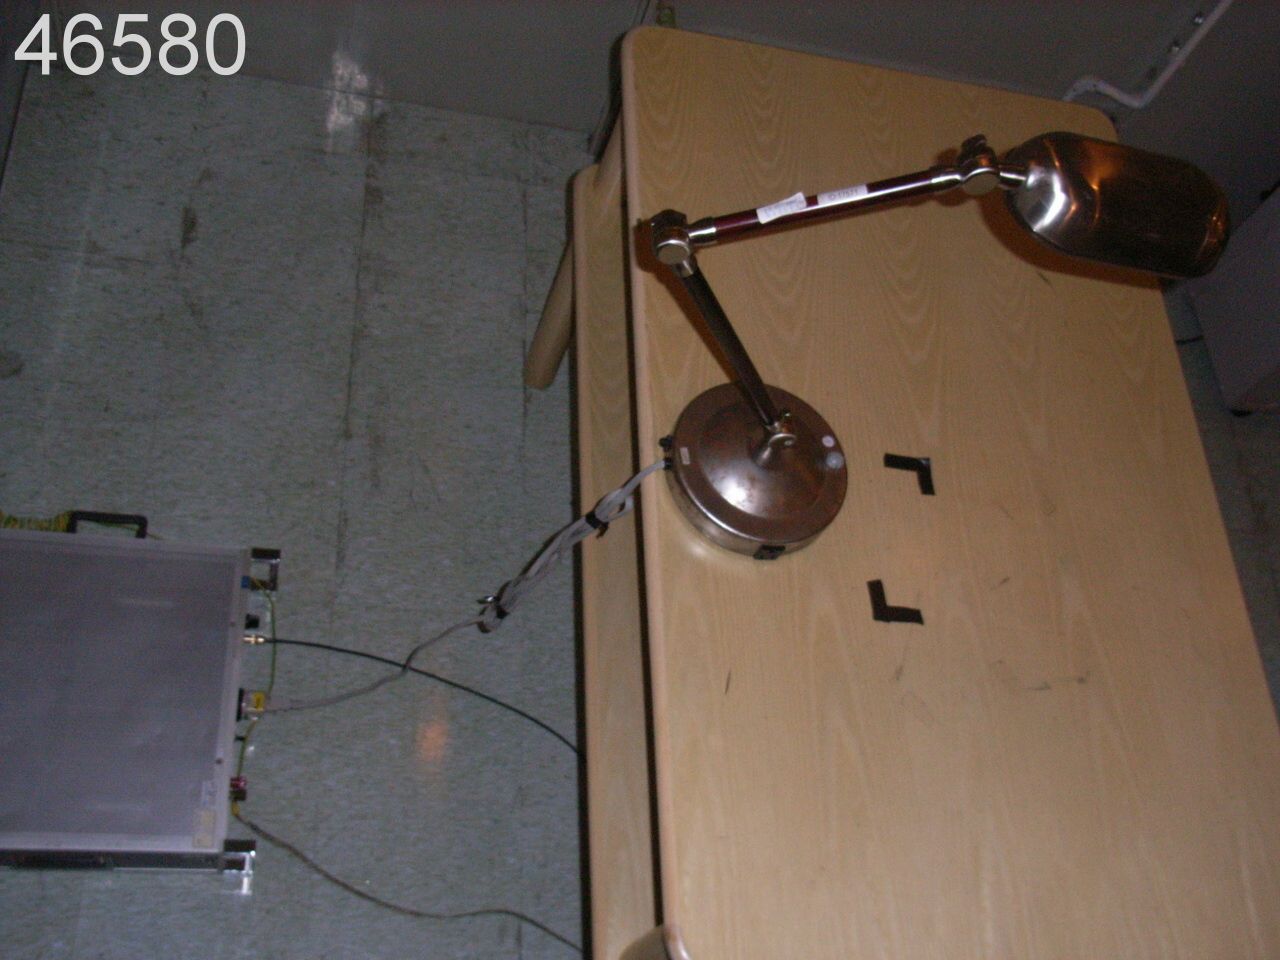
- Original Equipment
- Date of Application
- Dec 13, 2006
- Equipment Note
- Table Lamp
- Frequency Range
- 0.13200000 - 0.13200000
- Country
- Hong Kong
Documents & Files
Document Text
Text extracted from the exhibit documents filed with the FCC. Open a document above to read the original.
Users Manual
“Bright As Day!” ® Power-Port Desk Lamp SI561 Instructions Read and save these instructions. SI561 IM_v2 1106.indd 112/7/06 4:08:15 PM Dear Sharper Image Customer, Thank you for your purchase of a Sharper Image product. We appreciate your business very much. Our goal is that you will be completely satisfied with this product’s quality and performance. We offer generous return privileges and excellent warranties on all our products. Since 1977, The Sharper Image has shared the fun of discovering innovative products that make life better and more enjoyable. We’ve been in business a long time because we are an exciting place to shop and — just as importantly — we strive to deliver outstanding customer service that exceeds your expectations. Enjoy your purchase! Call 1-800-344-4444 for ordering and customer service, or visit , our award-winning Website. SI561 IM_v2 1106.indd 212/7/06 4:08:16 PM When using electrical appliances, basic safety precautions should always be followed. ReAD ALL InstRuctIons BefoRe usIng. Lighted lamp is Hot. WARnIng - to ReDuce tHe RIsK of fIRe, eLectRIc sHocK, eXPosuRe to eXcessIVe uV, RADIAtIon oR InJuRY to PeRsons: 1. Before replacing the bulb, turn off/unplug and allow the lamp to cool. 2. Lamp becomes Hot quickly! Only touch the switch/plug when turning on the lamp. 3. Do not touch hot lamp-containment barrier. 4. Do not remain in direct light from the lamp if skin feels warm. 5. Do not look directly at lighted lamp. 6. Keep lamp away from materials that may burn. 7. Use only with a 27-watt lamp/bulb. IMPoRtAnt sAfetY InstRuctIons SI561 IM_v2 1106.indd 312/7/06 4:08:16 PM 8. Do not operate the lamp with a missing or damaged guard or lamp-containment barrier. 9. When connecting an AC appliance to the built-in AC outlets on the base, refer to the power rating of the connected appli- ance and do not exceed 5A total power load on one or both outlets combined. 10. Warning: To maintain a good balance and to prevent the lamp from tipping over, keep the lowest section of the adjustable arms at or above a 72-degree angle from horizontal. sAVe tHese InstRuctIons Power outlet Instructions To reduce the risk of electric shock, this lamp has a grounding type plug that has a third (grounding) pin. This plug will only fit into a grounding type power outlet. If the plug does not fit into the outlet, contact a qualified electrician to install the proper outlet. Never use with an extension cord unless plug can be fully inserted. Do not alter the plug in any way. IMPoRtAnt sAfetY InstRuctIons SI561 IM_v2 1106.indd 412/7/06 4:08:16 PM Precautions RIsK of fIRe: Failure to read and follow these precautions could result in risk of fire. 1. Do not use with power supply voltage other than 120V AC. 2. Do not use outdoors or in locations with high humidity, such as bathrooms. 3. Do not install above sources of high heat, such as a stove or heater. 4. Do not touch the lamp while it is lit or immediately after turning off the lamp. Maintenance caution: If any malfunction occurs, do not try to repair the unit yourself. Return it to an authorized facility or to the manufacturer. The appliance has no user-serviceable parts. SI561 IM_v2 1106.indd 512/7/06 4:08:16 PM general Instructions Parts Diagram Lamp Cover Lamp/Bulb (FML27) Power Control Knob Base Adjustment Knobs Arms USB Port Grounded Power Outlets SI561 IM_v2 1106.indd 612/7/06 4:08:17 PM 1. Remove the plastic packing materials from the light fixture. 2. Remove the foam shipping guard from behind the pre- installed lamp. note: The lamp socket (containment barrier) pivots out. Be certain to push the lamp and socket back into the fixture. (See Figure A below.) 3. To adjust the lamp height and angle, loosen the knobs on the fixture arms and move the arms to the desired height and angle, then tighten the knobs to secure the new positions. Figure A Assembly SI561 IM_v2 1106.indd 712/7/06 4:08:17 PM 1. Plug the lamp into a 110-120V three-prong power outlet. 2. Turn the PoWeR contRoL KnoB to turn the light on or off. The built-in AC power outlets can be used to connect up to two separate chargers or other AC appliances. Do not exceed 5A total power load on one or both outlets combined. The built-in USB power port can be used to connect, power and charge compatible USB products. note: Not all products that have a USB cable can be charged by a USB port. Consult your USB product manual if it isn’t obtaining correct power. operation Power Control Knob USB Port Grounded Power Outlets SI561 IM_v2 1106.indd 812/7/06 4:08:17 PM 1. The lamp and socket pivot out for easy replacement. Gently pull the lamp out and slide the lamp out of the fixture socket. (See Figure B below.) 2. Replace with a new lamp. Replacement lamps are available from The Sharper Image (Item No. SI928). Do not use any other lamp with this product. 3. Gently push the lamp and socket back into place. (See Figure C below.) Lamp Replacement Figure B Figure C SI561 IM_v2 1106.indd 912/7/06 4:08:18 PM statement of fcc compliance — Model sI561 WARnIng: Changes or modifications to this unit not expressly approved by the party responsible for compliance could void the user’s authority to operate the equipment. This equipment has been tested and found to comply with the limits for a Class B digital device, pursuant to Part 15 of the FCC Rules. These limits are designed to provide reasonable pro- tection against harmful interference in a residential installation. This equipment generates, uses and can radiate radio frequency energy and, if not installed and used in accordance with the instructions, may cause harmful interference to radio communi- cations. However, there is no guarantee that interference will not occur in a particular installation. If this equipment does cause harmful interference to radio or television reception, which can be determined by turning the equipment off and on, the user is encouraged to try to correct the interference by one or more of the following measures: SI5…
Text truncated - open the document above for the full version.
Test Report
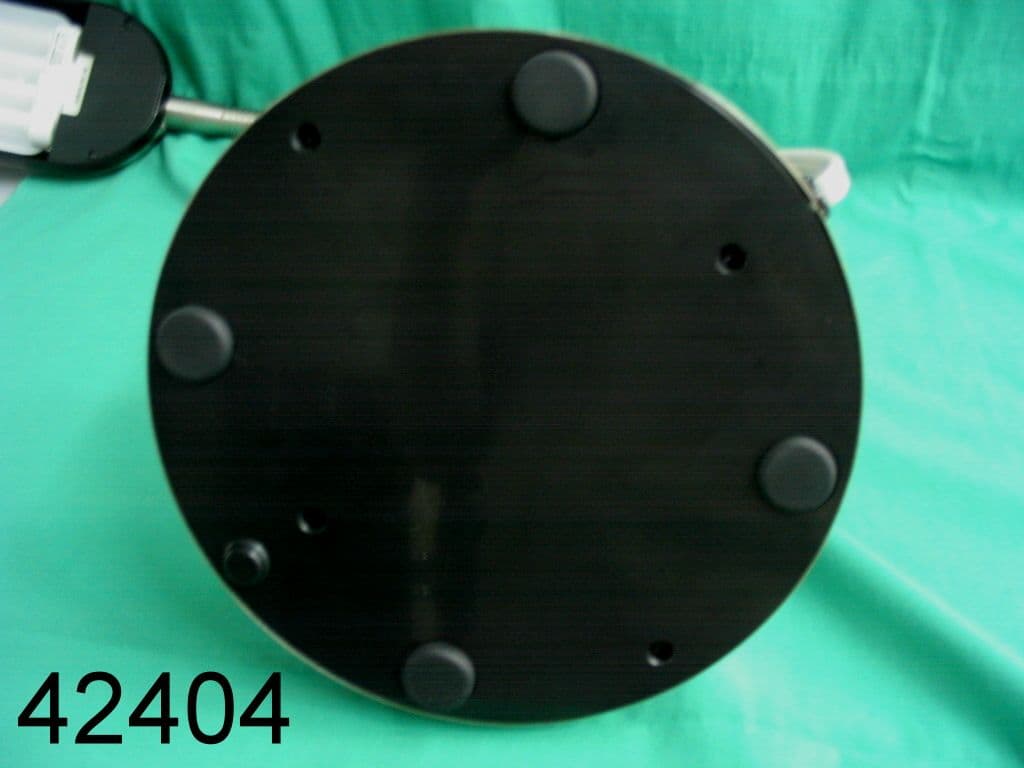
F F C C C C - - T T E E S S T T R R E E P P O O R R T T REPORT NO.: 46580 FCC – Test Report No. 46580 Date: 2006-11-16 Page 2 of 21 FCC listed testlab acc. to Section 2.948 of the FCC - Rules in compliance with the requirements of ANSI C63.4 - 2003 Product : Table Lamp Product Class : Part 18 Consumer Device Brand Name : Sharper Image Design Model : SI561 Importer : SUN LUEN ELECTRICAL MFG. CO. LTD. FCC – Test Report No. 46580 Date: 2006-11-16 Page 3 of 21 TABLE OF CONTENTS 1. Cover sheet 2. Introduction 3. Table of Contents 4. Laboratory Report 5. Test Location and Summary of Test Results 6. Test Equipment List 7. Radiated Emission Test Configuration 8. Conducted Emission Test Configuration 9. Test Procedure 10. Test Results 11-14. Measurement Data – Conducted Emission 15-21. Photographs FCC – Test Report No. 46580 Date: 2006-11-16 Page 5 of 21 Test Location International Electrical Certification Centre Ltd. Unit 602-605, 31 Lok Yip Road, On Lok Tsuen, Fanling, N.T., Hong Kong Summary of Test Results Radiated Emission: Test result: N.A. Test data: N.A. Conducted Emission: Test result: O.K. Test data: See attached data sheet FCC – Test Report No. 46580 Date: 2006-11-16 Page 6 of 21 TEST EQUIPMENT LIST Equipment Manufacturer Model Serial No. Last Calibration Date Next Calibration Date Test Receiver Rohde & Schwarz ESHS 30 839667/002 18/11/2005 17/11/2006 Artificial Mains Network (LISN) Schwarzbeck NSLK 8127 / NNLA 8119 8127309 02/12/2005 01/12/2006 Impulse Limiter Rohde & Schwarz ESH-3-Z2 -- -- -- FCC – Test Report No. 46580 Date: 2006-11-16 Page 7 of 21 Radiated Emission Test Setup (3 m diatance) (> 30MHz) 3 m Antenna Antenna mask h = 1 m - 4 m Mains 0.8 m Filter Filter Mains Ground Plane Field Strength Meter EUT (on turntable) FCC – Test Report No. 46580 Date: 2006-11-16 Page 8 of 21 Conducted Emission Test Setup FCC – Test Report No. 46580 Date: 2006-11-16 Page 9 of 21 Test Procedure Radiated Emission : According to Section 18.309, for products with operation frequency below 1.705 MHz, field strength measurements are conducted up to 30MHz. No field strength limits is specified in Section 18.305 for measurements below 30MHz. In view of the above, since the test model is operated at 132 kHz, no field strength measurement is required. Note : The Open Aera Test Site located at IECC was placed on file with the FCC Pursuant to Section 2.948 of the FCC Rules (FCC Registration No. : 97774). Conducted Emission : The EUT was tested according to FCC Measurement Procedure MP-5 for the requirements of FCC Part 18 Subpart C Section 18.307. During the test, the sample was placed on a wooden table and operated under various modes with supply at rated AC voltage (i.e AC120V 60Hz) via the LISN. The table is 0.8 meter above the floor. The LISN was connected to the test receiver for conducted emission measurement (450kHz – 30MHz). FCC – Test Report No. 46580 Date: 2006-11-16 Page 10 of 21 Test Results Conducted Emission : Test Requirement: FCC Part 18 Subpart C Section 18.307 Test Method: FCC Measurement Procedure MP-5 Frequency Range: 450kHz – 30MHz Class: Class B Detector: Quasi-Peak Refer to page 11 - 14 for measurement data. FCC – Test Report No. 46580 Date: 2006-11-16 Page 15 of 21 Photographs Conducted Emission Test setup FCC – Test Report No. 46580 Date: 2006-11-16 Page 16 of 21 Conducted Emission Test setup FCC – Test Report No. 46580 Date: 2006-11-16 Page 17 of 21 Sample Construction Details FCC – Test Report No. 46580 Date: 2006-11-16 Page 18 of 21 Sample Construction Details FCC – Test Report No. 46580 Date: 2006-11-16 Page 19 of 21 Sample Construction Details FCC – Test Report No. 46580 Date: 2006-11-16 Page 20 of 21 Sample Construction Details FCC – Test Report No. 46580 Date: 2006-11-16 Page 21 of 21 Sample Construction Details
Contact Information
Applicant
Yuen Stanley
Test Firm
SGS IECC LimitedJeffery Chen
Technical Specifications
| # | Rule Parts | Frequency Range | Power Output |
|---|---|---|---|
| 1 | 18 | 0.132 MHz - 0.132 MHz | - |
Other Applications from Sun Luen Electrical Mfg. Co. Ltd.
RODSI489
Jun 14, 2005TABLE LAMP
Equipment Class
8CC - Part 18 Consumer Device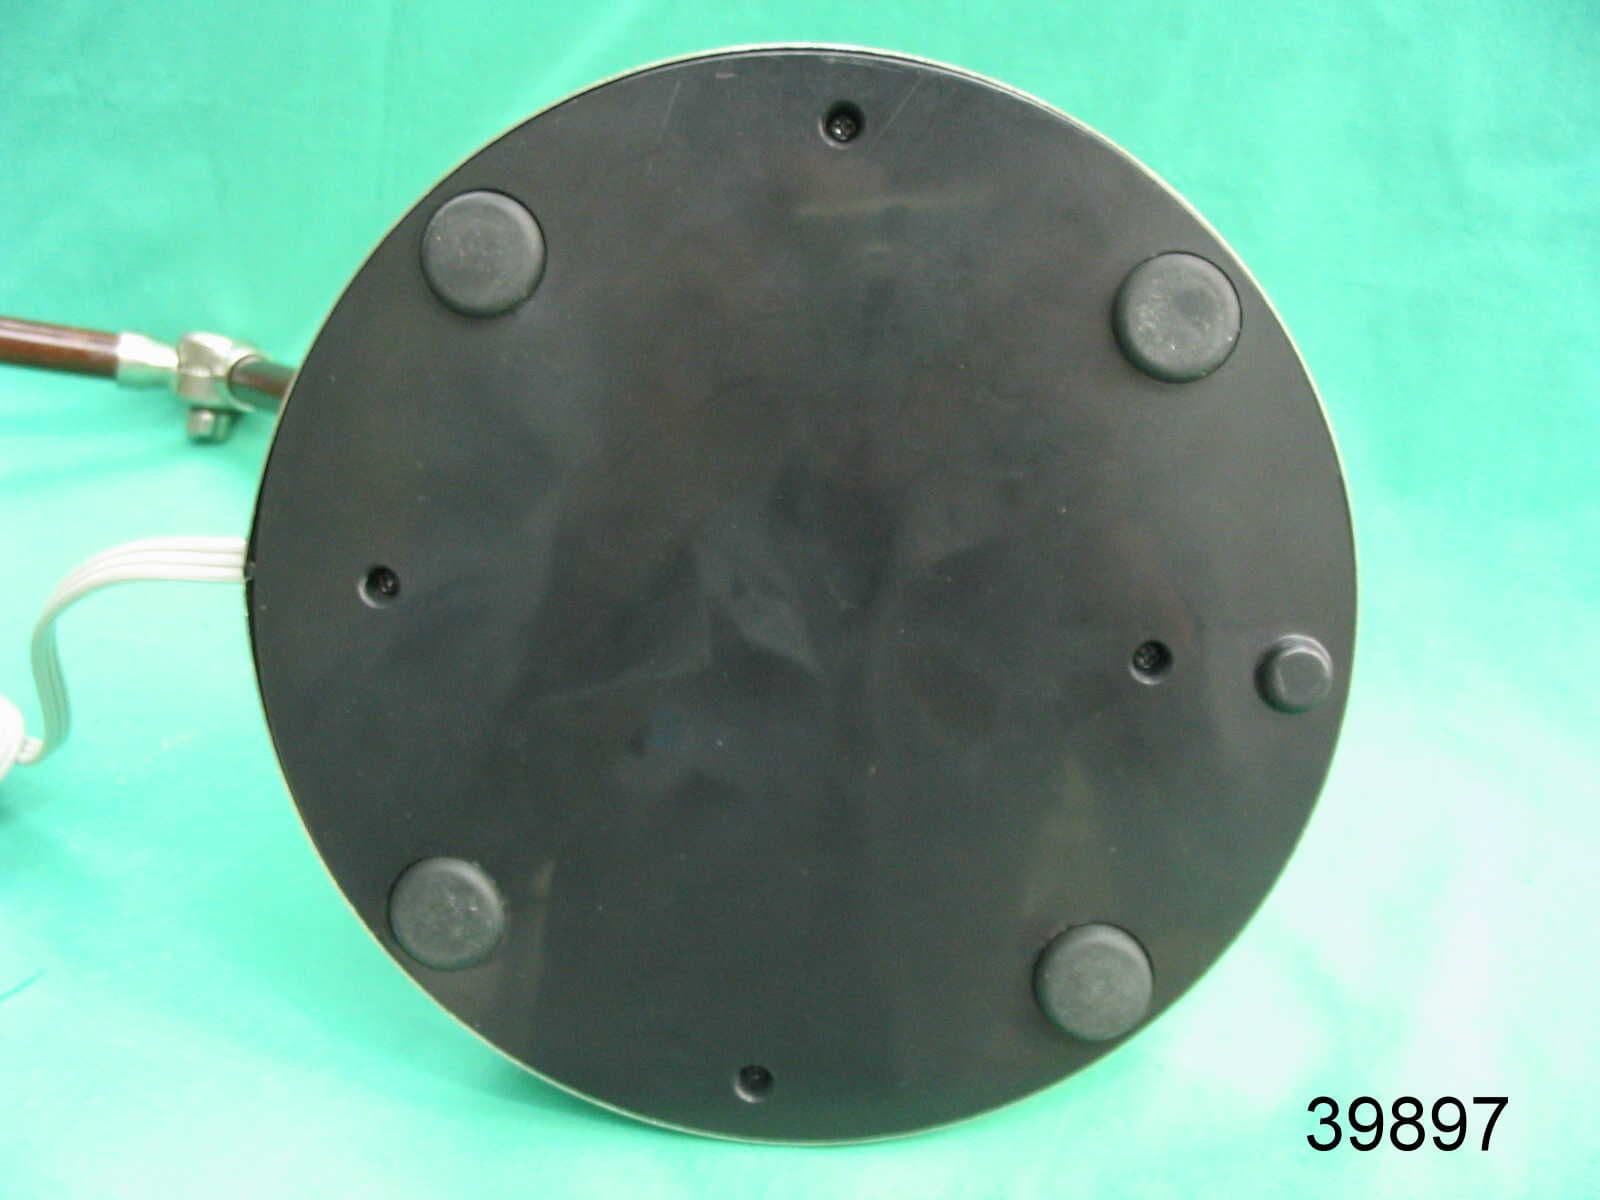
RODSI481
Dec 21, 2004TABLE LAMP
Equipment Class
8CC - Part 18 Consumer Device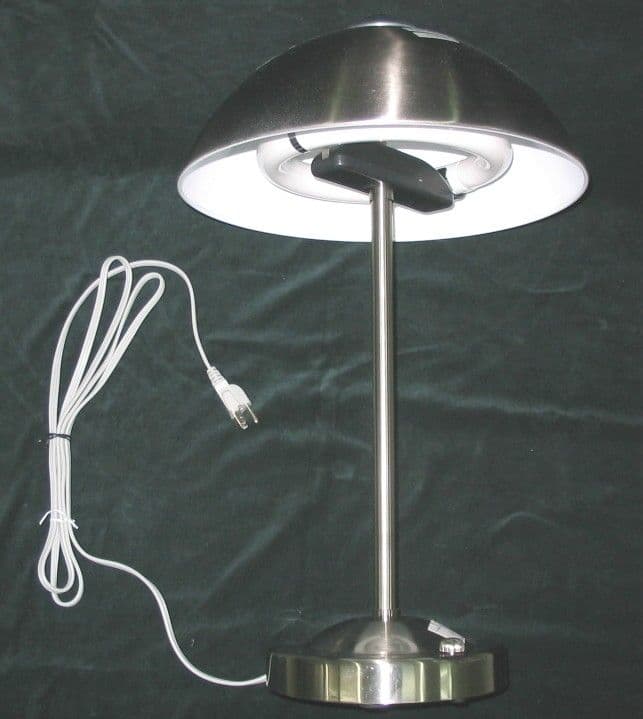
RODSI503
Sep 02, 2004TABLE LAMP
Equipment Class
8CC - Part 18 Consumer Device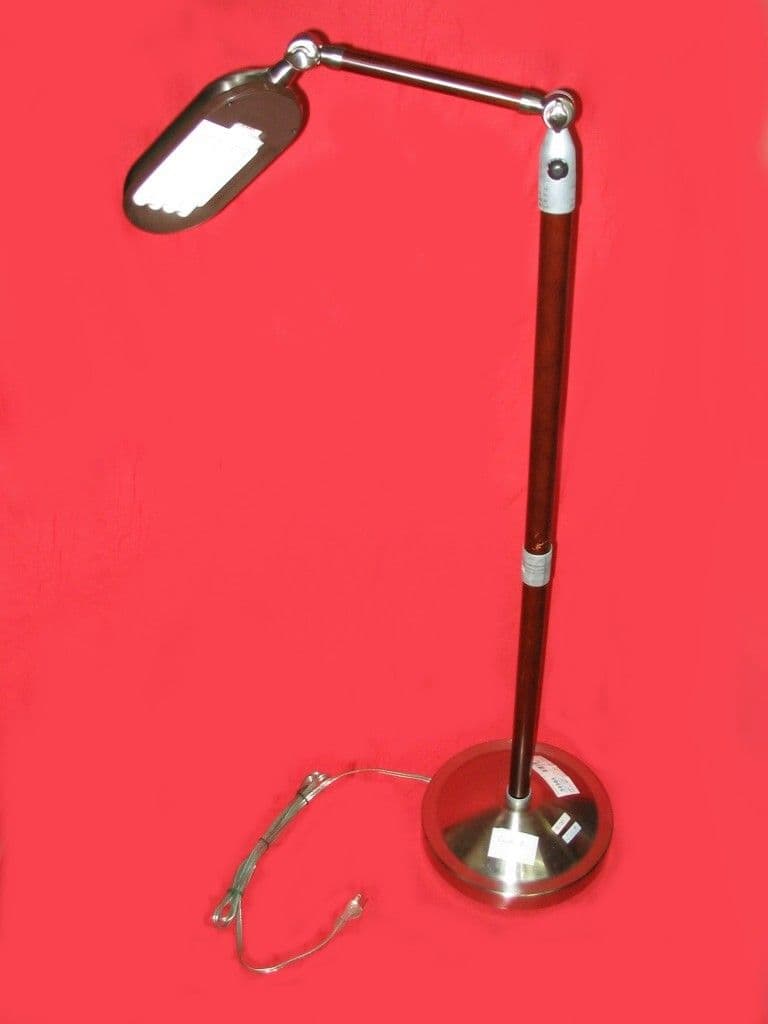
RODSI448
Jul 29, 2004FLOOR LAMP
Equipment Class
8CC - Part 18 Consumer Device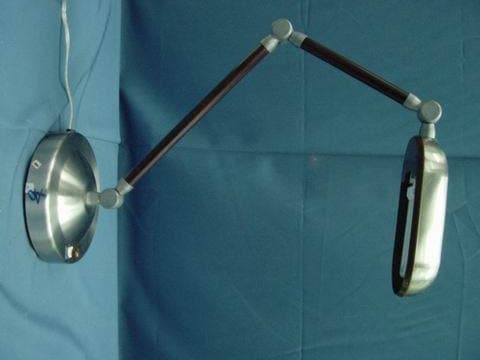
RODSI412
Feb 08, 2004Table lamp
Equipment Class
8CC - Part 18 Consumer Device