S2MLIVE480DVR BOARD
INTO-TECH Inc.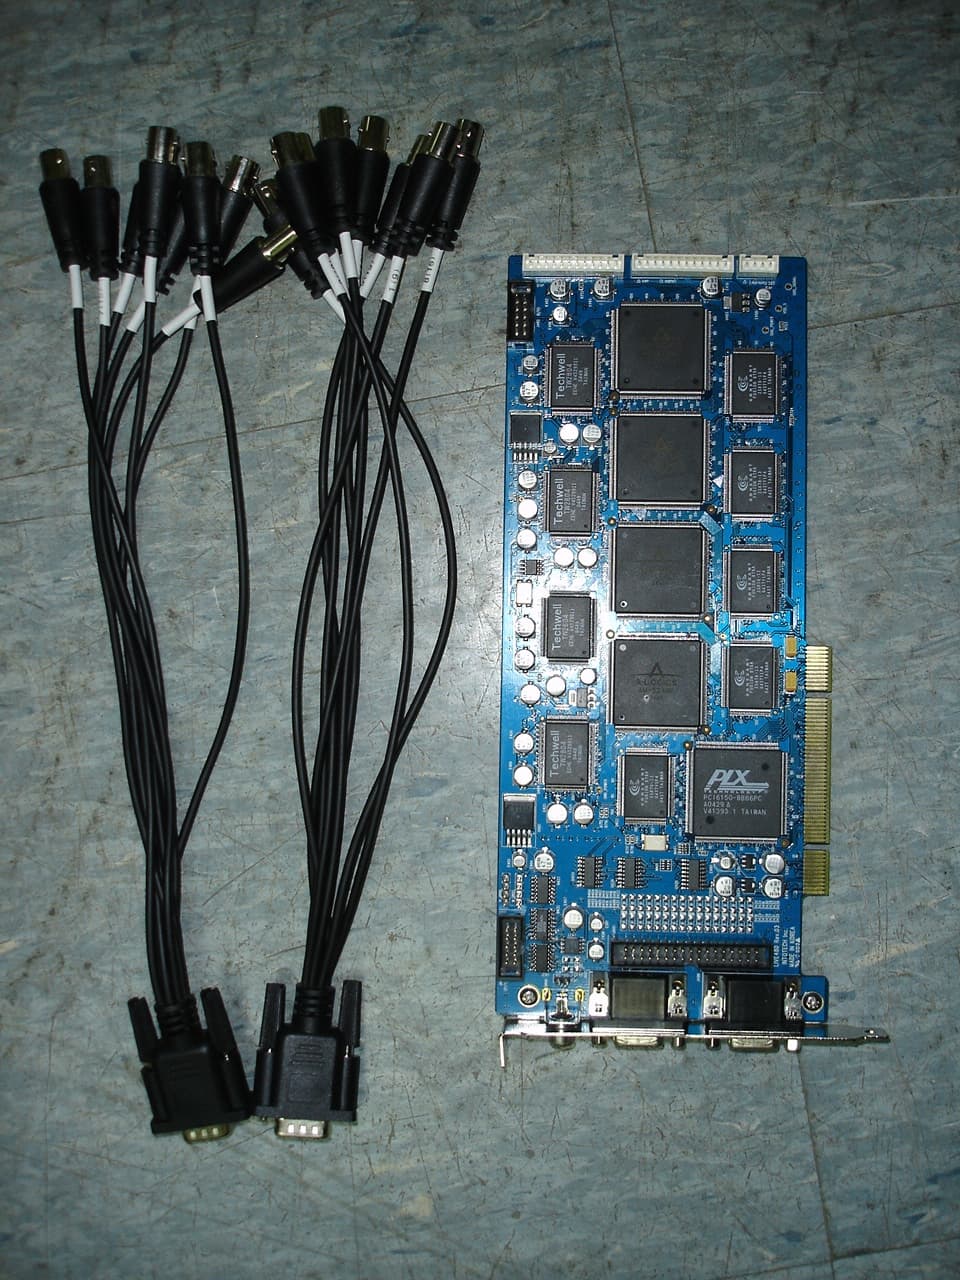
Click to zoom
Application Details
- Equipment Class
- JBP - Part 15 Class B Computing Device Peripheral
- Date of Grant
- Jun 05, 2005
- Application Purpose
- Original Equipment
- Date of Application
- Jun 05, 2005
- Equipment Note
- DVR BOARD
- Company
- INTO-TECH Inc.
- Country
- South Korea
Documents & Files
Document Text
Text extracted from the exhibit documents filed with the FCC. Open a document above to read the original.
Users Manual
Installation Manual 1. Hardware Installation 2.Software Installation User Manual 3.User Manual- Server 01. Main Program 02. Search Program 03. AVI Backup Manager 04. Backup Manager 4.User Manual- Client 01. NetClient Program 02. WebClient Program Annex Annex 1. I/O Device Annex 2. Dynamic IP Annex 3. IP Router Please check contents before installation: DVR Board, Extension Cable, Audio & PTZ Installation, etc., if you are missing any parts please contact your local dealer. 1. DVR Board & Extension Cable Installation 1-1. Insert the DVR Board to an empty PCI Slot in DVR PC. 1-2. Use Extension Cable to connect cameras. Either connect the MIC to Audio IN port of DVR Board OR Mainboard MIC port. 2. DVR Audio Installation 2-1. Prepare DVR PC and MIC. 2-2. Connect the MIC to the Mainboard MIC Port of DVR PC OR the Audio IN port on DVR Board. Please connect the Speaker to the back panel of DVR PC. - H Board: Connect the 4CH MIC(B) to DVR Board(A) starting from the left. Installation manual - Hardware Installation Installation manual - Hardware Installation 4. Real Display(RD) Board Installation 4-1. Insert the Real Display Board into an empty PCI Slot in DVR PC. 4-2. Use Cable to connect Real Display Board with DVR Board. Real Display Board cannot be used alone, it must be used with S, H, HPLUS DVR Boards. 3. P/T/Z Installation 3-1. P/T/Z Cable [A] Cable : Connect to COM port of DVR PC [B] Cable : Connect to DVR Board [C] Cable : Connect to Receiver Cable - HP Board: Connect the 8CH MIC(B) to DVR Board(A) starting from the top. - RC Board: Connect the 4CH MIC(B) to DVR Board(A) starting from the left. To use 16 port In/Out, A : Slave Board must remove jumper. B : Master Board must install jumper. < 16 port In/Out Connection> 5. I/O Board Installation 5-1. Prepare Sensor, Alarm, I/O Board and I/O Extension Board for I/O Board Installation. A : Industrial Case System can use In/Out port separately when additional Back Panel is available. < 8 port In/Out Connection> Installation manual - Software Installation 1. Software Installation You can install SmartDVR Software by using SmartDVR Formula CD or downloading from INTOTECH website, www.intotech.co.kr. Software CD consists of Server Package (Main program, WebClient program, Apache HTTP Server program), Client Package (NetClient program) & AVI Codec. User Manual is also available from SW CD. [Main Program Installation] Insert SmartDVR Formula CD into CD-ROM drive or run DvrSetup.exe file; the following installation screen will appear . Click the icon below and Main Program installation will automatically proceed. Installation Step : Apache HTTP Server (Web Server) -> WebClient -> SmartDVR Formula Installation manual - Software Installation 1. SmartDVR Apache HTTP Server (Web Server) Installation Installation wizard tool will appear. Click [Next]. 1-2 Read the License Agreement and if you agree to the contents, select [I accept...] and click [Next]. 1-3 Click [Next] after checking server information of Apache HTTP Server. Insert Network Domain, Server Name, Administrator’s E-mail Address. (This procedure is only a formality. In general cases, follow example) Select [Run as a service for All Users – Recommended] and click [Next]. Installation manual - Software Installation 1-5 Select Setup Type as [Complete] and click [Next]. 1-6 Click [Next] without change of setting. Note: Do not change the directory! 1-7 After the setting is finished, click [Install] and start installation. 1-8 After the installation is done, click [Finish]. Installation manual - Software Installation 1-9 After the installation is finished, a message confirming the change of the Server port of Apache will appear. 2 SmartDVR WebClient Installation 2-1 After the Installation Wizard Tool is appeared, click [Next]. 2-2 Check the contents of License Agreement; if you agree to the contents, click [Yes]. 2-3 After the installation is done, click [Finish]. Installation manual - Software Installation 3 SmartDVR Formula Installation After Installation Wizard Tool is appeared, Click [Next]. Check the details of License Agreement; if you agree to the contents, click [Yes]. 3-3 After choosing [Destination Folder] for installation, click [Next]. 3-4 After the installation is done, click [Finish]. Installation manual - Software Installation 3-5 Driver Installation: Wizard automatically installs drivers according to each board type. 3-6 Reboot PC after all the installation. 4. SmartDVR Formula Uninstallation 4-1 Goto [Start] – [Control panel] and click [Add/Remove Program]. 4-2 Select [SmartDVR Formula] and click [Change/Remove]. Click the icon below and NetClient Program installation will proceed. 5 NetClient Installation 5-1 After the Installation Wizard Tool is appeared, click [Next]. 5-2 After choosing [Destination Folder] for installation, click [Next].
Users Manual
User Manual - DVR AVI Backup Manager 03 AVI Backup Manager AVI Backup Manager AVI Backup Manager converts the recorded data into AVI file format to replay the image conveniently using Windows Media Player. 1-1 AVI Backup To backup recorded data in to AVI format simply double click the AVI Backup Manager icon. 1-2 Selecting Data for Backup Click [Load Data] from top right of GUI Select the date you wish to backup Then click [LOAD] icon. 1-3 Backup by Channels Select the channel you wish to backup. Channel icon turns green when selected. User Manual - DVR AVI Backup Manager 1-4. Backup Time Selection Enter the time you wish to start backup from Time Bar. Recorded data is indicated in red. 1-5 Backup Data Converting Click [Converting] icon after entering the limits of the backup time in reference. Click the start time and click [A->B] icon. Start time will automatically appear as below. Select the location of the directory to backup data and click [OK]. Click the end time and click [A->B] icon. End time will automatically appear as below. AVI BackUp Manager can only convert files up to one hour. Backup data time is only indicated when the difference between start time & end time is less than one hour. AVI Backup Processing Windows prompt message indicating AVI Converting End will automatically appear. You have successfully converted your data for storage. User Manual - Backup Manager 1-6 Play Backup Data using Windows Media-Player Our website offers utilities that users can Download & install AVI Formula Codec V 1.0 from www.intotech.co.kr, DownLoad -> Util section to properly replay stored data. You can now replay all AVI format data using your Windows Media Player . Media Player should replay stored data as seen below. 04.Backup Manager Using Intotech Backup Manager recorded images(* iva. data) can be managed efficiently or quickly backup to CD using this software. [Backup Manager Detailed Information] : Transfer data to Backup List. Remove data from Backup List. : Remove all data from Backup List. : Search screen will be displayed in (YUV) screen mode. (Default setting) : Search screen will be displayed in (RGB) screen mode. Graphic Card may not support YUVmode YUVis the default setting. (Please convert to RGB mode when transferring or removing data .) : Play Backup Data. : Start Backup. : Stop Backup. Backup Manager illustrates recorded data by date, channel and time. The following icons are used to help manage your recorded data. User Manual - Backup Manager Add data to Backup List illustrated below. Backup folder & Progress Time Bar is indicated as follows. : Select directory to backup : Direct backup to CD (CD-RW required) 1-4 Clickicon to setup backup directory. 1-5 Choose HDD to backup and click [OK]. Example selects C: Drive. Backup Manager HDD Backup Click Backup Manager icon to run program. 1-2 Select date & time from Data List to Backup. 1-3 Move selected data from Data List to Backup List. Click ( ) icon to move data from Data List to Backup List. Ex) Indicates 2004/ 2/ 7 CH2 10 o’clock. User Manual - Backup Manager 1-6 Click icon to start backup.. 1-7 Message is displayed after completion. 2 CD Backup 2-1 Click Backup Manager icon and run program. 2-2 Select date & time from Data List to Backup. 2-3 Move selected data from Data List to Backup List. Clickicon to move data. Ex) Indicates 2004/ 2/ 7 CH2 10 olock. Clickicon. 2-4 Click [CD – RW] and click [Contain Backup Player]. (NOTE : The Contain Backup Player(7MB) must be checked.) 2-5 Click icon to start backup User Manual - Backup Manager 3 Play HDD Backup Data 3-1 Click Backup Manager and run program. 2-6 Message is displayed after completion. 3-4 Search Data screen illustrated below. a. Recorded data is shown in red. 3-5 Choose date you want to playback and Click [Load]. 3-2 Click [Play] icon to search Backup Data Directory. 3-3 Select RGB Mode and select directory and Click [OK]. User Manual - Backup Manager 3-6 Click icon to exit from playback mode and return to Backup Manager. 4. Play CD Backup Data Insert CD to CDROM. (Run CDROM Drive -> Backup Player -> Click [ ] icon.) Select CDROM directory and click [OK]. [The following Error Messages appear usually means the following errors.] [Error Message] There is no medium in the burner : There is no CD inside CD-RW drive. If you want to Backup CD. Please reboot or end process ‘imap.exe’ : Please reboot PC OR stop imap.exe’ by force from Windows Task Manager. Set CD recorder failed. : Conflict with CD-RW settings. Not Enough Hdd Disk Free Space to Create CD IMAGE : HDD must have enough free space to CD backup data onto CD. The call failed because IMAPI has not been opened with Open. : Your Operating System(O/S) does not support CD Backup. If you have any further tech support issues, please contact your local Intotech DVR dealer. User Manual - NetClient Interface 4 NetClient Interface 01. Intotech Net-Client Interface NetClient Program is able to receive images from DVR Server using the Internet. NetClient functions: Display & recording, camera control from remote site and other features that we will illustrated in this document. Control Panel The Control Panel can search program, open connection setup, save & print still images and record server image from remote PC where NetClient is installed. 1-2 Screen Partition Panel Support 7 kinds of various screen partition, full-screen and sequence rotation display mode. Search Icon:Runs search program. Connection Setup Icon: Run [Connecting & Configuration Management] used for internet access. Run [Modem Connection] used for internet access . 1-3 Pan/Tilt Control Panel Pan / Tilt / Zoom / Focus control is supported from remote site when DVR Server is using Pan/Tilt camera. Control sensitivity can be configured in Control Panel. Only broadband Internet users can use Pan/Tilt control, Modem users cannot use this feature. 1-4 Network Type Selection Panel Select [LAN] from Network Type Selection Panel when using broadband connection and…
Text truncated - open the document above for the full version.
Block Diagram
TW2804 TW2804 TW2804 TW2804 542M BT878 BT878 BT878 PCI6150 Digital Audio Board Digital I/O Board P/T/Z Signal 542M 542M 542M BT878 BT878
External Photos
SK TECH CO., LTD. Page 1 of 2 SKT SKTFCE-050604-047 FCC ID : S2MLive480 External Photographs of EUT SK TECH CO., LTD. Page 2 of 2 SKT SKTFCE-050604-047 FCC ID : S2MLive480
ID Label/Location Info
SK TECH CO., LTD. Page 1 of 1 SKT SKTFCE-050604-047 FCC ID : S2MLive480 FCC ID Sample Label & Location Information LABELLING REQUIREMENTS PER ∫∫∫∫2.928 The Label shown shall be permanently affixed at a conspicuous location on the device and be readily visible to the user at the time of purchase. INTO-TECH Inc. DVR Board FCC ID :S2MLive480 This device complies with part 15 of the FCC Rules. Operation is subject to the following two conditions: (1)This device may not cause harmful interference, and (2) this device must accept any interference received, including interference that may cause undesired operation.
ID Label/Location Info
SK TECH CO., LTD. Page 1 of 1 SKT SKTFCE-050604-047 FCC ID : S2MLive480 FCC ID Label Sample INTO-TECH Inc. DVR Board FCC ID: S2MLive480 This device complies with part 15 of the FCC Rules. Operation is subject to the following two conditions: (1)This device may not cause harmful interference, and (2) this device must accept any interference received, including interference that may cause undesired operation.
Internal Photos
SK TECH CO., LTD. Page 1 of 1 SKT SKTFCE-050604-047 FCC ID : S2MLive480 Internal Photographs of EUT
Test Report
SK TECH CO., LTD. Page 1 of 17 SKT SKTFCE-050604-047 FCC ID : S2MLive480 Certificate of Compliance Test Report No.: SKTFCE-050604-047 NVLAP CODE : 200220-0 Applicant: INTO-TECH Inc. Applicant Address: 3F, Seojin Bldg., 1-17, Cheongdam-Dong, Gangnam-Gu, Seoul, 135-100, KOREA Product: DVR Board FCC ID: S2MLive480 Model No.: Live480 Receipt No.: SKTEU05-0317 Date of receipt: May. 20, 2005 Date of Issue: June. 04, 2005 Testing location: SK TECH CO., LTD. 820-2, Wolmoon-Ri, Wabu-Up, Namyangju-Si, Kyunggi-Do, Korea Test Standards: ANSI C63.4 / 2003 Rule Parts: FCC part 15 Subpart B Equipment Class : Class B Digital Device Peripheral Test Result: The above mentioned product has been tested and passed. Prepared by: S.Y.Ye Tested by: S.B.Ko/Engineer Approved by: C.H.Jeong /Manager& Chief Engineer Signature Date Signature Date Signature Date Other Aspects : Abbreviations : · OK, Pass = passed · Fail = failed · N/A = not applicable ☞ •This test report is not permitted to copy partly without our permission. •This test result is dependent on only equipment to be used. •This test result is based on a single evaluation of one sample of the above mentioned. •This test report must not be used by the client to claim product endorsement by NVLAP or any agency of the U.S Government. • We certify that this test report has been based on the measurement standards that is traceable to the national or International standards. NVLAP Lab. Code: 200220-0 SK TECH CO., LTD. Page 2 of 17 SKT SKTFCE-050604-047 FCC ID : S2MLive480 》》 Contents 《《 Contents 2 List of Tables 2 List of Figures 2 1. General 3 2. Test Site 3 2.1 Location 3 2.2 List of Test and Measurement Instruments 4 2.3 Test Date 4 2.4 Test Environment 4 3. Description of the tested samples 5 3.1 Rating and Physical Characteristics 5 3.2 Submitted Documents 5 4. Measurement Conditions 6 4.1 Modes of Operation 6 4.2 List of Peripherals 6 4.3 Type of Used cables 7 4.4 Test Setup 7 4.5 Uncertainty 8 5. EMISSION Test 11 5.1 Conducted Emissions 11 5.2 Radiated Emissions 16 》List of Tables Table 1 List of test and measurement Equipment 4 Table 2 Test Data, Radiated Emissions 17 》List of Figures Figure 1 Spectral Diagram, LINE-PE 12 Figure 2 Test Data, LINE-PE 13 Figure 3 Spectral Diagram, Neutral-PE 14 Figure 4 Test Data, NEUTRAL-PE 15 SK TECH CO., LTD. Page 3 of 17 SKT SKTFCE-050604-047 FCC ID : S2MLive480 1. General This equipment has been shown to be capable of compliance with the applicable technical standards and was tested in accordance with the measurement procedures as indicated in this report. We attest to the accuracy of data. All measurements reported herein were performed by SK Tech Co., Ltd. and were made under Chief Engineer’s supervision. We assume full responsibility for the completeness of these measurements and vouch for the qualifications of all persons taking them. 2. Test Site SK TECH Co., Ltd. 2.1 Location 820-2, Wolmoon Ri, Wabu-Up, Namyangju-Si, Kyunggi-Do, Korea The test site is in compliance with ISO/IEC 17025 for general requirements for the competence of testing and calibration laboratories. This laboratory is accredited by NVLAP for NVLAP Lab. Code : 200220-0 and DATech for DAR-Registration No.:DAT-P-076/97-01 SK TECH CO., LTD. Page 4 of 17 SKT SKTFCE-050604-047 FCC ID : S2MLive480 2.2 List of Test and Measurement Instruments Table 1 : List of Test and Measurement Equipment z Conducted Disturbance Kind of Equipment Type S/N Calibrated until EMI Receiver ESHS10 862970/019 10.2005 Artificial Mains Network ESH2-Z5 834549/011 08.2005 EMI Receiver ESHS10 835871/002 11.2005 Artificial Mains Network ESH3-Z5 836679/018 08.2005 z Radiated Disturbance Kind of Equipment Type S/N Calibrated until EMI Receiver ESVS 10 825120/013 10.2005 EMI Receiver ESVS 10 834468/008 11.2005 Spectrum Analyzer R3361A 11730187 10.2005 Amplifier 8447F 3113A05153 08.2005 Log Periodic Antenna UHALP9107 1819 10.2005 Biconical Antenna BBA9106 91031626 10.2005 Open Site Cable N/A N/A N/A Antenna Turntable Driver 5907 N/A N/A Antenna Turntable controller 5906 N/A N/A Amp & Receiver connection cable N/A N/A N/A Amp & Spectrum connection cable N/A N/A N/A 50Ω Switcher MP59B 6100214538 N/A 2.3 Test Date Date of Application : May. 20, 2005 Date of Test : May. 23, 2005 ~ May. 24, 2005 2.4 Test Environment See each test item’s description. SK TECH CO., LTD. Page 5 of 17 SKT SKTFCE-050604-047 FCC ID : S2MLive480 3. Description of the tested samples The EUT is the DVR Board built in computer. 3.1 Rating and Physical Characteristics Category Specification Video Input 16Ch TV Output 1Ch(Split Mode Or 16CH Switching) Audio Input (Option) Compatible with 8 Ch Digital Audio Board (Extension Board) (Option) NTSC PAL Display FPS 480 Fps 400 Fps Record FPS 480 Fps(at 320x240) 400 Fps(at 360x288) 120 Fps(at 640x480) 100 Fps(at 720x576) Compression 2-3 KB/ fps Codec Formula(modified H. 263) Digital I/O Compatible with new version I/O Board (Option) (Extension Board) Basic: Input 8CH/ Output 4Ch Using 2 Piece I/O Board: Input 16CH / Output 8CH Camera Control P/T/Z Focus Preset CPU Pentium 4 Processor 2.8C Main Board Intel 865 Chipset Ram Over512Mbyte OS Windows 2000 / XP VGA 16 Bit Color& YUY2 DirectX Mode, Graphic Card (Over 32MB RAM) 3.2 Submitted Documents N/A SK TECH CO., LTD. Page 6 of 17 SKT SKTFCE-050604-047 FCC ID : S2MLive480 4. Measurement Conditions The operating voltage of EUT is supplied by PCI slot of Personal Computer. (PC Input Voltage : AC 120V, 60Hz) 4.1 Modes of Operation The EUT was in the following operation mode during all testing; After the EUT has received the video signal from the video camera, the signal was displayed in the CRT Monitor and PC monitor through the EUT. 4.2 List of Peripherals Description Manufacturer Model Name Serial No. FCC ID PC(with EUT) Samsung ZMP35 X71498DX900234E - Keyboard Jing Mold EnterpriseLKB-0107 20103462 - Mouse LG Electronics LMULBGS01I 04CU000259 - Printer EPSON EPSON STYLUS PHOTO 830 ELTK014619 - CRT Monitor HITRON SYSTEMSCVM0954 M…
Text truncated - open the document above for the full version.
Test Setup Photos
SK TECH CO., LTD. Page 1 of 2 SKT SKTFCE-050604-047 FCC ID :S2MLive480 Test set up photos Photograph 1: Setup for Conducted Emissions SK TECH CO., LTD. Page 2 of 2 SKT SKTFCE-050604-047 FCC ID :S2MLive480 Photograph 2: Setup for Radiated Emissions
Contact Information
Applicant
Sam-Soon Choi(Assistant Manager)
Test Firm
SK Tech Co., Ltd.Jae-Yeong Hyun
Technical Specifications
| # | Rule Parts | Frequency Range | Power Output |
|---|---|---|---|
| 1 | 15B | - | - |
Other Applications from INTO-TECH Inc.
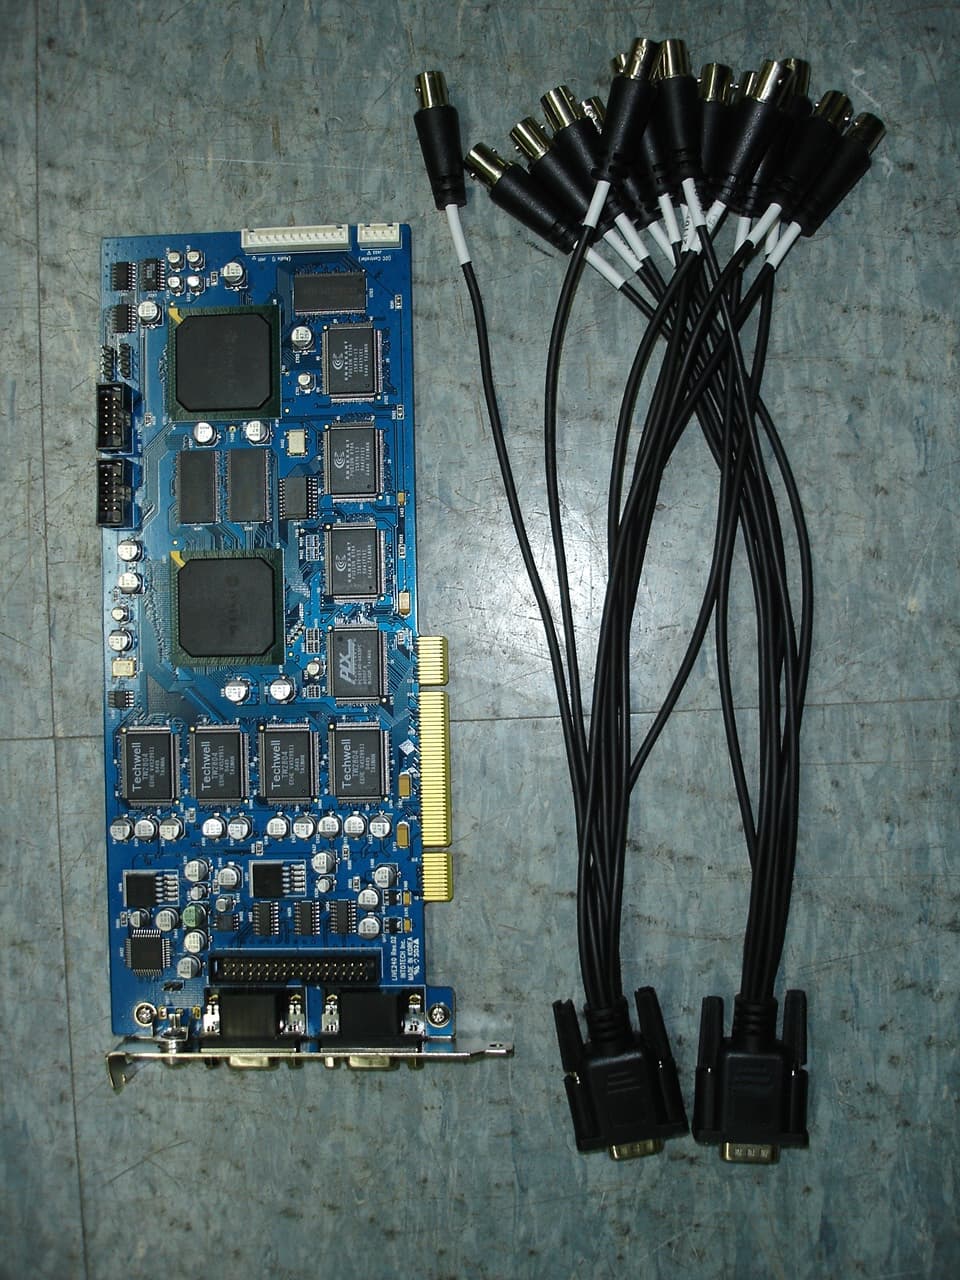
S2MLIVE240
Jun 05, 2005DVR BOARD
Equipment Class
JBP - Part 15 Class B Computing Device Peripheral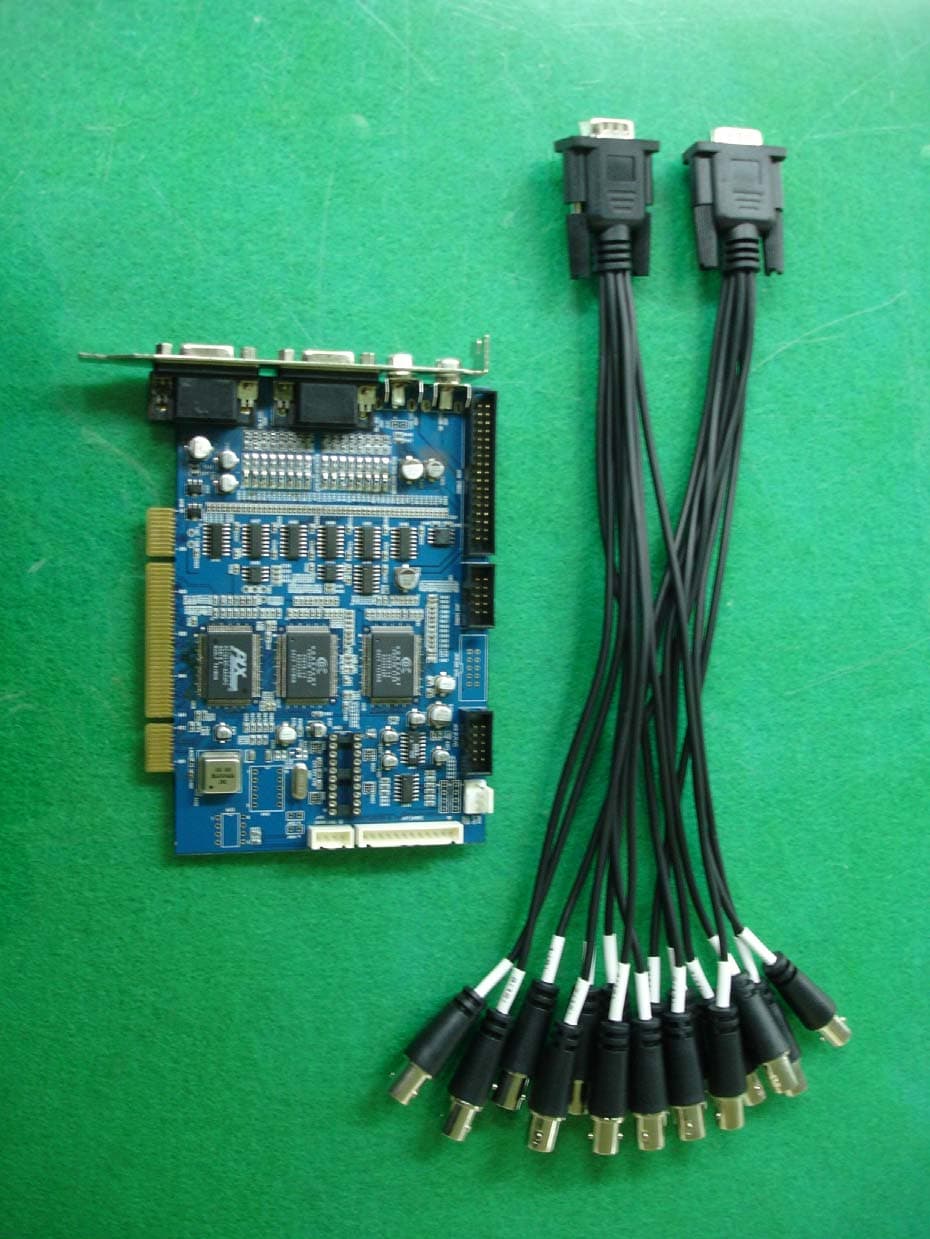
S2MSPLUS
Apr 12, 2005DVR BOARD
Equipment Class
JBP - Part 15 Class B Computing Device Peripheral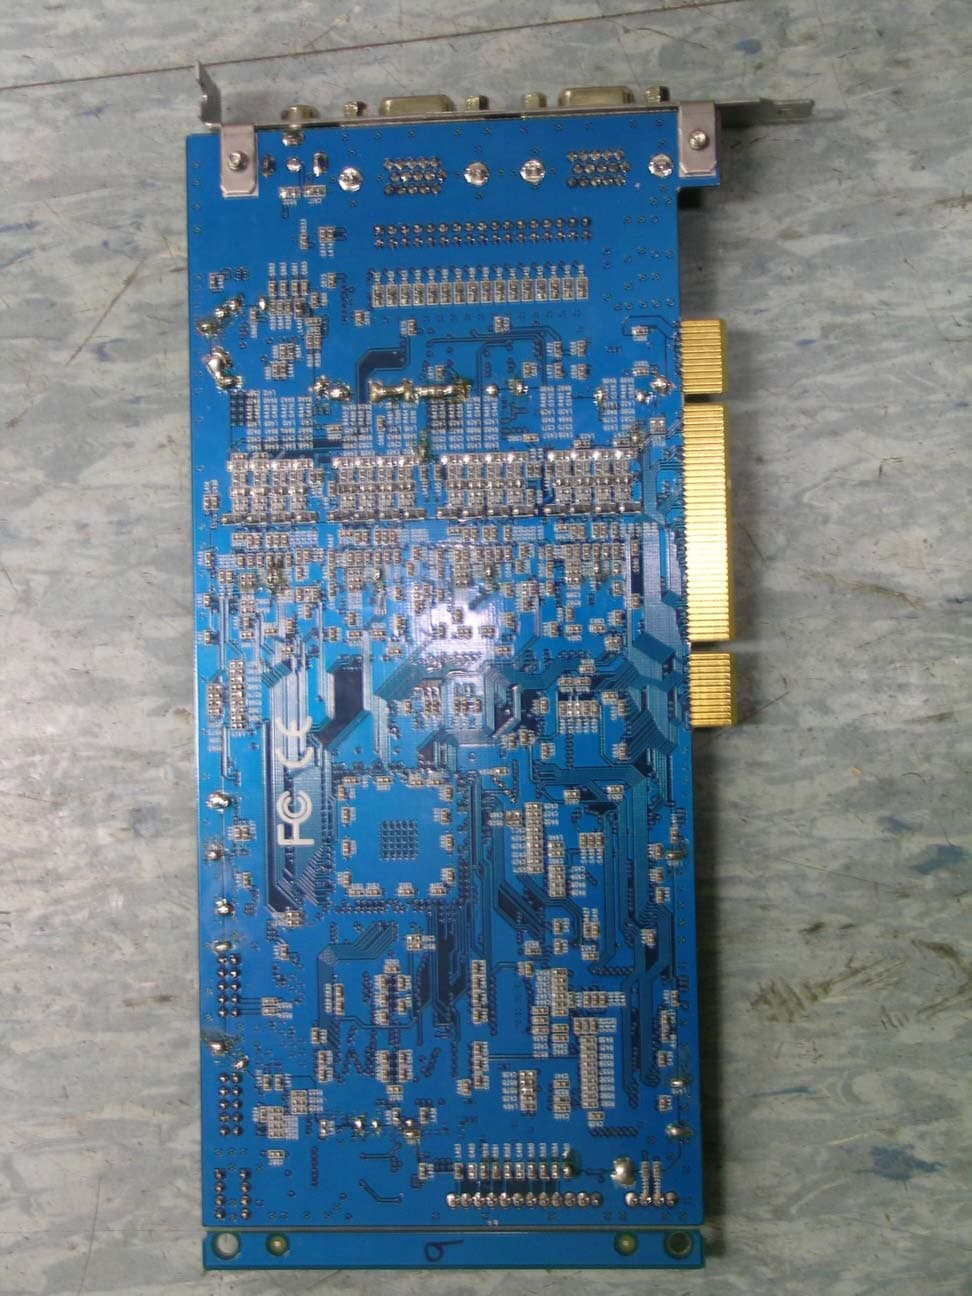
S2MLIVE120
Apr 11, 2005DVR BOARD
Equipment Class
JBP - Part 15 Class B Computing Device Peripheral