S4L-REMOTERemote LINK
TomTom International BV
Click to zoom
Application Details
- Equipment Class
- DSS - Part 15 Spread Spectrum Transmitter
- Date of Grant
- Mar 04, 2010
- Application Purpose
- Original Equipment
- Date of Application
- Mar 04, 2010
- Equipment Note
- Remote LINK
- Frequency Range
- 2402.00000000 - 2480.00000000
- Company
- TomTom International BV
- Country
- Netherlands
Documents & Files
Document Text
Text extracted from the exhibit documents filed with the FCC. Open a document above to read the original.
Users Manual
Remote LINK Logbook User Guide Connected Navigation Part. no. 6KG0.002.04 Preparing your Remote LINK 3 EN Pre- par- ing your Re- mote LINK Inserting the batteries 1. Hold the sides of the Remote LINK and press the latch on the back of the device to open the battery compartment. 2. Insert the batteries (2 x AAA/LR3) in the Remote LINK. Make sure you insert the batteries in the correct way, as shown inside the battery compartment. 3. Replace the battery cover. Establishing a paired connection The following instructions only apply if your Remote LINK has not been connected to a TomTom LINK 300/310. Press any key to turn on your Remote LINK and see “Understanding your Remote LINK” to check the status of the device. If the device is not paired with a LINK 300/310, then do the following. 1. Make sure the LINK 300/310 is properly installed in the vehicle. 2. Turn on the ignition. 3. Make sure there are no other vehicles installed with a LINK 300/310 located within a distance of 30 metres. 4. Press any key on your Remote LINK to switch it on. If the LEDs on all three buttons are flashing, then the device is not paired and you need to continue with the next step. 5. Press any two buttons at the same time until you hear a sound. Borna_Logbook.book Page 3 Thursday, January 21, 2010 9:53 AM Preparing your Remote LINK 4 EN Remote LINK starts searching for your LINK 300/310 and the Connection LED begins to flash rapidly. Searching may take about one minute before a connection is established. Note: To check if a connection has been established press any key. If a connection has been established, the Connection LED will be on. If you do not use your Remote LINK for more than 10 seconds it will turn off. If no connection was established the LED will switch off. To establish a connection, repeat steps 1 to 4 or visit www.tomtomwork.com/connect-remotelink for alternative connection methods. Reset your Remote LINK If your Remote LINK is already paired but does not work correctly or it is paired with the wrong device, you can reset the Remote LINK to the default factory settings. 1. Press any key to switch on the device. 2. Press any two buttons at the same time until you hear a sound. Your Remote LINK switches off. To pair the device with the LINK 300/310, read and follow the instructions under 'Establishing a paired connection'. Borna_Logbook.book Page 4 Thursday, January 21, 2010 9:53 AM Preparing your Remote LINK 5 EN Understand your Remote LINK No light - Remote LINK is off. Connection LED is flashing - Remote LINK is searching for a LINK 300/310. Connection LED is on - Remote LINK is connected to a LINK 300/310. Low Battery warning LED is flashing - The battery power is low and the batteries need be replaced. All the button LEDs are flashing - Remote LINK is not paired with a LINK 300/310. Borna_Logbook.book Page 5 Thursday, January 21, 2010 9:53 AM Preparing your Remote LINK 6 EN Installing your Remote LINK To install your Remote LINK in your vehicle, first use the adhesive pad to secure the mount to the dashboard or another suitable surface which does not interfere with the driver's view of the road. Important: Do not mount the Remote LINK in the inflation area of airbags or in the impact area of the head or knees. Search carefully for a location that will avoid interference with displays, safety equipment and controls. 1. To create a permanent installation, first attach the securing lock to the mount. Note: To remove your Remote LINK from the mount, gently press the latch at the back of the securing lock and then remove the device. 2. Attach the mount to a clean and flat surface using the adhesive pad. Borna_Logbook.book Page 6 Thursday, January 21, 2010 9:53 AM Using your Remote LINK 7 EN Us- ing your Re- mote LINK 1. Press any button to switch on and connect your Remote LINK. 2. Wait until the Connection LED is on. 3. Press the button for the mode that you want to log. The LED of the button goes on and your reporting is confirmed with a sound. AConnection LED BLow battery LED CPrivate mode DBusiness mode ECommute to work A D E C B Borna_Logbook.book Page 7 Thursday, January 21, 2010 9:53 AM Vorbereitung Ihres Remote LINK 8 DE Vor- berei- tung Ihres Re- mote LINK Batterien einlegen 1. Halten Sie den Remote LINK an den Seiten fest und drücken Sie auf den Verschluss auf der Rückseite des Geräts, um das Batteriefach zu öffnen. 2. Setzen Sie die Batterien (2 x AAA/LR3) in den Remote LINK ein. Achten Sie beim Einsetzen der Batterien auf die richtige Polarität laut Darstellung im Inneren des Batteriefachs. 3. Setzen Sie den Batteriefachdeckel wieder auf. Pairing - Geräte koppeln Die folgenden Anweisungen gelten nur, wenn Sie Ihren Remote LINK nicht mit einem TomTom LINK 300/310 verbunden haben. Drücken Sie eine beliebige Taste auf Ihrem Remote LINK und beachten Sie die Hinweise unter »Ihr Remote LINK verstehen«, um den Status des Geräts zu überprüfen. Wenn Ihr Remote LINK nicht mit einem TomTom LINK 300/310 verbunden ist, gehen Sie folgendermaßen vor: 1. Stellen Sie sicher, dass der LINK 300/310 ordnungsgemäß im Fahrzeug installiert ist. 2. Schalten Sie die Zündung ein. 3. Stellen Sie sicher, dass sich im Umkreis von 30 m keine weiteren Fahrzeuge mit installiertem LINK 300/310 befinden. 4. Drücken Sie eine beliebige Taste auf Ihrem Remote LINK, um ihn einzuschalten. Wenn alle drei Tasten-LEDs blinken, ist das Gerät nicht gekoppelt, und Sie müssen mit dem nächsten Schritt fortfahren. Borna_Logbook.book Page 8 Thursday, January 21, 2010 9:53 AM Vorbereitung Ihres Remote LINK 9 DE 5. Drücken Sie zwei beliebige Tasten gleichzeitig, bis Sie einen Ton hören. Der Remote LINK beginnt, nach Ihrem LINK 300/310 zu suchen während die Verbindungs-LED schnell blinkt. Der erfolgreiche Aufbau der Verbindung kann ca. eine Minute dauern. Hinweis: Um zu überprüfen, ob eine Verbindung hergestellt wurde, drücken Sie eine beliebige Taste. Wenn eine Verbindung hergestellt wurde, leuchtet die Verbindungs-LED. Falls Sie Ihren Re…
Text truncated - open the document above for the full version.
Users Manual
Remote LINK Working Time User Guide Connected Navigation Part. no. 6KG0.002.01 Preparing your Remote LINK 3 EN Pre- par- ing your Re- mote LINK Inserting the batteries 1. Hold the sides of the Remote LINK and press the latch on the back of the device to open the battery compartment. 2. Insert the batteries (2 x AAA/LR3) in the Remote LINK. Make sure you insert the batteries in the correct way, as shown inside the battery compartment. 3. Replace the battery cover. Establishing a paired connection The following instructions only apply if your Remote LINK has not been connected to a TomTom LINK 300/310. Press any key to turn on your Remote LINK and see “Understanding your Remote LINK” to check the status of the device. If the device is not paired with a LINK 300/310, then do the following. 1. Make sure the LINK 300/310 is properly installed in the vehicle. 2. Turn on the ignition. 3. Make sure there are no other vehicles installed with a LINK 300/310 located within a distance of 30 metres. 4. Press any key on your Remote LINK to switch it on. If the LEDs on all three buttons are flashing, then the device is not paired and you need to continue with the next step. 5. Press any two buttons at the same time until you hear a sound. Borna_WorkingTime.book Page 3 Thursday, January 21, 2010 9:54 AM Preparing your Remote LINK 4 EN Remote LINK starts searching for your LINK 300/310 and the Connection LED begins to flash rapidly. Searching may take about one minute before a connection is established. Note: To check if a connection has been established press any key. If a connection has been established, the Connection LED will be on. If you do not use your Remote LINK for more than 10 seconds it will turn off. If no connection was established the LED will switch off. To establish a connection, repeat steps 1 to 4 or visit www.tomtomwork.com/connect-remotelink for alternative connection methods. Reset your Remote LINK If your Remote LINK is already paired but does not work correctly or it is paired with the wrong device, you can reset the Remote LINK to the default factory settings. 1. Press any key to switch on the device. 2. Press any two buttons at the same time until you hear a sound. Your Remote LINK switches off. To pair the device with the LINK 300/310, read and follow the instructions under 'Establishing a paired connection'. Borna_WorkingTime.book Page 4 Thursday, January 21, 2010 9:54 AM Preparing your Remote LINK 5 EN Understand your Remote LINK No light - Remote LINK is off. Connection LED is flashing - Remote LINK is searching for a LINK 300/310. Connection LED is on - Remote LINK is connected to a LINK 300/310. Low Battery warning LED is flashing - The battery power is low and the batteries need be replaced. All the button LEDs are flashing - Remote LINK is not paired with a LINK 300/310. Borna_WorkingTime.book Page 5 Thursday, January 21, 2010 9:54 AM Preparing your Remote LINK 6 EN Installing your Remote LINK To install your Remote LINK in your vehicle, first use the adhesive pad to secure the mount to the dashboard or another suitable surface which does not interfere with the driver's view of the road. Important: Do not mount the Remote LINK in the inflation area of airbags or in the impact area of the head or knees. Search carefully for a location that will avoid interference with displays, safety equipment and controls. 1. To create a permanent installation, first attach the securing lock to the mount. Note: To remove your Remote LINK from the mount, gently press the latch at the back of the securing lock and then remove the device. 2. Attach the mount to a clean and flat surface using the adhesive pad. Borna_WorkingTime.book Page 6 Thursday, January 21, 2010 9:54 AM Using your Remote LINK 7 EN Us- ing your Re- mote LINK Your Remote LINK allows working time reporting for multiple employees. Reporting is only possible when your Remote LINK is connected to the LINK 300/310. 1. Press any button to switch on and connect your Remote LINK. 2. Wait until the Connection LED is on. 3. Press the button for the work status that you want to report. The button LED and the ID key reader LED turn on. 4. Place the first person’s ID key on the ID key reader. A successful report is confirmed with a sound. For each additional person, repeat steps 3 and 4. AConnection LED BLow battery warning LED CWork (start work/ end break) DFinish (finish work/ finish break without starting work) EBreak FID key LED GID key reader HID key A D E F G H C B Borna_WorkingTime.book Page 7 Thursday, January 21, 2010 9:54 AM Vorbereitung Ihres Remote LINK 8 DE Vor- berei- tung Ihres Re- mote LINK Batterien einlegen 1. Halten Sie den Remote LINK an den Seiten fest und drücken Sie auf den Verschluss auf der Rückseite des Geräts, um das Batteriefach zu öffnen. 2. Setzen Sie die Batterien (2 x AAA/LR3) in den Remote LINK ein. Achten Sie beim Einsetzen der Batterien auf die richtige Polarität laut Darstellung im Inneren des Batteriefachs. 3. Setzen Sie den Batteriefachdeckel wieder auf. Pairing - Geräte koppeln Die folgenden Anweisungen gelten nur, wenn Sie Ihren Remote LINK nicht mit einem TomTom LINK 300/310 verbunden haben. Drücken Sie eine beliebige Taste auf Ihrem Remote LINK und beachten Sie die Hinweise unter »Ihr Remote LINK verstehen«, um den Status des Geräts zu überprüfen. Wenn Ihr Remote LINK nicht mit einem TomTom LINK 300/310 verbunden ist, gehen Sie folgendermaßen vor: 1. Stellen Sie sicher, dass der LINK 300/310 ordnungsgemäß im Fahrzeug installiert ist. 2. Schalten Sie die Zündung ein. 3. Stellen Sie sicher, dass sich im Umkreis von 30 m keine weiteren Fahrzeuge mit installiertem LINK 300/310 befinden. 4. Drücken Sie eine beliebige Taste auf Ihrem Remote LINK, um ihn einzuschalten. Wenn alle drei Tasten-LEDs blinken, ist das Gerät nicht gekoppelt, und Sie müssen mit dem nächsten Schritt fortfahren. Borna_WorkingTime.book Page 8 Thursday, January 21, 2010 9:54 AM Vorbereitung Ihres Remote LINK 9 DE 5. Drücken Sie …
Text truncated - open the document above for the full version.
External Photos
Test Report No.: G0M21001-2793-P-15 Eurofins Product Service GmbH Storkower Str. 38c, D-15526 Reichenwalde, Germany Annex A Photos Remote LINK Logbook
External Photos
Test Report No.: G0M21001-2793-P-15 Eurofins Product Service GmH Storkower Str. 38c, D-15526 Reichenwalde, Germany Remote Link Working Time
ID Label/Location Info
Eurofins Product Service Label Sample page 1 Model No.: Remote LINK Logbook, Remote LINK Working Time FCC ID: S4L-REMOTE Test Report No.: G0M21001-2793-P-15 Eurofins Product Service GmbH Storkower Str. 38C, D-15526 Reichenwalde, Germany
ID Label/Location Info
Eurofins Product Service Label Location page 1 Model No.: Remote LINK Logbook, Remote LINK Working Time FCC ID: S4L-REMOTE Test Report No.: G0M21001-2793-P-15 Eurofins Product Service GmbH Storkower Str. 38C, D-15526 Reichenwalde, Germany
Internal Photos
Test Report No.: G0M21001-2793-P-15 Eurofins Product Service GmH Storkower Str. 38c, D-15526 Reichenwalde, Germany Remote LINK Logbook (inside)
Internal Photos
Test Report No.: G0M21001-2793-P-15 Eurofins Product Service GmH Storkower Str. 38c, D-15526 Reichenwalde, Germany Remote Link Working Time (inside)
Test Report
EUROFINS PRODUCT SERVICE GMBH Testing Cert #1983.01 TEST- REPORT Compliance Test Report FCC PART 15 SUBPART C IC RSS 210 ISSUE 7 FCC ID: S4L-REMOTE Remote Control with Bluetooth Remote LINK Logbook, Remote LINK Working Time T EST REPORT NUMBER: G0M21001-2793-P-15 Eurofins Product Service GmbH Storkower Str. 38c, 15526 Reichenwalde, Phone +49-33631-888 0 Germany Fax +49-33631-888 660 Test Report No.: G0M21001-2793-P-15 Eurofins Product Service GmbH Storkower Str. 38c, D-15526 Reichenwalde, Germany TABLE OF CONTENTS 1 General Information 4 1.1 Notes 4 1.2 Testing laboratory 5 1.3 Details of approval holder 6 1.4 Application details 6 1.5 Test item 6 1.6 Test standards 7 2 Technical test 8 2.1 Summary of test results 8 2.2 Test environment 8 2.3 Test equipment utilized 9 2.4 Test results 10 3 Informational Transmitter parameters 11 3.1 Transmitter Modes for conformance testing 11 3.2 Occupied Bandwidth 12 4 Transmitter parameters 13 4.1 20dB Bandwidth 13 4.2 Frequency hopping channel number 15 4.3 Frequency hopping channel spacing 17 4.4 Time of occupancy (Dwell time) 19 4.5 Maximum peak conducted output power 21 4.6 Maximum e.i.r.p. output power 23 4.7 Transmitter band-edge compliance 25 4.8 Transmitter spurious emissions 27 Annex A Photos 30 Annex B Occupied Bandwidth, 20 dB Bandwidth 35 Annex C Number of hopping channels 42 Annex D Carrier frequency separation 47 Test Report No.: G0M21001-2793-P-15 Eurofins Product Service GmH Storkower Str. 38c, D-15526 Reichenwalde, Germany Annex E Time of occupancy 49 Annex F Output power 52 Annex G Transmitter band-edge emissions 56 Annex H Transmitter spurious emissions 61 Test Report No.: G0M21001-2793-P-15 Eurofins Product Service GmH Storkower Str. 38c, D-15526 Reichenwalde, Germany 1.2 Testing laboratory EUROFINS PRODUCT SERVICE GMBH Storkower Strasse 38c D-15526 Reichenwalde b. Berlin Germany Telefon : +49 33631 888 00 Telefax : +49 33631 888 660 DAR ACCREDITED TESTING LABORATORY DAR-R EGISTRATION NUMBER: DAT-P-268/08 R ECOGNIZED NOTIFIED BODY EMC R EGISTRATION NUMBER: BNetzA-bS EMV-07/61 R ECOGNIZED NOTIFIED BODY R&TTE R EGISTRATION NUMBER: BNetzA-bS-02/51-53 FCC FILED TEST LABORATORY R EG.-NO. 96970 A2LA ACCREDITED TESTING LABORATORY C ERTIFICATE NO. 1983.01 B LUETOOTH QUALIFICATION TEST FACILITY (BQTF) A CCREDITED BY BLUETOOTH QUALIFICATION REVIEW BOARD I NDUSTRY CANADA FILED TEST LABORATORY R EG. NO. IC 3470 Test location, where different: Name : ./. Street : ./. Town : ./. Country : ./. Telephone : ./. Fax : ./. Test Report No.: G0M21001-2793-P-15 Eurofins Product Service GmH Storkower Str. 38c, D-15526 Reichenwalde, Germany 1.3 Details of approval holder Name : TomTom International B.V. Street : Oosterdoksstraat 114 Town : 1001 DK Amsterdam Country : The Netherlands Telephone : +31 20 7575832 Fax : +31 20 7575750 Contact : Mr. Christoph Link Telephone : +31 20 7575832 1.4 Application details Date of receipt of application : 04.01.2010 Date of receipt of test item : 04.01.2010 Date of test : 04.01.2010, 08.01.2010 & 11.01.2010 1.5 Test item Description of test item : Remote Control with Bluetooth Type identification : Remote LINK Logbook, Remote LINK Working Time Brand Name : TomTom Hardware version : 1.10 Software version : brn1_fw_0110 Technical data Frequency range : 2400 - 2483.5MHz Tested frequencies : F 1 2402MHz Tested frequencies : F 2 2440MHz Tested frequencies : F 3 2480MHz Antenna type : internal Antenna Gain : 0dBi Power supply : 3.1VDC (Battery) Operating mode : duplex Modulation : FHSS Device classification : Mobile Device (Human Body distance > 20 cm) Test Report No.: G0M21001-2793-P-15 Eurofins Product Service GmH Storkower Str. 38c, D-15526 Reichenwalde, Germany Additional information: The test sample is designed as Bluetooth device. Its pseudo- random hopping scheme, authentication, receiver parameters, synchronization procedure and other parameters are deter- mined by Bluetooth Core Specification. According to attached declaration of manufacturer this device don’t work in master inquiry mode. So we have only one frequency hopping system and the hop- ping sequence of the master inquiry mode is not verified. Manufacturer: (if applicable) Name : Turck duotec GmbH Street : Am Bockwald 2 Town : 08344 Grünhain-Beierfeld Country : Germany 1.6 Test standards Technical standard : FCC PART 15 SUBPART C IC RSS 210 ISSUE 7 Test Report No.: G0M21001-2793-P-15 Eurofins Product Service GmH Storkower Str. 38c, D-15526 Reichenwalde, Germany 2 Technical test 2.1 Summary of test results No deviations from the technical specification(s) were ascertained in the course : of the tests performed. or The deviations as specified in 2.4 were ascertained in the course of the tests performed. 2.2 Test environment Temperature : 22 ... 26°C Relative humidity content : 20 ... 75% Air pressure : 86 ... 103kPa Extreme conditions parameters: V nom : 3.1VDC V min (V nom -15%) : -- V max (V nom +15%) : -- T nom : 25°C Test Report No.: G0M21001-2793-P-15 Eurofins Product Service GmH Storkower Str. 38c, D-15526 Reichenwalde, Germany 2.3 Test equipment utilized Measurement Equipment List No. Measurement device: Type: Manufacturer: ETS 0178 Open area test side 10m Eurofins Product Service ETS 0291 Loop antenna HFH2-Z2 Rohde & Schwarz ETS 0383 Spectrum Analyzer FSU26 Rohde & Schwarz Test Report No.: G0M21001-2793-P-15 Eurofins Product Service GmH Storkower Str. 38c, D-15526 Reichenwalde, Germany 2.4 Test results 1 st test test after modification production test Test case Subclause RequiredTest passed Test failed INFORMATIONAL TRANSMITTER PARAMETERS Occupied Bandwidth IC RSS-Gen. 4.6.1 TRANSMITTER PARAMETERS 20dB Bandwidth FCC § 15.247(1) IC RSS-210 § A8.1 Frequency hopping channel number FCC § 15.247(1iii) IC RSS-210 § A8.1 Frequency hopping channel spacing FCC § 15.247(1) IC RSS-210 § A8.1 Time of occupancy (dwell time) FCC § 15.247(1iii) IC RSS-210 § A8.1 Maximum peak conducted output power FCC § 15.247(b) IC RSS-210 § A8.4 Maximum peak e.i.r.p. output power…
Text truncated - open the document above for the full version.
Test Setup Photos
Test Report No.: G0M21001-2793-P-15 Eurofins Product Service GmH Storkower Str. 38c, D-15526 Reichenwalde, Germany Test Setup
Contact Information
Applicant
Barto Wijlens(Head of Global Supply chain)
Technical Contact
TomTom Development Germany GmbHHenrik Schiller
[email protected]+49 34 12 4495
Maximilianallee 4 · Leipzig · Germany
Non-Technical Contact
TomTom International BVChristoph Link
[email protected]+31 20 75 75
Test Firm
Eurofins Product Service GmbHMichael Howard
Technical Specifications
| # | Rule Parts | Frequency Range | Power Output |
|---|---|---|---|
| 1 | 15C | 2.40 GHz - 2.48 GHz | 1.60 mW |
Other Applications from TomTom International BV
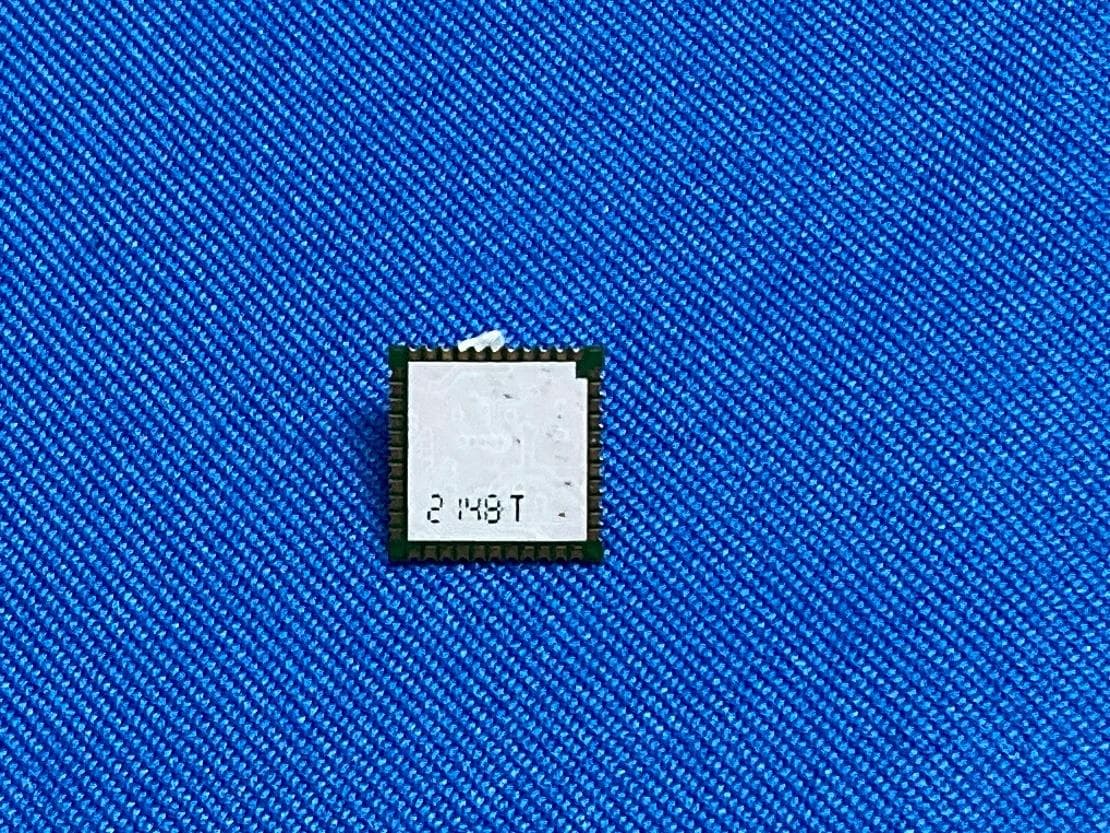
S4LFF51
Apr 09, 2023WiFi/BT Module
Equipment Class
DTS - Digital Transmission System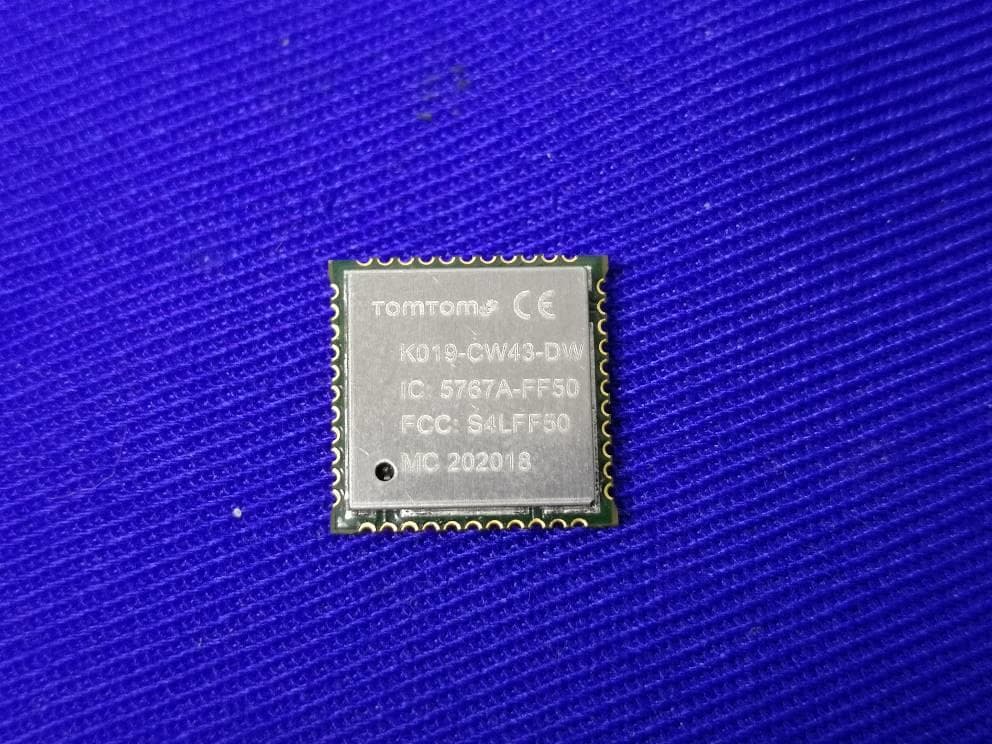
S4LFF50
Jul 01, 2020WIFI/BT Module
Equipment Class
NII - Unlicensed National Information Infrastructure TX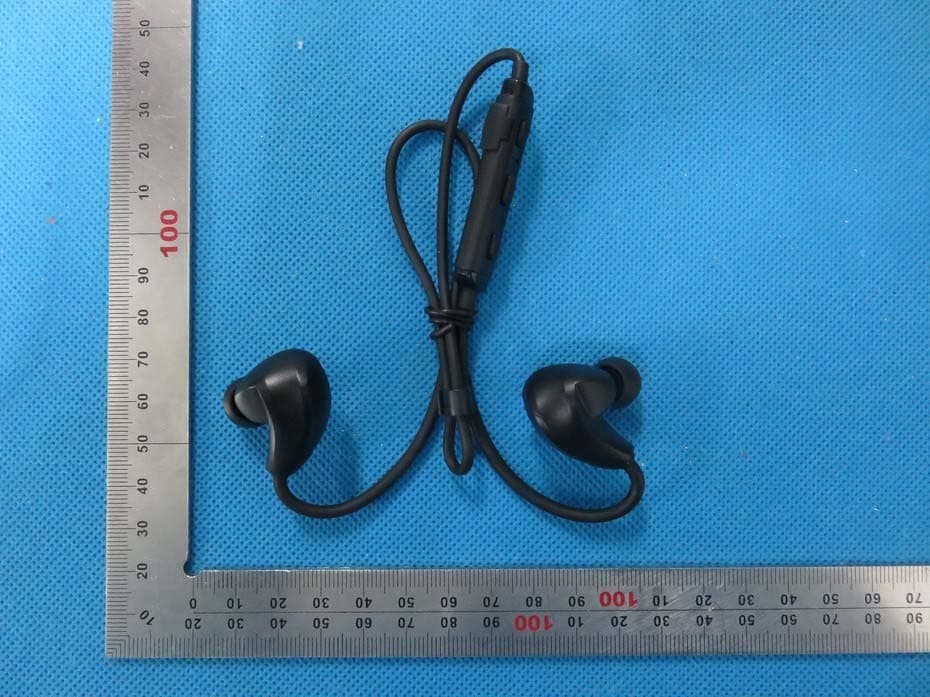
S4L4ROM
Nov 16, 2015Bluetooth Sports Headphones
Equipment Class
DSS - Part 15 Spread Spectrum Transmitter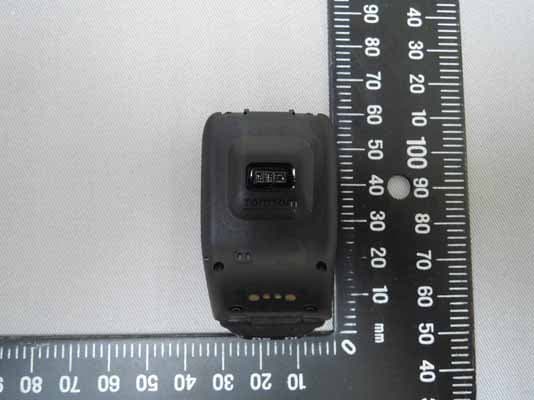
S4L4RFM
Sep 16, 2015TomTom Cardio GPS Watch
Equipment Class
DSS - Part 15 Spread Spectrum Transmitter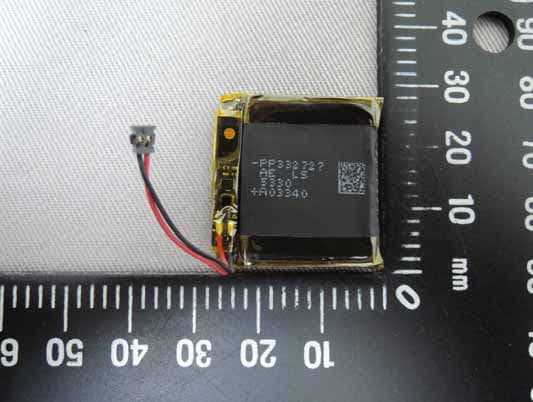
S4L4REM
Sep 16, 2015TomTom GPS Watch
Equipment Class
DTS - Digital Transmission System