S4LONEGPS Tracking System with Bluetooth
TomTom International BV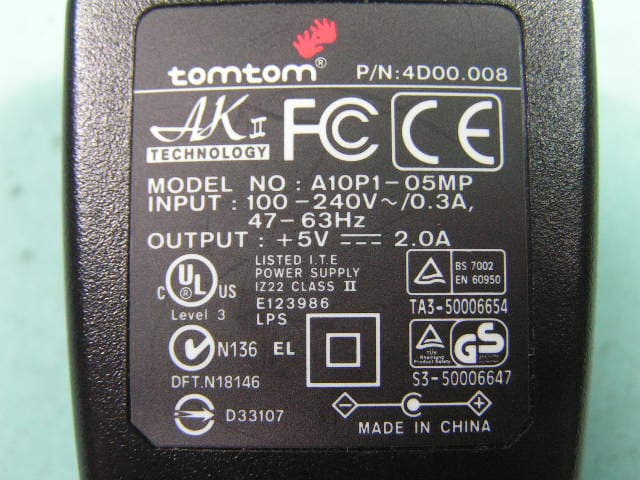
Click to zoom
Application Details
- Equipment Class
- DSS - Part 15 Spread Spectrum Transmitter
- Date of Grant
- Oct 11, 2005
- Application Purpose
- Original Equipment
- Date of Application
- Oct 11, 2005
- Equipment Note
- GPS Tracking System with Bluetooth
- Frequency Range
- 2402.00000000 - 2480.00000000
- Company
- TomTom International BV
- Country
- Netherlands
Documents & Files
Document Text
Text extracted from the exhibit documents filed with the FCC. Open a document above to read the original.
Users Manual
Sommario Contenuto della confezione 24 Uso di TomTom ONE 25 Pianificazione del primo viaggo 26 Schermata di guide 28 Addendum 44 EN DA DE ES FR IT NL SV Contenido Contenido de la caja 29 Uso de TomTom ONE 30 El primer viaje 31 Vista de conducción 33 Addendum 44 EN DA DE ES FR IT NL SV EN DA DE ES FR IT NL SV Innehåll Vad finns i förpackningen? 39 Använda TomTom ONE 40 Din första åktur 41 Körvyn 43 Addendum 44 EN DA DE ES FR IT NL SV Find your way the easy way 3 Sommaire Contenu du coffret 14 Utilisation de TomTom ONE 15 Votre premier itinéraire 16 Mode de conduite 18 Addendum 44 EN DA DE ES FR IT NL SV Inhoud Wat zit er in de doos? 19 Gebruik van uw TomTom ONE 20 De eerste rit 21 Rijweergave 23 Addendum 44 EN DA DE ES FR IT NL SV Contents What is in the box? 4 Using your TomTom ONE 5 Making your first journey 6 Driving View 8 Addendum 44 EN DA DE ES FR IT NL SV Inhalt Packungsinhalt 9 TomTom ONE im Einsatz 10 Ihre erste Fahrt 11 Fahransicht 13 Addendum 44 EN DA DE ES FR IT NL SV Indhold Æskens indhold 34 Brug af TomTom ONE 35 Din førsta køretur 36 Kørselsvisning 38 Addendum 44 EN 5 EN What is in the box? � � � � � � � � � �� �� �� �� �� �� � � � � � � � � � �� �� �� �� �� �� � � � � � � � � � �� �� �� �� �� �� � � � � � � � � � �� �� �� �� �� �� � � � � � � � � � �� �� �� �� �� �� � � � � � � � � � �� �� �� �� �� �� � � � � � � � � � �� �� �� �� �� �� 4 Using your TomTom ONE 1. Mount your TomTom ONE in your car as shown on the Installation Poster. Note: TomTom ONE contains a rechargeable battery that can be used for up to 2 hours without charging. 2. Push the memory card into the memory card slot. 3. Press and hold the On/Off button for 2 seconds, or until your TomTom ONE starts. The first time you switch on your TomTom ONE, it may take up to 20 seconds to start. To switch off your TomTom ONE, press and hold the On/ Off button for 2 seconds. Note: When you use your TomTom ONE for the first time we advise you to make a backup of your SD card using the backup option on the CD. Setting up First, you have to answer a few questions to set up your device. Answer the questions by tapping the screen. You will use the touchscreen for everything you do with your TomTom ONE. Once you have answered the questions, your TomTom ONE will display the Driving View. The screen is shown in black and white until your TomTom ONE locates your current position. Once this is done, the Driving View is shown in full colour. Locating your current position Your TomTom ONE must be outside to be able to locate your current position. Note: Your TomTom ONE does not transmit your position, so others cannot use it to track you while you are driving. The first time you start your TomTom ONE, it can take up to 5 minutes for the device to find your current position. In future, your position will be found much faster, normally within a few seconds. If your TomTom ONE takes longer than 5 minutes to locate your current position, make sure that you are in an open place without too many tall buildings or trees around you. Note: Some vehicles have a heat reflective shield embedded in the windscreen, which may prevent TomTom ONE from locating your current position. If this is a problem in your vehicle, use the TomTom External Antenna Kit (available as an accessory). Your TomTom ONE A memory card (SD card) containing the application and maps Mounting kit: Holder, Suction mount Car charger USB Cable Your Product code card Documentation pack including a CD for Microsoft Windows ® or Apple Macintosh ® . The CD Contains the full manual as well as a tool for backing up your memory card. BCA ABC FGHIJ E D D E FGHIJ A Touchscreen B Charging LED C On/Off button D External antenna connector E Speaker F USB connector G Memory card (SD card) slot H Power connector I Reset button J Headphone connector A B C D E F G I H J EN 7 EN 6 Planning a route with TomTom ONE is very simple. To plan your first route, follow the steps below. 1. Tap the screen to bring up the main menu. 2. Tap Navigate to ... 3. Tap Address . Now you have to specify where you want to go. This is done by selecting first the town, then the street and then either the house number or the point where two streets meet. Note: If you know the postcode of your destination, you can enter this instead of the address. From the Navigate to... menu, tap Postcode. Then enter the full postcode. 4. Start to type the name of the town where you want to go. After you have typed a few letters, the names of towns that match what you have typed are shown. When your destination is shown in the list, tap the name of the town to set the destination. 5. Start to type the name of the street. As with the name of the town, the names of streets that match what you have typed are shown. When your destination is shown in the list, tap the name of the street to set the destination. 6. Now do one of the following: • Enter the house number of your destination and then tap Done . • To select a point where two streets meet, tap Crossing and select the name of the street as in step 5. The route is calculated by your TomTom ONE. 7. When the route has been calculated, tap Done. Your TomTom ONE will immediately start giving you instructions for reaching your destination. To guide you to your destination, TomTom ONE will give you spoken instructions and visual instructions on the screen. Note: Before you can plan a route in this way, your TomTom ONE must first locate your current position. For more information about navigating, see the manual on the CD. Making your first journey Making your first journey EN 89 DE 1. The next instruction. 2. The name of the next street to turn onto. 3. Information about your journey: remaining journey time, remaining distance, arrival time. You can select which information is displayed. In the Preferences menu, tap Status bar preferences . 4. Your current position. 5. Buttons to zoom in and zoom out on your position. 6. The name of the next major road, if applicable. 7. Indicator of th…
Text truncated - open the document above for the full version.
Users Manual
IT 26 27 IT Pianificare un viaggio con TomTom ONE è semplicissimo. Per progettare il primo itinerario, procedere come indicato di seguito. 1. Toccare lo schermo per visualizzare il menu principale. 2. Sfiorare Navigazione verso... . 3. Sfiorare Indirizzo . Per specificare la propria destinazione, selezionare in primo luogo la città, quindi la via e il numero civico oppure l’incrocio. 4. Iniziare a digitare il nome della città desiderata. Una volta digitati i primi caratteri, vengono visualizzati i nomi di tutte le città che iniziano con i caratteri inseriti. Selezionare dall’elenco il nome della città desiderata per impostarlo come destinazione. 5. Iniziare a digitare il nome della via. Come per la città, viene visualizzato un elenco di nomi di vie che iniziano con i primi caratteri digitati. Selezionare dall’elenco il nome della via desiderata per impostarla come destinazione. 6. A questo punto: • Immettere il numero civico di destinazione e sfiorare Fatto . • Per selezionare un incrocio, sfiorare Incrocio e selezionare il nome della via come al punto 5. TomTom ONE procede al calcolo dell’itinerario. 7. Una volta calcolato l’itinerario, selezionare Fatto. TomTom ONE inizierà immediatamente a fornire le istruzioni per raggiungere la destinazione specificata. Per guidare l’utente a destinazione, TomTom ONE fornisce istruzioni sia vocali che scritte, visualizzate sullo schermo. Nota: per poter pianificare un itinerario nel modo descritto, è necessario rilevare la posizione corrente mediante TomTom ONE. Per ulteriori informazioni sulla navigazione, consultare il manuale su CD. Pianificazione del primo viaggioPianificazione del primo viaggio IT 28 29 ES � � � � � � � � � � � � � � � � � � � � � � � � � � � � � � � � � � � � � � � � � � � � � � � � � � � � � � � � 1. Istruzione successiva. 2. Nome della via successiva in cui svoltare. 3. Informazioni sull’itinerario: tempo rimanente, distanza rimanente, ora di arrivo prevista. È possibile selezionare il tipo di informazioni che si desidera visualizzare. Nel menu Preferenze, sfiorare Preferenze barra di stato . 4. Posizione corrente. 5. Pulsanti per ingrandire e ridurre la mappa con la posizione corrente. 6. Nome della strada principale successiva, se rilevante. 7. Indicatore dell’intensità del segnale GPS. Per ulteriori informazioni su TomTom ONE, consultare il manuale su CD. Schermata di guida Manutenzione di TomTom ONE È estremamente importante trattare TomTom ONE con cura e pulirlo nel modo corretto. • Servirsi di un panno morbido per pulire lo schermo di TomTom ONE; non utilizzare detergenti liquidi. Se TomTom ONE si bagna, asciugarlo con un panno morbido. • Non aprire la mascherina posteriore di TomTom ONE per nessun motivo. Interventi di questo tipo sono potenzialmente pericolosi e invalidano la garanzia. • Non utilizzare la scheda di memoria (scheda SD) con dispositivi diversi da TomTom ONE, in quanto potrebbero danneggiare la scheda. • Durante la notte, la ventosa potrebbe perdere aderenza. Se si lascia l’auto all’aperto durante le ore notturne, si consiglia di rimuovere il supporto a ventosa. • Non esporre TomTom ONE a temperature estremamente basse o elevate che potrebbero danneggiarlo in modo permanente. � � � � � � � � � �� �� �� �� �� �� � � � � � � � � � �� �� �� �� �� �� � � � � � � � � � �� �� �� �� �� �� Su TomTom One Tarjeta de memoria (tarjeta SD); contiene la aplicación y los mapas Kit de montaje: soporte, montura de ventosa Cargador para automóvil Cable USB Tarjeta con su código de producto Paquete de documentación que incluye un CD para Microsoft Windows ® o Apple Macintosh ® . El CD contiene el manual completo y una herramienta para crear una copia de seguridad de la tarjeta de memoria. BCA ABC FGHIJ E D D E FGHIJ Pantalla táctil LED de carga Botón de activación/ desactivación Conector de antena externa Altavoz Conector USB Ranura para tarjeta de memoria (tarjeta SD) Conector de Alimentación Botón Restablecer Conector de auriculares A B F G I H J Contenido de la caja E C � � � � � � � � � �� �� �� �� �� �� � � � � � � � � � �� �� �� �� �� �� � � � � � � � � � �� �� �� �� �� �� � � � � � � � � � �� �� �� �� �� �� D ES 30 31 ES Uso de TomTom ONE 1. Monte el TomTom ONE en el coche como se muestra en el Póster de instalación. Nota: TomTom ONE contiene una batería recargable que se puede utilizar durante un máximo de 2 horas sin recargar. 2. Inserte la tarjeta de memoria en la ranura para tarjeta de memoria. 3. Mantenga presionado el botón de activación/ desactivación durante 2 segundos o hasta que se inicie TomTom ONE. La primera vez que encienda TomTom ONE, puede que tarde hasta 20 segundos en iniciarse. Para apagar TomTom ONE, mantenga presionado el botón de activación/ desactivación durante 2 segundos. Nota: le recomendamos que, cuando utilice TomTom ONE por primera vez, realice una copia de seguridad de la tarjeta SD utilizando la opción de copias de seguridad del CD. Instalación Primero, tiene que responder a una serie de preguntas para configurar el dispositivo. Responda a las preguntas tocando la pantalla. Para realizar cualquier operación con TomTom ONE deberá usar la pantalla táctil. Después de haber respondido a las preguntas, TomTom ONE mostrará la Vista de conducción. La pantalla aparecerá en blanco y negro hasta que TomTom ONE localice su posición actual. Cuando su posición actual esté localizada, la pantalla mostrará la Vista de conducción a todo color. Localización de su posición actual TomTom ONE debe encontrarse en el exterior para poder localizar su posición actual. Nota: TomTom ONE no transmite la posición del usuario, por lo no es posible que otras personas lo utilicen para seguirle mientras usted conduce. La primera vez que inicie TomTom ONE, puede tardar hasta 5 minutos en detectar su posición actual. A partir de la segunda vez, TomTom ONE encontrará su posición más rápidamente, normalmente en unos segundos. Si TomTom ONE tarda más de 5 minutos en detectar su posición actual, asegúrese de que está en u…
Text truncated - open the document above for the full version.
External Photos
SPORTON International Inc. PAGE NUMBER : A1 OF A5 TEL : 886-2-2696-2468 ISSUED DATE : Oct. 5, 2005 FAX : 886-2-2696-2255 APPENDIX A. Photographs of EUT SPORTON International Inc. PAGE NUMBER : A2 OF A5 TEL : 886-2-2696-2468 ISSUED DATE : Oct. 5, 2005 FAX : 886-2-2696-2255 SPORTON International Inc. PAGE NUMBER : A3 OF A5 TEL : 886-2-2696-2468 ISSUED DATE : Oct. 5, 2005 FAX : 886-2-2696-2255 SPORTON International Inc. PAGE NUMBER : A4 OF A5 TEL : 886-2-2696-2468 ISSUED DATE : Oct. 5, 2005 FAX : 886-2-2696-2255 SPORTON International Inc. PAGE NUMBER : A5 OF A5 TEL : 886-2-2696-2468 ISSUED DATE : Oct. 5, 2005 FAX : 886-2-2696-2255
ID Label/Location Info
Label Location
Internal Photos
SPORTON International Inc. PAGE NUMBER : A1 OF A22 TEL : 886-2-2696-2468 ISSUED DATE : Oct. 5, 2005 FAX : 886-2-2696-2255 SPORTON International Inc. PAGE NUMBER : A2 OF A22 TEL : 886-2-2696-2468 ISSUED DATE : Oct. 5, 2005 FAX : 886-2-2696-2255 SPORTON International Inc. PAGE NUMBER : A3 OF A22 TEL : 886-2-2696-2468 ISSUED DATE : Oct. 5, 2005 FAX : 886-2-2696-2255 SPORTON International Inc. PAGE NUMBER : A4 OF A22 TEL : 886-2-2696-2468 ISSUED DATE : Oct. 5, 2005 FAX : 886-2-2696-2255 SPORTON International Inc. PAGE NUMBER : A5 OF A22 TEL : 886-2-2696-2468 ISSUED DATE : Oct. 5, 2005 FAX : 886-2-2696-2255 SPORTON International Inc. PAGE NUMBER : A6 OF A22 TEL : 886-2-2696-2468 ISSUED DATE : Oct. 5, 2005 FAX : 886-2-2696-2255 SPORTON International Inc. PAGE NUMBER : A7 OF A22 TEL : 886-2-2696-2468 ISSUED DATE : Oct. 5, 2005 FAX : 886-2-2696-2255 SPORTON International Inc. PAGE NUMBER : A8 OF A22 TEL : 886-2-2696-2468 ISSUED DATE : Oct. 5, 2005 FAX : 886-2-2696-2255 SPORTON International Inc. PAGE NUMBER : A9 OF A22 TEL : 886-2-2696-2468 ISSUED DATE : Oct. 5, 2005 FAX : 886-2-2696-2255 SPORTON International Inc. PAGE NUMBER : A10 OF A22 TEL : 886-2-2696-2468 ISSUED DATE : Oct. 5, 2005 FAX : 886-2-2696-2255 SPORTON International Inc. PAGE NUMBER : A11 OF A22 TEL : 886-2-2696-2468 ISSUED DATE : Oct. 5, 2005 FAX : 886-2-2696-2255 SPORTON International Inc. PAGE NUMBER : A12 OF A22 TEL : 886-2-2696-2468 ISSUED DATE : Oct. 5, 2005 FAX : 886-2-2696-2255 SPORTON International Inc. PAGE NUMBER : A13 OF A22 TEL : 886-2-2696-2468 ISSUED DATE : Oct. 5, 2005 FAX : 886-2-2696-2255 SPORTON International Inc. PAGE NUMBER : A14 OF A22 TEL : 886-2-2696-2468 ISSUED DATE : Oct. 5, 2005 FAX : 886-2-2696-2255 SPORTON International Inc. PAGE NUMBER : A15 OF A22 TEL : 886-2-2696-2468 ISSUED DATE : Oct. 5, 2005 FAX : 886-2-2696-2255 SPORTON International Inc. PAGE NUMBER : A16 OF A22 TEL : 886-2-2696-2468 ISSUED DATE : Oct. 5, 2005 FAX : 886-2-2696-2255 SPORTON International Inc. PAGE NUMBER : A17 OF A22 TEL : 886-2-2696-2468 ISSUED DATE : Oct. 5, 2005 FAX : 886-2-2696-2255 SPORTON International Inc. PAGE NUMBER : A18 OF A22 TEL : 886-2-2696-2468 ISSUED DATE : Oct. 5, 2005 FAX : 886-2-2696-2255 SPORTON International Inc. PAGE NUMBER : A19 OF A22 TEL : 886-2-2696-2468 ISSUED DATE : Oct. 5, 2005 FAX : 886-2-2696-2255 SPORTON International Inc. PAGE NUMBER : A20 OF A22 TEL : 886-2-2696-2468 ISSUED DATE : Oct. 5, 2005 FAX : 886-2-2696-2255 SPORTON International Inc. PAGE NUMBER : A21 OF A22 TEL : 886-2-2696-2468 ISSUED DATE : Oct. 5, 2005 FAX : 886-2-2696-2255 SPORTON International Inc. PAGE NUMBER : A22 OF A22 TEL : 886-2-2696-2468 ISSUED DATE : Oct. 5, 2005 FAX : 886-2-2696-2255
RF Exposure Info
Report No.: FR592307 FCC ID: S4LONE Page No. : 1 of 3 Appendix C. Maximum Permissible Exposure Report No.: FR592307 FCC ID: S4LONE Page No. : 2 of 3 1. Maximum Permissible Exposure 1.1. Applicable Standard Systems operating under the provisions of this section shall be operated in a manner that ensures that the public is not exposed to radio frequency energy levels in excess limit for maximum permissible exposure. In accordance with 47 CFR FCC Part 2 Subpart J, section 2.1091 this device has been defined as a mobile device whereby a distance of 20 cm normally can be maintained between the user and the device. (A) Limits for Occupational / Controlled Exposure Frequency Range (MHz) Electric Field Strength (E) (V/m) Magnetic Field Strength (H) (A/m) Power Density (S) (mW/ cm²) Averaging Time |E|²,|H|² or S (minutes) 0.3-3.0 614 1.63 (100)* 6 3.0-30 1842 / f 4.89 / f (900 / f)* 6 30-300 61.4 0.163 1.0 6 300-1500 F/300 6 1500-100,000 5 6 (B) Limits for General Population / Uncontrolled Exposure Frequency Range (MHz) Electric Field Strength (E) (V/m) Magnetic Field Strength (H) (A/m) Power Density (S) (mW/ cm²) Averaging Time |E|²,|H|² or S (minutes) 0.3-1.34 614 1.63 (100)* 30 1.34-30 824/f 2.19/f (180/f)* 30 30-300 27.5 0.073 0.2 30 300-1500 F/1500 30 1500-100,000 1.0 30 Note: f = frequency in MHz ; *Plane-wave equivalent power density 1.2. MPE Calculation Method E (V/m) = d GP××30 Power Density: Pd (mW/cm²) = 377 2 E E = Electric field (V/m) P = Peak RF output power (mW) G = EUT Antenna numeric gain (numeric) d = Separation distance between radiator and human body (cm) The formula can be changed to Pd = 2 377 30 d GP × ×× From the peak EUT RF output power, the minimum mobile separation distance, d=20cm, as well as the gain of the used antenna, the RF power density can be obtained. Report No.: FR592307 FCC ID: S4LONE Page No. : 3 of 3 1.3. Calculated Result and Limit Max Conducted Power for Bluetooth : 1.63dBm Antenna Gain (dBi) Antenna Gain (numeric) Peak Output Power (dBm) Peak Output Power ( mW ) Power Density (S) (mW/cm²) Limit of Power Density (S) (mW/cm²) Test Result -3.00 0.50 1.63 1.46 0.0001 1 Complies
Test Report
SPORTON International Inc. No. 52, Hwa Ya 1st Rd., Kwei-Shan Hsiang, TaoYuan Hsien, Taiwan, R.O.C. Ph: 886-3-327-3456 / FAX: 886-3-327-0973 / www.sporton.com.tw FCC RADIO TEST REPORT Applicant’s company TomTom BV. Applicant Address Rembrandtplein 35, 1017 CT Amsterdam, The Netherlands FCC ID S4LONE Manufacturer’s company Inventec Appliances Corp. Manufacturer Address 37, Wugong 5 th Rd., Wugu Shiang, Taipei, Taiwan 248 Product Name GPS Tracking System Brand Name TomTom Model Name TomTom ONE Test Rule Part(s) 47 CFR Part 15.247 Test Freq. Range 2400 ~ 2483.5MHz Receive Date Sep. 23, 2005 Test Date Sep. 27, 2005 Submission Type Original Equipment Statement The test result in this report refers exclusively to the presented test model / sample. Without written approval of SPORTON International Inc., the test report shall not be reproduced except in full. The measurements and test results shown in this test report were made in accordance with the procedures and found in compliance with the limit given in ANSI C63.4-2003 and 47 CFR FCC Part 15 Subpart C. The test equipment used to perform the test is calibrated and traceable to NML/ROC. Lab Code: 2000-79-0 Report No.: FR592307 FCC ID: S4LONE Page No. : i of ii Issued Date : Oct. 7, 2005 Table of Contents 1. CERTIFICATE OF COMPLIANCE ......................................................................................................................... 1 2. SUMMARY OF THE TEST RESULT .......................................................................................................................... 2 3. GENERAL INFORMATION .................................................................................................................................. 3 3.1. Product Details....................................................................................................................................................................................3 3.2. Accessories .........................................................................................................................................................................................3 3.3. Table for Filed Antenna.......................................................................................................................................................................3 3.4. Table for Carrier Frequencies .............................................................................................................................................................3 3.5. Table for Test Modes ...........................................................................................................................................................................4 3.6. Table for Testing Locations..................................................................................................................................................................4 3.7. Table for Supporting Units ...................................................................................................................................................................4 3.8. Table for Parameters of Test Software Setting .....................................................................................................................................4 3.9. Test Configurations .............................................................................................................................................................................5 4. TEST RESULT ..................................................................................................................................................... 7 4.1. AC Power Line Conducted Emissions Measurement...........................................................................................................................7 4.2. Maximum Peak Output Power Measurement ...................................................................................................................................11 4.3. Hopping Channel Separation Measurement ...................................................................................................................................13 4.4. Number of Hopping Frequency Measurement.................................................................................................................................18 4.5. Dwell Time Measurement..................................................................................................................................................................20 4.6. Radiated Emissions Measurement ....................................................................................................................................................27 4.7. Band Edge Emissions Measurement .................................................................................................................................................41 4.8. Antenna Requirements .....................................................................................................................................................................44 5. LIST OF MEASURING EQUIPMENTS ................................................................................................................... 45 6. SPORTON COMPANY PROFILE ........................................................................................................................ 46 6.1. Test Location.....................................................................................................................................................................................46 7. CERTIFICATE OF NVLAP ACCREDITATION ......................................................................................................... 47 APPENDIX A. PHOTOGRAPHS OF EUT.........................................................................................................A1 ~ A29 APPENDIX B. TEST PHOTOS...........................................…
Text truncated - open the document above for the full version.
Test Setup Photos
Report No.: FR592307 FCC ID: S4LONE Page No. : 1 of 4 Appendix B. Test Photos Report No.: FR592307 FCC ID: S4LONE Page No. : 2 of 4 1. Photographs of Conducted Emissions Test Configuration FRONT VIEW REAR VIEW Report No.: FR592307 FCC ID: S4LONE Page No. : 3 of 4 2. Photographs of Radiated Emissions Test Configuration FRONT VIEW REAR VIEW Report No.: FR592307 FCC ID: S4LONE Page No. : 4 of 4
Contact Information
Applicant
Barto Wijlens(Head of Global Supply chain)
Test Firm
SPORTON International IncKathy Lin
Technical Specifications
| # | Rule Parts | Frequency Range | Power Output |
|---|---|---|---|
| 1 | 15C | 2.40 GHz - 2.48 GHz | 1.50 mW |
Other Applications from TomTom International BV
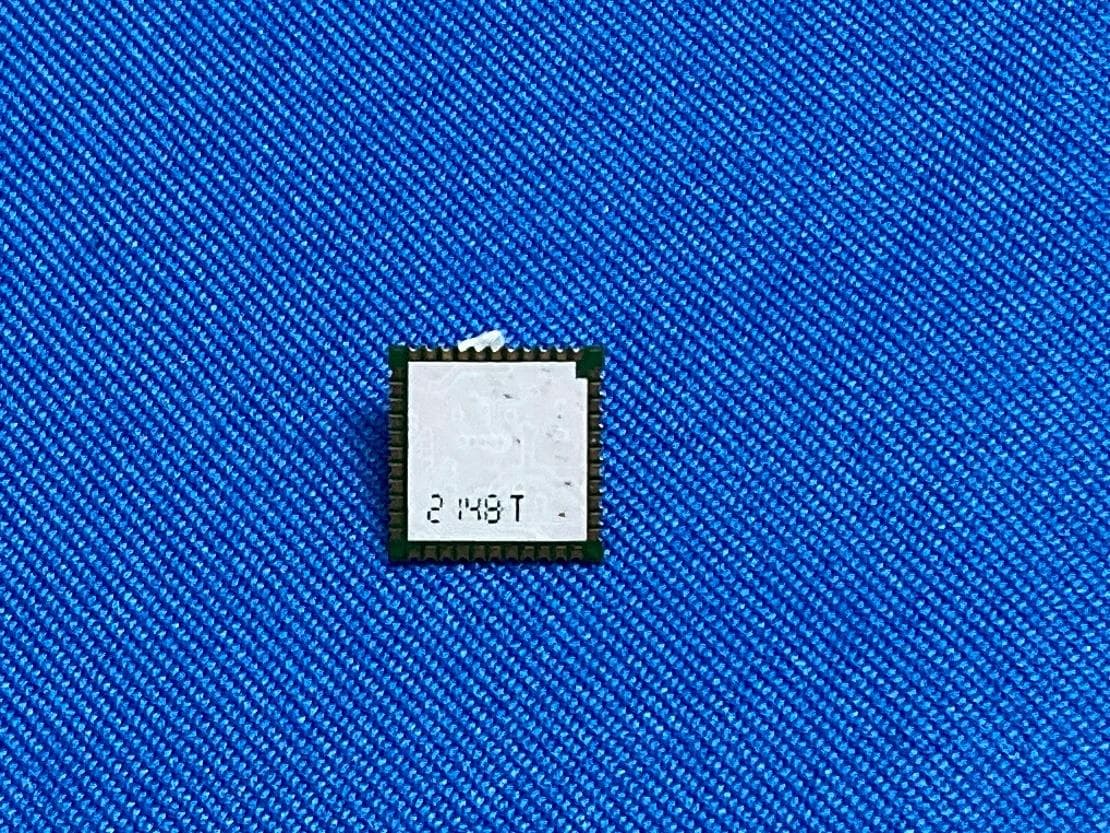
S4LFF51
Apr 09, 2023WiFi/BT Module
Equipment Class
DTS - Digital Transmission System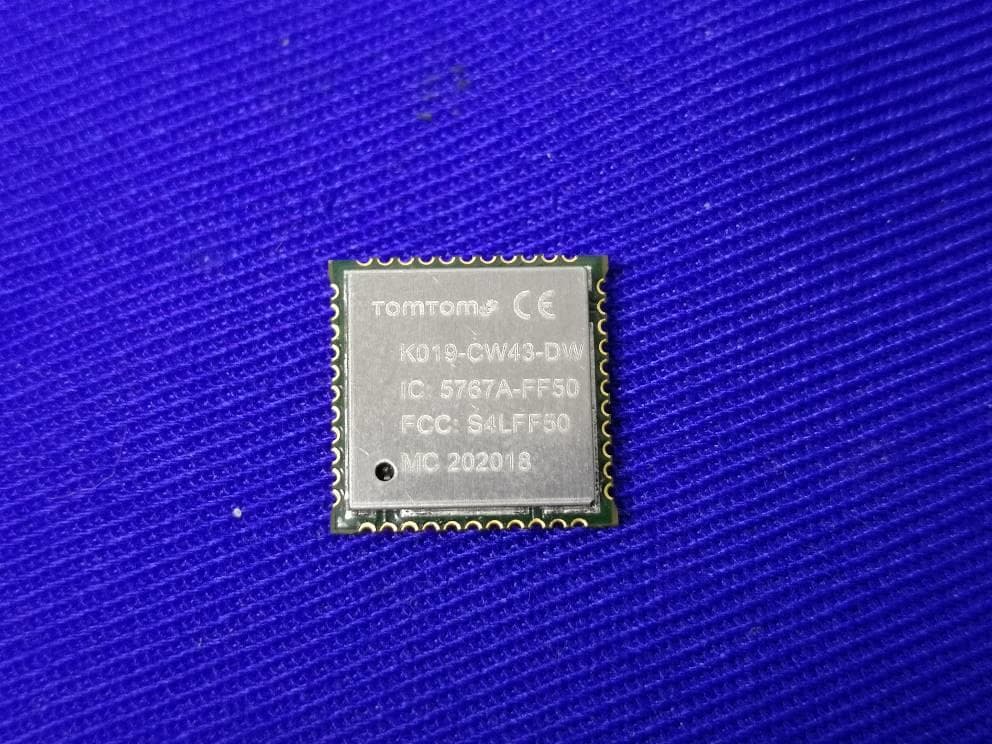
S4LFF50
Jul 01, 2020WIFI/BT Module
Equipment Class
NII - Unlicensed National Information Infrastructure TX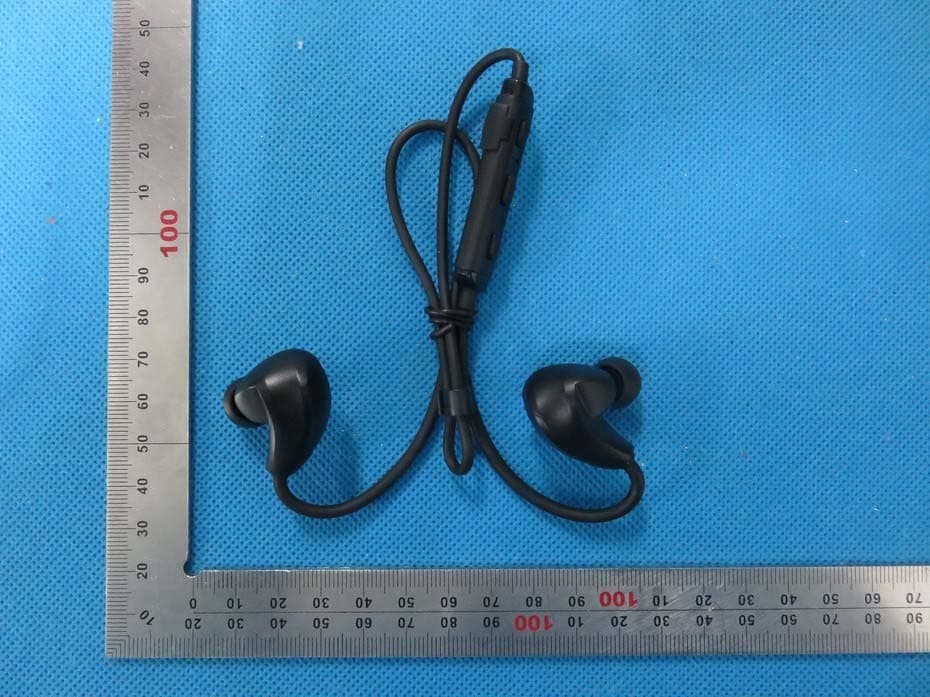
S4L4ROM
Nov 16, 2015Bluetooth Sports Headphones
Equipment Class
DSS - Part 15 Spread Spectrum Transmitter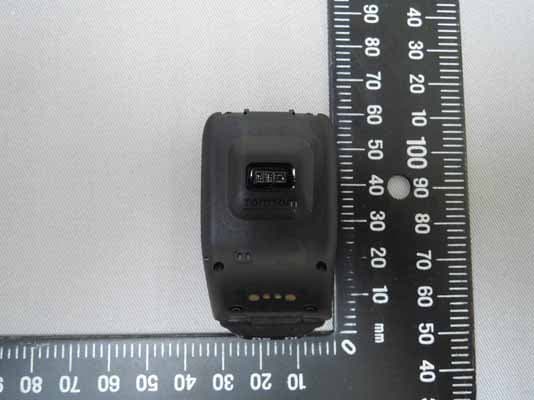
S4L4RFM
Sep 16, 2015TomTom Cardio GPS Watch
Equipment Class
DSS - Part 15 Spread Spectrum Transmitter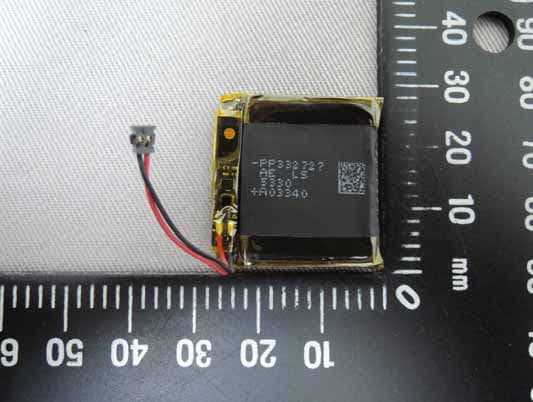
S4L4REM
Sep 16, 2015TomTom GPS Watch
Equipment Class
DTS - Digital Transmission System