SO7-206J0000REMOTE TRANSMITTER
Pella Corporation
Click to zoom
Application Details
- Equipment Class
- DSC - Part 15 Security/Remote Control Transmitter
- Date of Grant
- Apr 14, 2014
- Application Purpose
- Original Equipment
- Date of Application
- Apr 14, 2014
- Equipment Note
- REMOTE TRANSMITTER
- Frequency Range
- 433.92000000 - 433.92000000
- Company
- Pella Corporation
- Country
- United States
Documents & Files
Document Text
Text extracted from the exhibit documents filed with the FCC. Open a document above to read the original.
Users Manual
Insynctive ™ CELLULAR SHADE Installation Instructions INSYNCTIVE ™ PRODUCTS NEEDED CELLULAR SHADE (included): CELLULAR SHADE can be automatically raised and lowered to improve the comfort and convenience of your home. REMOTE (required — sold separately): REMOTE is used to operate one or more INSYNCTIVE TM SHADES or BLINDS. REMOTE is also used to program up to three custom settings to INSYNCTIVE TM SHADES or BLINDS. BRIDGE (optional — sold separately): The main control unit for this system, BRIDGE provides the communication link to/from CELLULAR SHADE or your gateway home automation system. If using a home automation system with Z-Wave, BRIDGE must be located in the same room and not more than 50 feet away from the Z-Wave gateway. TOOLS REQUIRED Measuring Tape Drill with 3/32” Bit and 1/4” Nut Driver Pencil #2 Phillips Head Screwdriver Flat Head Screwdriver Level Read and understand all instructions prior to installation. Complete all instructions prior to use. If the installation area is out of reach, use an appropriately sized ladder and safely follow manufacturer’s instructions for use. INSTALLATION AND SETUP INSTRUCTIONS 1. Get Started • Verify package contents match the packing slip • Verify there are no obstructions in the path the shade will travel such as latches, locks, window crank, handles, sensors, window mullions, etc. 2. Determine Mount Type • Determine whether you will use a Top Mount or Back Mount. Top Mount is typically used for an inside or ceiling mount. Back Mount is typically used for outside mount. 3. Install Shade • Measure 6 inches inward from each side of the opening. Mark with a pencil. If your shade has more than two brackets, the remaining brackets must be distributed evenly between the two marks. Temporarily place each bracket and mark the screw holes. • Drill holes at the marked locations using a 3/32” bit. • Align bracket and bracket spacer with drilled holes and drive a screw into each hole with a 1/4” nut driver. Use expansion anchors or toggle bolts if adequate structure is not present in the mounting area. Repeat for each bracket. • Hook the shade on the brackets by sliding the top leg of the brackets into the top of the shade, then pressing up at an angle until the shade snaps into the bracket. Inspect behind the shade to ensure that the shade assembly is secured to each bracket. 4. Setup Shade • Complete the following steps to setup your shade 1. If you have not done so, open REMOTE package and install battery. 2. Remove Front Cover to expose the batteries. 3. Remove the battery pull tab to power CELLULAR SHADE and enter Sync Mode. Complete Step 4 within 1 minute of removing the battery pull tab or CELLULAR SHADE will exit Sync Mode. To re-enter the 1 minute Sync Mode, cycle power to CELLULAR SHADE by removing and re-installing a battery. 4. Press and hold the UP button on REMOTE until the CELLULAR SHADE completes a short up and down movement. This acknowledges that REMOTE was successfully learned to CELLULAR SHADE. CELLULAR SHADE will then move to the top, fully open position. 5. When CELLULAR SHADE stops in the fully open position, press and release the DOWN button to send CELLULAR SHADE to its down position. If the preset down position is satisfactory, you may skip the remaining steps. 6. To change the down position, simultaneously press and hold the CENTER and DOWN buttons until the LED on REMOTE begins to blink. This should take about 3 seconds. 7. Tug CELLULAR SHADE bottom rail downward at least 6 inches to select it. CELLULAR SHADE will complete a short up and down motion to acknowledge it is ready to learn a new limit. 8. Pull the bottom rail downward to the desired position. 9. Press and hold CENTER button until CELLULAR SHADE makes a short up and down motion. This should take about 3 seconds. The light on REMOTE will stop blinking. 10. CELLULAR SHADE is now ready for use. 5. Test ROLLER SHADE • Press the UP button to move the CELLULAR SHADE to the fully open position. Verify that fabric and bottom rail do not rub or interfere with window, wall, or other obstructions. • Press the DOWN button to move CELLULAR SHADE to the down position. Verify CELLULAR SHADE appears straight, level, and that the gaps or overlaps are equal. Safely make adjustments to the brackets as needed. FCC Compliance and Industry Canada This equipment has been tested and found to comply with the limits for Class B digital devices, pursuant to Part 15 of the FCC Rules. These limits are designed to provide reasonable protection against harmful interference in a residential installation. This equipment generates uses and can radiate radio frequency energy and, if not installed and used in accordance with the instruction manual, may cause harmful interference to radio communications. However, there is no guarantee that interference will not occur in a particular installation. If this equipment does cause harmful interference to radio or television reception, which can be determined by turning the equipment off and on, the user is encouraged to try to correct the interference by one or more of the following measures: • Reorient or relocate the receiving antenna. • Increase the separation between the equipment and receiver. • Connect the equipment to an outlet on a different circuit from the receiver. • Consult the dealer or an experienced radio/TV contractor for help. Changes or modifications not expressly approved by Pella Corporation could void the user’s authority to operate the equipment. This device complies with Industry Canada license-exempt RSS standard(s). Operation is subject to the following two conditions: (1) this device may not cause interference, and (2) this device must accept any interference, including interference that may cause undesired operation of the device. Cet appareil est conforme avec Industrie Canada exempts de licence standard RSS. L’opération est soumise aux deux conditions suivantes: (1) cet appareil ne peut causer d’interférences, et (2) cet appa…
Text truncated - open the document above for the full version.
Cover Letter(s)
Pella Corporation 102 Main Street Pella, Iowa 50219 LABEL LOCATION JUSTIFICATION LETTER To whom it may concern, We would like to place our product label on the inside of our product next to the batteries. This is due to the fact that once our cellular shade product is installed in the window frame access to the top, bottom, and sides of the “c-bracket” (aka header or rail) where a label would normally be visible will not be. However, access is available by removing the front fascia where the batteries are contained. This is an optimal location for viewing the product label. The FCC ID number can be seen in this area. The FCC ID number may also be viewable at the time of purchase by having a label on the product packaging or other viewable area. Sincerely, Kevin Gaul Engineering Manager – External Affairs and Design Assurance Pella Corporation 102 Main Street Pella, Iowa 50219
ID Label/Location Info
This device complies with Part 15 of the FCC Rules. Operation is subject to the following two conditions: (1) This device may not cause harmful interference, and (2) this device must accept any interference received, including interference that may cause undesired operation MODEL : 206J0000 PRODUCT: Insynctive Cellular Shade FCC ID: SO7-206J0000 IC:11009A-206J0000 102 Main Street Pella, IA 50219 PELLA.COM/INSYNCTIVE Pella Corporation RoHS
Test Report
FCC PART 15.231 TEST REPORT LOW POWER UNLICENSED TRANSMITTER Applicant PELLA CORPORATION Address 102 MAIN STREET PELLA IOWA 50009 FCC ID SO7-206J0000 Product Description REMOTE WINDOW SHADE CONTROLLER Date Sample Received 3/24/2014 Date Tested March 24, 2014 Tested By Cory Leverett Approved By Cory Leverett Timco Report No. 418AUT14 Test Results Pass Fail THE ATTACHED REPORT SHALL NOT BE REPRODUCED EXCEPT IN FULL WITHOUT THE WRITTEN APPROVAL OF TIMCO ENGINEERING, INC. 849 NW STATE ROAD 45 NEWBERRY, FL 32669 USA PH: 888.472.2424 OR 352.472.5500 FAX: 352.472.2030 EMAIL: [email protected] HTTP://WWW.TIMCOENGR.COM APPLICANT: PELLA CORPORATION FCC ID: SO7-206J0000 REPORT: P\PELLA_SO7\418AUT14\418AUT14TestReport.docx Page 2 of 20 Table of Contents GENERAL REMARKS ...................................................................................................... 3 REPORT SUMMARY ....................................................................................................... 4 TEST ENVIRONMENT ..................................................................................................... 4 TEST SETUP................................................................................................................... 4 DUT SPECIFICATION ..................................................................................................... 5 MANUFACTURE DECLARATION OF COMPLIANCE WITH PART 15.231(A) ..................... 6 TEST EQUIPMENT LIST ................................................................................................. 7 TEST PROCEDURES ...................................................................................................... 8 RADIATION INTERFERENCE .......................................................................................... 9 CALCULATION OF DUTY CYCLE .................................................................................. 11 DUTY CYCLE PLOTS .................................................................................................... 12 TRANSMITTER HOLD OFF TIME .................................................................................. 15 OCCUPIED BANDWIDTH .............................................................................................. 16 POWER LINE CONDUCTED INTERFERENCE ............................................................... 17 APPLICANT: PELLA CORPORATION FCC ID: SO7-206J0000 REPORT: P\PELLA_SO7\418AUT14\418AUT14TestReport.docx Page 3 of 20 GENERAL REMARKS The attached report shall not be reproduced except in full without the written permission of Timco Engineering Inc. Summary The device under test does: fulfill the general approval requirements as identified in this test report not fulfill the general approval requirements as identified in this test report Attestations This equipment has been tested in accordance with the standards identified in this test report. To the best of my knowledge and belief, these tests were performed using the measurement procedures described in this report. All instrumentation and accessories used to test products for compliance to the indicated standards are calibrated regularly in accordance with ISO 17025 requirements. I attest that the necessary measurements were made, under my supervision, at: Timco Engineering Inc. 849 NW State Road 45 Newberry, Fl 32669 Authorized Signatory Name: Cory Douglas Leverett Engineering Project Manager Date: March 24, 2014 APPLICANT: PELLA CORPORATION FCC ID: SO7-206J0000 REPORT: P\PELLA_SO7\418AUT14\418AUT14TestReport.docx Page 4 of 20 REPORT SUMMARY Disclaimer The test results only relate to the item tested. Applicable Rule(s) FCC Pt 15.231, Pt 15.209, Pt 15.207, ANSI C63.4: 2003 Related Report(s) or Approval(s) 418BUT14TestReport (Receiver portion of this Transceiver) Receiver The receiver portion of this system has been tested and meets all of the FCC requirements per FCC rules Part 15.109. A report was issued and a copy of this report is available upon request. TEST ENVIRONMENT Test Facility The test sites are located at 849 NW State Road 45 Newberry, FL 32669 USA. Test Condition: Temperature: 26ºC Relative humidity: 50% TEST SETUP Test Exercise (e.g software description, test signal, etc.): The DUT was placed in continuous transmit mode of operation. Deviation from the standard(s) No deviation from the standard(s) Modification to the DUT: No modification was made to the DUT. Supporting Peripheral Equipment Not applicable. The device is a stand-alone remote control transceiver. APPLICANT: PELLA CORPORATION FCC ID: SO7-206J0000 REPORT: P\PELLA_SO7\418AUT14\418AUT14TestReport.docx Page 5 of 20 DUT SPECIFICATION Applicant PELLA CORPORATION Description Remote Controlled Window Shades Transceiver FCC ID SO7-206J0000 Model Number 206J0000 Frequency Range 433.92MHz DUT Power Source 110–120Vac/50– 60Hz DC Power Battery Operated Exclusively Test Item Prototype Pre-Production Production Type of Equipment Fixed Mobile Portable APPLICANT: PELLA CORPORATION FCC ID: SO7-206J0000 REPORT: P\PELLA_SO7\418AUT14\418AUT14TestReport.docx Page 6 of 20 MANUFACTURE DECLARATION OF COMPLIANCE WITH PART 15.231(A) Item Description Yes No 1 Does this device transmit a signal that is only used to control another device? X 2 Does this device send data with this control signal? X 3 Does this device send data? Data is, things like: temperature, wind direction, fluid amount, rate of flow, etc. X 4 Does this device transmit continuously or automatically? X 5 If manually operated does this device stop transmitting within 5 seconds of releasing the button? X 6 If automatically operated does it deactivate 5 seconds after activation? X 7 Does it transmit at regular predetermined intervals? X 8 Does it poll or send supervisory information? NA If yes does it do a system integrity check? How often? NA 9 Is this a fire, security or safety of life device? X If YES does the device stop transmitting after the alarm condition is satisfied? X 10 Duty cycle: Maximum …
Text truncated - open the document above for the full version.
Contact Information
Applicant
Dan Parrish
Test Firm
Timco Engineering, Inc.Bruno Clavier
Technical Specifications
| # | Rule Parts | Frequency Range | Power Output |
|---|---|---|---|
| 1 | 15.231 | 433.92 MHz - 433.92 MHz | - |
Other Applications from Pella Corporation
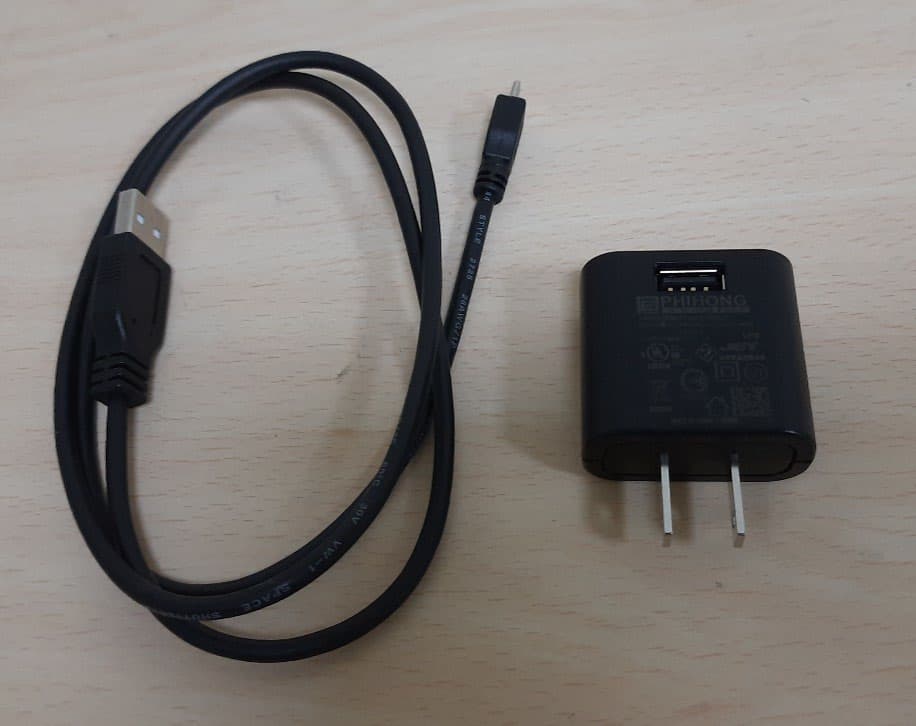
SO7-208B0001
Jun 27, 2021Pella Insynctive Bridge
Equipment Class
DSR - Part 15 Remote Control/Security Device Transceiver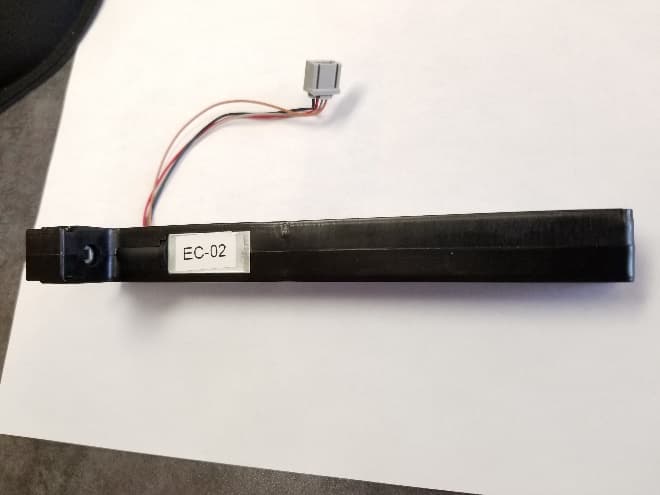
SO7-209L0000
Jul 28, 2020Blind/Shade Wireless Sensor Controller
Equipment Class
DSC - Part 15 Security/Remote Control Transmitter
SO7-206C0000
Mar 16, 2014Insynctive Roller Shade
Equipment Class
DSR - Part 15 Remote Control/Security Device Transceiver