TTQEZAV-P1Digital Audio Player
EZAV Co., Ltd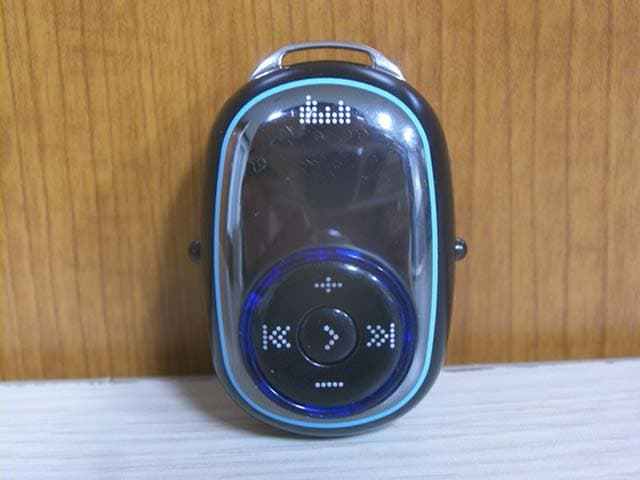
Click to zoom
Application Details
- Equipment Class
- JBP - Part 15 Class B Computing Device Peripheral
- Date of Grant
- Apr 23, 2006
- Application Purpose
- Original Equipment
- Date of Application
- Apr 23, 2006
- Equipment Note
- Digital Audio Player
- Company
- EZAV Co., Ltd
- Country
- South Korea
Documents & Files
Document Text
Text extracted from the exhibit documents filed with the FCC. Open a document above to read the original.
Users Manual
1 Content | Preparation | 1. Basic Component List1 2. Product Features 2 3. Name of Each Part 3 4. Menu Structure 4 | Using Function | 1. Charge Function5 2. Connecting to the computer 5 3. Playing music file, deleting file 7 4. Listening to FM Radio/Recording FM Radio8 5. Voice Recording 9 6. Playlist Function 9 7. Bookmark Function 10 8. Resume Function in seconds 10 9. Time Step Function 10 10. SLEEP Function 11 11. Play Speed Control Function 11 12. Temporary Pause Function for Recording11 13. File INTRO Function 11 14. HOLD Function 11 | Using Menu | 1. MODE12 2. SET 12 1) PLAY 12 2) DISPLAY 13 3) RECORD 13 4) GENERAL 14 3. FORMAT 14 4. INFORM 15 | Using Music Friend | 1. Installing MusicFriend16 2. Text editing Function(Possible only in pc)18 3. Image Edit Function 19 4. Using the Media sync 21 | Customer Service | 1. Specifications28 2. Warranty 29 3. Notice 30 Basic Component List Set, User’s Manual/Warranty, Music Friend CD, USB Cable, Earphone, Necklace 3 Name of each part 2 54 1. Set is charged when it connect with turned PC. 2. "Charging" is displayed and " Charge OK " is displayed when finished. 1. Connecting to the computer. 1) Connect the player to the USB terminal of the computer. 2) “Removable Disk” will be appeared in My Computer. WINDOWS 2000/XP will generate it without installing additional driver, WINDOWS 98/ME users should install the additional driver to generate “Removable Disk” 3) Copy the wanted file and store it in the Removable Disk 4) Folders can be created in Removable Disk same as PC. 2. Disconnecting from computer 1) Disconnecting the player during file transferring will might cause fatal error. 2) After transferring data, disconnect the player by clicking the icon of “safely remove hardware” on the right bottom of the monitor and stopping the device in case of using Windows2000 /ME/XP. Charging Connecting to the computer 1. Turn on the power by pressing PLAY()BUTTON. 2. Press and hold the MENU/REC BUTTON . 3. Select the item using LEFT/RIGHT() BUTTON. 4. Press the PLAY()BUTTON to select detail item(To go to previous menu, press the MENU/REC BUTTON. To escape the menu,press and hold the MENU/REC BUTTON) 5. Using UP/DOWN(+/-)BUTTON, Confirm seting. How to Menu Control 6 3.Copy a file to the Removable Disk 1) When “Removable Disk” is generated in My Computer, select the file for copying. 2) There are three copying methods as following. 1. Press the right button of mouse and select [Copy]. Press the right button of mouse and [Paste] in the folder of “Removable Disk”. 2. Drag the mouse then drop the dragged file to the folder of “Removable Disk” for copying. 3. Select the file for copying and press [Ctrl]+[C] of Keyboard. Press [Ctrl]+[V] of Keyboard on the folder of “Removable Disk” for copying. 4.Deleting File/Folder in Removable Disk 1) After “Removable Disk” is generated in My Computer, select the file/folder for deleting. 2) There are three deleting methods as following. 1. Press the right button of mouse and select [Delete] for deleting file/folder. 2. Drag the mouse then drop the dragged file/folder to of “Recycle Bin”. 3. Select the file for deleting then press [Delete] on keyboard deleting file/folder. 5.Creating Folder in Removable Disk 1) “Removable Disk” is generated in My Computer. 2) Creating folder is as following. 1. Press the right button of mouse and select [New Folder], then create the folder. 6.Change name of file/folder in Removable Disk 1) “Removable Disk” is generated in My Computer. 2) Renaming the file/folder is as following. 1. Press the right button of mouse and select [Rename], then change the name by keyboard. Connecting to Computer(Continued) 98 Listening FM Radio/Recording FM Radio 1. Go to FM Mode 1) Press and hold the MENU/REC BUTTON to move on MODE, and then press PLAY( ) BUTTON. 2) Select the FM using LEFT/RIGHT() BUTTON, and then press PLAY( ) BUTTON. 2. Tuning the Radio manually 1) Move the LEFT/RIGHT() BUTTON to left/right and search the radio frequency.(No PRESET number is the status of manual) 2) If you briefly press the LEFT/RIGHT() BUTTON, frequency is increased/decreased by 0.1MHz or 0.05MHz and you can search for FM station of your choice. If you long press, automatically increased/ decreased while searching for FM station. 3.Searching the frequency which was stored 1) Pressing PLAY( ) BUTTON will display the PRESET number. 2) Select the PRESET number using LEFT/ RIGHT() BUTTON. 3) At every press of the PLAY( ) BUTTON, scan mode or memory mode is alternatively changed. 4. PRESET the tuned frequency manually 1) Press and hold the MENU/REC BUTTON on FM mode. 2) Using the LEFT/RIGHT() BUTTON, select FREQ. SAVE, and then press PLAY( ) BUTTON. 3) Select the MANUAL using LEFT/RIGHT() BUTTON, and then Press PLAY( ) BUTTON. 4) Select the PRESET number using UP/DOWN(+/-) BUTTON, and then press PLAY( ) BUTTON. 5) Maximum number can be stored is 20. 5.Automatically memorized the turned frequency 1) Press and hold the MENU/REC BUTTON on FM mode. 2) Select the FREQ.SAVE mode using LEFT/ RIGHT() BUTTON, and then press PLAY BUTTON 3) Select the AUTO using LEFT/LIGHT() BUTTON, then press PLAY( ) BUTTON. 4) Maximum number can be stored is 20 6.Selecting the MONO/STEREO 1) Press and hold the MENU/REC BUTTON on FM mode. 2) Select the SET using the LEFT/RIGHT() BUTTON, and then press PLAY( ) BUTTON. 3) Select the SOUND using LEFT/RIGHT() BUTTON, and then press PLAY( ) BUTTON. 4) Select the MONO/STEREO using the UP/ DOWN(+/-) BUTTON, and then press PLAY( ) BUTTON. Listening FM Radio/Recording FM Radio 7. Recording FM Radio 1) Press the MENU/REC BUTTON on the FM Radio mode, the FM radio will be recorded. 2) If you press the MENU/REC BUTTON again during the recoding, the recording will be stopped and file will be created. - Recording file will be created under FM folder 3) If you press the MENU/REC BUTTON, the FM radio will be recorded on new file 4) If you press the PLAY( ) BUTTON during the recording will be held, Press again the PLAY( )…
Text truncated - open the document above for the full version.
Block Diagram
LCD (UG-6448AL BAT01) KEY MATRIX U11 MICOM (SKYLARK∥) U10 CODEC (WM8750L) EAR-PHONE MIC U16 FLASH MEMORY (K9K2G08UOM) U9 FM MODULE (GRP-301S) DATA BUS BLOCK DIAGRAM BLOCK DIAGRAM EZAV-P1 EZAV-P1 X-TAL (CLOKK :12MHz) U3 USB CONTROLLER (PP2366)
Test Report
IST Co., Ltd EMC LABORATORY TEST REPORT NO. : 06-IST-0198 1 of 26 Certification of Compliance CFR 47 Part 15 Subpart B Test Report File No. : 06-IST-0198 Date of Issue : April 18, 2006 FCC ID : TTQEZAV-P1 Model(s) : EZAV-P1 ■ Basic □ Alternate Kind of Product : Digital Audio Player Applicant : EZAV Co., Ltd. Address : B-806, Woolim-lionsvalley, 371-28, Gasan-dong, Geumcheon-gu, Seoul, Korea Manufacturer : EZAV Co., Ltd. Address : B-806, Woolim-lionsvalley, 371-28, Gasan-dong, Geumcheon-gu, Seoul, Korea Test Result ■ Positive □ Negative Reviewed By Approved By Comment(s) - Investigations requested : Measurement to the relevant clauses of FCC rules and regulations Part 15 Subpart B – Unintentional Radiators, Class B. - The test report with appendix consists of 26 pages. - The test result only responds to the tested sample. - It is not allowed to copy this report even partly without the allowance of IST EMC Laboratory. - This equipment as for has been shown to be capable of continued compliance with the applicable technical standards as indicated in the measurement report and was tested in accordance with the measurement procedures specified in ANSI C63.4 2003. S.J.Cho / EMC Group Manager J.H.Lee / Chief IST Co., Ltd EMC LABORATORY TEST REPORT NO. : 06-IST-0198 2 of 26 TABLE OF CONTENTS Table of contents 2 Information of test laboratory, Environmental conditions, Power supply system used, Product information 3 Descriptions of test Conducted Emission 4 Radiated Emission 5 Measurement Uncertainty Calculations 6 Equipment Under Test 7 Test Set-Up (Figure) 8 Summary 9 ■ Test Conditions and Data – Emissions ◆ Conducted Emissions 0.15MHz- 30MHz Applicable Test Conditions / Data and Plots 10-12 ◆ Radiated Emissions 30MHz - 1GHz Applicable Test Conditions / Data and Plots 13-19 Appendix A. The Photos of Test Setup 20-24 B. The Photos of Equipment Under Test 25-26 Note: IST Co., Ltd EMC LABORATORY TEST REPORT NO. : 06-IST-0198 3 of 26 INFORMATIONS OF TEST LABORATORY EMC LABORATORY of IST Co., Ltd. (FCC Filing Lab.) San 21-8, Goan-Ri, Baekam-Myun, Yongin-City Kyonggi-Do, 449-860, Korea TEL : +82 31 333 4093 FAX : +82 31 333 4094 ENVIRONMENTAL CONDITIONS Temperature 18.1 °C Humidity 39 % Atmospheric pressure 1012 mbar POWER SUPPLY SYSTEM USED Power supply system Li-ION battery (Refer to the product information) PRODUCT INFORMATION File Support MPEG 1/2/2.5/3 Layer3, WMA, ASF Channel Stereo Frequency Range 20Hz~20KHz Earphone Output 20mW(L)+20mW:16Ω, Maximum Volume AUDIO S/N Ratio Over 90dB(With 20KHz LPF) Frequency Range 87.5MHz~108MHz(Korea/USA/Europe) 76MHz~108MHz(Japan) Earphone Output 20mW(L)+20mW:16Ω, Maximum Volume S/N Ratio Over 55dB(With 20KHz LPF) FM Radio Receiver Type Earphone Cord Antenna 256MB(Up to 36hours(16kbps)) 512MB(Up to 72hours(16kbps)) Record Voice recording time 1GB (Up to 144hours(16kbps)) Decode Format MP3, WMA, ASF Format Encode Format MP3 PC Interface System OS Windows98/ME/2000/XP/MAC OS(Over 9.0) Power Supply Rechargeable Li-ION Battery Dimension 32(L) x 47(H) x 17(T) (mm) Weights about 24g(battery included) - EMC suppression device is not used during the test . - Please refer to user’s manual. IST Co., Ltd EMC LABORATORY TEST REPORT NO. : 06-IST-0198 4 of 26 < Concept Drawing > 215 >150 >40 80 Receiver EUT LISN 80 ≥ 80 80 40 ≥ 80 Measuring apparatus Mains Filter Mains Rear side Equipment under test Coaxial cable Artificial mains networ k Screened room Non-metallic support 80 DESCRIPTIONS OF TEST Conducted Emissions: The measurement were performed over the frequency range of 0.15MHz to 30MHz using a 50 Ω /50uH LISN as the input transducer to a Spectrum Analyzer or a Field Intensity Meter. The measurements were made with the detector set for "Peak" amplitude within a bandwidth of 10KHz or for "quasi-peak" & “Average” within a bandwidth of 9KHz. - Procedure of Test The line-conducted facility is located inside a shielded room No.1. A 1m X 1.5m wooden table 80cm height is placed 40cm away from the vertical wall and 1.5m away from the other wall of the shielded room. The R/S 3725/2 and Hyup-Rip KNW-407 LISN are bonded to bottom of the shielded room. The EUT is located on the wooden table with distance more than 80cm from the LISN and powered from the LISN .The peripheral equipment is powered from the other LISN. Power to the LISNs are filtered by a noise cut power line filters. All electrical cables are shielded by braided tinned steel tubing with inner φ 1.2cm. If the EUT is a DC-powered device, power will be derived from the source power supply it normally will be powered from and this supply lines will be connected to the EMCO LISN. All interconnecting cables more than 1m were shortened by non-inductive bundling to a 1m length. Sufficient time for the EUT, support equipment, and test equipment was allowed in order for them to warm up to their normal operating conditions. The RF output of the LISN was connected to the R/S receiver to determine the frequency producing the maximum emission from the EUT. The frequency producing the maximum level was reexamined using Quasi-Peak mode by manual measurement, after scanned by automatic Peak mode for frequency range from 0.15 to 30MHz. The bandwidth of the receiver was set to 10kHz. The EUT, peripheral equipment, and interconnecting cables were arranged and manipulated to maximize each EME emission. < Side View > IST Co., Ltd EMC LABORATORY TEST REPORT NO. : 06-IST-0198 5 of 26 DESCRIPTION OF TEST Radiated Emissions: The measurement was performed over the frequency range of 30MHz to 1GHz using antenna as the input transducer to a Spectrum analyzer or a Field Intensity Meter. The measurement was made with the detector set for "quasi-peak" within a bandwidth of 120KHz. - Procedure of Test Preliminary measurements were made at 3 meter using bi-conical and log-periodic antennas, and spectrum analyzer to determine the frequency producing the max. emission in anechoic chamber. Appropriate precaution was taken to ensure that all emission fr…
Text truncated - open the document above for the full version.
Contact Information
Applicant
Cho Byeong Sung(General Manager)
Test Firm
IST Co., LtdBong Kyoon Bae
Technical Specifications
| # | Rule Parts | Frequency Range | Power Output |
|---|---|---|---|
| 1 | 15B | - | - |
Other Applications from EZAV Co., Ltd
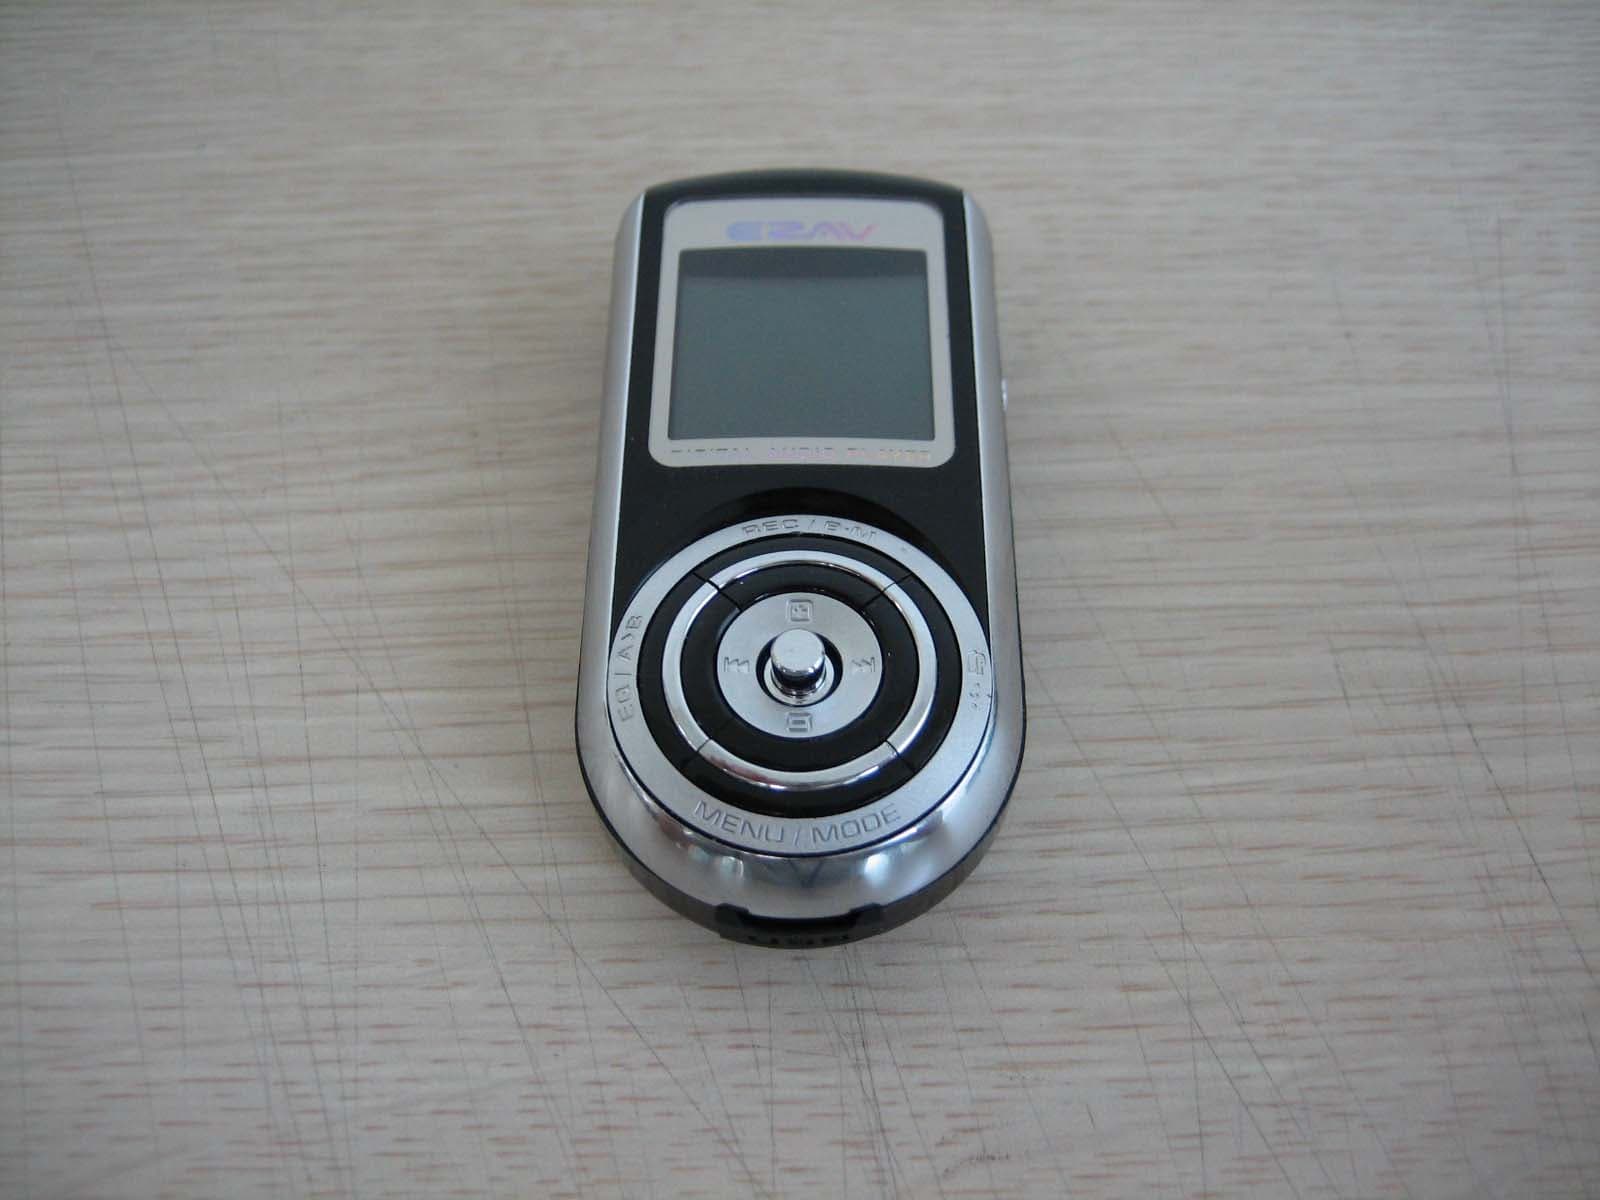
TTQEZAV-T4
Jun 20, 2006Digital Audio Player
Equipment Class
JBP - Part 15 Class B Computing Device Peripheral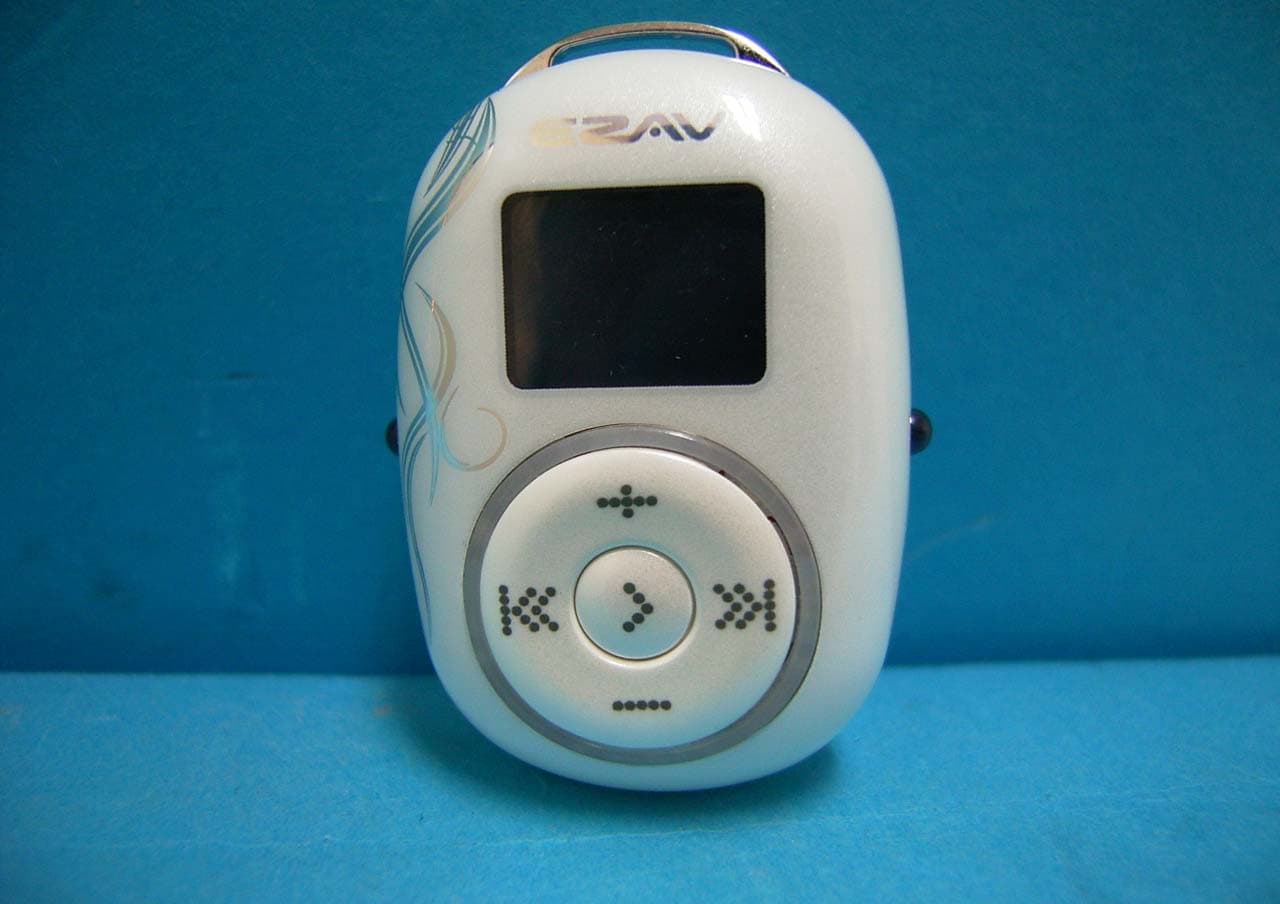
TTQEZAV-PEBBLE
Jan 02, 2006Digital Audio Player
Equipment Class
JBP - Part 15 Class B Computing Device Peripheral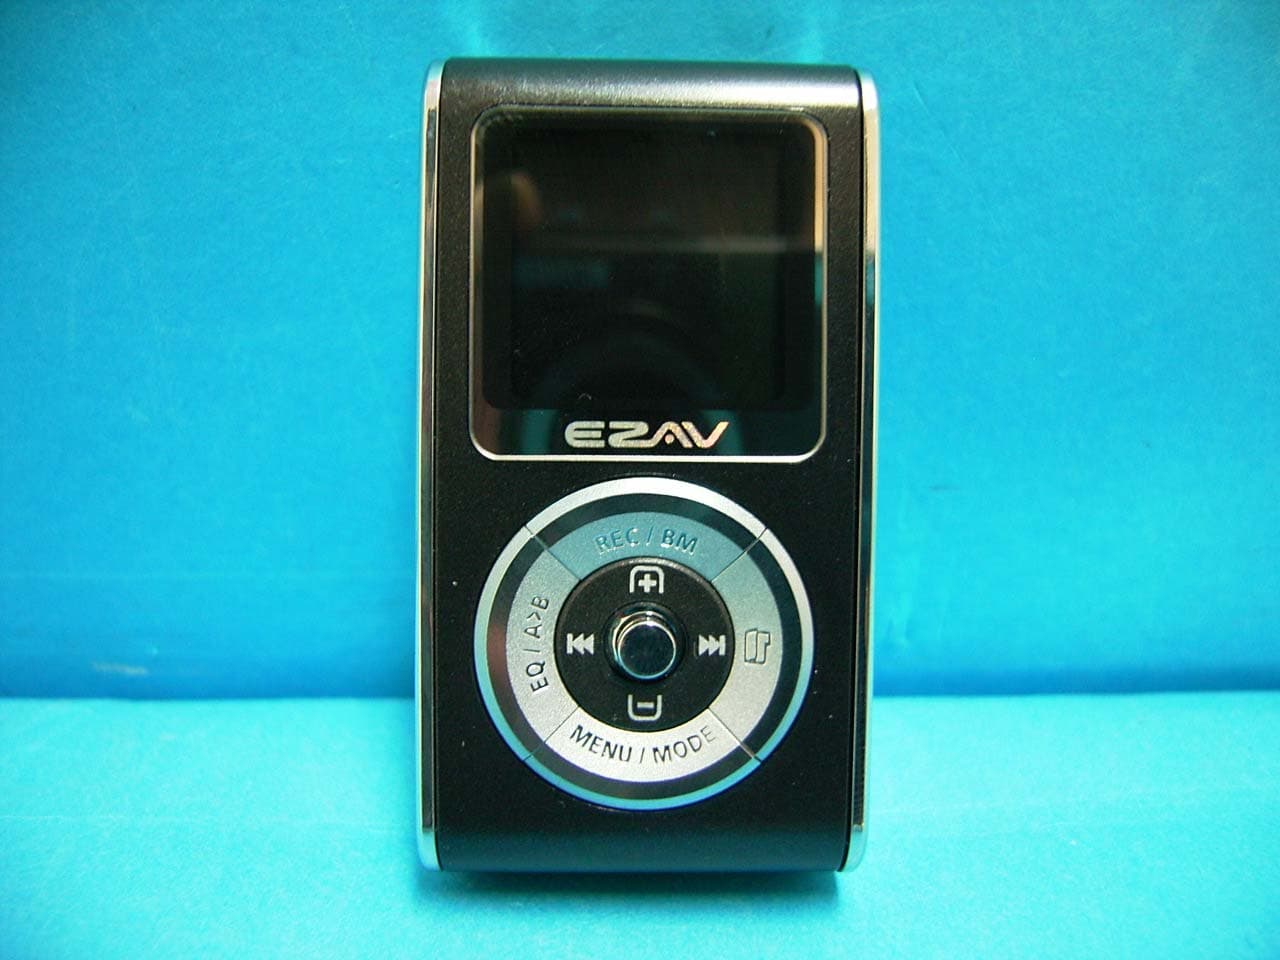
TTQEZAV-T2
Dec 07, 2005Digital Audio Player
Equipment Class
JBP - Part 15 Class B Computing Device Peripheral