TW5GD82172.4GHz Digital Wireless Baby Monitor
Shenzhen Gospell Smarthome Electronic Co., Ltd.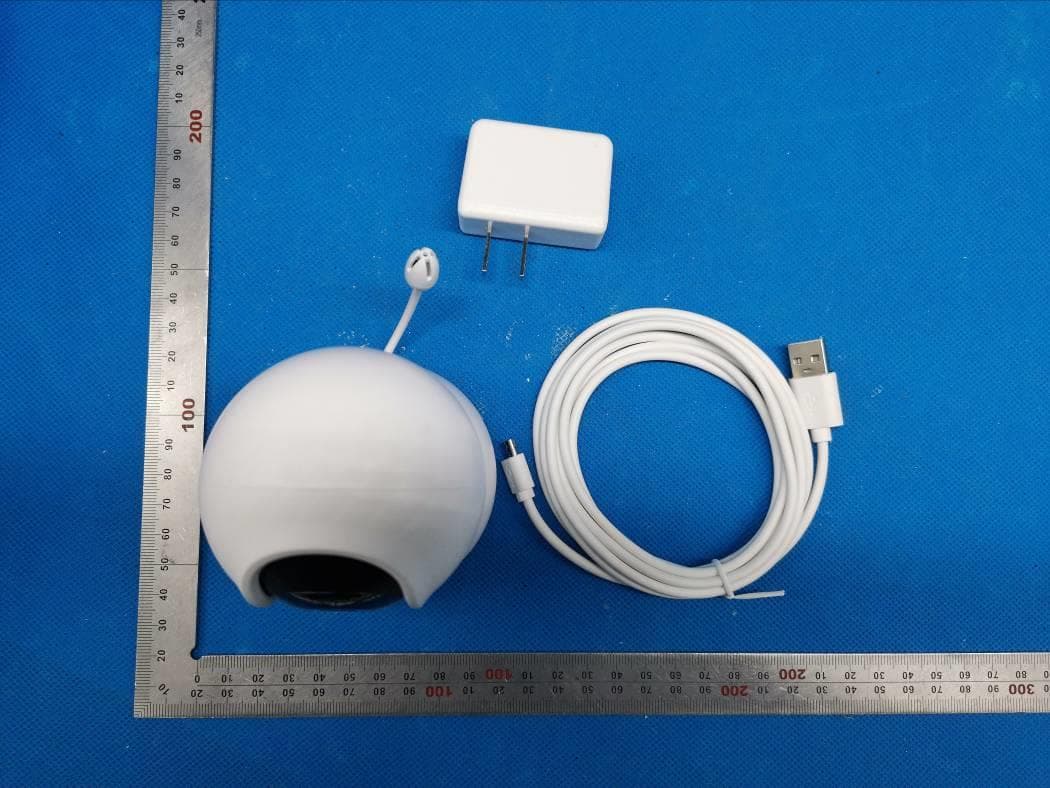
Click to zoom
Application Details
- Equipment Class
- DTS - Digital Transmission System
- Date of Grant
- Apr 01, 2020
- Application Purpose
- Original Equipment
- Date of Application
- Apr 01, 2020
- Equipment Note
- 2.4GHz Digital Wireless Baby Monitor
- Frequency Range
- 2410.00000000 - 2473.00000000
- Country
- China
Documents & Files
Document Text
Text extracted from the exhibit documents filed with the FCC. Open a document above to read the original.
Users Manual
8217KL 中性 李民振20191223 电子档1:1 说明书 1.1 说明书成品尺寸:105*145MM 颜色:4色印刷印刷 材质:80g书纸 工艺:骑马钉 其他:18P 新版本 变更时间变更前 变更后 说明: 说明书成品尺寸:105*145MM 颜色:4色印刷印刷 材质:80g书纸 工艺:骑马钉 其他:18P Model No.: 8217KL 10 11 12 13 14 15 17 08. Antenna 09. ON/OFF/Eco mode 10. Menu button/back 11. Navigation button 12. OK button 13. Music play button 14. Power interface 15. Talk (long press)/ adjust (short press) button 16. Status indicator 17. Microphone 18. RESET button 1. Photo sensitive sensor 5. Power interface 2. Lens 3. Microphone 4. Indicator 6. Temperature sensor 5 6 7 2 1 3 7. SET button 08 09 0102 4 18 16 Thank you for choosing our baby monitor. Please read the instruction carefully in case of product damage due to improper operation. Introduction Parts in the package Camera Manual Power adapter x2~3 Monitor Power cable x2~3 Product structure 0304 ! 27 Signal strength between the receiver and the camera No signal connection between the receiver and the camera The Lullaby function is enabled. The sleep setting of the receiver is enabled. Displaying current room temperature Show current battery level Temperature alarm has been turned on No camera is added or the camera is disconnected from receiver Audio alarm Temperature alarm reminder Message push icon Feed reminder has been turned on Audible alarm has been turned on Feed alarm reminder Low battery alarm reminder Message push icon Explanation for status indicator LED The first to the fifth green indicators flash from low to high: indicating the received volume; the sixth red indicator is steady on: indicating the lithium battery is being charged; (displayed whether it is powered on or off) Using the Monitor Place the Camera Unit in a convenient location (e.g. on a table or a shelf) and point the camera lens toward the area you want to monitor. NOTE: Do not place the Monitor Unit within baby's reach. If there is interference with the picture or sound, try moving the units to different locations, and ensure they are not close to other electrical equipment. Children have STRANGLED in cords. Keep this cord out of the reach of children (more than 3feet(0.9m) away). Never use extension cords with AC Adapters.Only use the AC Adapters provided. 0506 Preparation before using camera 1. Powering the Camera Unit Insert one end of the included charging cable into the USB jack on the back of the camera. Insert the other end into the included power adapter. Then insert the adapter into the socket. When energized, the camera will be automatically turned on. (The camera indicator flashes green. At this point, the camera is turned on successfully). Preparation before using receiver 1.Power on the receiver (The receiver is provided with a lithium battery, if the receiver has enough power, please go directly to the Step 2). Insert one end of the charging cable into the USB charging jack on the side of the receiver. 2. Receiver starting up Press and hold the “ON/OFF” button on the receiver to turn it on. Note: This device has been paired before leaving the factory. If the receiver fails to display on the monitor screen as described above, please re-try the device pairing operation. For detailed steps, please refer to Page 8 “Camera Pairing”. Insert the other end into the included power adapter. Then insert the adapter into the socket. OK:Select MENU:Return 12 0708 1. Select Camera, and press OK to enter the function. 3. When the device prompts “Start pairing, please press the SET button on the camera.”, press the SET button on the camera, and at this point, the device enters pairing mode. After pairing succeeds, the screen will jump to a real-time monitoring screen. Start pairing, please press the SET button on the camera. OK:Select MENU:Return OK:Select MENU:Return Receiver function settings Functions of the Babysitter is user definable, to best satisfy your demands. Audio and temperature alarms may offer automatic notification to you. This chapter will introduce the user-definable settings item by item. Access receiver menu In states of live view, press MENU button on the monitor can enter into MENU list; In states of non-live view, press MENU button on the monitor can return to previous interface level. Camera settings (camera pairing and deletion) Add camera 2. Select the channel to be paired, and press OK to confirm. Then select “Add Camera” and press OK to confirm. 0910 Delete camera Set the sound sensitivity alarm range. This function identifies the volume of the baby's crying. When it is above the set threshold, the receiver will sound an alarm. Sound sensitivity settings Temperature alarm settings Middle Low High OK:Select MENU:Return The digital wireless baby monitor has 5 lullabies. They can help you lull your baby to sleep. Notice: In the current interface, press keys to switch lullabies; press keys to adjust the volume. 3. You can also play music quickly through the music play button on the panel. OK:Select MENU:Return Off OK:Select MENU:Return OK:Select MENU:Return OK:Select MENU:Return ≤14 ≥29 ON OFF °c °F OK:Select MENU:Return OK:Select MENU:Return 12 Alarm settings 1. Select Alarm Settings, press OK to enter the settings page, and select “Sound Sensitivity” settings. 2. Select “Low, Middle, High, Off” as needed and press OK to confirm. 2. Select the channel to be deleted, and press OK to confirm. Then select “Delete Camera” and press OK to confirm. Lullabies 1. Select Music Play, and press OK to enter the function. 2. Select the music you want to play, press OK to confirm, and the camera will play the lullaby of your choice. Press OK again, and the lullaby pauses. Select “All” to play all the lullabies in a loop. After settings are completed, press MENU to return. Note: The audible alarm ringing will last for 1 minute. The audible alarm notification can be turned off by pressing any button on the receiver, and within 3 minutes after turn-off, if an alarm is triggered again, the receiver will not issue an alarm notification again to avoid frequent interference. 1. Selec…
Text truncated - open the document above for the full version.
External Photos
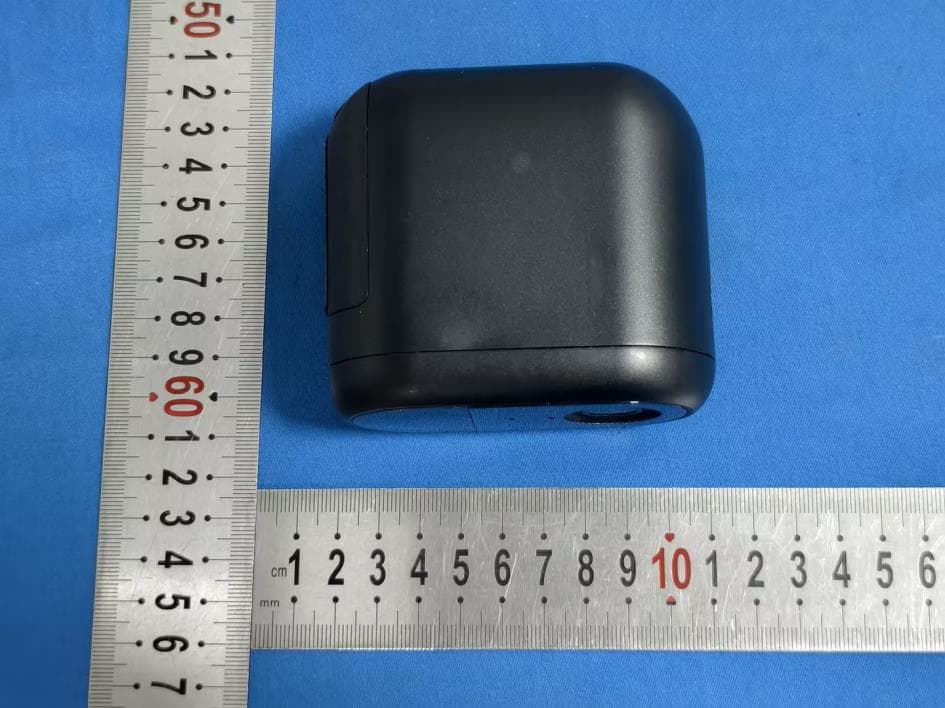
External Photos ALL VIEW OF EUT TOP VIEW OF EUT BOTTOM VIEW OF EUT FRONT VIEW OF EUT BACK VIEW OF EUT LEFT VIEW OF EUT RIGHT VIEW OF EUT VIEW OF EUT(PORT)
ID Label/Location Info
产品尺寸:φ31 mm 材质要求:80g合成纸,白 黑,带背胶,过哑膜 电子档1:1 A中性 GD8217 型标贴 李200311 1:1 图档 粘贴示图 注: 贴纸不要贴了 :正/负0.2mm φ31 mm This device complies with part 15 of the FCC Rules. Operation is subject to the following two conditions: (1) This device may not cause harmful interference, and (2) this device must accept any interference received, including interference that may cause undesired operation. 2.4GHz Digital Wireless Baby Monitor GD8217 DC 5V 1A Add: East of 01st-04st Floor,Block A,No.1 Industrial park, Fenghuanggang,South of No.1 Baotian Road, Xixiang street,Bao’an District,Shenzhen City,Guangdong Province 518126, P.R.China Made in China SHENZHEN GOSPELL SMARTHOME ELECTRONICS CO.,LTD. FCC ID:TW5GD8217 20.00 mm 1 0 . 6 7 m m 2.4GHz Digital Wireless Baby Monitor GD8217 DC 5V 1A Add: East of 01st-04st Floor,Block A,No.1 Industrial park, Fenghuanggang,South of No.1 Baotian Road, Xixiang street,Bao’an District,Shenzhen City,Guangdong Province 518126, P.R.China Made in China SHENZHEN GOSPELL SMARTHOME ELECTRONICS CO.,LTD. FCC ID:TW5GD8217 This device complies with part 15 of the FCC Rules. Operation is subject to the following two conditions: (1) This device may not cause harmful interference, and (2) this device must accept any interference received, including interference that may cause undesired operation.
Internal Photos
Internal Photos OPEN VIEW OF EUT-1 OPEN VIEW OF EUT-2 VIEW OF Antenna INTERNAL VIEW-1 OF EUT Antenna INTERNAL VIEW-2 OF EUT INTERNAL VIEW-3 OF EUT INTERNAL VIEW-4 OF EUT INTERNAL VIEW-5 OF EUT INTERNAL VIEW-6 OF EUT INTERNAL VIEW-7 OF EUT INTERNAL VIEW-8 OF EUT ADAPTER
Operational Description
Declaration concerning Antenna Specification It is hereby declared that the product Model No.: GD8217, GD8210 FCC ID: TW5GD8217 fulfills the requirement in FCC test relating to the antenna type. The device specified above confirms to the FCC recommendations for internal antenna type(s) described below: Type of antenna: PCB Antenna Gain of the antenna: 3 dBi Frequency range: 2412-2462 MHz The mounting of the antenna is fixed to the radio module and no other antenna should be used. Company name: Shenzhen Gospell Smarthome Electronic Co., Ltd. Address: F/12 F518 Idea Land Baoyuan Road Baoan Central Area Shenzhen City P.R China Place: Shenzhen Date: 2020-04-01 Signature:
RF Exposure Info
RF EXPOSURE EVALUATION 1. PRODUCT INFORMATION Product Description 2.4GHz Digital Wireless Baby Monitor Model Name GD8217, GD8210 FCC ID TW5GD8217 2. EVALUATION METHOD According to 447498 D01 General RF Exposure Guidance v05 The 1-g and 10-g SAR test exclusion thresholds for 100 MHz to 6 GHz at test separation distances ≤ 50 mm are determined by: [(max. power of channel, including tune-up tolerance, mW)/(min. test separation distance, mm)] ·[√f(GHz)] ≤ 3.0 for 1-g SAR and ≤ 7.5 for 10-g extremity SAR. Where f(GHz) is the RF channel transmit frequency in GHz Power and distance are rounded to the nearest mW and mm before calculation 3. CALCULATION P t =8.02dBm=6.34mW The value of the Maximum output power P t is referred to the test report of the CFR47 §15.247. The result for RF exposure evaluation SAR=(6.34mW /5mm) .[√2.473(GHz)]= 1.99<3.0 for 1-g SAR and ≤ 7.5 for 10-g extremity SAR. 4. CONCLUSION The SAR evaluation is not required.
Test Report
Page 1 of 53 FCC Test Report Report No.: AGC00008191202FE02 FCC ID : TW5GD8217 APPLICATION PURPOSE : Original Equipment PRODUCT DESIGNATION : 2.4GHz Digital Wireless Baby Monitor BRAND NAME : N/A MODEL NAME : GD8217, GD8210 APPLICANT : Shenzhen Gospell Smarthome Electronic Co., Ltd. DATE OF ISSUE : Mar. 31, 2020 STANDARD(S) : FCC Part 15.247 REPORT VERSION : V1.0 Attestation of Global Compliance (Shenzhen) Co., Ltd CAUTION: This report shall not be reproduced except in full without the written permission of the test laboratory and shall not be quoted out of context. Report No.: AGC00008191202FE02 Page 2 of 53 REPORT REVISE RECORD Report Version Revise Time Issued Date Valid Version Notes V1.0 / Mar. 31, 2020 Valid Initial Release Report No.: AGC00008191202FE02 Page 3 of 53 TABLE OF CONTENTS 1. VERIFICATION OF COMPLIANCE ............................................................................................................... 5 2.GENERAL INFORMATION ............................................................................................................................. 6 2.1PRODUCT DESCRIPTION ........................................................................................................................ 6 2.2. TABLE OF CARRIER FREQUENCYS ..................................................................................................... 6 2.3 RELATED SUBMITTAL(S)/GRANT(S) ..................................................................................................... 7 2.4TEST METHODOLOGY ............................................................................................................................ 7 2.5 SPECIAL ACCESSORIES ........................................................................................................................ 7 2.6 EQUIPMENT MODIFICATIONS ............................................................................................................... 7 3. MEASUREMENT UNCERTAINTY ................................................................................................................. 8 4. DESCRIPTION OF TEST MODES ................................................................................................................. 9 5. SYSTEM TEST CONFIGURATION ............................................................................................................. 10 5.1 CONFIGURATION OF TESTED SYSTEM .............................................................................................. 10 5.2 EQUIPMENT USED IN TESTED SYSTEM ............................................................................................. 10 5.3. SUMMARY OF TEST RESULTS ............................................................................................................ 10 6. TEST FACILITY ........................................................................................................................................... 11 7. PEAK OUTPUT POWER ............................................................................................................................. 12 7.1. MEASUREMENT PROCEDURE ........................................................................................................... 12 7.2. TEST SET-UP (BLOCK DIAGRAM OF CONFIGURATION) .................................................................. 12 7.3. LIMITS AND MEASUREMENT RESULT ............................................................................................... 12 8. 6 DB BANDWIDTH ...................................................................................................................................... 14 8.1. MEASUREMENT PROCEDURE ........................................................................................................... 14 8.2. TEST SET-UP (BLOCK DIAGRAM OF CONFIGURATION) .................................................................. 14 8.3. LIMITS AND MEASUREMENT RESULTS ............................................................................................. 15 9. CONDUCTED SPURIOUS EMISSION ........................................................................................................ 17 9.1. MEASUREMENT PROCEDURE ........................................................................................................... 17 9.2. TEST SET-UP (BLOCK DIAGRAM OF CONFIGURATION) .................................................................. 17 9.3. MEASUREMENT EQUIPMENT USED .................................................................................................. 17 9.4. LIMITS AND MEASUREMENT RESULT ............................................................................................... 17 10. MAXIMUM CONDUCTED OUTPUT POWER SPECTRAL DENSITY ....................................................... 24 Report No.: AGC00008191202FE02 Page 4 of 53 10.1 MEASUREMENT PROCEDURE .......................................................................................................... 24 10.2 TEST SET-UP (BLOCK DIAGRAM OF CONFIGURATION) ................................................................. 24 10.3 MEASUREMENT EQUIPMENT USED ................................................................................................. 24 10.4 LIMITS AND MEASUREMENT RESULT .............................................................................................. 24 11. RADIATED EMISSION ............................................................................................................................... 26 11.1. MEASUREMENT PROCEDURE ......................................................................................................... 26 11.2. TEST SETUP ....................................................................................................................................... 27 11.3. LIMITS AND MEASUREMENT RESULT ............................................................................................. 28 11.4. TEST RESULT ......................…
Text truncated - open the document above for the full version.
Test Setup Photos
Test Setup Photos RADIATED EMISSION TEST SETUP BELOW 1GHZ RADIATED EMISSION TEST SETUP ABOVE 1GHZ CONDUCTED EMISSION TEST SETUP
Contact Information
Applicant
Richie Xiao(Certified Engineer)
Test Firm
Attestation of Global Compliance (Shenzhen) Co., LDoris Li
[email protected]+86-755-25234088
Technical Specifications
| # | Rule Parts | Frequency Range | Power Output |
|---|---|---|---|
| 1 | 15C | 2.41 GHz - 2.47 GHz | 6.40 mW |
Other Applications from Shenzhen Gospell Smarthome Electronic Co., Ltd.
TW5T5200JDA
Jun 17, 2026Wireless Smart Battery Camera
Equipment Class
DTS - Digital Transmission System
TW5GD8217B
Jul 04, 20222.4GHz Digital Wireless Baby Monitor
Equipment Class
DXX - Part 15 Low Power Communication Device Transmitter
TW5GD7606
Jul 04, 20222.4GHz Digital Wireless Baby Monitor
Equipment Class
DXX - Part 15 Low Power Communication Device Transmitter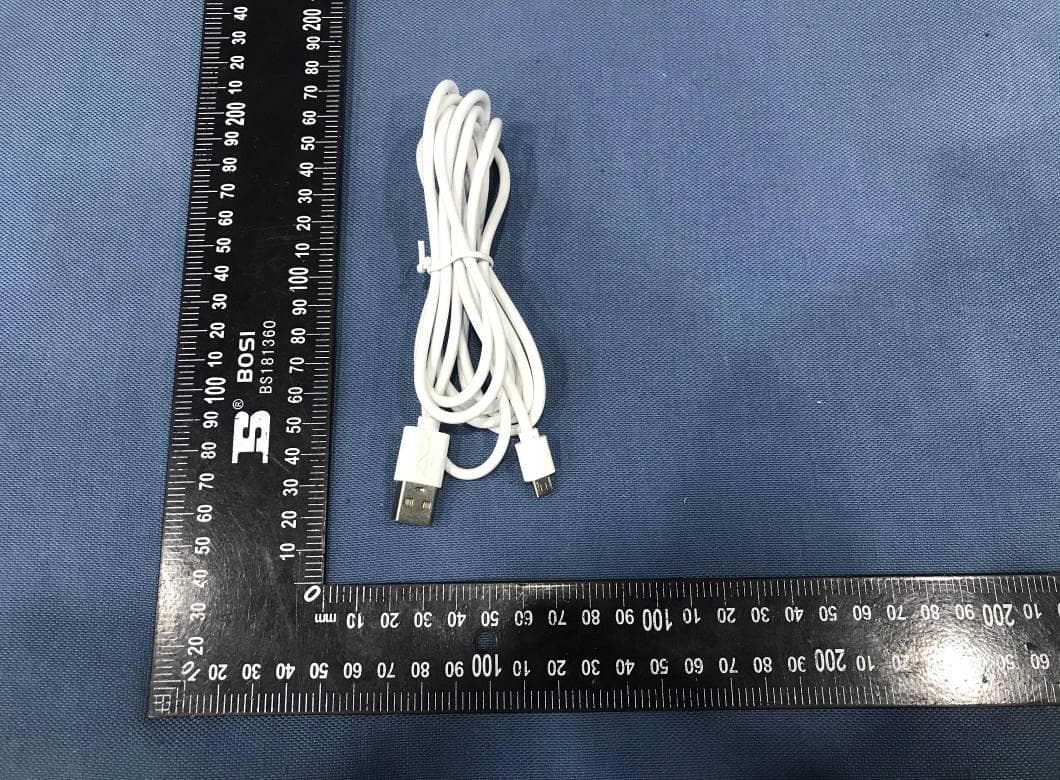
TW5T5703HCT
Jan 07, 2021HD WiFi Camera
Equipment Class
DTS - Digital Transmission System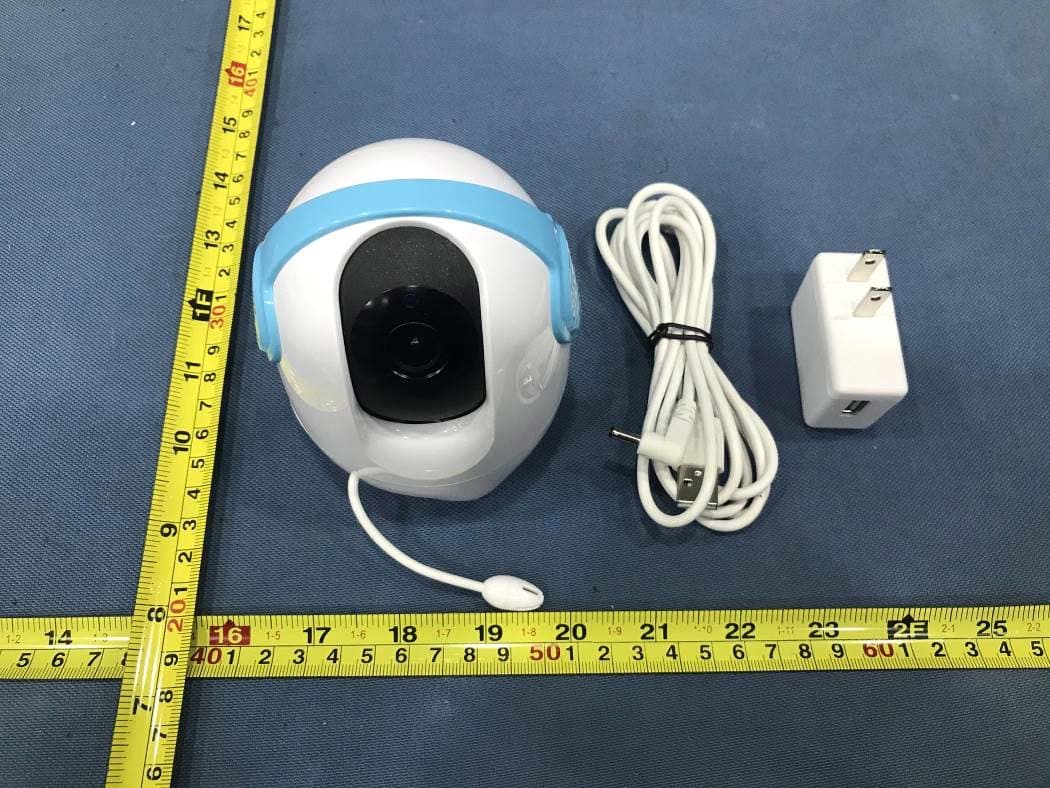
TW5GD8205
Sep 06, 20202.4GHz Digital Wireless Baby Monitor
Equipment Class
DSS - Part 15 Spread Spectrum Transmitter