XSG835403Remote control
VELUX America Inc.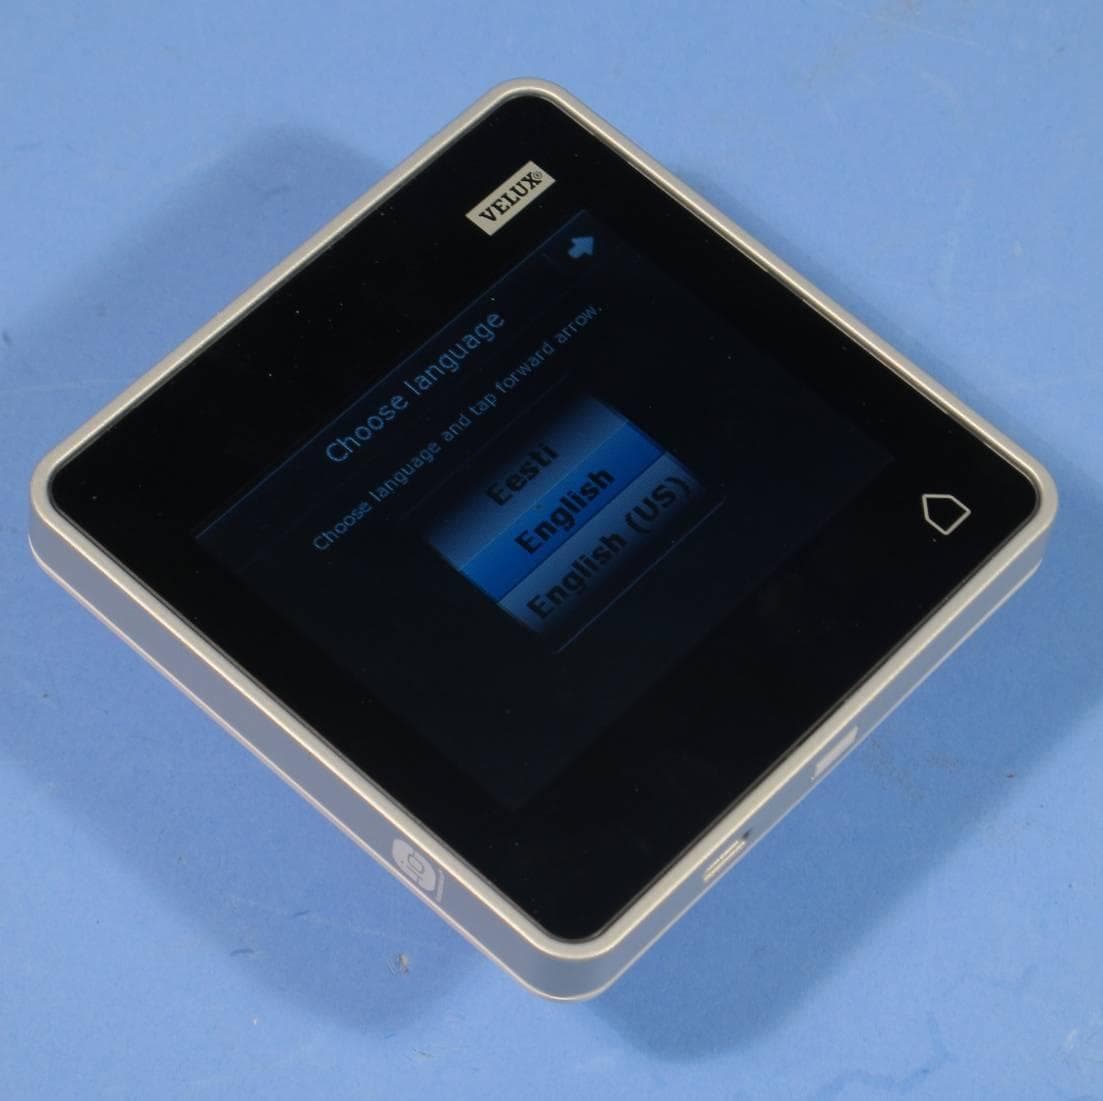
Click to zoom
Application Details
- Equipment Class
- DTS - Digital Transmission System
- Date of Grant
- Aug 04, 2015
- Application Purpose
- Original Equipment
- Date of Application
- Aug 04, 2015
- Equipment Note
- Remote control
- Frequency Range
- 2425.00000000 - 2475.00000000
- Company
- VELUX America Inc.
- Country
- United States
Documents & Files
Document Text
Text extracted from the exhibit documents filed with the FCC. Open a document above to read the original.
Users Manual
Quick guide VELUX INTEGRA ® KLR 200 ENGLISH DEUTSCH FRANÇAIS DANSK NEDERLANDS ITALIANO ESPAÑOL BOSANSKI БЪЛГАРСКИ ČESKY EESTI HRVATSKI LATVISKI English Getting started 4-21 Deutsch Erste Schritte 22-39 Français Mise en service 40-57 Dansk Kom godt i gang 58-75 Nederlands Verkorte gebruiksinstructie 76-93 Italiano Rapida guida introduttiva 94-111 Español Guía rápida 112-129 Bosanski Kako početi 130-147 Български Начално запознаване 148-165 Česky Začínáme 166-183Eesti Alustamine 184-201Hrvatski Kako početi 202-219 Latviski Produkta iedarbināšana 220-237 4 VELUX VELUX 5 English English Important information 6-7 Getting startedInitial set-up 8-9 Basic operation 10-12 If the initial set-up fails 13 Adding productsAdding more products to the control pad 14-15 Adding control pad 16-18 All the restResetting control pad 19 Operation in case of power failure, discharged battery or if the control pad has been mislaid 20 Getting more information 21 ContentsCongratulations on your new VELUX INTEGRA ® product! Thank you for buying this VELUX INTEGRA ® product. The control pad has been produced and tested in accordance with the newest methods and strictest requirements and will help you to get the most out of your VELUX products.This short guide will help you get started with your new control pad. When you see a ? in the control pad display, you can, by tapping on it, find short instructions about the current screen. If you want more infor-mation, you can find the full instructions at www.velux.com (see section Getting more information to determine the version number of your control pad). In accordance with the Council Directive 2006/95/ECWe herewith declare that the VELUX INTEGRA ® products • roof windows GGL (----21) and GGU (----21),• roof windows GGL Solar (----30) and GGU Solar (----30), • flat roof window CVP (3MX A02), • electrical conversion kit KMX 100 (3MG A01, 3UC A02, 3LA A01 and 3LR A01) for VELUX roof windows GGL and GGU, • electrical conversion kit KMX 200 (3MX A01, 3LA A01 and 3LR A01) for VELUX roof windows GHL, GHU, GPL, GPU, GTL, GTU and VKU, • solar conversion kit KSX 100 (3SM B01, 3SD B01 and 3LR A01) for VELUX roof windows GGL and GGU and • control pad KLR 200 (3LR A02)- are in conformity with the provisions of Machinery Directive 2006/42/EC, EMC Directive 2004/108/EC, Low Voltage Directive 2006/95/EC and R&TTE Directive 1999/5/EC, - have been manufactured in accordance with the harmonised standards EN 300220-2, EN 301489-3, EN 55014-1(2006-12), EN 55014-2(1997-02), EN 55022(2006-09), EN 55024(1998-09), EN 61000-3-2(2006-04), EN 61000-3-3(1995-01), EN 50366, EN 60335-1, EN 60335-2-103, EN 61558-1 and EN 61558-2-16. The above-mentioned VELUX INTEGRA ® products are to be considered as machines, which are not to be put into service until they have been installed according to instructions and requirements.The total system then complies with the essential requirements of the Council Directives 2006/42/EC, 2004/108/EC, 2006/95/EC and 1999/5/EC. Declaration of Conformity 22-12-2011 VELUX A/S: ............................................................................................................... (Lars Gylstorff, Product Management) Ådalsvej 99, DK-2970 Hørsholm ......................................................................... Declaration No. 942000-00 6 VELUX VELUX 7 English English Product• The control pad has been designed for use with genuine VELUX products. Connection to other products may cause damage or malfunction. • The control pad is compatible with products with the io-homecontrol ® logo. • Electrical products must be disposed of in conformity with national regulations for electronic waste and not with household waste. • Used batteries must not be disposed of together with household waste but have to be disposed of in conformity with the relevant national environmental regulations. Batteries contain substances that can be harmful if not handled and recycled correctly. • Use local authority battery disposal point where available. • The packaging can be disposed of with usual household waste.• Sound pressure level: Max 70 dB(A).• Radio frequency band: 868 MHz.• Radio frequency range: 150 m free field. Depending on building construc - tion, the indoor range is approx 15 m. However, constructions with reinforced concrete, metal ceilings and plaster walls with steel members may reduce the range. • Expected battery lifetime of control pad: Up to 1 year.• Expected battery lifetime of solar powered window operator: Approx 10 years. Maintenance and service• Disconnect from mains or battery supply before carrying out any maintenance or service work to the window and products connected to it and ensure that it cannot be reconnected unintentionally during this time. • Maintenance and installation must be carried out in consideration to Health and Safety at work requirements. • If mains cable is damaged, it must be replaced by qualified personnel in accord - ance with national regulations. • Spare parts are available through your VELUX sales company. Please provide information from the data label. • If you have any technical questions, please contact your VELUX sales company, see telephone list or www.velux.com. Important information Important information io-homecontrol ® provides advanced and secure radio technology that is easy to install. io-homecontrol ® labelled products communic ate with each other, improv ing comfort, security an d energy savings. www.io-homecontrol.com Read instructions carefully before installation. Please keep instructions for future reference and hand them over to any new user. Safety• Control pad KLR 200 is intended for operation by persons with the relative experience and knowledge or by persons who have been given instruction concerning its use by a person responsible for their safety. • Children must not be allowed to play with the window and its electrical prod - ucts, and the control pad should be kept out of reach of children. • If repair or…
Text truncated - open the document above for the full version.
Users Manual
VELUX INTEGRA ® KLR 200 Version: 002.001.xxx.xxx Congratulations on your new VELUX INTEGRA ® product! Thank you for buying this VELUX INTEGRA ® product. The control pad has been produced and tested in accordance with the newest methods and strictest requirements and will help you to get the most out of all your VELUX INTEGRA ® products. DIRECTIONS FOR USE FOR VELUX INTEGRA ® KLR 200. ©2013, 2014 VELUX GROUP ® VELUX, THE VELUX LOGO, INTEGRA, io-homecontrol AND THE io-homecontrol LOGO ARE REGISTERED TRADEMARKS USED UNDER LICENCE BY THE VELUX GROUP VAS 453347-2014-01 VELUX INTEGRA ® KLR 200 VELUX 2 Contents Important information 4 1 Control pad Control pad functions 5 2 Operation Basic operation Operation of windows 6 Operation of sunscreening products 7 Operation of lights 8 Operation of products connected to on/off switch 8 Operation of other types of io-homecontrol products 8 Product position 8 Turn on/Home/Stop all products 8 Programs Using programs 9 VELUX programs 10-14 - Using a program 10-11 - Editing a program 12-13 - Adding a program to the product navigator 14 - Resetting to default settings 14 Own programs 15-22 - Creating a program 15-17 - Editing a program 18-19 - Adding a program to the product navigator 20 - Renaming a program 21 - Silent mode operation 22 - Deleting a program 22 Smart operation Finding products 23 Keyboard 23 Renaming products 24 Groups 25-28 - Creating a group 25 - Editing a group 26 - Renaming a group 27 - Deleting a group 28 Rooms 29-32 - Creating a room 29 - Editing a room 30 - Renaming a room 31 - Deleting a room 32 ® VELUX INTEGRA ® KLR 200 VELUX 3 Contents Favourites 33-34 - Editing order of products in the product navigator 33 - Editing favourites 34 Operation without using the control pad Manual operation of centre-pivot windows 35 Closing centre-pivot windows in case of power failure or discharged battery 36 Closing windows if the control pad has been mislaid 37 3 Setting up Start-up of a new VELUX INTEGRA ® system Initial set-up 38 If the initial set-up fails 39 Extension of your VELUX INTEGRA ® system Adding products to the control pad 40 Adding a control 41-93 - Adding a control to your system already operated with a VELUX INTEGRA control pad KLR 200 41-53 - Adding a VELUX INTEGRA control pad KLR 200 to your system already operated with another control 54-68 - Allowing controls already in use in their separate systems to operate each other’s products 69-93 Deleting products in the control pad 94 Joint operation of io-homecontrol products 95-97 - Sending the security key to another io-homecontrol control 96 - Receiving the security key of another io-homecontrol control 97 - Creating a new security key in VELUX INTEGRA control pad KLR 200 97 Settings Time and date 98-99 Language 100 Silent mode operation of products 100 Resetting the control pad 101 Security Password 102 Changing the security key 103-113 4 Installation Fitting the control pad to the wall 114 Repositioning the rain sensor in case of retrofitting 115 Declaration of conformity 116 ® ® ® ® ® ® Important information VELUX INTEGRA ® KLR 200 VELUX 4 Read instructions carefully before installation. Please keep instructions for future reference and hand them over to any new user. Note: These instructions cover products, product features and product offerings that may vary with markets and selected lan- guage. Consequently, the display illustrations, the display texts and the available features related to your product may differ from what is shown in these instructions. Contact your VELUX sales company for specific information, see telephone list or www.velux.com. Safety • The control pad is intended for operation by persons with the relative experience and knowledge or persons who have been given instruction concerning its use by a person responsible for their safety. • Children must not be allowed to play with the window and its electrical products, and the control pad should be kept out of their reach. • If repair or adjustment work is needed, disconnect from mains or battery supply and ensure that it cannot be reconnected unintentionally. • Before operating, ensure that the window and its electrical products can be operated without risk of damage to property or injury to people or animals. • For personal safety, never have your hand or body out of the window without first having switched off the mains or bat- tery supply. Function • If the rain sensor gets wet, the window operator automati- cally closes the window; however, the ventilation flap remains open. • Disabling the rain sensor implies acceptance of the risk of rain water being able to enter the building while the window is open. • To prevent the window from closing because of very fine/ weak rain, fog or dew, the rain sensor is equipped with a heat- ing element to keep the surface dry. • If the window has been opened manually, the window opera- tor will not be activated via the rain sensor or other automatic functions. • From fully open, it will take up to one minute from the time of activation before the window is completely closed. Therefore, in case of sudden rain, water may enter the room before the window is closed. • In case of snow and/or ice, the operation of the window may be blocked. • It is recommended to place a control pad in the room where the window and its electrical products have been installed. Product • The control pad has been designed for use with genuine VELUX products. Connection to other products may cause damage or malfunction. • The control pad is, within each market region, compatible with products with the io-homecontrol ® logo. • Electrical products must be disposed of in conformity with national regulations for electronic waste and not with house- hold waste. • Used batteries must not be disposed of together with house- hold waste but have to be disposed of in conformity with the relevant national environmental regulations. Batteries contain substances that can be harmful if not handled and recycl…
Text truncated - open the document above for the full version.
Users Manual
Operation Smart operation - Groups 2 1 4 5 2 3 6 7 2 1 VELUX INTEGRA ® KLR 200 VELUX 28 Deleting a group You can delete a group if it is not relevant anymore. The example shows how to delete the group "South windows". Note: Only the group is deleted. You can still operate the products individually via the product navigator. Ta p . Tap "Groups". Tap the group to be deleted, in this case "South windows" 1 . Ta p 2 . Ta p " Ye s". Tap "Delete group". Ta p to finish. The group "South windows" is not in the product navigator anymore. However, you can still operate the products individually via the product navigator. Operation Smart operation - Rooms 2 1 4 6 8 2 3 5 7 2 2 1 1 VELUX INTEGRA ® KLR 200 VELUX 29 Creating a room You can create rooms corresponding to the actual rooms in your home, and put your VELUX products in them. This makes it easier to find and operate the right products. The example shows how to create the room "Bedroom" including Window 4 and Window 5 in it. Ta p . Ta p " Ro o m s". Scroll down the display to find a name for the room on the list. Note: You can also enter a name of your own by tap- ping "Enter name". For use of keyboard, see the section Keyboard. Scroll down the display and tick the windows in the room 1 . Note: The individual products can be identified by tapping the icon. See also the section Find- ing products. Ta p 2 . You can now find the room "Bedroom" in the product navigator. Tap "Create room". Select "Bedroom" 1 . Ta p 2 . Tap "Operate room" to finish. Note: Tap "Create more" to cre- ate more settings. Roller shutter 2 Roller shutter 1 Window 4 Window 5 Blind 2 Light 3Light 1 Blind 1Venetian blind 1 Window 6 Window 7 Window 1 Roller shutter 2Roller shutter 4 Light 2Light 4 Roller shutter 1Roller shutter 3 Window 4 Window 2 Window 5 Window 3 Bedroom N Operation Smart operation - Rooms 2 1 4 6 8 2 3 5 7 2 2 1 1 VELUX INTEGRA ® KLR 200 VELUX 30 Ta p . Ta p " Ro o m s". Tap "Bedroom" 1 . Ta p 2 . Tick the roller shutters to be added to the room 1 . Note: Products can similarly be removed from a room by remov- ing the tick. Ta p 2 . You can now see the changed contents of the room "Bed room" in the product navigator. Tap "Edit room". Scroll down the display to find the roller shutters in the room. Note: The individual products can be identified by tapping the icon. See also the section Finding products. Tap "Operate room" to finish. Note: Tap "Edit more" to create more settings. Editing a room You can change the contents of a room by adding or removing products. The example shows how to add Roller shutter 2 and Roller shutter 1 to the room "Bedroom" already consisting of Window 4 and Window 5. Roller shutter 2 Roller shutter 1 Window 4 Window 5 Blind 2 Light 3Light 1 Blind 1Venetian blind 1 Window 6 Window 7 Window 1 Roller shutter 2Roller shutter 4 Light 2Light 4 Roller shutter 1Roller shutter 3 Window 4 Window 2 Window 5 Window 3 Bedroom N Operation Smart operation - Rooms 2 1 4 6 8 2 3 5 7 2 1 2 1 VELUX INTEGRA ® KLR 200 VELUX 31 Renaming a room You can change the name of a room. The example shows how to change the name "Bedroom" into "Child's room". Ta p . Ta p " Ro o m s". Tap "Bedroom" 1 . Ta p 2 . Select "Child's room" 1 . Ta p 2 . The room is now called "Child's room" in the product navigator. Tap "Rename room". Scroll down the display to find a name for the room on the list. Note: You can also enter a name of your own by tapping "Enter name". For use of keyboard, see the section Keyboard. Tap "Operate room" to finish. Note: Tap "Rename more" to create more settings. Operation Smart operation - Rooms 2 1 4 5 7 2 3 6 2 1 VELUX INTEGRA ® KLR 200 VELUX 32 Deleting a room You can delete a room if it is not relevant anymore. The example shows how to delete the room "Child's room". Note: Only the room is deleted. You can still operate the products individually via the product navigator. Ta p . Ta p " Ro o m s". Tap the room to be deleted, in this case "Child's room 1 . Ta p 2 . Ta p " Ye s". Tap "Delete room". Ta p to finish. The room "Child's room" is not in the product navigator anymore. However, you can still operate the products individually via the product navigator. Operation Smart operation - Favourites 2 1 4 5 7 9 11 2 3 6 8 10 12 VELUX INTEGRA ® KLR 200 VELUX 33 Ta p . Tap "Product navigator". Scroll down the display to find the relevant product, in this case "Window 4". Note: The individual products can be identified by tapping the icon. See also the section Find- ing products. Ta p . Tap "Order of products". Ta p three consecutive times to put Window 4 in front of Window 1. Ta p to finish. Scroll down the display to find the relevant product, in this case "Window 5". Note: The individual products can be identified by tapping the icon. See also the section Find- ing products. Complete the actions in items 5 and 6 for Window 5 to put it beneath Window 4. Ta p . Ta p " O K ". Window 4 and Window 5 are now at the top of the product navigator. Editing order of products in the product navigator If you use some products, groups or programs more often than others, it may be convenient to show them in another order in the product navigator. The example shows how to put the products Window 4 and Window 5 first in the product navigator. Operation Smart operation - Favourites 2 1 4 56 78 9 2 3 VELUX INTEGRA ® KLR 200 VELUX 34 Editing favourites When activating the function "Favourites", the product navigator only shows the products, groups and/or programs you use most often. You can at any time choose to see all your products, groups and/or programs again. The example shows how to choose Window 1, Roller shutter 1 and Venetian blind 1 as favourites. In consequence, these products will be the only ones shown in the product navigator. This may be convenient if the control pad is only to be used in the room where these prod- ucts are located. Ta p . Tap "Product navigator". Tap "Edit favourites". As default all products have been chosen as favourites. Remove…
Text truncated - open the document above for the full version.
Users Manual
Setting up Extension of your VELUX INTEGRA ® system - Adding a control 3 P1 P2 P1 P2 P1 P2 MENU Enter Back House settings User settings System settings Program settings MenuLocate House No. 1 Window EnterBack Register product Copy system Security key &RQ¿JXre SYSTEM SETTINGS EnterBack Register product Copy system Security key &RQ¿JXre SYSTEM SETTINGS P1 P2 A A A 7 56 B BA B 8 1011 9 VELUX INTEGRA ® KLR 200 VELUX 56 Press "Menu". Press to highlight "System settings". Press "Enter" to confirm your choice. Press to highlight "Copy system". Press "Enter" to confirm your choice. Ta p " Re c e ive c o py ". Follow the instructions in the display and tap when you are ready. Ta p " O K ". Ta p to finish. Press "Back" to finish. Now execute items 5-7 with A . You now have two minutes to execute item 8 with B . Setting up Extension of your VELUX INTEGRA ® system - Adding a control 3 B B B 1 2 3 23 4 1 B 1 AB Continue on the next page 2 VELUX INTEGRA ® KLR 200 VELUX 57 Adding a VELUX INTEGRA ® control pad KLR 200 to your system already operated with a controller KRX 100 The instructions below show how to copy the contents from the controller KRX 100 already in use to control pad KLR 200. See also the instructions for the controller. Note: Only available for VELUX INTEGRA ® products with radio frequency 868 MHz. Controller KRX 100 to send a copy is called control A . Control pad KLR 200 to receive a copy is called control B . First execute items 1-4 with B . Remove the battery compartment lid by pressing the release button with a screwdriver as illustrated 1 , 2 . Insert batteries (type AA/LR6) 3 . Replace lid. Follow the instructions in the display and tap when you are ready. Do not tap "Receive copy" until item 8. In the display screen, roll the wheel in the directions of the arrows to choose language 1 . Ta p 2 . Setting up Extension of your VELUX INTEGRA ® system - Adding a control 3 P1 P2 P1 P2 P1 P2 MENU Enter Back User settings System settings Program settings EnterBack Register product Copy system Security key Delete sensor SYSTEM SETTINGS 12 : 32 MenuDisable 25°C EnterBack Register product Copy system Security key &RQ¿JXre SYSTEM SETTINGS P1 P2 A A A 7 56 B BA B 8 1011 9 VELUX INTEGRA ® KLR 200 VELUX 58 Press "Menu". Press to highlight "System settings". Press "Enter" to confirm your choice. Press to highlight "Copy system". Press "Enter" to confirm your choice. Ta p " Re c e ive c o py ". Follow the instructions in the display and tap when you are ready. Ta p " O K ". Ta p to finish. Press "Back" to finish. Now execute items 5-7 with A . You now have two minutes to execute item 8 with B . Setting up Extension of your VELUX INTEGRA ® system - Adding a control 3 Min 10 sec AB A 1 B 1 2 3 1 3 2 B Continue on the next page VELUX INTEGRA ® KLR 200 VELUX 59 Press the RESET button on the back with a pointed object for at least 10 seconds to prepare the products for copying. You now have two minutes to execute items 2-7 with B . Adding a VELUX INTEGRA ® control pad KLR 200 to your system already operated with a VELUX INTEGRA ® remote control without display The instructions below show how to copy the contents from the remote control without display already in use to control pad KLR 200. See also the instructions for the remote control. Note: Only available for VELUX INTEGRA ® products with radio frequency 868 MHz. The remote control without display to send a copy is called control A . Control pad KLR 200 to receive a copy is called control B . First execute item 1 with A . Remove the battery compartment lid by pressing the release button with a screw- driver as illustrated 1 , 2 . Insert batteries (type AA/LR6) 3 . Replace lid. In the display screen, roll the wheel in the directions of the arrows to choose language 1 . Ta p 2 . 2 Setting up Extension of your VELUX INTEGRA ® system - Adding a control 3 B B B B 45 76 VELUX INTEGRA ® KLR 200 VELUX 60 Follow the instructions in the display and tap when you are ready. The control pad shows that it has found the products. Note: Tap "Search again" if the control pad did not find all products and follow the instruc- tions in the display. Go to the section If the initial set-up fails if the control pad still cannot find all products even if they are connected to power. Ta p " O K ". Ta p to finish. Setting up Extension of your VELUX INTEGRA ® system - Adding a control 3 + + Min 10 sec AB A 1 B 1 2 3 1 3 2 B Continue on the next page VELUX INTEGRA ® KLR 200 VELUX 61 Press the RESET button on the back for at least 10 seconds to prepare the products for copying. You now have two minutes to execute items 2-7 with B . Adding a VELUX INTEGRA ® control pad KLR 200 to your system already operated with a control switch KLI 110 The instructions below show how to copy the contents from the control switch KLI 110 already in use to control pad KLR 200. See also the instructions for the control switch. Control switch KLI 110 to send a copy is called control A . Control pad KLR 200 to receive a copy is called control B . First execute item 1 with A . Remove the battery compartment lid by pressing the release button with a screwdriver as illustrated 1 , 2 . Insert batteries (type AA/LR6) 3 . Replace lid. In the display screen, roll the wheel in the directions of the arrows to choose language 1 . Ta p 2 . 2 Setting up Extension of your VELUX INTEGRA ® system - Adding a control 3 B B B B 45 76 VELUX INTEGRA ® KLR 200 VELUX 62 Follow the instructions in the display and tap when you are ready. The control pad shows that it has found the products. Note: Tap "Search again" if the control pad did not find all products and follow the instruc- tions in the display. Go to the section If the initial set-up fails if the control pad still cannot find all products even if they are connected to power. Ta p " O K ". Ta p to finish. Setting up Extension of your VELUX INTEGRA ® system - Adding a control 3 Min 10 sec AB A 1 B 1 2 3 1 3 2 B Continue on the next page VELUX INTEGRA ® KLR 200 V…
Text truncated - open the document above for the full version.
Users Manual
Important information Información importante Information importante 警告と告知 VELUX INTEGRA ® KLR 200, VSE, VCE, VSS, VCS 2 VELUXVELUX 3 ENGLISh 4-7 ESPAÑOL 8-11 FRANÇAIS 12-15 日本語 16-19 io-homecontrol ® provides advanced and secure radio technology that is easy to install. io-homecontrol ® labelled products communicate with each other, improving comfort, security and energy savings. www.io-homecontrol.com io-homecontrol ® repose sur une technologie avancée, sécurisée et sans-fil, facile à installer. Les produits io-homecontrol ® communiquent entre eux pour offrir plus de confort, de sécurité et d'économies d'énergie. www.io-homecontrol.com io-homecontrol ® proporciona tecnología avanzada de radio frecuencia, segura y fácil de i nstalar. Los productos etiquetados io-homecontrol ® se comunican entre sí, mejorando el confort, la seguridad y el ahorro de energía. www.io-homecontrol.com ENGLISh: Additional operational features and functions available in the online User manual for remote control KLR 200 located on the websites listed below: ESPANOL: Puede encontrar otras características de operación y functiones en el Manual del usario del mando a distancia KLR 200 en los sitios web que se enumeran abajo: FRANÇAIS : Vous pouvez trouver d'autres fonctions et caractéristiques opérationnelles dans le manuel d'utilisation de la télécommande KLR 200 en ligne aux sites web suivants : 日本語:さらなる操作上の特徴と機能をご覧いただけるリモコンKLR 用のオンラインユーザーマニュアルは、以下のウェブサイトにございま す: www.veluxusa.com www.velux.ca www.velux.com.au www.velux.co.nz www.velux.co.jp io-homecontrol ® は設定が簡単で、高度で安全な無線技術を提供しています。io-homecontrol ® 対応品は快適性、安全性、省エネルギー性を向上し、製品間の相互通信を可能にします。 www.io-homecontrol.com ImPORTANT INFORmATION WARNING – TO REdUCE ThE RISK OF SEVERE INjURy OR dEATh: Electrical connection (VSE, VCE only) It is customer's responsibility: • To contact a qualified electrical installer. • To assure that the electrical installation is adequate and in conformity with National Electrical Code, ANSI/NFPA 70 - latest edition*, and all local codes and ordinances. Failure to do so could result in fire, electrical shock, other serious personal injury or death. *National Fire Protection Association, Batterymarch Park, Quincy Mas- sachusetts 02269. Electrical Shock hazard (VSE, VCE only) • The skylight operator is a class I product. • Disconnect power to the junction or outlet box before servicing the skylight. • Do not have a fuse in the neutral circuit. This could result in a fire, electrical shock or other personal injury. Safety • The skylight is to be installed more than 8 feet (2.44 m) above the floor. • Always switch off power to the skylight operator at the service panel when connecting the skylight, when installing accessories and whenever the operator cover is removed. • If repair or adjustment work is needed, disconnect from power and ensure that it cannot be reconnected unintentionally. • On suspicion of malfunction, switch off power and call for service. • Observe that the rain sensor activates closing function when getting wet. • Beware of potential for serious personal injury or death. • This device is intended for use by persons with the relative experience and knowledge or persons who have been given instruction concerning its use by a person responsible for their safety. • Before operating ensure that the skylight with electrical products can be operated without risk of damage to property or injury to people or animals. • It is recommended that a remote control be placed in the room where the skylight and its electrical products have been installed. • For personal safety, never have head, hand, arm or any other body part out of or through the opening of the skylight without first having switched off power. • Children must not be allowed to play with the skylight and its electrical products. The remote control should be kept out of reach of children. Do not allow children near an open skylight. • Make sure that the insect screen is installed before putting the skylight into use. • Remote control FCC ID: XSG832794 and IC ID: 8642A-832794 Certificate of Radio Equipment in Japan: No. 13215185 • Window operator (solar skylight operator) FCC ID: XSG832876 and IC ID: 8642B-832876 • Window operator (electrical skylight operator) FCC ID: XSG863765 and IC ID: 8642A-863765 • This device complies with part 15 of the FCC and RSS-210 of the IC rules. Operation is subject to the following two conditions: (1) This device may not cause harmful interference, and (2) this device must accept any interferece received, including interference that may cause undesired operation. 4 VELUXVELUX 5 • This device has been tested and found to comply with the limits for a Class B digital device, pursuant to part 15 of the FCC Rules. These limits are designed to provide reasonable protection against harmful interference in a residential installation. • This device generates, uses and can radiate radio frequency energy and, if not installed and used in accordance with the instructions, may cause harm- ful interference to radio communications. However, there is no guarantee that interference will not occur in a particular installation. If this device does cause harmful interference to radio or television reception, which can be determined by turning the device off and on, the user is encouraged to try to correct the interference by one or more of the following measures: - Reorient or relocate the receiving antenna. - Increase the separation between the device and receiver. - Connect the device into an outlet on a circuit different from that to which the receiver is connected. - Consult the dealer or an experienced radio/TV technician for help. Changes or modifications not expressly approved by the party responsible for compliance could void the user's authority to operate the device. • FCC Radiation Exposure Statement: This device complies with FCC RF radiation exposure limits set forth for an uncontrolled environment. • The term "IC:" before the device certification numb…
Text truncated - open the document above for the full version.
Contact Information
Applicant
Jens Aksel Thomsen(Electric safety and EMC/RF Ing.)
Technical Contact
Non-Technical Contact
VELUX America Inc.John Lawton
[email protected]18469414751
Test Firm
Kiwa Nederland B.V.Willem Jong
[email protected]+31 889983621
Technical Specifications
| # | Rule Parts | Frequency Range | Power Output |
|---|---|---|---|
| 1 | 15C | 2.42 GHz - 2.48 GHz | 22.00 mW |
Other Applications from VELUX America Inc.
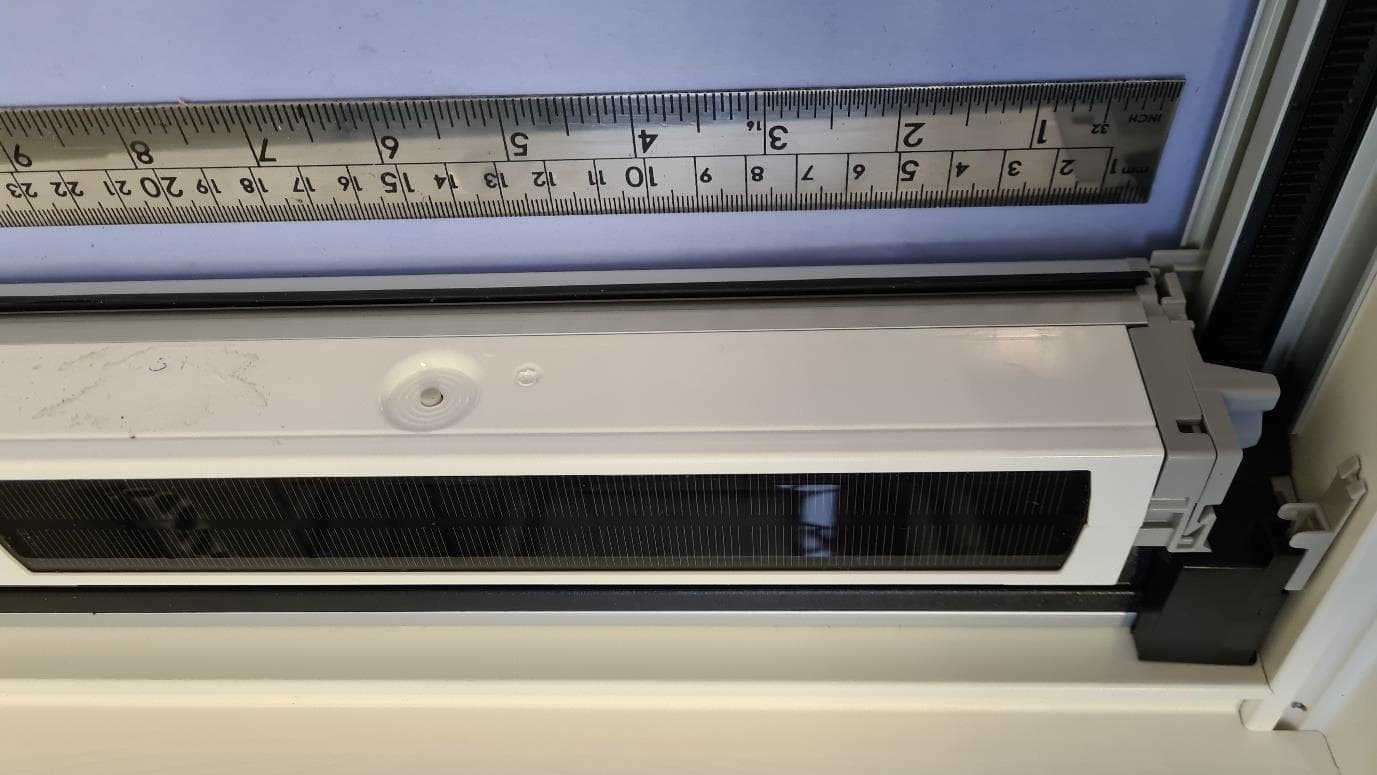
XSG866062
Sep 17, 2024Blind (battery powered)
Equipment Class
DTS - Digital Transmission System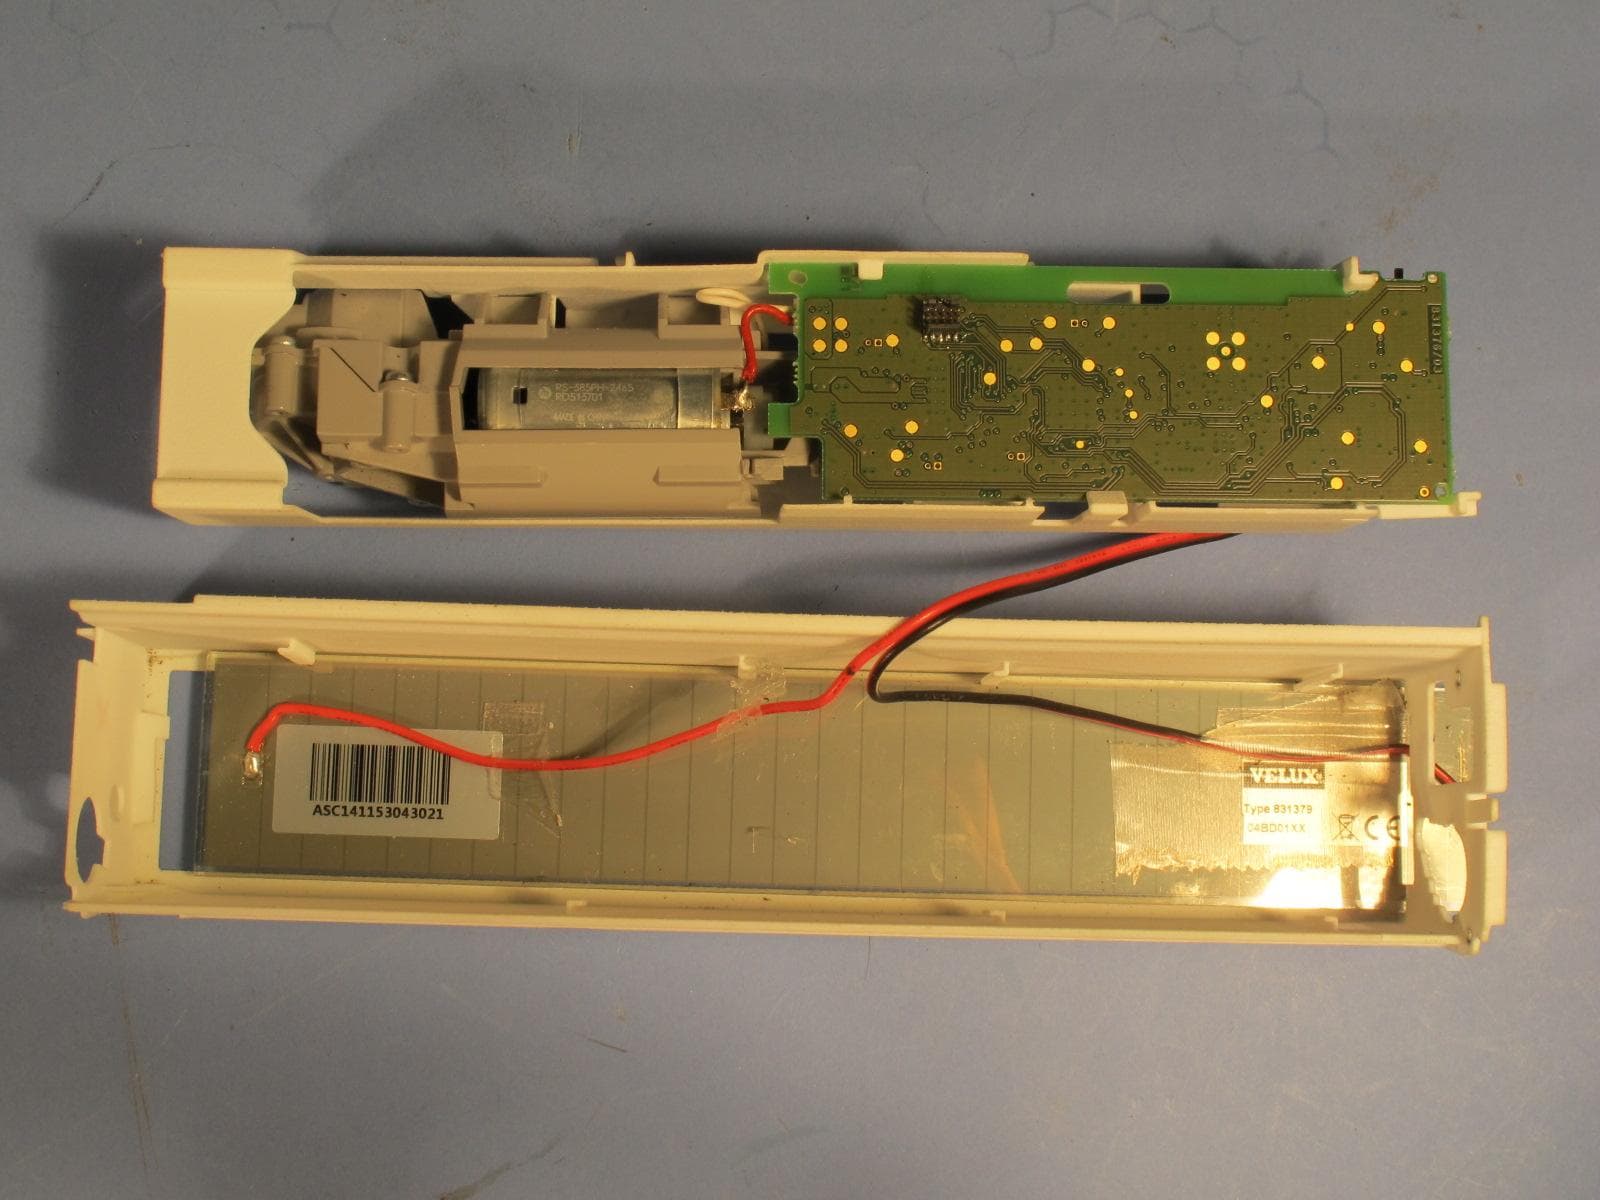
XSG865480
Mar 02, 2015Battery operated Blind
Equipment Class
DTS - Digital Transmission System
XSG832876
Feb 13, 2013Battery operated window opener
Equipment Class
DTS - Digital Transmission System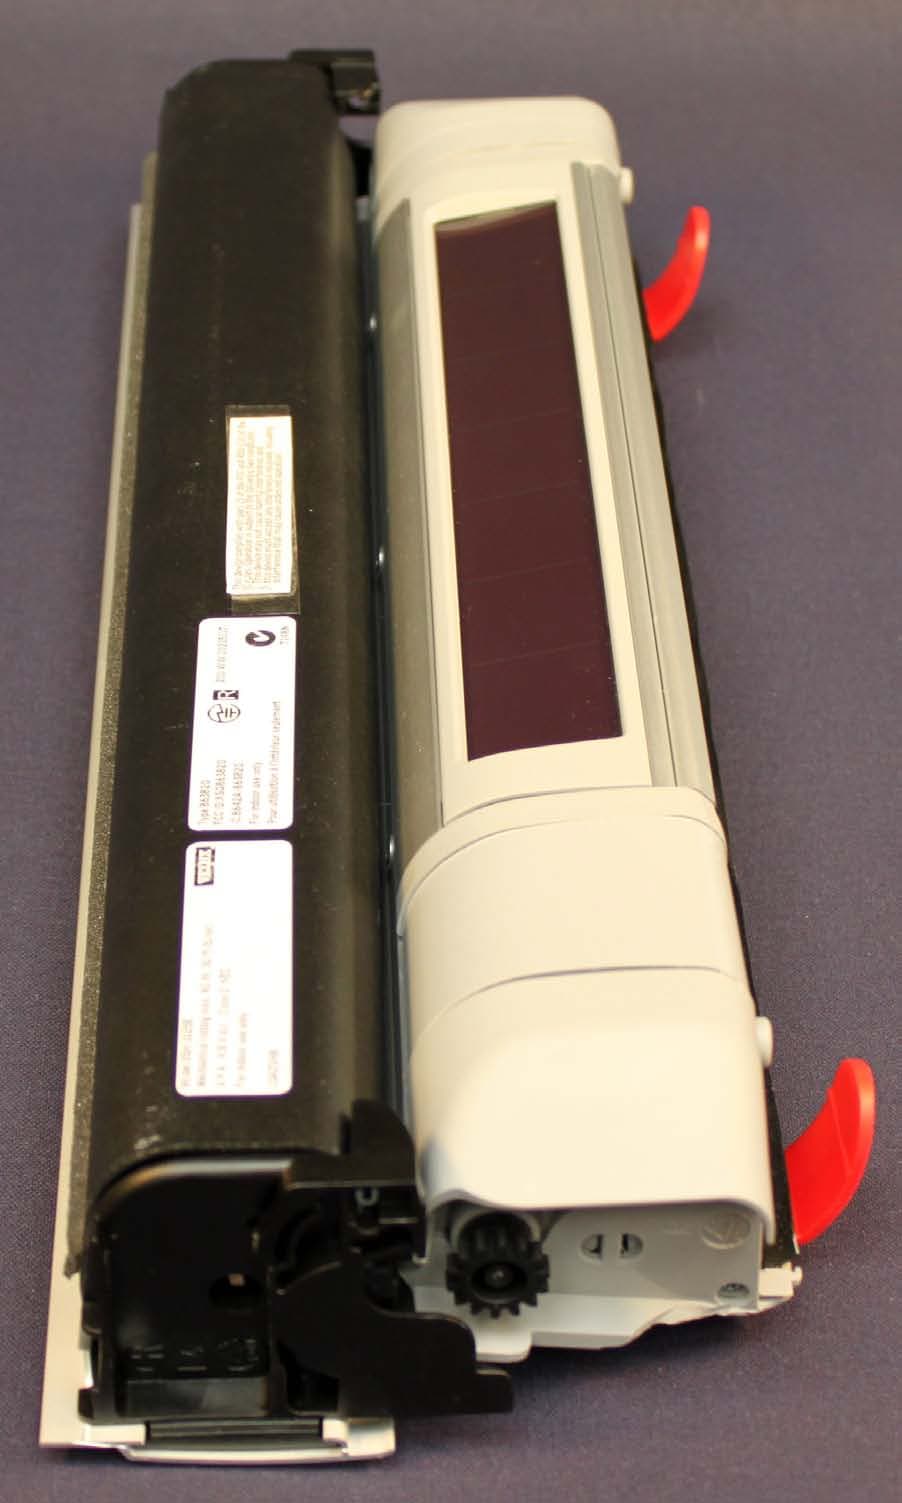
XSG863820
Jun 15, 2010Motor unit for solar/battery powered blinds
Equipment Class
DTS - Digital Transmission System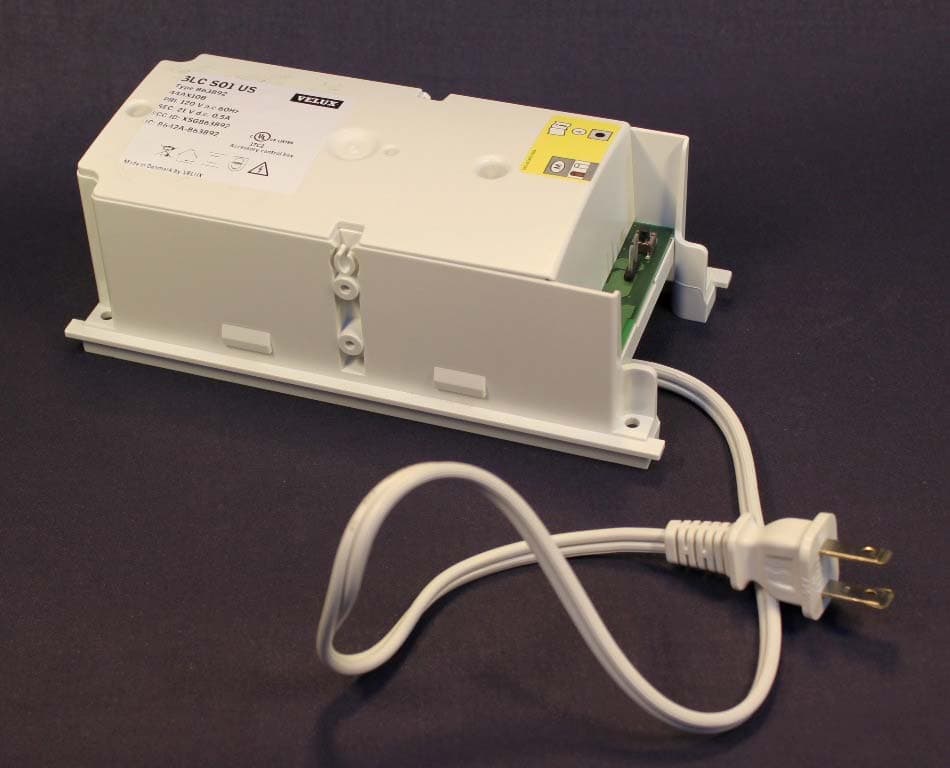
XSG863892
May 14, 2010Control Unit
Equipment Class
DSS - Part 15 Spread Spectrum Transmitter