Y4PBONDID112.4G Wireless Mouse
Shenzhen Bondidea Technology Co., LTD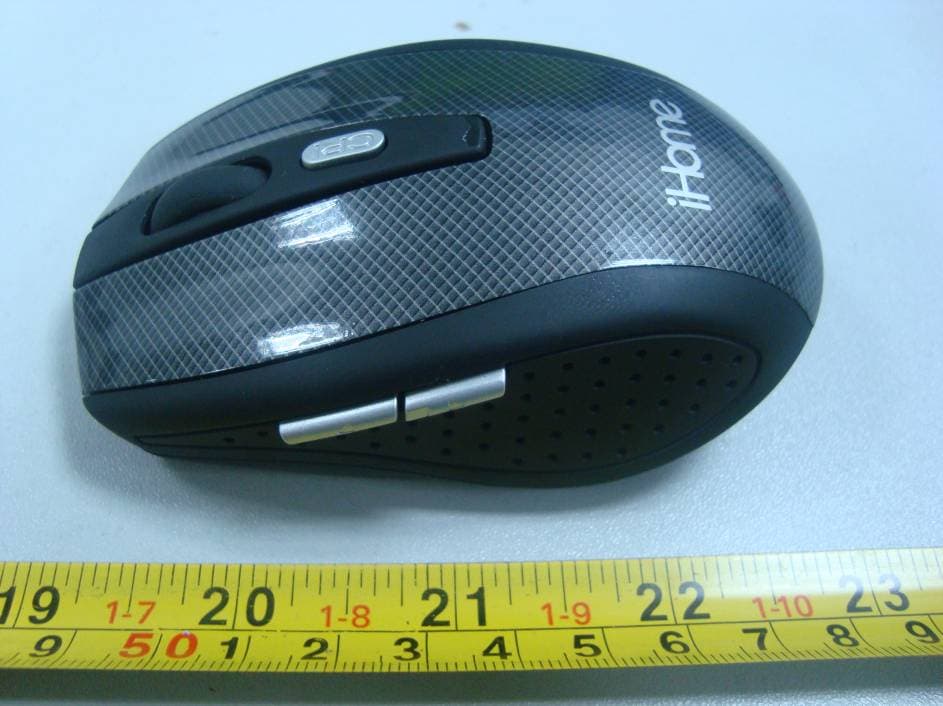
Click to zoom
Application Details
- Equipment Class
- DXX - Part 15 Low Power Communication Device Transmitter
- Date of Grant
- Jun 02, 2011
- Application Purpose
- Original Equipment
- Date of Application
- Jun 02, 2011
- Equipment Note
- 2.4G Wireless Mouse
- Frequency Range
- 2405.00000000 - 2472.00000000
- Country
- China
Documents & Files
Document Text
Text extracted from the exhibit documents filed with the FCC. Open a document above to read the original.
Users Manual
REV:A0 BD-8508G User manual Page 1 /5 Shenzhen bondidea technology co.,limited Model : BD-8508G Specification: USB 1000-1600DPI Description : 3D6K Optical Mouse Approved: Checked: Made: Product Features 1. Adopt 2.4G bidirectional transmit technology, Super anti-interference; 2. 1600 DPI High resolution, accurate position; 3. Ensure you of working 360 degrees freely and say goodbye to wire. 4. No need code intelligence connection technology. 5. Nano receiver, built-in mouse, very convenient. 6. Special DPI key, switch between 1000-1600 DPI. 7. Low-Voltage indicator function, audit battery capacity at any time (when LED indicator flickering, it means low voltage) 8. Power on –off design, Turn off the mouse power, it can prolong batteries life when no use . 9. Main size: 98.5*62*34 mm System Compatibility 1. Operation Systems Windows 98/ME/ 2000/XP/Vista/Win 7 2. Interface one of USB interface which is not occupied Technical Parameters Mouse: A、Rating working voltage 3V B、Rating working current 15mA C、Maximum acceleration 8G D、Resolution 1000-1600DPI E、Wireless working channels 16 auto frequencies F、Working frequency 2.402-2.480GHz G、Working distance 8-10 meters Receiver: A、Rating working voltage 5V B、Rating working current 20mA USER MANUAL REV:A0 BD-8508G User manual Page 2 /5 Shenzhen bondidea technology co.,limited Pull out the receiver and the battery installation steps 1. Prepare one pair of new AAA battery 2. Use your thumb fastens the battery cover and push backward of the mouse. Take out the battery cover is OK. 3. Put the batteries into the battery cell according to the right pole. (Please don’t install in the opposite pole , or it will harm the mouse ) 4. Install battery cover is OK. DPI switch function 1. DPI default 1600DPI 2. Press DPI key can switch between 1000,1600 DPI 3. Install the receiver and connect the Parameters 1. Pull out the receiver. As picture two shows: 2. Pull "ON" to the mouse power switch .As picture three shows: Receiver Picture 1 Picture 2 REV:A0 BD-8508G User manual Page 3 /5 Shenzhen bondidea technology co.,limited 3.Please insert receiver into the computer USB port , as picture four shows:。 4. System installs the software automatically, 5.Appears the right pictures, congratulations, you can use the mouse now Low voltage alarm function When the working voltage is 2.0~2.2V,Red Low-Voltage LED will flickering during your working time. It remind you to replace battery. (From the Red LED flickering, you still can use mouse for 2days) as picture five shows Low voltage alarm indicator Power switch Picture 3 Picture 4 Picture 5 REV:A0 BD-8508G User manual Page 4 /5 Shenzhen bondidea technology co.,limited Attention 1. To achieve optimal effect, keep the receiver 20 cm away from computer display and peripheral equipment 2. Please don’t mix the different of the batteries when using, also don’t mix the same battery for old or new. 3. It can prolong the batteries life if you use the mouse on the white surface. 4. Auto-sleeping and power-saving function, it will be auto-sleeping without operation within a long time, press any key or scroll wheel to activate it. 5. Optical may not normal use in smooth desktop, glass, reflective, dark black and 3D mouse pad. 6. Please turn off the power if you‘re in traveling or you’ll not use it for a long time. 7. When mouse work on metallic surface, the best way is to place a mouse pad under mouse or lay the receiver horizontally to achieve the optimal receiving effect. 8. No need to connect data again when replace battery (built-in memory function.) 9. Make sure the battery capacity is enough , mouse can’t use normally please try the following steps A. Turn off the power switch at the bottom of the mouse B. Put the batteries into the battery cell according to the right pole ( please take notice of the battery pole ) C. Press the middle and right keys at the same time. Open the power switch to “on” at the bottom of the mouse, the low voltage alarm indicator will flash for 30 seconds and turn into seching code situation. By the time, mouse bottom light shows red, it means the battery installation is right. D. Please insert receiver into computer USB interface, computer will test and install automatically. E. Put the mouse from the receiver within 20CM (this place is more close which will be better for mouse code); by the time the mouse low voltage alarm indicator stop flash, that means cooding successfully. F. Mouse will use normally after code ok, if can’t use please repeat the above steps. Technical Instructions Adopt 2.4G Hz wireless high frequency technology, satisfying Europe R&TTE Directive1999/5/EC requirement, its radiation will not harmful for men’s body (much less than mobile radiation), wireless emission will occur electromagnetic signal, please be caution to use when in the using heart pacemaker or related to body assistant instrument surroundings Disclaimer We made every effort to ensure that the information and procedure in this guide is accurate and complete, no liability can be accepted for any errors or omissions and reserves the right to make any changes without further notices to any products herein. REV:A0 BD-8508G User manual Page 5 /5 Shenzhen bondidea technology co.,limited FCC Warning: Any Changes or modifications not expressly approved by the party responsible for compliance could void the user’s authority to operate the equipment. This device complies with part 15 of the FCC Rules. Operation is subject to the following two conditions: (1) This device may not cause harmful interference, and (2) this device must accept any interference received, including interference that may cause undesired operation. Note: The dongle also has been tested and found to comply with the limits for a Class B digital device, pursuant to part 15 of the FCC Rules. These limits are designed to provide reasonable protection against harmful interference in a residential installation. This equipment generates uses and can radiate radi…
Text truncated - open the document above for the full version.
External Photos
EXHIBIT B - EUT EXTERNAL PHOTOGRAPHS EUT – Top View EUT – Bottom View EUT – Rear View 1 EUT – Rear View 2
ID Label/Location Info
EXHIBIT A - FCC ID LABELING AND LOCATION FCC ID Label FCC ID Label Location The label shown shall be permanently affixed at a conspicuous location on the device and be readily visible to the user at the time purchase (Labeling requirements per 2.925)
Internal Photos
EXHIBIT C - EUT INTERNAL PHOTOGRAPHS EUT – Battery Cover off View EUT – Cover off View EUT – Mainboard Top View EUT – Mainboard without RF Board Top View EUT – Mainboard Bottom View EUT – Mainboard without RF Board Bottom View EUT – RF Board Top View EUT – RF Board Bottom View Antenna RF Moduler U3: EM198850VOB EUT – Keyboard Top View EUT – Keyboard Bottom View
Test Setup Photos
EXHIBIT D - TEST SETUP PHOTOGRAPHS Radiated Emissions - Front View (Below 1 GHz) Radiated Emissions - Rear View (Below 1 GHz) Radiated Emissions - Front View (Above 1 GHz) Radiated Emissions - Rear View (Above 1 GHz)
Contact Information
Applicant
Binny Zhu
Test Firm
Bay Area Compliance Laboratory Corp. (Shenzhen)John Chan
Technical Specifications
| # | Rule Parts | Frequency Range | Power Output |
|---|---|---|---|
| 1 | 15C | 2.40 GHz - 2.47 GHz | - |
Other Applications from Shenzhen Bondidea Technology Co., LTD
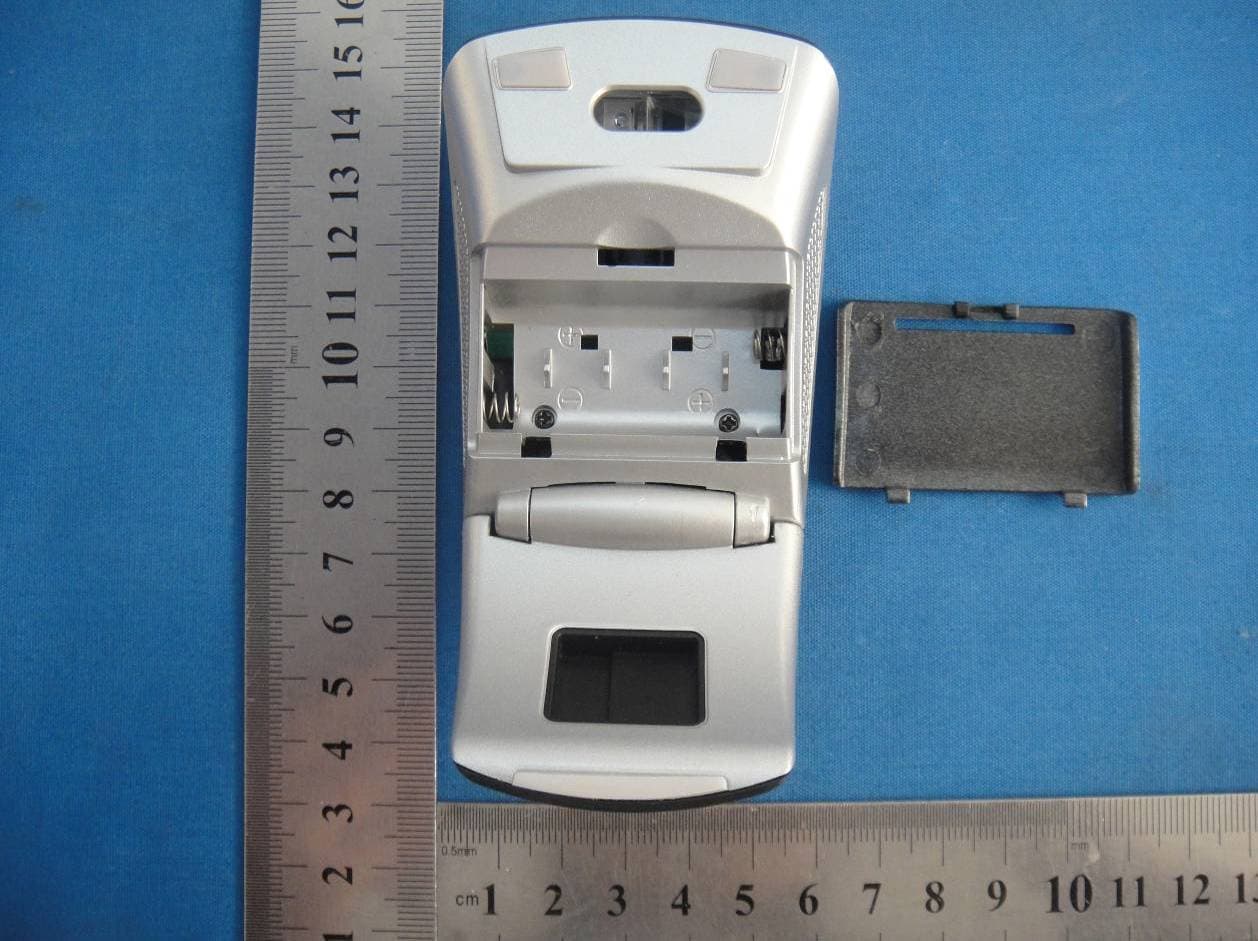
Y4PBD-8608
Jan 07, 20152.4G WIRELESS MOUSE
Equipment Class
DXX - Part 15 Low Power Communication Device Transmitter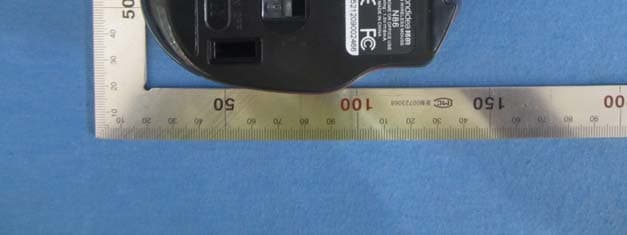
Y4P-N86BD-9618
Aug 22, 2014Wireless mouse
Equipment Class
DXX - Part 15 Low Power Communication Device Transmitter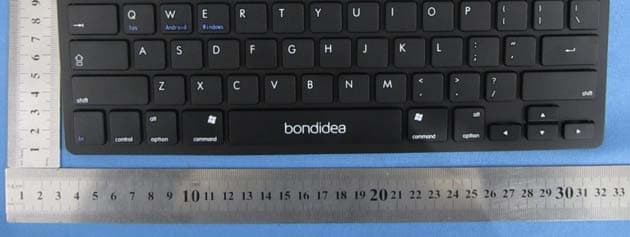
Y4PK009
Mar 25, 2014Bluetooth keyboard
Equipment Class
DSS - Part 15 Spread Spectrum Transmitter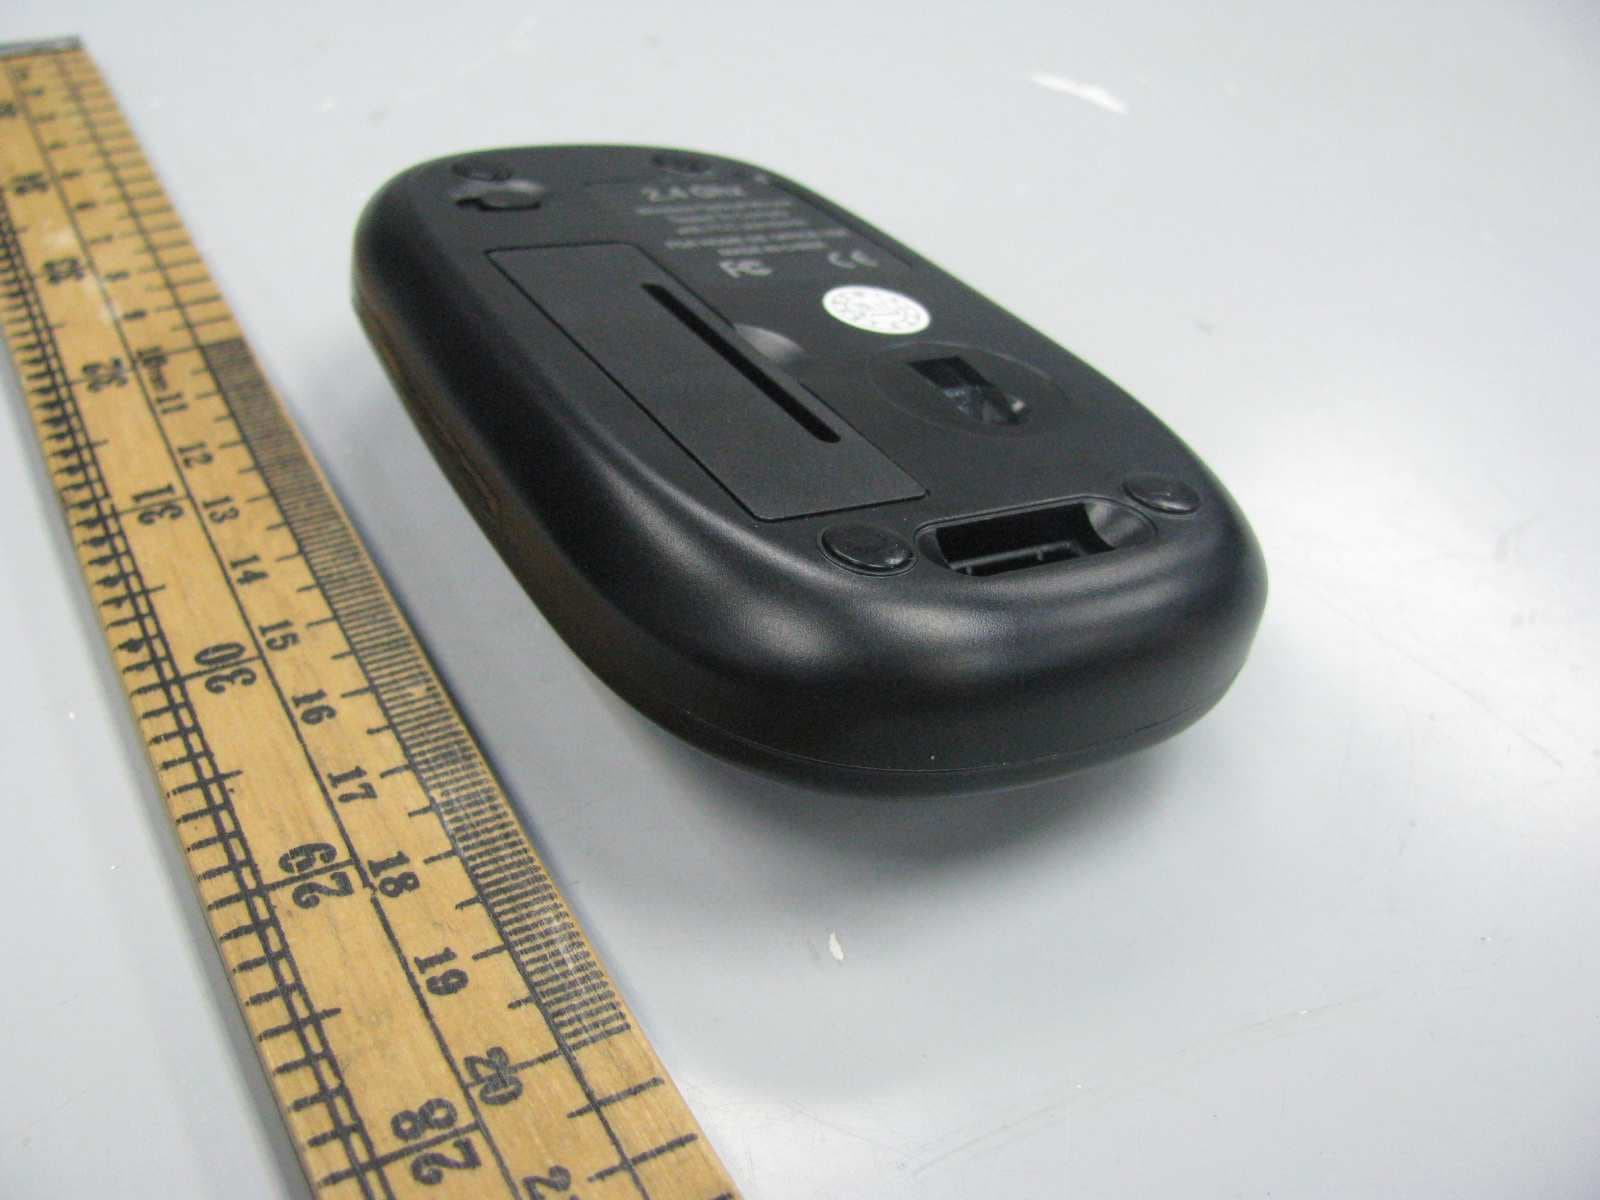
Y4PBONDID10
Jan 17, 20112.4Ghz wireless optical mouse
Equipment Class
DXX - Part 15 Low Power Communication Device Transmitter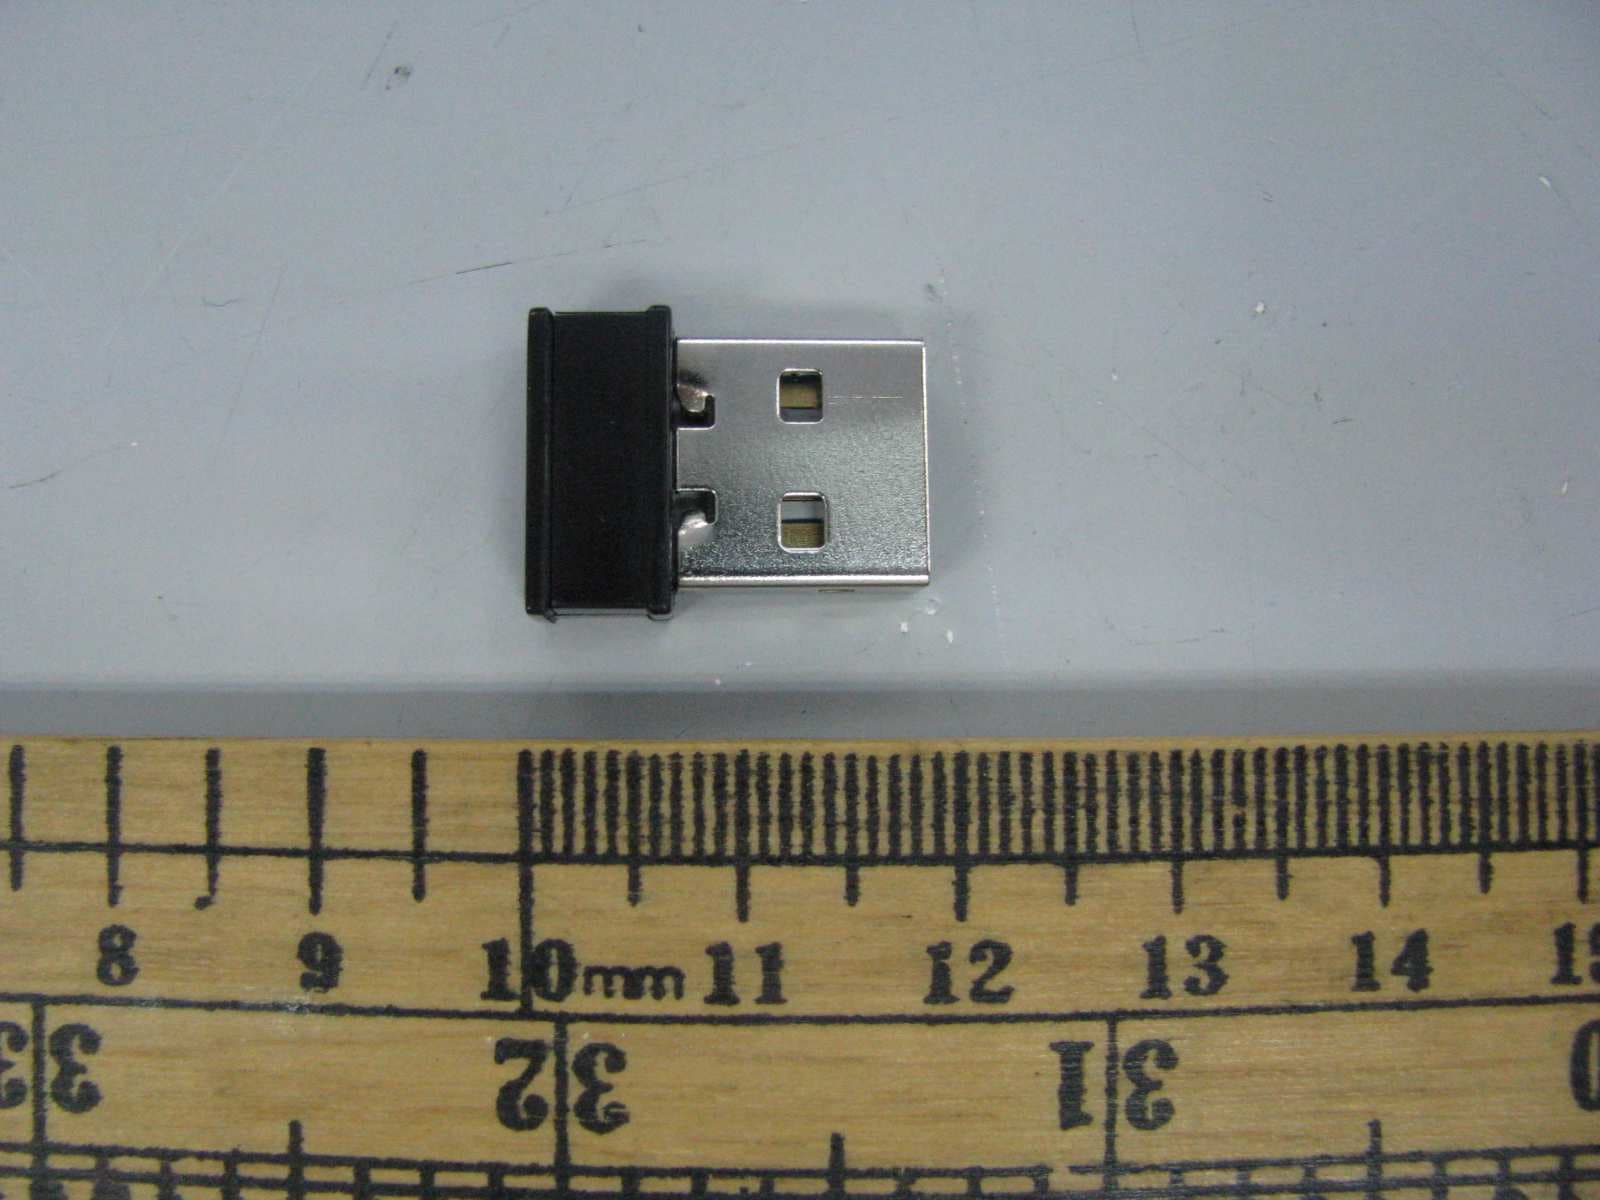
Y4PBONDID8
Jan 15, 20112.4Ghz wireless optical mouse
Equipment Class
JBP - Part 15 Class B Computing Device Peripheral