YMSKAEFUHRVI1G200Coffee Brewer
Keurig Inc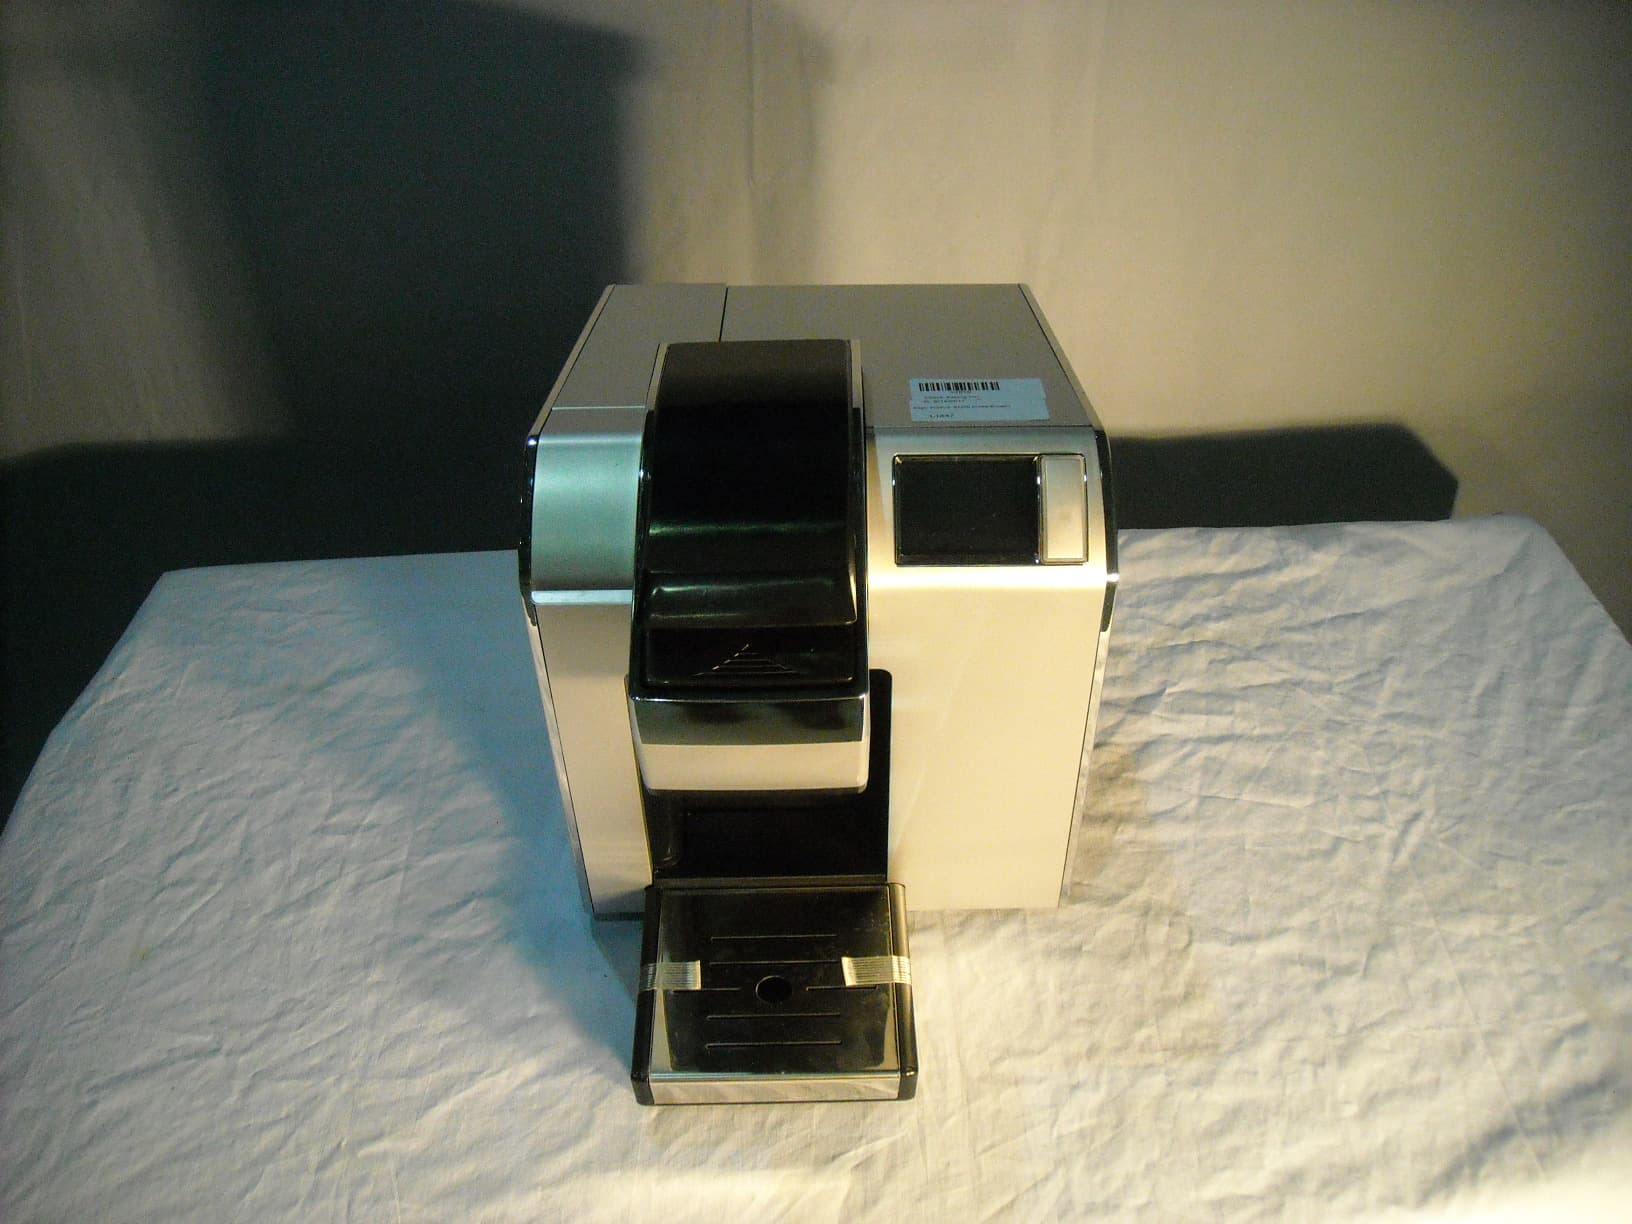
Click to zoom
Application Details
- Equipment Class
- DSS - Part 15 Spread Spectrum Transmitter
- Date of Grant
- Jan 30, 2012
- Application Purpose
- Original Equipment
- Date of Application
- Jan 30, 2012
- Equipment Note
- Coffee Brewer
- Frequency Range
- 902.75000000 - 927.25000000
- Company
- Keurig Inc
- Country
- United States
Documents & Files
Document Text
Text extracted from the exhibit documents filed with the FCC. Open a document above to read the original.
Users Manual
Keurig ® v1200 Brewer Use & Care Guide Coff e e Ste p 2 Ste p 2 Re g u l a r C a f é Strong H ot C o c o a T e a Ot h e r Froth Step1 Ready to Not Brewing PM OZ M H Size Frothing Enjoy! De-Scale Set Clock Set Auto Off Set Set O n Off Time Set Set Brew Temp Set M e n u Add Water Coffee & T ea B r ew O v e r I c e Ca f é 2 Step 2 When using electrical appliances, basic safety precautions should be followed, including the following: IMPORTANT SAFEGUARDS Safe Operation & Use 1. Read all instructions before using. 2. Do not touch hot surfaces. Use handles and knobs when available. 3. This appliance must be properly installed and located in accordance with these instructions before it is used. 4. The use of accessory attachments not recommended by the appliance manufacturer may result in fire, electrical shock or injury to persons. 5. Do not place on or near a hot gas or electric burner, or in a heated oven. 6. Do not use outdoors. 7. To protect against fire, electric shock and injury do not immerse cords, plugs, or the appliance in water or any other liquid. 8. Do not overfill the Water Reservoir with water. 9. Use only water in this appliance! Do not put any other liquids or foods in the Water Reservoir except as instructed in the Cleaning Instructions in this guide. 10. Turn off and unplug the Brewer before cleaning or maintenance. Allow to cool before putting on or taking off parts and before cleaning the appliance. 11. For best operation, plug the appliance into its own electrical outlet on a dedicated circuit to prevent flickering of lights, blowing of fuses or tripping a circuit breaker. 12. Do not operate any appliance with a damaged cord or plug or after the appliance malfunctions or is damaged in any manner. Contact Keurig Customer Service to report any malfunction of or damage to the Brewer. 13. Do not let the cord hang over the edge of the table or counter, or touch hot surfaces. 14. To disconnect, press the Power Button on the Brewer to ‘OFF’ status and then remove the plug from the wall outlet. 15. Close supervision is necessary when any appliance is used by or near children. 16. Do not lift the Handle to open the Brewer while brewing is in progress. 17. Always keep the Water Reservoir Lid on the Water Reservoir unless you are refilling it. 18. This appliance is equipped with a power cord having a grounding wire with a grounding plug. The appliance must be grounded using a 3-hole properly grounded outlet. In the event of an electrical short circuit, grounding reduces the risk of electrical shock. 19. If the outlet is a standard 2-prong wall outlet, it is your personal responsibility and obligation to have it replaced with a properly grounded 3-prong wall outlet. 20. Do not, under any circumstances, cut or remove the third (ground) prong from the power cord or use an adapter. 21. Consult a qualified electrician if the grounding instructions are not completely understood, or if doubt exists as to whether the appliance is properly grounded. 22. Do not use the appliance for other than its intended use. WARNING WARNING: TO REDUCE THE RISK OF FIRE OR ELECTRIC SHOCK, DO NOT REMOVE THE BOTTOM COVER. NO USER SERVICEABLE PARTS ARE INSIDE. REPAIR SHOULD BE DONE BY AUTHORIZED SERVICE PERSONNEL ONLY. RISK OF FIRE OR ELECTRIC SHOCK DO NOT OPEN ! WARNING TO USERS AND PARENTS: DO NOT permit children to use Brewer unless there is adult supervision. Brewer dispenses very hot water. WARNING THIS PRODUCT CONTAINS CHEMICALS, INCLUDING LEAD, WHICH IS KNOWN TO THE STATE OF CALIFORNIA TO CAUSE CANCER, BIRTH DEFECTS OR OTHER REPRODUCTIVE HARM. CAUTION: There is extremely hot water in the Vue ™ pack Holder during the brew process. To avoid risk of injury, do not lift the Handle or remove the Brew Head during the brewing process. Do not remove or puncture the lid of the Vue ™ pack prior to brewing. After brewing, use caution when removing the Vue ™ pack, as it will be hot. SHORT CORD INSTRUCTIONS: A short power supply cord is provided to reduce the risk of becoming entangled in or tripping over a longer cord. Longer detachable power-supply or extension cords are available and may be used if care is exercised in their use. If an extension cord is used, (1) the marked electrical rating of the cord set or extension cord should be at least as great as the electrical rating of the appliance; (2) the cord should be arranged so that it will not drape over the counter top or tabletop where it can be pulled on by children or tripped over unintentionally; and (3) the extension cord must include a 3-prong grounding plug. THIS PRODUCT IS FOR COMMERCIAL USE ONLY. SAve TheSe INSTRucTIoNS. 3 5 Section 1 Brewer Overview 6 Section 2 Preparing Your Brewer 8 Section 3 Using Your Brewer with RFID 10 Section 4 Programming Your Brewer 15 Section 5 Caring for Your Brewer 18 Section 6 Recycling Vue ™ Packs 21 Section 7 Troubleshooting 22 Section 8 Warranty 28 Record Your Brewer Serial Number Above The serial number can be found on the bottom of the Brewer box and on the left side of the Brewer once the Water Reservoir has been removed. Removing the serial number label from the Brewer will void warranty. Table of Contents Coff e e Ste p 2 Ste p 2 Re g u l a r C a f é Strong H ot C o c o a T e a Ot h e r Froth Step1 Ready to Not Brewing PM OZ M H Size Frothing Enjoy! De-Scale Set Clock Set Auto Off Set Set O n Off Time Set Set Brew Temp Set M e n u Add Water Coffee & T ea B r ew O v e r I c e Ca f é 2 Step 4 7 Coff e e Ste p 2 Ste p 2 Re g u l a r C a f é Strong H ot C o c o a T e a Ot h e r Froth Step1 Ready to Not Brewing PM OZ M H Size Frothing Enjoy! De-Scale Set Clock Set Auto Off Set Set O n Off Time Set Set Brew Temp Set M e n u Add Water Coffee & T ea B r ew O v e r I c e Ca f é 2 Step F H A I D C B A “BREW” Button B Power Button C Touchscreen D Handle E Brew Head F Power Cord G Drip Tray H Water Reservoir I Water Reservoir Flip Top Lid The Keurig ® Vue ™ Brewer is not for use with K-Cup ® packs. SECTION 1 Brewer Overview E…
Text truncated - open the document above for the full version.
External Photos
L1447 Keurig Inc. External Photographs L1447 Keurig Inc. External Photographs L1447 Keurig Inc. External Photographs L1447 Keurig Inc. External Photographs
Internal Photos
L1447 Keurig Inc. Internal Photographs Antenna L1447 Keurig Inc. Internal Photographs L1447 Keurig Inc. Internal Photographs Transmitter Board Keurig Confidential InformationA business unit of GMCR RF transmitter inside the shielded enclosure Shielded enclosure in the brewer puncture mechanism 1 Keurig Confidential InformationA business unit of GMCR Top side of the transmitter board 2 Keurig Confidential InformationA business unit of GMCR Bottom side of the transmitter board 3 Keurig Confidential InformationA business unit of GMCR Top side of the antenna board 4 Keurig Confidential InformationA business unit of GMCR Bottom side of the antenna board 5 Keurig Confidential InformationA business unit of GMCR
RF Exposure Info
Prediction of MPE limit at a given distance Equation from page 18 of OET Bulletin 65, Edition 97-01 where:S = power density P = power input to the antenna G = power gain of the antenna in the direction of interest relative to an isotropic radiator R = distance to the center of radiation of the antenna Maximum peak output power at the antenna terminal: 15.50(dBm) Maximum peak output power at the antenna terminal: 35.48133892(mW) Antenna gain(typical): 0 (dBi) Maximum antenna gain: 1 (numeric) Prediction distance: 20(cm) Prediction frequency: 902.75(MHz) MPE limit for uncontrolled exposure at prediction frequency: 0.60183(mW/cm^2) Power density at prediction frequency:0.007059(mW/cm^2) Therefore complies with FCC RF radiation exposure limits for general population as a mobile device (d>20cm) 2 4R PG S π =
Test Setup Photos
L1447 Keurig Inc. Test Setup Photographs Conductive Measurements Conductive Measurements - Closeup L1447 Keurig Inc. Test Setup Photographs Radiated Emissions Measurements – Above 1GHz - OATS L1447 Keurig Inc. Test Setup Photographs Radiated Emissions Measurements – Below 1GHz – Anechoic Chamber L1447 Keurig Inc. Test Setup Photographs AC Line Conducted Emissions Measurements – Front L1447 Keurig Inc. Test Setup Photographs AC Line Conducted Emissions Measurements – Rear
Contact Information
Applicant
Ranganarayan Narasimhan(Senior Hardware Engineer)
Test Firm
BUREAU VERITAS CONSUMER PRODUCTS SERVICES, INC.Ozgur Ozturk
[email protected]978-486-8880
Technical Specifications
| # | Rule Parts | Frequency Range | Power Output |
|---|---|---|---|
| 1 | 15C | 902.75 MHz - 927.25 MHz | 36.00 mW |
Other Applications from Keurig Inc
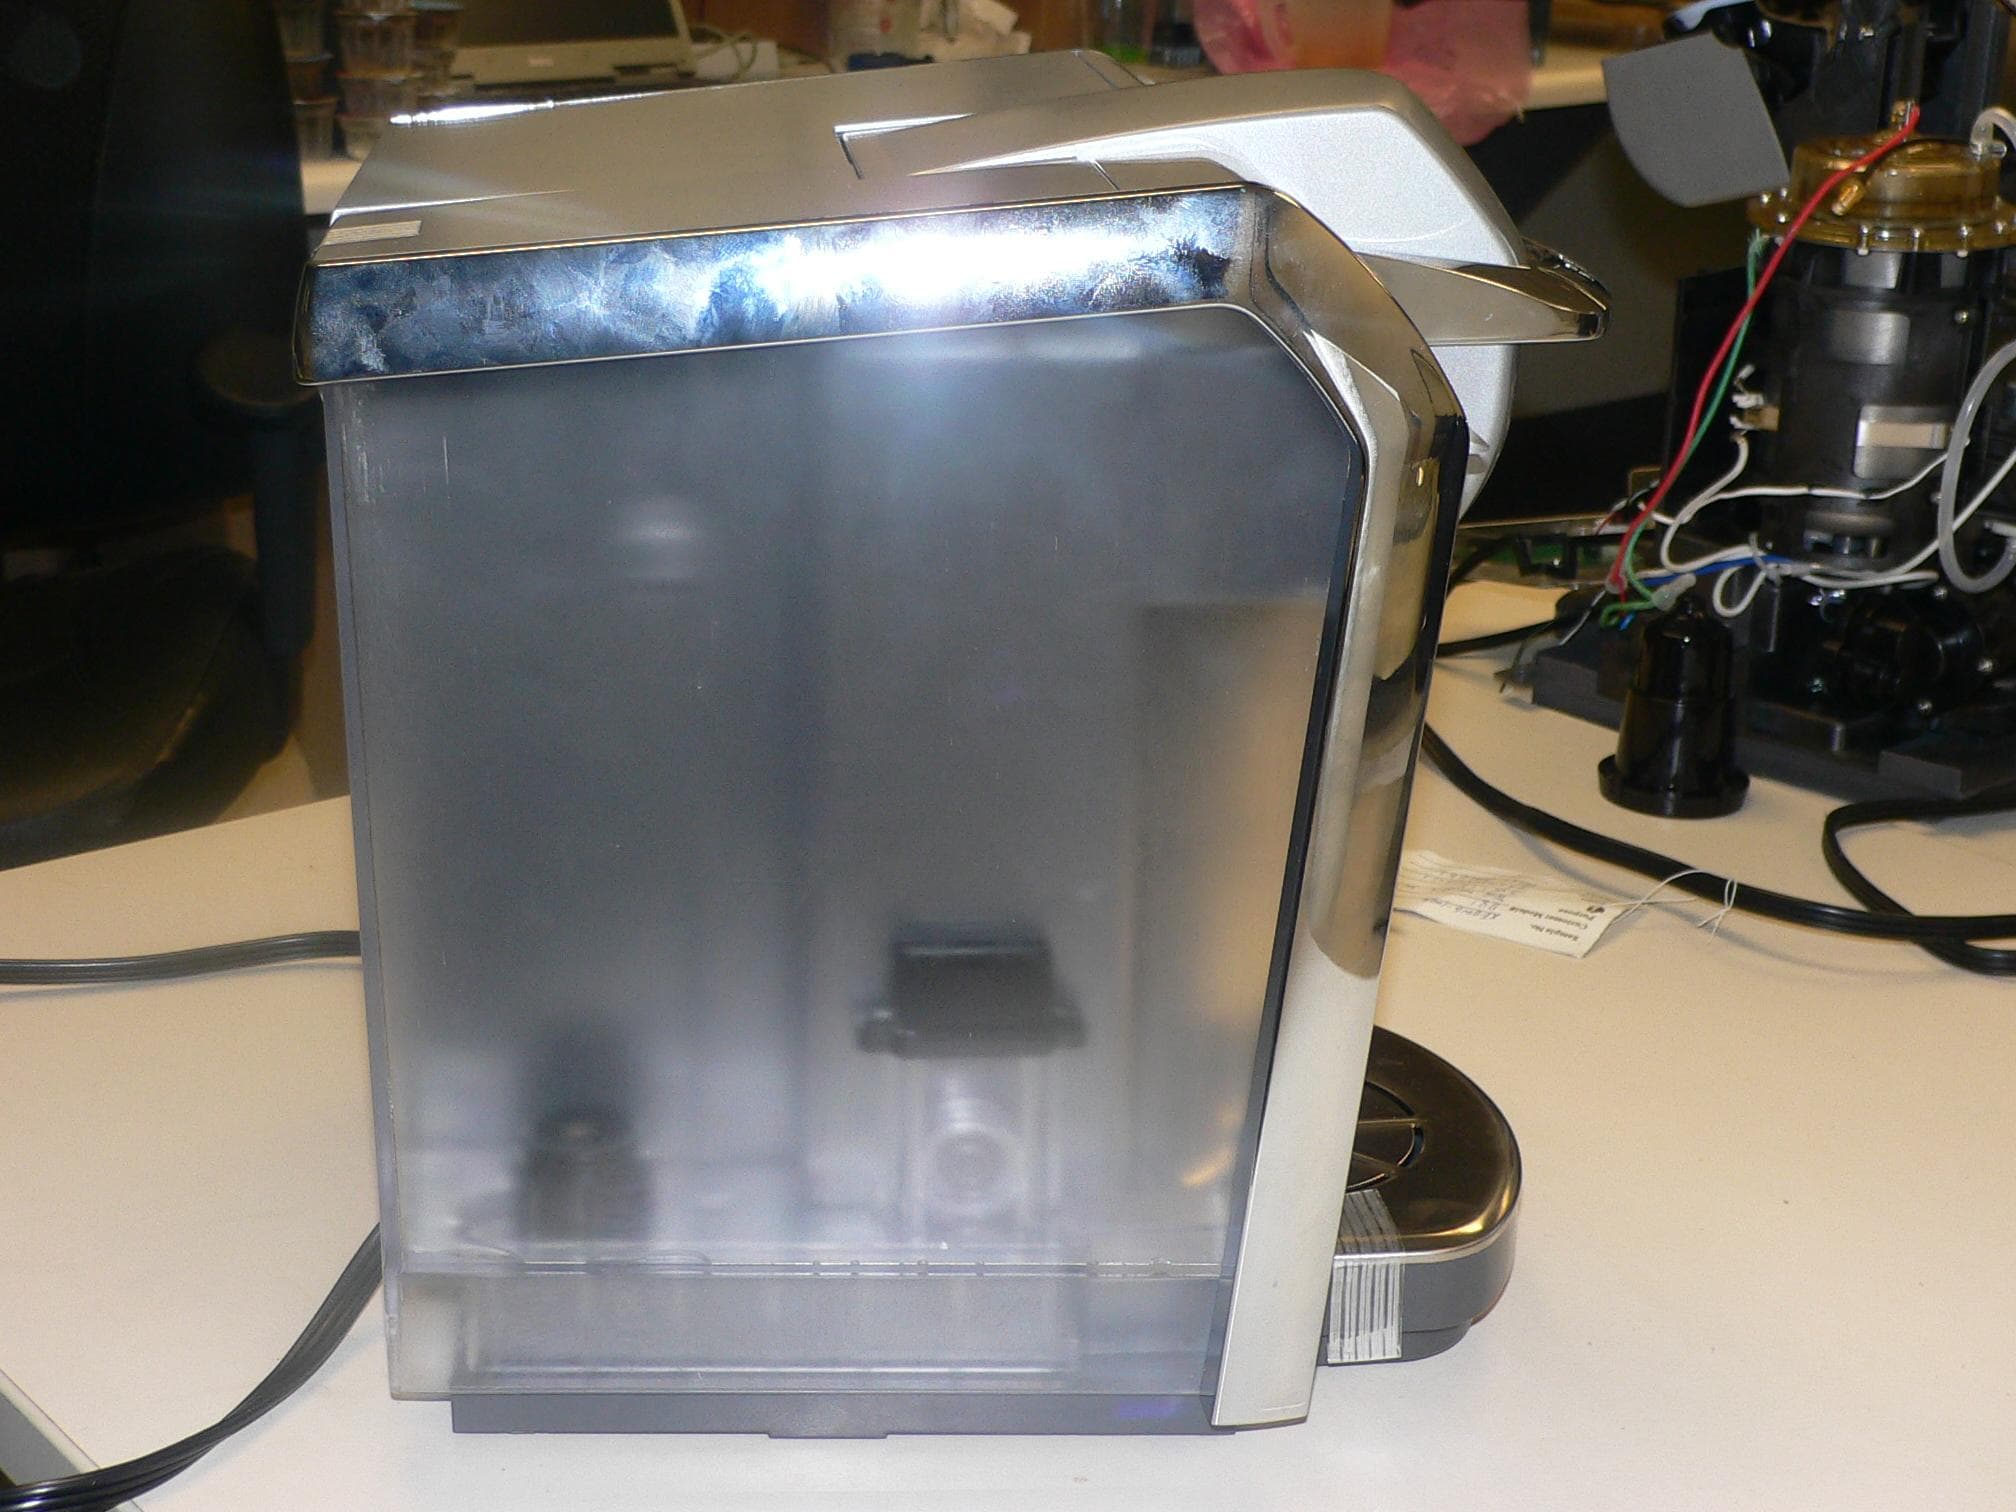
Aug 10, 2010
Equipment Class
DTS - Digital Transmission System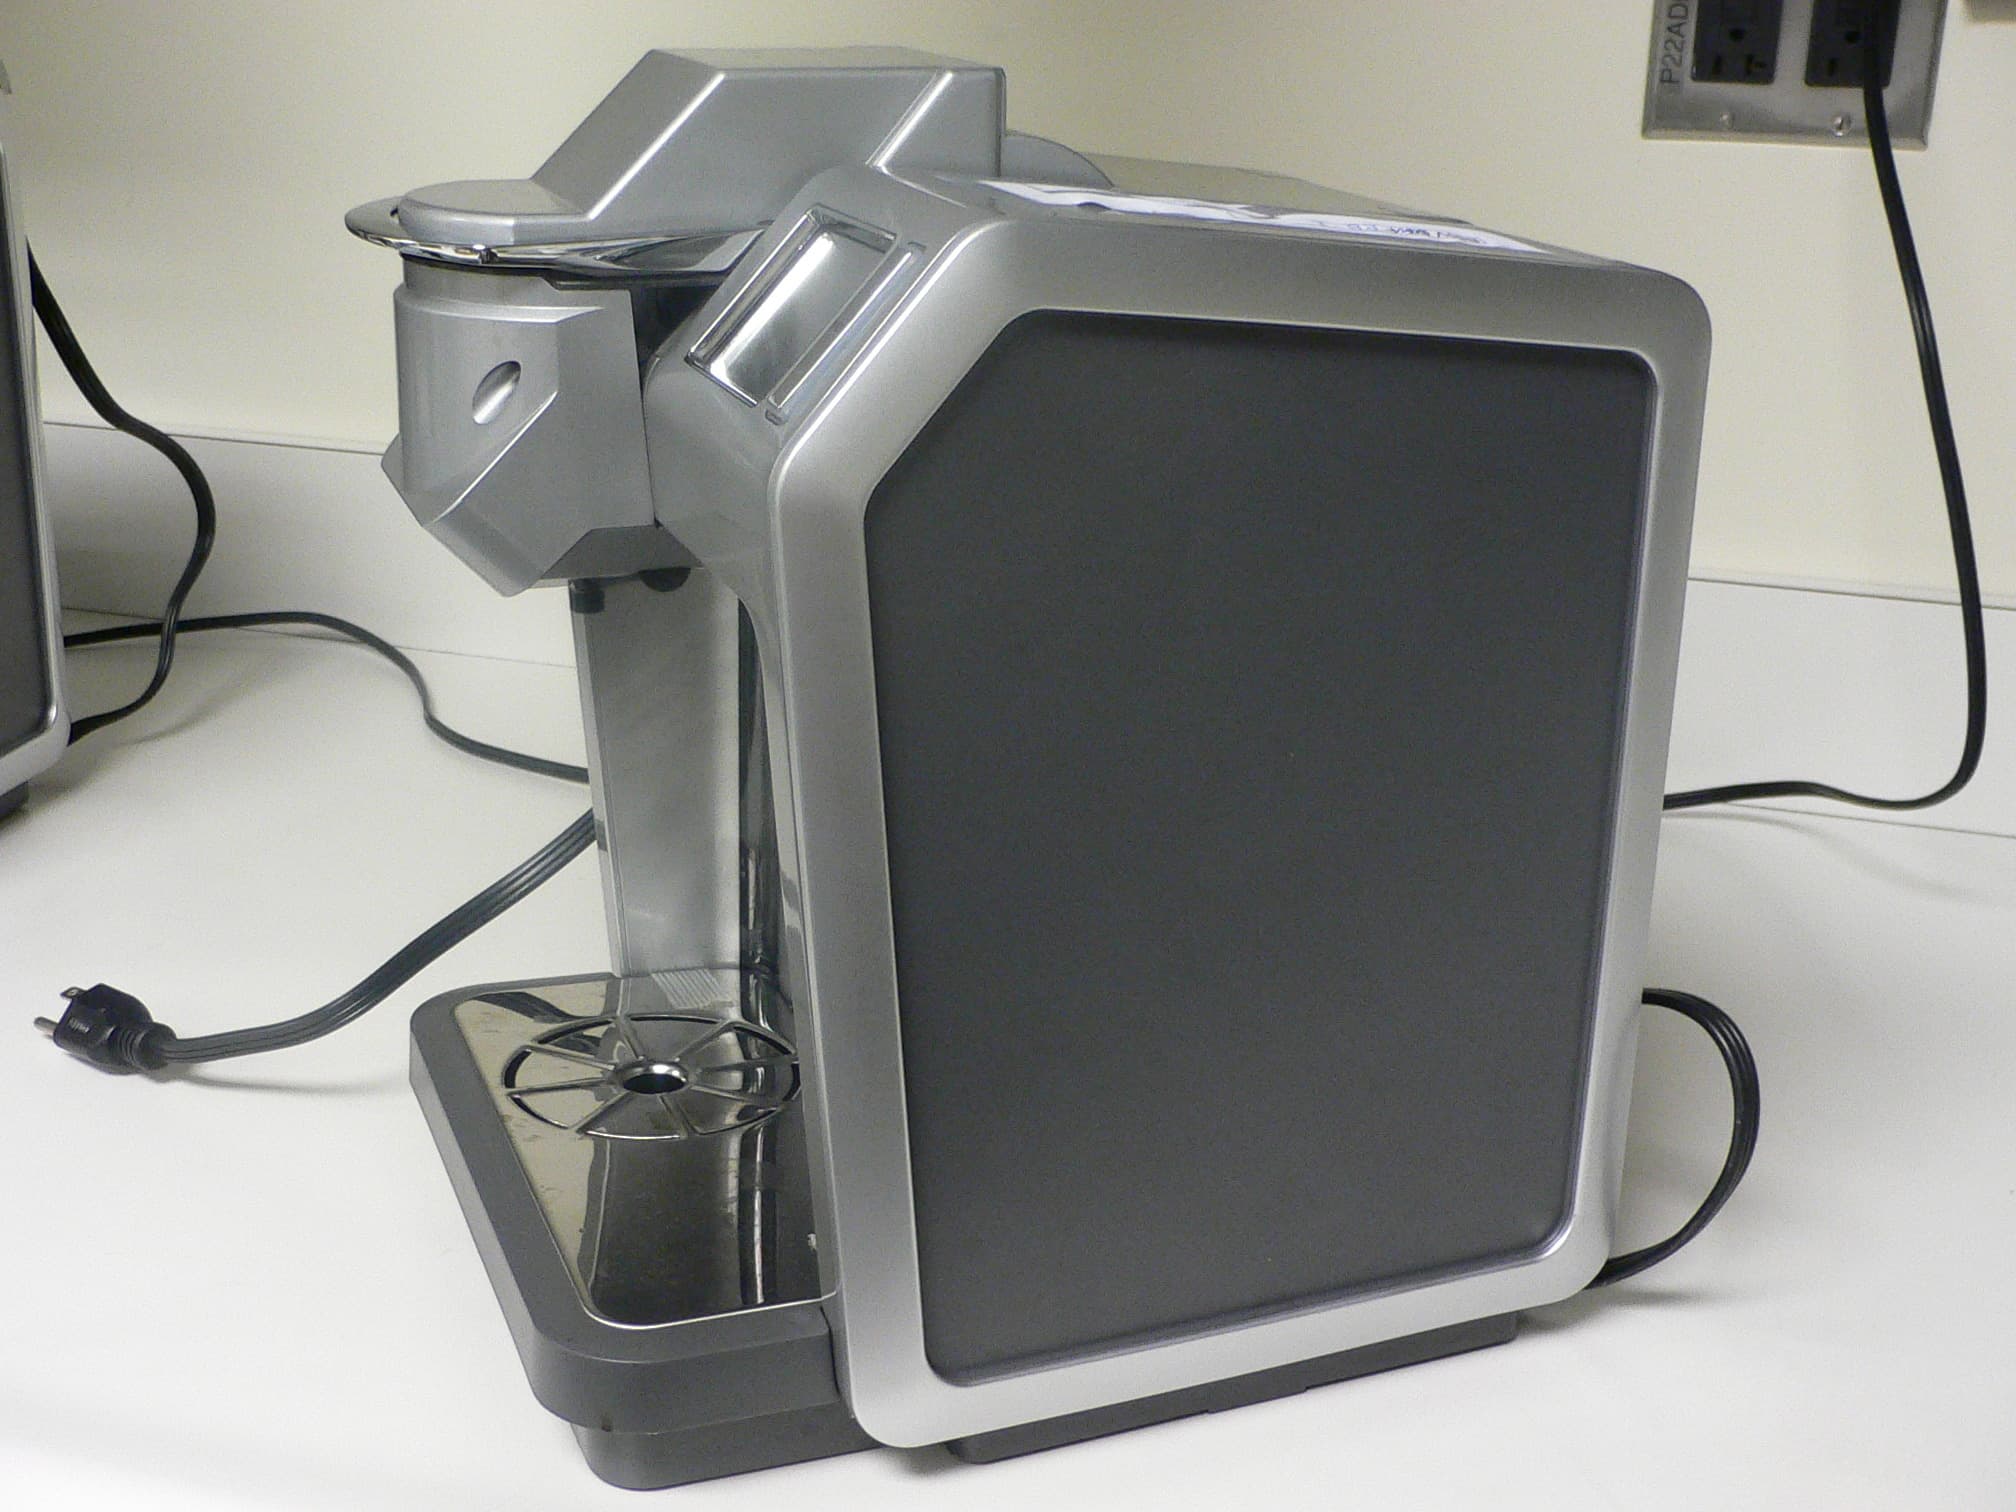
YMSK5E3U8R7I4G410
Jul 28, 2010Coffee Brewer
Equipment Class
DTS - Digital Transmission System