2AGGZ-APULSE-2Wi-Fi to RF433 Bridge
Rollease Acmeda Inc
Click to zoom
Application Details
- Equipment Class
- DSC - Part 15 Security/Remote Control Transmitter
- Date of Grant
- Oct 29, 2020
- Application Purpose
- Original Equipment
- Date of Application
- Oct 29, 2020
- Equipment Note
- Wi-Fi to RF433 Bridge
- Frequency Range
- 433.92000000 - 433.92000000
- Company
- Rollease Acmeda Inc
- Country
- United States
Documents & Files
Document Text
Text extracted from the exhibit documents filed with the FCC. Open a document above to read the original.
Users Manual
Pulse 2 Hub | Set up Instructions for Android The Pulse 2 connects to home networks to unlock the luxury of automated shade control. Experience customization with scene and timer options as well as voice control via Google Assistant and Amazon Alexa. THE APP ALLOWS FOR: 1. Individual and group control – Group Automate shades by room and conveniently control them accordingly. 2. Remote connectivity - Control shades remotely, whether home or away on a local network or an internet connection. 3. Scene control - Personalize shade control and organize how your shades operate by specific daily events. 4. Timer functionality - Set and forget. Lower, raise and activate shade scenes automatically at the optimal time. 5. Sunrise and Sunset - Utilizing time zone and location, the Pulse 2 can automatically raise or lower Automate shades according to the position of the sun. 6. Compatible IoT Integrations: - IFTTT via applets - Amazon Alexa devices - Google Home - Smart Things GETTING STARTED: To experience automated shade control through the Automate Pulse 2 app, you will need to have: • Downloaded the free app via the Google Play Store. • Purchased one or more Hub’s depending on the size of the area you would like to cover. • Familiarized yourself with the app navigation guide below. • Created a Location then pair hub to that location. Our step by step guide will explain in more detail. WI-FI HUB TECHNICAL SPECIFICATIONS: • Radio Frequency range: ~60 feet (no obstructions) • Radio Frequency: 433 MHz • Wi-Fi 2.4 GHz or Ethernet Connectivity (CAT 5) • Power: 5V DC • For Indoor Use Only BEST PRACTICES FOR PAIRING THE HUB ON YOUR WIFI NETWORK: • Only pair your hub via 2.4GHZ Wi-Fi (Lan Pairing is not supported) Do not connect ethernet cable to the hub. • The Hub must be within signal range of both the automated shades and 2.4GHZ Wi-Fi. • Ensure 5Ghz are disabled on your Wi-Fi router or disconnected from your mobile device. • Check your phone and confirm if the Home App has been installed. • Environments with multiple WAPs (wireless access points) may need all but the main router temporarily disabled. • Security settings on your router and on phone may need to be temporarily disabled. • Place the Hub in a horizontal position. (avoid metal enclosures / ceiling or any other locations that may affect the range. • Before starting the Hub installation, make sure that all your shades are functional and charged. You can test the shade using a remote control or pressing a “P1” Button on the motor head. • In case of range issues, it is recommended you deploy the antenna or reposition the hub in your installation. • Add additional repeaters if is required (Only two per Hub). CAPABILITIES: • Motors per Hub: 30 • Locations per account: 5 • Hub’s per location: 5 • Rooms per Location: 30 • Scenes per Location: 20 (100 per location) • Timers per Location: 20 (100 per location) rolleaseacmeda.com © 2020 Rollease Acmeda Group WHAT’S IN THE BOX? UNPACKING THE HUB 2.0: APP NAVIGATION Home Page Home: Shows the main control screen with rooms and devices tabs Favorites: Allows you to create a list of your favorite Devices or Scenes Scenes: Show a list of scenes created Timers: Show a list of scene timers App Version: 2.0.(13) Menu Rooms Locations Devices Home Favorite Scenes Timers A. Automate Pulse 2 Hub B. USB Power Supply C. 32” (80cm) USB Power Cord E. Quick Start Guide D. Ethernet cable 1. Unpack the Pulse 2. 2. Check the Box Contents. 5. Plug the Power Supply into the outlet and place the Hub in a central location in your home. 3. Plug the USB Cord into the Power Supply 4. Connect the Micro USB end into the back of the Pulse 2 rolleaseacmeda.com © 2020 Rollease Acmeda Group SETTING UP: QUICK START SETUP: NOTE: You cannot pair the hub via the Ethernet cable connection, Wi-Fi only via a 2.4GHZ connection. Refer to troubleshooting for more information. STEP 1 – Quick Start Please power up the Hub then follow the Quick Start guide. Select “YES”. STEP 2 – Add Location You can create a name for your location or select “Next” to use the Default “My House”. Email l Email l Email l STEP 3 – Sign Up Creating an account will require an email address and password. STEP 4 – Sign In If you already have an account, Log in with your account information. STEP 1 – Open the App Open the Automate Pulse 2 mobile App. STEP 2 – Sign Up If required, create a new account. Select Sign Up on the Top Right corner of the screen. rolleaseacmeda.com © 2020 Rollease Acmeda Group STEP 3 - Configure a Hub Wait as the App creates a Location for the Hub. STEP 4 – Time Zone Select your Time Zone. This is important for timers to operate correctly. Ensure daylight savings is enabled. STEP 5 - Configure a Hub Make sure that your current Wi-Fi Network aligns with the network you want the hub connected to. STEP 6 - Configure a Hub Open your Wi-Fi settings and connect to the appropriate RA-PULSE-xxx network that corresponds with your hub. STEP 10 - Wi-fi Network Hub Enter your correct Wi-Fi networks password. STEP 7 - Configure a Hub Open your Wi-Fi settings and connect to the appropriate RA-PULSE-xxx network that corresponds with your hub. STEP 8 - Configure a Hub In the app, verify you are connected to your RA_PULSE-xxxx network, press ‘NEXT’ to pair the hub. STEP 9 – Wi-fi Network Verify if your Wi-Fi network is listed. If it is not, type in the correct network name. rolleaseacmeda.com © 2020 Rollease Acmeda Group STEP 15 - Pairing Completed The Hub is ready to be used! Press ‘DONE’ to start the Application. STEP 11 - Configure a Hub Wait while the hub connects to your Wi-Fi Network. STEP 12 - Configure a Hub Before selecting ‘NEXT’ verify the network changes over to your home Wi-Fi network. STEP 13 - Configure a Hub Select ‘NEXT’ to continue the setup process. STEP 14 - Finalizing Wait as the hub finalizes the setup. rolleaseacmeda.com © 2020 Rollease Acmeda Group ADDING ADDITIONAL HUB TO EXSITING LOCATION: STEP 5 - Configure a Hub Make sure that your curre…
Text truncated - open the document above for the full version.
Users Manual
Pulse 2 Hub | Set up Instructions for iOS The Pulse 2 connects to home networks to unlock the luxury of automated shade control. Experience customization with scene and timer options as well as voice control via Google Assistant, Amazon Alexa, and Apple HomeKit. THE APP ALLOWS FOR: 1. Individual and group control – Group Automate shades by room and conveniently control them accordingly. 2. Remote connectivity - Control shades remotely, whether home or away on a local network or an internet connection. 3. Scene control - Personalize shade control and organize how your shades operate by specific daily events. 4. Timer functionality - Set and forget. Lower, raise and activate shade scenes automatically at the optimal time. 5. Sunrise and Sunset - Utilizing time zone and location, the Pulse 2 can automatically raise or lower Automate shades according to the position of the sun. 6. Compatible IoT Integrations: - Amazon Alexa - Google Home - IFTTT - Smart Things - Apple HomeKit GETTING STARTED: In order to experience automated shade control through the Automate Pulse 2 app, you will need to have: • Downloaded the free app Automate Pulse 2 App via the Apple App Store (available under iPhone apps) or iPad apps for iPad devices. • Purchased one or more Hub’s depending on the size of the area you would like to cover. • Familiarized yourself with the app navigation guide below. • Created a Location then pair hub to that location. Our step by step guide will explain in more detail. WI-FI HUB TECHNICAL SPECIFICATIONS: • Radio Frequency range: ~ 60 feet (no obstructions) • Radio Frequency: 433 MHz • Wi-Fi 2.4 GHz or Ethernet Connectivity (CAT 5) • Power: 5V DC • For Indoor Use Only BEST PRACTICES FOR PAIRING THE HUB WITH YOUR WI-FI NETWORK: • Only pair your hub via 2.4GHZ Wi-Fi (Lan Pairing is not supported) Do not connect ethernet to the hub. • The Hub must be within signal range of both the automated shades and 2.4GHZ Wi-Fi. • Ensure 5Ghz are disabled on your Wi-Fi router or disconnected from your mobile device. • Check your phone and confirm if the Home App has been installed. • Environments with multiple WAPs (wireless access points) may need all but the main router temporarily disabled. • Security settings on your router and on phone may need to be temporarily disabled. • Place the Hub in a horizontal position. (avoid metal enclosures / ceiling or any other locations that may affect the range. • Before starting the Hub installation, make sure that all your shades are functional and charged. You can test the shade using a remote control or pressing a “P1” Button on the motor head. • In case of range issues, it is recommended you deploy the antenna or reposition the hub in your installation. • Add additional repeaters if is required (Only two per Hub). CAPABILITIES: • Motors per Hub: 30 • Locations per account: 5 • Hub’s per location: 5 • Rooms per Location: 30 per Hub • Scenes per Hub: 20 (100 per location) • Timers per Hub: 20 (100 per location) rolleaseacmeda.com © 2020 Rollease Acmeda Group WHAT’S IN THE BOX? UNPACKING THE HUB 2.0: APP NAVIGATION: Home Page Home: Shows the main control screen with rooms and devices tabs Favorites: Allows you to create a list of your favorite Devices or Scenes Scenes: Show a list of scenes created Timers: Show a list of scene timers App Version: 2.0.(13) Menu Rooms Locations Devices Home Favorite Scenes Timers A. Automate Pulse 2 Hub B. USB Power Supply C. 32” (80cm) USB Power Cord E. Quick Start Guide D. Ethernet cable 1. Unpack the Pulse 2. 2. Check the Box Contents. 5. Plug the Power Supply into the outlet and place the Hub in a central location in your home. 3. Plug the USB Cord into the Power Supply 4. Connect the Micro USB end into the back of the Pulse 2 rolleaseacmeda.com © 2020 Rollease Acmeda Group ACCOUNT SETUP: QUICK START SETUP: NOTE: You cannot pair the hub via the Ethernet cable connection, Wi-Fi only via a 2.4GHZ connection. Refer to troubleshooting for more information. STEP 1 – Quick Start Please power up the Hub then follow the Quick Start guide. Select “YES”. STEP 2 – Add Location You can create a name for your location or select “Next” to use the Default “My House”. STEP 3 – Discover Hub Select the Hub you wish to connect too and then press “Next”. STEP 4 – Scan Hub Scan the QR Code on the bottom of the hub to sync with HomeKit. Email Email STEP 1 – Open the App Open the Automate Pulse 2 mobile App. STEP 2 – Sign Up If required, create a new account. Select Sign Up on the Top Right corner of the screen. STEP 3 – Sign Up Creating an account will require an email address and password STEP 4 – Sign In If you already have an account Log in with your account information. rolleaseacmeda.com © 2020 Rollease Acmeda Group ADDING ADDITIONAL HUB TO EXSITING LOCATION: STEP 3 - Configure a Hub Follow on the screen instructions and click on the button to connect to NEW HUB. STEP 5 – HomeKit Success The Hub has successfully connected to HomeKit. Press “Done” to continue. STEP 6 – Time Zone Select your Time Zone. This is important for timers to operate correctly. Ensure daylight savings is enabled. STEP 7 – Finalizing Wait as the hub finalizes the setup. STEP 8 – Pairing Completed The Hub is ready to be used! Press ‘DONE’ to start the Application. STEP 4 - Configure a Hub From the list select the hub you wish to pair to. Select ‘NEXT’ STEP 1 - Configure a Hub Select the location desired to add a new hub to. STEP 2 - Configure a Hub Click on “ADD NEW HUB” to start the process to setting up your HUB on the App. rolleaseacmeda.com © 2020 Rollease Acmeda Group STEP 8 - Configure a Hub Wait while the hub connects to your Wi-Fi Network STEP 5 - Configure a Hub Scan the QR Code on the bottom of the hub to sync with Homekit STEP 7 - Configure a Hub Select your Time Zone. This is important for timers to operate correctly. STEP 6 - Configure a Hub The hub was successfully added to Homekit! STEP 9 - Configure a Hub The Hub is ready to be used! Press ‘DONE’ to start th…
Text truncated - open the document above for the full version.
External Photos
FCC ID: 2AGGZ-APULSE-2 IC: 21769-APULSE2 Page 1 of 5 External Picture FCC ID: 2AGGZ-APULSE-2 IC: 21769-APULSE2 Page 2 of 5 FCC ID: 2AGGZ-APULSE-2 IC: 21769-APULSE2 Page 3 of 5 FCC ID: 2AGGZ-APULSE-2 IC: 21769-APULSE2 Page 4 of 5 FCC ID: 2AGGZ-APULSE-2 IC: 21769-APULSE2 Page 5 of 5
ID Label/Location Info
45mm 51mm MODEL: MT02-0401-067001 FCC ID: 2AGGZ-APULSE-2 IC: 21769-APULSE2 POWER INPUT: (5V DC)(1000mA) WiFi: 2.4GHz 802.11b/g/n DEVICE RF: 433.92MHz CAN ICES-3(B)/NMB-3(B) DESIGNED IN USA | MADE IN MEXICO TESTED TO COMPLY WITH FCC STANDARDS FOR HOME OR OFFICE USE AUTOMATESHADES.COM v1.3 45mm 51mm MODEL: MT02-0401-067005 FCC ID: 2AGGZ-APULSE-2 IC: 21769-APULSE2 POWER INPUT: (5V DC)(1000mA) WiFi: 2.4GHz 802.11b/g/n DEVICE RF: 433.92MHz CAN ICES-3(B)/NMB-3(B) ROWLEYCOMPANY.COM TESTED TO COMPLY WITH FCC STANDARDS FOR HOME OR OFFICE USE DESIGNED IN USA | MADE IN MEXICO v1.3 45mm 51mm MODEL: MT02-0401-067003 FCC ID: 2AGGZ-APULSE-2 IC: 21769-APULSE2 POWER INPUT: (5V DC)(1000mA) WiFi: 2.4GHz 802.11b/g/n DEVICE RF: 433.92MHz CAN ICES-3(B)/NMB-3(B) THESHADESTORE.COM TESTED TO COMPLY WITH FCC STANDARDS FOR HOME OR OFFICE USE DESIGNED IN USA | MADE IN MEXICO v1.3 45m 51mm MODEL: MT02-0401-067004 FCC ID: 2AGGZ-APULSE-2 IC: 21769-APULSE2 POWER INPUT: (5V DC)(1000mA) WiFi: 2.4GHz 802.11b/g/n DEVICE RF: 433.92MHz CAN ICES-3(B)/NMB-3(B) BUDGETBLINDS.COM TESTED TO COMPLY WITH FCC STANDARDS FOR HOME OR OFFICE USE DESIGNED IN USA | MADE IN MEXICO v1.3 Label Location For reference only, label will be updated
Internal Photos
FCC ID: 2AGGZ-APULSE-2 IC: 21769-APULSE2 Page 1 of 6 FCC ID: 2AGGZ-APULSE-2 IC: 21769-APULSE2 Page 2 of 6 FCC ID: 2AGGZ-APULSE-2 IC: 21769-APULSE2 Page 3 of 6 FCC ID: 2AGGZ-APULSE-2 IC: 21769-APULSE2 Page 4 of 6 FCC ID: 2AGGZ-APULSE-2 IC: 21769-APULSE2 Page 5 of 6 FCC ID: 2AGGZ-APULSE-2 IC: 21769-APULSE2 Page 6 of 6
Test Report
Rollease Acmeda Inc RF TEST REPORT Report Type: FCC Part 15.231 & ISED RSS-210 RF report Model: MT02-0401-067001, MT02-0401-067003, MT02-0401-067004, MT02-0401-067005 REPORT NUMBER: 180802994SHA-001 ISSUE DATE: October 23, 2020 DOCUMENT CONTROL NUMBER: TTRF15.231_V1 © 2018 Intertek Intertek Testing Services Shanghai Building No.86, 1198 Qinzhou Road (North) Caohejing Development Zone Shanghai 200233, China Telephone: 86 21 6127 8200 www.intertek.com TEST REPORT This report is for the exclusive use of Intertek's Client and is provided pursuant to the agreement between Intertek and its Client. Intertek's responsibility and liability are limited to the terms and conditions of the agreement. Intertek assumes no liability to any party, other than to the Client in accordance with the agreement, for any loss, expense or damage occasioned by the use of this report. Only the Client is authorized to permit copying or distribution of this report and then only in its entirety. Any use of the Intertek name or one of its marks for the sale or advertisement of the tested material, product or service must first be approved in writing by Intertek. The observations and test results in this report are relevant only to the sample tested. This report by itself does not imply that the material, product, or service is or has ever been under an Intertek certification program. TTRF15.231_V1 © 2018 Intertek Page 2 of 27 Report no.: 180802994SHA-001 Applicant: Rollease Acmeda Inc 750 East Main Street, 7 th Floor Stamford, CT 06902, United States of America Manufacturer: Rollease Acmeda Inc 750 East Main Street, 7 th Floor Stamford, CT 06902, United States of America Factory: VirTex AVJ Vicente Guerrero 7470-A Parque Industrial Fuentes Ciudad Juarez, Chihuahua, Mexico, 32437 FCC ID: 2AGGZ-APULSE-2 IC: 21769-APULSE2 SUMMARY: The equipment complies with the requirements according to the following standard(s) or Specification: 47CFR Part 15 (2018): Radio Frequency Devices (Subpart C) ANSI C63.10 (2013): American National Standard of Procedures for Compliance Testing of Unlicensed Wireless Devices RSS-210 Issue 9 (August 2016): Licence-exempt Radio Apparatus (All Frequency Bands): Category I Equipment RSS-Gen Issue 5 (April 2018): General Requirements for Compliance of Radio Apparatus PREPARED BY: REVIEWED BY: Project Engineer Erick Liu Reviewer Daniel Zhao Report No.: 180802994SHA-001 TEST REPORT TTRF15.231_V1 © 2018 Intertek Page 3 of 27 Content REVISION HISTORY................................................................................................................................................ 4 MEASUREMENT RESULT SUMMARY ..................................................................................................................... 5 1 GENERAL INFORMATION ............................................................................................................................. 6 1.1 DESCRIPTION OF EQUIPMENT UNDER TEST (EUT) ..................................................................................................... 6 1.2 TECHNICAL SPECIFICATION .................................................................................................................................... 6 1.3 DESCRIPTION OF TEST FACILITY .............................................................................................................................. 7 2 TEST SPECIFICATIONS ................................................................................................................................... 8 2.1 STANDARDS OR SPECIFICATION ............................................................................................................................... 8 2.2 MODE OF OPERATION DURING THE TEST ................................................................................................................... 8 2.3 TEST SOFTWARE LIST ............................................................................................................................................ 8 2.4 TEST PERIPHERALS LIST ......................................................................................................................................... 8 2.5 TEST ENVIRONMENT CONDITION: ............................................................................................................................ 9 2.6 INSTRUMENT LIST .............................................................................................................................................. 10 2.7 MEASUREMENT UNCERTAINTY ............................................................................................................................. 11 3 FUNDAMENTAL & SPURIOUS EMISSION & RESTRICT BAND RADIATED EMISSION ...................................... 12 3.1 LIMIT .............................................................................................................................................................. 12 3.2 MEASUREMENT PROCEDURE ............................................................................................................................... 13 3.3 TEST CONFIGURATION ........................................................................................................................................ 14 3.4 TEST RESULTS OF RADIATED EMISSIONS ................................................................................................................. 16 4 POWER LINE CONDUCTED EMISSION ......................................................................................................... 19 4.1 LIMIT .............................................................................................................................................................. 19 4.2 TEST CONFIGURATION ........................................................................................................................................ 19 4.3 MEASUREMENT PROCEDURE ..........................................................…
Text truncated - open the document above for the full version.
Test Setup Photos
FCC ID: 2AGGZ-APULSE-2 IC: 21769-APULSE2 Page 1 of 5 Test Setup FCC ID: 2AGGZ-APULSE-2 IC: 21769-APULSE2 Page 2 of 5 Conducted Emission FCC ID: 2AGGZ-APULSE-2 IC: 21769-APULSE2 Page 3 of 5 Radiated Emission Below 1000MHz FCC ID: 2AGGZ-APULSE-2 IC: 21769-APULSE2 Page 4 of 5 Above 1000MHz FCC ID: 2AGGZ-APULSE-2 IC: 21769-APULSE2 Page 5 of 5 RF Test
Contact Information
Applicant
Jonny Emilio Matuichuk(Product Manager - Motorization)
Technical Contact
Intertek Testing Services ShanghaiErick Liu
[email protected]86 21 61215117
Building No.86, 1198 Qinzhou Road(North) · Shanghai · China
Test Firm
Intertek Testing Services Limited, ShanghaiLeah Xu
[email protected]+86 21 61278200
Technical Specifications
| # | Rule Parts | Frequency Range | Power Output |
|---|---|---|---|
| 1 | 15.231 | 433.92 MHz - 433.92 MHz | - |
Other Applications from Rollease Acmeda Inc
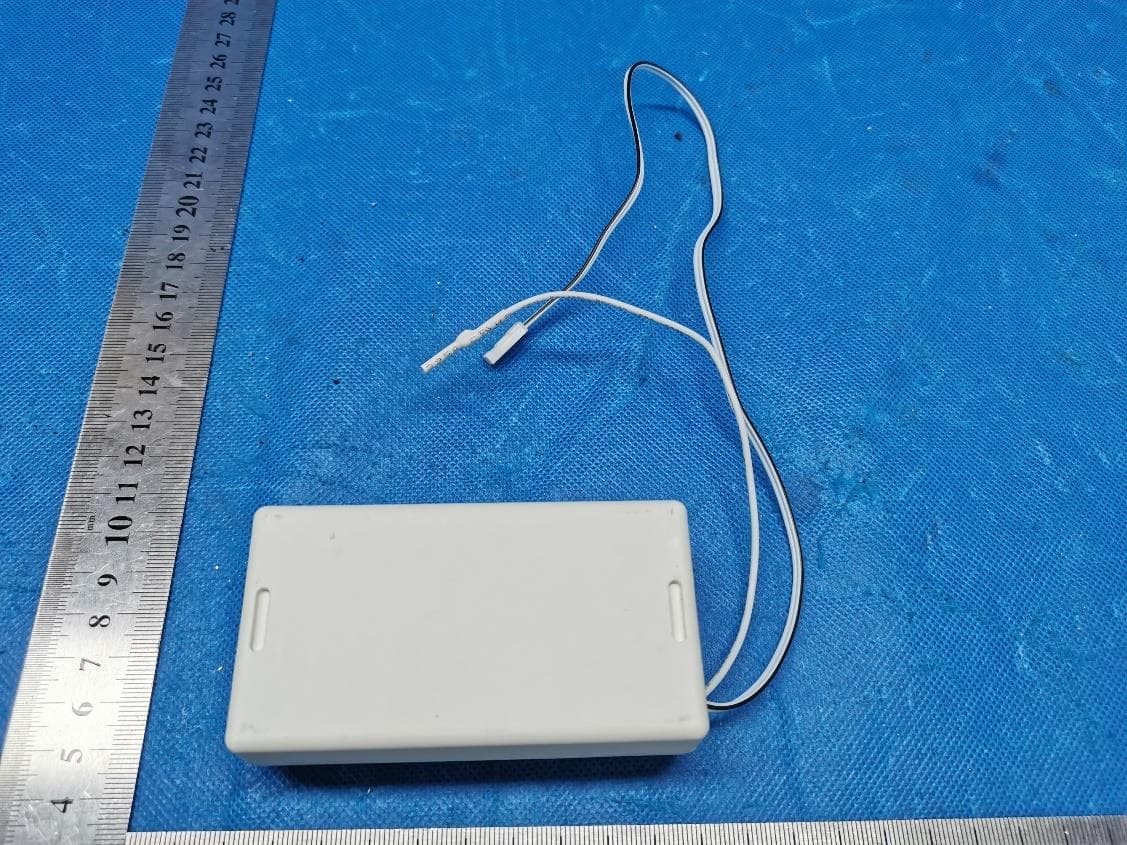
2AGGZ003B9ACA49
Jul 27, 2023VT Tilt Motor
Equipment Class
DSR - Part 15 Remote Control/Security Device Transceiver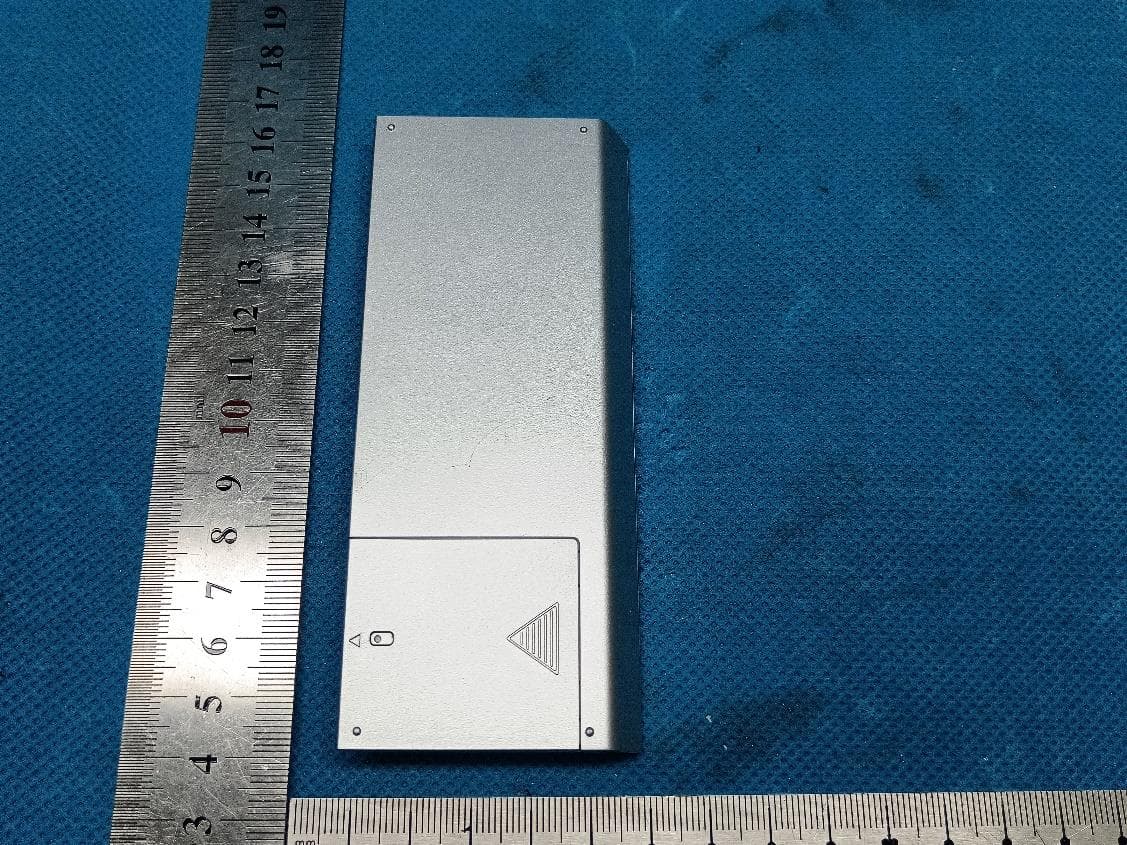
2AGGZ003B9ACA50
Jul 26, 2023Transmitter(Push one channel remote)
Equipment Class
DSC - Part 15 Security/Remote Control Transmitter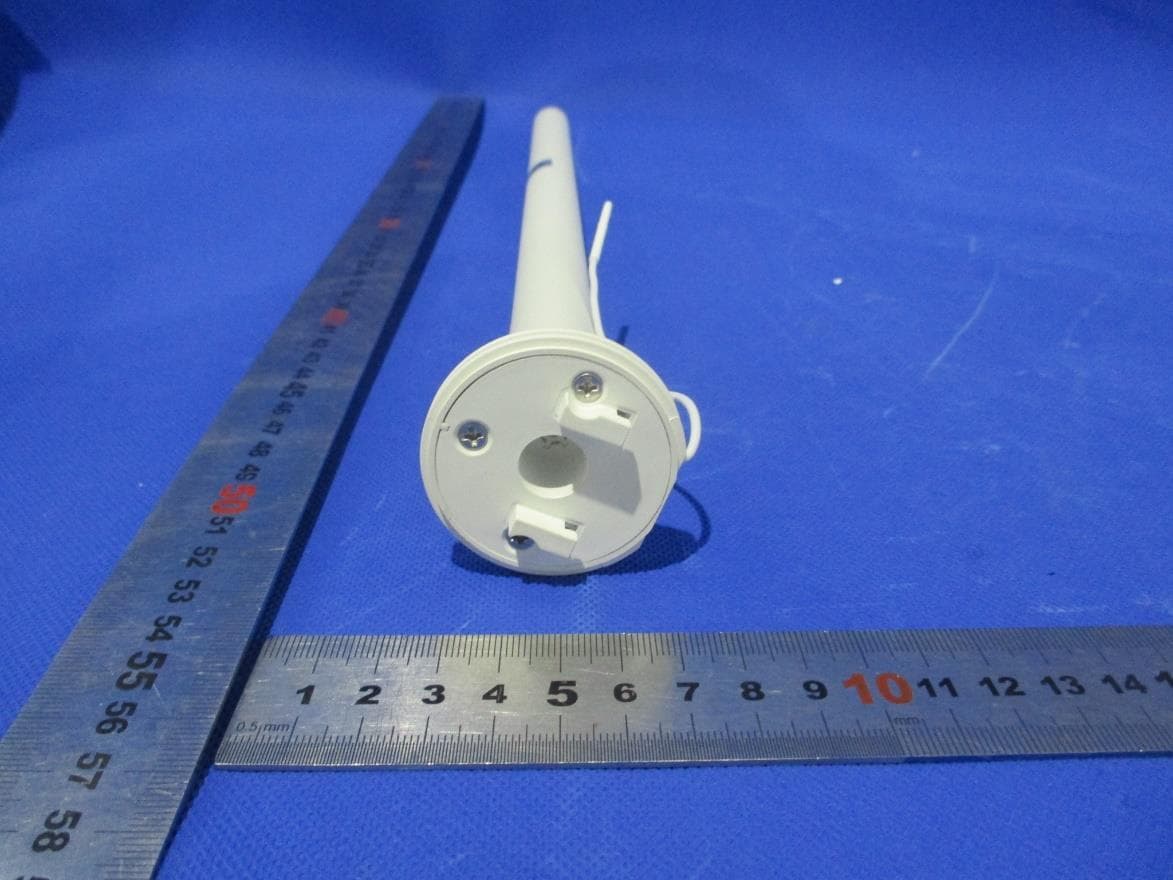
2AGGZ003B9ACA51
Jul 22, 2023Li-ion 0.5Nm ARC Motor
Equipment Class
DSR - Part 15 Remote Control/Security Device Transceiver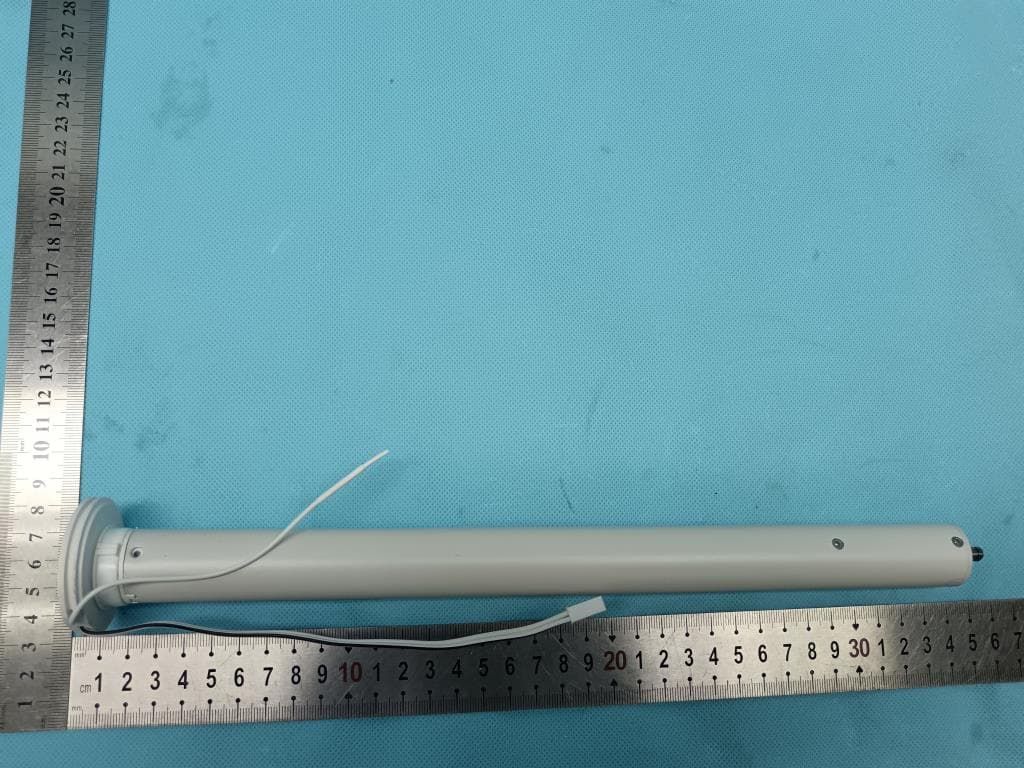
2AGGZ003B9ACA4C
Jul 08, 2023DC 1.1Nm ARC Motor
Equipment Class
DSR - Part 15 Remote Control/Security Device Transceiver
2AGGZ003B9ACA4D
Jul 08, 2023DC 2.0Nm ARC Motor
Equipment Class
DSR - Part 15 Remote Control/Security Device Transceiver