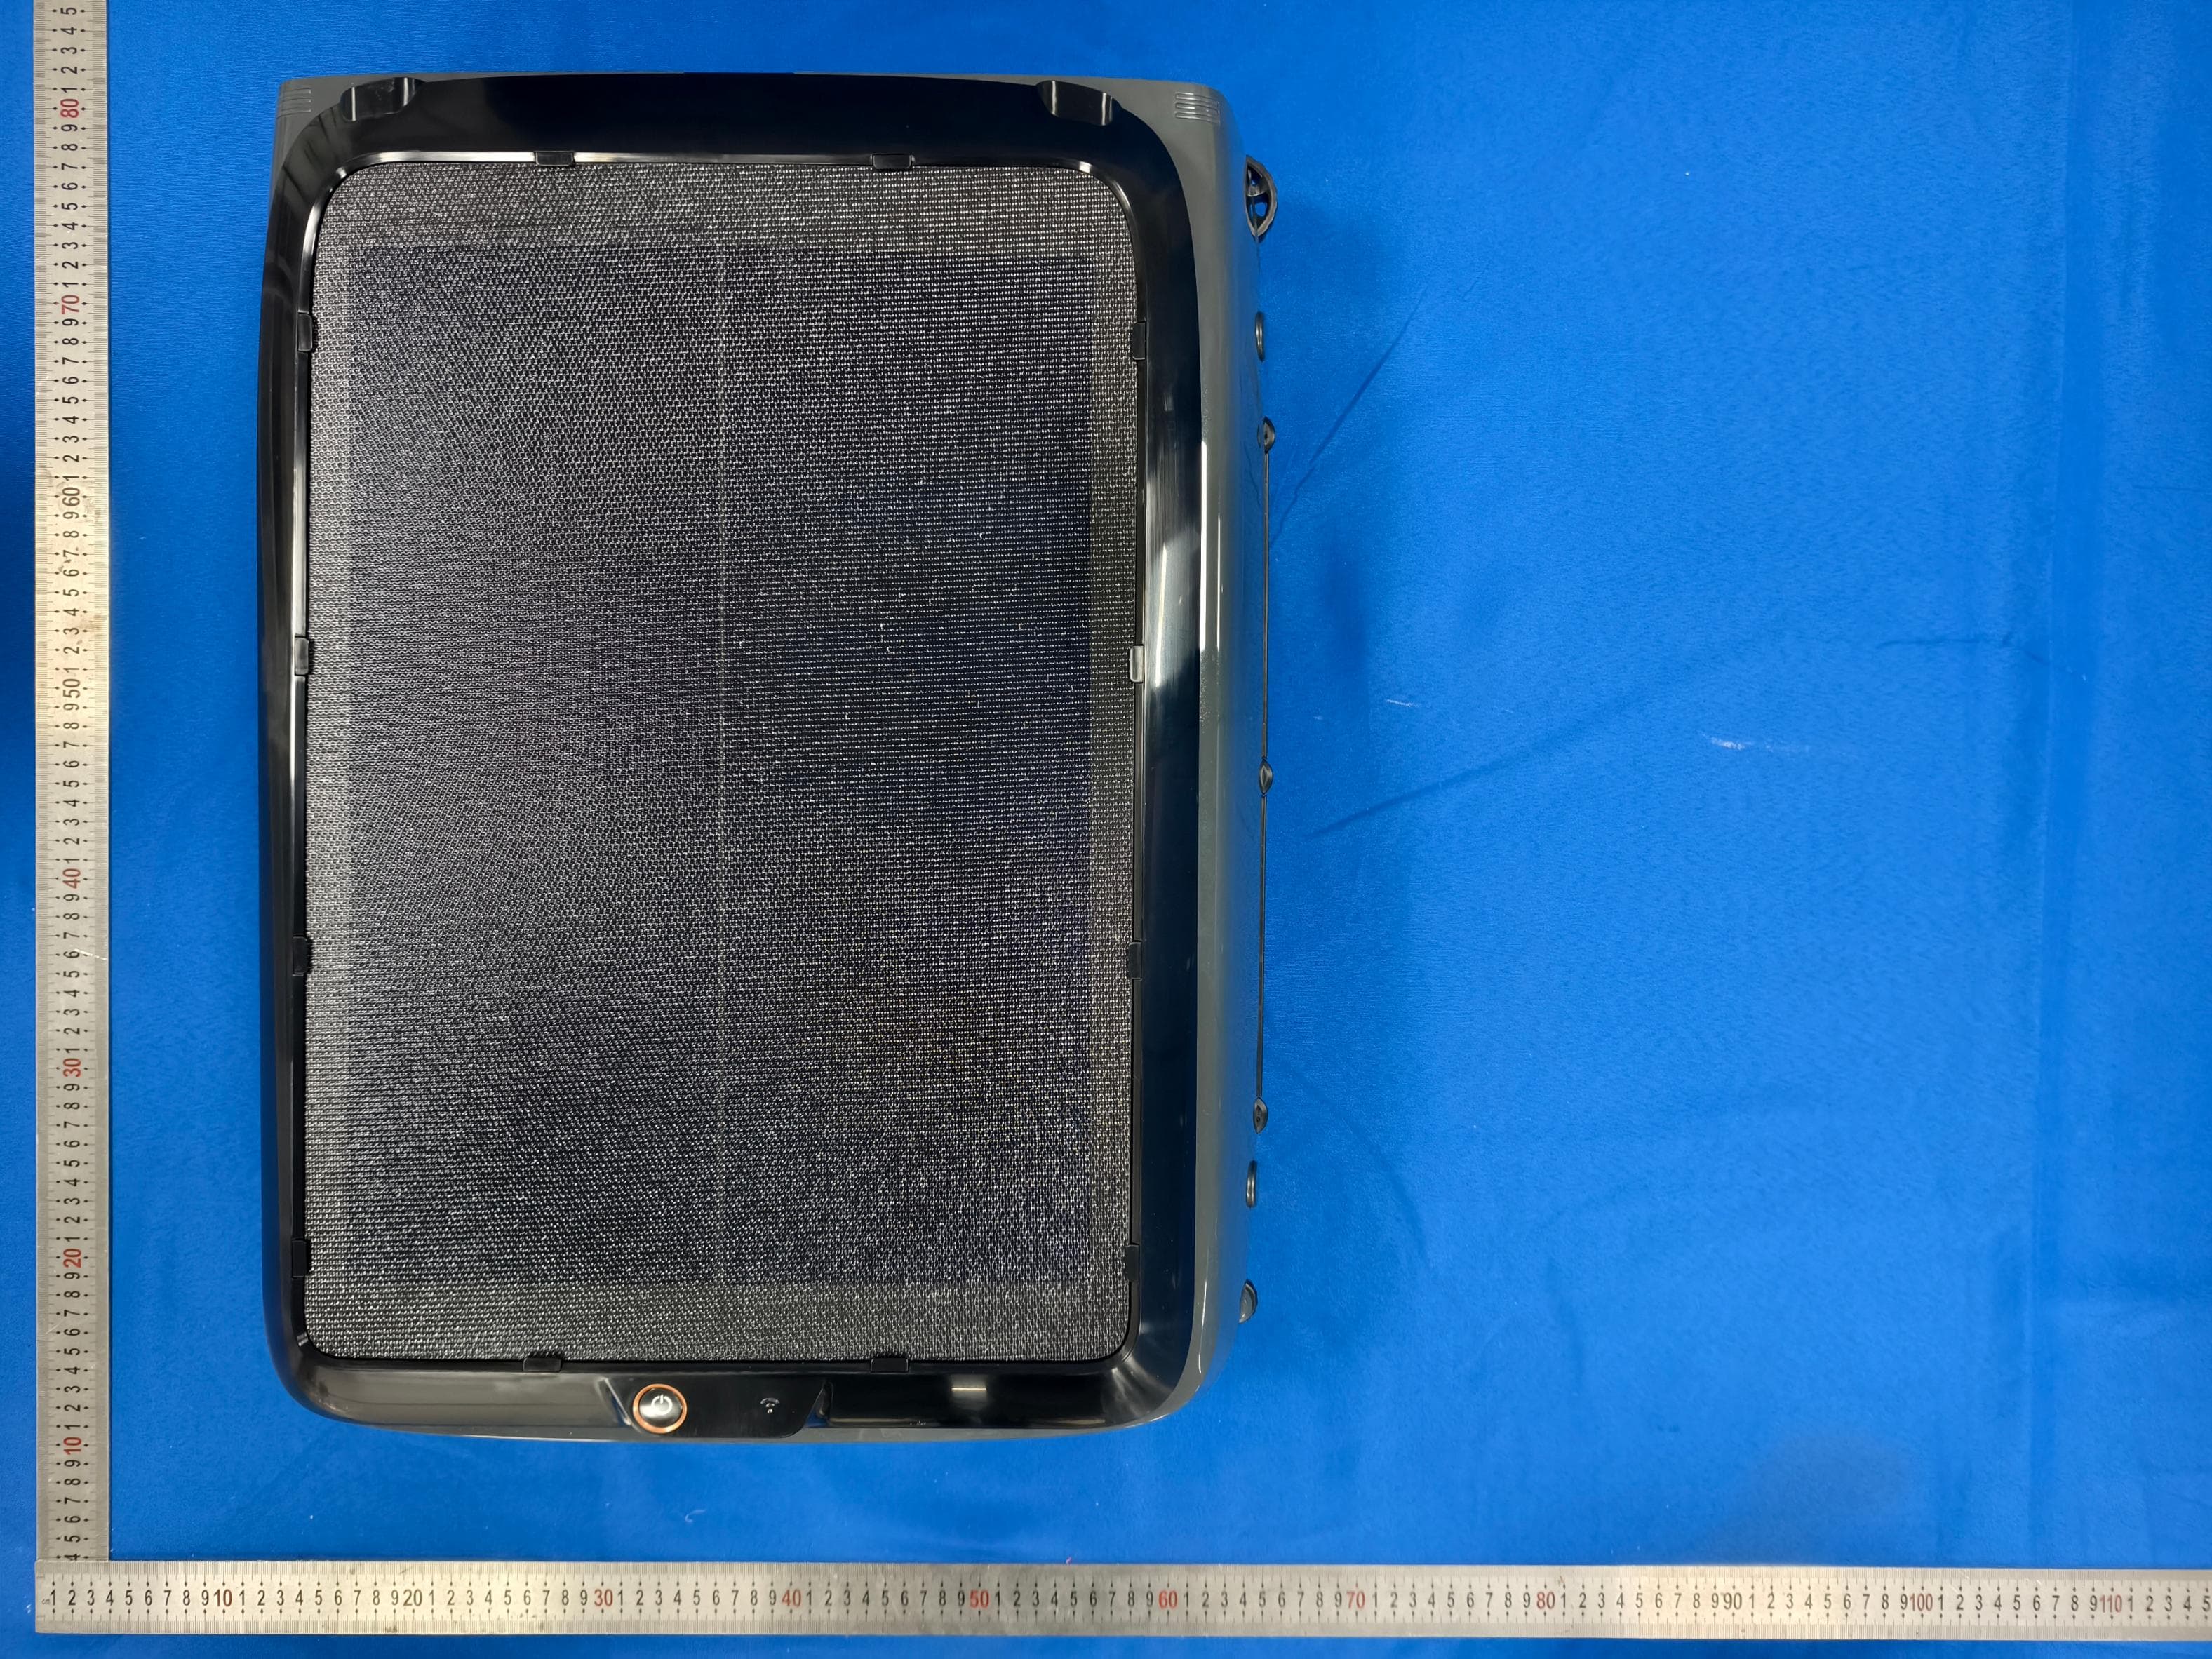
2BD5N-PRN30CORDLESS ROBOTIC POOL CLEANER
Shenzhen Aiper Intelligent Co.,Ltd.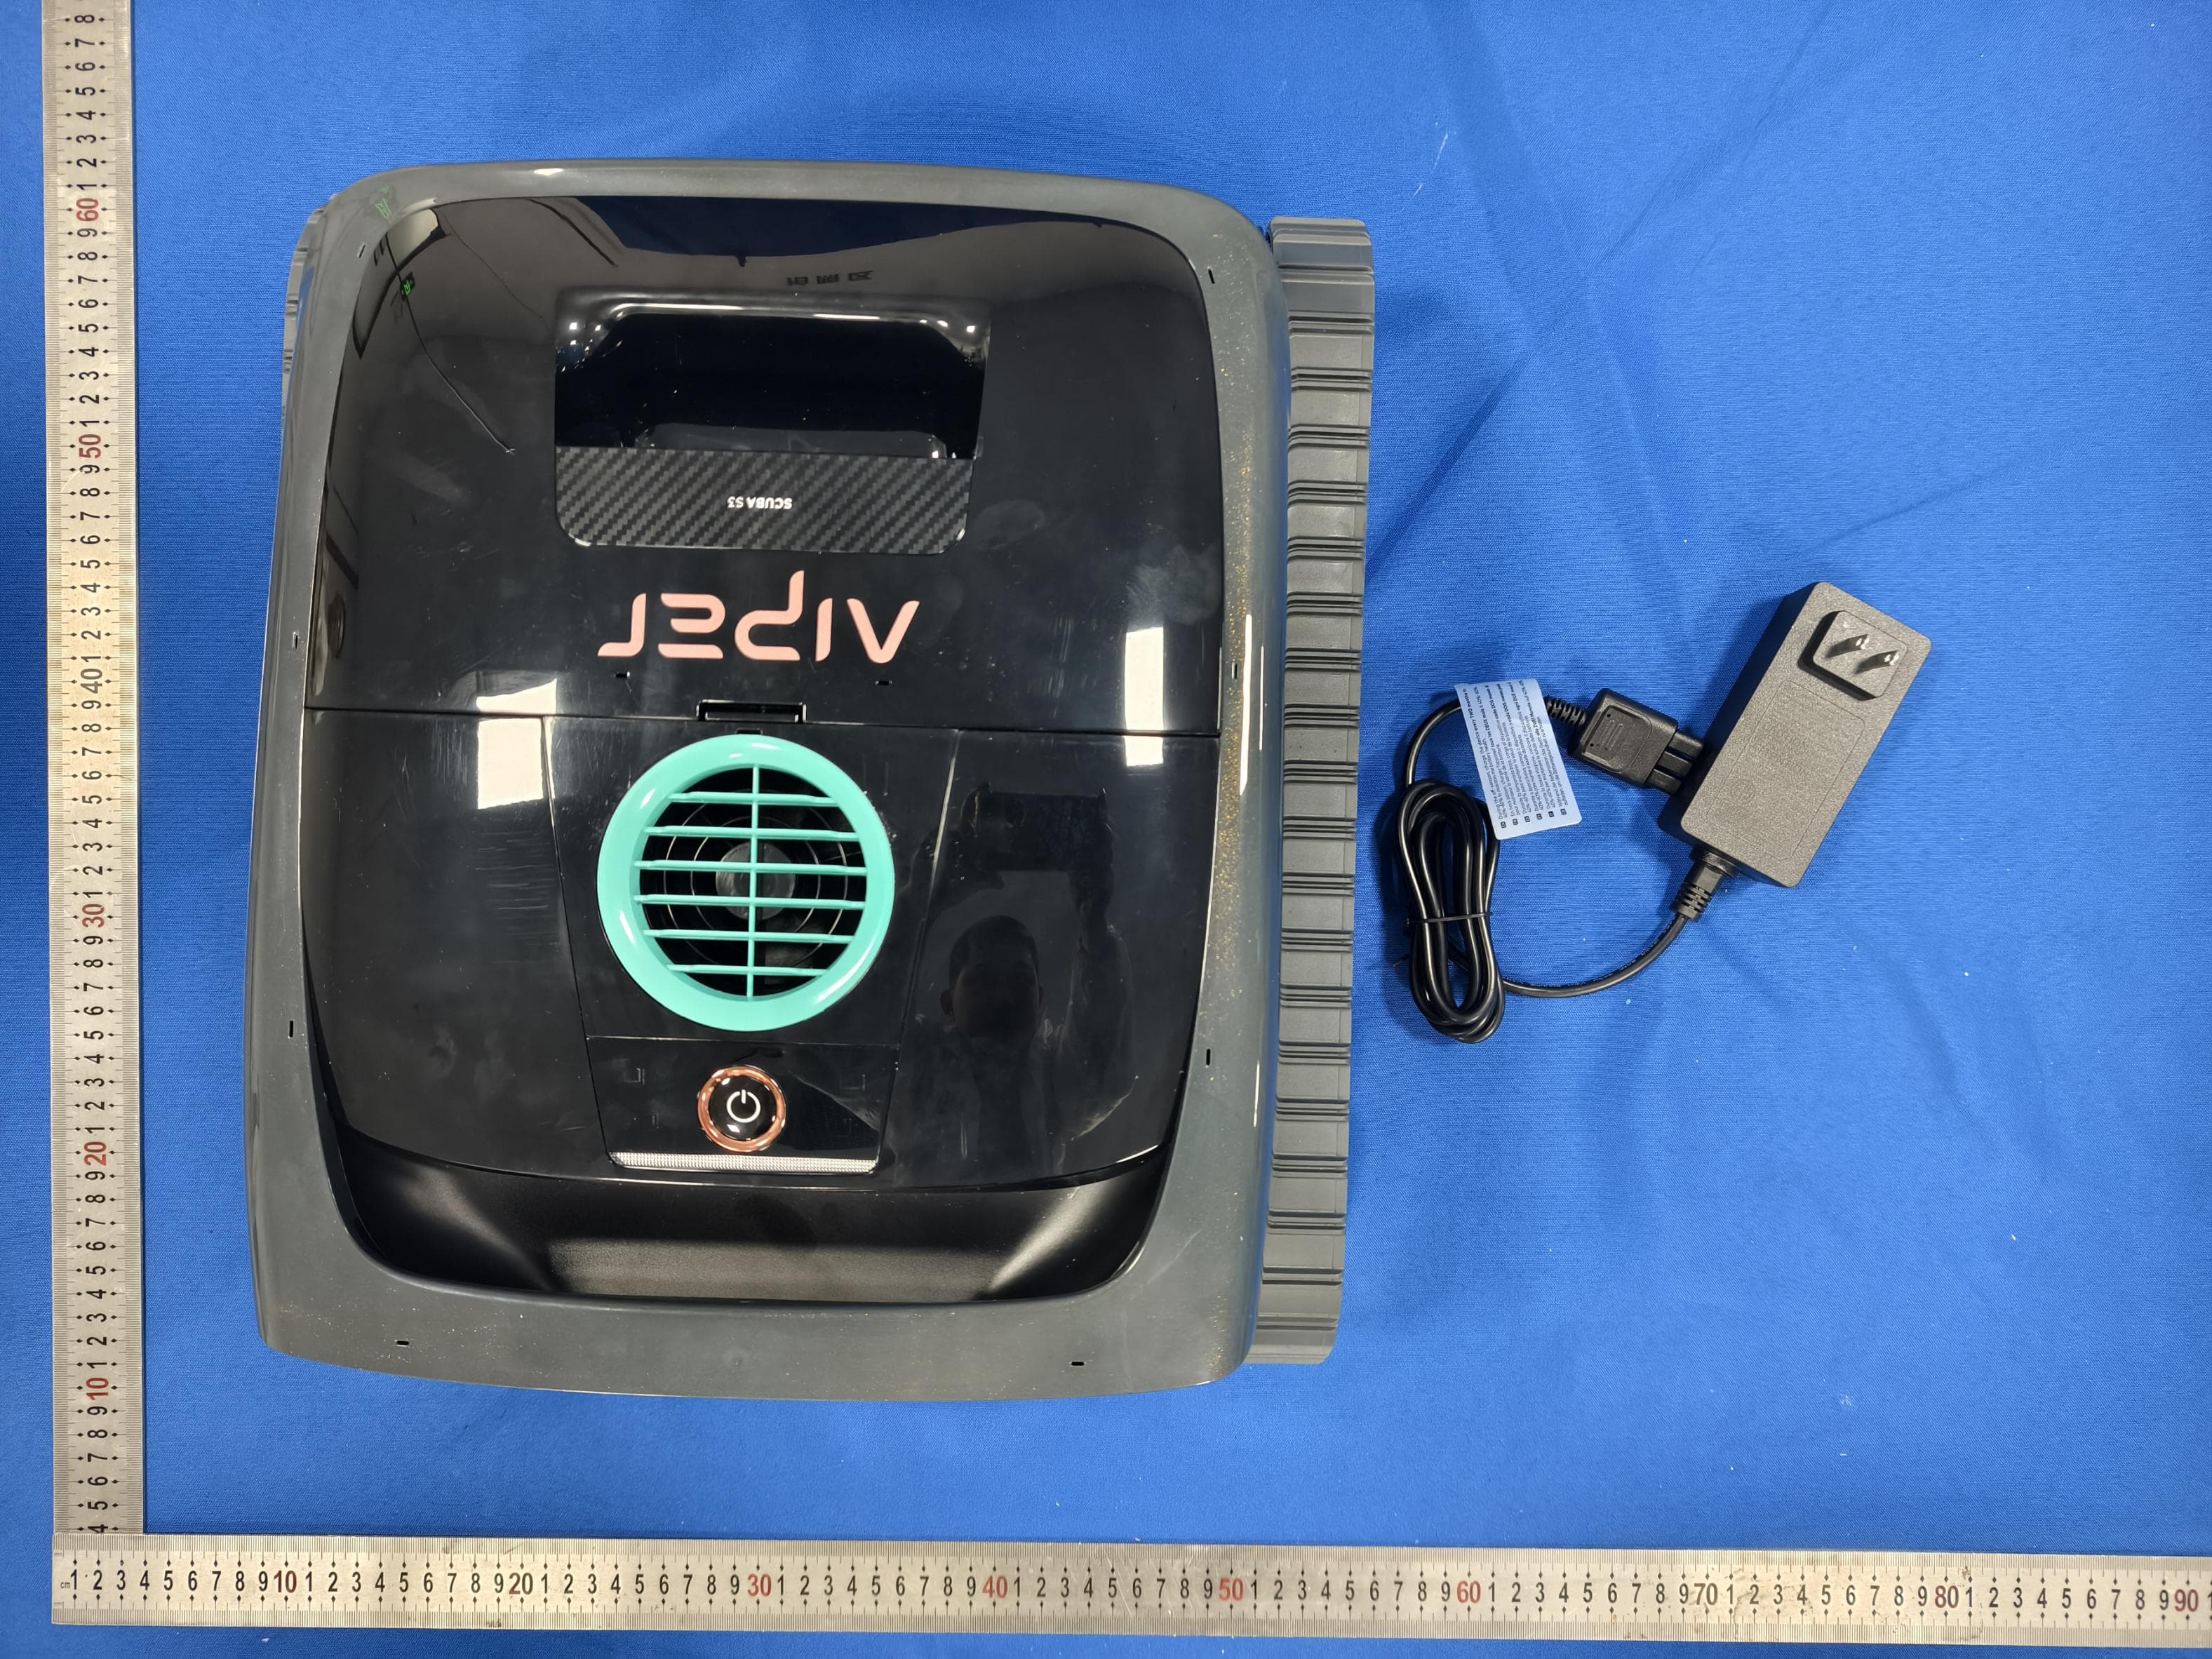
Click to zoom
Application Details
- Equipment Class
- DTS - Digital Transmission System
- Date of Grant
- Jan 28, 2026
- Application Purpose
- Original Equipment
- Equipment Note
- CORDLESS ROBOTIC POOL CLEANER
- Frequency Range
- 2402.00000000 - 2480.00000000
- Country
- China
Documents & Files
Document Text
Text extracted from the exhibit documents filed with the FCC. Open a document above to read the original.
Users Manual
53 5.1.2 Nettoyage de l’hélice 1. Utilisez un tournevis plat afin d’ouvrir le cache du système d’évacuation et pour accéder à l’hélice. 2. Retirez tous les débris empêtrés dans l’hélice. 3. Après avoir nettoyé l’hélice, remettez le cache du système d’évacuation en place. 5.1.3 Nettoyage du capteur 1. Pour maintenir les performances optimales de l’appareil, utilisez un chiffon doux et sec pour essuyer délicatement les débris du capteur. 54 5.2.1 Remplacement de la chenille 5.2 Remplacement des accessoires 2. Retirez les vis et le cache de guidage de la roue arrière. 1. Retirez les plaques de protection latérales de l’appareil : posez l’appareil sur le côté et repérez les deux petits trous sous la chenille en caoutchouc. Insérez vos doigts dans les trous et poussez vers l’extérieur pour détacher les plaques. 3. Retirez la roue arrière et la chenille de l’appareil en tirant doucement sur chaque pièce. 12 55 4. Alignez les engrenages de la chenille de rechange avec les engrenages des deux roues. Remettez en place la roue arrière et la chenille, en vous assurant qu’elles sont fixées le long des manchons de la chenille. 5. Installez le cache de guidage de la roue arrière, serrez la vis et réinstallez la plaque de protection latérale. Répétez cette étape pour l’autre chenille. 5.2.2 Remplacement de la brosse à rouleau 1. Retirez toutes les boucles en silicone de votre brosse à rouleau actuelle. 12 56 Pendant les saisons creuses, comme l’hiver ou les longues vacances, lorsque votre appareil Aiper n’est pas utilisé, suivez ces étapes pour le maintenir en bon état : 1. Rechargez complètement l’appareil avant de le ranger. Assurez-vous que l’appareil est éteint et débranché du chargeur avant de le ranger. 2. Nettoyez soigneusement l’ensemble de l’appareil, y compris les boîtiers supérieur et inférieur, les roues, les brosses et le port de recharge, pour éliminer toute trace de saleté. 3. Séchez l’appareil avec un mouchoir en papier ou un chiffon doux, et assurez- vous que le cache du port de recharge est correctement fermé. 4. Conservez l’appareil dans son emballage d’origine, dans un endroit frais, sec et bien ventilé. 5. Rechargez la batterie tous les six mois pour la maintenir en bon état. 2. Après l’avoir retirée, munissez-vous de la brosse à rouleau de remplacement et alignez les boucles en silicone avec les fentes. Appuyez sur les boucles en les faisant rentrer dans chaque fente pour fixer la nouvelle brosse à rouleau à votre appareil. Répétez cette étape pour les trois autres brosses à rouleau. 5.3 Mise hors tension et rangement de votre appareil Aiper 57 6 Spécifications Modèle : PRN30-D Dimensions de la piscine : 1600 sq. ft. (150 m²) Puissance d’entrée nominale : 16,8 V ⎓ 2,6 A Modèle de chargeur : GQ65-168260-AUO / GC44-168260-1C / GC44-168260-4C Puissance d’entrée du chargeur : 100-240 V ~, 50-60 Hz, 1,5 A Puissance de sortie du chargeur : 16,8 V ⎓ 2,6 A Temps de charge : 4 hours Puissance d’aspiration : Max 4800 GPH (18 170 LPH) Autonomie de la batterie : 180 Minutes Capacité de la batterie : 10400 mAh (149,76 Wh) Tension de la batterie : 14,4 V ⎓ Indice de protection contre l’eau : IPX8 Profondeur d’eau min. : 1,6 ft (0,5 m) Profondeur d’eau max. : 10 ft (3 m) Courant continu. Courant alternatif. Polarité du connecteur d’alimentation CC. Profondeur de fonctionnement maximale. Réservé à une utilisation en intérieur. Veuillez lire le manuel d’utilisation. 3m 58 7 Voyant LED Voyant LED d’état Voyant de connexion Wi-Fi Type de voyant État du voyantDescription de l’état Voyant vert fixe Voyant bleu fixe Voyant orange fixe Voyant vert fixe Voyant vert à pulsations Voyant bleu à pulsations Orange à pulsations Voyant rouge clignotant Voyant vert à pulsations Voyant vert fixe Voyant rouge à pulsations Voyant jaune à pulsations (intervalle d’une seconde) Jaune clignotant (intervalle de 5 secondes) Fonctionnement normal (batterie entre 30 et 100 %). Fonctionnement normal (batterie entre 16 et 29 %). Batterie faible (batterie entre 0 et 15 %). Charge terminée. Recharge en cours (batterie entre 30 et 99 %). Recharge en cours (batterie entre 16 et 29 %). Recharge en cours (batterie entre 0 et 15 %). Une erreur s’est produite. Mise à niveau du micrologiciel. Réinitialisation de l’appareil en cours. • Connexion Wi-Fi disponible. • Réinitialisation du Wi-Fi en cours. Connexion Wi-Fi établie. Connexion Wi-Fi interrompue. 59 8 Dépannage 1 2 3 4 L’appareil ne s’allume pas. L’appareil ne parvient pas à monter les parois de la piscine. L’appareil ne se charge pas. L’appareil n’évite pas les obstacles. DysfonctionnementN°Causes possiblesSolutions Niveau de batterie insuffisant. Le chargeur est endommagé. Batterie en protection haute ou basse température. La lentille du capteur est sale. Le capteur est défectueux. Si l’appareil n’est pas utilisé pendant une période prolongée, sa batterie a pu se décharger excessivement. Batterie en protection haute ou basse température. Les parois de la piscine sont trop lisses et manquent de friction. Rechargez complètement l’appareil avant de l’utiliser pour nettoyer la piscine. Le chargeur est défectueux si le voyant ne s’allume pas lorsqu’il est correctement connecté à une prise de courant. Veuillez contacter le service clientèle d’Aiper. N’utilisez l’appareil que dans un environnement dont la température est comprise entre 50 °F (10 °C) et 104 °F (40 °C). Nettoyez la lentille du capteur à l’aide d’un chiffon doux et sec. Veuillez contacter le service clientèle d’Aiper. Si l’appareil ne se charge pas en raison d’une non- utilisation prolongée, veuillez contacter le service clientèle d’Aiper. N’utilisez l’appareil que dans un environnement dont la température est comprise entre 50 °F (10 °C) et 104 °F (40 °C). Installez la mousse de flottaison fournie. 60 5 6 L’appareil reste coincé à répétition au même endroit. L’appareil présente des performances de nettoyage réduites. Dysfonctionnement N°Causes possiblesSolutions La lentille du capteur est sale. La configuration de la …
Text truncated - open the document above for the full version.
Users Manual
40 3.1 Chargement 3 Préparation avant utilisation ATTENTION : • Veuillez recharger complètement l’appareil avant de l’utiliser pour nettoyer la piscine. • Ne chargez pas l’appareil en plein soleil. • Assurez-vous que le port de recharge est sec avant de charger. Si de l’eau ou de l’humidité se trouve dans le port, essuyez ce dernier avec un chiffon propre avant de charger votre appareil. • Nous vous recommandons de séparer votre piscine et votre lieu de charge d’une distance minimale de 11,5 pieds (3,5 m). Pour des résultats optimaux, votre lieu de charge doit disposer d’une couverture Wi-Fi, car cela accélérera les mises à jour OTA. Si l’ensoleillement est insuffisant, utilisez le chargeur CC fourni. Branchez une extrémité du chargeur au port de recharge de l’appareil (conception réversible ; s’insère dans les deux sens), puis branchez l’autre extrémité dans n’importe quelle prise de courant disponible. Le voyant LED d’état clignote pendant le chargement et devient vert fixe lorsqu’il est complètement chargé. 11,5 pieds (3,5 m) 12 41 3.2 Téléchargement de l’application Téléchargez l’application Aiper pour débloquer d’autres fonctionnalités de votre appareil. Recherchez « Aiper » dans l’App Store ou scannez le code QR ci-dessous pour télécharger et installer l’application Aiper. Remarques : • L’application nécessite au minimum la version iOS 12.0 ou Android 8.0 pour pouvoir fonctionner de manière optimale sur votre smartphone ou appareil. • Une fois l’application installée, suivez les instructions qu’elle affiche pour procéder à l’enregistrement, à la connexion et à la configuration du réseau. 3.3 Configuration du réseau Lors de la première mise sous tension de l’appareil, celui-ci passe en mode de configuration du réseau et le voyant de connexion Wi-Fi clignote à pulsations. Si ce processus est interrompu, appuyez sur et maintenez-le pendant 5 secondes pour revenir en mode Configuration du réseau. Une fois en mode Configuration du réseau, ajoutez l’appareil et terminez la configuration du réseau via Bluetooth ou code QR. • Configuration par Bluetooth : 1. Activez le Bluetooth sur votre téléphone et accordez l’accès à l’application Aiper. 2. Dans l’application, appuyez sur le symbole [+] dans le coin supérieur droit. La configuration Bluetooth se lancera par défaut et l’application détectera les appareils Bluetooth à proximité. Add Device Searching... Turn on the device and bring the mobile phone close to it Help Manually AddQR Add 30s 42 3. Sélectionnez votre appareil une fois détecté, saisissez le nom et le mot de passe Wi-Fi, puis appuyez sur « Configuration réseau » pour terminer la configuration du réseau. Searching... Turn on the device and bring the mobile phone close to it Add DeviceHelp 30s Scuba S3 Set up WiFi and enter the psssword Network SettingsHelp Wi-Fi My Home_WiFi_2.4G My Home_WiFi_5G Network Configuration • Configuration par code QR : 1. Si l’appareil n’est pas détecté via Bluetooth, appuyez sur « Ajout QR » sur la page de recherche et scannez le code QR situé sur votre appareil Aiper. Remarque : pour trouver le code QR, retirez le panier de filtre. Le code se trouve à l’intérieur de l’appareil. 2. Lorsque l’appareil est reconnu, suivez les instructions de l’application pour vous connecter au Wi-Fi de l’appareil. Une fois connecté, revenez à l’application et suivez les instructions pour terminer la configuration du réseau. Add Device Searching... Turn on the device and bring the mobile phone close to it Help Manually AddQR Add 30s 43 4 Utilisation de votre Aiper Scuba S3 4.1 Conditions d’utilisation 4.2 Sélection du filtre Veuillez vous assurer que l’appareil est utilisé uniquement dans les environnements de piscine spécifiés. Une utilisation en dehors de ces conditions peut entraîner des dommages non couverts par la garantie. Deux types de filtres sont inclus : un panier de filtre et un filtre ultra fin MicroMesh™ remplaçable. Panier de filtre : sert à nettoyer les gros débris comme les pierres et les feuilles. En présence d’une quantité importante de débris visibles, nous vous recommandons d’utiliser uniquement le panier de filtre et de ne pas utiliser le filtre ultra fin MicroMesh™ remplaçable. Filtre ultra fin MicroMesh™ remplaçable : permet de capturer des particules aussi petites que 3 μm, comme le limon et certaines algues. Lorsque les débris visibles (par ex. pierres, feuilles, sable, cheveux) sont minimes et que l’eau semble trouble ou contient des algues, nous vous recommandons d’utiliser à la fois le panier de filtre et le filtre ultra fin MicroMesh™ remplaçable. Panier de filtre Filtre ultra fin MicroMesh™ remplaçable • Température de l’eau • Valeur de pH • Concentration de chlore • Concentration de NaCl 50-104 °F (10 à 40 °C) 7,0 à 7,8 Maximum 4 ppm Maximum 5000 ppm Avis de non-responsabilité : L’utilisation de cet appareil dans des piscines anciennes ou endommagées — y compris, sans s’y limiter, celles dont la doublure ou le revêtement est détérioré, fissuré ou écaillé, ou dont la stabilité structurelle est compromise — peut accélérer l’usure, aggraver les dommages existants ou favoriser le détachement de la doublure. 44 4.3 Processus de nettoyage 4.3.1 Mise sous/hors tension 4.3.2 Modes de fonctionnement Mode Auto Maintenez le bouton enfoncé pendant 2 secondes pour allumer/ éteindre l’appareil. Par défaut, l’appareil démarre en mode Auto. Appuyez sur le bouton pour parcourir et sélectionner l’un des quatre modes de nettoyage : mode Auto, mode Nettoyage du sol, mode Nettoyage des parois et mode Nettoyage de la ligne d’eau. Les détails de chaque mode de nettoyage sont décrits ci-dessous : • Mode Auto : l’appareil nettoie le sol et les parois de la piscine de manière séquentielle. Il nettoie la ligne d’eau tout en nettoyant les parois de la piscine. Mode Auto Mode Nettoyage des parois Mode Nettoyage du sol Mode Nettoyage de la ligne d’eau Appareil allumé : • Maintenir enfoncé le pendant 5 s, et l’indicateur Wi-Fi passe au vert clignotant : Réinitialiser le …
Text truncated - open the document above for the full version.
Users Manual
19 4. Empty the filter box and remove the replaceable MicroMesh™ Ultra-fine filter (if applicable). 5. Rinse the replaceable MicroMesh™ Ultra-fine filter and filter box separately. It is advisable to clean them with a high-pressure water gun to ensure thorough cleaning. The replaceable MicroMesh™ Ultra-fine filter needs to be rinsed inside and outside. Scrub by hand if necessary. To remove the replaceable MicroMesh™ Ultra-fine filter, pull the A, B, C, and D corners out of the limiting slot. A Limiting Slot B C D 20 A B C D 6. After drying the replaceable MicroMesh™ Ultra-fine filter and filter box, install the filter back in the filter box, and insert the filter box back into the device. Ensure that A and B on the filter box are aligned with A and B on the replaceable MicroMesh™ Ultra-fine filter. Pull up the four corners A, B, C, and D in turn. After installation, ensure the replaceable MicroMesh™ Ultra-fine filter is properly fitted into slots. A B 21 7. Ensure the filter box is securely fitted once reinserted. Gently pull up on the handle to confirm that the filter box is locked into place. Notes: • After each cleaning task, promptly remove the device from the pool and clean the filter box immediately. Avoid leaving the device in the pool for extended periods. • Drying the replaceable MicroMesh™ Ultra-fine filter and filter box after each cleaning is not required and is recommended solely to prevent moisture- related odors. • When drying or storing your device, including the replaceable MicroMesh™ Ultra-fine filter and filter box, it is recommended to store them in a well- ventilated area, out of direct sunlight. • After several uses, the surface of the replaceable MicroMesh™ Ultra-fine filter may show signs of wear, which does not impact its performance. • The replaceable MicroMesh™ Ultra-fine filter is a consumable item and should be replaced every 30 uses to maintain effective filtration. 22 5.1.2 Cleaning the Propeller 1. Use a flathead screwdriver to pry open the drain cover to expose the propeller. 2. Remove any debris entangled in the propeller. 3. After cleaning the propeller, reinstall the drain cover. 5.1.3 Cleaning the Sensor 1. To maintain the device's optimal performance, use a soft, dry cloth to gently wipe away any debris from the sensor. 23 5.2.1 Replacing the Caterpillar Tread 5.2 Replacing Accessories 2. Remove the screws and guide sleeve from the rear wheel. 1. Remove the side cover plates from the device: Lay the device on its side, and locate the two small holes below the caterpillar tread. Insert your fingers into the holes and push outward to detach them. 3. Remove the rear wheel and caterpillar tread of the device by gently pulling on each piece. 12 24 4. Align the gears of the replacement caterpillar tread with the gears on both wheels. Reinstall the rear wheel and the caterpillar tread, ensuring they are secured along the tread sleeves. 5. Install the rear wheel guide sleeve, tighten the screw and reinstall the side cover plate. Repeat this step for the other caterpillar tread. 5.2.2 Replacing the Roller Brush 1. Remove all the silicone buckles from your current roller brush. 12 25 During off-seasons, such as winter or long vacations, when your Aiper device isn’t in use, follow these steps to keep it in top shape: 1. Fully charge the device before storing it. Ensure the device is turned off and disconnected from the charger before storing. 2. Thoroughly clean the entire device, including the top and bottom shells, wheels, brushes, and charging port to remove any dirt. 3. Dry the device with a tissue or soft cloth, and ensure the charging port cover is properly closed. 4. Store the device in its original packaging in a cool, dry, and well-ventilated place. 5. Recharge the battery every six months to maintain its health. 2. Once removed, take the replacement roller brush and align the silicone buckles with the slots. Press the buckles into each slot to secure the new roller brush to your device. Repeat this step for the other three roller brushes. 5.3 Powering Off and Storing Your Aiper 26 6 Specifications Model: PRN30-D Pool Size: 1600 sq. ft. (150 m²) Rated Input: 16.8V ⎓ 2.6A Charger Model: GQ65-168260-AUO / GC44-168260-1C / GC44-168260-4C Charger Input: 100–240V~, 50/60Hz, 1.5A Charger Output: 16.8V ⎓ 2.6A Charging Time: 4 hours Suction Power: Max 4800 GPH (18170 LPH) Battery Pack Life: 180 Minutes Battery Pack Capacity: 10400mAh (149.76Wh) Battery Pack Voltage: 14.4V ⎓ Water Protection Rating: IPX8 Min Water Depth: 1.6 ft (0.5 m) Max Water Depth: 10 ft (3 m) Direct current. Alternating current. Polarity of d.c. power connector. Maximum operating depth. For indoor use only. Read the user manual. 3m 27 7 LED Indicator LED Status Indicator Wi-Fi Indicator Indicator Type Indicator StatusStatus Description Solid Green Solid Blue Solid Orange Solid Green Pulsing Green Pulsing Blue Pulsing Orange Flashing Red Pulsing Green Solid Green Pulsing Red Pulsing Yellow (1-second interval) Blinking Yellow (5-second interval) Operating normally (Battery 30%–100%). Operating normally (Battery 16%–29%). Low battery (Battery 0%–15%). Charging Complete. Charging (Battery 30%–99%). Charging (Battery 16%–29%). Charging (Battery 0%–15%). An error has occurred. Firmware updating. Resetting the device. • Wi-Fi connection available. • Wi-Fi resetting in progress. Wi-Fi connected. Wi-Fi disconnected. 28 8 Troubleshooting 1 2 3 4 Device fails to turn on. Device fails to climb walls. Device fails to charge. Device fails to avoid obstacles. MalfunctionNO.Possible CausesSolutions Insufficient battery level. Charger is damaged. Battery in high- temperature or low-temperature protection. Sensor lens is dirty. Sensor is faulty. Extended non- use of the device has caused the battery to over- discharge. Battery in high- temperature or low-temperature protection. The pool walls are too smooth and lack friction. Fully charge the device before using it to clean the pool. The charger is faulty i…
Text truncated - open the document above for the full version.
Users Manual
Cordless Robotic Pool Cleaner Robot de piscine sans fil User Manual / Manuel d’utilisation Aiper Scuba S3 EN User Manual --------------------------------1 LANGUAGE / LANGUE FR Manuel d’utilisation --------------------------32 ES Manual de usuario ---------------------------63 1 Thank you for choosing Aiper. You’ve now joined millions who have already trusted Aiper to care for their pools and are enjoying the convenience of a pristinely clean pool. This user manual will help you maintain your device and ensure it performs at its maximum efficiency for years to come. Please take a moment to read through it. If you have any questions, please visit our website at www.aiper.com and contact our customer service team for assistance or more information. Aiper Customer Service: Email: [email protected] Scan for Video Guide Scan the QR Code to Access Customer Support EN CountryToll Free NumberLanguage United States Canada Australia +1 8668500666 +1 8338849230 +61 1800497023 English English English 2 Please read this manual carefully and follow all warnings and instructions when using your Aiper Cordless Robotic Pool Cleaner (hereinafter referred to as device ). Failure to comply may result in electric shock, fire, or serious injury. Aiper is not liable for any losses or injuries caused by improper use of this device. For your safety and the optimal performance of this device, please read and follow these instructions: 2. This device can be used by children aged from 8 years and above and persons with reduced physical, sensory or mental capabilities or lack of experience and knowledge if they have been given supervision or instruction concerning use of the device in a safe way and understand the hazards involved. 3. Do not allow children to ride the device under any circumstance. 4. Do not operate the device with people or animals in the pool. 5. While operational, do not place your hands into any part of the device as this may result in injury. 6. Prevent unintentional starting. Ensure the power button is off before connecting to the battery pack, picking up, or carrying the device. Carrying the device with your finger on the power button or energizing the device with the power button on invites accidents. 7. Do not run your device out of the water as it may lead to over-heating. 8. A charger that is suitable for one type of battery pack may create a risk of fire when used with another battery pack. 9. This device can only be used with C1264D3 / HYY0345255 model lithium battery packs. 1. READ AND FOLLOW ALL INSTRUCTIONS 1. IMPORTANT SAFETY INSTRUCTIONS 3 10. This device contains batteries that are non-replaceable. When the battery is at end of life, the device shall be properly disposed of. 11. In the event a damaged device produces an unfamiliar liquid, avoid contact with the liquid. If coming into contact with a foreign liquid, especially the eyes or other sensitive parts, immediately flush with water. Liquid ejected from a damaged battery may cause skin irritation or burns. 12. Do not use a battery pack or device that is damaged or modified. Damaged or modified batteries may exhibit unpredictable behavior resulting in fire, explosion, or risk of injury. 13. Do not expose a battery pack or device to fire or excessive temperature. Exposure to fire or temperature above 265°F (130°C) may cause explosion. 14. Follow all charging instructions and do not charge the battery pack or device outside of the temperature range specified in the instructions. Charging improperly or at temperatures outside of the specified range may damage the battery and increase the risk of fire. 15. WARNING: Risk of Electric Shock. Connect only to a grounding type receptacle. If replacement of the plug or cord is needed, use only identical replacement parts. 16. CAUTION: To reduce the risk of electric shock the pool must be installed no closer than 6 feet (1.8 m) from any electrical outlet. Do not place portable devices closer than 5 feet (1.5 m) from the pool. 17. Ensure your device is turned off and the charging port is dry before charging with the charger. While charging, your device should be kept in a cool, well-ventilated area. Do not cover your device while charging, as this may cause components to overheat. 18. WARNING: To reduce the risk of electric shock, do not use an extension cord to charge your device and instead only charge it via a dedicated wall outlet. 19. WARNING: To reduce the risk of electric shock, replace damaged cord immediately. 20. If the power cord is damaged, it must be replaced or repaired 4 by a qualified electrician or Aiper Customer Care to avoid any hazards. 21. Only certified professionals should disassemble the sealed drive kit of your device. 22. Your device should only be serviced by a qualified technician using official replacement parts. 23. Do not operate your device simultaneously with any other pool equipment, such as a pool filter, cleaner, or skimmer. 24. When putting your device into the water, the top of the device must face upwards and should never be placed upside down or thrown into the swimming pool. 25. Operate the device when the pool's water pump is off to prevent it from getting stuck in the drain. 26. Do not drop, pierce the shell, or intentionally damage the device in any way, as this may void your warranty. 27. Ensure the device is turned off while not in use or while performing maintenance. 28. When not in use, store the device indoors, in a cool, well- ventilated area. 29. CAUTION: • FOR USE WITH SWIMMING POOLS ONLY. • DO NOT RUN PUMP DRY. • TO REDUCE THE RISK OR INJURY, USER MUST READ MANUAL. • FOR USE ONLY WITH AUTHORIZED AIPER CHARGER, MODEL: GQ65-168260-AUO / GC44-168260-1C / GC44-168260-4C. SAVE THESE INSTRUCTIONS 5 FCC Statement This device complies with Part 15 of the FCC Rules. Operation is subject to the following two conditions: (1) This device may not cause harmful interference, and (2) this device must accept any interference received, including interfere…
Text truncated - open the document above for the full version.
Internal Photos
FCCID:2BD5N-PRN30IC:31793-PRN30 FCCID:2BD5N-PRN30IC:31793-PRN30 Battery1 Battery2
Test Setup Photos
FCCID:2BD5N-PRN30IC:31793-PRN30 TestSetupPhotosoftheEUT PRN30-D FCCID:2BD5N-PRN30IC:31793-PRN30 PRN31 FCCID:2BD5N-PRN30IC:31793-PRN30 FCCID:2BD5N-PRN30IC:31793-PRN30 PRN30-D&PRN31
Test Report
Annexfor2.4GWi-FiTestReportNo.:CTL2509108021-WF02 FCCID:2BD5N-PRN30 Page38/60 802.11ax(HEW20)_HCH_2462MHz_SU_/_Ant1(SISO)_NTNV Annexfor2.4GWi-FiTestReportNo.:CTL2509108021-WF02 FCCID:2BD5N-PRN30 Page39/60 5.UnwantedEmissionsInNon-restrictedFrequencyBands 5.1TestResult 5.1.1Ref Mode TX Type Frequency (MHz) RU RU Pos ANT LevelofReference (dBm) 802.11bSISO 2412//1-0.42 2437//10.36 2462//10.40 802.11gSISO 2412//1-3.03 2437//1-3.47 2462//1-4.13 802.11n (HT20) SISO 2412//1-4.04 2437//1-3.31 2462//1-3.99 802.11n (HT40) SISO 2422//1-5.89 2437//1-5.74 2452//1-7.05 802.11ax (HEW20) SISO 2412SU/1-3.94 2437SU/1-3.63 2462SU/1-4.62 Note1:RefertoFCCPart15.247(d)andANSIC63.10-2020,thechannelcontainsthemaximumPSDlevelwasusedto establishthereferencelevel. 5.1.2CSE Mode TX Type Frequency (MHz) RU RU Pos ANT LevelofReference (dBm) Limit (dBm) Verdict 802.11bSISO 2412//10.40-19.60Pass 2437//10.40-19.60Pass 2462//10.40-19.60Pass 802.11gSISO 2412//1-3.03-23.03Pass 2437//1-3.03-23.03Pass 2462//1-3.03-23.03Pass 802.11n (HT20) SISO 2412//1-3.31-23.31Pass 2437//1-3.31-23.31Pass 2462//1-3.31-23.31Pass 802.11n (HT40) SISO 2422//1-5.74-25.74Pass 2437//1-5.74-25.74Pass 2452//1-5.74-25.74Pass 802.11ax (HEW20) SISO 2412SU/1-3.63-23.63Pass 2437SU/1-3.63-23.63Pass 2462SU/1-3.63-23.63Pass Note1:RefertoFCCPart15.247(d)andANSIC63.10-2020,thechannelcontainsthemaximumPSDlevelwasusedto establishthereferencelevel. Annexfor2.4GWi-FiTestReportNo.:CTL2509108021-WF02 FCCID:2BD5N-PRN30 Page40/60 5.2TestGraph 5.2.1Ref 802.11b_LCH_2412MHz_Ant1(SISO)_NTNV 802.11b_MCH_2437MHz_Ant1(SISO)_NTNV Annexfor2.4GWi-FiTestReportNo.:CTL2509108021-WF02 FCCID:2BD5N-PRN30 Page41/60 802.11b_HCH_2462MHz_Ant1(SISO)_NTNV 802.11g_LCH_2412MHz_Ant1(SISO)_NTNV Annexfor2.4GWi-FiTestReportNo.:CTL2509108021-WF02 FCCID:2BD5N-PRN30 Page42/60 802.11g_MCH_2437MHz_Ant1(SISO)_NTNV 802.11g_HCH_2462MHz_Ant1(SISO)_NTNV Annexfor2.4GWi-FiTestReportNo.:CTL2509108021-WF02 FCCID:2BD5N-PRN30 Page43/60 802.11n(HT20)_LCH_2412MHz_Ant1(SISO)_NTNV 802.11n(HT20)_MCH_2437MHz_Ant1(SISO)_NTNV Annexfor2.4GWi-FiTestReportNo.:CTL2509108021-WF02 FCCID:2BD5N-PRN30 Page44/60 802.11n(HT20)_HCH_2462MHz_Ant1(SISO)_NTNV 802.11n(HT40)_LCH_2422MHz_Ant1(SISO)_NTNV Annexfor2.4GWi-FiTestReportNo.:CTL2509108021-WF02 FCCID:2BD5N-PRN30 Page45/60 802.11n(HT40)_MCH_2437MHz_Ant1(SISO)_NTNV 802.11n(HT40)_HCH_2452MHz_Ant1(SISO)_NTNV Annexfor2.4GWi-FiTestReportNo.:CTL2509108021-WF02 FCCID:2BD5N-PRN30 Page46/60 802.11ax(HEW20)_LCH_2412MHz_SU_/_Ant1(SISO)_NTNV 802.11ax(HEW20)_MCH_2437MHz_SU_/_Ant1(SISO)_NTNV Annexfor2.4GWi-FiTestReportNo.:CTL2509108021-WF02 FCCID:2BD5N-PRN30 Page47/60 802.11ax(HEW20)_HCH_2462MHz_SU_/_Ant1(SISO)_NTNV Annexfor2.4GWi-FiTestReportNo.:CTL2509108021-WF02 FCCID:2BD5N-PRN30 Page48/60 5.2.2CSE 802.11b_LCH_2412MHz_Ant1(SISO)_NTNV 802.11b_LCH_2412MHz_Ant1(SISO)_NTNV Annexfor2.4GWi-FiTestReportNo.:CTL2509108021-WF02 FCCID:2BD5N-PRN30 Page49/60 802.11b_MCH_2437MHz_Ant1(SISO)_NTNV 802.11b_HCH_2462MHz_Ant1(SISO)_NTNV Annexfor2.4GWi-FiTestReportNo.:CTL2509108021-WF02 FCCID:2BD5N-PRN30 Page50/60 802.11b_HCH_2462MHz_Ant1(SISO)_NTNV 802.11g_LCH_2412MHz_Ant1(SISO)_NTNV Annexfor2.4GWi-FiTestReportNo.:CTL2509108021-WF02 FCCID:2BD5N-PRN30 Page51/60 802.11g_LCH_2412MHz_Ant1(SISO)_NTNV 802.11g_MCH_2437MHz_Ant1(SISO)_NTNV Annexfor2.4GWi-FiTestReportNo.:CTL2509108021-WF02 FCCID:2BD5N-PRN30 Page52/60 802.11g_HCH_2462MHz_Ant1(SISO)_NTNV 802.11g_HCH_2462MHz_Ant1(SISO)_NTNV Annexfor2.4GWi-FiTestReportNo.:CTL2509108021-WF02 FCCID:2BD5N-PRN30 Page53/60 802.11n(HT20)_LCH_2412MHz_Ant1(SISO)_NTNV 802.11n(HT20)_LCH_2412MHz_Ant1(SISO)_NTNV Annexfor2.4GWi-FiTestReportNo.:CTL2509108021-WF02 FCCID:2BD5N-PRN30 Page54/60 802.11n(HT20)_MCH_2437MHz_Ant1(SISO)_NTNV 802.11n(HT20)_HCH_2462MHz_Ant1(SISO)_NTNV Annexfor2.4GWi-FiTestReportNo.:CTL2509108021-WF02 FCCID:2BD5N-PRN30 Page55/60 802.11n(HT20)_HCH_2462MHz_Ant1(SISO)_NTNV 802.11n(HT40)_LCH_2422MHz_Ant1(SISO)_NTNV Annexfor2.4GWi-FiTestReportNo.:CTL2509108021-WF02 FCCID:2BD5N-PRN30 Page56/60 802.11n(HT40)_LCH_2422MHz_Ant1(SISO)_NTNV 802.11n(HT40)_MCH_2437MHz_Ant1(SISO)_NTNV Annexfor2.4GWi-FiTestReportNo.:CTL2509108021-WF02 FCCID:2BD5N-PRN30 Page57/60 802.11n(HT40)_HCH_2452MHz_Ant1(SISO)_NTNV 802.11n(HT40)_HCH_2452MHz_Ant1(SISO)_NTNV Annexfor2.4GWi-FiTestReportNo.:CTL2509108021-WF02 FCCID:2BD5N-PRN30 Page58/60 802.11ax(HEW20)_LCH_2412MHz_SU_/_Ant1(SISO)_NTNV 802.11ax(HEW20)_LCH_2412MHz_SU_/_Ant1(SISO)_NTNV Annexfor2.4GWi-FiTestReportNo.:CTL2509108021-WF02 FCCID:2BD5N-PRN30 Page59/60 802.11ax(HEW20)_MCH_2437MHz_SU_/_Ant1(SISO)_NTNV 802.11ax(HEW20)_HCH_2462MHz_SU_/_Ant1(SISO)_NTNV Annexfor2.4GWi-FiTestReportNo.:CTL2509108021-WF02 FCCID:2BD5N-PRN30 Page60/60 802.11ax(HEW20)_HCH_2462MHz_SU_/_Ant1(SISO)_NTNV
Test Report
ShenzhenCTLTestingTechnologyCo.,Ltd. Floor1-A,BaishaTechnologyPark,No.3011,ShahexiRoad,NanshanDistrict,Shenzhen,China518055 Tel:+86-755-89486194E-mail:[email protected] Annexfor2.4GWi-Fi TestReportNo.:CTL2509108021-WF02 TABLEOFCONTENTS Annexfor2.4GWi-FiTestReportNo.:CTL2509108021-WF02................................................................1 1.DutyCycle...............................................................................................................................................3 1.1TestResult.....................................................................................................................................3 1.1.1Ant1.....................................................................................................................................3 1.2TestGraph.....................................................................................................................................4 1.2.1Ant1...................................................................................…
Text truncated - open the document above for the full version.
Contact Information
Applicant
Ivy Xu
[email protected]Fax: /
Technical Contact
Test Firm
Shenzhen CTL Testing Technology Co., Ltd.Tracy Qi
Technical Specifications
| # | Rule Parts | Frequency Range | Power Output |
|---|---|---|---|
| 1 | 15C | 2.40 GHz - 2.48 GHz | 500.00 µW |
| 2 | 15C | 2.41 GHz - 2.46 GHz | 28.80 mW |
Other Applications from Shenzhen Aiper Intelligent Co.,Ltd.
2BD5N-SKB30D
Jul 21, 2026ROBOTIC POOL SKIMMER
Equipment Class
NII - Unlicensed National Information Infrastructure TX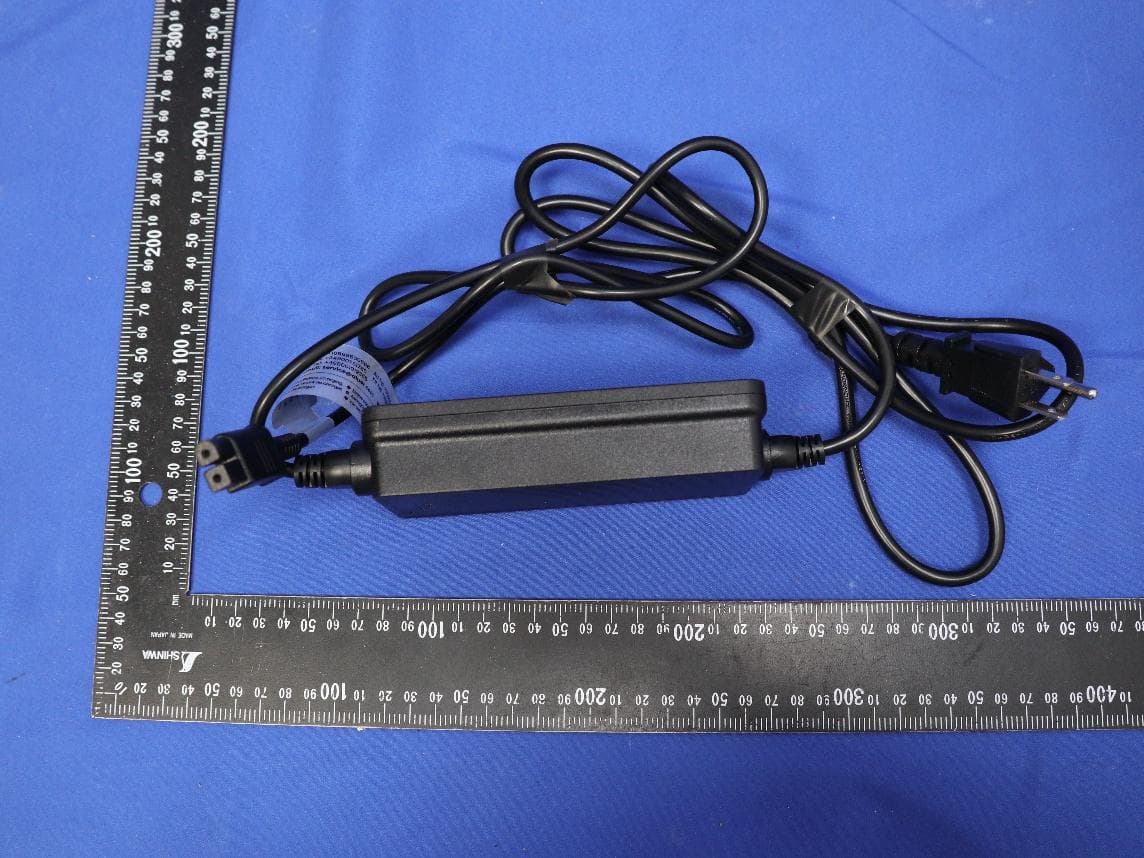
2BD5N-PRX30SE
Feb 23, 2026Cordless Robotic Pool Cleaner
Equipment Class
NII - Unlicensed National Information Infrastructure TX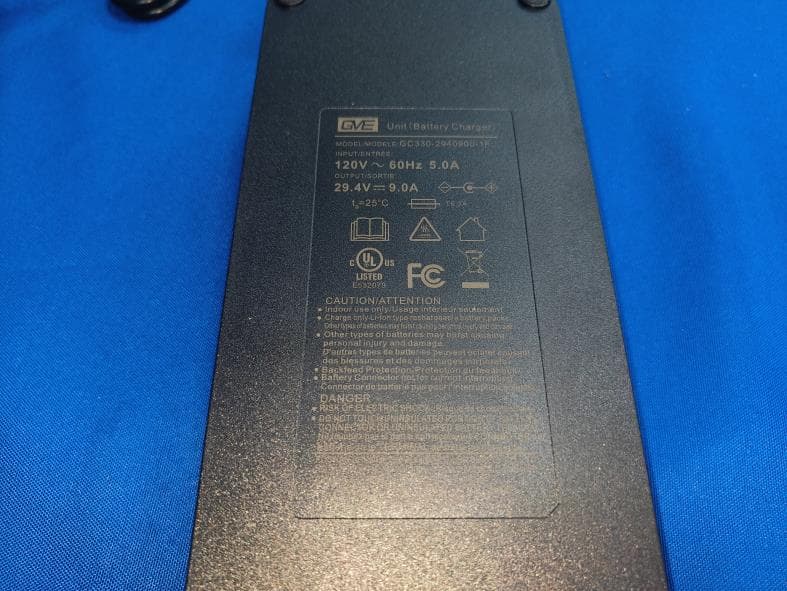
2BD5N-SEAGULLPRO
Jun 18, 2024Robotic Pool Cleaner
Equipment Class
DTS - Digital Transmission System