C6M618Remote Control Transmitter
Foxpro Inc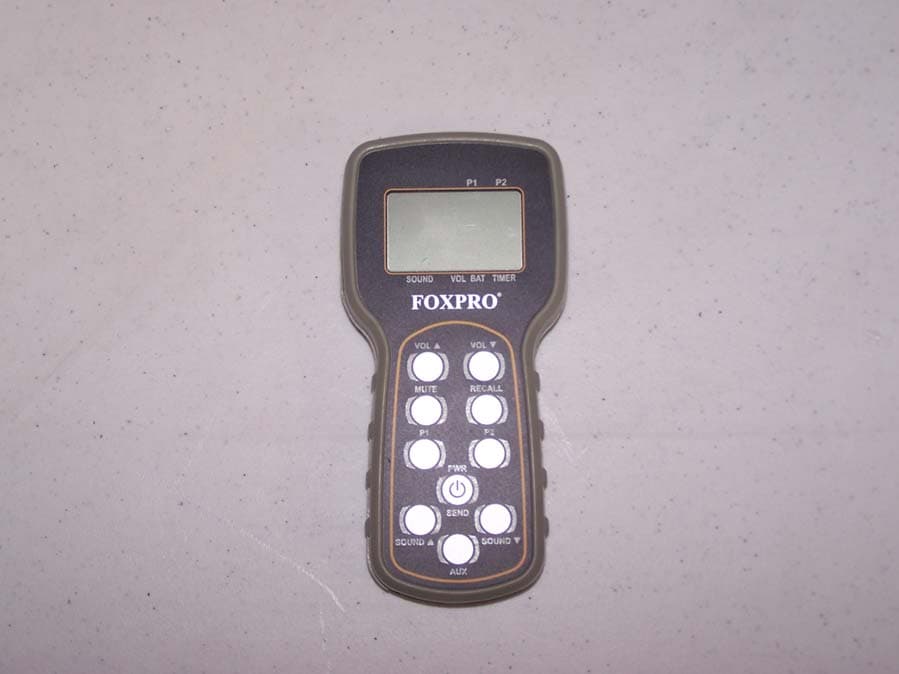
Click to zoom
Application Details
- Equipment Class
- DSC - Part 15 Security/Remote Control Transmitter
- Date of Grant
- May 23, 2010
- Application Purpose
- Original Equipment
- Date of Application
- May 23, 2010
- Equipment Note
- Remote Control Transmitter
- Frequency Range
- 418.00000000 - 418.00000000
- Company
- Foxpro Inc
- Country
- United States
Documents & Files
Document Text
Text extracted from the exhibit documents filed with the FCC. Open a document above to read the original.
Users Manual
Page | 2 TOPIC PAGE IMPORTANT INFORMATION 3 USING THE FOXPRO ® FIRESTORM 4 1.0 QUICK OPERATING GUIDE 5 1.1 Installing Batteries in the FIRESTORM 5 1.2 Installing Batteries in the TX9 5 1.3 Playing Sounds Manually 5 1.4 Playing Sounds with the TX9 Remote Control 6 2.0 ABOUT THE SPEAKERS 6 2.1 Using external speakers 7 2.2 Connecting external speakers 7 2.3 Disabling internal speakers 7 3.0 BATTERIES AND CHARGING 7 4.0 “AUX” JACK FUNCTION 9 5.0 USING EXTERNAL POWER SOURCES 9 6.0 TX9 REMOTE CONTROL 11 6.1 Installing Batteries in the TX9 11 6.2 Turning the TX9 On/Off 11 6.3 Playing Sounds 12 6.4 Mute 12 6.5 Recall 12 6.6 Volume Control 13 6.7 Timer 13 6.8 Setting Presets P1 and P2 13 7.0 PROGRAMMING THE FIRESTORM 14 7.1 Purchasing new sounds 14 7.2 Downloading the FOXPRO ® Programming Utility 14 7.3 Programming with the Utility 15 7.4 Downloading new Playlist to the TX9 17 FCC STATEMENT 19 LIMITED WARRANTY STATEMENT 20 Page | 3 Important Information FOXPRO ® ’s goal is to provide our customers with the highest quality products in the industry. We take great pride in manufacturing our products in the USA. Please do not hesitate to contact us for assistance, comments or questions. FOXPRO ® Inc. 14 Fox Hollow Drive Lewistown, PA 17044 (717) 248-2507 Fax: (717) 247-3594 Hours of Operation Monday – Friday 8AM – 5PM EST Contact Us Customer Service: (717) 248-2507 Toll Free Orders Only: 866-463-6977 General Inquiry E-mail: [email protected] Stay up to date with the latest sounds by visiting our online sound library. Watch for new products and upgrades from FOXPRO ® . Visit us online: www.goFOXPRO.com This manual, the animal sounds stored in your caller, and animal sounds purchased from FOXPRO ® Inc. for installation in your caller are protected by copyright. Copyright © ©© ©℗ ℗℗ ℗ 2010 by FOXPRO ® Inc. Page | 4 Using the FOXPRO ® FIRESTORM Digital Game Call Congratulations on the purchase of your FOXPRO ® FIRESTORM digital wildlife caller! You have chosen a highly advanced product with reliability, ease- of-use, and features that are second to none. Please take this time to read and understand the information in this instruction booklet. This will ensure that you receive the maximum benefit from your new FOXPRO ® FIRESTORM. Features 1. Rugged injection molded ABS housing 2. On/Off switch/manual volume control 3. TX9 remote control 4. Rear speaker slide switch 5. Front speaker slide switch 6. Low battery LED 7. Sound up/down buttons 8. Front horn speaker 9. Rear cone speaker 10. Charge jack 11. Rear external speaker jack 12. Auxiliary device jack 13. Front external speaker jack Page | 5 1.0 QUICK OPERATING GUIDE Since the FIRESTORM is shipped from the factory with no batteries installed; the first step is to install 8 “AA” batteries. These may be alkaline or rechargeable types. We strongly recommend high capacity NiMH rechargeable batteries over alkaline types for maximum performance, particularly when using loud volume levels. 1.1 Installing Batteries in the FIRESTORM 1. To install batteries, remove the battery door. The battery door is located on the side of the caller, and is held in place with a knurled thumbscrew. 2. Orient the batteries as per the directions shown in each cavity within the holder. NOTE: The battery polarity alternates. 3. Replace the battery door after the batteries are installed. 1.2 Installing the TX9 Battery The TX9 transmitter operates from a 9V battery. Please use a high quality alkaline battery. 1. Remove the battery compartment cover located on the rear of the transmitter. 2. Connect the 9V battery to the connector plug, and orient the battery in the transmitter. 3. Replace the battery compartment cover. 1.3 Playing Sounds Manually 1. Make sure that at least 1 of the speaker selector slide switches is set to the right, or “ON” position. 2. Click the On/Off/Volume switch to the on position. Please note that this switch is also the volume control when the unit is operated without the remote control. The further clockwise you turn the knob, the louder the unit will play. At this point, the LCD display on the FIRESTORM should display two bars “- -“. Page | 6 3. Press the up or down arrow keypad button on the FIRESTORM to select a sound number. Once selected, release the button, and the sound will play. To select a different sound, simply press the up or down arrow buttons again to your desired sound. Please note that by pressing and holding either the up or down keys the numbers will ramp slowly at first, and then increase to a faster ramp speed. 1.4 Playing Sounds with the TX9 Remote Control 1. Turn on the TX9 remote control by pressing and holding the “PWR” button for a few seconds. 2. Use the sound up or sound down arrow buttons to scroll through your available sounds. The selector bar highlights the sound that is currently selected. NOTE: When scrolling through sounds, the playlist will change in pages. The first page will show sounds 000 – 005, page two will show 006 – 011, etc. 3. After you pick the sound you wish to play, press the “SEND” button. The sound number is displayed on the screen the bottom left side after you have press “SEND”. 4. Raise your volume level by pressing and holding the volume up button. As you raise the volume level, the on screen volume level indicator will increment. You can decrease the volume by pressing and holding the volume down button. 5. Use the mute button to pause/stop the sound you are playing. 6. To switch sounds, repeat step 2. 7. To turn off the TX9, press and hold the “PWR”/”SEND” button for a few seconds. You will see a message appear on the screen saying “Release key to turn off transmitter”. As soon as you release your hold on the button, the TX9 will power down. 2.0 ABOUT THE SPEAKERS The FIRESTORM incorporates two different types of loudspeakers. The front speaker is a high efficiency horn with maximum sensitivity in the frequency range necessary to reproduce small animal distress sounds. Distress sounds of rabbits, small…
Text truncated - open the document above for the full version.
Users Manual
Page | 2 TOPIC PAGE IMPORTANT INFORMATION 3 USING THE FOXPRO ® SCORPION X1-B 4 1.0 QUICK OPERATING GUIDE 5 1.1 Installing Batteries in the SCORPION X1-B 5 1.2 Installing the Battery in the TX9 Remote Control 5 1.3 Turning on the Scorpion X1-B 5 1.4 Playing Sounds with the TX9 Remote Control 6 2.0 USING EXTERNAL SPEAKERS 6 2.1 Connecting an External Speaker 6 2.2 Internal Speaker Control 7 3.0 BATTERIES 7 4.0 AUX JACK FUNCTION 7 5.0 TX9 REMOTE CONTROL 9 5.1 Installing the Battery in the TX9 Remote Control 9 5.2 Turning the TX9 On/Off 10 5.3 Playing Sounds with the TX9 10 5.4 Mute 10 5.5 Recall 11 5.6 Volume Control 11 5.7 Timer 11 5.8 Setting Presets P1 and P2 11 6.0 PROGRAMMING THE SCORPION X1-B 11 6.1 Downloading the FOXPRO ® Programming Utility 12 6.2 Programming with the Utility 12 6.3 Downloading new Playlist to the TX9 14 FCC STATEMENT 15 LIMITED WARRANTY STATEMENT 16 Page | 3 Important Information FOXPRO ® ’s goal is to provide our customers with the highest quality products in the industry. We take great pride in manufacturing our products in the USA. Please do not hesitate to contact us for assistance, comments or questions. FOXPRO ® Inc. 14 Fox Hollow Drive Lewistown, PA 17044 (717) 248-2507 Fax: (717) 247-3594 Hours of Operation Monday – Friday 8AM – 5PM EST Contact Us Customer Service: (717) 248-2507 Toll Free Orders Only: 866-463-6977 General Inquiry E-mail: [email protected] Stay up to date with the latest sounds by visiting our online sound library. Watch for new products and upgrades from FOXPRO ® . Visit us online: www.gofoxpro.com This manual, the animal sounds stored in your caller, and animal sounds purchased from FOXPRO ® Inc. for installation in your caller are protected by copyright. Copyright © ©© ©℗ ℗℗ ℗ 2009 by FOXPRO ® Inc. Page | 4 Using the FOXPRO ® SCORPION X1B Digital Game Call Congratulations on the purchase of your FOXPRO ® SCORPION X1B digital wildlife caller! You have chosen a highly advanced product with reliability, ease- of-use, and features that are second to none. Please take this time to read and understand the information in this instruction booklet. This will ensure that you receive the maximum benefit from your new FOXPRO ® SCORPION X1B. FEATURES 1. Injection Molded Fiberglass Reinforced ABS housing 2. Low Battery Indicator / Pilot LED 3. Charger Jack 4. Two External Speaker Jacks 5. Auxiliary Jack Page | 5 1.0 QUICK OPERATING GUIDE Since the Scorpion is shipped from the factory without batteries installed, the first step is to install 8 “AA” batteries. These may be alkaline or rechargeable types. NOTE: We strongly recommend high capacity NiMH rechargeable batteries over alkaline types for maximum performance, particularly when using loud volume levels. Never attempt to recharge alkaline batteries! Doing so either accidently or purposefully will void the warranty. 1.1 Installing Batteries: Unlatch the door (latches are found on the side of the unit.) Orient the batteries as per the directions shown in each cavity within the holder. NOTE: The battery polarity alternates. 1. Close the top of the unit and press the latches until they “click,” which will keep the unit closed securely after the batteries are installed. 1.2 Installing the TX9 Battery The TX9 transmitter operates from a 9V battery. Please use a high quality alkaline battery. 1. Remove the battery compartment cover located on the rear of the transmitter. 2. Connect the 9V battery to the connector plug, and orient the battery in the transmitter. 3. Replace the battery compartment cover. 1.3 Turning on the SCORPION X1B The SCORPION X1B is equipped with a power toggle switch on the front of the Page | 6 housing. To turn the SCORPION X1B on, simply move the switch to the right, or on position. 1.4 Playing Sounds with the TX9 Remote Control 1. Turn on the TX9 remote control by pressing and holding the “PWR” button for a few seconds. 2. Use the sound up or sound down arrow buttons to scroll through your available sounds. The selector bar highlights the sound that is currently selected. NOTE: When scrolling through sounds, the playlist will change in pages. The first page will show sounds 000 – 005, page two will show 006 – 011, etc. 3. After you pick the sound you wish to play, press the “SEND” button. The sound number is displayed on the screen the bottom left side after you have press “SEND”. 4. Raise your volume level by pressing and holding the volume up button. As you raise the volume level, the on screen volume level indicator will increment. You can decrease the volume by pressing and holding the volume down button. 5. Use the mute button to pause/stop the sound you are playing. 6. To switch sounds, repeat step 2. 7. To turn off the TX9, press and hold the “PWR”/”SEND” button for a few seconds. You will see a message appear on the screen saying “Release key to turn off transmitter”. As soon as you release your hold on the button, the TX9 will power down. 2.0 USING EXTERNAL SPEAKERS The SCORPION X1B is equipped with two External Speaker Jacks, which allows you to connect one or two additional speakers to your Scorpion caller. The internal Mylar cone speaker performs admirably; however, you may encounter situations that require higher sound levels. By connecting a larger external speaker(s) to the SCORPION X1B, the volume level can be increased significantly. 2.1 Connecting an External Speaker Plug the connector of the external speaker into one of the Ext. Spkr. Jacks. NOTE: This does not automatically disconnect the internal speaker. You may want to let it play, although battery life will be better if you disable the internal speaker. If you wish to have only the external speaker(s) produce sound, do the following: NOTE: With two speakers connected and the Speaker Jumper set to “ON” the internal and both external speakers will play simultaneously. The Internal Speaker and External Speaker “A” are connected to the same channel. Page | 7 2.2 Internal Speaker Control By disabling the inte…
Text truncated - open the document above for the full version.
Cover Letter(s)
FOXPRO INC. 14 Fox Hollow Drive Lewistown, PA 17044 (717)248-2507 FAX(717)247-3594 www.gofoxpro.com April 22, 2010 MET Laboratories, Inc. 914 West Patapsco Avenue Baltimore, MD 21230 RE: CONFIDENTIALITY REQUEST FOR FOXPRO TX9 FCC ID: C6M618 To Whom It May Concern: This letter serves as an official request for confidentiality under sections 0.457 and 0.459 of CFR 47. We have requested that the schematics, block diagrams, and operational descriptions required to be submitted with this application be permanently withheld from public view. These items would be privileged as a matter of law if retained by the person submitting them, and are materials which would not customarily be released to the public by that person. If you have any questions or need additional information, please give me a call at 717-248-2507. Sincerely, John Dillon, President
Test Report
MET Laboratories, Inc. Safety Certification - EMI - Telecom Environmental Simulation 914 WEST PATAPSCO AVENUE BALTIMORE, MARYLAND 21230-3432 PHONE (410) 354-3300 FAX (410) 354-3313 The Nation’s First Licensed Nationally Recognized Testing Laboratory May 18, 2010 Foxpro, Inc. 14 Fox Hollow Dr. Lewiston, PA 17044 Dear John Dillon, Enclosed is the EMC Wireless test report for compliance testing of the Foxpro, Inc., TX9 Transmitter as tested to the requirements of Title 47 of the CFR, Ch. 1 (10-1-06 ed.), Part 15, Subpart B, ICES-003, Issue 4 February 2004 for a Class A Digital Device and FCC Part 15 Subpart C, RSS-210, Issue 7, June 2007 for Intentional Radiators. Thank you for using the services of MET Laboratories, Inc. If you have any questions regarding these results or if MET can be of further service to you, please feel free to contact me. Sincerely yours, MET LABORATORIES, INC. Jennifer Warnell Documentation Department Reference: (\Foxpro, Inc.\EMC29078-FCC231) Certificates and reports shall not be reproduced except in full, without the written permission of MET Laboratories, Inc. . MET Laboratories, Inc. Safety Certification - EMI - Telecom Environmental Simulation 914 WEST PATAPSCO AVENUE BALTIMORE, MARYLAND 21230-3432 PHONE (410) 354-3300 FAX (410) 354-3313 Electromagnetic Compatibility Criteria Test Report for the Foxpro, Inc. Model TX9 Transmitter Tested under the FCC Certification Rules contained in Title 47 of the CFR, Parts 15 Subpart B & ICES-003 for Class A Digital Devices & 15.231 & RSS-210, Issue 7, June 2007 for Intentional Radiators MET Report: EMC29078-FCC231 May 18, 2010 Prepared For: Foxpro, Inc. 14 Fox Hollow Dr. Lewiston, PA 17044 Prepared By: MET Laboratories, Inc. 914 W. Patapsco Ave Baltimore, MD 21230 MET Report: EMC29078-FCC231 © 2010, MET Laboratories, Inc. Page ii of vii Electromagnetic Compatibility Foxpro, Inc. Cover Letter FoxPro TX9 Transmitter CFR Title 47, Part 15, Subpart B & C; ICES-003 & RSS-210 MET Report: EMC29078-FCC231 © 2010, MET Laboratories, Inc. Page iii of vii Electromagnetic Compatibility Criteria Test Report for the Foxpro, Inc. Model FoxPro TX9 Transmitter Tested Under the FCC Certification Rules contained in Title 47 of the CFR, Parts 15 Subpart B & ICES-003 for Class A Digital Devices & 15.231 & RSS-210, Issue 7, June 2007 for Intentional Radiators Dusmantha Tennakoon Jennifer Warnell Project Engineer, Electromagnetic Compatibility Lab Documentation Department Engineering Statement: The measurements shown in this report were made in accordance with the procedures indicated, and the emissions from this equipment were found to be within the limits applicable. I assume full responsibility for the accuracy and completeness of these measurements, and for the qualifications of all persons taking them. It is further stated that upon the basis of the measurements made, the equipment tested is capable of operation in accordance with the requirements of Part 15.231, of the FCC Rules under normal use and maintenance. Shawn McMillen, Wireless Manager, Electromagnetic Compatibility Lab Electromagnetic Compatibility Foxpro, Inc. Report Status FoxPro TX9 Transmitter CFR Title 47, Part 15, Subpart B & C; ICES-003 & RSS-210 MET Report: EMC29078-FCC231 © 2010, MET Laboratories, Inc. Page iv of vii Report Status Sheet Revision Report Date Reason for Revision May 18, 2010 Initial Issue. Electromagnetic Compatibility Foxpro, Inc. Table of Contents FoxPro TX9 Transmitter CFR Title 47, Part 15, Subpart B & C; ICES-003 & RSS-210 MET Report: EMC29078-FCC231 © 2010, MET Laboratories, Inc. Page v of vii Table of Contents I. Executive Summary .................................................................................................................................................1 A. Purpose of Test ...................................................................................................................................................2 B. Executive Summary ............................................................................................................................................2 II. Equipment Configuration .......................................................................................................................................3 A. Overview.............................................................................................................................................................4 B. References...........................................................................................................................................................5 C. Test Site ..............................................................................................................................................................5 D. Description of Test Sample.................................................................................................................................6 E. Equipment Configuration....................................................................................................................................6 F. Support Equipment .............................................................................................................................................6 G. Ports and Cabling Information ............................................................................................................................7 H. Mode of Operation..............................................................................................................................................7 I. Modifications ......................................................................................................................................................7 a) Modifications to EUT....................................................................................................................7 b) Modifications to Test Standard..............................................…
Text truncated - open the document above for the full version.
Contact Information
Applicant
John Dillon(President)
Technical Contact
Foxpro IncJohn Dillon
[email protected]717-248-2507
14 Fox Hollow Drive · Lewistown, Pennsylvania · United States
Test Firm
EUROFINS ELECTRICAL AND ELECTRONIC TESTING NA, INCGreg Kovolenko
Technical Specifications
| # | Rule Parts | Frequency Range | Power Output |
|---|---|---|---|
| 1 | 15.231 | 418 MHz - 418 MHz | - |
Other Applications from Foxpro Inc
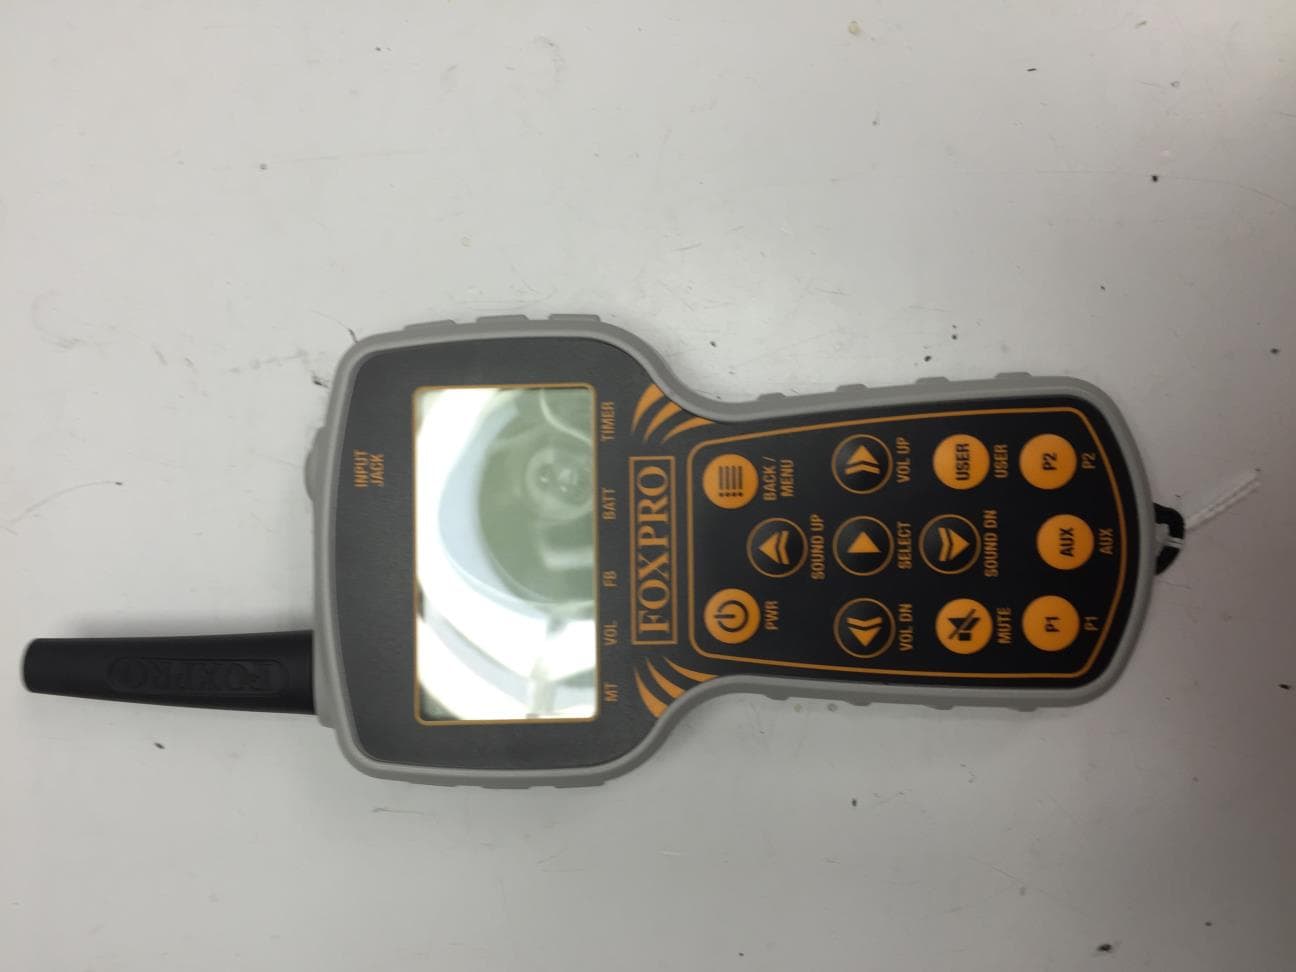
C6M660
Jul 15, 2015TX915
Equipment Class
DTS - Digital Transmission System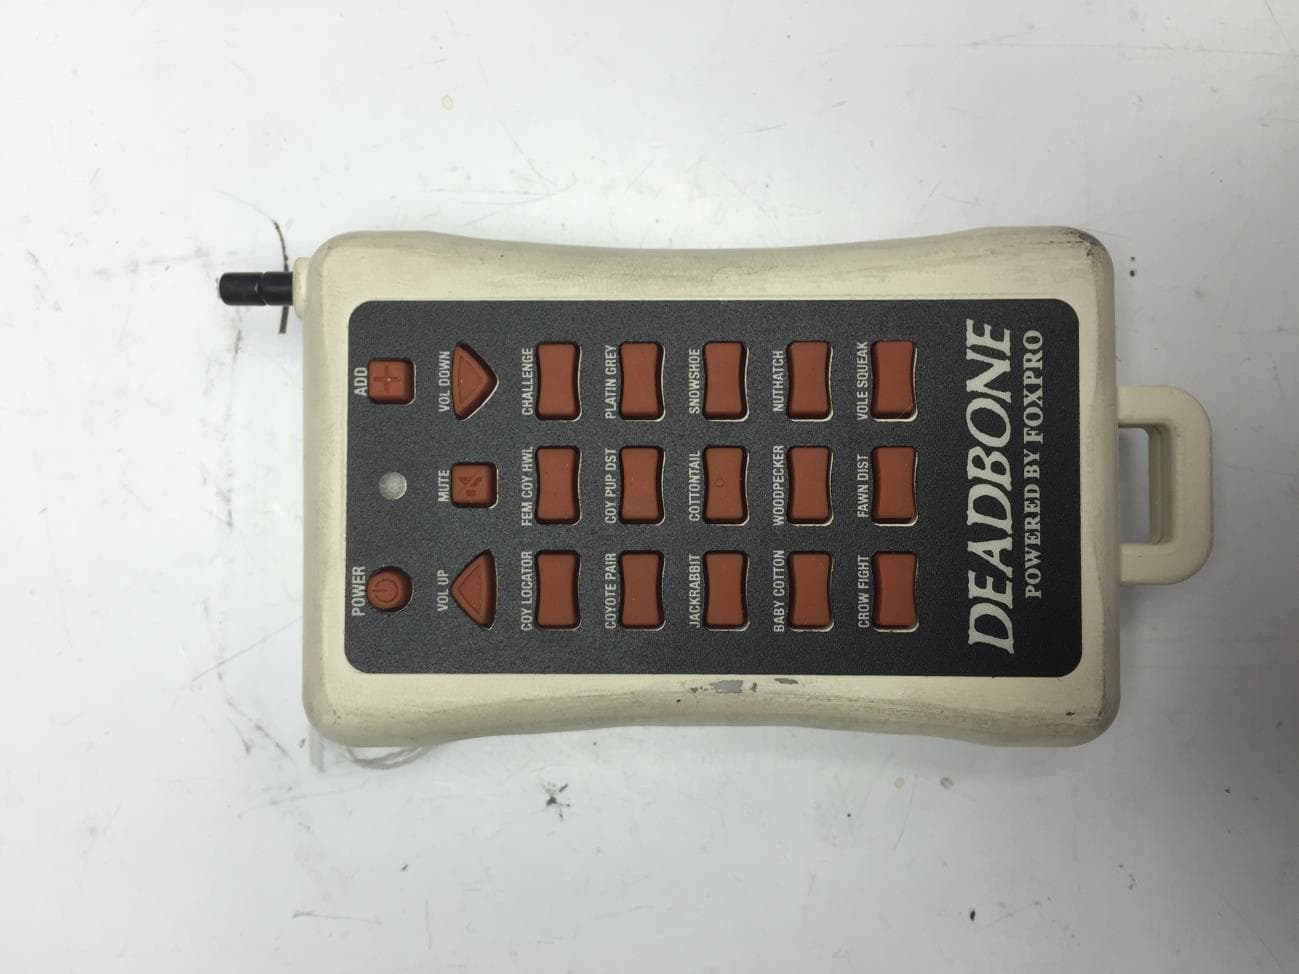
C6M670
Jun 28, 2015Deadbone Transmitter
Equipment Class
DSC - Part 15 Security/Remote Control Transmitter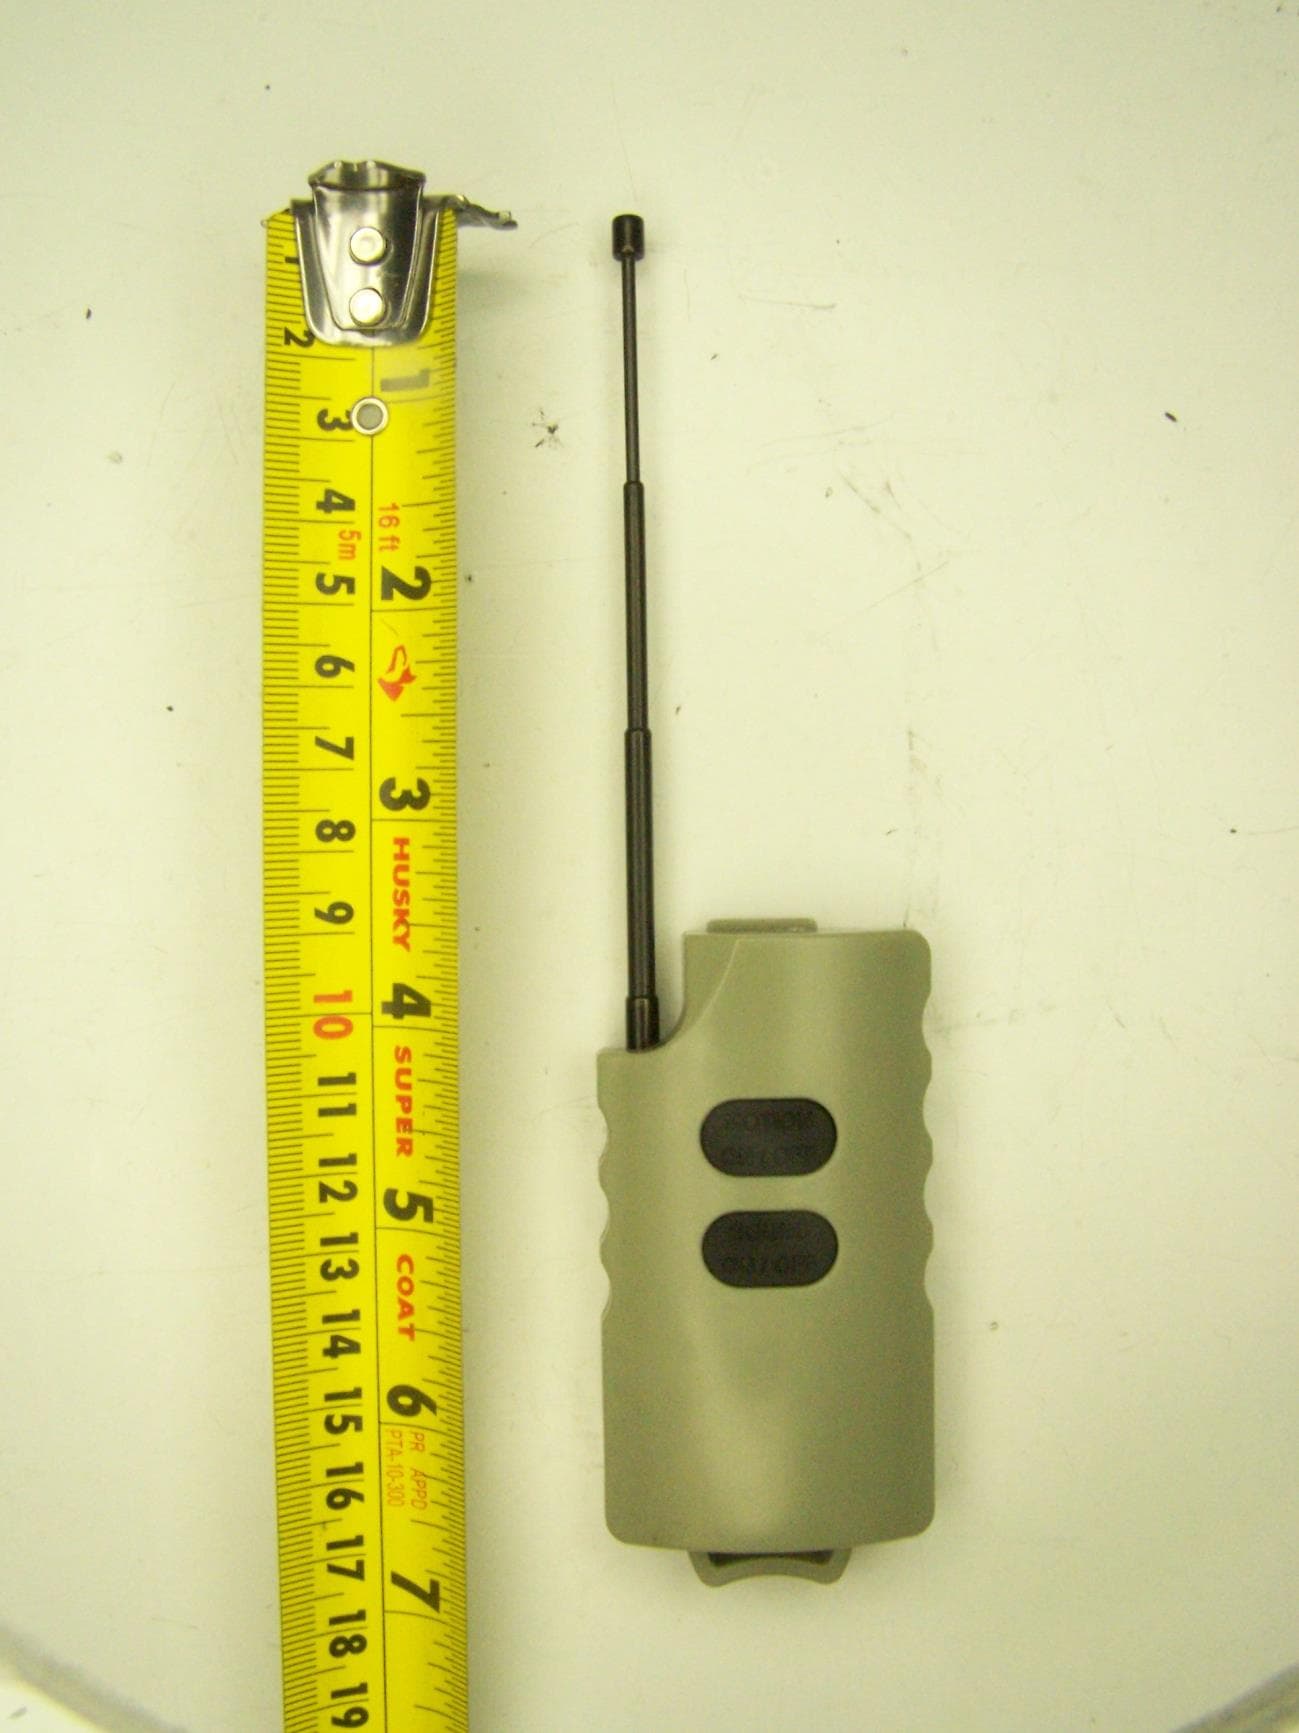
C6M650
Oct 21, 2014JD1 Transmitter
Equipment Class
DXX - Part 15 Low Power Communication Device Transmitter
C6M621
Sep 28, 2010Foxpro Decoy
Equipment Class
DSC - Part 15 Security/Remote Control Transmitter
C6M619
May 26, 2010Digital Game Caller
Equipment Class
DXT - Part 15 Low Power Transceiver, Rx Verified