FDI-09101793-011 Mbps USB1.1 Port Adapter
BUFFALO INC.
Click to zoom
Application Details
- Equipment Class
- DTS - Digital Transmission System
- Date of Grant
- May 31, 2004
- Application Purpose
- Original Equipment
- Date of Application
- May 31, 2004
- Equipment Note
- 11 Mbps USB1.1 Port Adapter
- Frequency Range
- 2412.00000000 - 2462.00000000
- Company
- BUFFALO INC.
- Country
- Japan
Documents & Files
Document Text
Text extracted from the exhibit documents filed with the FCC. Open a document above to read the original.
Users Manual
Quick Setup Guide Wireless 11 Mbps USB Adapter with Antenna Interface WLI-USB-B11 Use this guide to quickly and easily install your 11 Mbps Wireless USB Adapter. Contents ◗ 11 Mbps Wireless USB Adapter with Antenna Interface 1 ◗ Air Navigator CD 1 ◗ Quick Setup Guides 1 ◗ USB Cable (6.5 feet) 1 ◗ Warranty Card 1 If any items are missing, please contact the reseller from whom you purchased this product. PY00-30007-DM20-011-01 2 Installing and Configuring the 11 Mbps Wireless USB Adapter: Windows 98/ME/2000/XP Step 1 Installing the 11 Mbps Wireless USB Adapter Drivers ***Caution*** Do not plug the Wireless USB Adapter into the computer prior to completing step 1. ◗ Insert the Air Navigator CD into the CD-ROM drive of the computer. The Air Navigator Setup Wizard launches auto- matically. If the Air Navigator Setup Wizard does not launch automatically, launch the wizard manually by selecting Start»Run to open the Run dialog box. Enter D:\Setup.exe in the Open field. D: represents the letter assigned to the CD-ROM drive. If another letter is assigned to the CD-ROM drive, your command should reflect that difference. Click the OK button to launch the wizard. ◗ Select Install Wireless Adapter. Click the OK button to begin the installation process. ◗ Review the Software License Agreement. Click the Yes button to confirm your agreement with the terms and continue installing the Wireless USB Adapter drivers. Click the No button to abort the installation process. 3 Step 2 Installing the 11 Mbps Wireless USB Adapter ◗ Power on the notebook PC and let it boot into Windows. Plug the Wireless USB Adapter into an available USB port on your PC. Depending on the type of computer that the Wireless USB Adapter is being installed on, the USB ports can be located in different areas of the case. Check with the PC manufacturer if the USB ports can not be located. Once the Wireless USB Adapter is plugged in correctly, the Found New Hardware Wizard will launch automatically. If the Found New Hardware Wizard does not launch, remove the Wireless USB Adapter and restart the notebook. Reinsert the Wireless USB Adapter once the notebook has rebooted. ◗ Select Install the software automatically. Click the Next button. Windows XP Installation & Configuration
Users Manual
4 ◗ Select the driver you want to install. If multiple drivers are listed, select the most recent driver version. Click the Next button. ◗ If a window opens, stating that your driver does not pass Windows Logo testing, click the Continue Anyway button. When the Wireless USB Adapter is successfully installed, click the Finish button. Restart your computer if prompted. 5 Step 3 Configuring Wireless Zero Configuration Service ◗ If the Wireless Zero Configuration Service is activated, Windows will scan for available wireless access points once the Wireless USB Adapter is properly installed. If Windows detects one or more access points, a networking icon appears in the taskbar. One or more wireless networks are available appears as a caption accompanying the icon. ◗ Right click the networking icon in the taskbar and select View Available Wireless Networks to display a list of available wireless networks. See step 2C if you need to enter an SSID network name or WEP/WPA encryption key. Select an access point network name or SSID and click the Connect button to establish a connection. ■ Note: If the Wireless Zero Configuration Service is not functioning, select Start » Control Panel » Administrative » Tools » Services. Select Automatic in the Startup type field to enable the Wireless Zero Configuration Service. The default value is Automatic. 6 ◗ Select a network name or access point and click the Advanced button to enter an SSID network name or WEP/ WPA encryption key, if either is necessary. The 'Network Authentication' and 'Data Encryption' pull down menus will allow you to select the different kinds of wireless securities available. You have finished installing your 11 Mbps Wireless USB Adapter. See Installing Client Manager to install Client Manager on your computer. Client Manager will not function properly if the Wireless Zero Configuration Service is activated. For more information about configuring and operating your 11 Mbps Wireless USB Adapter and Client Manager, refer to the AirStation 11 Mbps Wireless USB Adapter Manual, located on the Air Navigator CD. ■ Note: Buffalo Technology recommends that users of the Wireless Zero Configuration Service upgrade to the latest version freely available at www. microsoft.com. 7 Step 2 Installing the 11 Mbps Wireless USB Adapter ◗ Power on the notebook PC and let it boot into Windows. Plug the Wireless USB Adapter into an available USB port on your PC. Depending on the type of computer that the Wireless USB Adapter is being installed on, the USB ports can be located in different areas of the case. Check with the PC manufacturer if the USB ports can not be located. Once the Wireless USB Adapter is plugged in correctly, the Found New Hardware Wizard will launch automatically. If the Found New Hardware Wizard does not launch, remove the Wireless USB Adapter and restart the notebook. Reinsert the Wireless USB Adapter once the notebook has rebooted. ◗ Select Search for a suitable driver for my device. Click the Next button to continue to the Locate Driver Files page. Windows 98/ME/2000 Installation & Configuration 8 ◗ Verify that no Optional search locations are selected. Clear any checkboxes that are selected. Click the Next button to continue to the Driver Files Search Results page. ◗ Windows will display a driver you can use with the Wireless USB Adapter. Click the Next button to continue the installation process. ◗ Windows 2000: If the Digital Signature Not Found page opens, informing you that no digital signature exists for the driver you are installing, click the Yes button to continue the installation process. When the Wireless USB Adapter is successfully installed, click the Finish button. Restart your computer if prompted. You have finished installing your 11 Mbps Wireless USB Adapter. See Installing Client Manager to install Client Manager on your computer. 9 Installing and Connecting with Client Manager ■ Note: Running the Client Manager install on Windows XP will disable Windows XP Wireless Zero Configuration Services. ◗ The AirNavigator dialog box will open automatically. If the AirNavigator dialog box does not open automatically, select Start»Run and enter D:\Setup.exe in the Open field to open the dialog box manually. D: represents the letter assigned to the CD- ROM drive. If another letter is assigned to the CD-ROM drive, your command should reflect that difference. Click the OK button. Select Install Client Manager to launch the InstallShield Wizard. ◗ Close other open applications and click 'OK' to continue. 10 ◗ Click 'Agree' on the License screen to continue installation. ◗ Click 'Next' to accept the default installation directory or hit browse and select another location. ◗ You will receive a message instructing you to wait while Client Manager installation completes. ◗ When you receive a message indicating that installation is complete, Click 'OK'. This completes Client Manager Installation. 11 ◗ Access Client Manager by double clicking on the Icon in your computers 'Tray', or by launching Programs => Buffalo =>AirStation Utility => Client Manager2 ◗ The Main Status Screen will display. ◗ Select the Survey Tab and the main survey screen will appear. If you do not see your access point listed, click 'Refresh' and wait several seconds. ◗ Highlight the appropriated Access Point and click on 'Connect'. Connecting to your Wireless LAN using Client Manager (Not using AOSS). ■ Note: If your client device and Access Point are both AOSS enabled and you intend on using AOSS to automatically configure your connection, please refer to the supplement guide 'Connecting to your Wireless LAN using AOSS (Client Manager)' included with your device.
Users Manual
12 ◗ On the Wireless LAN Connection Screen, leave the 'acquire IP automatically' checked unless your wireless adapter is set with a static IP address. - Use the pull down menu to select your Access Point's security and then enter the appropriate WEP or WPA key(s) into the table. Select 'No Encryption' if you do not require encryption. ■ NOTE: For more information about using WEP and WPA, please refer to the documentation that came with your Access Point/Wireless Router - If you would like to save these settings as a stored profile, leave the 'Save settings as a profile ' box checked. - Click on 'Connect' ◗ The status screen will now show details of your connection. You many now close the AirStation Client Manager - you will stay connected. At any time you would like to change settings, re-launch Client Manager. 13 Buffalo AOSS Supplement: Connecting to your Wireless LAN using AOSS (Client Manager) ■ NOTE: AOSS (AirStation One Touch Secure System) automatically creates a secure connection to your AOSS Access Point. You must have a Buffalo AOSS enabled Access Point or Router to use AOSS within client manager. ◗ Access Client Manager by right clicking on the Icon in your System 'Tray', or by launching Programs => Buffalo =>AirStation Utility => Client Manager2. ◗ From the Main Status Screen, Select the 'Profiles' tab. ◗ Click on the AOSS button to initiate your AOSS session. 14 ◗ You will receive a message prompting you to initiate AOSS on your Access Point - This is typically done by Pressing the AOSS button on the Access Point. Do this now if you have not previously done so. ◗ AOSS will locate the Access Point and automatically configure a secure connection, using the highest security level available for the two devices. ◗ A confirmation page will appear momentarily. You are now connected and can close client manager without loosing your connection. If you wish to change settings, relaunch Client Manger. 15 MEMO 16 Buffalo Technology Technical Support ◗ Web USA http://www.buffalotech.com/wireless EUROPE http://www.buffalo-technology.com CHINA http://www.buffalo-china.com TAIWAN http://www.buffalo-tech.com.tw KOREA http://www.buffalotech.co.kr FCC Compliance Statement - This device complies with Part 15 of the FCC Rules. Operation is subject to the following two conditions: (1) This device may not cause harmful interference, and (2) this device must accept any interference received, including interference that may cause undesired operation. R&TTE Compliance Statement - This equipment complies with all the requirements of the DIRECTIVE 1999/5/EC OF THE EUROPEAN PARLIAMENT AND THE COUNCIL of 9 March 1999 on radio equipment and telecommunication terminal equipment and the mutual recognition of their conformity (R&TTE). See the user manual for the complete statement. Copyright © 2004 Buffalo Technology, Inc. All Rights Reserved. Buffalo Technology (USA) Inc., is part of BUFFALO INC., the global manufacturers of IT peripherals, including memory, networking, and multimedia products, inside many of the world's computers. All trademarks are property of their respective owners. Federal Communication Commission Interference Statement This equipment has been tested and found to comply with the limits for a Class B digital device, pursuant to Part 15 of the FCC Rules. These limits are designed to provide reasonable protection against harmful interference in a residential installation. This equipment generates, uses and can radiate radio frequency energy and, if not installed and used in accordance with the instructions, may cause harmful interference to radio communications. However, there is no guarantee that interference will not occur in a particular installation. If this equipment does cause harmful interference to radio or television reception, which can be determined by turning the equipment off and on, the user is encouraged to try to correct the interference by one of the following measures: - Reorient or relocate the receiving antenna. - Increase the separation between the equipment and receiver. - Connect the equipment into an outlet on a circuit different from that to which the receiver is connected. - Consult the dealer or an experienced radio/TV technician for help. FCC Caution: To assure continued compli ance, any changes or modifications not expressly approved by the party responsible for compliance could void the user's authority to operate this equipment. This device complies with Part 15 of the FCC Rules. Operation is subject to the following two conditions: (1) This device may not cause harmful interference, and (2) this device must accept any interference received, including interference that may cause undesired operation. IMPORTANT NOTE: FCC Radiation Exposure Statement: This equipment complies with FCC radiation exposure limits set forth for an uncontrolled environment. This equipment should be installed and operated with minimum distance 20cm between the radiator & your body. This transmitter must not be co-located or operating in conjunction with any other antenna or transmitter.
External Photos
Page 1 CONSTRUCTION PHOTOS OF EUT Page 2 Page 3 Page 4 Page 5 Page 6
ID Label/Location Info
Page 1 Label location
Internal Photos
Page 7 Page 8 Page 9 Page 10 Page 11
Operational Description
FCC ID: FDI-09101793-0 Report No.RF930106R01 Operational Description The transmitter of the EUT is powered by host equipment from USB port. The antenna is Printed Antenna, and there is no antenna connector. Under normal use condition, the user has to keep at least 20cm separation distance between radiator and the body of the user. The other instruction, please have a look at the users manual. DSSS Information This device is Direct Sequence Spread Spectrum, the data is mixed by pseudorandom code which is an orthogonal code. The mixed data is digital modulated by BPSK and QPSK technique depends on the data rates. The CCK coding is applied for increasing the data rate, and also the processing gain will be increased. The bit rates are 1,2,5.5,11Mbps, the symbol rates are 1,1,1.375,1.375Mbps, the chip rates are always 11Mbps. So, the Chip/symbol is 11,11,8 and 8 respectively. Although is higher bit rate, the processing gain is lower than 10, but the CCK coding used in higher bit rate will provide 2.2dB coding gain.
RF Exposure Info
FCC ID : FDI-09101793-0 Report No: SA930106R01 1 RF EXPOSURE REPORT REPORT NO.: SA930106R01 MODEL NO.: WLI-USB-B11 ACCORDING: FCC Guidelines for Human Exposure IEEE C95.1 APPLICANT: Buffalo Inc. ADDRESS: 4-15, Shibata Hondori, Minami-ku, Nagoya 457-8520, Japan ISSUED BY: Advance Data Technology Corporation LAB LOCATION: No. 19, Hwa Ya 2nd Rd., Wen Hwa Tsuen, Kwei Shan Hsiang, Taoyuan Hsien 333, Taiwan, R.O.C. FCC ID : FDI-09101793-0 Report No: SA930106R01 2 RF Exposure Measurement (Mobile Device) 1. Introduction In this document, we try to prove the safety of radiation harmfulness to the human body for our product. The limit for Maximum Permissible Exposure (MPE) specified in FCC 1.1310 is followed. The Gain of the antenna used in this product is measured in a Fully Anechoic Chamber (FAC) calibrated for antenna measurement in ADT, and also the maximum total power input to the antenna is measured. Through the Friis transmission formula and the maximum gain of the antenna, we can calculate the distance, away from the product, where the limit of MPE is reached. Although the Friis transmission formula is a far field assumption, the calculated result of that is an over-prediction for near field power density. We will take that as the worst case to specify the safety range. 2. RF Exposure Limit According to FCC 1.1310: The criteria listed in the following table shall be used to evaluate the environmental impact of human exposure to radio-frequency (RF) radiation as specified in 1.1307(b) LIMITS FOR MAXIMUM PERMISSIBLE EXPOSURE (MPE) Frequency Range (MHz) Electric Field Strength (V/m) Magnetic Field Strength (A/m) Power Density (mW/cm 2 ) Average Time (minutes) (A)Limits For Occupational / Control Exposures 300-1500......F/3006 1500-100,000......56 (B)Limits For General Population / Uncontrolled Exposure 300-1500......F/15006 1500-100,000......1.030 F = Frequency in MHz FCC ID : FDI-09101793-0 Report No: SA930106R01 3 3. Friis Formula Friis transmission formula : Pd = (Pout*G) / (4*pi*r 2 ) where Pd = power density in mW/cm 2 Pout = output power to antenna in mW G = gain of antenna in linear scale Pi = 3.1416 R = distance between observation point and center of the radiator in cm If we know the maximum Gain of the antenna and the total power input to the antenna, through the calculation, we will know the MPE value at distance r. Ref. : David K. Cheng, Field and Wave Electromagnetics, Second Edition, Page 640, Eq. (11-133). 4 EUT Operating condition The software provided by Manufacturer enabled the EUT to transmit and receive data at lowest, middle and highest channel individually. 5. Classification The antenna of the product, under normal use condition, is at least 20cm away from the body of the user. Warming statement for keeping 20cm separation distance and the prohibition of operating next to a person has been printed on the user’s manual. So, this product is classified as the Mobile Device. FCC ID : FDI-09101793-0 Report No: SA930106R01 4 6 Test Results 6.1 Antenna Gain The maximum Gain measured in Fully Anechoic Chamber are 0dBi or 1 (numeric). 6.2 Output Power Into Antenna & RF Exposure value at distance 20cm: For CCK technique Channel Channel Frequency (MHz) Output Power to Antenna (mW) Power Density (mW/cm 2 ) Limit of Power Density (mW/cm 2 ) 1241233.8840.0071.0 6243731.6230.0061.0 11246231.6230.0061.0
Test Report
FCC ID: FDI-09101793-0 Report No.: RF930106R011Issued: May 14, 2004 FCC TEST REPORT REPORT NO.: RF930106R01 MODEL NO.: WLI-USB-B11 RECEIVED: May 10, 2004 TESTED: May 12, 2004 ~ May 13, 2004 APPLICANT: Buffalo Inc. ADDRESS: 4-15, Shibata Hondori, Minami-ku, Nagoya 457-8520, Japan ISSUED BY: Advance Data Technology Corporation LAB LOCATION: No. 19, Hwa Ya 2 nd Rd., Wen Hwa Tsuen, Kwei Shan Hsiang, Taoyuan Hsien 333, Taiwan, R.O.C. This test report consists of 53 pages in total. It may be duplicated completely for legal use with the approval of the applicant. It should not be reproduced except in full, without the written approval of our laboratory. The client should not use it to claim product endorsement by any government agencies. The test results in the report only apply to the tested sample. FCC ID: FDI-09101793-0 Report No.: RF930106R012Issued: May 14, 2004 Table of Contents 1CERTIFICATION ........................................................................................... 4 2SUMMARY OF TEST RESULTS................................................................... 5 3GENERAL INFORMATION ........................................................................... 6 3.1GENERAL DESCRIPTION OF EUT.............................................................. 6 3.2DESCRIPTION OF TEST MODES................................................................ 7 3.3GENERAL DESCRIPTION OF APPLIED STANDARDS ............................... 7 3.4DESCRIPTION OF SUPPORT UNITS .......................................................... 8 3.5 CONFIGURATION OF SYSTEM UNDER TEST .......................................... 9 4TEST TYPES AND RESULTS..................................................................... 10 4.1CONDUCTED EMISSION MEASUREMENT .............................................. 10 4.1.1LIMITS OF CONDUCTED EMISSION MEASUREMENT............................ 10 4.1.2TEST INSTRUMENTS ................................................................................ 10 4.1.3TEST PROCEDURES..................................................................................11 4.1.4DEVIATION FROM TEST STANDARD ........................................................11 4.1.5TEST SETUP .............................................................................................. 12 4.1.6EUT OPERATING CONDITIONS................................................................ 13 4.1.7TEST RESULTS.......................................................................................... 14 4.2RADIATED EMISSION MEASUREMENT ................................................... 20 4.2.1LIMITS OF RADIATED EMISSION MEASUREMENT................................. 20 4.2.2TEST INSTRUMENTS ................................................................................ 21 4.2.3TEST PROCEDURES................................................................................. 22 4.2.4DEVIATION FROM TEST STANDARD ....................................................... 22 4.2.5TEST SETUP .............................................................................................. 23 4.2.6EUT OPERATING CONDITIONS................................................................ 23 4.2.7TEST RESULTS.......................................................................................... 24 4.36dB BANDWIDTH MEASUREMENT .......................................................... 29 4.3.1LIMITS OF 6dB BANDWIDTH MEASUREMENT ........................................ 29 4.3.2TEST INSTRUMENTS ................................................................................ 29 4.3.3TEST PROCEDURE ................................................................................... 30 4.3.4DEVIATION FROM TEST STANDARD ....................................................... 30 4.3.5TEST SETUP .............................................................................................. 30 4.3.6EUT OPERATING CONDITIONS................................................................ 30 4.3.7TEST RESULTS.......................................................................................... 31 4.4MAXIMUM PEAK OUTPUT POWER .......................................................... 35 4.4.1LIMITS OF MAXIMUM PEAK OUTPUT POWER MEASUREMENT ........... 35 FCC ID: FDI-09101793-0 Report No.: RF930106R013Issued: May 14, 2004 4.4.2TEST INSTRUMENTS ................................................................................ 35 4.4.3TEST PROCEDURES................................................................................. 36 4.4.4DEVIATION FROM TEST STANDARD ....................................................... 36 4.4.5TEST SETUP .............................................................................................. 36 4.4.6EUT OPERATING CONDITIONS................................................................ 36 4.4.7TEST RESULTS.......................................................................................... 37 4.5POWER SPECTRAL DENSITY MEASUREMENT...................................... 38 4.5.1LIMITS OF POWER SPECTRAL DENSITY MEASUREMENT ................... 38 4.5.2TEST INSTRUMENTS ................................................................................ 38 4.5.3TEST PROCEDURE ................................................................................... 39 4.5.4DEVIATION FROM TEST STANDARD ....................................................... 39 4.5.5TEST SETUP .............................................................................................. 39 4.5.6EUT OPERATING CONDITIONS................................................................ 39 4.5.7TEST RESULTS.......................................................................................... 40 4.6BAND EDGES MEASUREMENT ................................................................ 44 4.6.1LIMITS OF BAND EDGES MEASUREMENT ............................................. 44 4.6.2TEST INSTRUMENTS .............................................…
Text truncated - open the document above for the full version.
Test Setup Photos
FCC ID: FDI-09101793-0 Report No.: RF930106R0151Issued: May 14, 2004 5 PHOTOGRAPHS OF THE TEST CONFIGURATION CONDUCTED EMISSION TEST FCC ID: FDI-09101793-0 Report No.: RF930106R0152Issued: May 14, 2004 RADIATED EMISSION TEST
Contact Information
Applicant
Mr. Masaya Ishimaru(General Manager)
Technical Contact
Advance Data Technology CorporationEllis Wu
[email protected]+886 3318 3232
No. 19 Hwa Ya 2nd rd. Kueishan · Taoyuan · Taiwan
Test Firm
Bureau Veritas CPS (H.K.) Ltd. Taoyuan BranchRichard Chen
Technical Specifications
| # | Rule Parts | Frequency Range | Power Output |
|---|---|---|---|
| 1 | 15C | 2.41 GHz - 2.46 GHz | 34.00 mW |
Other Applications from BUFFALO INC.
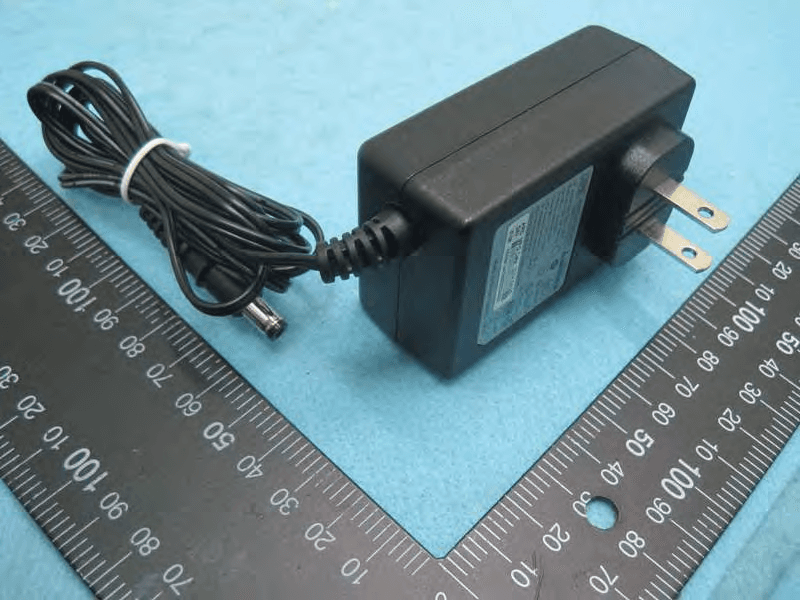
FDI000000028
Mar 15, 2015AirStation
Equipment Class
DTS - Digital Transmission System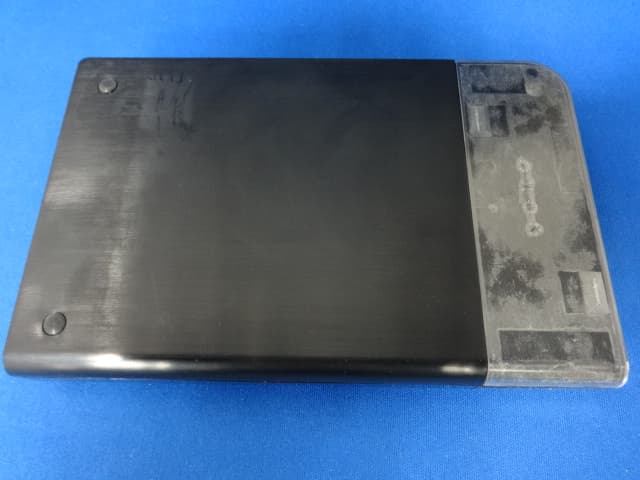
FDI000000027
Jan 22, 2015MiniStation
Equipment Class
DXX - Part 15 Low Power Communication Device Transmitter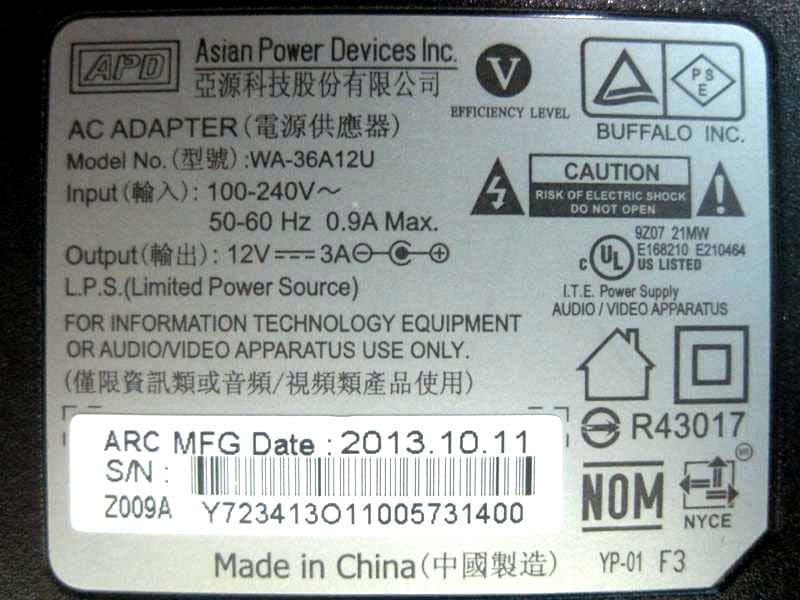
FDI000000022
Oct 12, 2014AirStation
Equipment Class
DTS - Digital Transmission System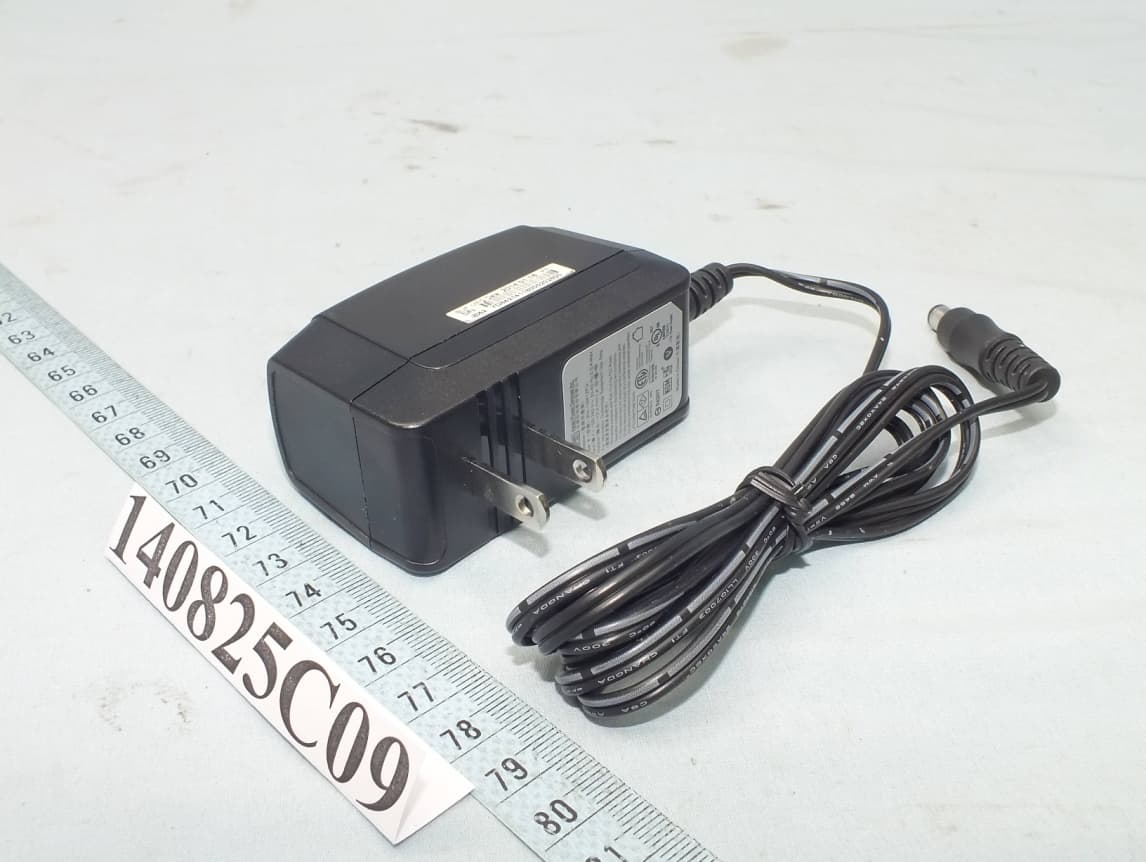
FDI000000026
Oct 01, 2014AirStation
Equipment Class
DTS - Digital Transmission System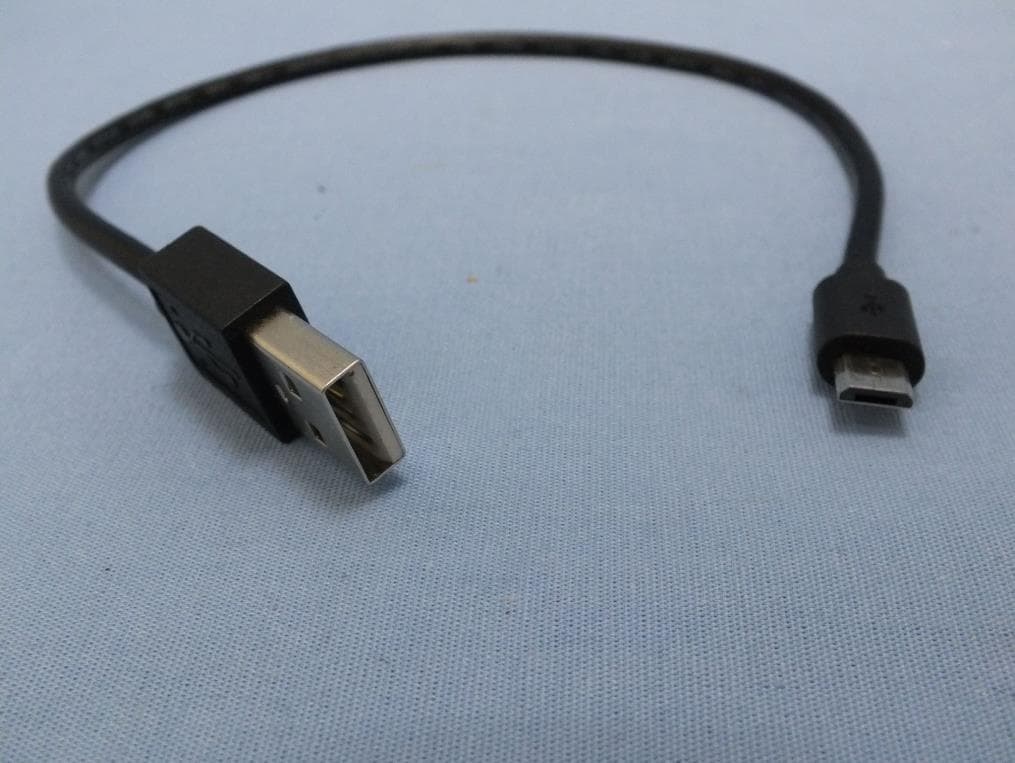
FDI000000024
Apr 21, 2014AirStation
Equipment Class
DTS - Digital Transmission System