H9PMC7095Enterprise Digital Assistant
Symbol Technologies Inc
Click to zoom
Application Details
- Equipment Class
- DTS - Digital Transmission System
- Date of Grant
- Dec 20, 2006
- Application Purpose
- Original Equipment
- Date of Application
- Sep 18, 2006
- Equipment Note
- Enterprise Digital Assistant
- Frequency Range
- 5745.00000000 - 5825.00000000
- Company
- Symbol Technologies Inc
- Country
- United States
Documents & Files
Document Text
Text extracted from the exhibit documents filed with the FCC. Open a document above to read the original.
Users Manual
© 2005 SYMBOL TECHNOLOGIES, INC. All rights reserved. Symbol reserves the right to make changes to any product to improve reliability, function, or design. Symbol does not assume any product liability arising out of, or in connection with, the application or use of any product, circuit, or application described herein. No license is granted, either expressly or by implication, estoppel, or otherwise under any patent right or patent, covering or relating to any combination, system, apparatus, machine, material, method, or process in which Symbol products might be used. An implied license exists only for equipment, circuits, and subsystems contained in Symbol products. Symbol and the Symbol logo are registered trademarks of Symbol Technologies, Inc. Other product names mentioned in this manual may be trademarks or registered trademarks of their respective companies and are hereby acknowledged. Symbol Technologies, Inc. One Symbol Plaza Holtsville, N.Y. 11742-1300 http://www.symbol.com Patents This product is covered by one or more of the patents listed on the Web site: www.symbol.com/patents. Warranty Subject to the terms of Symbol’s hardware warranty statement, the MC70 mobile computer products are warranted against defects in workmanship and materials for a period of one year from the date of shipment. For the complete Symbol hardware product warranty statement, go to: http://www.symbol.com/warranty. Battery Information Symbol rechargeable battery packs are designed and constructed to the highest standards within the industry. However, there are limitations to how long a battery can operate or be stored before needing replacement. Many factors affect the actual life cycle of a battery pack, such as heat, cold, harsh environmental conditions and severe drops. When batteries are stored over six (6) months, some irreversible deterioration in overall battery quality may occur. Store batteries discharged in a dry, cool place, removed from the equipment to prevent loss of capacity, rusting of metallic parts and electrolyte leakage. When storing batteries for one year or longer, they should be charged and discharged at least once a year. If an electrolyte leakage is observed, avoid any contact with affected area and properly dispose of the battery. Replace the battery when a significant loss of run time is detected. Standard warranty period for all Symbol batteries is 30 days, regardless if the battery was purchased separately or included as part of the mobile computer or bar code scanner. For more information on Symbol batteries, please visit: http:/mysymbolcare.symbol.com/battery/batbasics1.html. Battery Charging Note To charge the battery for the mobile device, battery and charger temperatures must be between +32° F and +104° F (0° C and +40° C). Ta i w a n EPA (Environmental Protection Administration) requires dry battery producing or importing firms in accordance with Article 15 of the Waste Disposal Act are required to indicate the recycling marks on the batteries used in sales, giveaway or promotion. Contact a qualified Taiwanese recycler for proper battery disposal. Service Information Before you use the unit, it must be configured to operate in your facility’s network and run your applications. If you have a problem running your unit or using your equipment, contact your facility’s Technical or Systems Support. If there is a problem with the equipment, they will contact the Symbol Support Center: For the latest version of this guide go to: http://www.symbol.com/manuals United States1-800-653-5350 Canada905-629-7226 United Kingdom0800 328 2424Asia/Pacific337-6588 Australia1-800-672-906Austria/ Österreich 01-5055794-0 Denmark/Danmark 7020-1718Finland/Suomi9 5407 580 France01-40-96-52-21 Germany/ Deutschland 6074-49020 Italy/Italia2-484441Mexico/México5-520-1835 Netherlands/ Nederland 315-271700 Norway/Norge+47 2232 4375 South Africa11-809 5311Spain/España+913244000 Sweden/Sverige08 445 29 00 Europe/Mid-East Distributor Operations Contact local distributor or call +44 118 945 7360 Latin America Sales Support Inside USA: 1-800-347-0178; Outside USA: +1.954.255.2610 72-71767-01 Revision A — November 2005 MC70 REGULATORY INFORMATION Microsoft ® Mobile ® 5.0 END-USER LICENSE AGREEMENT • You have acquired a device (“DEVICE”) that includes software licensed by Symbol Technologies, Inc. from an affiliate of Microsoft Corporation (“MS”). Those installed software products of MS origin, as well as associated media, printed materials, and “online” or electronic documentation (“SOFTWARE”) are protected by international intellectual property laws and treaties. The SOFTWARE is licensed, not sold. All rights reserved. • IF YOU DO NOT AGREE TO THIS END USER LICENSE AGREEMENT (“EULA”), DO NOT USE THE DEVICE OR COPY THE SOFTWARE. INSTEAD, PROMPTLY CONTACT Symbol Technologies, Inc. FOR INSTRUCTIONS ON RETURN OF THE UNUSED DEVICE(S) FOR A REFUND. ANY USE OF THE SOFTWARE, INCLUDING BUT NOT LIMITED TO USE ON THE DEVICE, WILL CONSTITUTE YOUR AGREEMENT TO THIS EULA (OR RATIFICATION OF ANY PREVIOUS CONSENT). • SOFTWARE includes software already installed on the DEVICE (“DEVICE Software”) and MS software contained on the CD-ROM disk (“Companion CD”). GRANT OF SOFTWARE LICENSE. This EULA grants you the following license: DEVICE Software. You may use the DEVICE Software as installed on the DEVICE. Companion CD. A Companion CD is included with your DEVICE, and you may install and use the Microsoft® ActiveSync® component on one (1) or more personal computers to exchange information with one (1) or more computing devices that contain a compatible version of the Microsoft® Windows Mobile™ Version 5.0 operating system. For other software component(s) contained on the Companion CD, you may install and use such components only in accordance with the terms of the printed or online end user license agreement(s) provided with such component(s). In the absence of an end user license agreement for particular component(s) of the…
Text truncated - open the document above for the full version.
Users Manual
1 2 3 4 24hr* 7 334433 Follow the on-screen ActiveSync instructions to establish a connection between the MC70 and the host computer. Create a Partnership 5 1 2 4-Slot Cradle FEATURESKEYPADS Insert the Battery 1 Charge the MC70 2 Install ActiveSync ® 3 Communicate with Host 4 6 11 4 1-Slot Cradle Blinking Amber = Charging Charging LED Solid Amber = Fully Charged 5 1 2 12 3 7 3 4 3 2 5 1 2343 5 * It is recommended that this product be charged for 24 hours before the first use to ensure that the internal battery is fully charged. GETTING STARTED 8 (Note 1) 7 2 6 8 Fast Blinking Amber = Charging Error 9 10 9 Scan/Decode LED 10 Charging LED 11 Radio Status LED 12 Phone Speaker 5 Keypad 6 Scan/Action Button 7 Touch Screen (with screen protector) 8 Power Button 1 Scan/Action Button 2 Up/Down Button 3 Microphone 4 I/O Connector 8 6 1 Call 2 Soft Key 3 Navigation 4 Scan/Action Button 5 End Call 6 Orange Key 7 Backlight 8 Blue Key 9 OK 10 Phonepad 11 Menu 12 Start Menu 9 12 11 10 Blue Key Use this key to launch applications and select items (shown on the keypad in blue). > Press the key once to activate this mode followed by another key. Orange Key Use this key to access the secondary layer of characters and actions. > Press the key once to lock the keypad in the Alpha state. > Press the key a second time to return to the normal state. Note 1: To reset the MC70, press and hold the power button for five (5) seconds. Note 2: Standard Capacity Battery and Door shown. Charging LED Download ActiveSync ® 4.0 or higher from http://www.microsoft.com and follow the instructions to install ActiveSync onto the host computer. 13 Battery Door 14 Door Latch 15 Handstrap 16 Handstrap Slot 17 Headset Jack 22 Scan/Action Button 23 Action Button 24 Back Housing Bracket 25 Memory Card Slot 18 Speaker 19 Scan Window (see Data Capture Options) 20 Stylus 21 Tether Point 17 13 18 20 25 14 14 15 16 19 23 24 22 21 MC 70 Quick Start Guide Magnetic Stripe Reader Cables Scanner Imager Window Scan Window Imager Imaging OPTIMUM SCANNING AND IMAGINGAVOID EXTREME WRIST ANGLES Memory Card Installation ACCESSORIESSUPPORT INFORMATION Scanning 0 1 2 3 4 50 1 2 3 4 50 1 2 3 4 50 1 2 3 4 5012345 � � � � � � 0 1 2 3 4 50 1 2 3 4 50 1 2 3 4 50 1 2 3 4 5 012345 � � � � � � 0 1 2 3 4 50 1 2 3 4 50 1 2 3 4 50 1 2 3 4 5012345 � � � � � � 0 1 2 3 4 50 1 2 3 4 50 1 2 3 4 50 1 2 3 4 5 012345 � � � � � � 0 1 2 3 4 50 1 2 3 4 50 1 2 3 4 50 1 2 3 4 5012345 � � � � � � Scanning/Imaging Charge in Cradle Spare Battery Charger 0 1 2 3 4 50 1 2 3 4 50 1 2 3 4 50 1 2 3 4 5012345 � � � � � � AVOID EXTREME WRIST ANGLES 72-71770-01 Rev A - November 2005 Snap-On Accessories SYMBOL TECHNOLOGIES, INC. One Symbol Plaza Holtsville, New York 11742-1300 DATA CAPTURE OPTIONS Flashing Amber: Battery charging Solid Amber: Battery fully charged Standard Capacity Battery: ~ 4 hoursExtended Capacity Battery: ~ 8 hours Flashing Amber: Battery charging Solid Amber: Battery fully charged © 2005 Symbol Technologies, Inc. More information on the MC70 Visit the Symbol Web site at http://www.symbol.com/mc70 Setting up and using the MC70 MC70 User Guide MC70 Integrator Guide Available at: http://www.symbol.com/mc70 Troubleshooting MC70 – MC70 User Guide Accessories – MC70 Integrator Guide Available at: http://www.symbol.com/mc70 Connecting and synchronizing with the host computer ActiveSync ® Help on the host computer. To view help, start ActiveSync ® , click Help - Microsoft ActiveSync Help. Information on using programs on the MC70 Tap Start – Help within the specific program. Service and Warranty MC70 Regulatory Guide Screen Protector Vehicle Cradle Trigger Handle SIM Card Installation (Located Under Battery) Use stylus to open door Lift door Place SIM card with contacts facing down Snap door closed 1 2 3 4 Symbol recommends the use of a screen protector to minimize wear and tear. Screen protectors enhance the usability and durability of touch screen displays. Benefits include: • Protection from scratches and gouges • Durable writing and touch surface with tactile feel • Abrasion and chemical resistance • Glare reduction • Keeping the device’s screen looking like new • Quick and easy installation. An initial screen protector is already applied to your MC70. Contact your local account manager or Symbol Technologies, Inc. for more information and purchasing details. Part number: KT-67525-01 Screen Protector 3/pk. Not using a screen protector can affect your warranty coverage. MC 70 Quick Start Guide http://www.symbol.com/mc70 Stylus
Users Manual
1 2 3 4 24hr* 7 334433 Follow the on-screen ActiveSync instructions to establish a connection between the MC70 and the host computer. Create a Partnership 5 1 2 4-Slot Cradle FEATURESKEYPADS Insert the Battery 1 Charge the MC70 2 Install ActiveSync ® 3 Communicate with Host 4 6 11 4 1-Slot Cradle Blinking Amber = Charging Charging LED Solid Amber = Fully Charged 5 1 2 12 3 7 3 4 3 2 5 1 2343 5 * It is recommended that this product be charged for 24 hours before the first use to ensure that the internal battery is fully charged. GETTING STARTED 8 (Note 1) 7 2 6 8 Fast Blinking Amber = Charging Error 9 10 9 Scan/Decode LED 10 Charging LED 11 Radio Status LED 12 Phone Speaker 5 Keypad 6 Scan/Action Button 7 Touch Screen (with screen protector) 8 Power Button 1 Scan/Action Button 2 Up/Down Button 3 Microphone 4 I/O Connector 8 6 1 Call 2 Soft Key 3 Navigation 4 Scan/Action Button 5 End Call 6 Orange Key 7 Backlight 8 Blue Key 9 OK 10 Phonepad 11 Menu 12 Start Menu 9 12 11 10 Blue Key Use this key to launch applications and select items (shown on the keypad in blue). > Press the key once to activate this mode followed by another key. Orange Key Use this key to access the secondary layer of characters and actions. > Press the key once to lock the keypad in the Alpha state. > Press the key a second time to return to the normal state. Note 1: To reset the MC70, press and hold the power button for five (5) seconds. Note 2: Standard Capacity Battery and Door shown. Charging LED Download ActiveSync ® 4.0 or higher from http://www.microsoft.com and follow the instructions to install ActiveSync onto the host computer. 13 Battery Door 14 Door Latch 15 Handstrap 16 Handstrap Slot 17 Headset Jack 22 Scan/Action Button 23 Action Button 24 Back Housing Bracket 25 Memory Card Slot 18 Speaker 19 Scan Window (see Data Capture Options) 20 Stylus 21 Tether Point 17 13 18 20 25 14 14 15 16 19 23 24 22 21 MC 70 Quick Start Guide Magnetic Stripe Reader Cables Scanner Imager Window Scan Window Imager Imaging OPTIMUM SCANNING AND IMAGINGAVOID EXTREME WRIST ANGLES Memory Card Installation ACCESSORIESSUPPORT INFORMATION Scanning 0 1 2 3 4 50 1 2 3 4 50 1 2 3 4 50 1 2 3 4 5012345 � � � � � � 0 1 2 3 4 50 1 2 3 4 50 1 2 3 4 50 1 2 3 4 5 012345 � � � � � � 0 1 2 3 4 50 1 2 3 4 50 1 2 3 4 50 1 2 3 4 5012345 � � � � � � 0 1 2 3 4 50 1 2 3 4 50 1 2 3 4 50 1 2 3 4 5 012345 � � � � � � 0 1 2 3 4 50 1 2 3 4 50 1 2 3 4 50 1 2 3 4 5012345 � � � � � � Scanning/Imaging Charge in Cradle Spare Battery Charger 0 1 2 3 4 50 1 2 3 4 50 1 2 3 4 50 1 2 3 4 5012345 � � � � � � AVOID EXTREME WRIST ANGLES 72-71770-01 Rev A - November 2005 Snap-On Accessories SYMBOL TECHNOLOGIES, INC. One Symbol Plaza Holtsville, New York 11742-1300 DATA CAPTURE OPTIONS Flashing Amber: Battery charging Solid Amber: Battery fully charged Standard Capacity Battery: ~ 4 hoursExtended Capacity Battery: ~ 8 hours Flashing Amber: Battery charging Solid Amber: Battery fully charged © 2005 Symbol Technologies, Inc. More information on the MC70 Visit the Symbol Web site at http://www.symbol.com/mc70 Setting up and using the MC70 MC70 User Guide MC70 Integrator Guide Available at: http://www.symbol.com/mc70 Troubleshooting MC70 – MC70 User Guide Accessories – MC70 Integrator Guide Available at: http://www.symbol.com/mc70 Connecting and synchronizing with the host computer ActiveSync ® Help on the host computer. To view help, start ActiveSync ® , click Help - Microsoft ActiveSync Help. Information on using programs on the MC70 Tap Start – Help within the specific program. Service and Warranty MC70 Regulatory Guide Screen Protector Vehicle Cradle Trigger Handle SIM Card Installation (Located Under Battery) Use stylus to open door Lift door Place SIM card with contacts facing down Snap door closed 1 2 3 4 Symbol recommends the use of a screen protector to minimize wear and tear. Screen protectors enhance the usability and durability of touch screen displays. Benefits include: • Protection from scratches and gouges • Durable writing and touch surface with tactile feel • Abrasion and chemical resistance • Glare reduction • Keeping the device’s screen looking like new • Quick and easy installation. An initial screen protector is already applied to your MC70. Contact your local account manager or Symbol Technologies, Inc. for more information and purchasing details. Part number: KT-67525-01 Screen Protector 3/pk. Not using a screen protector can affect your warranty coverage. MC 70 Quick Start Guide http://www.symbol.com/mc70 Stylus
Users Manual
Chapter 3 Using Bluetooth Chapter 3 Using Bluetooth Introduction Bluetooth-equipped devices can communicate without wires, using frequency-hopping spread spectrum (FHSS) radio frequency (RF) to transmit and receive data in the 2.4 GHz Industry Scientific and Medical (ISM) band (802.15.1). Bluetooth wireless technology is specifically designed for short-range (30 feet/10 meters) communication and low power consumption. EDAs with Bluetooth capabilities can exchange information (e.g., files, appointments, and tasks) with other Bluetooth enabled devices such as phones, printers, access points, and other mobile computers. To use the Bluetooth phone as a modem, create a dial-up modem connection between the Bluetooth mobile computer and a Bluetooth enabled phone. Symbol mobile computers with Bluetooth technology use the StoneStreet Bluetooth stack. To program Bluetooth within the EDA refer to the Microsoft Embedded Visual C++ help. Adaptive Frequency Hopping Adaptive Frequency Hopping (AFH) is a method of avoiding fixed frequency interferers, and can be used with Bluetooth voice. All devices in the piconet (Bluetooth network) must be AFH-capable in order for AFH to work. There is no AFH when connecting and discovering devices. Avoid making Bluetooth connections and discoveries during critical 802.11b communications. AFH for Bluetooth consists of four main sections: •Channel Classification - A method of detecting an interference on a channel-by-channel basis, or pre-defined channel mask. •Link Management - Coordinates and distributes the AFH information to the rest of the Bluetooth network. •Hop Sequence Modification - Avoids interference by selectively reducing the number of hopping channels. •Channel Maintenance - A method for periodically re-evaluating the channels. When AFH is enabled, the Bluetooth radio “hops around” (instead of through) the 802.11b high-rate channels. AFH coexistence allows Symbol mobile computers to operate in any infrastructure. The Bluetooth radio in this EDA operates as a Class 2 device power class. The maximum output power is 2.5mW and the expected range is 32.8 feet (10 meters). A definition of ranges based on power class is difficult to obtain due to power and device differences, and whether one measures open space or closed office space. NOTEIt is not recommended to perform Bluetooth wireless technology inquiry when high rate 802.11b operation is required. PRELIMINARY 10/20/06 3 - 2MC70 User Guide Security The current Bluetooth specification defines security at the link level. Application-level security is not specified. This allows application developers to define security mechanisms tailored to their specific need. Link-level security occurs between devices, not users, while application-level security can be implemented on a per-user basis. The Bluetooth specification defines security algorithms and procedures needed to authenticate devices, and if needed, encrypt the data flowing on the link between the devices. Device authentication is a mandatory feature of Bluetooth while link encryption is optional. Pairing of Bluetooth devices is accomplished by creating an initialization key that is used to authenticate the devices and create a link key for them. Entering a common PIN number in the devices being paired generates the initialization key. The PIN number is never sent over the air. By default, the Bluetooth stack responds with no key when a key is requested (it is up to user to respond to the key request event). Authentication of Bluetooth devices is based-upon a challenge-response transaction. Bluetooth allows for a PIN number or passkey that is used to create other 128-bit keys used for security and encryption. The encryption key is derived from the link key used to authenticate the pairing devices. Also worthy of note is the limited range and fast frequency hopping of the Bluetooth radios that makes long-distance eavesdropping difficult. Recommendations are: •Perform pairing in a secure environment •Keep PIN codes private and don't store the PIN codes in the mobile computer •Implement application-level security. Turning the Bluetooth Radio Mode On and Off Turn off the Bluetooth radio to save power or if entering an area with radio restrictions (e.g., an airplane). When the radio is off, other Bluetooth devices cannot see or connect to the EDA. Turn on the Bluetooth radio to exchange information with other Bluetooth devices (within range). Communicate only with Bluetooth radios in close proximity. NOTETo achieve the best battery life in EDAs with multiple radios, turn off radios not in use. PRELIMINARY 10/20/06 Using Bluetooth3 - 3 Disabling Bluetooth To disable Bluetooth, tap Bluetooth icon - Disable Bluetooth. The Bluetooth icon changes to indicate that Bluetooth is disabled. Figure 3-1 Disable Bluetooth Enabling Bluetooth To enable Bluetooth, tap Bluetooth icon - Enable Bluetooth. The Bluetooth icon changes to indicate that Bluetooth is enabled. Figure 3-2 Enable Bluetooth Bluetooth Power States Cold Boot Performing a cold boot on the EDA turns off Bluetooth after initialization (which takes a few moments). It is normal to see the Bluetooth icon appear and disappear, as well as a wait cursor, when initialization proceeds in all modes. PRELIMINARY 10/20/06 3 - 4MC70 User Guide Warm Boot Performing a warm boot on the EDA returns Bluetooth to the last state after initialization. Suspend Suspending the EDA turns off Bluetooth. Resume When the EDA resumes, Bluetooth turns on if it was on prior to suspend. Modes The BTExplorer application has two mode for managing Bluetooth connections: Wizard Mode and Explorer Mode. The Wizard Mode is for novice Bluetooth users and the Explorer Mode is for experienced Bluetooth users. To switch between modes, select View - Wizard Mode or View - Explorer Mode. Wizard Mode Wizard Mode provides a simple process for discovering and connecting to Bluetooth devices. The following steps provide an example for using the Wizard to con…
Text truncated - open the document above for the full version.
Users Manual
Chapter 4 Using the MC7004/94/95 Phone Chapter 4 Using the MC7004/94/95 Phone Introduction Use the MC7004, MC7094 and MC7095 phone to make phone calls, set up speed dials, keep track of calls, and send text messages. Your wireless service provider may also provide other services such as voice mail, call forwarding, and caller ID. Also use the integrated phone to connect to an ISP or work network in order to browse the Web and read e-mail. Connect to the Internet or work network over GPRS (MC7004 and MC7094) or CDMA (MC7095) using Cellular Line, or using the modem specified by the mobile operator. For more information, or to customize the EDA phone by changing phone settings, see the MC70 Integrator Guide. Accessing the Phone Keypad Access the keypad regardless of the program in use. Applications on the EDA can be in use during a call. Figure 4-1 Phone Keypads To access the phone keypad tap Start > Phone or press the green phone key on the EDA’s keypad. To receive calls when the EDA is suspended, leave the phone radio turned on and ensure the EDA is set to wake with any key. Antenna/Signal NOTEKeypads vary depending on services and the state of the phone. For example, place calls on hold and use Swap to switch active calls on hold. (See Three-way or Conference Calling on page 4-14.) PRELIMINARY 10/20/06 4 - 2MC70 User Guide Making a Call Using the Keypad Dial phone calls from the phone keypad using speed dial or from call history. The most direct method is using the phone keypad. To make a call using the phone keypad: 1.Ta p Start > Phone or press the green phone key on the EDA’s keypad. 2.From the Phone keypad, tap the number to call. 3.Ta p Talk. 4.Ta p End to stop dialing or end the call. Turning the Phone On and Off With AKU 1.1 (Flight Mode) You can turn the phone on and off while keeping the EDA turned on. The phone is turned off when it is in flight mode. To turn the phone on, tap the Signal icon > Turn off flight mode. To turn the phone off, tap the Signal icon > Turn on flight mode. Figure 4-2 Turning Flight Mode On and Off With AKU 2.2 or Higher Windows Mobile 5.0 devices with AKU 2.2 or higher include Wireless Manager, which provides a simple method of enabling and disablingthe phone. NOTEAlternatively, use the green and red phone keys on the EDA keypad to dial (green) and end (red) calls. NOTETo receive calls when your device is turned off, leave the phone turned on. Signal Icon PRELIMINARY 10/20/06 Using the MC7004/94/95 Phone4 - 3 To open Wireless Manager, tap the Connectivity icon. Figure 4-3 Opening Wireless Manager Select Wireless Manager. The Wireless Manager window appears. Figure 4-4 Wireless Manager To turn on or off the phone tap and hold its blue bar, then select On or Off. To configure settings for a connection, tap Menu > Phone Settings. Answering a Call A dialog box appears on the EDA when it receives an incoming call. If the phone is set to ring, a ring tone sounds. Answer or ignore the incoming call. To answer an incoming call tap Answer on the Phone > Incoming... dialog or press the green phone key on the EDA keypad. NOTETo receive calls when your device is turned off, leave the phone turned on. PRELIMINARY 10/20/06 4 - 4MC70 User Guide Figure 4-5 Incoming Call To ignore the incoming call tap Ignore. This may send the caller to voice mail, depending on the service provider. Otherwise, this presents Busy to the calling party. To end the call tap End or press the red phone key on the EDA keypad. Audio Modes The EDA offers three audio modes to use during phone calls: •Speaker Mode: Use the EDA as if on speaker phone. Tap the Speaker On button to activate this mode. •Receiver/Handset Mode: Switches audio to the speaker at the top front of the EDA, so you can use the EDA as a handset. To select this mode, tap Speaker Off. •Headset Mode: Connect a headset to the headset jack to automatically switch audio to the headset. Figure 4-6 Speaker Button Incoming Call Features •If you receive a call while in a call, tap Wait to place the call in call waiting. •You can use other programs on the EDA during a call. To switch back to Phone, tap Talk or tap Start > Phone. Tap End to end the call. •If a caller isn't in your contact list, create a contact during the call or from Call History by tapping Menu > Save to Contacts. •To terminate a call when a second call comes in and answer the waiting call, tap End on the Phone keypad to disconnect the active call, then tap Answer or press the Send key to answer the waiting call. •To hold the current call and answer a waiting call, tap Answer or press the Send key to place the current call on hold and answer the incoming call. PRELIMINARY 10/20/06 Using the MC7004/94/95 Phone4 - 5 •To put a call on hold to call another number or answer an incoming call, tap Hold. To move from one call to another, tap Swap. Muting a Call During a call, you can mute the microphone so you can hear the person on the line but he or she cannot hear conversation from the microphone. This is useful when there is conversation or background noise on your end. To mute or unmute a call: 1.Ta p Start > Phone or press the green phone key on the EDA’s keypad. 2.Ta p Mute on the display to mute audio. The Mute icon appears. Figure 4-7 Mute Button and Icon Mute Icon PRELIMINARY 10/20/06 4 - 6MC70 User Guide Taking Notes To create a note during a call, tap Note on the display, then enter the note. For more information about creating notes see the Windows On-Device Help. To access a note created during a call: 1.Ta p Start > Phone or press the green phone key on the EDA’s keypad. 2.From the Phone keypad, tap Call History. 3.Tap and hold the number or the Note icon for the phone call entry containing the note. Figure 4-8 Call History - Notes Menu 4.Ta p View Note. Figure 4-9 Call History - Notes 5.Ta p ok to exit. Note icon NOTEAlso access notes directly from the Notes application by tapping Start > Notes. PRELIMINARY 10/20/06 Using the MC7004/94/95 Phone4 - 7 Using Speed…
Text truncated - open the document above for the full version.
Users Manual
Chapter 7 Wireless Applications Chapter 7 Chapter 7 Wireless Applications Introduction Wireless Local Area Networks (LANs) allow mobile computers to communicate wirelessly and send captured data to a host device in real time. Before using the EDA on a WLAN, the facility must be set up with the required hardware to run the wireless LAN and the EDA must be configured. Refer to the documentation provided with the access points (APs) for instructions on setting up the hardware. To configure the EDA, a set of wireless applications provide the tools to configure and test the wireless radio in the EDA. The Wireless Application menu on the task tray provides the following wireless applications: •Wireless Status •Wireless Diagnostics •Find WLANs •Manage Profiles •Options •Enable/Disable Radio •Log On/Off. Tap the Signal Strength icon to display the Wireless Applications menu. Figure 7-1 Wireless Applications Menu PRELIMINARY 10/20/06 7 - 2MC70 Integrator Guide Signal Strength Icon The Signal Strength icon in the task tray indicates the EDA’s wireless signal strength as follows: Turning the WLAN Radio On and Off To turn the WLAN radio off tap the Signal Strength icon and select Disable Radio. Figure 7-2 Disable Radio Table 7-1 Wireless Applications Icons, Signal Strength Descriptions IconStatusAction Excellent signal strengthWireless LAN network is ready to use. Very good signal strengthWireless LAN network is ready to use. Good signal strengthWireless LAN network is ready to use. Fair signal strengthWireless LAN network is ready to use. Notify the network administrator that the signal strength is only “Fair”. Poor signal strengthWireless LAN network is ready to use. Performance may not be optimum. Notify the network administrator that the signal strength is “Poor”. Out-of-network range (not associated) No wireless LAN network connection. Notify the network administrator. No wireless LAN network card detected No wireless LAN network card detected or radio disabled. Notify the network administrator. PRELIMINARY 10/20/06 Wireless Applications7 - 3 To turn the WLAN radio on tap the Signal Strength icon and select Enable Radio. Figure 7-3 Enable Radio Find WLANs Application Use the Find WLANs application to discover available networks in the vicinity of the user and EDA. To open the Find WLANs application, tap the Signal Strength icon - Find WLANs. The Find WLANs window displays. Figure 7-4 Find WLANs Window The Find WLANs list displays: •WLAN Networks - Available wireless networks with icons that indicate signal strength and encryption type. The signal strength and encryption icons are described in Table 7-2 and Table 7-3. •Network Type - Type of network. •Channel - Channel on which the AP is transmitting. •Signal Strength - The signal strength of the signal from the AP. NOTE The Find WLANs display is limited to 32 items (ESSIDs or MAC addresses). A combination of up to 32 ESSIDs/APs may be displayed…
Text truncated - open the document above for the full version.
Contact Information
Applicant
Qianlin Zhou(Regulatory Specialist)
Technical Contact
Advance Data Technology CorporationGary Chang
[email protected]886-3-3183232
No. 19, Hwa Ya 2nd Rd., Kwei Shan Hsiang · Taoyuan Hsien · Taiwan
Non-Technical Contact
Advance Data Technology CorporationEllis Wu
[email protected]886-3-3183232
Test Firm
Bureau Veritas CPS (H.K.) Ltd. Taoyuan BranchRichard Chen
Technical Specifications
| # | Rule Parts | Frequency Range | Power Output |
|---|---|---|---|
| 2 | 15C | 5.75 GHz - 5.83 GHz | 56.00 mW |
Other Applications from Symbol Technologies Inc

H9PCCHUB1
Jun 30, 2015Customer Concierge
Equipment Class
NII - Unlicensed National Information Infrastructure TX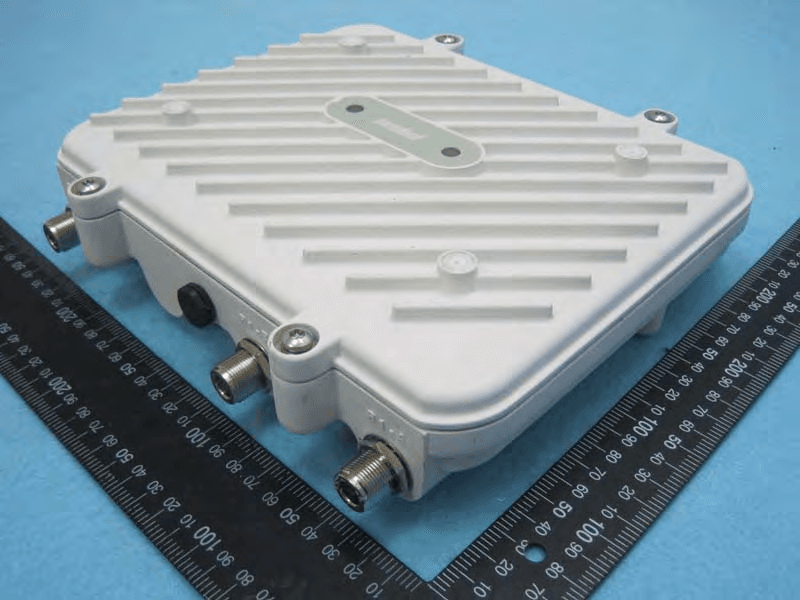
H9PAP7562
May 10, 2015802.11 abgn/ac Access Point
Equipment Class
DTS - Digital Transmission System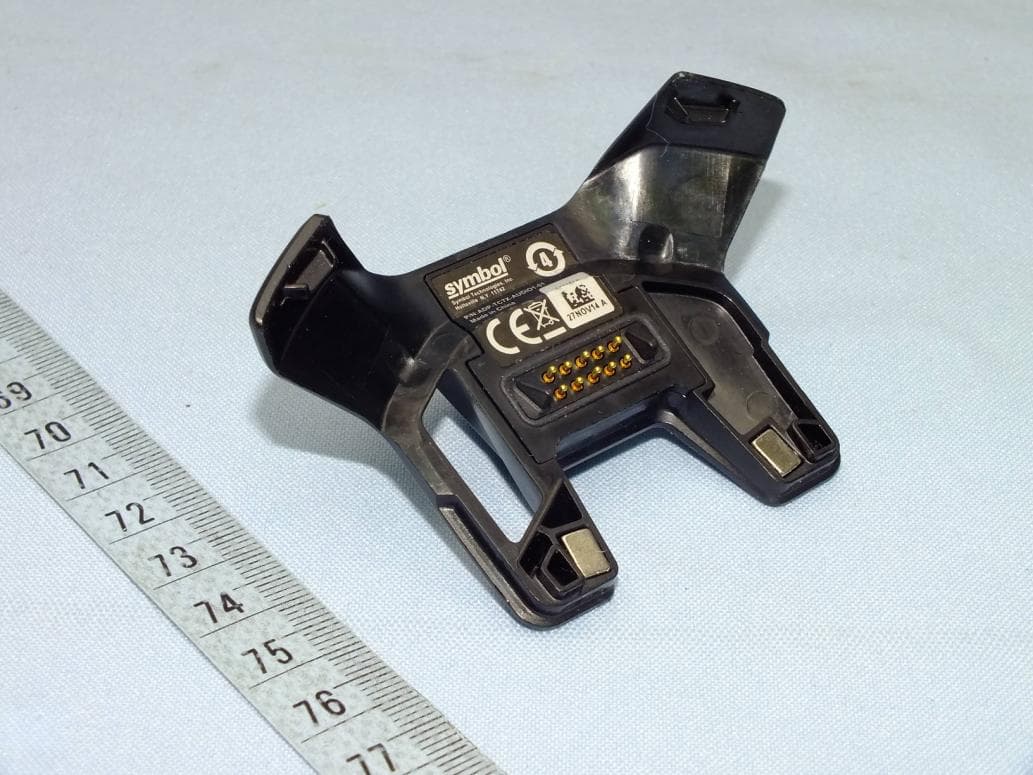
H9PTC75AH
Mar 26, 2015Touch Computer
Equipment Class
NII - Unlicensed National Information Infrastructure TX
H9PRA1202
Sep 24, 2014UHF Narrowband Radio Module
Equipment Class
TNB - Licensed Non-Broadcast Station Transmitter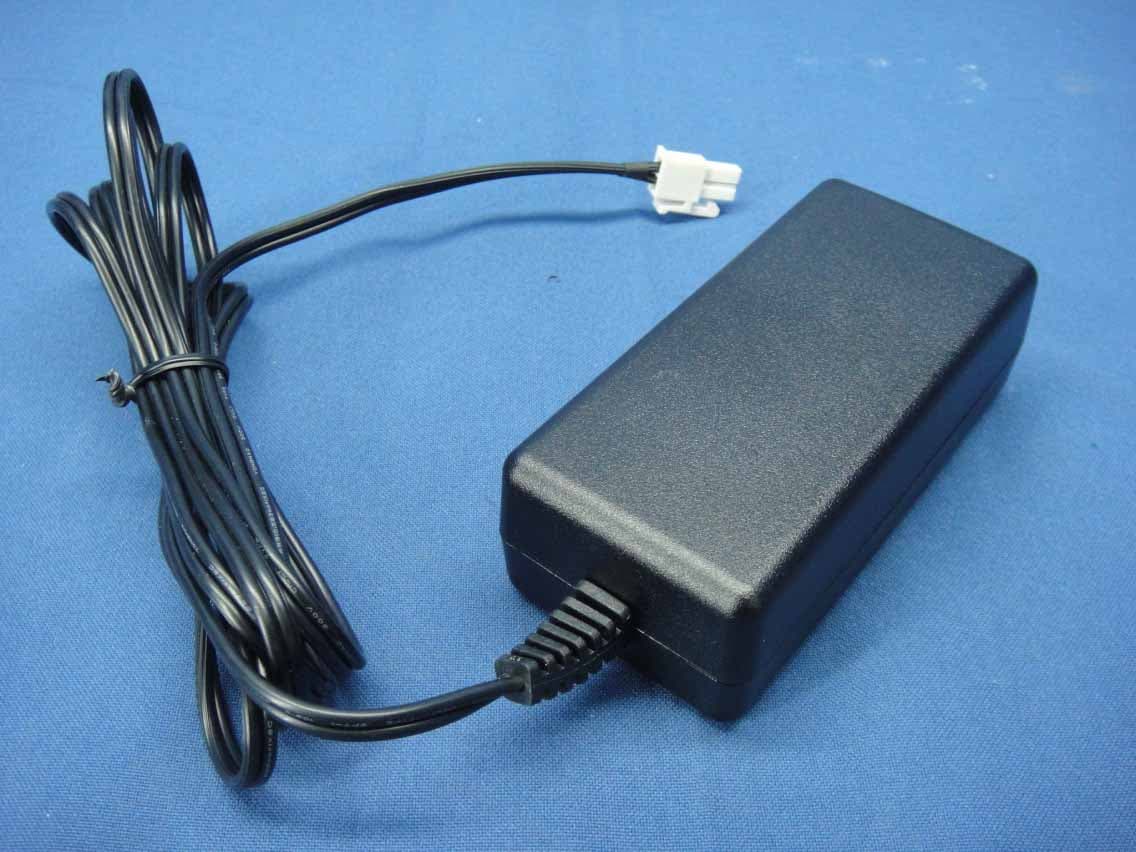
H9PEMG101
Aug 26, 2014802.15.4 Gateway
Equipment Class
DTS - Digital Transmission System