I28-640I-UHFcard Printer
Zebra Technologies Corporation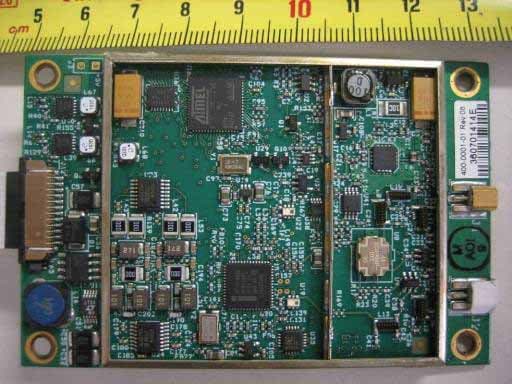
Click to zoom
Application Details
- Equipment Class
- DSS - Part 15 Spread Spectrum Transmitter
- Date of Grant
- Dec 27, 2009
- Application Purpose
- Original Equipment
- Date of Application
- Dec 27, 2009
- Equipment Note
- card Printer
- Frequency Range
- 902.75000000 - 927.25000000
- Country
- United States
Documents & Files
Document Text
Text extracted from the exhibit documents filed with the FCC. Open a document above to read the original.
Users Manual
980541-003 Rev. B Zebra P630i & P640i Card Printer User’s Manual Cover Copyright Notice © 2008 ZIH Corp. This document contains information proprietary to Zebra Technologies Corporation. This document and the information contained within is Copyrighted by Zebra Technologies Corporation and may not be duplicated in full or in part by any person without written approval from Zebra. While every effort has been made to keep the information contained within current and accurate as of the date of publication, no guarantee is given that the document is error-free or that it is accurate with regard to any specification. Zebra reserves the right to make changes, for the purpose of product improvement, at any time. Trademarks P630i and P640i are trademarks and Zebra is a registered trademark of Zebra Technologies Corporation. Windows is a registered trademark of Microsoft Corporation in the United States and other countries. All other trademarks or registered trademarks are marks of their respective holders. Product Disposal Product Disposal Information • Do not dispose of this product in unsorted municipal waste. This product is recyclable, and should be recycled according to your local standards. For more information, please see our web site at: http://www.zebra.com/environment 980541-003 Rev. B Zebra P630i & P640i Card Printer User’s Manual iii Contents 1 • Introduction. . . . . . . . . . . . . . . . . . . . . . . . . . . . . . . . . . . . . . . . . . . . . . . . . . . . . 1 Part Numbers . . . . . . . . . . . . . . . . . . . . . . . . . . . . . . . . . . . . . . . . . . . . . . . . . . . . . . . . . . . . . . . 2 Printer Features . . . . . . . . . . . . . . . . . . . . . . . . . . . . . . . . . . . . . . . . . . . . . . . . . . . . . . . . . . . . . 3 Controls and Indicators . . . . . . . . . . . . . . . . . . . . . . . . . . . . . . . . . . . . . . . . . . . . . . . . . . . . . . . . 4 Control Panel Buttons. . . . . . . . . . . . . . . . . . . . . . . . . . . . . . . . . . . . . . . . . . . . . . . . . . . . . .4 Icons . . . . . . . . . . . . . . . . . . . . . . . . . . . . . . . . . . . . . . . . . . . . . . . . . . . . . . . . . . . . . . . . . . . . . . 8 2 • Installation. . . . . . . . . . . . . . . . . . . . . . . . . . . . . . . . . . . . . . . . . . . . . . . . . . . . . . 9 Introduction . . . . . . . . . . . . . . . . . . . . . . . . . . . . . . . . . . . . . . . . . . . . . . . . . . . . . . . . . . . . . . . . . 9 Installation Procedure . . . . . . . . . . . . . . . . . . . . . . . . . . . . . . . . . . . . . . . . . . . . . . . . . . . . . . . . . 9 Removing the Printer from the Shipping Carton . . . . . . . . . . . . . . . . . . . . . . . . . . . . . . . . . . 9 Removing the Shipping Tape . . . . . . . . . . . . . . . . . . . . . . . . . . . . . . . . . . . . . . . . . . . . . . . 12 Attaching the Output Hopper . . . . . . . . . . . . . . . . . . . . . . . . . . . . . . . . . . . . . . . . . . . . . . . 13 Attaching the Ribbon Take-Up Spool . . . . . . . . . . . . . . . . . . . . . . . . . . . . . . . . . . . . . . . . . 14 Installing the Ribbon . . . . . . . . . . . . . . . . . . . . . . . . . . . . . . . . . . . . . . . . . . . . . . . . . . . . . .15 Installing the Cleaning Cassette . . . . . . . . . . . . . . . . . . . . . . . . . . . . . . . . . . . . . . . . . . . . . 17 Loading the Laminate . . . . . . . . . . . . . . . . . . . . . . . . . . . . . . . . . . . . . . . . . . . . . . . . . . . . . 18 Removing the Laminate Cassette(s) . . . . . . . . . . . . . . . . . . . . . . . . . . . . . . . . . . . . . . . . . 19 Loading the Laminate Cassette(s) . . . . . . . . . . . . . . . . . . . . . . . . . . . . . . . . . . . . . . . . . . . 21 Laminating Contact Smart Cards . . . . . . . . . . . . . . . . . . . . . . . . . . . . . . . . . . . . . . . . . . . . 23 Using Partial-Width Laminate . . . . . . . . . . . . . . . . . . . . . . . . . . . . . . . . . . . . . . . . . . . . . . . 24 Installing the Laminator Cassette(s) . . . . . . . . . . . . . . . . . . . . . . . . . . . . . . . . . . . . . . . . . . 26 Clearing the Laminate Channels . . . . . . . . . . . . . . . . . . . . . . . . . . . . . . . . . . . . . . . . . . . . 27 Loading Cards . . . . . . . . . . . . . . . . . . . . . . . . . . . . . . . . . . . . . . . . . . . . . . . . . . . . . . . . . .28 Connecting Power . . . . . . . . . . . . . . . . . . . . . . . . . . . . . . . . . . . . . . . . . . . . . . . . . . . . . . . 30 Connecting the Printer to your Computer . . . . . . . . . . . . . . . . . . . . . . . . . . . . . . . . . . . . . . 31 3 • Printer Driver Installation. . . . . . . . . . . . . . . . . . . . . . . . . . . . . . . . . . . . . . . . . 33 Overview . . . . . . . . . . . . . . . . . . . . . . . . . . . . . . . . . . . . . . . . . . . . . . . . . . . . . . . . . . . . . . . . . . 33 Installing the USB Printer Driver . . . . . . . . . . . . . . . . . . . . . . . . . . . . . . . . . . . . . . . . . . . . . . . .34 Installing the Ethernet Printer Driver . . . . . . . . . . . . . . . . . . . . . . . . . . . . . . . . . . . . . . . . . . . . .40 ivZebra P630i & P640i Card Printer User’s Manual 980541-003 Rev. B Contents 4 • Settings and Adjustments . . . . . . . . . . . . . . . . . . . . . . . . . . . . . . . . . . . . . . . . 47 Introduction . . . . . . . . . . . . . . . . . . . . . . . . . . . . . . . . . . . . . . . . . . . . . . . . . . . . . . . . . . . . . . . . 47 Sensors and Interlock Switches . . . . . . . . . . . . . . . . . . . . . . . . . . . . . . . . . . . . . . . . . . . . . . . . 48 Printer Properties . . . . . . . . . . . . . . . . . . . . . . . . . . . . . . . . . . . . . . . . . . . . . . . . . . . . . . . . . . . 50 General Tab . . . . . . . . . . . . . . . . . . . . . . . . . . . . . . . . . . . . . . . . . . . . . . . . . . . . . . . . . . . . 51 Sharing Tab. . . . . . . . . . . . . . . . . . . . . . . . . . . . . . . . . . . . . . . . . . . . . . . . . . . . . . . . . . . . . 52 Ports Tab. …
Text truncated - open the document above for the full version.
Users Manual
14Zebra P630i & P640i Card Printer User’s Manual 980541-003 Rev. B Installation Installation Procedure Attaching the Ribbon Take-Up Spool Step 1.Attach the Ribbon Take-Up Spool by sliding it onto the Ribbon Take-Up Spindle and pressing it straight back until in clicks into place. The two figures below show the right and wrong ways to insert the printing ribbon on either spindle. Important • Make sure that the Ribbon Take-Up Spool is attached with its “toothed” end toward the rear of the printer. Right way: the clip is OVER the core.Wrong way: the core is not pushed fully against the back side, resulting in a Y border on the printed cards. Installation Installation Procedure 980541-003 Rev. BZebra P630i & P640i Card Printer User’s Manual 15 Installing the Ribbon i Series Printers require the use of i Series ribbons for full color printing. These Resin Thermal Transfer and Dye Sublimation ribbons are specifically designed for the i Series Printers. Step 1.Open the printer Main Cover. The printhead will raise for easy ribbon loading. Step 2.If present, remove the used Supply and Take-Up Spools. Step 3.Remove the ribbon from its packaging. Remove the tape that holds the end of the ribbon (save this tape; it will be used shortly). Step 4.Install the Ribbon on the left (supply) spindle, with the free end of the ribbon coming from the roll pointing down to your right. Note • In normal printer operation, when the ribbon is exhausted, a warning message appears on the monitor and the MEDIA indicator on the printer lights. Note • Note that the “flanged” end of the ribbon spool is toward the rear of the printer, and make sure the internal grooves on the core engage the teeth on the supply spindle. 16Zebra P630i & P640i Card Printer User’s Manual 980541-003 Rev. B Installation Installation Procedure Step 5.Route the Ribbon as shown in the figure below. The Ribbon Supply Spindle is free- wheeling; pull ribbon off it as needed. If the tape removed from the new ribbon in step 3 is undamaged, use it to attach the end of the ribbon to the Take-Up Spool; otherwise use other adhesive-backed tape. Step 6.Close the printer Main Cover. Press the RIBBON button on the Control Panel to synchronize the color ribbon. If the MEDIA light fails to go out, check the Ribbon Sensor. Step 7.Re-open the printer cover to inspect the ribbon path for wrinkles and folds. Correct if necessary, then close the cover. If you do not then hear the ribbon motor advancing the ribbon, press the RIBBON button. Important • When the end of the ribbon is attached to the Take-Up Spool, slack in the ribbon can be taken up by rotating the Ribbon Supply Spool; do not try to turn the Take-Up Spool. 1. Pass the ribbon over the round guide bar 2. Ribbon goes through the Sensor 3. Ribbon goes under the Printhead 4. Run the ribbon up and to the right, around the spool Ensure the ribbon is centered on the spool Attach the ribbon with tape Caution • Color ribbon wrinkling and “fold-over” can seriously affect print quality Installation Installation Procedure 980541-003 Rev. BZebra P630i & P640i Card Printer User’s Manual 17 Installing the Cleaning Cassette Before being printed, each surface of the card is cleaned by a soft tacky roller that is itself cleaned periodically by adhesive tape in the Cleaning Cassette. By default, the roller is cleaned every 10 cards. The printer driver software allows the card count to be modified. By cleaning the roller every 10 cards, the Cleaning Cassette contains sufficient tape for 3,000 cards. Step 1.Open the main cover of the printer. Step 2.If present, remove the used Cleaning Cassette. Step 3.Remove the Cleaning Cassette from its packaging. Step 4.Remove the protective foil from the Cleaning Cassette. Avoid touching the exposed tacky surface. Step 5.Install the Cleaning Cassette on the printer by locating the rectangular pin on the cleaning mechanism in the receptacle on the cassette. Push the cassette gently home, ensuring that the internal grooves on the upper spool engage the teeth on the take-up drive; you will hear a click when it is fully engaged. Note that you may need to move the take up side of the cleaning tape assembly to allow for full engagement. 18Zebra P630i & P640i Card Printer User’s Manual 980541-003 Rev. B Installation Installation Procedure Loading the Laminate The Laminate (laminating film) is loaded into cassettes to protect it from dirt or other contaminants. See the figure below. The “Upper Laminate Cassette”, used on both the P630i and P640i Printers, has a label with the word “UPPER” and another “label” of a red dot. The “Lower Laminate Cassette”, used only on the P640i Printer, has a label with the word “LOWER” and another “label” of a yellow dot. Note • In this description of loading laminate, references to the lower Laminate Cassette apply only to the P640i Printer. The P640i Printer can apply laminate to both surfaces of the card; the P630i Printer only to the upper surface. “Lower Laminate Cassette” (P640i only) “Upper Laminate Cassette” (P630i and P640i) Installation Installation Procedure 980541-003 Rev. BZebra P630i & P640i Card Printer User’s Manual 19 Removing the Laminate Cassette(s) Step 1.The Laminate Cassette(s) (Upper only for the P630i Printer; Upper and Lower for the P640i) are held in position by latch plates. The Upper Cassette is freed by turning its Latch Plate counter-clockwise to a full vertical position; the Lower Cassette (only present on the P640i Printer) is freed by turning its Latch Plate clockwise. Then pull the cassette straight out from its holder. Lower Laminate Cassette Latch Plate (P640i only) Upper Laminate Cassette Latch Plate (P630i and P640i) Heater Cores area Hot Surface • If the printer has been in use, the Heater Cores area of the Laminator may be hot. Important • If either Latch Plate is opened, even unintentionally, the corresponding Cassette must be removed and the Laminate reeled in. Caution • If you feel resistance when removing the cassette,…
Text truncated - open the document above for the full version.
Users Manual
34Zebra P630i & P640i Card Printer User’s Manual 980541-003 Rev. B Printer Driver Installation Installing the USB Printer Driver Installing the USB Printer Driver Step 1.If not already done, connect power to the printer (see Page 30), and connect the USB port on the rear of the printer to the computer’s USB port (see Page 31). Step 2.Turn the Printer on, and let it initialize until the READY LED on the front panel is lit. Step 3.Insert the User Documentation, Drivers, and Training CD into the CD drive of the host computer. The Select Language window will open. Step 4.From the Select Language window, choose the appropriate language for your system. Note • To install the Ethernet driver, see Page 40. Printer Driver Installation Installing the USB Printer Driver 980541-003 Rev. BZebra P630i & P640i Card Printer User’s Manual 35 Step 5.The Main Menu will open in the selected language (English shown below). Step 6.From the Main Menu, click Install Printer Driver. Step 7.If an older P630i or P640i Printer and Driver is installed on your computer, the following window will be displayed; otherwise go to Step 8. Follow the screen prompts. At the end of the uninstall process, you will be asked to re-boot your computer. Re-boot your computer, and start over with Step 1. If the computer enters the Found New Hardware Wizard at this time, cancel this Wizard. 36Zebra P630i & P640i Card Printer User’s Manual 980541-003 Rev. B Printer Driver Installation Installing the USB Printer Driver Step 8.The InstallShield Wizard window will open. To proceed with the installation, click the Next button. Step 9.Select Install USB printer drivers, and click the Next button. Step 10.At this point, turn off your printer; and then click the OK button. Printer Driver Installation Installing the USB Printer Driver 980541-003 Rev. BZebra P630i & P640i Card Printer User’s Manual 37 Step 11.This will bring up the End User License Agreement. To proceed with the installation, select the I accept the terms of the license agreement option, and then click the Nextbutton. Step 12.This will bring up the Choose Destination Location window. If necessary, make any changes; and then click the Next button. 38Zebra P630i & P640i Card Printer User’s Manual 980541-003 Rev. B Printer Driver Installation Installing the USB Printer Driver Step 13.This will bring up the Select Program Folder window. Select the desired Program Folder; and then click the Next button. Step 14.This will bring up the Ready to Install the Program window. To continue, click the Install button. Step 15.Observe the Setup Status window. Printer Driver Installation Installing the USB Printer Driver 980541-003 Rev. BZebra P630i & P640i Card Printer User’s Manual 39 Step 16.When the Congratulations window appears, click the Next button. Step 17.When the InstallShield Wizard Complete window appears, click the Finish button. Step 18.At this point, turn on your printer; and then click the OK button. Step 19.This completes USB driver installation. To use the P630i or P640i Printer, you would select it just like you would any other printer connected to a Windows system. 40Zebra P630i & P640i Card Printer User’s Manual 980541-003 Rev. B Printer Driver Installation Installing the Ethernet Printer Driver Installing the Ethernet Printer Driver Step 1.If not already done, connect power to the printer (see Page 30), and connect the Ethernet Port on the rear of the printer to an Ethernet Network Port (see Page 31). Step 2.Turn the Printer on, and let it initialize until the READY LED on the front panel is lit. Step 3.Insert the User Documentation, Drivers, and Training CD into the CD drive of the host computer. The Select Language window will open. Step 4.From the Select Language window, choose the appropriate language for your system. Note • To install the USB driver, see Page 34. Important • The Ethernet Network must be configured correctly, with the Printer and the host computer on the same subnet mask. If you are not sure how to verify this or change the configuration, consult someone knowledgeable on Ethernet Networks. Important • A valid static IP address must be assigned to the printer. Important • See Section 7 for system-related troubleshooting issues. Printer Driver Installation Installing the Ethernet Printer Driver 980541-003 Rev. BZebra P630i & P640i Card Printer User’s Manual 41 Step 5.The Main Menu will open in the selected language (English shown below). Step 6.From the Main Menu, click Install Printer Driver. Step 7.If an older P630i or P640i Printer and Driver is installed on your computer, the following window will be displayed; otherwise go to Step 8. Follow the screen prompts. At the end of the uninstall process, you will be asked to re-boot your computer. Re-boot your computer, and start over with Step 1. If the computer enters the Found New Hardware Wizard at this time, cancel this Wizard. 42Zebra P630i & P640i Card Printer User’s Manual 980541-003 Rev. B Printer Driver Installation Installing the Ethernet Printer Driver Step 8.The InstallShield Wizard window will open. To proceed with the installation, click the Next button. Step 9.Select Install ethernet printer drivers, and click the Next button. Printer Driver Installation Installing the Ethernet Printer Driver 980541-003 Rev. BZebra P630i & P640i Card Printer User’s Manual 43 Step 10.This will bring up the End User License Agreement. To proceed with the installation, select the I accept the terms of the license agreement option, and then click the Nextbutton. Step 11.This will bring up the Choose Destination Location window. If necessary, make any changes; and then click the Next button. 44Zebra P630i & P640i Card Printer User’s Manual 980541-003 Rev. B Printer Driver Installation Installing the Ethernet Printer Driver Step 12.This will bring up the Select Program Folder window. Select the desired Program Folder; and then click the Next button. Step 13.This will bring up the Ready to Install the Program win…
Text truncated - open the document above for the full version.
Users Manual
74Zebra P630i & P640i Card Printer User’s Manual 980541-003 Rev. B 980541-003 Rev. BZebra P630i & P640i Card Printer User’s Manual 75 5 Printer Operation Printing requires the Windows printer driver and your card design/issuing software or printer command-level programming through the printer interface. P630i & P640i Printers can be used with any Windows 2000 or Windows XP software application program, using the drivers provided on CD with the printer. Refer to Section 3 for instructions on installing the Printer Driver. i Series Printers require the use of i Series ribbons for full color printing. These Resin Thermal Transfer and Dye Sublimation ribbons are specifically designed for the i Series Printers 76Zebra P630i & P640i Card Printer User’s Manual 980541-003 Rev. B Printer Operation Creating a Sample Card Creating a Sample Card Before you begin a new printing session, print a sample card to ensure that the cards will be printed correctly. Follow the steps below to create your first card: 1.Open a new Microsoft Word document. 2.If the Card Printer was not selected as the default printer, go to File > Print; and choose Zebra Card Printer from the printer names list; e.g., Zebra P640i. 3.Click the Close button. 4.Go to File > Page Setup. 5.Select the Paper Tab (above left); and under Paper Size, choose CR-80 Standard. 6.Select the Margins Tab (above right); and under Margins, set Top = 0.1", Bottom = 0.2", Left = 0.2 ", and Right = 0.1". 7.Under Orientation, select Landscape or Portrait. 8.Click on OK. 9.View the blank Microsoft Word document (2.13" x 3.37"). 10.Design a card with both black and colored text and with colored pictures. Printer Operation Printing a Sample Card 980541-003 Rev. BZebra P630i & P640i Card Printer User’s Manual 77 Printing a Sample Card Once you have completed creating your sample card, you are ready to print. Ensure your printer has a Ribbon Cartridge installed. Refer to Section 2 for instructions on installing the ribbon and loading the cards. Print your sample card as follows: 1.Select File > Print to open the Print dialogue box. 2.Ensure the following settings in the Print dialogue box: •Name: Zebra Card Printer; e.g., Zebra P640i •Print to file: Unchecked •Page Range: All •Number of Copies: 1 •Collate: Unchecked •Print what: Document •Print: All pages in range •Pages per sheet: 1 page •Scale to paper size: No Scaling 3.Click the OK button. 4.Observe the printing process. The data download time will vary depending on the complexity of the card design and the processing speed of the computer. 5.Once the printing is completed, the card is ejected from the printer. 6.Check the card for any discrepancies. If the sample card is correct, your Card Printer is ready to produce more cards. For print quality issues, refer to Section 7. 78Zebra P630i & P640i Card Printer User’s Manual 980541-003 Rev. B 980541-003 Rev. BZebra P630i & P640i Card Printer User’s Manual 79 6 Cleaning Cleaning the System This section will guide you through the recommended cleaning processes to be performed on your Printer: Card Cleaning . . . . . . . . . . . . . . . . . . . . . . . . . . . . . . . . . . . . . . . . . . . . . . . . . . . 80 Printhead Cleaning . . . . . . . . . . . . . . . . . . . . . . . . . . . . . . . . . . . . . . . . . . . . . . . 81 Platen Care and Cleaning . . . . . . . . . . . . . . . . . . . . . . . . . . . . . . . . . . . . . . . . . . 82 Preventive Maintenance There is almost no preventive maintenance to be performed. Dust and debris should be vacuumed out every 12 months, or more frequently in adverse environments. Caution • PROTECT YOUR FACTORY WARRANTY! The recommended cleaning procedures must be performed to maintain your factory warranty. Other than the recommended cleaning procedures described in this manual, allow only Zebra authorized technicians to service the Printer. NEVER loosen, tighten, adjust, bend, etc., any part or cable inside the printer. NEVER use a high pressure air compressor to remove particles in the printer. 80Zebra P630i & P640i Card Printer User’s Manual 980541-003 Rev. B Cleaning Card Cleaning Card Cleaning Your Printer includes a simple cleaning system using a Cleaning Cassette. Before being printed, each surface of the card is cleaned by a soft tacky roller that is itself cleaned periodically by adhesive tape in the Cleaning Cassette. By default, the roller is cleaned every 10 cards. The printer driver software allows the card count to be modified. By cleaning the roller every 10 cards, the Cleaning Cassette contains sufficient tape for 3,000 cards. Cleaning Cassette Cleaning Printhead Cleaning 980541-003 Rev. BZebra P630i & P640i Card Printer User’s Manual 81 Printhead Cleaning The card cleaning system using the Cleaning Cassette will normally do an adequate job of cleaning the cards. However, a separate Printhead cleaning, using swabs, can remove more stubborn deposits when print anomalies persist. Step 1.Place the printer power switch in the ON ( | ) position. Step 2.Open the printer Main Cover. The Printhead will raise for easy access. Step 3.Remove the Ribbon. Step 4.Clean the Printhead by moving an alcohol-moistened swab tip side-to-side across the Printhead elements. Only use moderate force. Step 5.Allow two to three minutes for the Printhead to dry. Step 6.Re-install the Ribbon. Step 7.Close the printer Main Cover. To reorder swabs, reference the Printer Media List. Caution • Only use foam-tipped swabs. Never use a sharp object to scrape deposits from the print head. Permanent damage to the print head will result. 82Zebra P630i & P640i Card Printer User’s Manual 980541-003 Rev. B Cleaning Platen Care and Cleaning Platen Care and Cleaning The Platen plays an important part in the printing process, providing a rigid supporting surface for the card as it passes under the Printhead. Because flatness is important, the Platen is surface ground to close tolerances. Any irregularities in the surface due to abrasion, dings, or even s…
Text truncated - open the document above for the full version.
Cover Letter(s)
December 16, 2009 To: SIEMIC, INC. 2206 Ringwood Avenue, San Jose, CA 95131 USA Dear Sir/Madam, Re: Project and Product Certification Representative Authorization Letter We, Zebra Technologies Corporation hereby authorize SIEMIC, INC. to act as a Certification Body for certifying for the following project(s): Card printer Model Number: P630i, P640i We affirm that between SIEMIC and Zebra Technologies Corporation, any difference in understanding, including test plan, measurement methods, applicable standards and relevant procedures and processes have been resolved prior to commencement of testing activities. Sincerely, George Anjargolian Zebra Technologies Corporation, CPS Division 805 578 1340
ID Label/Location Info
Label Drawing
ID Label/Location Info
Label Location
Internal Photos
Host Cover Off RFID (UHF) Module Component View with RF shield RFID (UHF) Module Component View without RF shield RFID (UHF) Module Solder View RFID (UHF) Module Antenna-Top RFID (UHF) Module Antenna-Bottom RFID (13.56MHz) Module RFID (13.56MHz) Module Antenna 13.56MHz RFID Module Main Board-Top View Main Board-Bottom View Main Board-Top View Ethernet Board- Bottom View
RF Exposure Info
MPE CALCULATION For Zebra Technologies – RFID ENCODER; Model: P640I FCC ID: I28--640I-UHF RF Exposure Requirements: 47 CFR §1.1307(b) RF Radiation Exposure Limits: 47 CFR §1.1310 RF Radiation Exposure Guidelines: FCC OST/OET Bulletin Number 65 EUT Frequency Band: 902.750 – 927.250 MHz Limits for General Population/Uncontrolled Exposure in the band of: 300 – 1500 GHz Power Density Limit: 0.610 mW/ cm 2 ; Equation: S = PG / 4πR 2 or R = √PG / 4πS Where, S = Power Density P = Power Input to Antenna G = Antenna Gain R = distance to the center of radiated antenna ______________________________________________________________________________________________________________________ Low Channel (927.250 MHz): Power = 29.67dBm, Antenna Gain = -20dBi, Prediction distance 20cm S = 0.00184 mW/cm 2 Result The Above Result had shown that Device complied with 0.610 mW/cm 2 Power density requirement for distance of 20cm. Completed By : Choon Sian Ooi Date : Nov 12, 2009
Test Report
ZEBRA TECHNOLOGIES CORP. CARD PRINTER WITH RFID ENCODER Model: P640I & P630I Issued Date: 15 December 2009 Report No.: SL08012102-ZBR-007 (15.247) (M5e ) (This report supersedes NONE) Modifications made to the product : None This Test Report is Issued Under the Authority of: Choon Sian Ooi Test Engineer Leslie Bai Engineering Reviewer This test report may be reproduced in full only. Test result presented in this test report is applicable to the representative sample only. A Title: RF Test Report of Zebra Technologies Corp. Model P640I & P630I To FCC 15.247 2007, IC RSS210 Issue 7: 2007 Serial# SL08012102-ZBR-007 (15.247) (M5e ) Issue Date 15 December 2009 Page 2 of 65 www.siemic.com SIEMIC SIEM Laboratory Introduction ATION SIEMIC, headquartered in the heart of Silicon Valley, with superior facilities in US and Asia, is one of the leading independent testing and certification facilities providing customers with one-stop shop services for Compliance Testing and Global Certifications. In addition to testing and certification, SIEMIC provides initial design reviews and compliance management through out a project. Our extensive experience with China, Asia Pacific, North America, European, and international compliance requirements, assures the fastest, most cost effective way to attain regulatory compliance for the global markets . Accreditations for Conformity Assessment Country/Region Accreditation Body Scope USA FCC, A2LA EMC , RF/Wireless , Telecom Canada IC, A2LA, NIST EMC, RF/Wireless , Telecom Taiwan BSMI , NCC , NIST EMC, RF, Telecom , Safety Hong Kong OFTA , NIST RF/Wireless ,Telecom Australia NATA, NIST EMC, RF, Telecom , Safety Korea KCC/RRA, NIST EMI, EMS, RF , Telecom, Safety Japan VCCI, JATE, TELEC, RFT EMI, RF/Wireless, Telecom Mexico NOM, COFETEL, Caniety Safety, EMC , RF/Wireless, Telecom Europe A2LA, NIST EMC, RF, Telecom , Safety Accreditations for Product Certifications Country Accreditation Body Scope USA FCC TCB, NIST EMC , RF , Telecom Canada IC FCB , NIST EMC , RF , Telecom Singapore iDA, NIST EMC , RF , Telecom A Title: RF Test Report of Zebra Technologies Corp. Model P640I & P630I To FCC 15.247 2007, IC RSS210 Issue 7: 2007 Serial# SL08012102-ZBR-007 (15.247) (M5e ) Issue Date 15 December 2009 Page 3 of 65 www.siemic.com This page has been left blank intentionally. A Title: RF Test Report of Zebra Technologies Corp. Model P640I & P630I To FCC 15.247 2007, IC RSS210 Issue 7: 2007 Serial# SL08012102-ZBR-007 (15.247) (M5e ) Issue Date 15 December 2009 Page 4 of 65 www.siemic.com CONTENTS 1 EXECUTIVE SUMMARY & EUT INFORMATION...............................................................................................................6 2 TECHNICAL DETAILS.....................................................................................................................................................7 3 MODIFICATION...............................................................................................................................................................8 4 TEST SUMMARY.............................................................................................................................................................9 5 MEASUREMENTS, EXAMINATION AND DERIVED RESULTS.......................................................................................10 ANNEX A. TEST INSTRUMENT & METHOD...........................................................................................................................40 ANNEX B EUT AND TEST SETUP PHOTOGRAPHS..............................................................................................................44 ANNEX C. TEST SETUP AND SUPPORTING EQUIPMENT......................................................................................................44 ANNEX D USER MANUAL, BLOCK & CIRCUIT DIAGRAM........................................................................…
Text truncated - open the document above for the full version.
Contact Information
Applicant
Jay Cadiz(Sr. Manager, Regulatory)
Test Firm
Bureau Veritas Consumer Products Services, Inc.Sarb Shelopal
[email protected]+1 925 963 4420
Technical Specifications
| # | Rule Parts | Frequency Range | Power Output |
|---|---|---|---|
| 1 | 15C | 902.75 MHz - 927.25 MHz | 927.00 mW |
Other Applications from Zebra Technologies Corporation
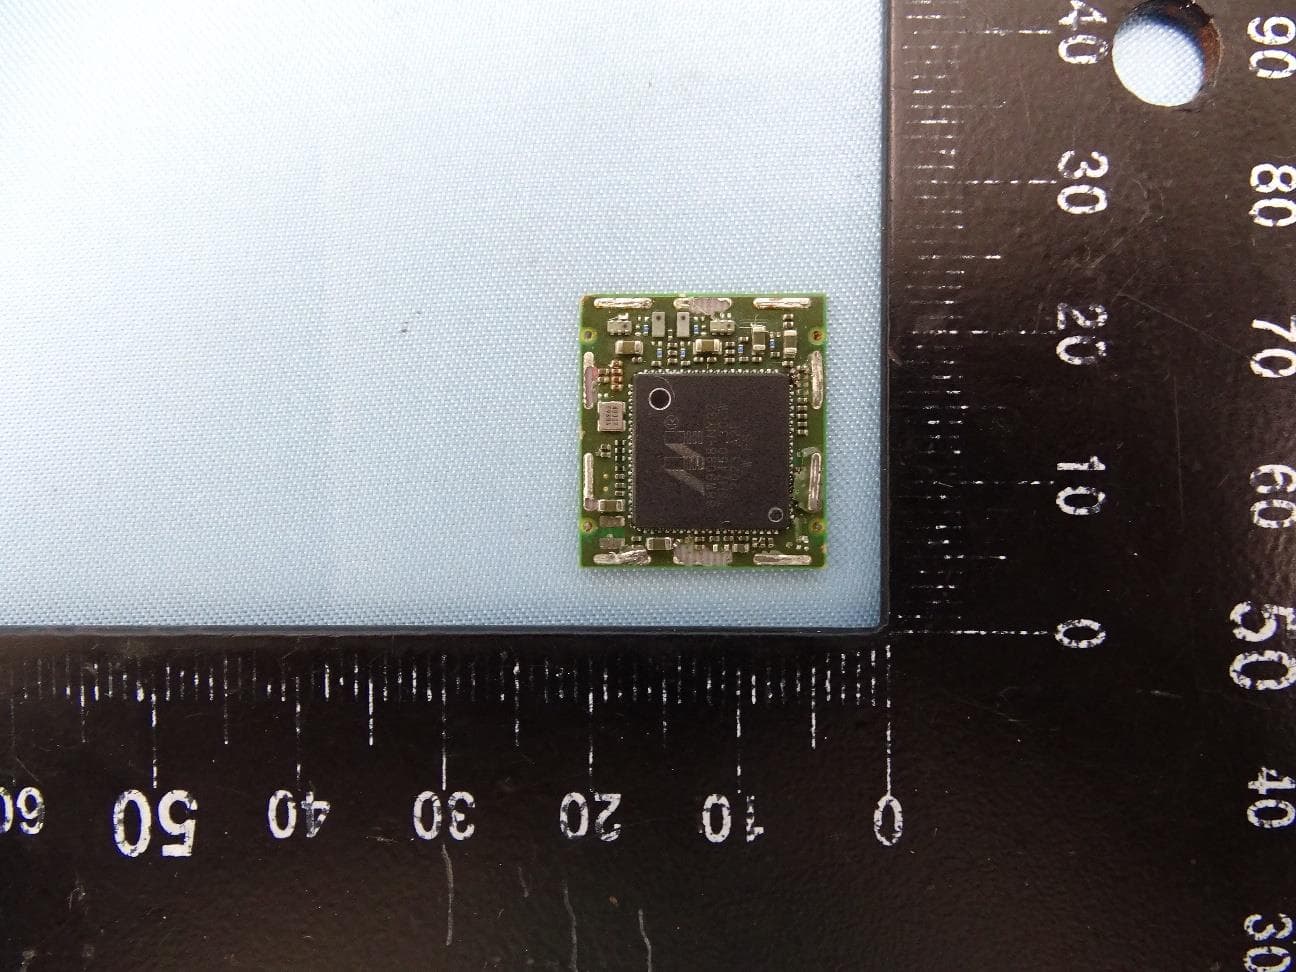
I28-WYSBHVDXP
May 19, 2021WLAN/BTLE module
Equipment Class
DTS - Digital Transmission System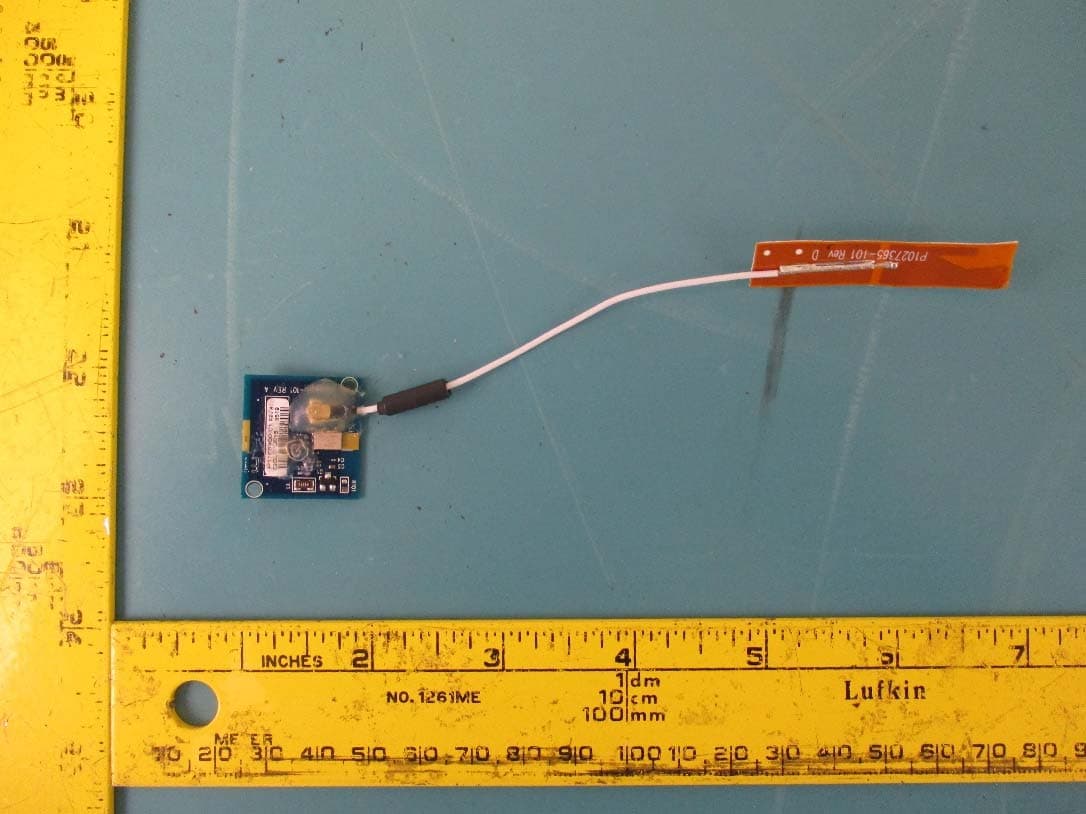
I28-EYSNSNZWWZ1
May 04, 2021BT5 Radio Module
Equipment Class
DTS - Digital Transmission System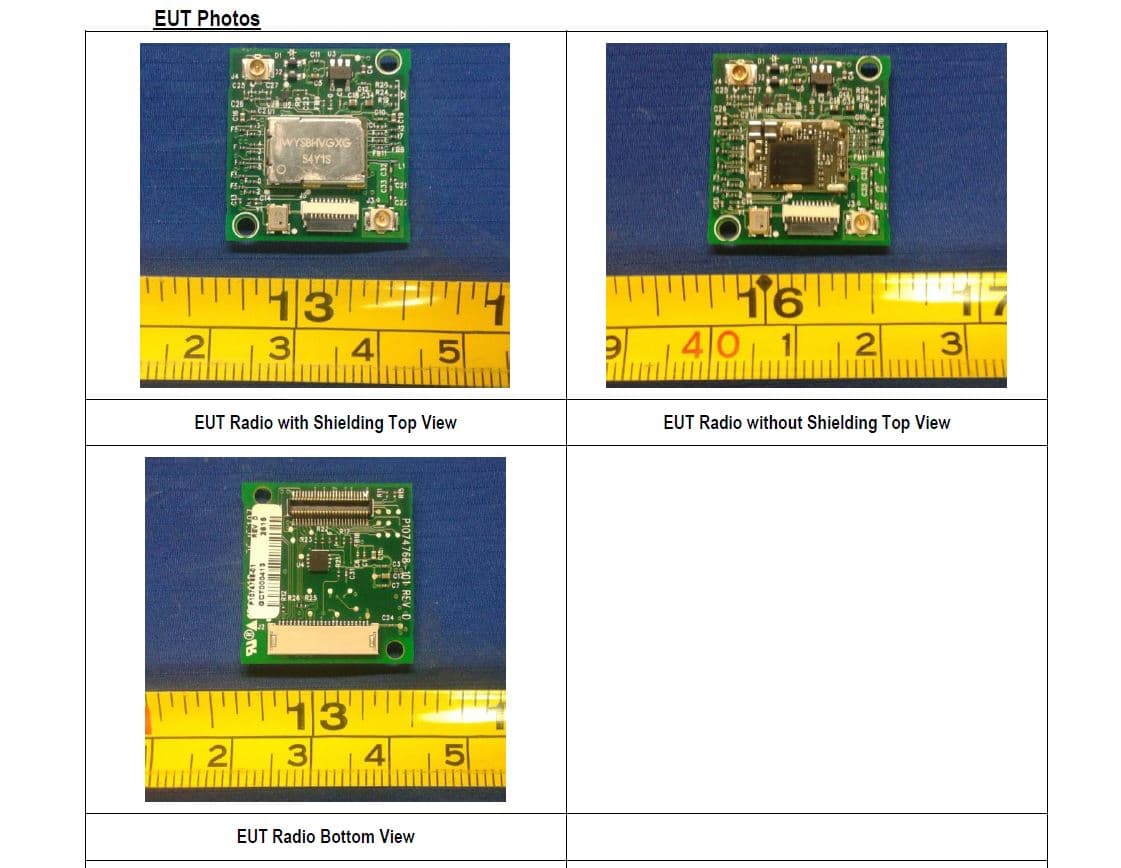
I28MD-FXLAN11AC
Nov 22, 2015Wireless 802.11ac + Bluetooth Module
Equipment Class
DSS - Part 15 Spread Spectrum Transmitter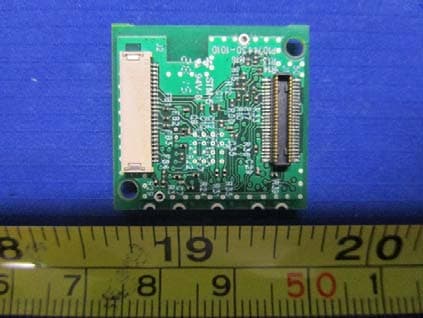
I28MD-ZBRBLE
Nov 19, 2015Bluetooth Low Energy Module
Equipment Class
DTS - Digital Transmission System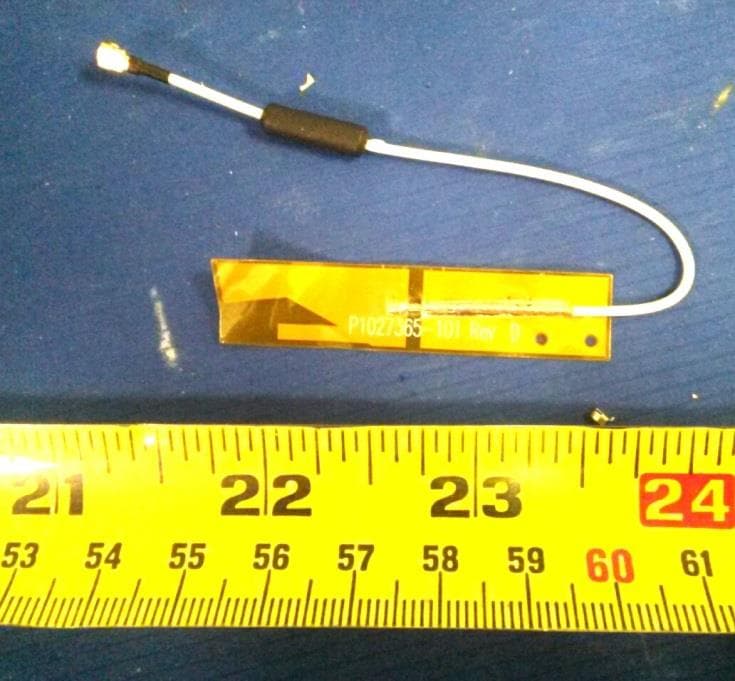
I28MD-ZBR7BTLE
Jan 19, 2015Bluetooth 4.0 LE Module
Equipment Class
DSS - Part 15 Spread Spectrum Transmitter