K66FT-1500MVHF Amateur Scanning Receiver
Yaesu Musen Co., Ltd.
Click to zoom
Application Details
- Equipment Class
- CSR - Scanning Receiver
- Date of Grant
- Feb 01, 2000
- Application Purpose
- Original Equipment
- Date of Application
- Dec 27, 1999
- Equipment Note
- VHF Amateur Scanning Receiver
- Frequency Range
- 137.00000000 - 174.00000000
- Company
- Yaesu Musen Co., Ltd.
- Country
- Japan
Documents & Files
Document Text
Text extracted from the exhibit documents filed with the FCC. Open a document above to read the original.
Users Manual
FT-1500M Operating Manual Front Panel Controls & Switches VOL Knob This control adjusts the volume level of the receiver’s audio. Clockwise rotation increases the volume level. DIAL This 20-position detented rotary switch is used for tuning, memory selection and most function settings. Note that the microphone’s UP/DOWN buttons duplicate the tuning functions of the Main Dial. Display The display consists of segmented digits which indicate operating frequency, status of functions, alpha/numeric memory labels, and MENU functions. MHz This button allows tuning in 1-MHz steps (the MHz digits will blink on the display).If receiving on a memory, pressing this button the first time activates the Memory Tune (MT) mode, and pressing it again enables 1-MHz steps. Press and hold this key for one second to activate the Set Mode. REV During split-frequency operation, such as through a repeater, this button reverses the transmit and receive frequencies. Press and hold this key for one second to activate the Dual Watch feature, described in the Operation chapter (“PRI” will be displayed on the LED, indicating “Priority Channel” monitoring). LOW Toggle this button while receiving to select high/low transmitter power (?/? watts). Press and hold this key for one second to while receiving on a memory, pressing this button toggles the display between indication of the frequency and the channel’s Alpha/Numeric label. D/MR This button selects the operation modes: VFO mode, Memory mode, and HOME channel. Press and hold this key for one second to activate the Memory Storage mode. PWR Switch This is the main “ON/OFF” switch for the transceiver. LCD Memory Skip DTMF Memory Mode BELL Frequency Auto Power OFF Active LOCK Feature Active S- and TX Power Meter LOW Power Memory Mode Repeater Shift Priority Channel Scanning Tone Encoder/Squelch Enabled Smart Search Programmable Memory Scan Home Channel VFO Side Panel Connector Microphone Jack This 6-contact modular jack accepts transmit audio, tone call (burst) or Dial / Memory selection, and Scanning control from the microphone. Pin 1: Sw 2 (Multi-function switching) Pin 2: Cloning Pin 3: +9V Pin 4: GND Pin 5: Microphone Input Pin 6: Sw 1 (Multi-function switching) Rear Panel Connector ANT Coaxial Socket Connect a resonant 144-MHz antenna to this type-M (SO-239) socket using 50-W coaxial cable and a type-M (PL-259) plug. 13.8V DC Cable Pigtail w/Fuse This is the power supply connection for the transceiver. Use the supplied DC cable to connect this pigtail to the car battery or other DC power supply capable of at least 10 Amperes (continuous duty). Make certain that the red lead connects to the positive side of the supply. The fuse in the DC Cable is rated at 15-A, fast-blow. EXP SP Jack This 2-contact 3.5-mm phone jack provides receiver audio output for an optional external speaker. The audio impedance is 4 Ohms, and the level varies according to the setting of the front panel’s VOL control. Inserting a plug into this jack disables audio from the transceiver’s internal speaker. DATA Jack This six-pin mini-DIN jack accepts AFSK or FSK input from a Terminal Node Controller (TNC) ; it also provides fixed-level Receiver Audio Output, Push-To-Talk (PTT), and Ground lines. Accessories & Options Accessories Supplied with the FT-1500M Operating Manual Warranty Card Available Options for your FT-1500M ??????????? Availability of accessories may vary: some accessories are supplied as standard per local regulations and requirements, others may be unavailable in some regions. Check with your Yaesu dealer for additions to the above list. Installation This chapter describes the installation procedure for integrating the FT-1500M into a typical amateur radio station. It is presumed that you possess technical knowledge and conceptual understanding consistent with your status as a licensed radio amateur. Please take some extra time to make certain that the important safety and technical requirements detailed in this chapter are followed closely. Preliminary Inspection Inspect the transceiver visually immediately upon opening the packing carton. Confirm that all controls and switches work freely, and inspect the cabinet for any damage. Gently shake the transceiver to verify that no internal components have been shaken loose due to rough handling during shipping. If any evidence of damage is discovered, document it thoroughly and contact the shipping company (or your local dealer, if the unit was purchased over-the-counter) so as to get instructions regarding the prompt resolution of the damage situation. Be certain to save the shipping carton, especially if there are any punctures or other evidence of damage incurred during shipping; if it is necessary to return the unit for service or replacement, use the original packing materials but put the entire package inside another packing carton, so as to preserve the evidence of shipping damage for insurance purposes. Installation Tips To ensure long life of the components, be certain to provide adequate ventilation around the cabinet of the FT-1500M. Do not install the transceiver on top of another heat-generating device (such as a power supply or amplifier), and do not place equipment, books, or papers on top of the FT-1500M. Avoid heating vents and window locations that could expose the transceiver to excessive direct sunlight, especially in hot climates. The FT-1500M should not be used in an environment where the ambient temperature exceeds +60° C (140° F). Safety Information The FT-1500M is an electrical apparatus, as well as a generator of RF (Radio Frequency) energy, and you should exercise all safety precautions as are appropriate for this type of device. These safety tips apply to any device installed in a well-designed amateur radio station. ρ Do not allow unsupervised children to play in the vicinity of your transceiver or antenna installation. ρ Be certain to wrap any wire or cable splices thoroughly with insulating electrical tap…
Text truncated - open the document above for the full version.
Parts List/Tune Up Info
1/3 •• FT-1500M Alignment The FT-1500M has been carefully aligned at the factory for the specified performance across the amateur band. Realignment should therefore not be necessary except in the event of a component failure.All component replacement and service should be performed only by an authorized Yaesu representative, or the warranty policy may be voided. The following procedures cover the sometimes critical and tedious adjustments that are not normally required once the transceiver has left the factory.However, if damage occurs and some parts are replaced, realignment may be required.If a sudden problem occurs during normal operation, it is likely due to component failure; realignment should not be done until after the faulty component has been replaced. We recommend that servicing be performed only by authorized Yaesu service technicians who are experienced with the circuitry and fully equipped for repair and alignment. Therefore, if a fault is suspected, contact the dealer from whom the transceiver was purchased for instructions regarding repair. Authorized Yaesu service technicians realign all circuits and make complete performance checks to ensure compliance with factory specifications after replacing any faulty components. Those who do undertake any of the following alignments are cautioned to proceed at their own risk. Problems caused by unauthorized attempts at realignment are not covered by the warranty policy. Also, Yaesu must reserve the right to change circuits and alignment procedures in the interest of improved performance, without notifying owners. Under no circumstances should any alignment be attempted unless the normal function and operation of the transceiver are clearly understood, the cause of the malfunction has been clearly pinpointed and any faulty components replaced, and the need for realignment determined to be absolutely necessary. The following test equipment (and thorough familiarity with its correct use) is necessary for complete realignment. Correction of problems caused by misalignment resulting from use of improper test equipment is not covered under the warranty policy. While most steps do not require all of the equipment listed, the interactions of some adjustments may require that more complex adjustments be performed afterwards. Do not attempt to perform only a single step unless it is clearly isolated electrically from all other steps. Have all test equipment ready before beginning, and follow all of the steps in a section in the order presented. Required Test Equipment 1. RF Signal Generator with calibrated output level at 200 MHz 2. Deviation Meter (linear detector) 3. AF Millivoltmeter 4. SINAD Meter 5. Inline Wattmeter with 5% accuracy at 200 MHz 6. Regulated DC Power Supply: adjustable from 10 to 17 VDC, 15A 7. 50-ohm Non-reactive Dummy Load: 100W at 200 MHz 8. Frequency Counter: >0.1 ppm accuracy at 200 MHz 9. AF Signal Generator 10. DC Voltmeter: high impedance 11. VHF Sampling Coupler 12. AF Dummy Load: 4 ohm, 5W 13.Oscilloscope 14.Spectrum Analyzer Alignment Preparation & Precautions A dummy load and inline wattmeter must be connected to the main antenna jack in all procedures that call for transmission, except where specified otherwise. Correct alignment is not possible with an antenna. After completing one step, read the following step to determine whether the same test 2/3 •• equipment will be required. If not, remove the test equipment (except dummy load and wattmeter, if connected) before proceeding. Correct alignment requires that the ambient temperature be the same as that of the transceiver and test equipment, and that this temperature be held constant between 20 and 30 C (68 86F). When the transceiver is brought into the shop from hot or cold air it should be allowed some time for thermal equalization with the environment before alignment. If possible, alignments should be made with oscillator shields and circuit boards firmly affixed in place. Also, the test equipment must be thoroughly warmed up before beginning. Note: Signal levels in dB referred to in this procedure are based on 0 dBm = 0.5 mV(closed circuit). PLL & Transmitter Set up the test equipment as shown for transmitter alignment. Maintain the supply voltage at 13.8V DC for all steps. Press the [LOW] and [D/MR] key, and hold while you turn the radio on. The radio now is in the Alignment Mode. PLL Reference Frequency Tune the dail knob and select [TX FREQ], then press the [MHz] key. The radio now is in the frequency tuning mode. With the wattmeter, dummy load and frequency counter connected to the antenna jack, and while tuned to 146.100 MHz, key the transmitter and tune the dail knob, if necessary, so the counter frequency is within 100 Hz of 146.100 MHz. Then press the [MHz] key. Transmitter Output Tune the dail knob and select [TX PWR], then press the [MHz] key. The radio now is in the TX power tuning mode. Key the transmitter, and rotate the dail knob so as to achieve 5 Watts on the wattmeter. Then press the [LOW] button. Rotate the dail knob so as to achieve 10 Watts on the wattmeter. Then press the [LOW] button. Rotate the dail knob so as to achieve 25 Watts on the wattmeter. Then press the [LOW] button. Rotate the dail knob so as to achieve 50 Watts on the wattmeter. Then press the [LOW] button. Transmitter Deviation While tuned to 146.000 MHz, adjust the AF generator level for 50 mV output at 1kHz to the MIC jack. Tune the dail knob and select [MAX DEV], then press the [MHz] key. The radio now is in the TX deviation tuning mode. Key the transmitter, and rotate the dail knob so as to achieve 4.2kHz on the deviation meter. Then press the [LOW] button. Receiver Set up the test equipment as shown below for receiver alignment. Interstage Transformers S-Meter(S1) Calibration 1) S1 The RF signal generator turned to 146.100MHz, set the generator for +/-3.5 kHz deviation with 1kHz tone modulation,and set the output level for -7dBu at the antenna jack. Tune the dail…
Text truncated - open the document above for the full version.
Test Report
FCC ID: K66FT-1500M MFA p99c0020, d99c0067 Date:December 28, 1999 Applicant:Yaesu Musen Co., Ltd. 20-2, Shimomaruko 1-chome Ota-ku Tokyo, Japan 146 Attention of:H. Edo, Export Manager Mailing:Yaesu U.S.A. 17210 Edwards Rd. Cerritos, CA 90703 Attention of:Mikio Maruya, Executive Vice President (800) 255-9237; FAX: (800) 477-9237 (562) 404-2700, x280; FAX: -1210 Equipment:FT-1500M FCC ID:K66FT-1500M P.O. Number:UPS/FAX 12/23/99 FCC Rules:Part 15, Subpart B. RECEIVER CERTIFICATION Gentlemen: Enclosed herewith please find your copies of the Application Form, Test Data Report and covering letter to the FCC, the whole for approval of the reference equipment as shown. Please allow from 6-8 weeks to hear from the Commission, who may request additional data or information, and even a sample for pre-grant audit testing. In the meantime, you are subject to the restrictions as listed on the attached summary. If your equipment is still retained by us, it will be returned to you shortly via U.P.S. Our invoice for services has been directed to your Accounts Payable Department, with a copy included here for your file. Should you have any questions, please do not hesitate to call. Sincerely yours, William H. Graff, Director of Engineering enclosure(s) WHG/cvr FCC ID: K66FT-1500M MFA p99c0020, d99c0067 SUMMARY OF RESTRICTIONS 1.All submissions to the FCC are subject to their Examiner's interpretation. 2.Please allow from 60 to 90 days before hearing from the FCC with regard to any submission. 3.The FCC can set aside any action; modify or set aside any action, within 30 days. (FCC Rule 1.108, 1.113). 4.Under Rule 2.803, if device is not certified then it must NOT be sold, leased, offered for sale, imported, shipped or distributed or advertised for sale. 5.FCC can revoke its certificates at any time if the equipment does not meet or CONTINUE to meet their Rules. (Rule Parts 2.927, 2.939). 6.FCC can request a sample at any time (2.936). M. FLOM ASSOCIATES, INC. William H. Graff, Director of Engineering FCC ID: K66FT-1500M MFA p99c0020, d99c0067 Date:December 28, 1999 Federal Communications Commission Via: Electronic Filing Attention:Authorization & Evaluation Division Applicant:Yaesu Musen Co., Ltd. Equipment:FT-1500M FCC ID:K66FT-1500M FCC Rules:15.109 Gentlemen: On behalf of the Applicant, enclosed please find Application Form 731, Engineering Test Report and all pertinent documentation, the whole for approval of the referenced equipment as shown. Filing fees are attached. We trust the same is in order. Should you need any further information, kindly contact the writer who is authorized to act as agent. Sincerely yours, William H. Graff, Director of Engineering enclosure(s) cc: Applicant WHG/cvr FCC ID: K66FT-1500M MFA p99c0020, d99c0067 C E R T I F I C A T I O N of RECEIVER MODEL: FT-1500M FCC ID: K66FT-1500M to FEDERAL COMMUNICATIONS COMMISSION Part 15(B) (New) DATE OF REPORT: December 28, 1999 ON THE BEHALF OF THE APPLICANT: Yaesu Musen Co., Ltd. AT THE REQUEST OF:P.O. UPS/FAX 12/23/99 Yaesu U.S.A. 17210 Edwards Rd. Cerritos, CA 90703 Attention of:Mikio Maruya, Executive Vice President (800) 255-9237; FAX: (800) 477-9237 (562) 404-2700, x280; FAX: -1210 SUPERVISED BY:William H. Graff, Director of Engineering FCC ID: K66FT-1500M MFA p99c0020, d99c0067 TABLE OF CONTENTS RULEDESCRIPTIONPAGE 2.948Description of Measurement Facilities1 15.109Receiver Spurious Emissions (Radiated)6 15.121(b)Scanning Receiver9 FCC ID: K66FT-1500M MFA p99c0020, d99c0067 PAGE NO.1 of 10. Required information per ISO/IEC Guide 25-1990, paragraph 13.2: a)TEST REPORT b) Laboratory: (FCC: 31040/SIT) (Canada: IC 2044) M. Flom Associates, Inc. 3356 N. San Marcos Place, Suite 107 Chandler, AZ 85225 c) Report Number:d99c0067 d) Client:Yaesu U.S.A. 17210 Edwards Rd. Cerritos, CA 90703 e) Identification:FT-1500M FCC ID: K66FT-1500M Description:Amateur Scanning Receiver f) EUT Condition:Not required unless specified in individual tests. g) Report Date:December 28, 1999 EUT Received:December 23, 1999 h, j, k):As indicated in individual tests. i) Sampling method:No sampling procedure used. l) Uncertainty:In accordance with MFA internal quality manual. m) Supervised by: William H. Graff, Director of Engineering n) Results:The results presented in this report relate only to the item tested. o) Reproduction:This report must not be reproduced, except in full, without written permission from this laboratory. FCC ID: K66FT-1500M MFA p99c0020, d99c0067 PAGE NO.2 of 10. M. Flom Associates, Inc. is accredited by the American Association for Laboratory Association (A2LA) as shown in the scope below. "This laboratory is accredited by the American Association for Laboratory Accreditation (A2LA) and the results shown in this report have been determined in accordance with the laboratory's terms of accreditation unless stated otherwise in the report." Should this report contain any data for tests for which we are not accredited, or which have been undertaken by a subcontractor that is not A2LA accredited, such data would not covered by this laboratory's A2LA accreditation. FCC ID: K66FT-1500M MFA p99c0020, d99c0067 PAGE NO.3 of 10. GENERAL INFORMATION Part 2.948: (a)(b)DESCRIPTION OF MEASUREMENT FACILITIES: FILE: 31040/SIT A description of the measurement facilities was filed with the Commission and was found to be in compliance with the requirements of Section 2.948, by letter dated March 3, 1997. All pertinent changes will be reported to the Commission by up-date prior to March 2000. (b)(4)SUPPORTING STRUCTURES: SKETCH - ATTACHED EXHIBITS (b)(5)(6)TEST INSTRUMENTATION: LIST - SEE EXHIBITS 2.925:IDENTIFICATION OF AN AUTHORIZED DEVICE: DRAWING - SEE EXHIBITS LOCATION OF LABEL - SEE PHOTOS NAME AND ADDRESS OF APPLICANT: Yaesu Musen Co., Ltd. 20-2, Shimomaruko 1-chome Ota-ku Tokyo, Japan 146 FCC ID: K66FT-1500M MFA p99c0020, d99c0067 PAGE NO.4 of 10. 2.911: 2.1033(b)(6) TECHNICAL REPORT MANUFACTURER: Applicant TRADE NAME: Yaesu FCC ID: K66FT-1500M MODEL NO: …
Text truncated - open the document above for the full version.
Contact Information
Applicant
Masatoshi Muraishi(Engineering Division)
Technical Contact
M. Flom Associates, Inc.William H Graff
[email protected]480 926 3100
3356 N. San Marcos Place · Chandler, Arizona · United States
Non-Technical Contact
M. Flom Associates, Inc.Morton Flom
[email protected]480 926 3100
Test Firm
M. Flom Associates, Inc.Morton Flom
Technical Specifications
| # | Rule Parts | Frequency Range | Power Output |
|---|---|---|---|
| 1 | 15B | 137 MHz - 174 MHz | - |
Other Applications from Yaesu Musen Co., Ltd.
K660E180X10
Dec 01, 2025BLUETOOTH MICROPHONE
Equipment Class
DTS - Digital Transmission System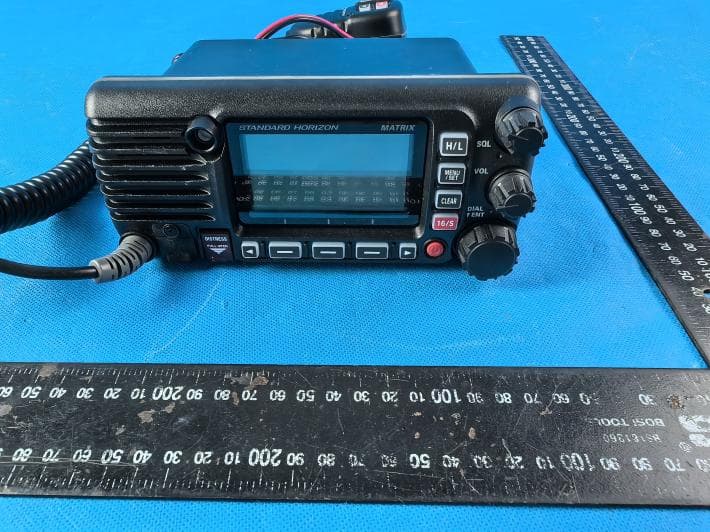
K6630673Y3D
Aug 01, 2024VHF FM Marine Transceiver
Equipment Class
CXX - Communications Rcvr for use w/ licensed Tx and CBs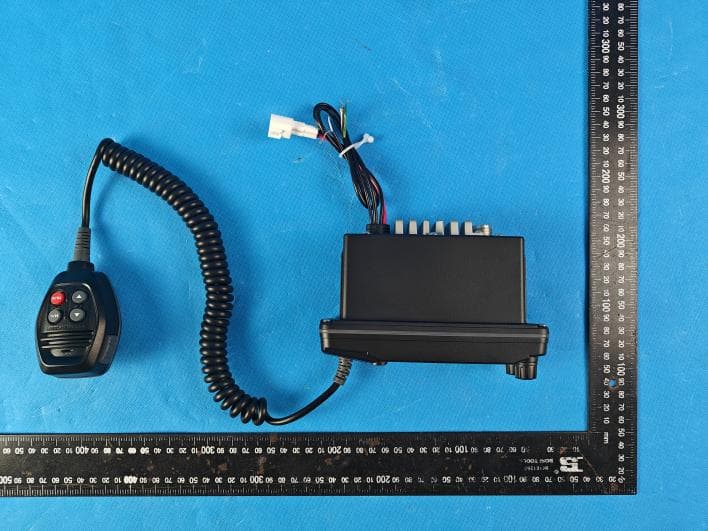
K6630653Y3D
Aug 01, 2024VHF FM Marine Transceiver
Equipment Class
CXX - Communications Rcvr for use w/ licensed Tx and CBs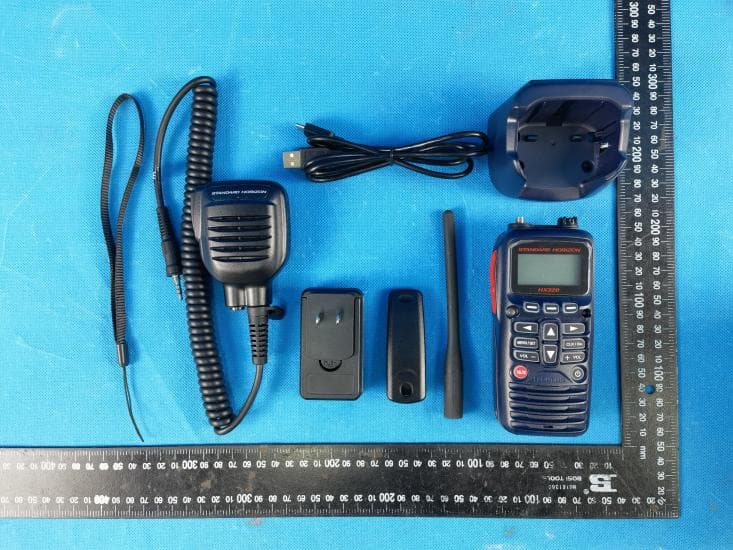
K6630683X30
Jan 10, 2023VHF FM Marine Transceiver
Equipment Class
TNF - Licensed Non-Broadcast Transmitter Held to Face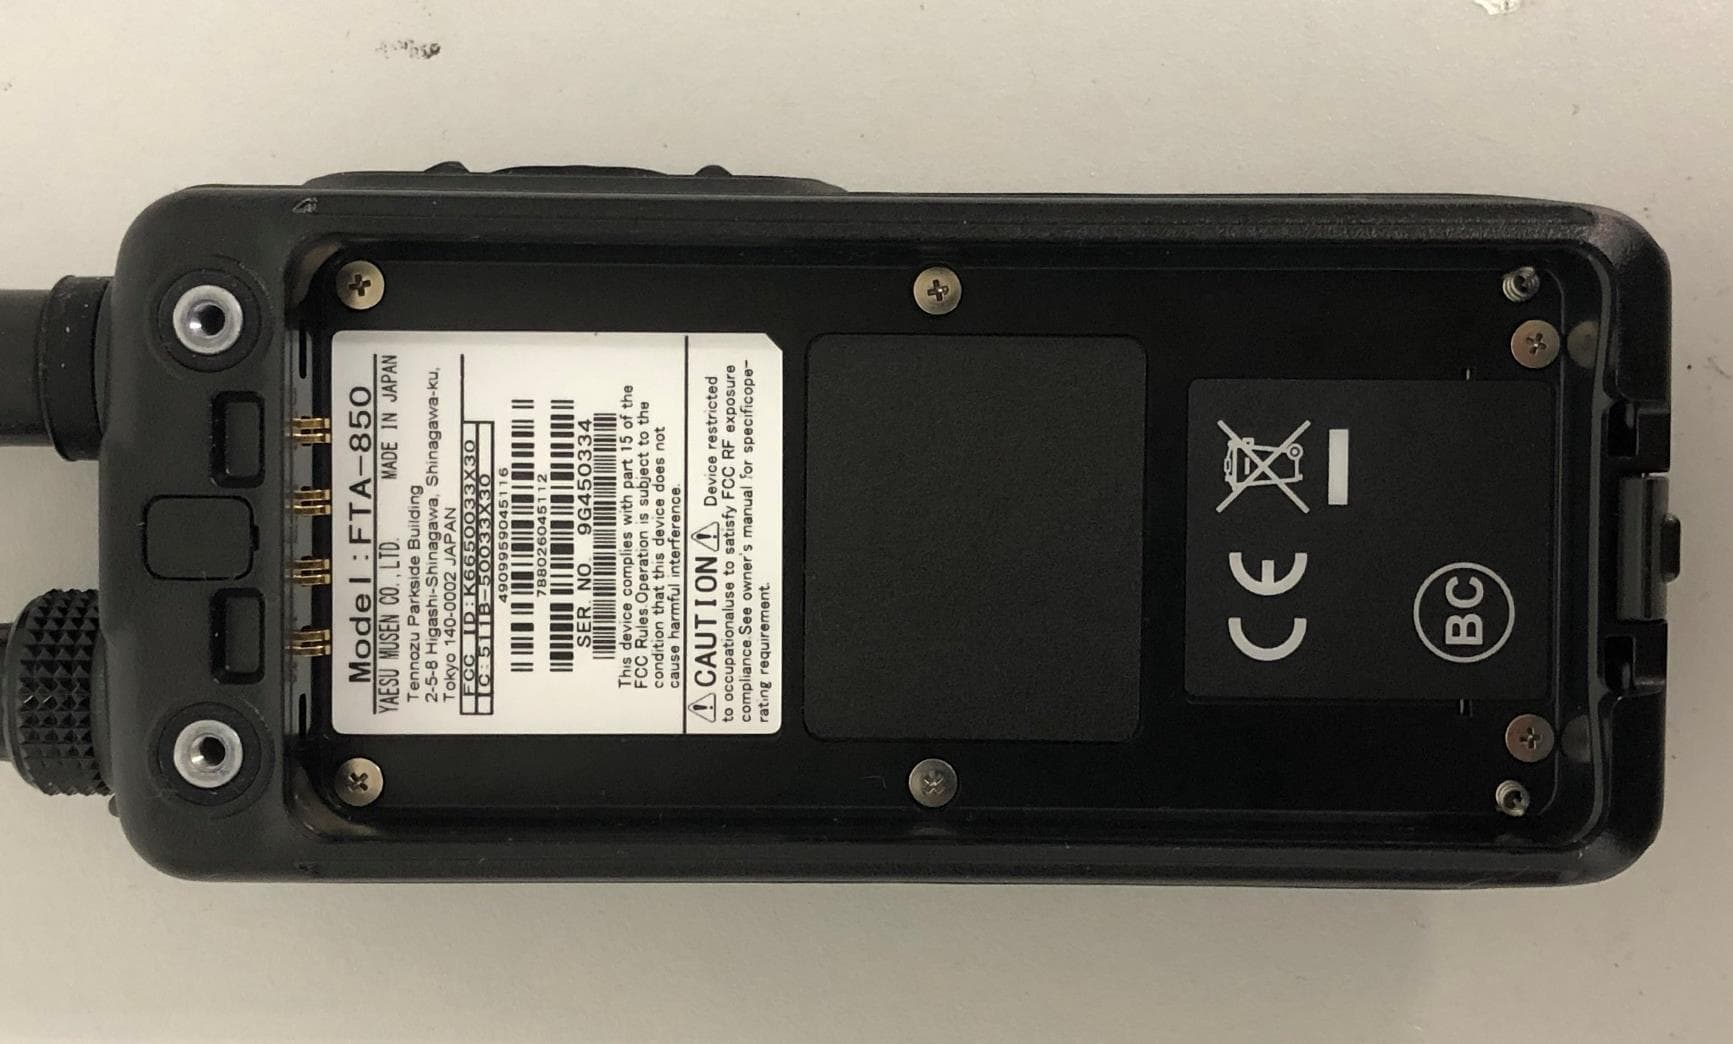
K6650033X30
Nov 18, 2020Airband Radio Transceiver
Equipment Class
TNF - Licensed Non-Broadcast Transmitter Held to Face