K66VX-2RScanning Receiver (Amateur)
Yaesu Musen Co., Ltd.
Click to zoom
Application Details
- Equipment Class
- CSR - Scanning Receiver
- Date of Grant
- Apr 13, 2003
- Application Purpose
- Original Equipment
- Date of Application
- Apr 13, 2003
- Equipment Note
- Scanning Receiver (Amateur)
- Frequency Range
- 894.00500000 - 960.00000000
- Company
- Yaesu Musen Co., Ltd.
- Country
- Japan
Documents & Files
Document Text
Text extracted from the exhibit documents filed with the FCC. Open a document above to read the original.
Users Manual
FCC ID: K66VX-2R VX-2R O PERATING M ANUAL Vertex Standard Co., Ltd.1 General Description Accessories & Option Accessories Supplied with the VX-2R FNB-82LI3.7 V, 1000 mAh Rechargeable Lithium Ion Battery Packs NC-85B/C/U2.5-Hour Charger Belt Clip Hand Strap Antenna Operating Manual Warranty Card Available Option for your VX-2R FNB-82LI3.7 V, 1000 mAh Rechargeable Lithium Ion Battery Packs NC-85 B/C/U2.5-Hour Charger CN-3BNC-to-SMA Adapter CSC-90Soft Case CT-44Microphone Adapter E-DC-21DC Cable w/ Cigar Adapter MH-34B4BSpeaker/Microphone MH-37A4BEar piece/Microphone VC-25VOX Headset Control & Connections ANTENNA Connect the supplied rubber flex antenna (or another antenna presenting a 50-Ohm impedance) here. MIC/SP This four conductor miniature jack provides connection points for microphone audio, earphone audio, PTT, and ground. VOLUME This control adjusts the audio volume level. Clockwise rotation increases the volume FCC ID: K66VX-2R VX-2R O PERATING M ANUAL Vertex Standard Co., Ltd.2 level. DIAL The main tuning Dial is used for setting the operating frequency, and also is used for menu selections and other adjustment. TX/BUSY This indicator glows green when the squelch opens, and turns red during transmit. During Emergency Operation, this indicator will glow (or flash) white. PTT (Push To Talk) Press this switch to transmit, and release it (to receive) after your transmission is completed. MONI Pressing this key disables the noise squelching action, allowing you to hear very weak signals near the background noise level. POWER Press and hold this switch for one second to toggle the transceiver’s power on and off. KEYPAD These seven keys select many of most important operating features on the VX-2. This function of the keys are described in details on next page. SPEAKER The internal speaker is located on hear. MIC The internal microphone is located on hear. EXT DC This coaxial DC jack allows connection to an external DC power source (3.2-7.0V DC). The center pin of this jack is the Positive (+). FCC ID: K66VX-2R VX-2R O PERATING M ANUAL Vertex Standard Co., Ltd.3 Keypad Functions KeyPress KeyPress + [FW] KeyPress and hold Key BANDMoves operation to the next-highest frequency band. Moves operation to the next-lowest frequency band. Activates the Scanner. H/LSwitches the transmit power output between “HI” and “LOW.” Select the synthesizer steps to be used during VFO operation. Enter the “Set” (Menu) mode. V/MSwitches frequency control between the VFO and Memory System. Activates the “Memory Tune” mode while in the Memory Recall mode. Activates the Dual Watch feature. FWActivates the “Alternate” key function. Disables the “Alternate” key function. Activates the “Memory Write” mode (for memory channel storage). HM/RVReverse the transmit and receive frequencies while working through a repeater. Switches operation to the “Home” (favorite frequency) channel. Activates the Emergency Function. %Activate the WIRES TM (Internet Connection) feature. Recall the “Weather” broadcast channels and Short-wave broadcast station channels. Activates the ARTS feature. MDSwitches the operating mode. Activates the CTCSS or DCS operation. Activate the Smart Search feature. Installation of Accessories Antenna Installation The supplied antenna provides good results over the entire frequency range of the transceiver. However, for enhanced base station medium-wave and shortwave reception, you may wish to connect an external (outside) antenna. To install the supplied antenna Hold the bottom end of the antenna, then screw it onto the mating connector on the transceiver until it is snug. Do not over-tighten by use of extreme force. Notes: Never transmit without having an antenna connected. When installing the supplied antenna, never hold the upper part of the antenna while screwing it onto the mating connector on the transceiver. FCC ID: K66VX-2R VX-2R O PERATING M ANUAL Vertex Standard Co., Ltd.4 If using an external antenna for transmission, ensure that the SWR presented to the transceiver is 1.5:1 or lower. Installation of FNB-82LI Battery Pack The FNB-80LI is a high-performance Lithium-Ion battery providing high capacity in a very compact package. Under normal use, the FNB-82LI may be used for approximately 300 charge cycles, after which operating time may be expected to decrease. If you have an old battery pack which is displaying capacity which has become diminished, you should replace the pack with a new one. Referring to Figure 1, slide the Battery Cover toward the bottom to remove it while slide the Battery Cover Latch. Referring to Figure 2, install the FNB-82LI into the Battery Nest. Replace the Battery Cover, as shown in Figure 3. If the battery has never been used, or its charge is depleted, it may be charged by connecting the NC-85 Battery Charger, as shown in the illustration, to the EXT DC jack. If only 12 ~ 16 Volt DC power is available, the optional E-DC-21 DC Adapter (with its cigarette lighter plug) may also be used for charging the battery. While the battery is being charged, display will indicate “CHGING” and the TX/BUSY indicator will glow red. When charging is finished, display will change to indicate “CHGFUL” and the TX/BUSY indicator will change to glow green. Interface of Packet TNCs The VX-2R may be used for Packet operation, using the optional CT-91 microphone adapter (available from your Yaesu dealer) for easy interconnection to commonly- available connectors wired to your TNC. You may also build your own cable using a four-conductor miniature phone plug, per the diagram below. The audio level from the receiver to the TNC may be adjusted by using the VOLUME knob, as with voice operation. The input level to the VX-2R from the TNC should be adjusted at the TNC side; the optimum input voltage is approximately 5 mV at 2000 Ohms. Be sure to turn the transceiver and TNC off before connecting the cables, so as to prevent voltage spikes from possibly dam…
Text truncated - open the document above for the full version.
External Photos
FCC ID: K66VX-2R Vertex Standard Co., Ltd. Front view with Antenna Front view without Antenna FCC ID: K66VX-2R Vertex Standard Co., Ltd. Rear view with Antenna Rear view without Antenna FCC ID: K66VX-2R Vertex Standard Co., Ltd. Left side view Right side view FCC ID: K66VX-2R Vertex Standard Co., Ltd. Top view Bottom view FCC ID: K66VX-2R Vertex Standard Co., Ltd. Rear view with Battery Pack Rear view without Battery Pack FCC ID: K66VX-2R Vertex Standard Co., Ltd. Front of Microphone Rear of Microphone FCC ID: K66VX-2R Vertex Standard Co., Ltd. Front of Battery Charger Rear of Battery Charger FCC ID: K66VX-2R Vertex Standard Co., Ltd. Battery Pack FCC ID: K66VX-2R Vertex Standard Co., Ltd. Antenna
ID Label/Location Info
VX-2RVX-2R LABEL DRAWING and LOCATIONLABEL DRAWING and LOCATION Vertex Standard Co., Ltd.Vertex Standard Co., Ltd. (1:1) (1:2) FCC ID Label drawing VX-2R K66VX-2R VX-2R K66VX-2R Label location
Parts List/Tune Up Info
FCC ID: K66VX-2R Alignment Vertex Standard Co., Ltd. 1 VX-2R Alignment Introduction The VX-2R is carefully aligned at the factory for the specified performance across the amateur band. Realignment should therefore not be necessary except in the event of a component failure. Only an authorized Yaesu representative should perform all component replacement and service, or the warranty policy may be void. The following procedures cover the adjustments that are not normally required once the transceiver has left the factory. However, if damage occurs and some parts subsequently are replaced, realignment may be required. If a sudden problem occurs during normal operation, it is likely due to component failure; realignment should not be done until after the faulty component has been replaced. We recommend that servicing be performed only by authorized Yaesu service technicians who are experienced with the circuitry and fully equipped for repair and alignment. If a fault is suspected, contact the dealer from whom the transceiver was purchased for instructions regarding repair. Authorized Yaesu service technicians realign all circuits and make complete performance checks to ensure compliance with factory specifications after replacing any faulty components. Those who do undertake any of the following alignments are cautioned to proceed at their own risk. Problems caused by unauthorized attempts at realignment are not covered by the warranty policy. Also, Yaesu reserves the right to change circuits and alignment procedures in the interest of improved performance, without notifying owners. Under no circumstances should any alignment be attempted unless the normal function and operation of the transceiver are clearly understood, the cause of the malfunction has been clearly pinpointed and any faulty components replaced, and realignment determined to be absolutely necessary. The following test equipment (and familiarity with its use) is necessary for complete realignment. Correction of problems caused by misalignment resulting from use of improper test equipment is not covered under the warranty policy. While most steps do not require all of the equipment listed, the interactions of some adjustments may require that more complex adjustments be performed afterwards. Do not attempt to perform only a single step unless it is clearly isolated FCC ID: K66VX-2R Alignment Vertex Standard Co., Ltd. 2 electrically from all other steps. Have all test equipment ready before beginning and, follow all of the steps in a section in the order presented. Required Test Equipment □ RF Signal Generator with calibrated output level at 500 MHz □ Deviation Meter (linear detector) □ In-line Wattmeter with 5% accuracy at 500 MHz □ 50-Ω, 10-W RF Dummy Load □ 8-Ω AF Dummy Load □ Regulated DC Power Supply adjustable from 3 to 15 VDC, 2A □ Frequency Counter: 0.2-ppm accuracy at 500 MHz □ AF Signal Generator □ AC Voltmeter □ DC Voltmeter: high impedance □ VHF Sampling Coupler □ SINAD Meter Alignment Preparation & Precautions A 10-W RF load and in-line wattmeter must be connected to the main antenna jack in all procedures that call for transmission, alignment is not possible with an antenna. After completing one step, read the next step to see if the same test equipment is required. If not, remove the test equipment (except dummy load and wattmeter, if connected) before proceeding. Correct alignment requires that the ambient temperature be the same as that of the transceiver and test equipment, and that this temperature be held constant between 20~30°C (68~86°F). When the transceiver is brought into the shop from hot or cold air, it should be allowed some time to come to room temperature before alignment. Whenever possible, alignments should be made with oscillator shields and circuit boards firmly affixed in place. Also, the test equipment must be thoroughly warmed up before beginning. Note: Signal levels in dB referred to in the alignment procedure are based on 0dBm=0.5 μV. FCC ID: K66VX-2R Alignment Vertex Standard Co., Ltd. 3 Test Setup Set up the test equipment as shown below for transceiver alignment, apply 6 V DC power to the transceiver. Refer to the drawings for Alignment Points. Internal System Alignment Routine This uses a programmed routine in the transceiver which simplifies many previously complex discrete component settings and adjustments with digitally- controlled settings via front panel buttons and LCD indications. To begin, set the transceiver to the center of the 50MHz, 144MHz, 220MHz and 430MHz bands. Next, select the 430MHz band, then turn the transceiver off. Now, press and hold the [BAND], [H/L] and [V/M] button together while powering the radio on again. The display will show the first setting. Note that the first few settings are not adjustable and are left as set from the factory. In the alignment process, each adjustment is selected by rotating the DIAL. Alignment is performed by: ○ Pressing the [V/M] button; ○ Injecting a signal of the required frequency and level; then ○ Pressing the [V/M] button after a level setting or adjustment is made. This second pressing of the [V/M] button store the entry. To exit the alignment routine, press the [HM/RV] button. After performing the system alignment in its entirety, individual settings can be returned to and adjust should the need arise In the section to follow, typical default values (as set at the factory) are shown in brackets (e.g. [119]), to serve as a general guideline. As each transceiver is individually optimized at the factory, the precise settings for the transceiver on your bench may be slightly different. FCC ID: K66VX-2R Alignment Vertex Standard Co., Ltd. 4 PLL Reference Frequency (PLL REF) Transmit and adjust the counter frequency for within ±300Hz by rotating the DIAL, then press the [V/M] button. Rotate the DIAL to select the next setting. 430MHz band Alignment ○ Squelch Hysteresis Adjust (HIS) Rotate the DIAL for minimum squelch hysteresis, …
Text truncated - open the document above for the full version.
Test Report
FCC ID: K66VX-2R C E R T I F I C A T I O N of RECEIVER MODEL: VX-2R FCC ID: K66VX-2R to FEDERAL COMMUNICATIONS COMMISSION Part 15.121 (New) DATE OF REPORT: March 27, 2003 ON THE BEHALF OF THE APPLICANT: Vertex Standard Co., Ltd. AT THE REQUEST OF: P.O. UPS 3/11/2003 Vertex Standard USA Inc. 10900 Walker Street Cypress, CA 90630 Attention of: Mikio Maruya, Executive Vice President (800) 255-9237; FAX: (800) 477-9237 (714) 827-7600; FAX: -8100 [email protected] SUPERVISED BY: Morton Flom, P. Eng. MFA p0330006, d0330052 FCC ID: K66VX-2R TABLE OF CONTENTS RULE DESCRIPTION PAGE 2.948 Description of Measurement Facilities 1 15.109 Receiver Spurious Emissions (Radiated) 6 15.121(b) Scanning Receiver 13 MFA p0330006, d0330052 FCC ID: K66VX-2R PAGE NO. 1 of 15. Required information per ISO/IEC Guide 25-1990, paragraph 13.2: a) TEST REPORT b) Laboratory: (FCC: 31040/SIT) (Canada: IC 2044) M. Flom Associates, Inc. 3356 N. San Marcos Place, Suite 107 Chandler, AZ 85225 c) Report Number: d0330052 d) Client: Vertex Standard USA Inc. 10900 Walker Street Cypress, CA 90630 e) Identification: VX-2R FCC ID: K66VX-2R Description: Scanning Receiver f) EUT Condition: Not required unless specified in individual tests. g) Report Date: March 27, 2003 EUT Received: March 11, 2003 h, j, k): As indicated in individual tests. i) Sampling method: No sampling procedure used. l) Uncertainty: In accordance with MFA internal quality manual. m) Supervised by: Morton Flom, P. Eng. n) Results: The results presented in this report relate only to the item tested. o) Reproduction: This report must not be reproduced, except in full, without written permission from this laboratory. MFA p0330006, d0330052 FCC ID: K66VX-2R PAGE NO. 2 of 15. M. Flom Associates, Inc. is accredited by the American Association for Laboratory Association (A2LA) as shown in the scope below. "This laboratory is accredited by the American Association for Laboratory Accreditation (A2LA) and the results shown in this report have been determined in accordance with the laboratory's terms of accreditation unless stated otherwise in the report." Should this report contain any data for tests for which we are not accredited, or which have been undertaken by a subcontractor that is not A2LA accredited, such data would not covered by this laboratory's A2LA accreditation. MFA p0330006, d0330052 FCC ID: K66VX-2R PAGE NO. 3 of 15. GENERAL INFORMATION Part 2.948: (a)(b) DESCRIPTION OF MEASUREMENT FACILITIES: FILE: 31040/SIT A description of the measurement facilities was filed with the Commission and was found to be in compliance with the requirements of Section 2.948, by letter dated March 13, 2000. All pertinent changes will be reported to the Commission by up-date prior to March 2003. (b)(4) SUPPORTING STRUCTURES: SKETCH - ATTACHED EXHIBITS (b)(5)(6) TEST INSTRUMENTATION: LIST - SEE EXHIBITS 2.925: IDENTIFICATION OF AN AUTHORIZED DEVICE: DRAWING - SEE EXHIBITS LOCATION OF LABEL - SEE PHOTOS NAME AND ADDRESS OF APPLICANT : Vertex Standard Co., Ltd. 4-8-8 Nakameguro, Meguro-Ku Tokyo 153-8644 Japan MFA p0330006, d0330052 FCC ID: K66VX-2R PAGE NO. 4 of 15. 2.911: 2.1033(b)(6) TECHNICAL REPORT MANUFACTURER: Vertex Standard Co., Ltd. 4-8-8 Nakameguro, Meguro-Ku Tokyo 153-8644 Japan TRADE NAME: Vertex FCC ID: K66VX-2R MODEL NO: VX-2R PHOTOGRAPHS: SEE LIST OF EXHIBITS DUT DESCRIPTION : This unit Passes 15.31: MEASUREMENT STANDARD & PROCEDURE: IEEE STANDARD 187 WAS USED AS A GUIDE. FCC MEASUREMENT PROCEDURE MP-1 x ANSI 63.4 (1992/2000) “Methods of measurement of radio-noise emissions from low-voltage electrical and electronic equipment in the range of 9 kHz to 40 GHz.” MFA p0330006, d0330052 FCC ID: K66VX-2R PAGE NO. 5 of 15. EXPOSITORY STATEMENT 1. NUMBER OF BANDS =12 2. NUMBER OF CHANNELS =5000+ 3. TUNING RANGE, MHz =0.5 to 1.8 1.8 to 30 30 to 59 59 to 108 108 to 137 137 to 174 174 to 222 222 to 225 225 to 420 420 to 470 470 to 729 800 to 999 4. OSCILLATOR RANGE, MHz =47.750 to 49.300 49.3 to 77.250 77.250 to 106.250 106.250 to 155.250 155.250 to 184.25 184.25 to 221.25 126.75 to 174.75 174.75 to 177.75 275.25 to 467.25 372.75 to 422.75 422.75 to 776.25 752.75 to 951.75 5. I.F., MHz =47.250 6. BLOCK DIAGRAM =ATTACHED 7. For cellular receiver only, the radio transceiver meets the requirements of FCC Bulletin OET 53 ("Cellular System Mobile Stations-Land-System Compatibility Specification."). See attached affidavit. 15.203 : ANTENNA REQUIREMENT: The antenna is permanently attached to the EUT x The antenna uses a unique coupling The EUT must be professionally installed The antenna requirement does not apply SUPERVISED BY: Morton Flom, P. Eng. MFA p0330006, d0330052 FCC ID: K66VX-2R PAGE NO. 6 of 15. NAME OF TEST: Receiver Spurious Emissions (Radiated) SPECIFICATION: 15.109: Radiated Interference Limits 15.33: Frequency Range of Radiated Measurements 80.217: Suppression of Interference Aboard Ships GUIDE: See measurement procedure below TEST CONDITIONS: Standard Temperature & Humidity TEST EQUIPMENT: As per attached page SEARCH ANTENNAS: 100 Hz - 50 MHz: Emco 3301B Active Rod 10 kHz - 32 MHz: Singer 94593-1 Loop 25 MHz - 300 MHz: Emco 3109 Biconical 200 MHz - 1 GHz: Aprel 2001 Log Periodic 1 GHz - 18 GHz: Emco 3115 Horn 10 GHz - 40 GHz: Emco 3116 Horn with HP11970A Mixer MEASUREMENT PROCEDURE 1. At first, bench tests were performed to locate the spurious emissions at the antenna terminals. 2. In the field, tests were conducted over the range shown, The test sample was set up on a wooden turntable above ground, and at a distance of three meters from the antenna connected tot he Spectrum Analyzer. 3. In order to obtain the maximum response at each frequency, the turntable was rotated, and the search antenna was raised and lowered. The EUT was also adjusted for maximum response. Tests were conducted in Horizontal & Vertical polarization modes. 4. The field strength was calculated from: E μV/m @ 3 m = Log -1 (dBμV + A.F. + C.L.) 10 20 5. MEASUREMENT RESULTS: Attached for "Wors…
Text truncated - open the document above for the full version.
Test Setup Photos
FCC ID: K66VX-2R PAGE NO. 8 of 15. TEST SETUP: Radiated Emissions MFA p0330006, d0330052
Contact Information
Applicant
Masatoshi Muraishi(Engineering Division)
Test Firm
M. Flom Associates, Inc.Morton Flom
Technical Specifications
| # | Rule Parts | Frequency Range | Power Output |
|---|---|---|---|
| 14 | 15B | 894.005 MHz - 960 MHz | - |
Other Applications from Yaesu Musen Co., Ltd.
K660E180X10
Dec 01, 2025BLUETOOTH MICROPHONE
Equipment Class
DTS - Digital Transmission System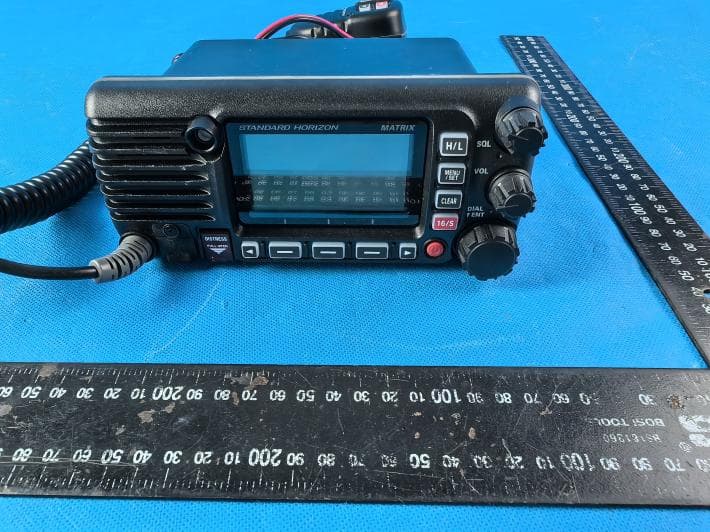
K6630673Y3D
Aug 01, 2024VHF FM Marine Transceiver
Equipment Class
CXX - Communications Rcvr for use w/ licensed Tx and CBs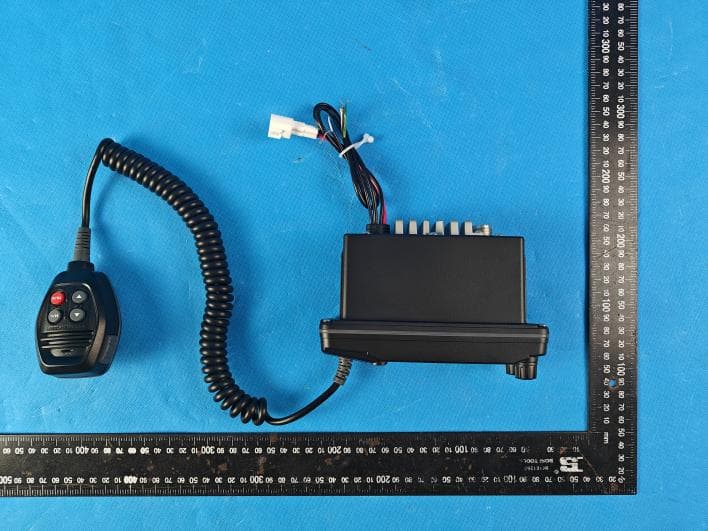
K6630653Y3D
Aug 01, 2024VHF FM Marine Transceiver
Equipment Class
CXX - Communications Rcvr for use w/ licensed Tx and CBs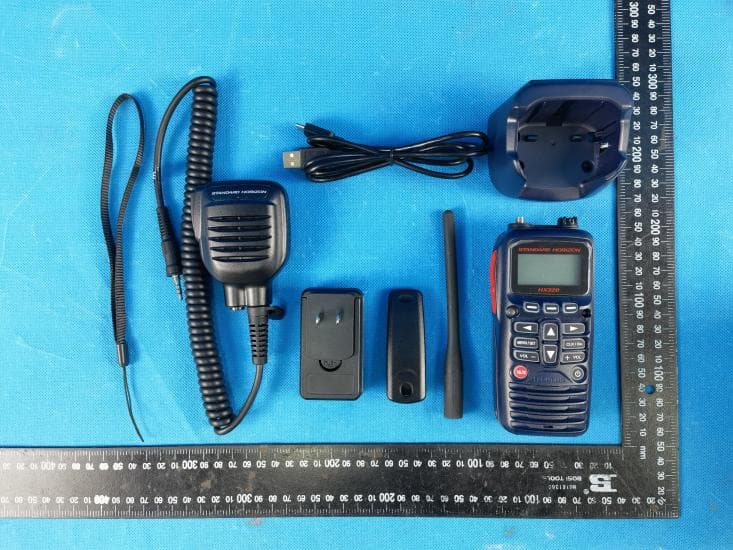
K6630683X30
Jan 10, 2023VHF FM Marine Transceiver
Equipment Class
TNF - Licensed Non-Broadcast Transmitter Held to Face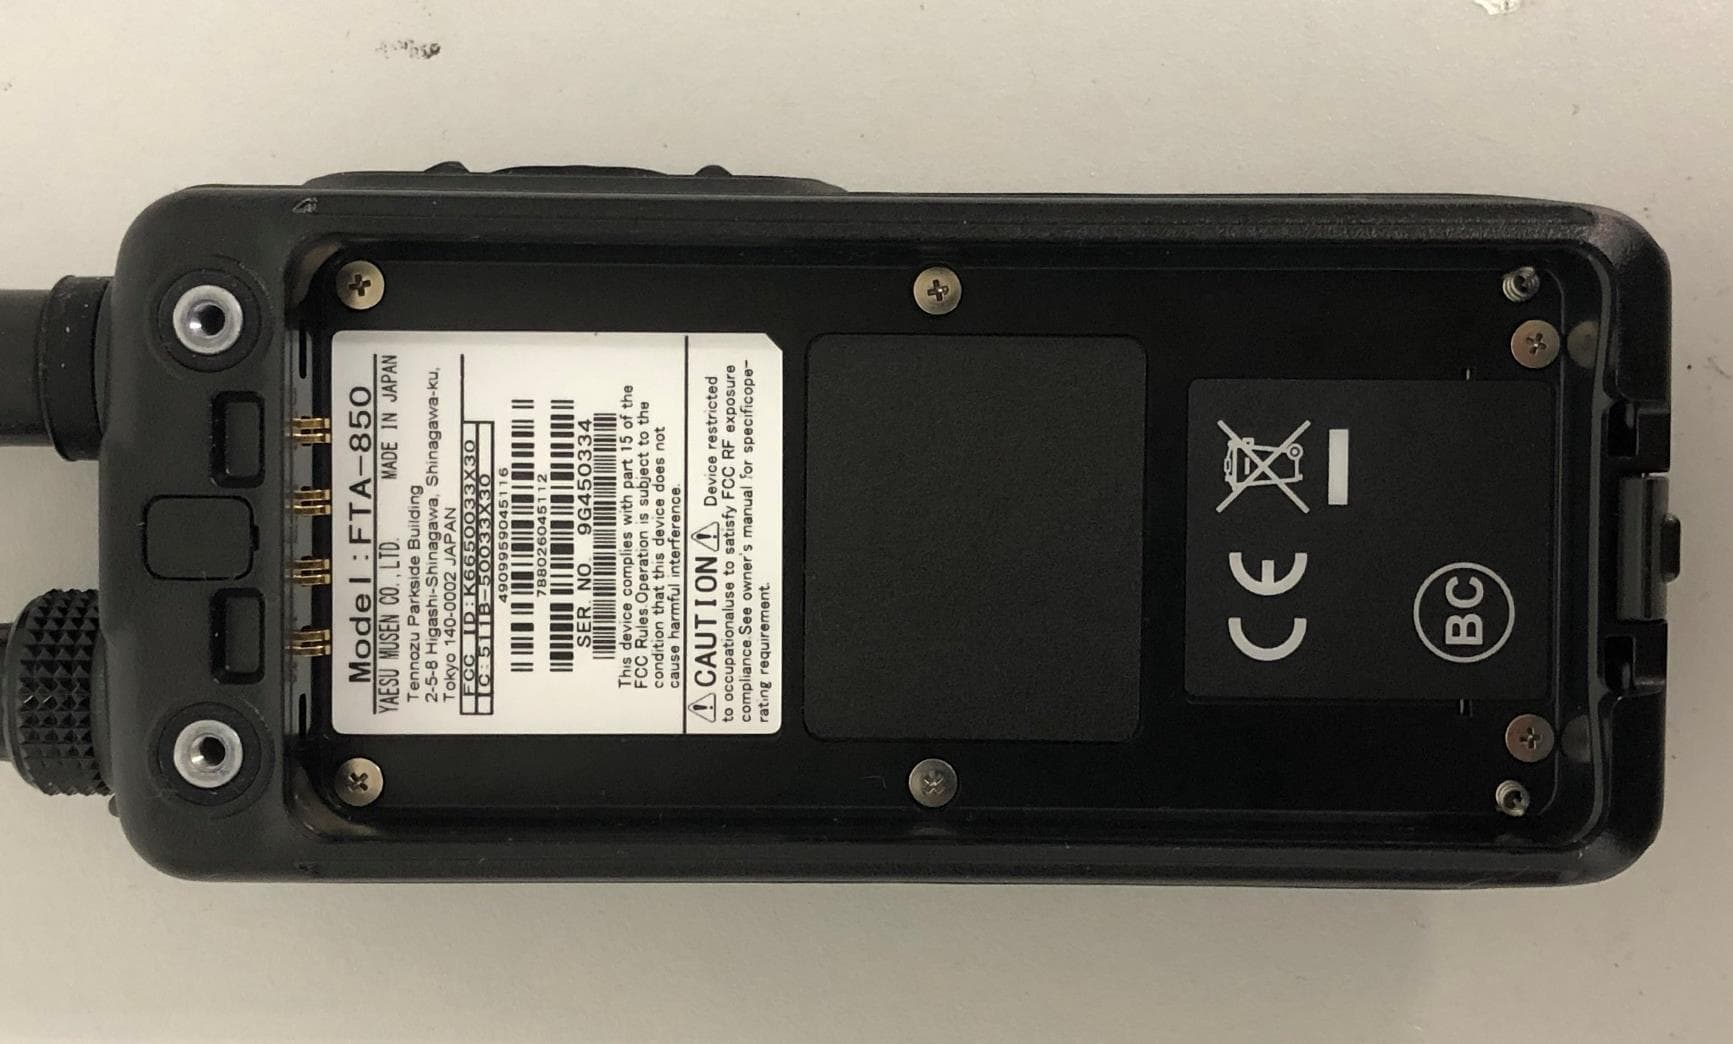
K6650033X30
Nov 18, 2020Airband Radio Transceiver
Equipment Class
TNF - Licensed Non-Broadcast Transmitter Held to Face