MMANT1Handheld Marine Transceiver
Midland Radio Corporation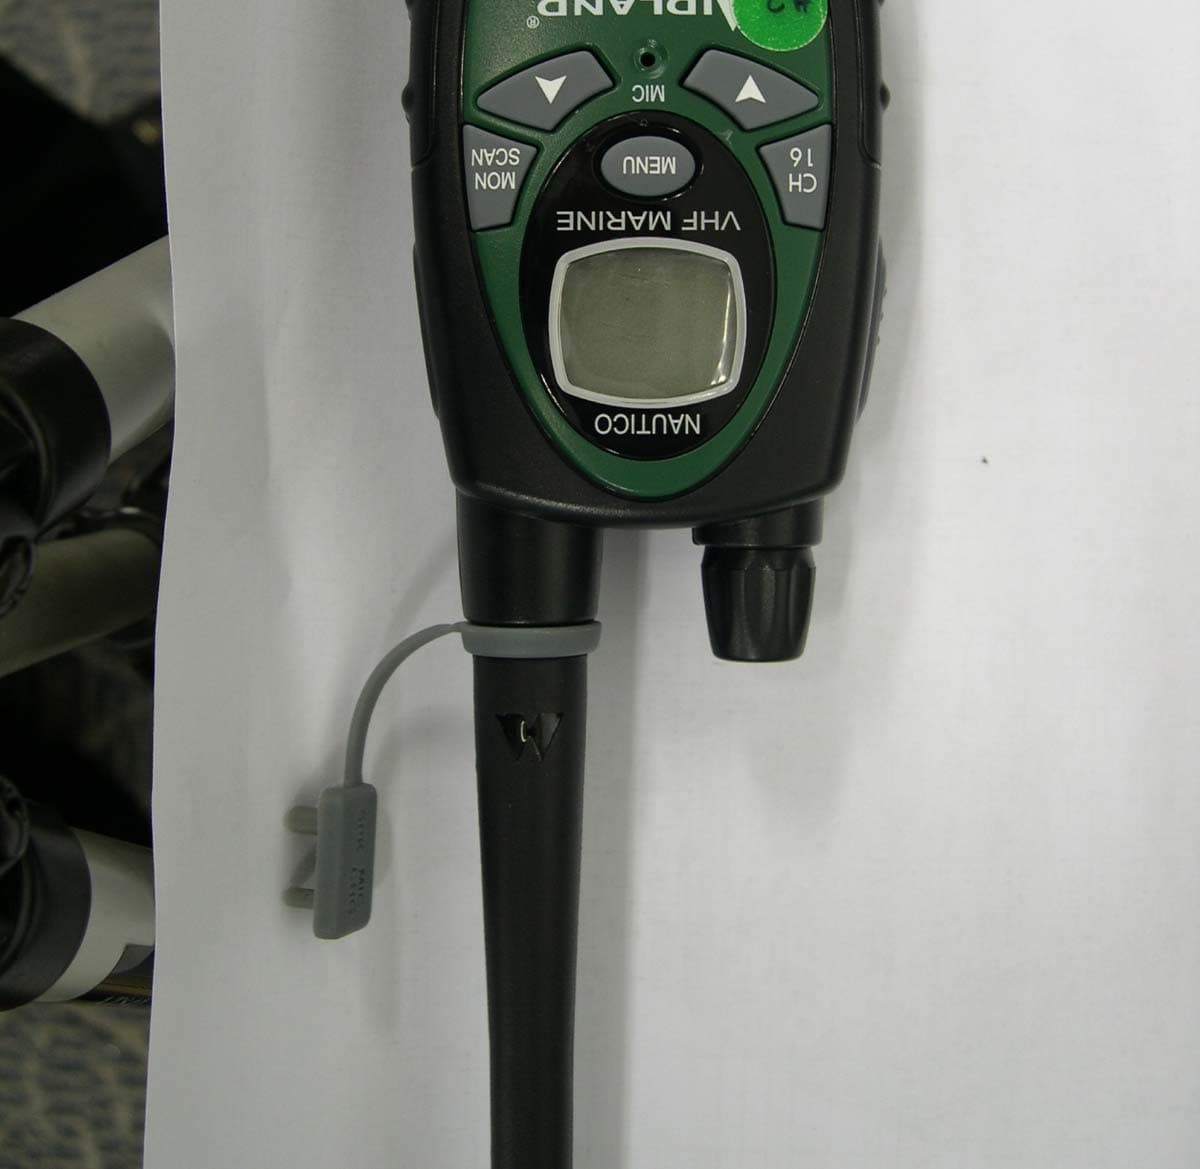
Click to zoom
Application Details
- Equipment Class
- TNF - Licensed Non-Broadcast Transmitter Held to Face
- Date of Grant
- Jan 19, 2005
- Application Purpose
- Original Equipment
- Date of Application
- Jan 19, 2005
- Equipment Note
- Handheld Marine Transceiver
- Frequency Range
- 156.02500000 - 157.42500000
- Company
- Midland Radio Corporation
- Country
- United States
Documents & Files
Document Text
Text extracted from the exhibit documents filed with the FCC. Open a document above to read the original.
Users Manual
Model NT1, Nautico Front Cover (Make sure photo of radios is high resolution before printing).. Model NT1, Nautico Page 2 www.midlandradio.com (Please re-number Table of Contents page numbers as needed TABLE OF CONTENTS 2 Introduction 3 Important Notice, FCC Licensing 4 LCD Display 5 Controls 5 Battery Installation 6 Installing the Belt Clip 6 Charging the Optional Battery Pack 7 Operating Your Radio 8 - 13 External Speaker/Microphone Jack 14 Troubleshooting Guide 15 Use and Care 15 Specifications and Frequency Charts 16 Warranty Information 17 MIDLAND Family of Products 18 Accessories 19 Model NT1, Nautico Page 3 www.midlandradio.com Welcome to the world of Midland electronics Congratulations on your purchase of a high quality MIDLAND product. Your 2-way radio represents the state-of-the-art in high-tech engineering. Designed for VHF Marine Service operation, this compact package is big on performance. It is a quality piece of electronic equipment, skillfully constructed with the finest components. The circuitry is all solid-state and mounted on a rugged printed circuit board. Your 2-way radio is designed to give you reliable and trouble-free performance for years to come. Features - Marine Channels, 57 US, 61 CAN, 57 INT, grouped by area - Instant Channel 16 - eVOX - Selectable CALL Tone - Weather (WX) Band Receiver - SCAN Function - MONITOR Function - Roger Beep Tone - Key Pad Lock - Power High / Power Low Settings - Speaker / Microphone Jacks - Battery Indicator This device complies with Part 15 of the FCC Rules. Operation is subject to the following two conditions : (1) this device does not cause harmful interference, and (2) this radio must accept any interference that may cause undesired operation. To maintain compliance with FCC’s RF exposure guidelines, for body-worn operation, this radio has been tested and meets the FCC RF exposure guidelines when used with Midland Radio Corp. accessories supplied or designated for this product. Use of other accessories may not ensure compliance with FCC RF exposure guidelines. Model NT1, Nautico Page 4 www.midlandradio.com The Nautico operates on VHF Marine Radio Service frequencies, in compliance with Federal Communications Commission (FCC) requirements. Recreational boaters are not currently required to have a Ship Radio License. The USCG recommends that the boat’s registration number and state be used for the radio call sign. FCC License A ship station license is not required for any vessel traveling in U.S. waters which is under 20 meters in length. However, any vessel required to carry an HF SSB radiotelephone or marine satellite terminal is required to have a ship station license. FCC license forms can be downloaded at www.fcc.gov/forms. You may also obtain a form from the FCC by calling (888) 225-5322. This needs to be first item in manual Exposure To Radio Frequency Energy Your Midland radio is designed to comply with the following national and international standards and guidelines regarding exposure of human being to radio frequency electromagnetic energy: - United States Federal Communications Commission, Code of Federal Regulations: 47 CFR part 2 sub-part J - American National Standards Institute (ANSI)/Institute of Electrical & Electronic Engineers (IEEE) C95. 1-1992 - Institute of Electrical and Electronic Engineer (IEEE) C95. 1-1999 Edition - National Council on Radiation Protection and Measurements (NCRP) of the United States, Report 86, 1986 - International Commission on Non-Ionizing Radiation Protection (ICNIRP) 1998 To control your exposure and ensure compliance with the general population or uncontrolled environment exposure limits, transmit no more than 50% of the time. The radio generates measurable RF energy exposure only when transmitting. Icom page >>> Model NT1, Nautico Page 5 www.midlandradio.com LCD DISPLAY 1. LOW BATTERY ICON – Indicates battery level is low. 2. TRANSMIT (TX) ICON – Indicates radio is transmitting a signal. 3. VOX – Indicates when eVOX mode is active. 4. CHANNEL NUMBER – Changes from 1~88a on VHF Marine band (1~10 on WX band). 5. RECEIVE (RX) ICON – Indicates radio is receiving a transmission. 6. KEY LOCK ICON – Indicates KEY LOCK mode is on. 7. WX BAND ICON – Indicates when the radio is in Weather Band mode 8. TRANSMIT POWER LEVEL(LO) ICON – Indicates TX Low Power setting. 9. USA/CAN/INT CHANNEL ICONS (Diagram -- Please re-number these so 11-15 are on the left side of the diagram and 16-20 go down the right side in numerical order) CONTROLS 11. POWER/VOLUME KNOB – Turn clock-wise to turn the power on and increase the volume level. Turn counter-clockwise to decrease the volume level and turn the power off. 12. PTT Button – Press and hold to transmit voice communication. Press twice quickly to send a call tone. 13. CH 16 Button – Press to switch immediately to emergency channel 16. Press and hold to switch to Channel 9. 14. MIC – Built-in microphone. 15. SPEAKER – Built-in speaker. 16. ANTENNA. 17. EXTERNAL SPEAKER/MIC JACK. 18. MENU Button – Press to access MENU mode. Press and hold to go to WX Band Receiver mode. 19. MONITOR/SCAN Button – Press to enter SCAN mode. Press and hold to enter MONITOR mode. 20. UP and DOWN Button – Make adjustments in MENU mode. Model NT1, Nautico Page 6 www.midlandradio.com BATTERY INSTALLATION Your Nautico radio operates with either 4 AA alkaline batteries or an optional NiMH battery pack. The belt clip should be removed (see below) to ease installation or removal of the batteries. To install the batteries: 1. With the back of the radio facing you, remove the belt clip (see diagram below) for easy access, then remove the Battery Cover by pressing down on the top center and sliding it down from the radio. 2. Insert 4 AA batteries observing the polarity as shown. Installing the batteries incorrectly will prevent the unit from operating or may damage the unit. 3. Return the battery cover by sliding it up on the radio. Replace the belt clip, making sure it locks into pla…
Text truncated - open the document above for the full version.
Operational Description
GXM1 TECHNICAL DESCRIPTION Page 1 A). GENERAL DESCRIPTION The GXM1 Marine radio is a self-contained transceiver unit with integral antenna intended for use as a general communication tool. It is designed to operate on all 48 channels allocated by the FCC. This model also features user selectable sub-audible tones for channel quieting. The useable range, while dependent upon terrain and other radio propagation principles, is typically two miles. The GXM1 uses the maximum transmit power allowed to help ensure the maximum communication range. Features include: Channels, 10 channels Weather radio, Channel Monitor, Page and LCD Display. The unit is equipped with an external Headset option connector. Four AA alkaline batteries that are readily available in retail outlets supply operating power. An automatic power savings feature allows the typical standby battery life to extend to more than 10 days. B). FREQUENCY DETERMINING CIRCUITS The fundamental frequency for both the transmitter and the receiver local oscillators are controlled by a phase lock loop (PLL) circuit IC201 (Toshiba TB31202, or equipvalent). The frequency of operation of the FRS voltage controlled oscillator (VCO), composed of Q301 and Q302 operating in cascade is phase locked to a voltage controlled crystal reference (VCXO) operating at 20.95MHz (X202). The VCO is locked to the fundamental of the transmit signal in the transmit mode and is locked to the receive 1 st LO (Fundamental channel frequency minus 21.4MHz) in the receive mode. The crystal reference frequency is shared with the 2 nd LO of 20.95MHz. C). TRANSMITTER CIRCUITS The transmitter amplifies the 0 dBm signal from the VCO to approximately 27dBm that is fed to the antenna. The transmitter is a three stage amplifier composed of Q1,3,4 and Q11. The first two stages are operated class A and the final is operated class B in full saturation to help prevent unwanted amplitude modulation. The fundamental transmit signal is fed through an elliptical low pass filter (5-pole, 2 zero) in order to suppress the harmonics to below –50 dBc. The desired frequency modulation of the carrier is accomplished by modulating the current in the VCO directly with the microphone audio signal. The microphone audio is conditioned with a three- pole high pass filter at 300 Hz (IC5C,D), a hard clipper circuit (IC5B) to limit maximum deviation to +/- 2.5 kHz and a three-pole low pass or splatter filter at GXM1 TECHNICAL DESCRIPTION Page 2 2.8 kHz (IC5A). The low pass filter insures that the occupied bandwidth of the FM modulated signal meets FCC requirements under all input conditions. D). RECEIVER CIRCUITS The received signal from the antenna is band limited to 600 Mhz by the transmitter harmonic filter. The desired signal is fed to a low noise amplifier (LNA – Q6) centered from 156MHz to 164MHz that provides approximately 10 dB of gain. The output of the LNA is filtered with a Band Pass filter (SF1) with pass-band of 156 to 164MHz and stopband attenuation of 50 dB. The filtered receive signal is one input to the 1 st mixer (Q8), the other mixer input (1 st LO) is the output of the VCO at the desired channel frequency minus 21.4MHz. The output of the mixer is tuned to the 1 st IF of 21.4 MHz. The 1 st IF is transformer coupled for impedance matching to a X-tal filter centered at 21.4MHz with a bandwidth of +/-3.75Hz. The filtered 1 st IF is then amplified by Q9 and fed to the 2 nd mixer input of the multi-function receiver IC (IC1). The 2 nd LO (20.95 MHz) is generated by VCXO that is the reference frequency for the PLL. The 2 nd mixer output of 450 kHz is filtered through a 4 section ceramic filter that in combination with the 21.4MHz X-tal filter provides approximately 50 dB of adjacent channel attenuation. The 450 kHz 2 nd IF is then amplified, limited and fed to a quadrature detector for FM demodulation. The resulting audio output signal is bandpass filtered from 300 to 3 kHz (Q22) and amplified to provide 150mW of audio power (IC2). A squelch circuit is provided (IC1 pins 10 through 11) to mute the receiver noise under low signal conditions. The squelch circuit amplifies and detects noise in a narrow bandwidth at approximately 5 kHz. When the detected noise exceeds a threshold set to trigger at approximately 9 dB SINAD receive signal strength, the audio output is muted. E). TRANSMIT/RECEIVE SWITCH When the radio is in the transmit mode, pin diode switches D13 and D1 are both turned on (representing less than 0.7 ohms). D13 allows the transmit signal to pass to the antenna and D1 shorts one leg of a T matching network (L3, L15 and C4) to ground in the receive path. This results in a parallel tuned circuit high impedance being presented to the transmit signal so that the receive path does not load the transmit signal. In the receive mode, both D13 and D1 are off, resulting in the antenna signal being coupled into the receive LNA through the 50 ohm T matching network and the unwanted load of the transmit final amplifier is reduced to less than 1 pF by D1. F). RADIO CONTROL CIRCUIT A microprocessor (CPU1) is used to control the transceiver. User stimuli is provided through a tack switch for PTT (push to talk), along with the keypad for channel selection, channel monitor, receive volume, and page. Pressing the PTT switch instructs CPU1 to switch to the transmit mode. This is GXM1 TECHNICAL DESCRIPTION Page 3 accomplished by loading the proper channel counter information through a 3- wire serial link to the PLL IC (IC201), turning on power to the PLL and VCO, microphone and transmit audio circuits and the transmit RF amplifiers. Pressing the call switch causes the microcontroller to transmit a warbling tone for approximately 3 seconds on the current channel selected that is used to notify another person with FRS radio that you wish to communicate. Pressing the channel Up/Down buttons (active in receive mode only) instructs CPU1 to increment or decrement respectively the channel frequency by one …
Text truncated - open the document above for the full version.
Parts List/Tune Up Info
GXM1 SEMICONDUCTOR DESIGNATIONS AND FUNCTIONS Page 1 Designator Description Application CPU1 W741S81A Micro controller D1 KDS114E TX,RX switch D3 KDS114E Squelch temperature compensation D5 KDS114E VOX rectifier D13 KDS114E TX,RX switch D301 KDS114E VCO TX,RX switch IC1 DBL5018 IF IC IC2 LM386 Speaker amplifier IC201 TB31202 PLL IC IC3 XC6201 4V regulator IC4 LM324 OP amp. IC5 LM324 OP amp. IC6 XC6N26 2.6V Reset IC LED1 SML210MT LED for backlit Q1 NE5511279A TX PA Q2 KRC405E RX VCC Mute Q3,4 BFQ67W TX driver Q5 KRC404E CTCSS Limitor Q6 2SC4226 RX LNA Q7 KTA2014E PTT switch Q8 2SC4226 RX MIXER Q9 2SC4083 IFA Q10 KRA306E WX Vcc switch Q11 BFQ67W TX pre-driver Q12 KRC404E Speaker amplifier Vcc switch Q13 KRA226 TX Vcc switch Q14 KRA306E RX Vcc switch Q15 KRA306E TX Power Control Q16 KRA226 Speaker amplifier Vcc switch Q17 KRC405E TX audio Mute Q18 2SC4083 WX VCO Q19 KRC401E VCO TX,RX switch Q20 KRA306E TX Power Control Q21 KRC404E VOX amplifier Q22 KRC4075E Audio aplifier Q23 KRC405E RX audio mute Q24 KRC246S Vibrator Driver Q26 KRC405E RX/TX Switch Q27 2SC4083 WX Mixer Q28 KRC404E Power On/Off Switch Q301 2SC4226 VCO Q302 2SC4226 VCO
Parts List/Tune Up Info
GXM1 ALIGNMENT PROCEDURE Page 1 1. REFERENCE TEST EQUIPMENT A. HP8921A Cell site test set or HP8920A, B Communication Test Set with Spectrum Analyzer option. B. Fluke 187 Digital Voltmeter C. HP E3615A Power supply 2. TEST POINT A. ANTENNA : Test point is not prepared. Use antenna contact with ANTENNA_GND_T(antenna ground). B. VCO reference voltage : Test point 1 is prepared. C. RX audio output : Test point SPKOUT is prepared or use ear-jack(3.5mm). D. TX Mic. Input : Test point MICIN is prepared or use ear-jack(2.5mm) with 10uF coupling capacitor. E. Battery Vcc : Test point is not prepared. Please use mechanical contact. F. Up Key : Test point UP is prepared. G. Down Key : Test point DW is prepared. H. Function/Power Key : Test point POWER is prepared. I. Monitor Key : Test point SCAN is prepared. J. PTT Key : Test point PTT is prepared. K. CALL Key : Test point CALL is prepared. Note. : All key can be activated when connect with ground. 3. VCO ALIGNMENT A. Set unit to Channel 1 and connect a voltmeter to TP1 (VCO PD). B. Press & hold PTT. C. Extend L303 until the voltmeter reads 1.0V. D. Cover shield-plate on VCO can and monitor the voltage on TP1. The voltage should be 1.5Vdc +/-0.2Vdc. If the voltage is not 1.5Vdc +/-0.2Vdc, realign L303 until meet to requirement. E. Release PTT button so units is in receiving mode and monitor the voltage on TP1. The voltage should be in the range 1.0Vds +/-0.5V F. Set unit to channel 88A. 6. Press & hold the PTT switch and observe the voltage on TP4. The voltage should be 2 – 3,5 Vdc. 7. Release PTT and observe the voltage on TP4. The voltage should read between 2.0 - 3.5 Vdc. Note : VCO shield-can should be soldered after VCO alignment is finished. 4. TRANSMITTER FREQUENCY ALIGNMENT A. Press & hold the PTT button. B. Align CT201 trimmer capacitor such that the output frequency is equal to the channel frequency with a maximum error of +/- 200 Hz. CT201 is located on the left side of 20.95MHz X-tal. GXM1 ALIGNMENT PROCEDURE Page 2 5. TRANSMITTER OUTPUT POWER CONFIRMATION A. Set unit to channel 1 and power Hi mode. B. Press & hold the PTT button. C. Transmit power should normally be between 4.5W to 5.5W. D. Set unit to power low mode. E. Press & hold the PTT button. Ensure that Tx Power should be between 0.5-1.5W. 6. TRANSMITTER DEVIATION ALIGNMENT A. Connect an audio generator (600 ohms) to the ear jack. The audio frequency should be set at 1KHz with a level of 200mV RMS. B. Connect an FM deviation meter (communications test set) to Antenna contact. Set the monitor to read peak to peak divided by two [(pk-pk)/2] deviation. Set filter of equipment from 25Hz to 15KHz. C. Press & hold the PTT button. D. Align RV2 for +/- 4.0kHz deviation (+/-0.1KHz). RV2 is located on the bottom of the VCO shield can. E. Decrease audio generator level until deviation reads +/- 3kHz (approximately 4mV) and record generator level. Level should be between 2 mV and 8 mV. F. Confirm that transmit audio distortion is less than 5%. 7. RECEIVER ALIGNMENT A. Set the output level of the RF signal generator for -47dBm. The generator should be set for 3.0kHz deviation at 1 kHz audio. B. Set volume position middle. C. Connect Audio analyzer to SPKOUT. D. Set equipment filter 25Hz to 15KHz. E. Align CF2 to get a maximum output level & a minimum distortion and confirm that Rx audio distortion is less than 3%. F. Confirm that Rx Sensitivity is less than –120dBm (nominally –123dBm) by reducing the output level of the RF signal generator until a 12 dB SINAD reading is achieved. H. Set SSG output level until 9dB sinad sensitivity and align RV1 until the unit is un-squelched. I. Set signal generator level to –47dBm. J. With 3.0KHz deviation at 1KHz modulation, set volume for maximum audio. Audio level should be on over than 1.7Vrms. 8. BATTERY INDICATOR CONFIRMATION A. Set unit to receiving mode. Don’t set transmitter mode.. B. Set power supply voltage to 6V. C. Decrease power supply voltage until low battery icon blinks. 9. POWER OFF CURRENT CONSUMPTION A. Set power supply voltage to 6V and connect to unit. B. Confirm current. It must be less than 100uA.
Test Report
TIMCO ENGINEERING INC. 849 NW State Road 45 Newberry, Florida 32669 http://www.timcoengr.com 888.472.2424 F 352.472.2030 email: [email protected] APPLICANT: MIDLAND RADIO CORPORATION FCC ID: MMANT1 REPORT #: M|MidlandRadio_MMA\1849UT4\1849UT4TestReport.doc COVER PAGE Test Report Product Name: HANDHELD MARINE TRANSCIEVER FCC ID: MMANT1 Applicant: MIDLAND RADIO CORPORATION 1120 CLAY STREET NORTH KANSAS CITY, MO. 64116 Date Receipt: NOVEMBER 8, 2004 Date Tested: NOVEMBER 22, 2004 TIMCO ENGINEERING INC. 849 NW State Road 45 Newberry, Florida 32669 http://www.timcoengr.com 888.472.2424 F 352.472.2030 email: [email protected] APPLICANT: MIDLAND RADIO CORPORATION FCC ID: MMANT1 REPORT #: M|MidlandRadio_MMA\1849UT4\1849UT4TestReport.doc TABLE OF CONTENTS APPLICANT: MIDLAND RADIO CORPORATION FCC ID: MMANT1 TABLE OF CONTENTS LIST TEST REPORT: PAGE 1............GENERAL INFORMATION & TECHNICAL DESCRIPTION PAGE 2............TECHNICAL DESCRIPTION CONTINUED RF POWER OUTPUT PAGE 3............TECHNICAL DATA PAGE 4............VOICE MODULATION CHARACTERISITICS AUDIO FREQUENCY RESPONSE PAGE 5............AUDIO LOW PASS FILTER PAGE 6............MODULATION LIMITING PAGE 7............OCCUPIED BANDWIDTH PAGE 8............OCCUPIED BANDWIDTH PLOT PAGE 9-10.........FIELD STRENGTH OF SPURIOUS EMISSIONS PAGE 11...........METHOD OF MEASURING RADIATED SPURIOUS EMISSIONS PAGE 12...........FREQUENCY STABILITY PAGE 13-18........LIST OF TEST EQUIPMENT EXHIBITS INCLUDING: BLOCK DIAGRAM SCHEMATIC PARTS LIST USERS MANUAL LABEL SAMPLE LABEL LOCATION EXTERNAL PHOTOGRAPHS INTERNAL PHOTOGRAPHS OPERATIONAL DESCRIPTION TUNING PROCEDURE TEST SET UP PHOTOGRAPHS TIMCO ENGINEERING INC. 849 NW State Road 45 Newberry, Florida 32669 http://www.timcoengr.com 888.472.2424 F 352.472.2030 email: [email protected] APPLICANT: MIDLAND RADIO CORPORATION FCC ID: MMANT1 REPORT #: M|MidlandRadio_MMA\1849UT4\1849UT4TestReport.doc Page 1 of 18 GENERAL_INFORMATION 2.1033(c) MIDLAND RADIO CORPORATION will sell the FCC ID: MMANT1 VHF Marine transmitter in quantity, for use under FCC RULES PART 80. 2.1033(c) TECHNICAL_DESCRIPTION (4) Type of Emission: 14K8G3E/14K8F3E Bn = 2M + 2DK M = 3000 D = 4.4KHz (Peak Deviation) K = 1 Bn = 2(3.0K) + 2(4.4K)(1) = 14.8K 80.205 (a) ALLOWED AUTHORIZED BANDWIDTH = 20.00KHz. 2.1033(c)(6) Frequency Range: 156.025 – 157.425 MHz 2.1033(c)(7) Power Range and Controls: There is a user Power switch for High/Low Power. Maximum Output Power Rating: High 1.4 Watts, Low 0.6 Watt into a 50 ohm resistive load. 2.1033(c)(8) DC Voltages and Current into Final Amplifier: POWER INPUT FINAL AMPLIFIER ONLY High Low Vce = 6 VDC Vce = 6 VDC Ice = 0.55 A Ice = 0.44 A Pin = 3.30 Watts Pin = 2.64 Watts Function of each electron tube or semiconductor device or other active circuit device is included in the parts list exhibit. 2.1033(c)(9) Complete Circuit Diagrams: The circuit diagrams and block diagrams are included. 2.1033(c)(10) Instruction book. The instruction manual is included. 2.1033(c)(11) Tune-up procedure. The tune-up procedure is included. TIMCO ENGINEERING INC. 849 NW State Road 45 Newberry, Florida 32669 http://www.timcoengr.com 888.472.2424 F 352.472.2030 email: [email protected] APPLICANT: MIDLAND RADIO CORPORATION FCC ID: MMANT1 REPORT #: M|MidlandRadio_MMA\1849UT4\1849UT4TestReport.doc Page 2 of 18 Description of all circuitry and devices provided for determining and stabilizing frequency is included in the circuit description 2.1033(c)(11) Digital modulation. This unit does NOT use digital modulation. The data required by 2.1046 through 2.1055 is submitted below. 2.1046(a) RF_power_output . 80.215 (e)(1) RF power is measured by connecting a 50 ohm, re- sistive wattmeter to the RF output connector. With a nominal battery voltage, and the transmitter properly adjusted the RF output measures: OUTPUT POWER: 1.4 W ERP SUBSTITUTION METHOD 0.6 W ERP SUBSTITUTION METHOD TIMCO ENGINEERING INC. 849 NW State Road 45 Newberry, Florida 32669 http://www.timcoengr.com 888.472.2424 F 352.472.2030 email: [email protected] APPLICANT: MIDLAND RADIO CORPORATION FCC ID: MMANT1 REPORT #: M|MidlandRadio_MMA\1849UT4\1849UT4TestReport.doc Page 3 of 18 TECHNICAL DATA: 80.203 (b) External Controls: The transmitter is capable of changing frequency between 156.05 – 157.425 MHz by external control. The available channels are shown in the User Manual description Channel List. These channels are preprogrammed by the manufacturer and change of frequency is inaccessible to the station operator. 80.203 (c) Five minutes continuous transmission test. An external timer digital clock was used to observe the duration of the un-modulated transmission. The transmitter turned off and the radio went to receive mode at 4 minutes, 58 seconds as displayed by the external digital clock. TIMCO ENGINEERING INC. 849 NW State Road 45 Newberry, Florida 32669 http://www.timcoengr.com 888.472.2424 F 352.472.2030 email: [email protected] APPLICANT: MIDLAND RADIO CORPORATION FCC ID: MMANT1 REPORT #: M|MidlandRadio_MMA\1849UT4\1849UT4TestReport.doc Page 4 of 18 2.1047(a) Voice Modulation characteristics: (b) AUDIO_FREQUENCY_RESPONSE See the following plot. 1849UT4 Audio Freq Response -40 +10 -30 -20 -10 +0 d B 100 10k 200 500 1k 2k 5k Hz TIMCO ENGINEERING INC. 849 NW State Road 45 Newberry, Florida 32669 http://www.timcoengr.com 888.472.2424 F 352.472.2030 email: [email protected] APPLICANT: MIDLAND RADIO CORPORATION FCC ID: MMANT1 REPORT #: M|MidlandRadio_MMA\1849UT4\1849UT4TestReport.doc Page 5 of 18 2.1047(a) AUDIO_LOW_PASS_FILTER The audio low pass filter shown in the following plot. TIMCO ENGINEERING INC. 849 NW State Road 45 Newberry, Florida 32669 http://www.timcoengr.com 888.472.2424 F 352.472.2030 email: [email protected] APPLICANT: MIDLAND RADIO CORPORATION FCC ID: MMANT1 REPORT #: M|MidlandRadio_MMA\1849UT4\1849UT4TestReport.doc Page 6 of 18 2.1047(b) Audio input versus modulation 80.213 (d) A plot of the audio input versus deviation is shown in the following plots. MODULAT…
Text truncated - open the document above for the full version.
Contact Information
Applicant
Butch Rittmann(Director of Operations)
Test Firm
Timco Engineering, Inc.S Sanders
Technical Specifications
| # | Rule Parts | Frequency Range | Power Output | Emission | Tolerance |
|---|---|---|---|---|---|
| 4 | 8 | 156.025 MHz - 157.425 MHz | 600.00 mW | 14K9F3E | 5 ppm |
Other Applications from Midland Radio Corporation
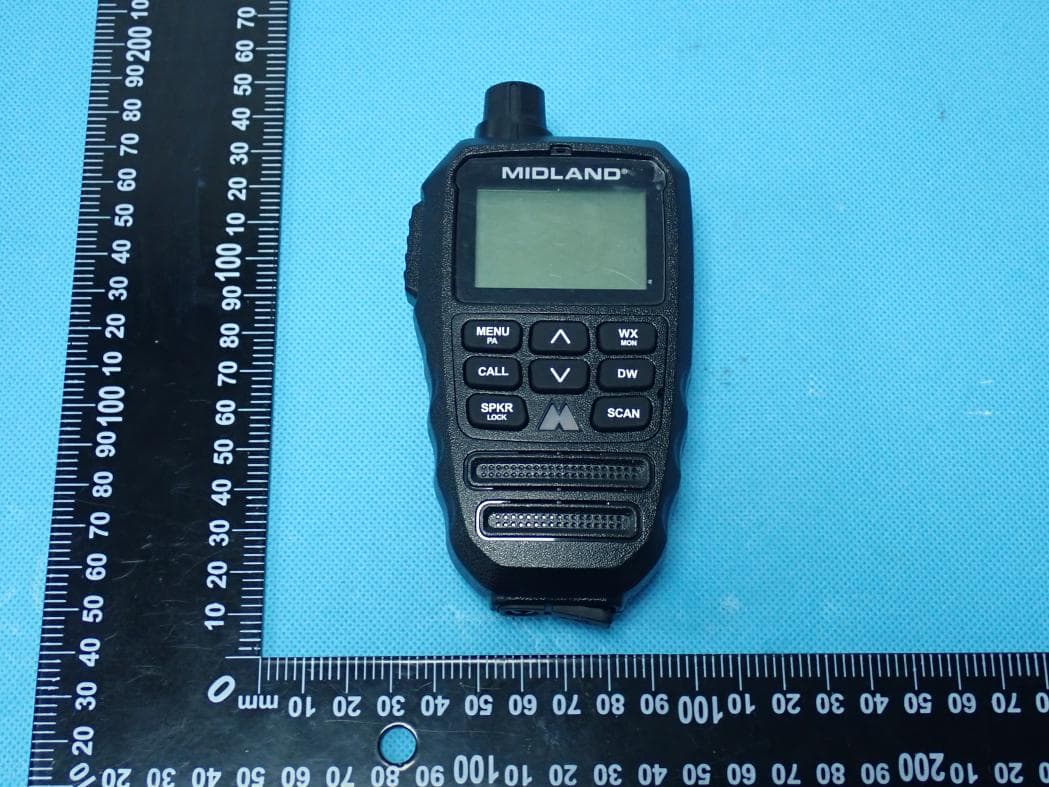
MMAMXMC95
Jun 10, 2026Wireless Bluetooth Microphone
Equipment Class
JAB - Part 15 Class B Digital Device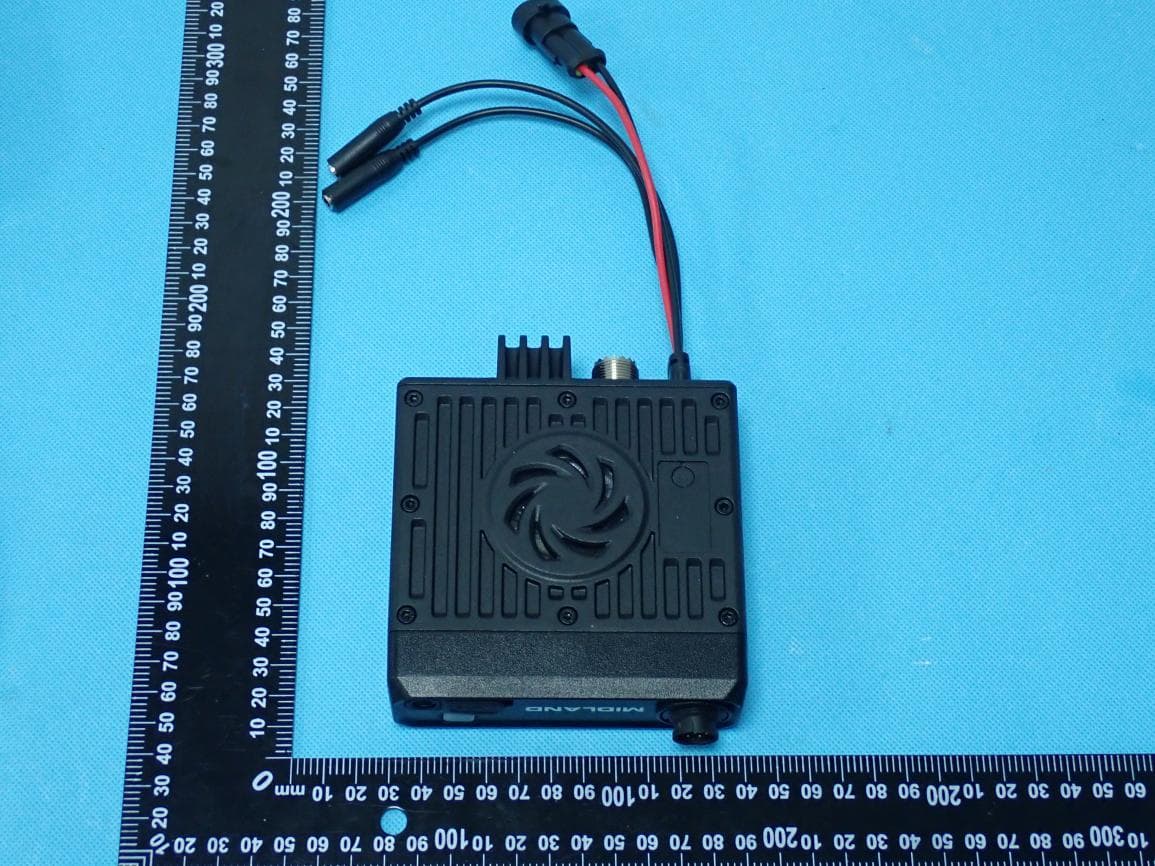
MMAMXT295
Jun 08, 2026GMRS Radio
Equipment Class
TNF - Licensed Non-Broadcast Transmitter Held to Face
MMACLIPTALK
Apr 27, 2026Transceiver
Equipment Class
DTS - Digital Transmission System
MMABR200S
Jan 13, 2026BUSINESS BAND TWO-WAY RADIO
Equipment Class
TNF - Licensed Non-Broadcast Transmitter Held to Face
MMAGXT67
Oct 29, 2023GMRS RADIO
Equipment Class
TNF - Licensed Non-Broadcast Transmitter Held to Face