NCY-A600Altum AC600
Trango Systems Inc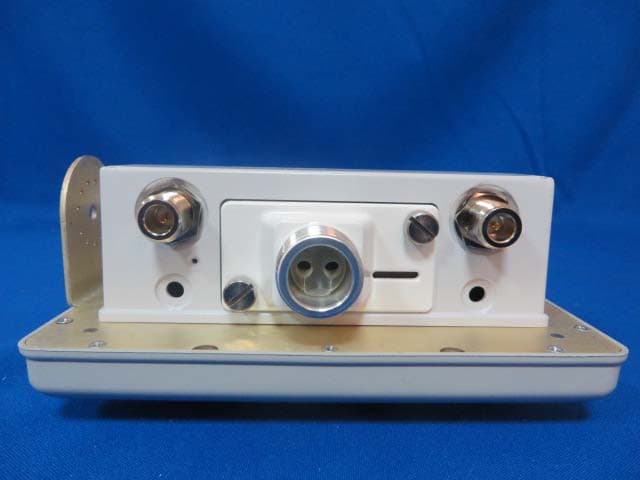
Click to zoom
Application Details
- Equipment Class
- JBP - Part 15 Class B Computing Device Peripheral
- Date of Grant
- Jan 28, 2015
- Application Purpose
- Original Equipment
- Date of Application
- Jan 28, 2015
- Equipment Note
- Altum AC600
- Company
- Trango Systems Inc
- Country
- United States
Documents & Files
Document Text
Text extracted from the exhibit documents filed with the FCC. Open a document above to read the original.
Users Manual
Altum AC 600 600 Mbps Wireless Bridge User Manual Altum AC 600 User Manual LT-9064 Rev A Notice This document contains information that is confidential and proprietary to Trango Systems, Inc. No part of the content of this publication may be reproduced, modified, used, copied, disclosed, conveyed, or distributed to any party in any manner whatsoever without prior written authorization from Trango Systems, Inc. This document is provided as is, without warranty of any kind. Trademarks Trango Systems ® , StrataLink ® , and TrangoLINK Giga ® are registered trademarks of Trango Systems, Inc. Other names mentioned in this publication are owned by their respective holders. Statement of Conditions The information contained in this document is subject to change without notice. Trango Systems, Inc. shall not be liable for errors contained herein or for incidental or consequential damage in connection with the furnishing, performance, or use of this document, software or equipment supplied with it. Information to User Any changes or modifications of equipment not expressly approved by the manufacturer could void the user’s authority to operate the equipment and the warranty for such equipment. Trango Systems, Inc. 14118 Stowe Drive, Suite B Poway, CA 92064 Tel.: +1 (858) 391-0010 Fax: +1 (858) 391-0020 Copyright © 2014 by Trango Systems, Inc. All rights reserved. Altum AC 600 User Manual LT-9064 Rev A 3 Contents Chapter 1: Overview .................................................................................................................. 6 1.1 Introduction ....................................................................................................................... 6 1.2 Language .......................................................................................................................... 6 1.3 Supported Products ........................................................................................................... 6 1.4 System Requirements ....................................................................................................... 6 1.5 Getting Started .................................................................................................................. 6 1.6 Operating Modes ............................................................................................................... 7 1.7 Buttons and Changes ........................................................................................................ 7 1.8 Physical Hardware Button ................................................................................................. 7 1.9 LEDs ................................................................................................................................. 7 Chapter 2: Status Tab ................................................................................................................ 8 2.1 Overview ........................................................................................................................... 8 2.1.1 Wireless Radio Mode .................................................................................................. 8 2.1.2 Wireless (for AP Mode) ............................................................................................... 8 2.1.3 Wireless (for Station Mode) ......................................................................................... 9 2.1.4 Associated Stations (for AP Mode) .............................................................................. 9 2.1.5 System ...................................................................................................................... 10 2.1.6 Memory ..................................................................................................................... 10 2.1.7 Network..................................................................................................................... 10 2.1.8 DHCP Leases ........................................................................................................... 10 2.1.9 Link Status (for Station Mode) ................................................................................... 10 2.2 Routes ............................................................................................................................. 11 2.3 System Log ..................................................................................................................... 11 2.4 Realtime Graphs ............................................................................................................. 11 2.4.1 Load .......................................................................................................................... 11 2.4.2 Traffic ........................................................................................................................ 12 2.4.3 Wireless .................................................................................................................... 12 2.4.4 Connections .............................................................................................................. 12 Chapter 3: System Tab ............................................................................................................ 13 3.1.1 System Properties ..................................................................................................... 13 3.1.2 Time Synchronization ................................................................................................ 13 3.2 Administration ................................................................................................................. 14 3.2.1 Password .................................................................................................................. 14 3.2.2 SSH .......................................................................................................................... 14 3.2.3 Telnet ..................................…
Text truncated - open the document above for the full version.
Users Manual
LT-9065 Installation Quick Start Guide Revision A 1 Altum AC Installation Quick Start Guide Overview The Altum AC comes in three different configurations; A600-EXT, A600-19, and A600-25. This guide will illustrate how to install the Altum AC unit after configuring the unit on the bench. Installing A600-25 In the A600-25 box you will find the following parts: (1) U-Bolt with hex nuts (1) Mounting Bracket (1) Port Plug (1) U-Bolt bracket (1) Port Plate with captive screws (4) 10-32 kep nuts (1) POE injector 1. For easiest installation install the mounting bracket onto the 1.5-2.5 inch diameter pole using the U-bolt and the U-bolt bracket. Tilt the bracket to the approximate desired angle before tightening the hex nuts onto the U-bolt. 2. Install the Altum AC radio unit by sliding the (4) protruding threads on the back plate through the mating holes on the mounting bracket. Secure the unit with the (4) 10-32 kep nuts. Skip to step 3. Mounting Bracket U-Bolt Hex Nut Kep Nuts U-Bolt Bracket LT-9065 Installation Quick Start Guide Revision A 2 Installing A600-19 In the A600-19 box you will find the following parts: (1) U-Bolt with hex nuts (2) ¼-20 hex head screws (1) Mounting Bracket (1) Altum AC 19 dBi unit (1) Port Plug (1) Port Plate with (2) captive screws (1) POE injector 1. Install the Mounting Bracket by feeding the U-Bolt through the holes and tightening using the included hex nuts. 2. Install the A600-19 radio using the ¼-20 hex head screws. Skip to step 3. Installing A600-EXT In the A600-EXT box you will find the following parts: (2) U-Bolt with hex nuts (2) Mounting Brackets (1) Port Plug (1) Port Plate with (2) captive screws (1) POE injector (1) Connector Sealing Tape Packet ¼-20 hex head Screw U-Bolt Mounting Bracket Hex Nuts LT-9065 Installation Quick Start Guide Revision A 3 1. Feed the U-bolts through the mounting brackets and then through the back plate before securing using the hex nuts. Getting Altum AC Ready for Power Up 3. Plug in The Ethernet cables and install them into the port plug as shown. Note: The LAN port is on the “right” side as you look into the unit, while the WAN port is on the “left” 4. Install the Port Plug as seen below. 5. Feed the Ethernet cable(s) through and attach the Port Plate using the (2) captive screws. Tighten until snug. 6. 7. Plug the Ethernet cables into the POE injector power supply as shown below. Note: the POE and LAN ports are also labeled on the power supply. U-Bolt U-Bolt Bracket Hex Nut Port Plug Ethernet Cable Port Plug Port Plate Captive Screw LT-9065 Installation Quick Start Guide Revision A 4 8. (Optional) Remove the caps from the N- connectors and attach (2) 2.4 GHz wifi antennas with N-Male connectors. Note: Do not remove connector caps unless you will be using the 2.4 GHz radio. 9. For EXT model only. Remove the SMA-RP connector caps and attach cables to the external antenna. Make sure to use cables with SMA-RP or damage/low signal levels may result. Apply Connector Sealing Tape around the connections to seal from weather. NOTE: Altum AC must be installed by trained personnel to ensure compliance with local/regional building codes and Wireless regulations. About Trango Systems, Inc. Trango Systems, Inc., was founded in 1996 and is headquartered in San Diego County, California. The company designs and manufactures innovative licensed and LAN POE to Radio 2.4 GHz Antenna LT-9065 Installation Quick Start Guide Revision A 5 unlicensed microwave backhaul equipment for customers in over 70 countries and is ISO 9001:2008 certified.
Cover Letter(s)
Trango Systems, Inc. | 14118 Stowe Drive, Suite B | Poway, CA 92064 | Tel: (858) 391-0010 | Fax: (858) 391-0020 Email: [email protected] | URL: www.trangosys.com Trango Systems, Inc. December 15, 2014 Federal Communications Commission Authorization and Evaluation Division ATTESTATION FCC ID: NCY-A600 Product: Altum A600 Model: A600-25-US, A600-19-US, A600-EXT-US We do not provide any controls or software to allow operation outside the USA frequency band when we sell this product in the USA. The difference of models is that the product uses the different antennas. Sincerely By Christopher Gustaf Title: VP Engineering Trango Systems, Inc.
Cover Letter(s)
Trango Systems, Inc. | 14118 Stowe Drive, Suite B | Poway, CA 92064 | Tel: (858) 391-0010 | Fax: (858) 391-0020 Email: [email protected] | URL: www.trangosys.com December 15, 2014 Federal Communications Commission Authorization and Evaluation Division FCC ID: NCY-A600 Request for Confidentiality Pursuant to Sections 0.457 and 0.459 of the Commission’s rules, we hereby request confidential treatment of the information accompanying this application as outlined below: • Schematics • Block diagram • Operational Description These materials contain trade secrets and proprietary information and are not customarily released to the public. The public disclosure of this information might be harmful to the company and provide unjustified benefits to our competitors. The applicant understands that pursuant to Rule 0.457, disclosure of this application and all accompanying documentation will not be made before the date of the Grant for this application. Dated this 15 th day of December 2014 By Christopher Gustaf Title: VP Engineering Trango Systems, Inc.
External Photos
External Photo (1) EUT Photo (2) EUT Photo (3) EUT Photo (4) EUT Photo (5) EUT Photo (6) EUT Photo (7) EUT Photo (8) EUT Photo (9) EUT Photo (10) EUT Photo (11) EUT Photo (12) EUT Photo (13) EUT Photo
ID Label/Location Info
LABEL SPECIFICATION 515-9160 REV A PRODUCT: 320-9209 (A600-XX-US) This specification shows the format of the artwork to be printed. Model: A600-XX-US Rev X Series: Altum AC ™ FCC ID:NCY-A600 S/N: xxxxxxxx MAC: xxxxxxxxxxxx NOTES: 1) Label size is 1 inch high by 2 inches long. 2) Label is to be printed at 320-90xx test station on LB-9018 when unit passes. 3) Model should be filled in with: EXT, 19, or 25. 4) The serial number is the decimal version of the last 6 hex characters of the scanned board MAC address plus 3 hexadecimals (See step one of 410-9265 or 410-9267). This should coincide with the serial number on label 515-9167. Note for adding 3 to a hexadecimal: If the last 2 digits of the MAC are 16 the new MAC becomes 19 If the last 2 digits of the MAC are 17 the new MAC become 1A If the last 2 digits of the MAC are 2F the new MAC becomes 32 5) Examples for S/N: and MAC: S/N: 00100406 MAC: 00 01 DE 01 88 36 ENGINEERING: MARKETING: DATE: DATE: This device complies with part 15 of the FCC Rules: Operation is subject to the following conditions: (1) This device may not cause harmful interference, and (2) this device must accept any interference that may cause undesired operation. Label Location
Internal Photos
Internal Photo (1) EUT Photo (2) EUT Photo (3) EUT Photo (4) EUT Photo (5) EUT Photo (6) EUT Photo (7) EUT Photo (8) EUT Photo (9) EUT Photo (10) EUT Photo (11) EUT Photo (12) EUT Photo (13) EUT Photo (14) EUT Photo (15) EUT Photo (16) EUT Photo (17) EUT Photo (18) EUT Photo (19) EUT Photo (20) EUT Photo (21) EUT Photo (22) EUT Photo (23) EUT Photo (24) EUT Photo (25) EUT Photo (26) EUT Photo (27) EUT Photo (28) EUT Photo (29) EUT Photo (30) EUT Photo (31) EUT Photo (32) EUT Photo (33) EUT Photo (34) EUT Photo (35) EUT Photo
Test Report
MRT Technology (Suzhou) Co., Ltd Report No.: 1412RSU01503 Phone: +86-512-66308358 Report Version: V01 Fax: +86-512-66308368 Issue Date: 12-23-2014 Web: www.mrt-cert.com FCC ID: NCY-A600 Page Number: 1 of 23 FCC ID: NCY-A600 APPLICANT: Trango Systems, Inc. Application Type: Certification Product: Altum AC600 Model No.: A600-25-US, A600-19-US, A600-EXT-US Brand Name: Trango FCC Classification: FCC Class B Digital Device (JBP) FCC Rule Part(s): FCC Part 15 Subpart B Test Procedure(s): ANSI C63.4: 2009 Test Date: Jul. 30 ~ Dec. 22, 2014 MEASUREMENT REPORT FCC Part 15B Reviewed By : ( Robin Wu ) Approved By : ( Marlin Chen ) The test results relate only to the samples tested. This equipment has been shown to be capable of compliance with the applicable technical standards as indicated in the measurement report and was tested in accordance with the measurement procedures specified in ANSI C63.4-2009. Test results reported herein relate only to the item(s) tested. The test report shall not be reproduced except in full without the written approval of MRT Technology (Suzhou) Co., Ltd. Report No.: 1412RSU01503 FCC ID: NCY-A600 Page Number: 2 of 23 Revision History Report No. Version Description Issue Date 1412RSU01503 Rev. 01 Initial report 12-23-2014 Report No.: 1412RSU01503 FCC ID: NCY-A600 Page Number: 3 of 23 CONTENTS Description Page §2.1033 General Information ......................................................................................................... 4 1. INTRODUCTION ..................................................................................................................... 5 1.1. Scope ........................................................................................................................... 5 1.2. MRT Test Location ....................................................................................................... 5 2. PRODUCT INFORMATION ..................................................................................................... 6 2.1. Equipment Description .................................................................................................. 6 2.2. Description of Available Antennas ................................................................................ 6 2.3. Device Capabilities ....................................................................................................... 6 2.4. Test Configuration ........................................................................................................ 7 2.5. Test Software ............................................................................................................... 7 2.6. EMI Suppression Device(s)/Modifications ..................................................................... 7 2.7. Labeling Requirements ................................................................................................. 8 3. DESCRIPTION OF TEST ........................................................................................................ 9 3.1. Evaluation Procedure ................................................................................................... 9 3.2. AC Line Conducted Emissions ..................................................................................... 9 3.3. Radiated Emissions .................................................................................................... 10 4. TEST EQUIPMENT CALIBRATION DATE ............................................................................. 11 5. MEASUREMENT UNCERTAINTY ......................................................................................... 12 6. TEST RESULT ...................................................................................................................... 13 6.1. Summary .................................................................................................................... 13 6.2. Conducted Emission Measurement ............................................................................ 14 6.2.1. Test Limit ................................................................................................................ 14 6.2.2. Te s t Setup ............................................................................................................... 14 6.2.3. Test Result .............................................................................................................. 15 6.3. Radiated Emission Measurement ............................................................................... 17 6.3.1. Te s t Limit ................................................................................................................ 17 6.3.2. Test Setup ............................................................................................................... 17 6.3.3. Test Result .............................................................................................................. 19 7. CONCLUSION ....................................................................................................................... 23 Report No.: 1412RSU01503 FCC ID: NCY-A600 Page Number: 4 of 23 §2.1033 General Information Applicant: Trango Systems, Inc Applicant Address: 14118 Stowe Dr, Suite B, Poway, CA 92064 USA Manufacturer: Trango Systems, Inc Manufacturer Address: 14118 Stowe Dr, Suite B, Poway, CA 92064 USA Test Site: MRT Technology (Suzhou) Co., Ltd Test Site Address: D8 Building, Youxin Industrial Park, No.2 Tian’edang Rd., Wuzhong Economic Development Zone, Suzhou, China MRT FCC Registration No.: 809388 Model No.: A600-25-US, A600-19-US, A600-EXT-US FCC ID: NCY-A600 Test Device Serial No.: N/A Production Pre-Production Engineering FCC Classification: FCC Class B Digital Device (JBP) Test Facility / Accreditations Measurements were performed at MRT Laboratory located in Tian’edang Rd., Suzhou, China. MRT facility is a FCC registered (MRT Reg. No. 809388) test facility with the site description report on file and…
Text truncated - open the document above for the full version.
Test Setup Photos
1 of 5 FCC 15B Test Setup Photo Test Mode: Mode 1 Description: Front View of Conducted Emission Test Mode: Mode 1 Description: Front View of Conducted Emission Test Mode: Mode 1 Description: Radiated disturbance Test Setup for 30MHz ~ 1GHz Test Mode: Mode 1 Description: Radiated disturbance Test Setup for 1GHz ~ 18GHz FCC Part15C/15E Test Setup Photo Description: Front View of the Conducted Emission Test Setup for 0.15kHz ~ 30MHz Description: Back View of the Conducted Emission Test Setup for 0.15kHz ~ 30MHz Description: Radiated Emission Test Setup for 9kHz ~ 30MHz Description: Radiated Emission Test Setup for 30MHz ~ 1GHz Description: Radiated Emission Test Setup for 1GHz ~ 18GHz Description: Radiated Emission Test Setup for 18GHz ~ 40GHz
Contact Information
Applicant
Christopher A Gustaf(VP, Engineering)
Test Firm
MRT Technology (Suzhou) Co., LtdWu Jian
[email protected]86-512-66308358
Technical Specifications
| # | Rule Parts | Frequency Range | Power Output |
|---|---|---|---|
| 1 | 15B | - | - |
Other Applications from Trango Systems Inc
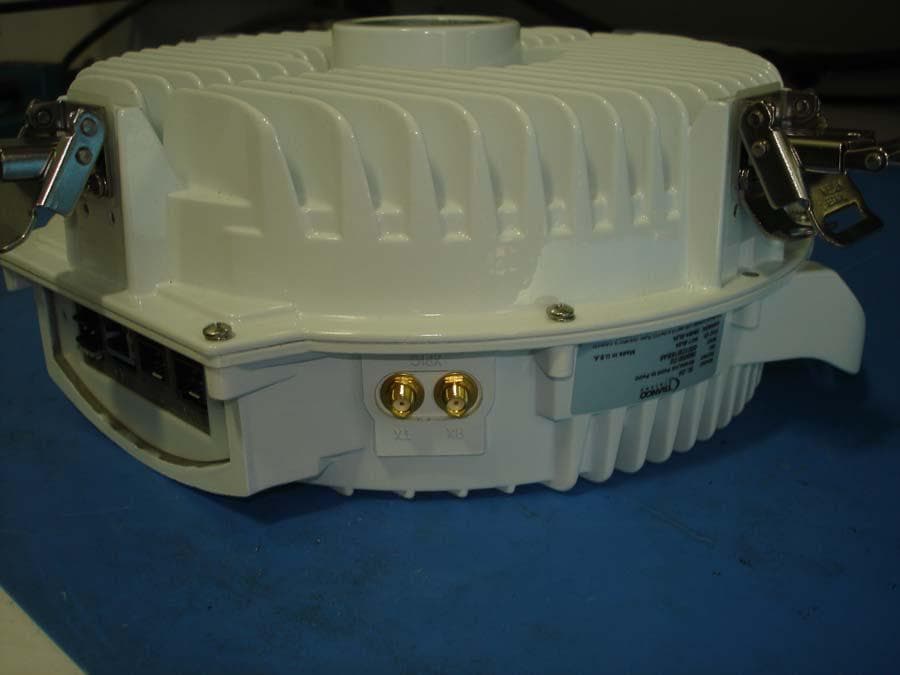
NCY-SL24
Feb 05, 201324 GHz Wireless Point to Point Data Transmission System
Equipment Class
DXX - Part 15 Low Power Communication Device Transmitter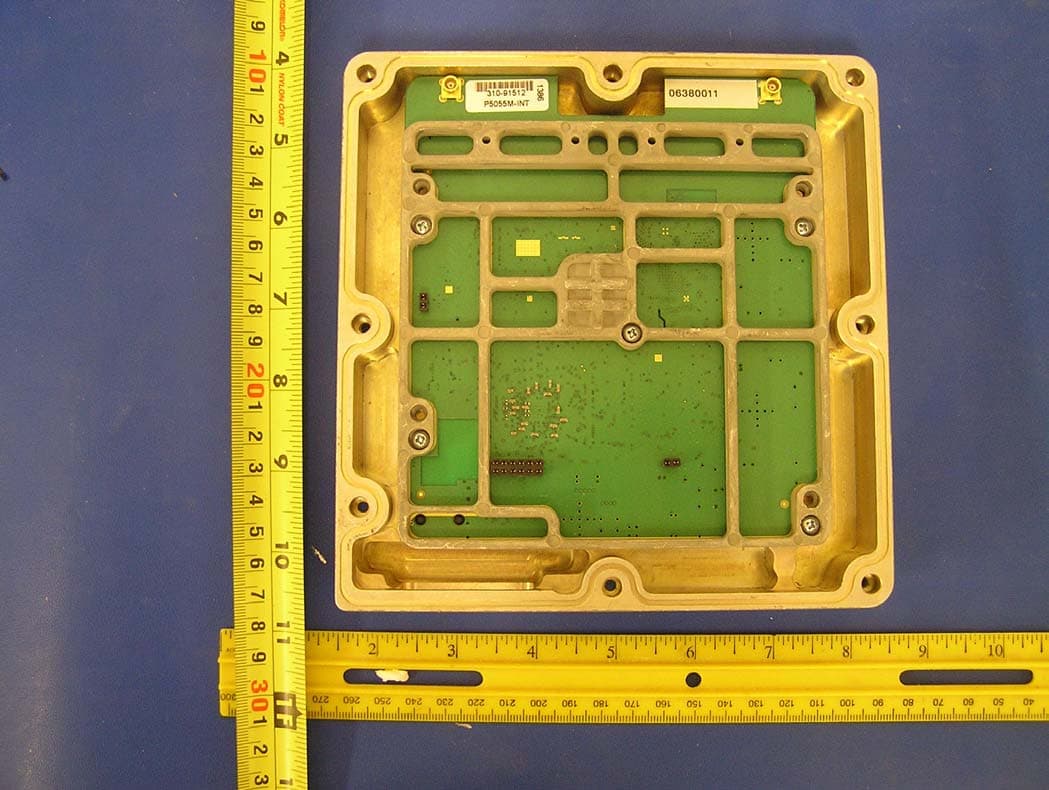
NCYP5055M
Sep 25, 2007802.11 a Point to Point Transceiver
Equipment Class
DTS - Digital Transmission System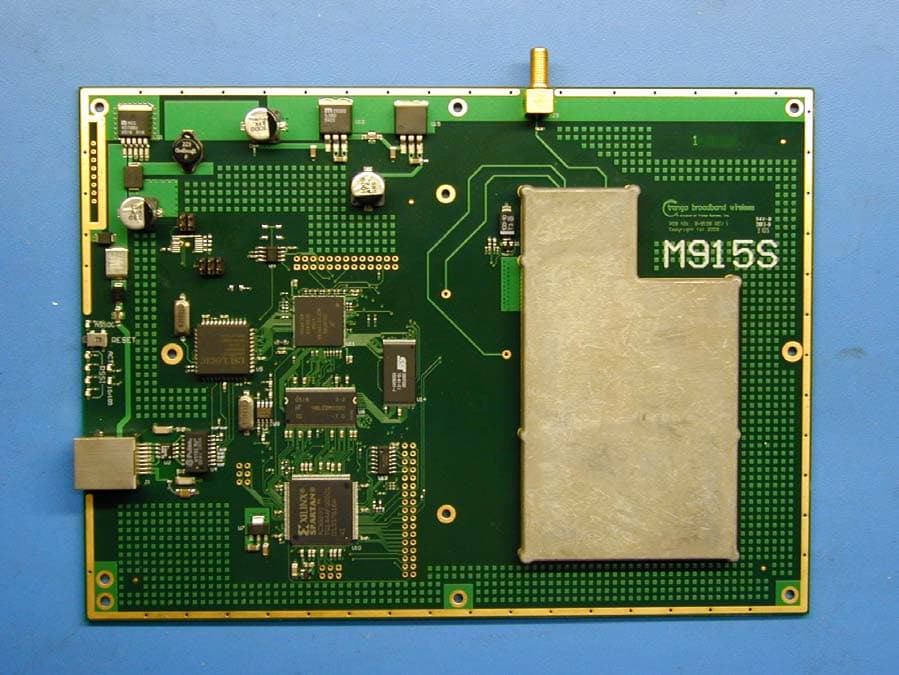
NCYM915S
Jan 16, 2006900 MHz Transceiver
Equipment Class
DTS - Digital Transmission System
NCYM5580MFSU
Jan 02, 2006Wireless Internet Access Subscriber Unit
Equipment Class
DTS - Digital Transmission System
NCYM5800SFSUD2
Jun 19, 2005Wireless Internet Access Subscriber Unit
Equipment Class
DTS - Digital Transmission System